When you click on links to various merchants on this site and make a purchase, this can result in this site earning a commission. Affiliate programs and affiliations include, but are not limited to, the eBay Partner Network.
2004 C230K Combo Switch replace and found other issues.
Hey, all: First of all, I thank everyone for the great posts and $$$ saving tips. I am getting ready to replace my Combo Switch -- will not stay engaged on left turn mode. Anyway, I have remove it once thanks to everyone's precise instructions. Couldn't fix it so I had to re-install it until I can get a new one. One thing that I found after dis-assembly was that the part the switch mounts to on the column is loose and will move a couple inches both ways. I didn't see any way to tighten it. I noticed it is retained with a snap ring, but I didn't remove it. Is there a tab or something underneath that secures it tightly to the column? Thanks.
Many of us had this problem afterwards. The problem is that the metal collar around the column can be rotated. So even if you correctly position the plastic outer housing and the screw underneath is tightened, the entire column can still be rotated.
I fixed the problem on my car by using Gorilla Glue between the ring and the shaft. No joke. Be sure the sleeve is positioned correctly, as the collar isn't going anywhere once the glue is dry.
Last edited by slammer111; Oct 21, 2022 at 08:08 AM.
I just replaced my combination switch in my 2006 CLK350 Coupe. Everything seemed fine. I don't believe I messed anything up with the clock spring or the angle sensor. When I put it all back together and went for a test drive there were no ESP or SRS warning lights, seems great. Trouble is I went from having no intermittent/rain sensing wipers to not having ANY functions controlled by the switch (i.e. no turn signals, wipers, washer spray, or high beams). In the WIS I recall seeing a step to connect to STAR and clear codes. Is this something anyone else experienced?
I bought a used turn signal stalk not knowing I would need the red tab tool. Has anyone done this swap without the tool? Could I use a paperclip in the hole to keep it in place? A wood stick?
I bought a used turn signal stalk not knowing I would need the red tab tool. Has anyone done this swap without the tool? Could I use a paperclip in the hole to keep it in place? A wood stick?
Not sure what this red tool everyone talks about is. Never used one at all and I've disassembled and reassembled the column several times. With that said, one must be careful not to rotate the disc.
Not sure what this red tool everyone talks about is. Never used one at all and I've disassembled and reassembled the column several times. With that said, one must be careful not to rotate the disc.
The red pin goes into the hole and I assume stops the disc from spinning. Could the disc just rotate on it's own even if I'm careful? I haven't taken apart yet so I'm worried it will move and I'll end up with an ESP error.
The red pin goes into the hole and I assume stops the disc from spinning. Could the disc just rotate on it's own even if I'm careful? I haven't taken apart yet so I'm worried it will move and I'll end up with an ESP error.
The disc can be rotated a bit without problems. The big one is to not do any complete turns. There is a ribbon cable inside that allows the steering wheel to turn the full 1.5 rotations in each direction. The cable will probably bind or break if the disc is spun outside of this range of motion.
Wipers stopped working suddenly. Found the wiper control wire had snapped.
Looking at the instructions that came with my turn signal stalk, the dealer did not shave off the rail as per the instructions below when replacing the switch over a decade ago. The wires rubbed against the rail over the years until the one controlling the wipers finally sliced through the other day. Fixed the rail with a Dremel. Would've been nice if the dealer actually did this. And the service guys are convinced the car forums don't have correct information.
Turn signal stalk rail modification (taken from YouTube)
Not too clear in the image but it looks like 25mm and a 30 degree angle. FYI 25-26 mm and a perpendicular cut is more than enough to clear the wires in question. Do not go too low (eg 22mm) or there won't be enough meat for the signal switch module to catch. Test fit often to check.
Original rail (note damage from wires)
Rail section removed as per instructions
Last edited by slammer111; May 31, 2021 at 06:52 AM.
Received the new stalk, PN 000-545-23-10. Sure enough, the MB and Valeo PNs are identical between new and old. The plastic clicky bits are also completely unchanged, even after a decade. Guess I'm doing this job again in 5 years or so.
Below is a clearer photo of the included instruction sheet. Sure enough, the mark is 25mm and a 30 degree cut. I am not sure why that angle is required to be honest, as the wires do not ever touch the edge of the rails at any point. Even if they did, a perpendicular cut would be the best protection against chafing.
Install instructions and included locking pin
The locking pin sure came in useful. Some have mentioned that a screwdriver or nail would work, and I agree. The only advantage is that the locking pin clicks and locks into place. It's also nice and pretty.
Locking pin engaged
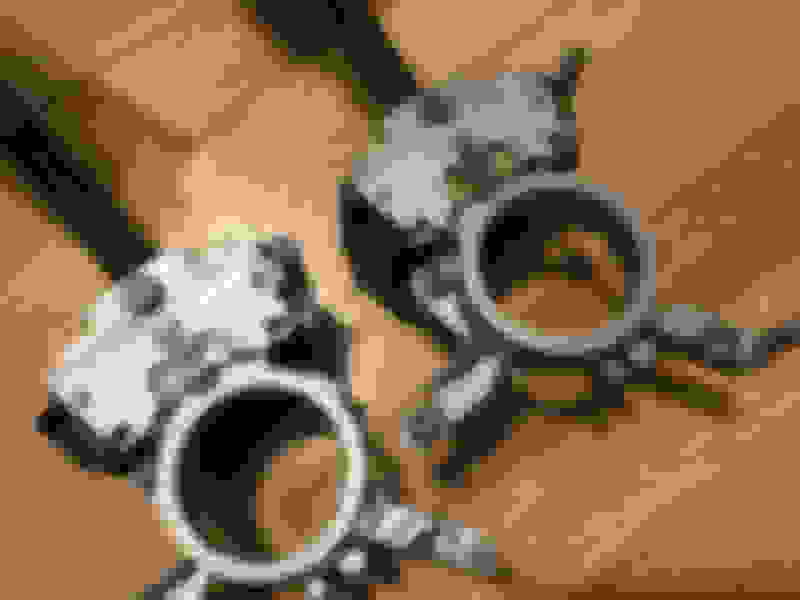
New (L) and old (R) turn signal switches, PN 0005452310
Notice the clicky pieces (light yellow plastic, covered in grease) on both new and old assemblies appear to be made of the same grade of plastic, which really sucks. Guess the new stalk will crap out the same way.
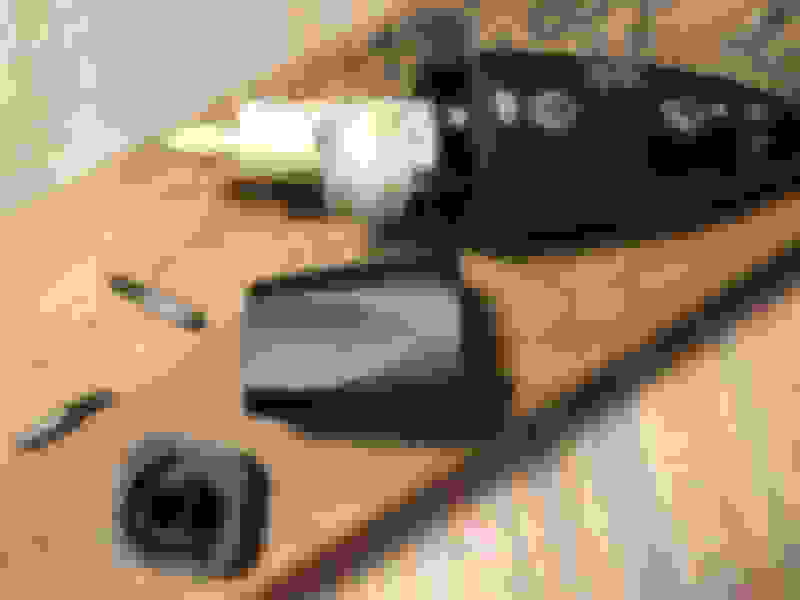
Old (L) and new (R) turn signal stalk wiring
They didn't update the routing of the wires, but the new one appears to have a bit more slack. Hopefully this one will last longer thanks to the removed rail.
The wires in the new switch kept catching on the rail during installation. My solution was to gently tuck them inwards with a slot screwdriver while sliding in the assembly.
Last edited by slammer111; Jan 14, 2021 at 07:51 AM.
For those who are curious, I decided to chop up the old stalk to see how it worked.
Inside of stalk
End of stalk
The entire stalk is assembled with many plastic parts clipped together. Basically there is no way to open this thing up without permanently damaging the outer pieces. In other words, there is no practical way to repair this thing.
The 2 sections of the wiper switch (the piece that turns) clip together where the groove is.
Inside of combination switch
There is a 4 position slider switch (4 different resistances including "open") for the wipers, and a 3 position slider switch (off, wipe, spray + wipe) for the washer function. The wiper switch position is controlled by a plastic piece with a diagonal groove, which moves the switch as one twists the stalk.
Inside of combination switch
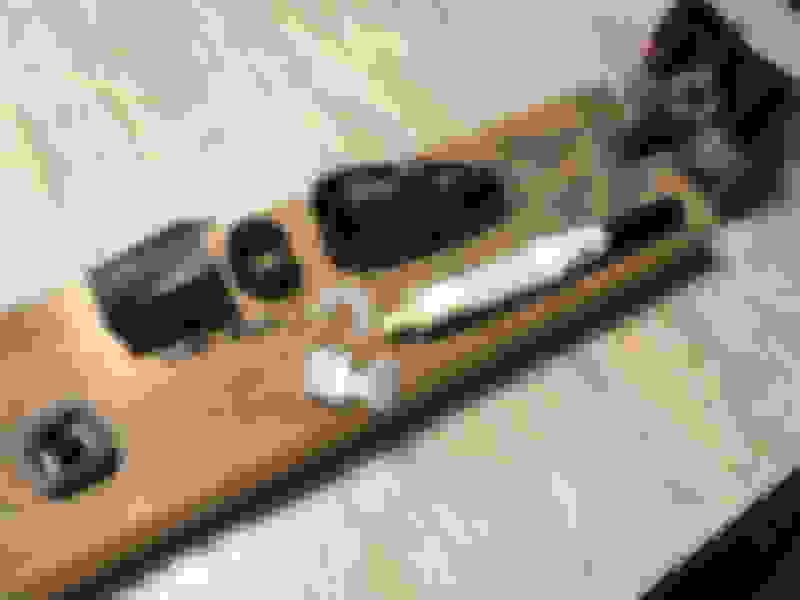
Here is a closer look at the damaged black cable. I was unable to resolder this because there was so little wire sticking out. Replacing the wire was also impossible without damaging the casing, as mentioned earlier.
Combination switch wiring
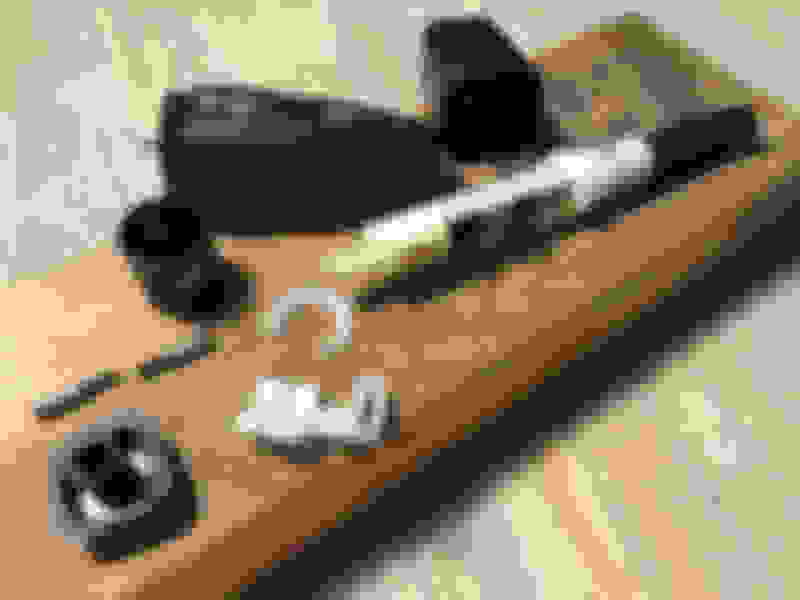
Full disassembly
Wiper control PCB (front)
I imagine the black wire is 12V "hot", which would then feed the washer (white) and wiper (blue) wires.
Wiper control PCB (rear)
Last edited by slammer111; Jan 14, 2021 at 07:49 AM.
Mercedes SLR McLaren 722 S Is Extremely Rare Example Modified by McLaren
Slideshow: A one-of-one U.S.-spec Mercedes-Benz SLR McLaren Roadster became even rarer after a factory-backed transformation at McLaren's headquarters.