When you click on links to various merchants on this site and make a purchase, this can result in this site earning a commission. Affiliate programs and affiliations include, but are not limited to, the eBay Partner Network.
2019 C300 Wagon; '75 Triumph TR6; previous: 2004 C230 6spd sold after 17 years of driving
M271 exhaust maintenance item
Unfortunately our cars are getting older and certain items need attention, as the youngest of our cars (M271) is already six years old
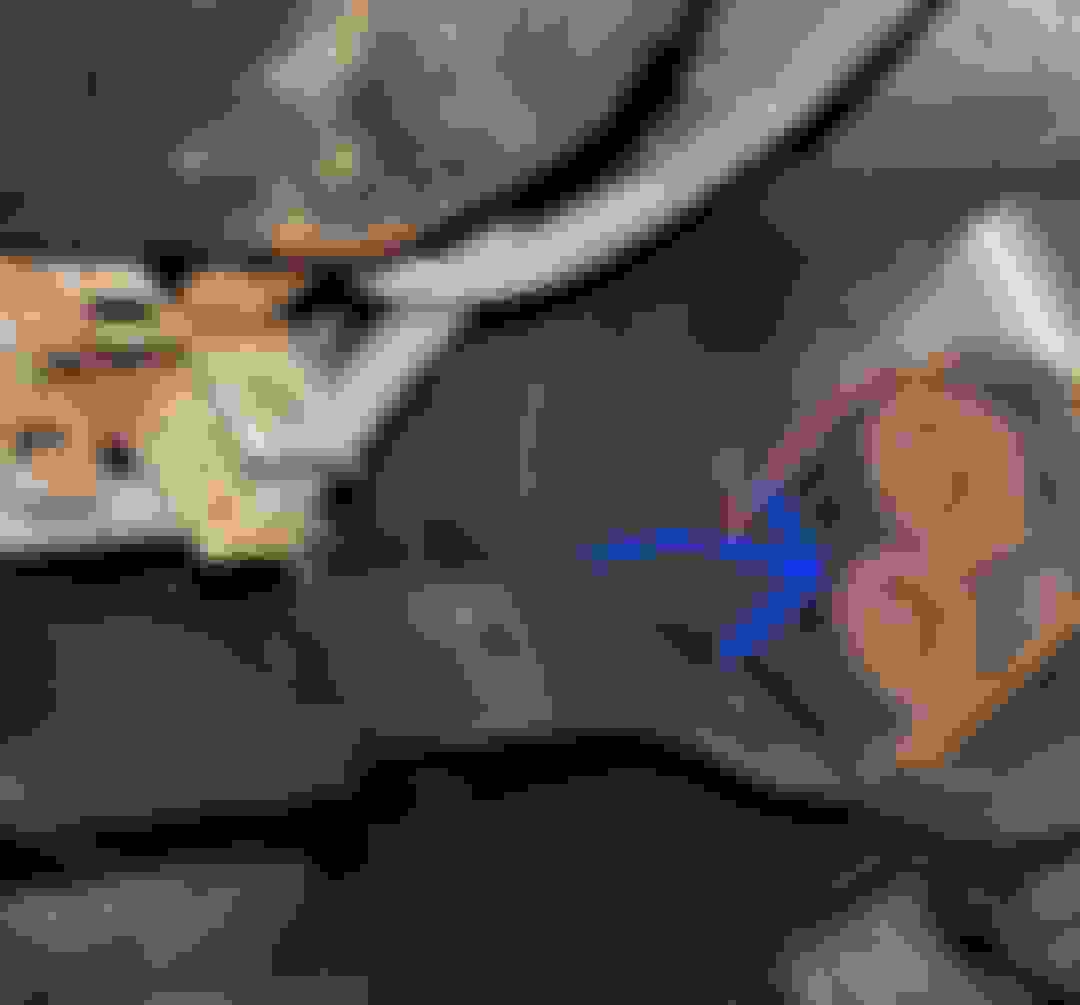
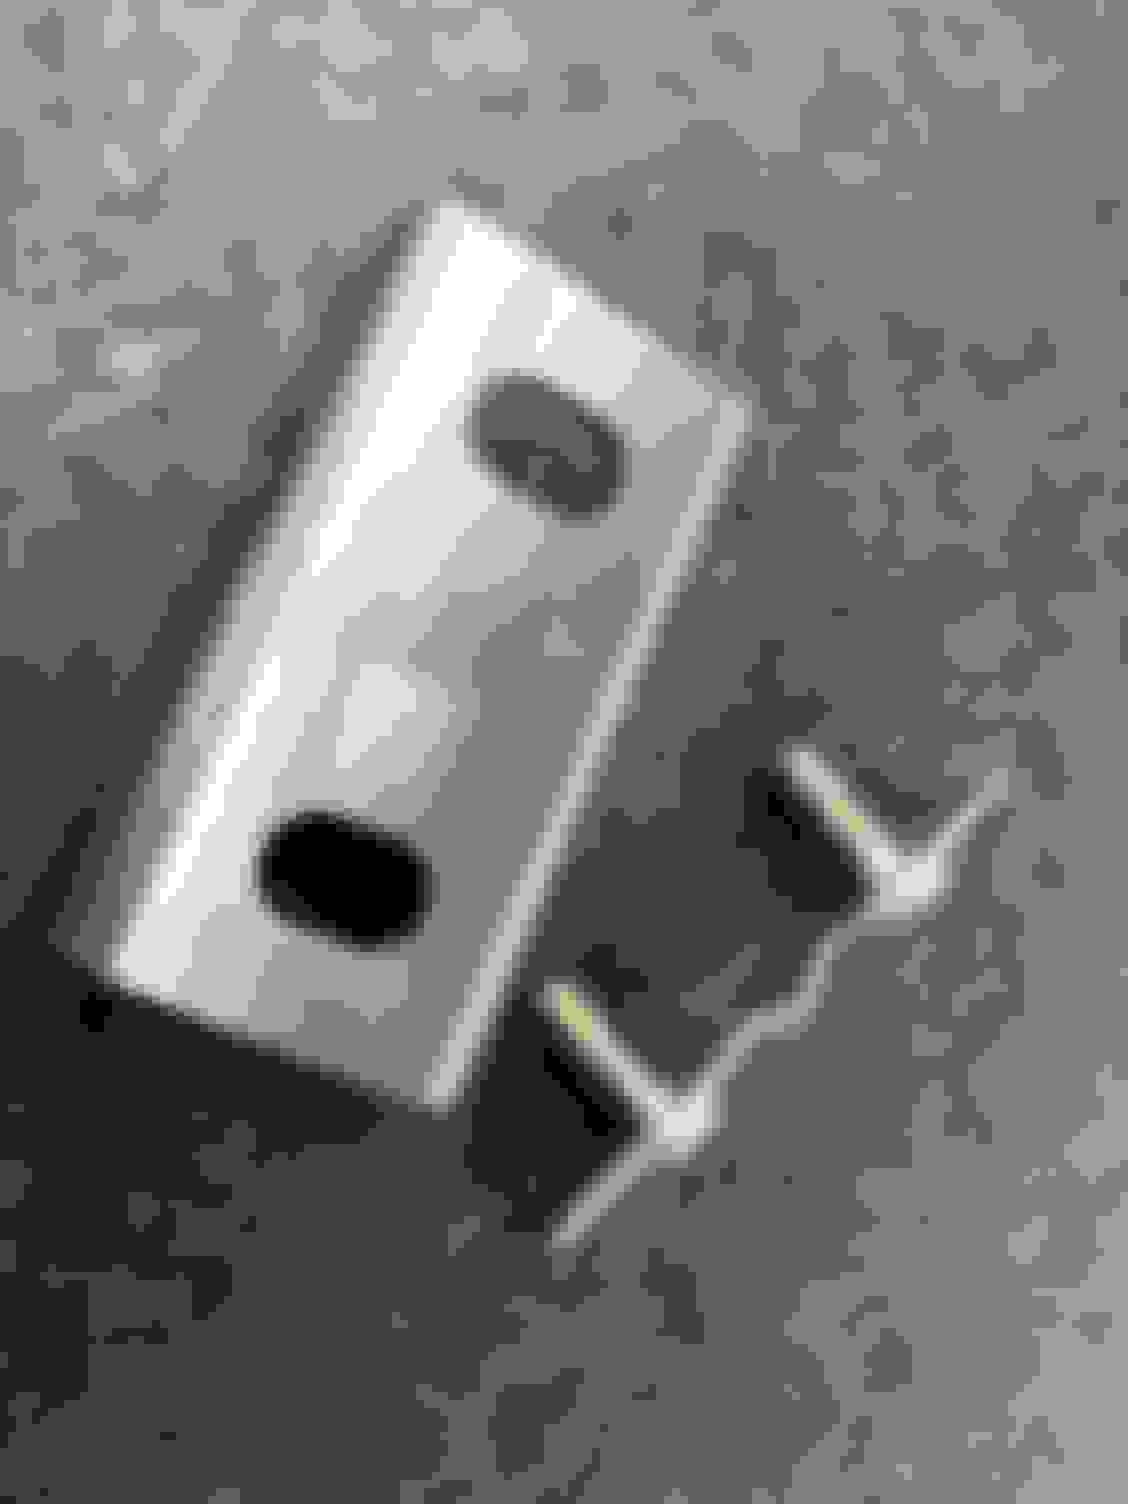
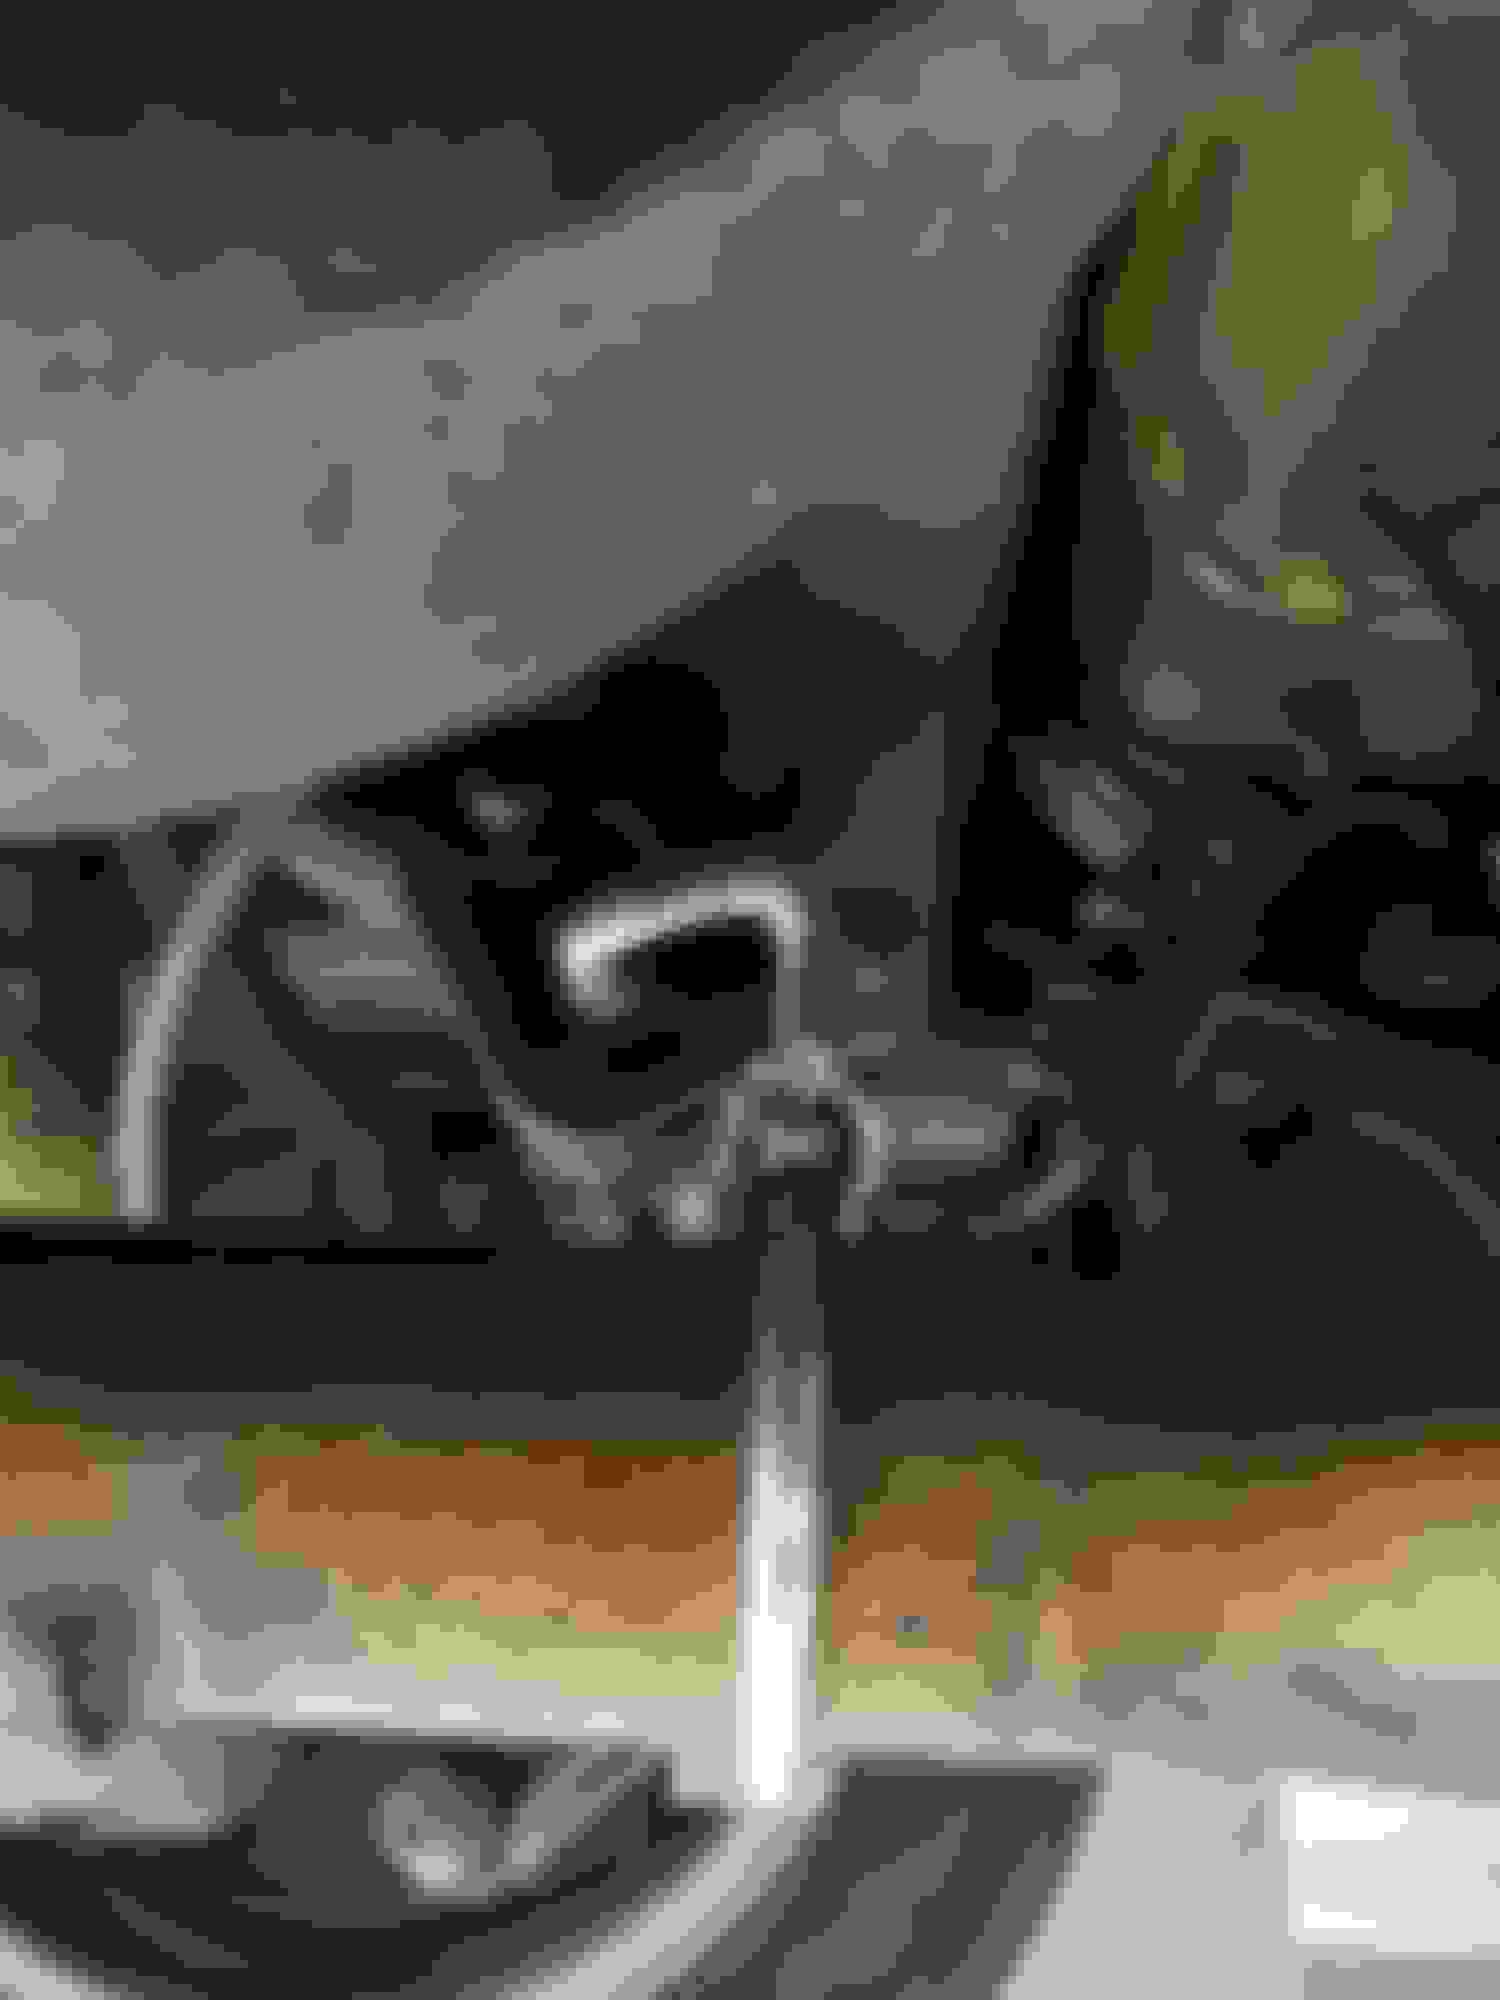
Everyone, especially for those live in the rust belt, it might be a good idea to replace the 2 bolts that hold the exhaust to the catalytic converter. I hit a large standing puddle of water at about 60km/hr and as I emerged the car was incredibly loud, the force of the water broke one of the well rusted bolts and I was basically running open exhaust. Picture of rusted bolts compared to new bolts
Part #'s
bolt 129 990 04 10 $4.48
nut 000 990 32 50 $3.20
you need 2 of each
Remove the plastic splash guards as it makes the job easier to get at, soak the bolts in PB Blaster. To get the bolts out you will have to cut them in between the flanges with a hacksaw; you might need a chisel or sharp flathead screwdriver and hammer it to get under the head of the bolt to get it out. These bolts are usually well rusted due to the heat cycles and being so close the the very hot catalytic converter and as with any exhaust bolts are usually a b1tch to remove and work with. Patience is needed and eventually it will come out. Torque the bolt to 20 Nm (15 ft-lbs). Total time including the set up and putting away my stuff was a little over an hour.
tools needed:
12mm box wrench
13mm socket
7mm socket
3" extension
ratchet
Torque wrench, since the nut is soft copper or brass you don't want to over torque it
hack saw
sharp chisel or strong flat head screw driver
hammer
PB Blaster
Mine lasted 14 years to the week it was bolted in...
85,000 miles.
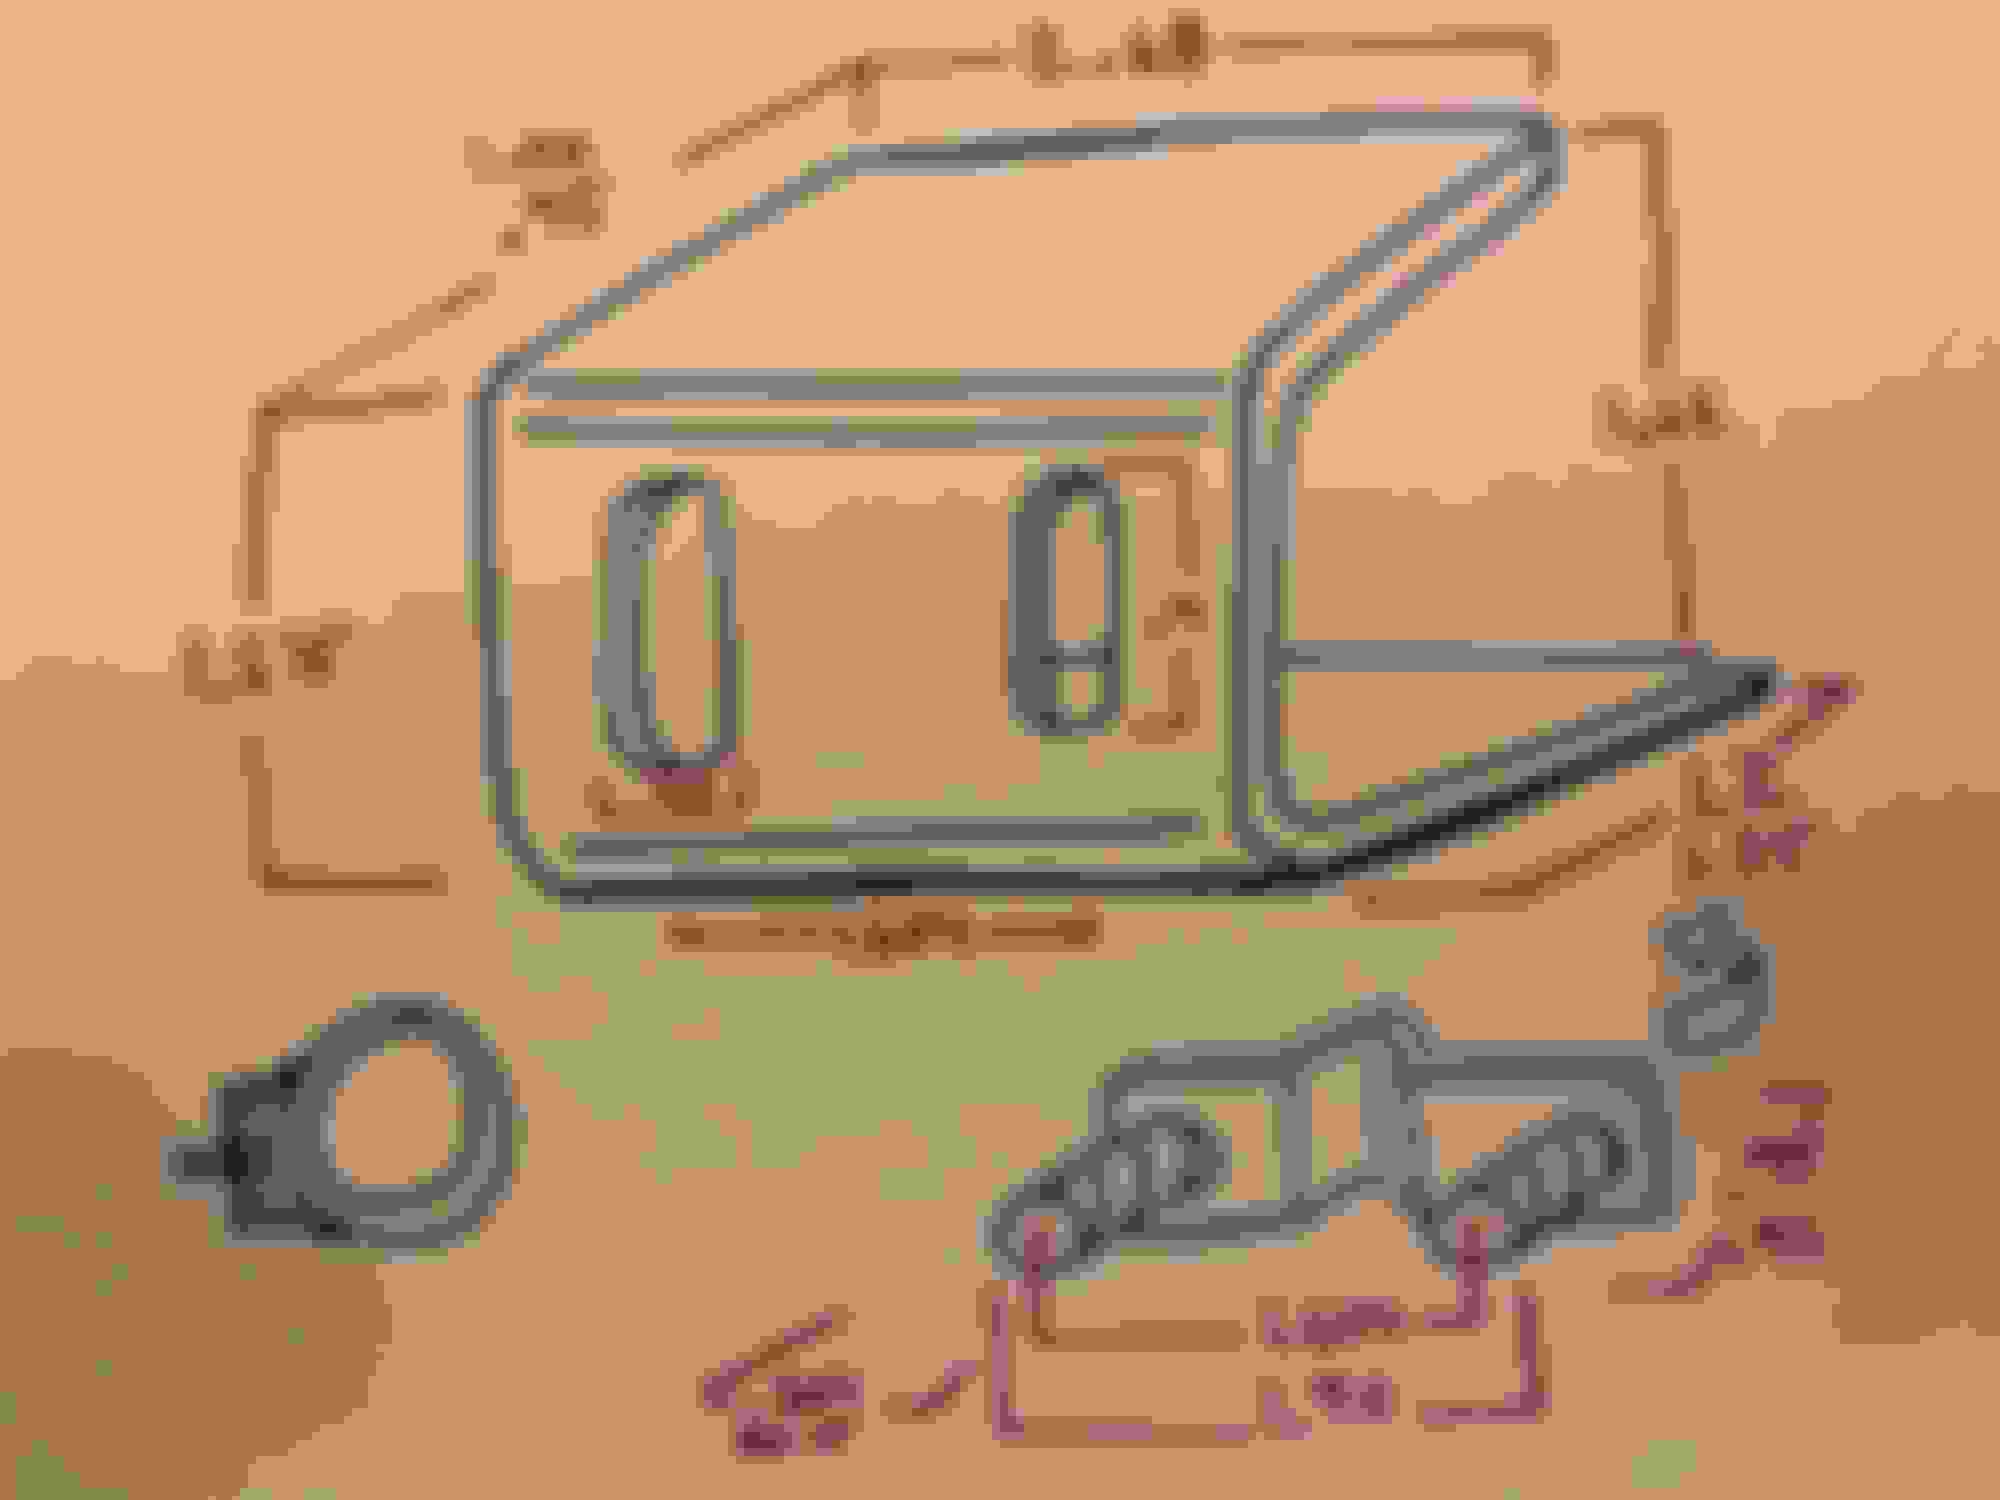
I too recommend replacing these. At least look at them. When mine snapped - it took out the [ bracket on the mid-pipe that bolts to the transmission bracket.
Here is my schematic on how to rebuild/replace your [ bracket.
Yes I had all of these problems and some more. Living in Norway salting of the roads are excessive in the winter and therefore lots of rust. My front flange screws broke, lasted for 14 years and 200000 km.
Because of the rust I couldn't get the screws out from the flange, and also flange became less in diameter. I needed to cut it out with the hacksaw.
I have changed also bracket screw with new one. I needed to use chisel, hacksaw and also drilling machine. The screw is M8x25.antirust. This flange with 60 mm diameter and 85 mm between the screws was correct for my car, even the autodoc.co.uk did not show it as correct. The pipe is 55 mm in diameter and wider at the end.Be careful how you turn the flanges. There is one oval end of the flange which perfectly fits end of the pipe!
I had also problems with the back flanges. This also can be ordered from autodoc.co.uk but is different. It has diameter 65 mm and the hole distance 89 mm. Replacement flange has article number: 82 00 7065, and have 2 holes instead of 3. You will get all the srews and the nuts with the flanges. It was not so easy to take old rusty ones out. I needed to take all exhaust system down. With lots of WD40, time, patience and good hammer I somehow manage it. The flanges were rusted around the pipe so I almost taught that they were welded.
Remember to order seal exhaust pipe, Article number: 83 13 6422 (autodoc.co.uk). It should be placed only between these 2 flanges, but not in the front flange.
After the work is done. NB, Do not overtighten. You can see the seal inbetween. Because I tok all ehxaust off my car, I had some issues to allign the pipes correctly. You shold have the pipes alligned before you screw the flanges. Here too, you must turn the flange correct way to fit pipe ending..
I had also loose and rusty front pipe holder.
Solved the problem with the Pipe clip.
The forth problem was that the down holder was also gone. There sholud be a metal holder between the pipe and the rubber.
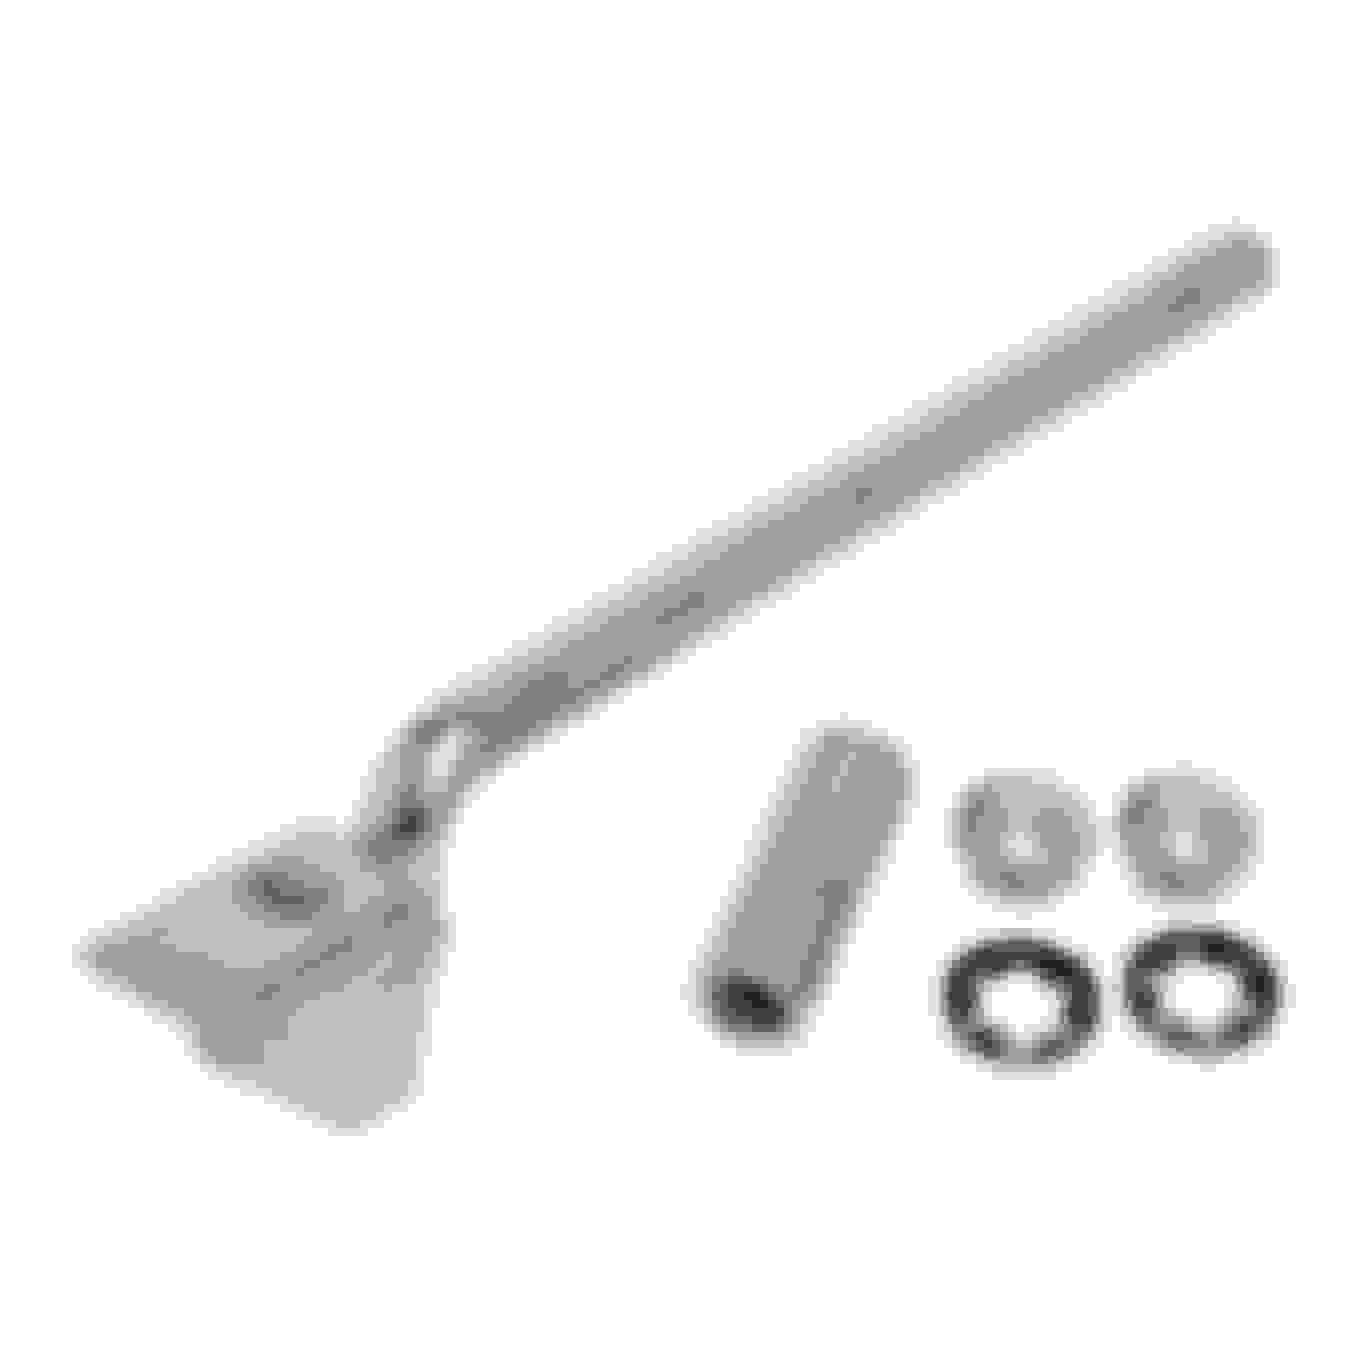
There is simple solution for this too! You can order holder with Article number: 82 13 4300, which is exactly for M271 exhaust.
Or you can buy some of the universal hangers and combine with pipe clips. Like this one here. It can be bended with the hammer and cutted with the hacksaw. You need the bench vice when you are hammering the hanger. I have used universal hanger and formed it that my back exhaust pipe is aligned with my front exhaust pipe.
Before:
And after:
I hope this post will help somebody . Good luck!
Last edited by Zoran Dokic; 07-30-2020 at 02:05 AM.
Interesting thread. I have a 2010 C300 W204 but dealing with some rust issues with the exhaust. Plan on doing the transmission service and noticed the nuts and base plate at the cat bracket are rusted, looking for replacements. Cheapest i found the nuts and base plates new is a little over $38, for nuts and bolts. thankfully the brackets look ok, figure on just replacing with regular nuts and bolts.
Im under the car right now replacing a broken clamp. Unfortunately looks like the pipe is also cracked, piece was just dangling loose. Im looking for the torque spec for the clamp if anyone knows? Just going to put the new clamp on in the meantime, probably look for a used pipe to repklace it with. Thankfully everything seems solid due to there being another pipe right next to it.
Bolt completely rusted gone.
Piece of the pipe looks cracked off. new clamp was simple to get on.
Anyone happen to know the torque spec for the new clamps bolt? Im under the car right now.

 11-30-2011, 06:40 PM


")


 . Good luck!