


 I wanted to say thanks to you and the instructions you and Jimmy provided. It sure helped a lot!
DRL LED installed 2010 C350

Thread Starter
Junior Member
Joined: Aug 2012
Posts: 42
Likes: 0
From: Los Angeles
C250 Coupe
DRL LED installed 2010 C350
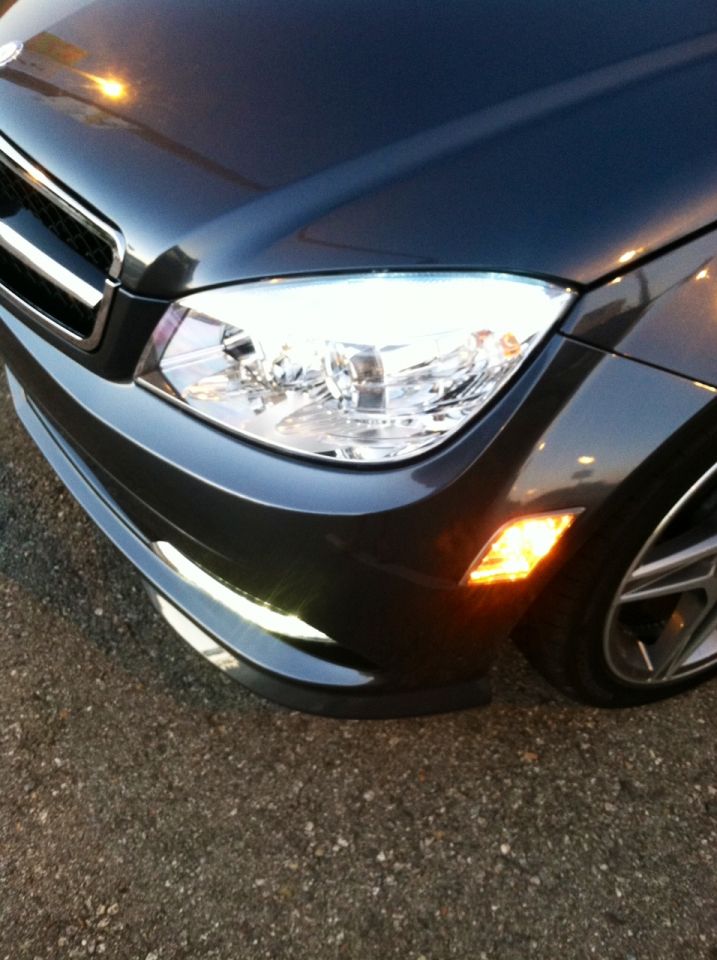
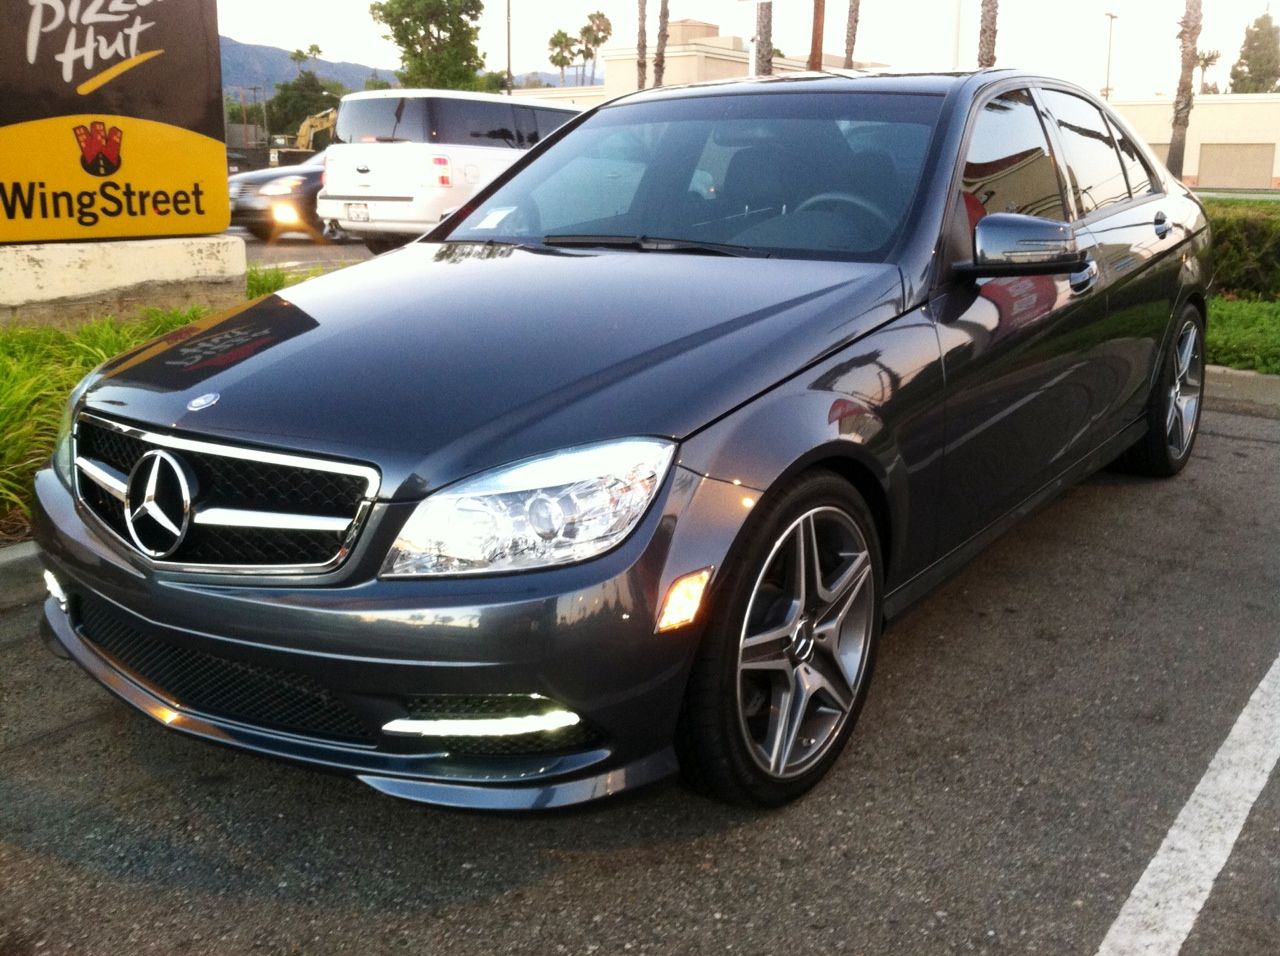
Finished the install yesterday and took some pics. Followed the instruction information here and worked great!!! Except I didnt take the bumper off. I find it much easier than taking it off. Tools used dremel and soldering gun.
Apologize for the iphone pics.
Thanks,
Mike
http://www.rrsport.co.uk/gallery/index.php?cat=10122


Apologize for the iphone pics.
Thanks,
Mike
http://www.rrsport.co.uk/gallery/index.php?cat=10122
Thread Starter
Junior Member
Joined: Aug 2012
Posts: 42
Likes: 0
From: Los Angeles
C250 Coupe
Thanks it probably took me about 4 hours as I took my time cutting the bumper and soldering the caps. I ended up using the side marker for power source but i will change it later and tap into the fuse box that will get power once ignition is on.
it probably took me about 4 hours as I took my time cutting the bumper and soldering the caps. I ended up using the side marker for power source but i will change it later and tap into the fuse box that will get power once ignition is on.
Thread Starter
Junior Member
Joined: Aug 2012
Posts: 42
Likes: 0
From: Los Angeles
C250 Coupe
Thread Starter
Junior Member
Joined: Aug 2012
Posts: 42
Likes: 0
From: Los Angeles
C250 Coupe
I soldered the caps on the parking lamp wires where I tapped into both sides. Although, I will be changing that someday to power up to ignition on.....Blue has the diagram on his previous post.
Mike
Trending Topics
MBWorld Fanatic!


Joined: Mar 2012
Posts: 1,395
Likes: 26
From: Alberta
This and that.
I wanna do this SOOOO bad but I am worried about cutting my bumper and all that. I would deff have to get it done from some shop but the sad thing is I don't even know which shop I would go to locally to have something like this done. 
How much did ALL the parts cost you? Where did you get the LED from?
Thanks
How much did ALL the parts cost you? Where did you get the LED from?
Thanks
MB World Stories
The Best of Mercedes & AMG

Manual Mercedes? 6 Times Sindelfingen Let Drivers Have All The Fun
Verdad Gallardo
Mercedes SLR McLaren 722 S Is Extremely Rare Example Modified by McLaren
Verdad Gallardo
8 Classic Boxy Mercedes Designs That Have Aged Like Fine Wine
Verdad Gallardo
Flawlessly Restored Mercedes 190E Evo II Heads to Auction
Verdad Gallardo
Electric Mercedes C-Class Unveiled: 11 Things You Need to Know
Verdad Gallardo
Mercedes EQS Gets A Major Update: Everything You Need to Know
Verdad Gallardo
5 Underrated Mercedes-Benz Models That Don't Get the Love They Deserve
Verdad Gallardo
Mercedes 300D Has Pushed Well Past 1 Million Miles and It Ain't Stopping
Verdad Gallardo
10 Most Reliable Mercedes-Benz Models You Can Buy Used
Verdad Gallardo
Thread Starter
Junior Member
Joined: Aug 2012
Posts: 42
Likes: 0
From: Los Angeles
C250 Coupe
I wanna do this SOOOO bad but I am worried about cutting my bumper and all that. I would deff have to get it done from some shop but the sad thing is I don't even know which shop I would go to locally to have something like this done.
How much did ALL the parts cost you? Where did you get the LED from?
Thanks
How much did ALL the parts cost you? Where did you get the LED from?
Thanks
Here is a quick tip - I did not remove the bumper at all when I did both sides but remember measure twice and cut once :-) point is you dont want to cut anything in front or can be seen in front of the bumper or would extended beyond what the mesh covers.
Cut 1/4 inch around the fog lamps and never look back :-) you need to remove the fog light mounting points and the surrounding area. Use a dremel tool with a cutting wheel and the round bits for around the corners. Test fit the back plastic mount into the opening. The way that it goes is the lip of the mount goes in between the fog lamp opening. Once that your satisfied with the positioning take it out and mount the LED and chrome bezel. Position it again inside. After that the final outer mesh will mount to the back plastic housing where you mounted the LED's sandwiching the bumper from the inside and out.
Do not forget to run your wires long enough to reach where you will tap into which is the side marker lamps in my case and had to take it out again lol!
As far as wiring the LED's I went away with small molex pin connectors put a shirnk tube heated it with a heat gun. Aslo soldered it for secure connection prior to shrink tubing. Lastly, I used a weather sealant on the connectors for the LED and sealing it complete just to make sure water or moisture will not get in there.
Cost - Well, I ordered my parts through BMA and picked it up locally the same day but costed me 200 more as I paid 609 and did not want to wait and order it online. It acutally helped me visualise what needs to be done seeing the parts on hand and forced me to do it since its starring at me waiting for me to install them LOL....
Goodluck on your install.....yes, you can do it :-) with the instructions that Blue and JImmy provided that should help you .....it did for me :-)
Mike
Here are a couple of snaps for the back connectors on the LED before using the heat gun


MBWorld Fanatic!
Joined: Aug 2007
Posts: 1,914
Likes: 5
LOADED 08' C350 & 14' GLK-350 Diamond White (P1, MM, AMG Pkg, Ln Trkng, Htd Sts, Keylss Go)
what are the part #s you used?
are there differences between the 2011 parts, the 2012 parts, and the 2013 parts?
or are all the DRLs the same parts on the C class in all 3 years???
are there differences between the 2011 parts, the 2012 parts, and the 2013 parts?
or are all the DRLs the same parts on the C class in all 3 years???
Thread Starter
Junior Member
Joined: Aug 2012
Posts: 42
Likes: 0
From: Los Angeles
C250 Coupe
Update - i ended up running a relay after all! I tried running various capacitors and it flickered even not as much or often but still could not stand it lol. Ran a relay just like Jimmy's post and this time i wired the switching leg of the relay on the fuse block in the trunk and connected to fuse block 71. LED switches once i put the key in position 1. At least i dont have to turn on the parking lamps to activate the LEDs 

Member
Joined: Aug 2010
Posts: 205
Likes: 0
c220
Update - i ended up running a relay after all! I tried running various capacitors and it flickered even not as much or often but still could not stand it lol. Ran a relay just like Jimmy's post and this time i wired the switching leg of the relay on the fuse block in the trunk and connected to fuse block 71. LED switches once i put the key in position 1. At least i dont have to turn on the parking lamps to activate the LEDs


