When you click on links to various merchants on this site and make a purchase, this can result in this site earning a commission. Affiliate programs and affiliations include, but are not limited to, the eBay Partner Network.
As part of getting my CLS63 ready for a track a day I decided to change the original head bolts. For those who are wondering why would someone decide to this without actually having a problem:
a. A broken bolt is very likely to hydrolock the engine and that is a $25k bill
b. This is a specification issue that seems to result in failure in a high percentage of M156s at some point
c. It is a somewhat simple and inexpensive process, for the most part...
A quick recap of what this is about:
Changing from the old spec headbolts to the new spec in the not officially approved one bolt at a time way
Advantage of changing one bolt at a time:
Significantly shorter job - drain coolant, remove airboxes, remove coils, remove valve cover, remove front cover, remove adjuster/camshaft, R&R bolts (~4 hours per side)
Significantly cheaper job - 20 headbolts at $9, 2 valve cover gasket $24, 2 front cover gasket $12, 4 diamond washers at $8 and tools ~$200
What is missing for the full head gasket job?
Quite a bit of work... mostly need to remove intake manifold, disconnect exhaust, remove alternator, oil filter housing, remove chain tensioner (must replace ~$200)
Notable risks of this job:
You do it incorrectly and bend your valves
You compromise the head gasket and have to do a full HG job
Part 1 was a w204, part 2 is on a w219, this means there is probably more space here than most other platforms.
If you want to do this job you better buy the tools: Straight edge, camshaft holder, adjuster wheel sensor alignment plate, backlash locking (I bought a Chinese set of tools for less than $200) (You will also need a pair of M5x8 screws for backlash locking)
Part 2 starts after removing valve cover and front cover
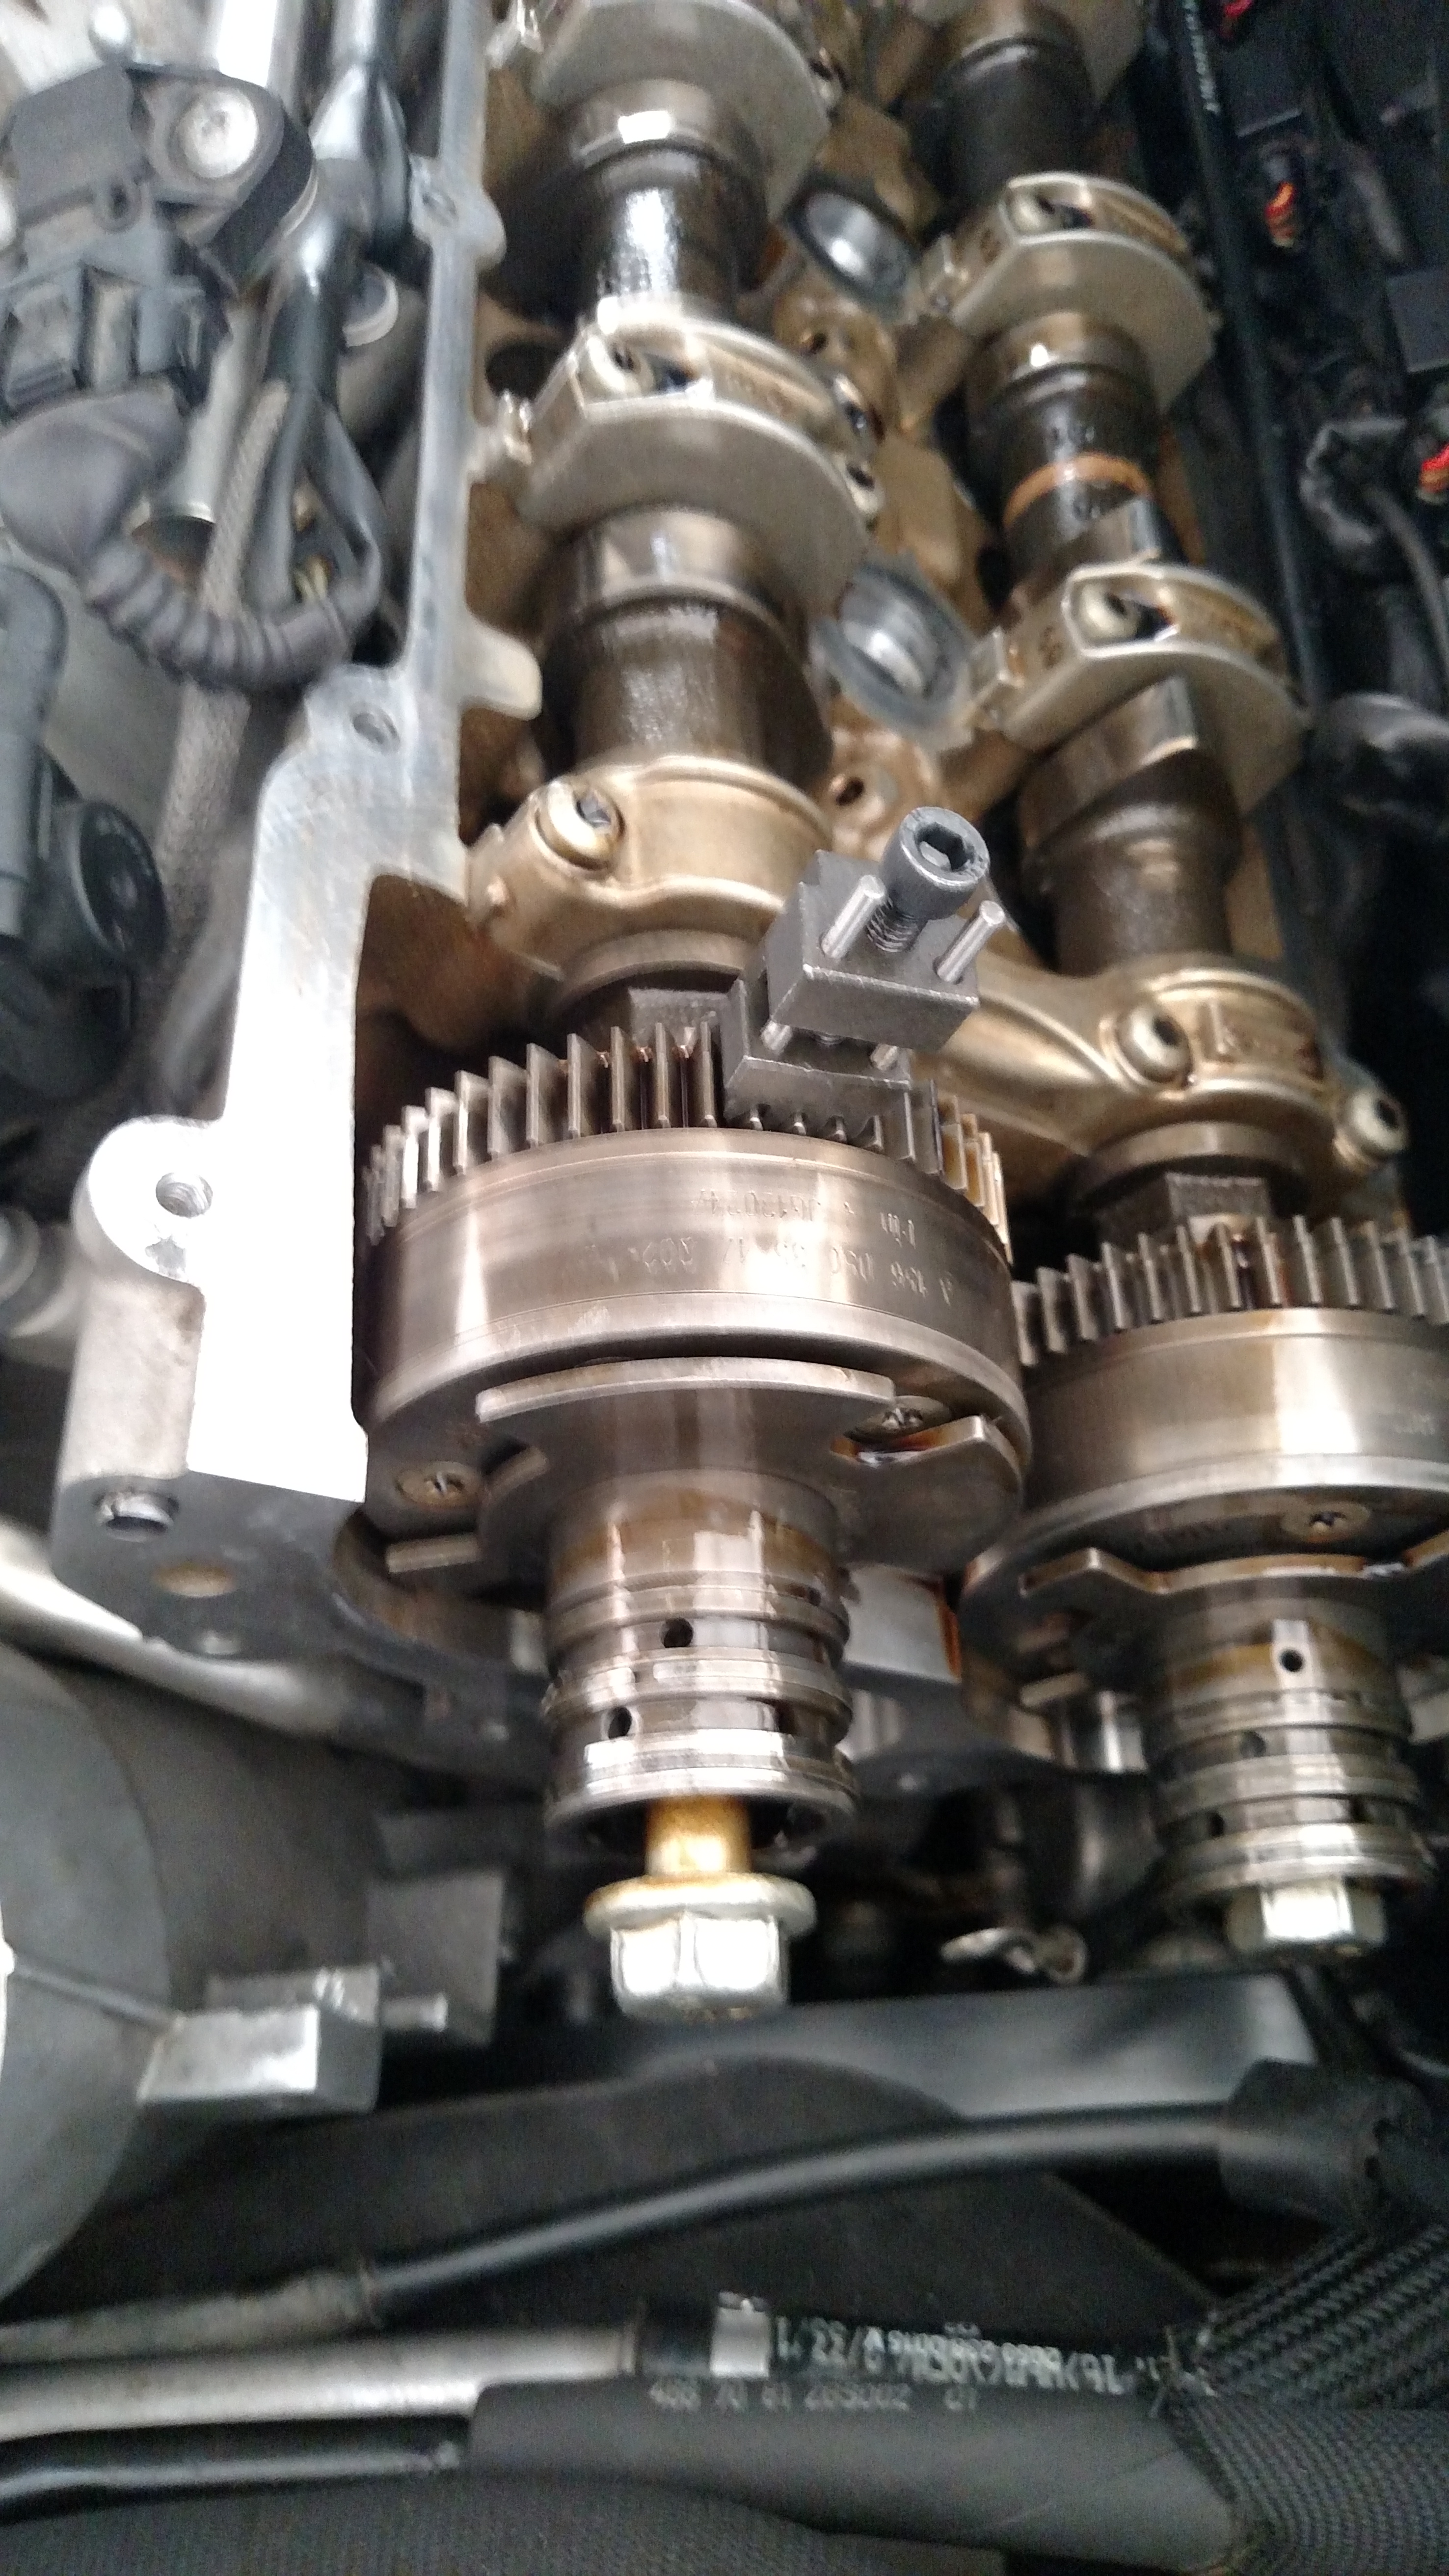
That's how it looks before you tamper with it (and if you do it correctly that's how it looks after too)
I placed the wheel sensor locating tool just to make sure everything was as expected before disassembly (and to make sure the Chinese tools were correctly made), I also checked with the straight edge at the back of the camshafts for the alignment. Everything looked good...
Note: For my first side I decided it would be easier not to remove the adjusters, it was not... that is how I did this side but I really don't recommend it (more details on the why later)
Mark position of camshaft to adjuster, backlash to adjuster, adjuster to engine etc. for future reference (take some good picture and be mindful of the perspective)
Also label everything you are removing: camshafts, adjusters, bearings. They must go back from where they came from!
Start loosening the bridges for the camshaft very slowly, if you over stress the camshaft it will break (it is very hard-brittle)
Relax the camshaft to make the process safer and faster
Now the first drawback of not removing the adjusters: you can't relax the camshaft because you can't rotate them so it makes the process even slower and riskier
The goal: do not compromise the head gasket
While I'm convinced it does not actually matter I decided to change them out in the same order that Mercedes recommends tightening them, from the middle out.
I also decided to do the full tightening sequence for each bolt.
As a side note when BMW had their headbolt fiasco their official procedure was to change them 1 at a time whiteout replacing the head gasket, so there is some precedent for this procedure after all.
Now this is where the decision to not remove the adjusters really sucked. It took me 4 hours to get the camshafts and adjusters right, it seemed simple enough but the following complications arise:
1. Need to replace the camshaft in a non relaxed position, it wants to rotate out
2. the adjuster can rotate relative to the camshaft, this will happen when you are tightening the bridges, the camshaft is lowered into the intermediate gear and the adjuster rotates out
3. Need to work very slow as the bridges can easily break your not relaxed camshaft
After you are done rotate the engine to make sure everything aligns and position the straight edge and sensor wheel plate. If they do not fit perfectly the alignment is off.
Instead of the camshaft/adjuster assembly you have: camshaft, diamond washer, adjuster, sensor wheel, bolt
1. The camshaft would be replaced and the bridges tightened in a relaxed position (easy and fast)
2. Rotate the camshaft to position using wrench (hold with straight edge and cam holder)
3. REPLACE the diamond washer between camshaft and adjuster with a new one
4. Place adjuster (with new washer) with backlash lock screw accessible (up), exact position is not important
5. Place sensor wheel and lightly screw in bolt by hand
6. Use the sensor wheel locating plate to place the sensor wheels to the correct position (at this point the bolt is loose so the sensor wheel can rotate independently of the camshaft/adjuster)
7. With the holder (which you placed on step 2) holding the camshaft and the positioning plate holding the sensor wheel: tighten the bolt to spec
8. Timing is now set, rotate engine and verify with tools (if you must re do this you need a new washer)
Thumbs up man! great post although I don't think I would do it myself if I decided to do it. but a throughout knowledge of the engine parts and how they fit together is a really interesting experience!
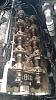
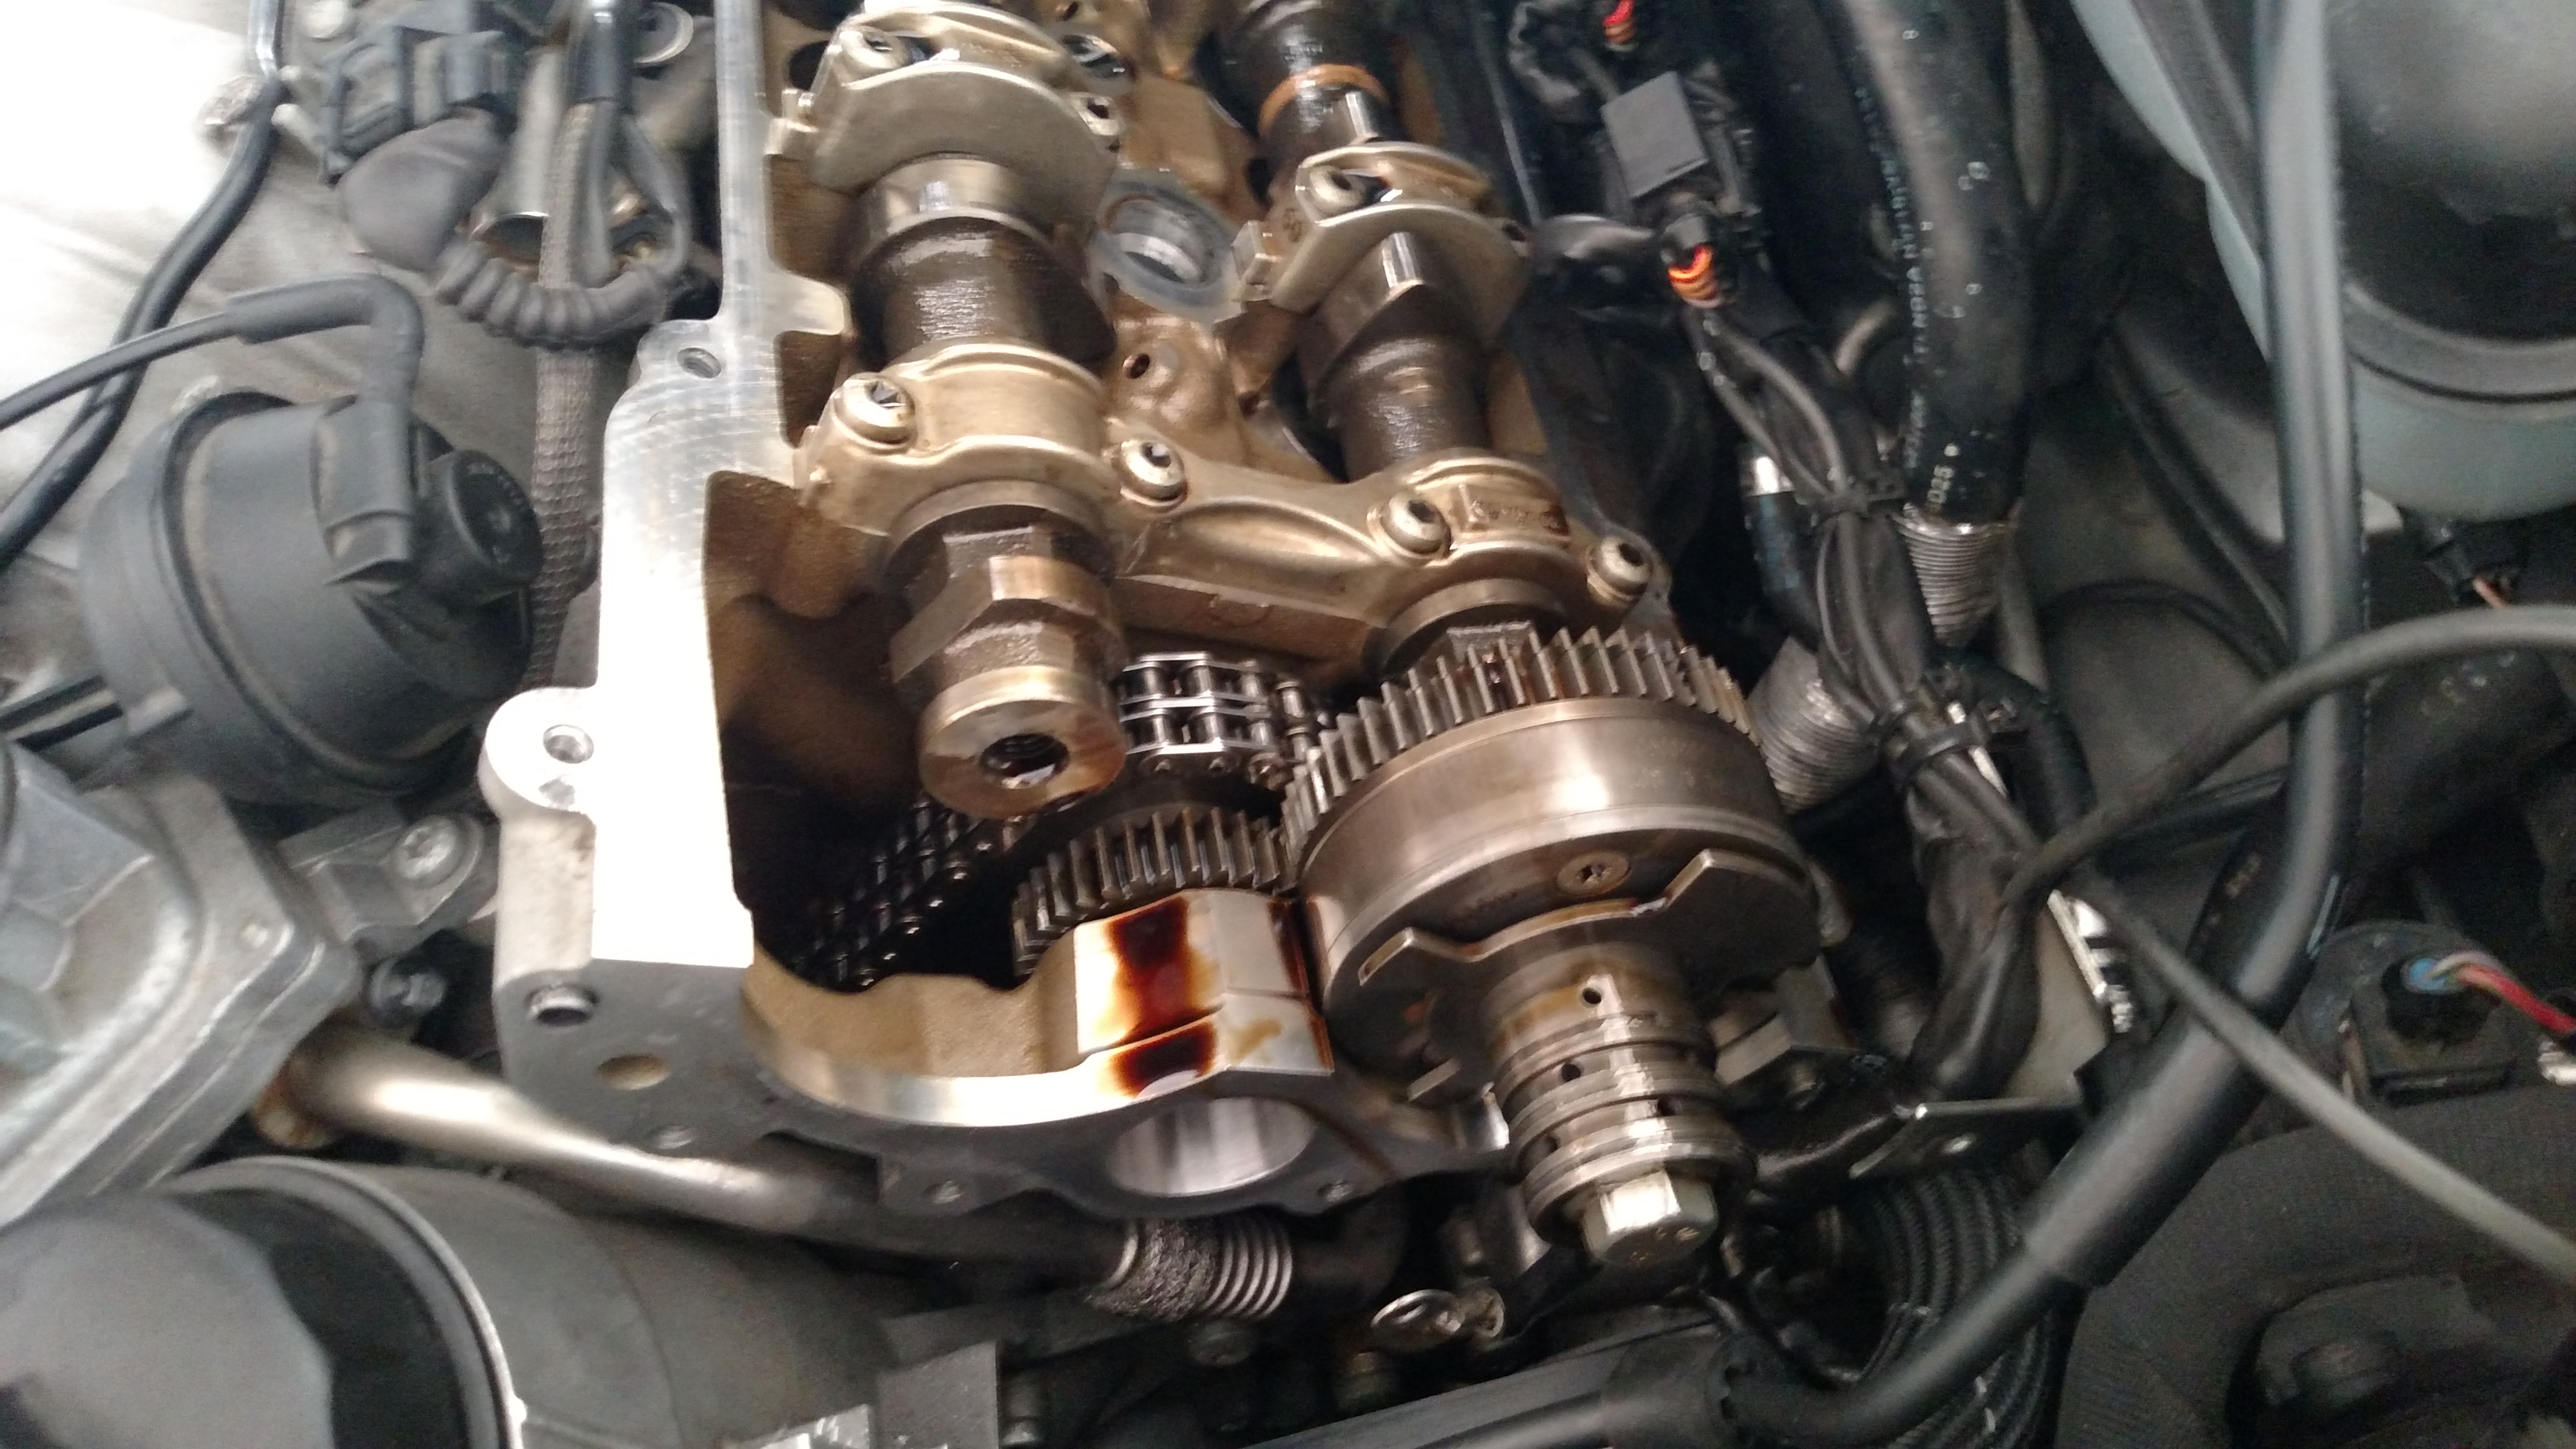
Pictures of left side Removal (adjusters were removed)
This side adjusters had been replaced due to excessive noise and neither of the new ones had the thread to lock the backlash compensator (Lucky me). Since I only had 1 backlash locking tool one adjuster was placed in a vise with a pin locking the backlash (Pin between vice and adjuster imitating the locking style used on other MB adjusters).
Other wonderful effects of having the adjusters replaced by a dealership included:
Imbecile tech over tightened front cover bolts, 1 in particular stripped and cost me 3 hours and a lot of anger
Lazy tech did not replace the front gasket so it has been leaking all this time
Careless tech did not properly align the camshaft and adjusters leading them to be slightly out of time relative to each other and crankshaft (Timing tools could not be slipped into place due to this), no damage but OMG this guy!
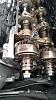
One particular thing that I had not mentioned is that 2 bolts per side were difficult to remove. They unscrewed just fine but once I tried to pull them out they would not budge, as the pictures show these bolts had buildup and this apparently prevented the thread section from sliding out. Continuing to rotate the bolt while pulling allowed for removal, new bolts went in without problems.
Not sure what to think of the buildup on the bolts, (rust on ones, black carbon like in others) theories welcome.
note the outside bolts (top front of engine and top rear of engine respectively)
Thank you for the fantastic thread. Stupid question, I know what a straight edge is generally used for (checking warped heads, flanges etc) but what is the purpose of the straight edge in this procedure?
It is not a straight edge in that sense.
It's purpose is to position and hold the camshaft in the correct angle. Maybe it should be referenced as a positioning beam.
You can see it placed at the back of the camshaft in some pictures.
It is not a straight edge in that sense.
It's purpose is to position and hold the camshaft in the correct angle. Maybe it should be referenced as a positioning beam.
You can see it placed at the back of the camshaft in some pictures.
Thank you, it is the black bar which fits horizontally into the back of the camshafts at the firewall end while engine is at 40 TDC?
So basically
1. drain coolant
2. remove engine intake/valve covers, set to 40 TCD
3. remove the front covers
4. bolt in place the camshaft position sensor adjustment tool
5. slip the two black bars into place to immobilize the camshafts while the adjuster bolts are undone
6. remove adjusters
7. remove camshafts and replace headbolts one at a time
8. reinstall camshafts in any position you feel like? and tighten bridges
9. rotate camshafts to correct 180 degree position and reinstall the two black bars followed by diamond washer and adjusters
10. reinstall camshaft position sensor adjustment tool (large silver plate) before tightening adjuster bolts.
What is the function of the small tool that tightens onto the back of the cog, is this to set the preload on the backlash "part" of the cog? Is it after this that the small locking bolts are removed from the back?
How does the camshaft position sensor adjustment tool (large silver plate) work? I can't find many pictures of it, do those dowels extend through the back and interlock with the adjusters?
Thank you for the information. I have wanted a cls or e63 for a while but have been put off by the potential for this failure. I have completely dismantled and rebuilt a 4 cyl engine head before, done several timing belts and camshaft replacements among other more in depth repairs and want to see if this is something I could reasonably do.
Thank you, it is the black bar which fits horizontally into the back of the camshafts at the firewall end while engine is at 40 TDC?
Yes that is it.
See notes here:
1. drain coolant
2. remove engine intake/valve covers, set to 40 TCD
3. remove the front covers
4. bolt in place the camshaft position sensor adjustment tool This tool does not bolt in (Metal plate with dowel pins) but rather just sits in. This step is not required but is useful to make sure the engine is in the right position.
5. slip the two black bars into place to immobilize the camshafts while the adjuster bolts are undone The back bar (straight edge) does not need to be used for this step, the MB procedure calls for the immobilizer to be used (the other big black tool)
6. remove adjusters Wait!! Remeber to first lock the camshaft backlash (Either bolt or with the tools depending on camshaft adjuster version)
7. remove camshafts and replace headbolts one at a time
8. reinstall camshafts in any position you feel like? and tighten bridges
9. rotate camshafts to correct 180 degree position and reinstall the two black bars followed by diamond washer and adjusters Not sure what the 180 degree reference means but if you are using the straight edge at the back it only goes in if the position is correct as the grove in the camshaft are offset (It wont go in if they are upside down)
10. reinstall camshaft position sensor adjustment tool (large silver plate) before tightening adjuster bolts. Yes, the tool must sit perfectly in place, then torque bolts to spec.
Originally Posted by tw2
What is the function of the small tool that tightens onto the back of the cog, is this to set the preload on the backlash "part" of the cog? Is it after this that the small locking bolts are removed from the back?
The tool is not meant to preload but rather to hold the preload on the backlash compensator in place. This tool is required when the bolts cannot be used because the adjuster does not have threads in that hole (Version dependant). In my engine you can see one side that needed bolts and the other side where I had to use the tool.
Originally Posted by tw2
How does the camshaft position sensor adjustment tool (large silver plate) work? I can't find many pictures of it, do those dowels extend through the back and interlock with the adjusters?
The plate's dowel pin pattern allows you to position the sensor wheel in the exact location as the pins only fit one way to the pattern of cut outs in the sensor wheel. The dowel pins do not reach or interact with the adjuster.
Originally Posted by tw2
Thank you for the information. I have wanted a cls or e63 for a while but have been put off by the potential for this failure. I have completely dismantled and rebuilt a 4 cyl engine head before, done several timing belts and camshaft replacements among other more in depth repairs and want to see if this is something I could reasonably do.
It is a reasonable job with a bill that is not bad even after buying the tools. But you do need to have the tools.
The full job of HG R&R is considerably more annoying, expensive and longer.
Thanks again this is excellent info and will be a great resource, unlike WIS which is pretty useless. Where did you get your torque values? Buried in WIS?
It's strange that one bank of cylinders has the locking hole/thread for the backlash and the other side doesn't. It seems the tool kits only come with one of the tools for this?
Might be a dumb questions but when you do the side which does not have the locking ability... when you put the tighten down tool on the gear and remove it, can you then take the tool off and use it to remove the other gear or you have to remove/replace the camshaft/gear in one go. I hope that made sense.
The 180 degree comment is just me making sure there is no way to accidentally install one or both camshafts 180 degrees out of phase and bend some valves.
Parts list is:
Tool set, 20x headbolts, 2x diamond coated washers.
Are the four large adjuster to cam bolts replaced? Any other seals or bolts?
Did you replace the buckets? I see there are two missing in one picture, I presume they are simply pull out with a magnet and put replacements back in? I am guessing they are hydraulic and setting valve lash is a thing of the past.
Did you plug into SDS xentry to relearn the cam timing adjustments?
Thanks again this is excellent info and will be a great resource, unlike WIS which is pretty useless. Where did you get your torque values? Buried in WIS?
Yes, WIS make sure you used a recent version as the values were modified due to "issues".
It's strange that one bank of cylinders has the locking hole/thread for the backlash and the other side doesn't. It seems the tool kits only come with one of the tools for this?
The bolts are standard bolts that are readily available, as mentioned above my car had two adjusters replaced due to excessive noise.
Might be a dumb questions but when you do the side which does not have the locking ability... when you put the tighten down tool on the gear and remove it, can you then take the tool off and use it to remove the other gear or you have to remove/replace the camshaft/gear in one go. I hope that made sense.
Officially you need two if two threadless adjusters are on one side. I placed the first one in a vice and used a pin to lock it in place so that I could remove the tool and use it on the other one.
The 180 degree comment is just me making sure there is no way to accidentally install one or both camshafts 180 degrees out of phase and bend some valves.
Parts list is:
Tool set, 20x headbolts, 2x diamond coated washers.
Are the four large adjuster to cam bolts replaced? Any other seals or bolts?
No reference to the cam bolts being single use. Front cover gasket, spark plug gaskets and valve cover gasket will be needed.
Did you replace the buckets? I see there are two missing in one picture, I presume they are simply pull out with a magnet and put replacements back in? I am guessing they are hydraulic and setting valve lash is a thing of the past.
MB recommends not to use magnets for concern of metal shaving accumulation. I didn't replace the buckets but as you can see in the pictures they don't look particularly good, they are hydraulic.
Did you plug into SDS xentry to relearn the cam timing adjustments?
I didn't, although I have SDS when I went to do the procedure I was unsure which one was called for.
There is one for sensor wheel adaptation which I thought was the one but it calls for high rpm in 4th which is not exactly easy to do in the street.
The other is teach in of camshaft position which is just revving the engine.
Since the engine is running beautifully I've neglected to decide and go through with either procedure.
I can see why you were annoyed at them replacing the adjusters with threadless ones. I found another comment that there should only be one in total that is threadless hence only one tool included in the kit. I guess we will never know why they didn't just make all of them with threads...
I guess the only annoying thing during this procedure would be if a headbolt broke during removal. Then the head would need to be taken off (assuming it fits over the remains of the broken bolt(s) while still in the car, new head gaskets and probably new intake/exhaust gaskets/bolts.
I can see why you were annoyed at them replacing the adjusters with threadless ones. I found another comment that there should only be one in total that is threadless hence only one tool included in the kit. I guess we will never know why they didn't just make all of them with threads...
It appears earlier versions all had threads and at some point the design was revised or a new supplier came in.
I guess the only annoying thing during this procedure would be if a headbolt broke during removal. Then the head would need to be taken off (assuming it fits over the remains of the broken bolt(s) while still in the car, new head gaskets and probably new intake/exhaust gaskets/bolts.
I don't think that is likely as you will be applying torsion and most of it will be transferred between the top of the head to the bottom of the head of the bolt. I have not heard of any instances of bolts not making it out. But yes if that happens depending on which bolt/chassis the engine might need to be raised and the part list and time requirement grow 2x - 3x.
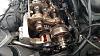
First out, last in with adjusters because I only had 1 tool (Note the bolt is only light hand tight)
Reference picture
Use the plate (Must fit perfectly) to set timing and now tighten the bolts to spec
Hi my name is hawthorne. My 2011 E63 156 engine camshaft timing is off. When I crank the crankshaft 40 degrees TDC, the cam shaft holding tool will not slide onto the camshaft. If both camshaft adjuster is removed and the camshaft holder tool is not in place, will I be able to rotate the camshaft so that I could slide to holding tool. I understanding without the holding tool holding the camshaft it will rotate because of pressure. Will I be able to manually rotate the camshaft so that the holding tool will slide in and to time both the camshaft and crankshaft. Thank you for your advise. Please reply to my email hcsoong@comcast.net.
Hi my name is hawthorne. My 2011 E63 156 engine camshaft timing is off. When I crank the crankshaft 40 degrees TDC, the cam shaft holding tool will not slide onto the camshaft. If both camshaft adjuster is removed and the camshaft holder tool is not in place, will I be able to rotate the camshaft so that I could slide to holding tool. I understanding without the holding tool holding the camshaft it will rotate because of pressure. Will I be able to manually rotate the camshaft so that the holding tool will slide in and to time both the camshaft and crankshaft. Thank you for your advise. Please reply to my email hcsoong@comcast.net.
Great post.
You have covered everything but I think one question is outstanding which is :
- if camshaft adjuster are replaced then do you need to go through an adjuster learning process?

 06-18-2016 | 12:35 AM