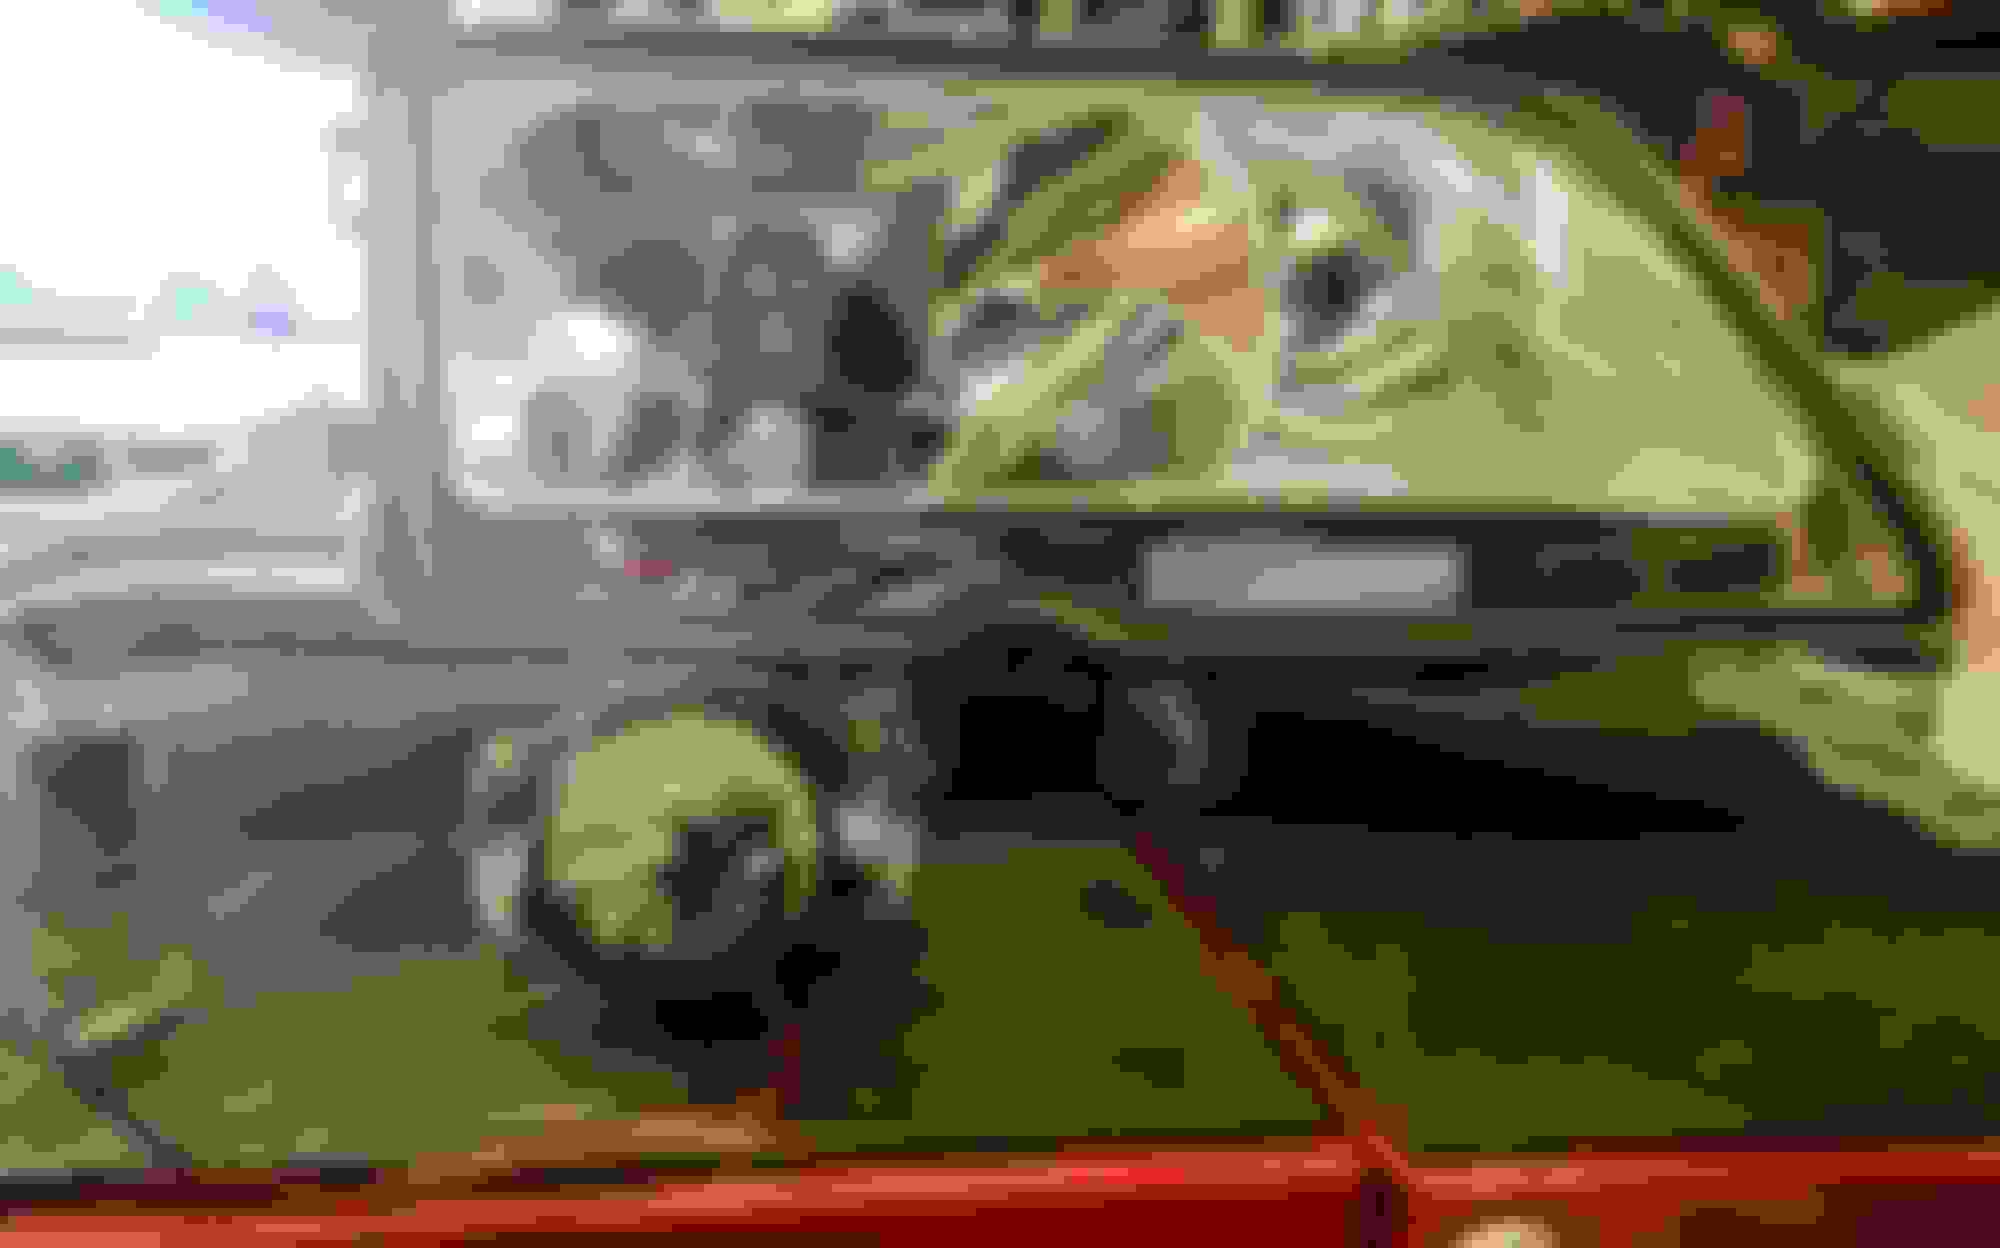
I'm gonna use these headlights for the moment being they have a projector and i'm using aftermarket HID's i plan on retrofitting the stock headlights with W211 Bi-Xenon projectors (already had them tinted so they don't look as goofy)
Yes i really painted and splattered my Calipers (Imagination x Boredom) After seeing how the refurbished and stock rust so easily this was my preventive maintenance until i decide to powedercoat. If interested i used high temp primer and clear the color is MTN94 graffiti paint the color is believe is " Euro Blue) its smells like it looks when applying (like candy)
Pads: Hawk Hps Spacer: 10 MM Hubcentric Studs: 82mm 5-lug black bullet nose studs 12x1.5 Nuts: Gunmetal titan nuts www.motorsporthardware.com
She's coming along and shall be road ready in the next few weeks have some dialing in and buttoning up to finish but a real first drive is coming soon!
Might be a dumb question but im asking.. Can fogs have a projector as well?? I now have an extra set of Headlights i plan to retrofit at a later time but wondered if the same could be done on fogs
I would expect some legal problems to install spots in the place of the fogs. This is true in my country and probably the same in other European countries. Don't know about North America.
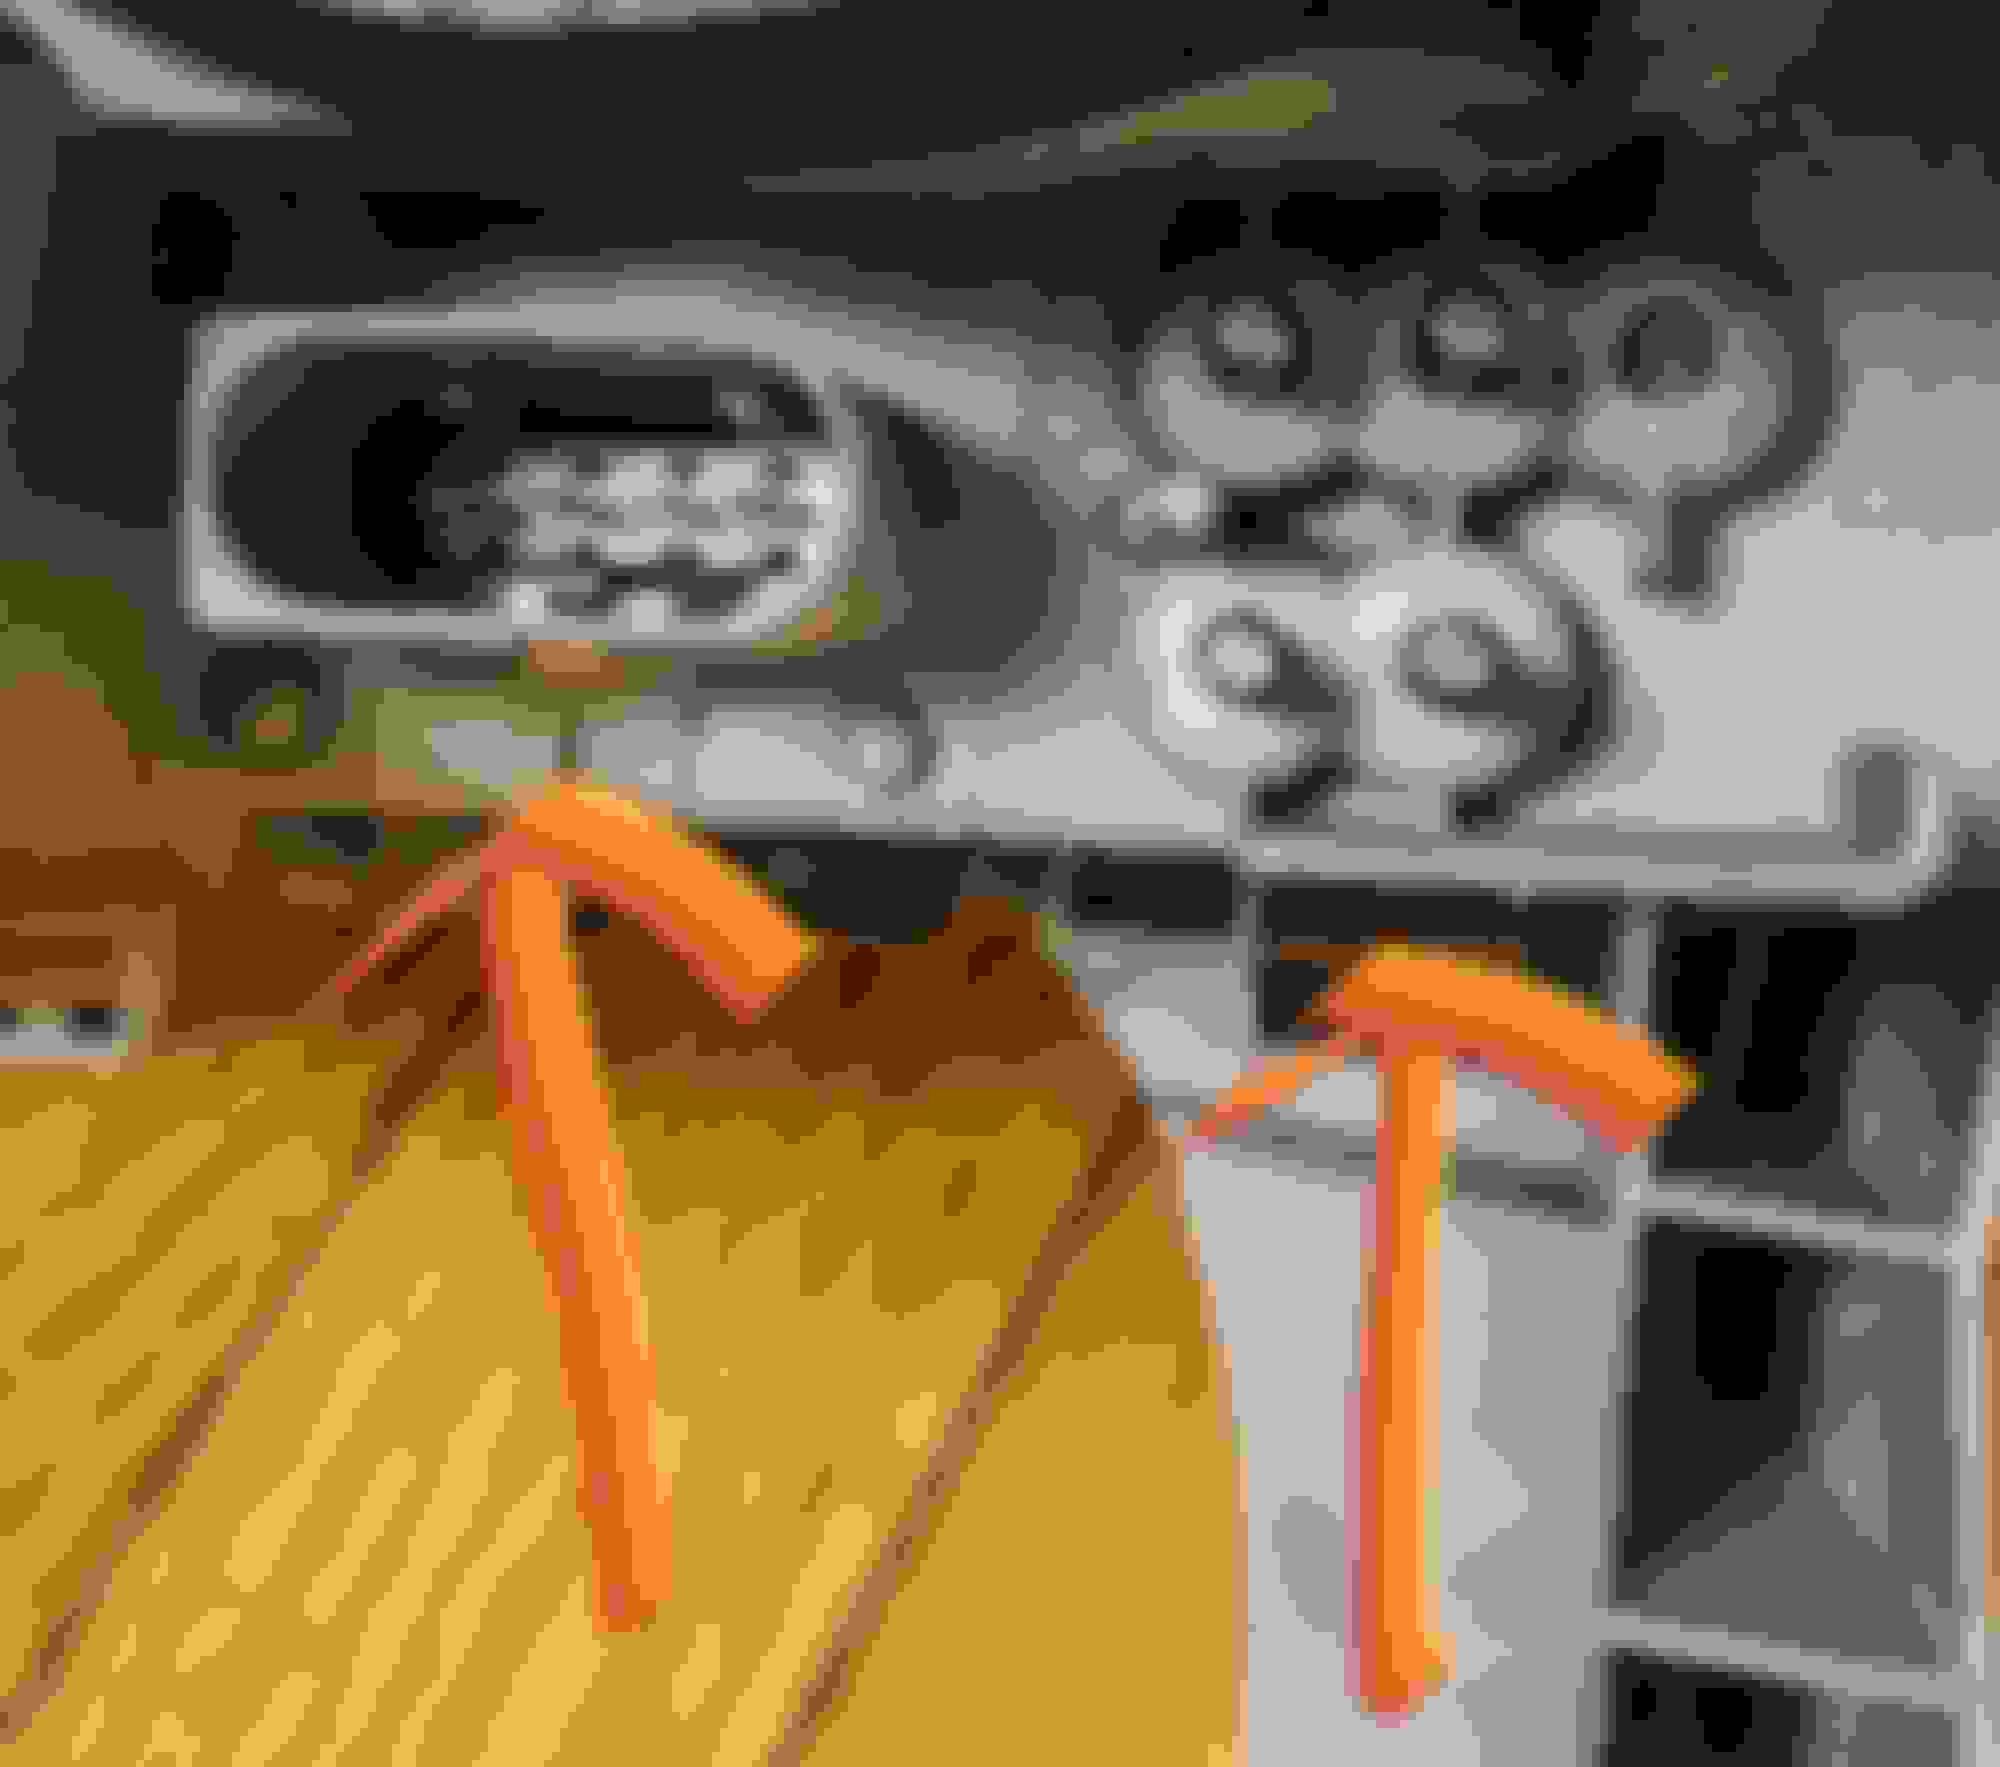
Ok i recently purchased from morimoto.com "matchbox 2.0 bi - xenon" projectors. i've read the thread where a user swapped W211 Bi -Xenon's with hella device(which required to cut the housing and make a bracket to support the projector) i didn't want to go that route even though its plug and play. I chose the setup i went with because the projector fits in H7 housing headlights with little to no modification and the projector uses an H1 bulb same as your high beam.. i purchased aftermarket HID kits for the High & low beams as well the fogs from HIDextra.com Being i went this direction i will no longer have use for the H7 kit because the projector sits in this spot now.. Below i will provide pics and descriptions under them so you can see where i'm at thus far and maybe help you help me....
The Start (notice the power and ground wires for the projector's module which i assumed powers the shield that allows you to switch between low and high beam)
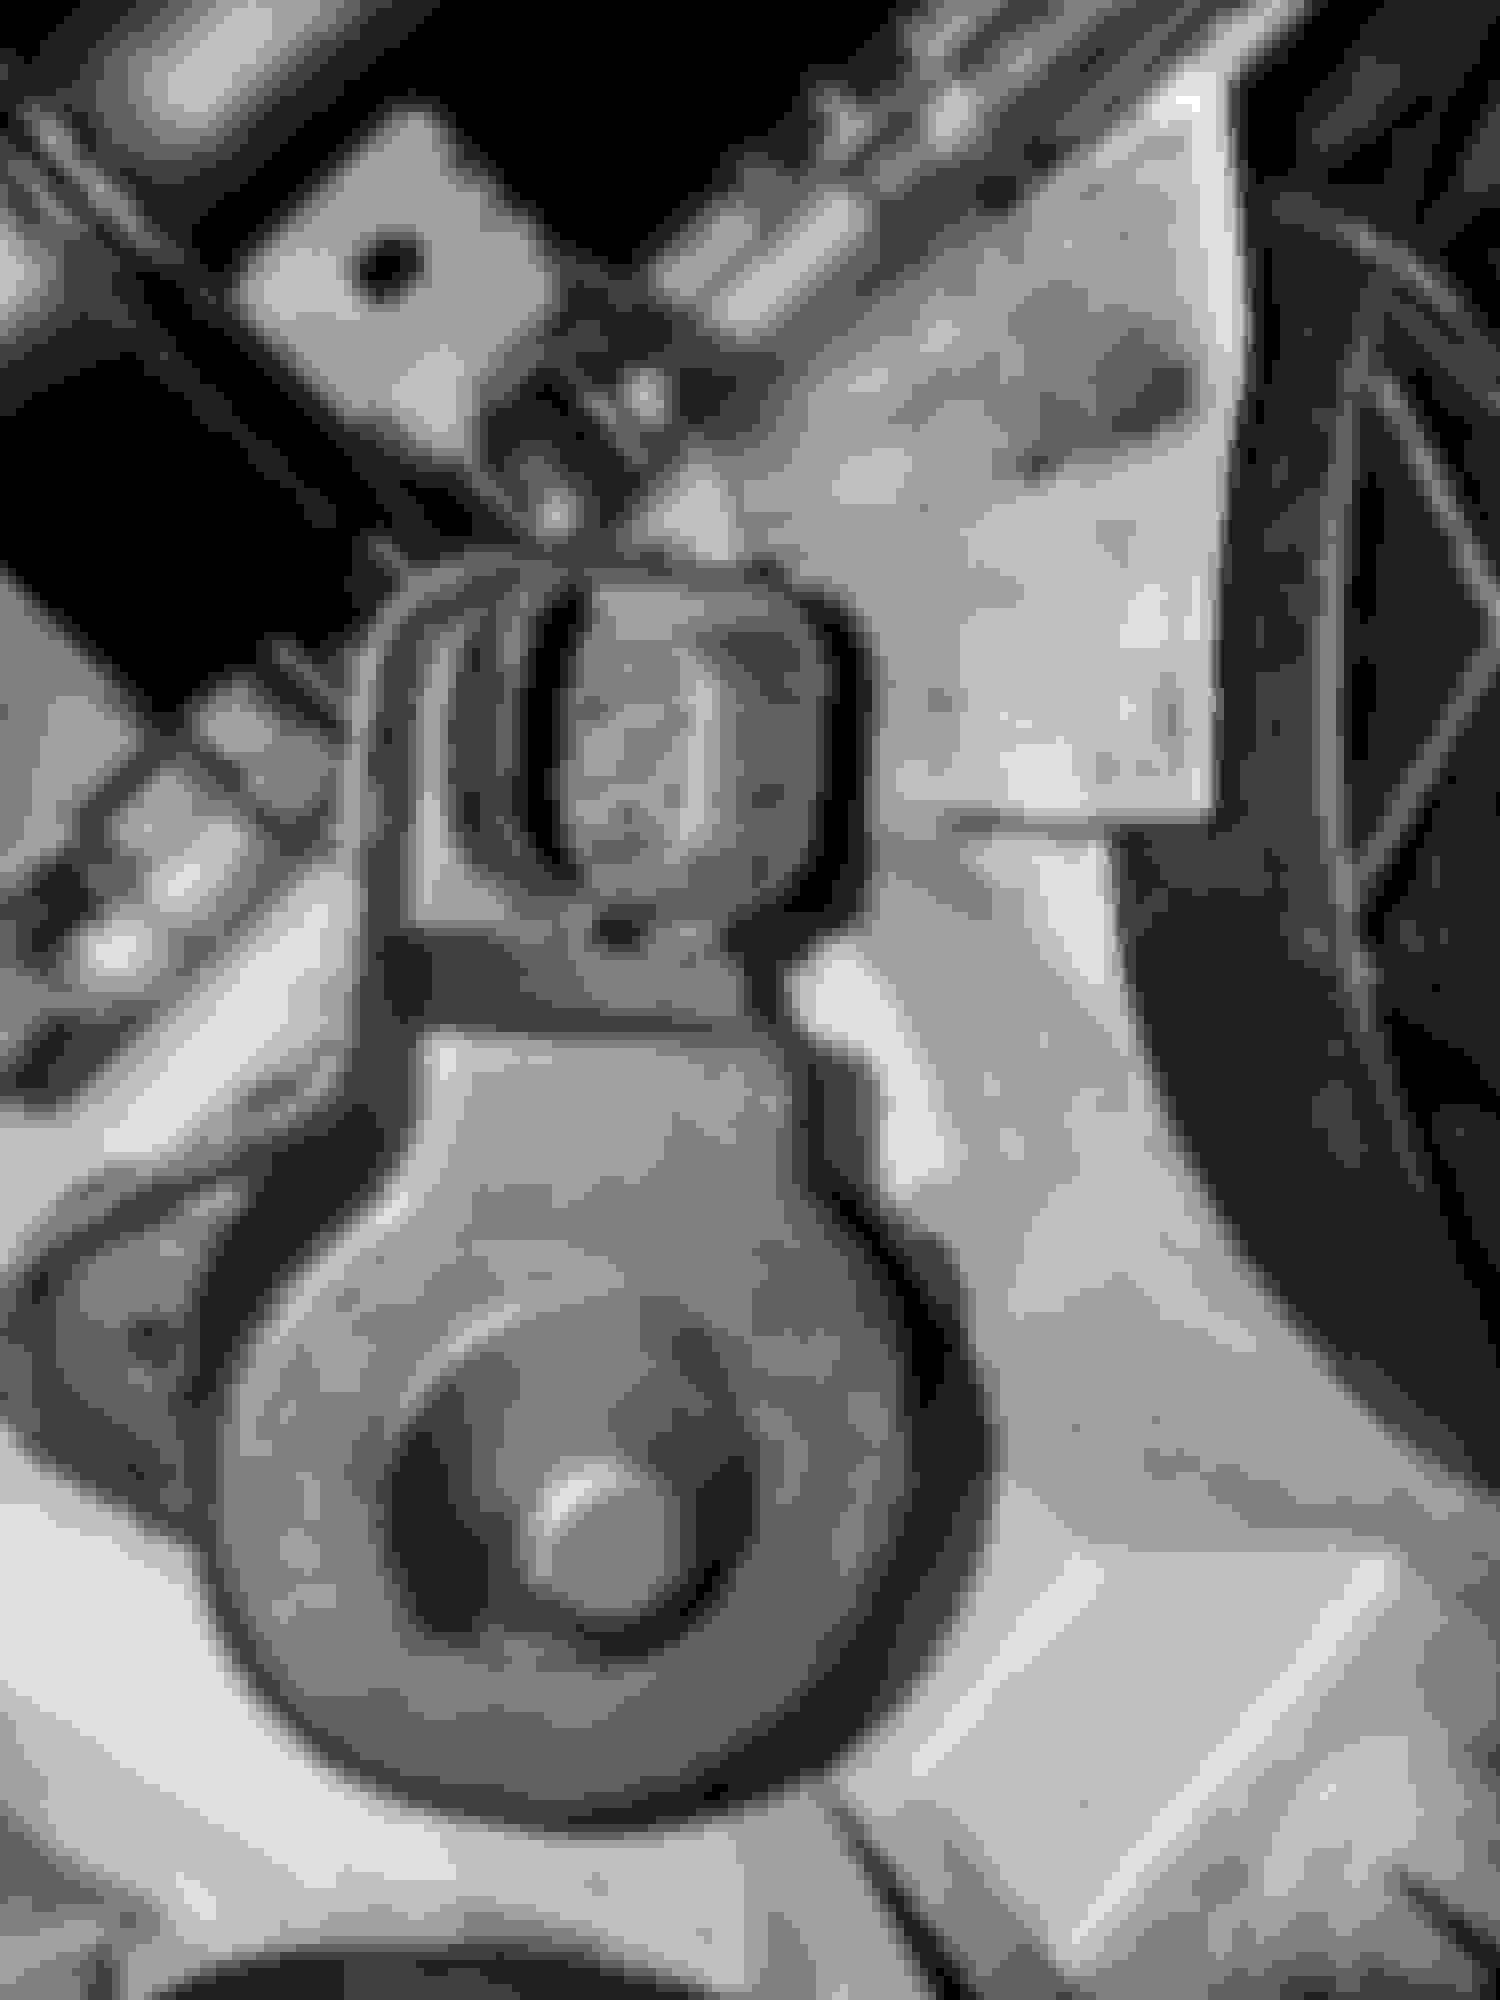
Mounted, i will have to shave those arches as well remove the fixture below to put the shrouds(covers)over the projectors
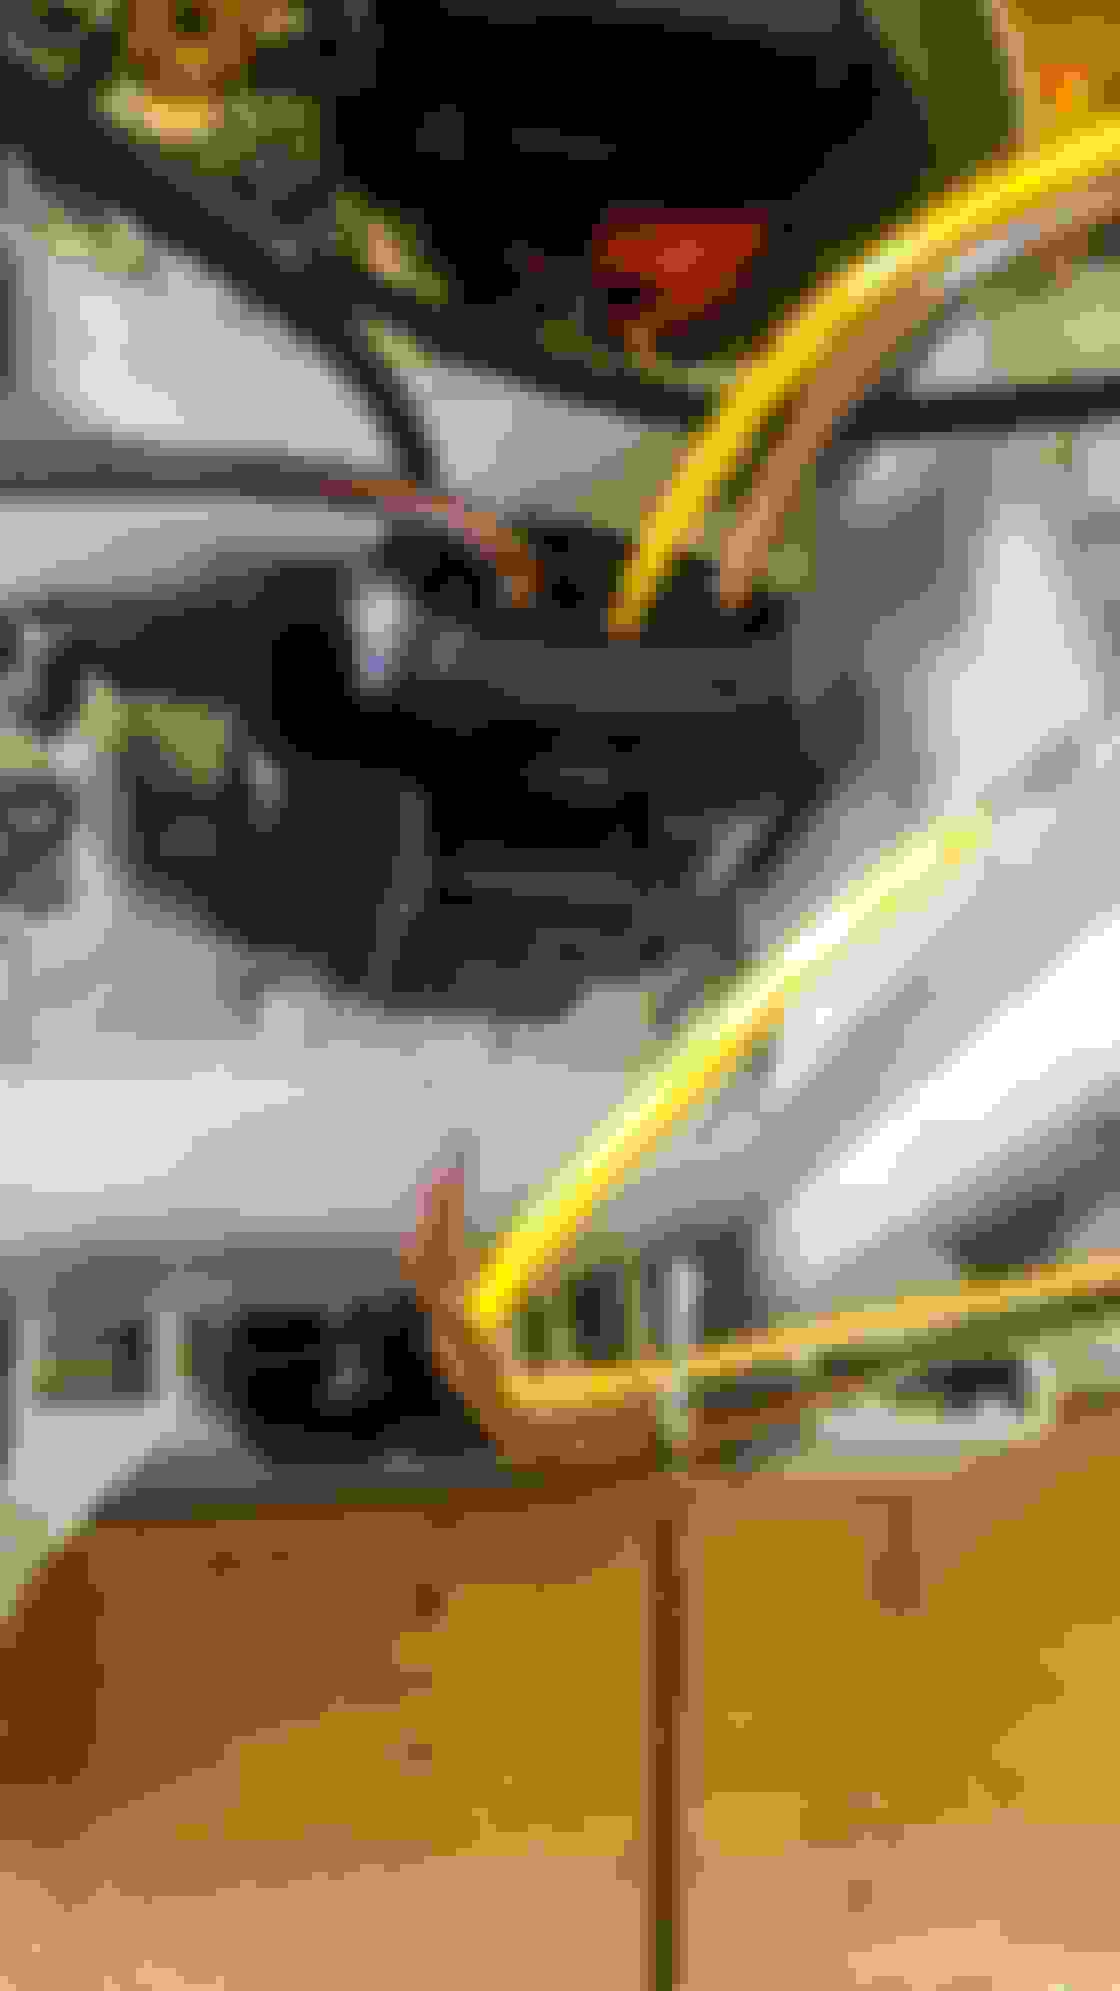
Why i need a wiring diagram, I want to know why the headlights need this main plug(right arrow) the left arrow if i remember correctly was connected to a silver box which id assume was a ballast being it was mounted under the headlight assembly(similar to my C63 headlights)
was this for the DRL?
the is the ballast from the kit it has those power and ground of course. im curious as to how am i to power these?
So my questions are 3rd pic(right arrow) why is this main plug needed? what does that plug power per se? if i had the diagram id assume i can cut and splice into the wires so the ballast of the HID and the module in projector can get power... if i will no longer have DRL's i could care less bout that but if i can keep it ill just move that function or the bulb rather to the Hi beam bulbs spot.. same goes for my fogs... im trying to figure out how im gonna put power to ballast's because that only hurdle i see upon finishing the retrofit clean.
ANY HELP OR SUGGESTIONS ARE GREATLY APPRECIATED! THANKS IN ADVANCE!
sidebar: i had to write this 3 times!! because the website timed out on me. hope this makes sense
Looks like you putting so good work in question where did you buy the new calipers how much did they cost you
I believe rock auto( fronts) but once you receive them i suggest you get them powder coated or Paint them. They will rust ASAP soon as water hits them( not that sudden but very fast)
Almost!! i believe ill have the wiring figured out this weekend (having someone help me so i can use all the oem connectors being i need power for bi-xenon and ballast for the HID"s) As of this moment i'm working on trying to get the lenses to like this(will insert pic) so the projectors beam wont defract (hoping this is the right word) it probably isn't being the root word i'm supposed to use is "defraction" (excuse my language right now) Would you happen to know the best technique for this ?? from what I've been reading on a bunch of different forums.. One starts with Emery cloth or paper to get the bulk off and move onto wet sanding in different grits and finally use cerium oxide powder for the polish? I've also heard of a company in Germany or somewhere that actually does this to the lenses
If anyone can help me achieve this ill be forever grateful!
Also would you happen to know the part number to the "city light bulb" i ask because in the location where high beam used to be id like to put the city light or drl bulb or something there that will either light up amber/yellow or whatever when the parking lights are on only..
If i had to assume i'd say yes! i apologize i'm not near the headlight at the moment so i should have looked in the one i haven't taken apart yet but if you scroll up to the pics where i have the projector mounted. Under it there was a fixture that i ripped out and i believe a bulb was there as well i just don't recall what the bulb looked like but i assumed thats where the "city or drl light was housed" because the high beam was in the section next to where my projector currently sits(which is where id like to put the city light now) my question is where do i find that bulb and are there city light bulbs that shine orange or yellow(like fog lights) that i can put there instead so that section has a purpose rather than be empty
Took a break on the retrofit project due to the lenses and the time it takes to accomplish the finish (the methods are working just not at the pace i'd like). I have plans to finish this project at a later time, So to get this machine on the road officially i decided to use the Oem xenon's but of course i ran into issues with this step as well! Here's a few things I've learned 1- the previous owner/s hacked this car up ESPECIALLY THE HEADLIGHT WIRING HARNESS AS WELL THE OEM BALLAST 2- My front bumper is aftermarket fiber glass trash (def need to find authentic replacement before the car gets painted in the future)
Here's the connector that was used.
Here is where i had to use 4 pin connector from VW to wire up the ballast to hook up to the headlight to power the D2R bulbs (why someone would cut off the connectors to the ballast i have no clue) Trying to find oem ballast is not easy so it wasn't like this was going to be easy to replace let alone the connector alone
Slideshow: A one-of-one U.S.-spec Mercedes-Benz SLR McLaren Roadster became even rarer after a factory-backed transformation at McLaren's headquarters.