When you click on links to various merchants on this site and make a purchase, this can result in this site earning a commission. Affiliate programs and affiliations include, but are not limited to, the eBay Partner Network.
A few threads have asked how to do an oil change so I thought I would put together a DIY tutorial.
This will be directly applicable to c400/c450/ and c43 sedan and coupe.
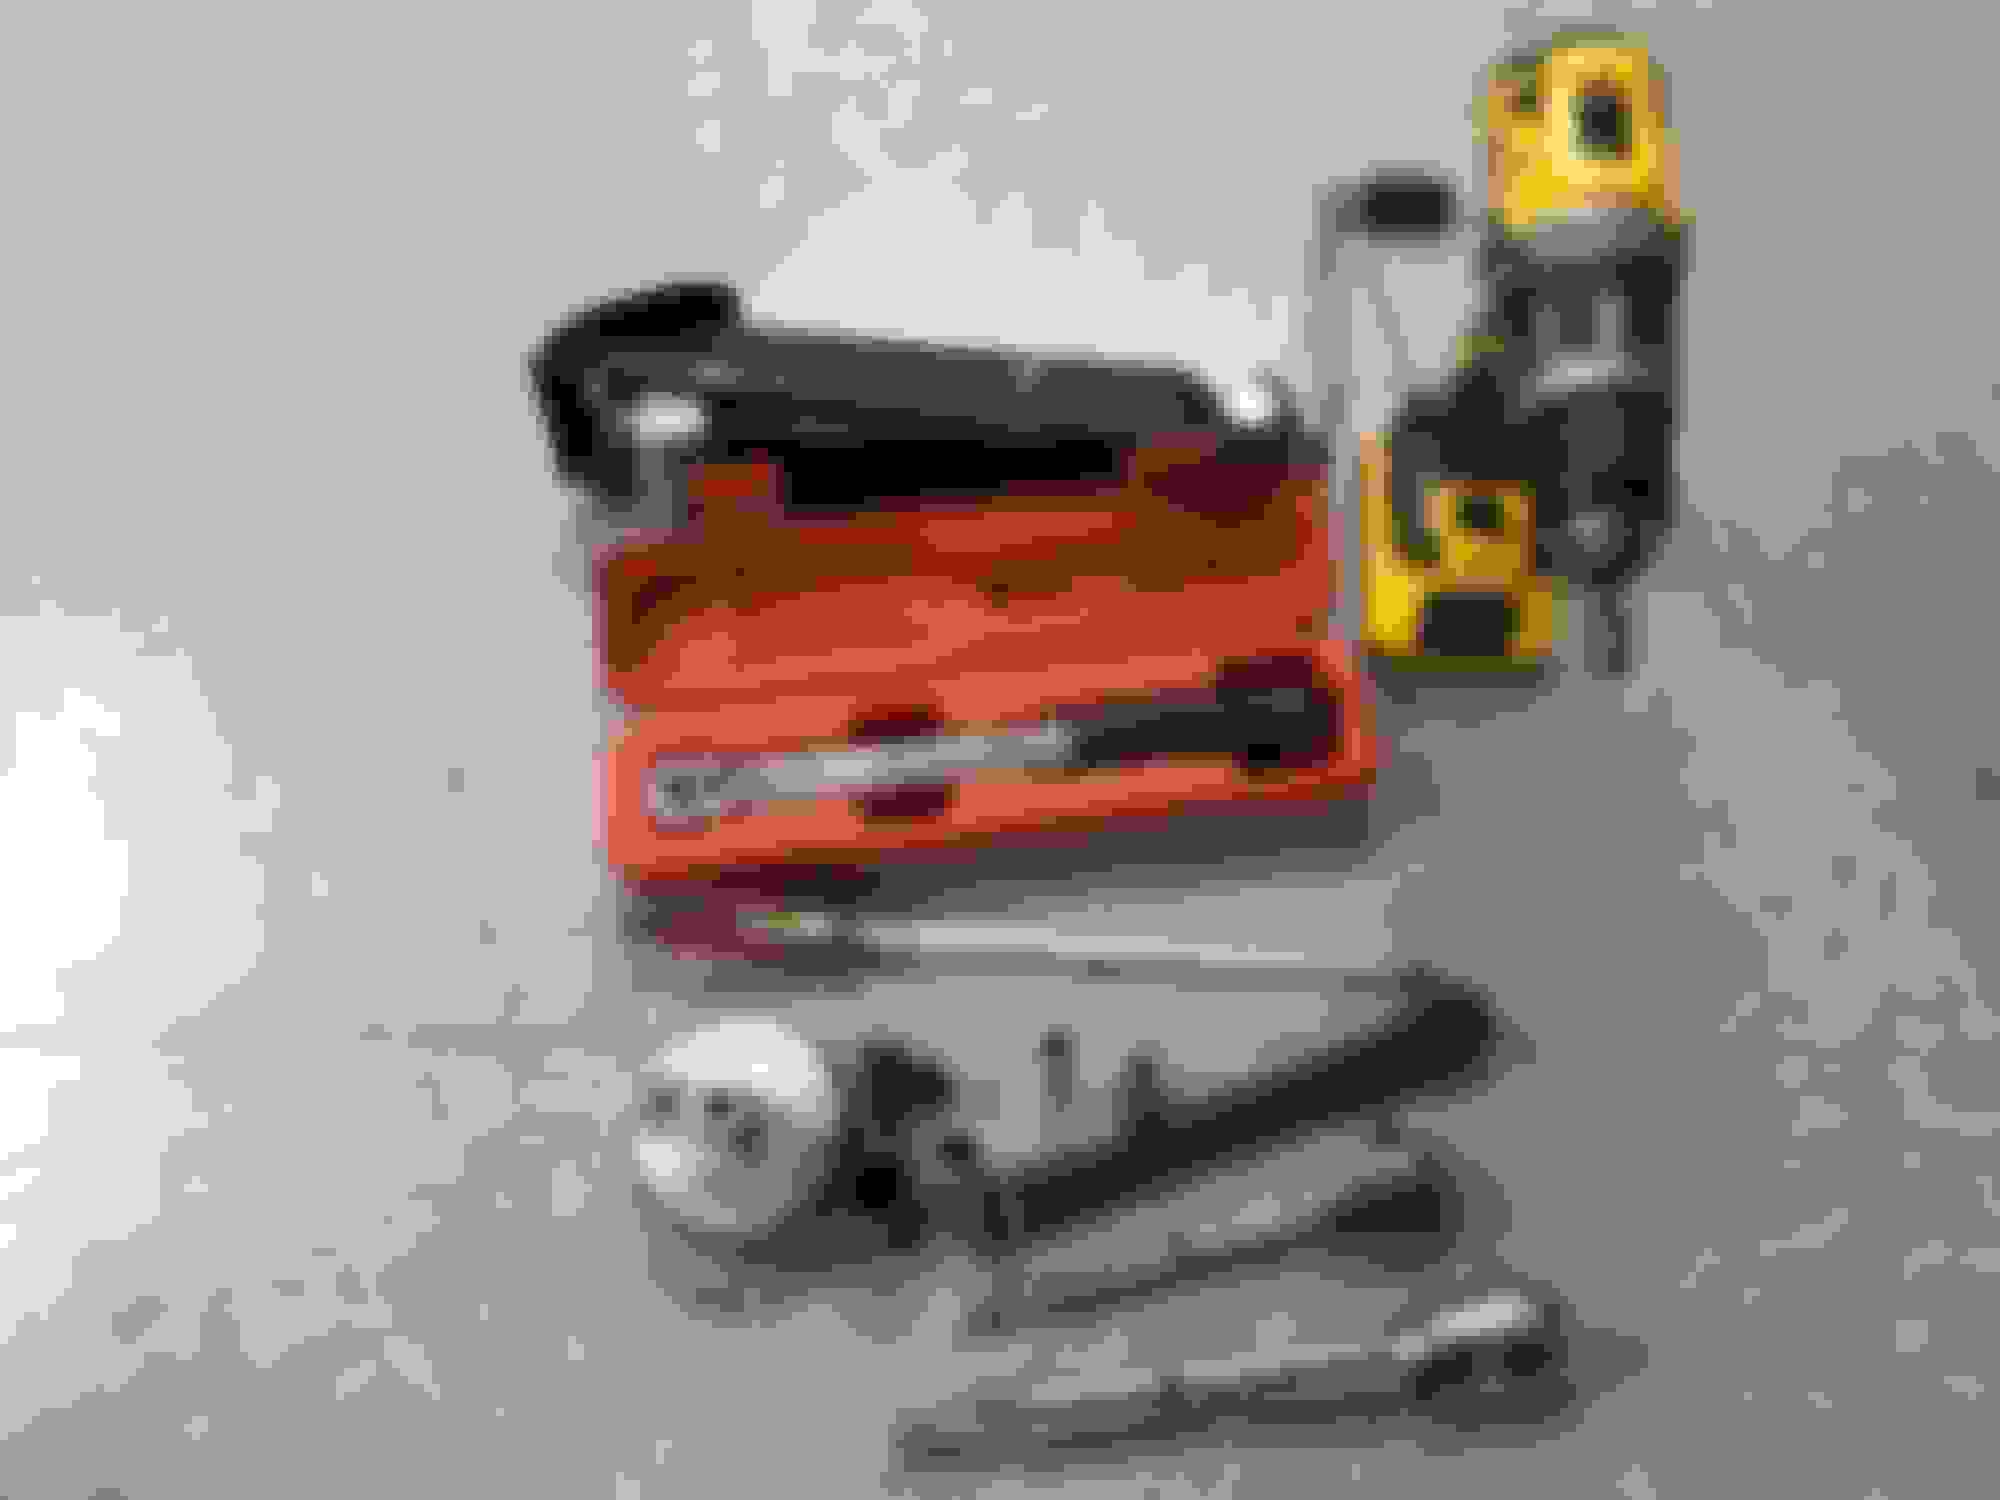
I make a tools list to start. You may not need all of these tools, but it makes it super easy with them.
You'll need:
- 3/8" ratchet
- 1/2" ratchet if you don't have adapters or 3/8" socket for oil wrench
- 6" extension 1/2"
- 8mm socket 3/8" drive
- 13mm socket 3/8" drive
- 21mm socket 1/2" drive
- torque wrench capable of at least 25 Nm
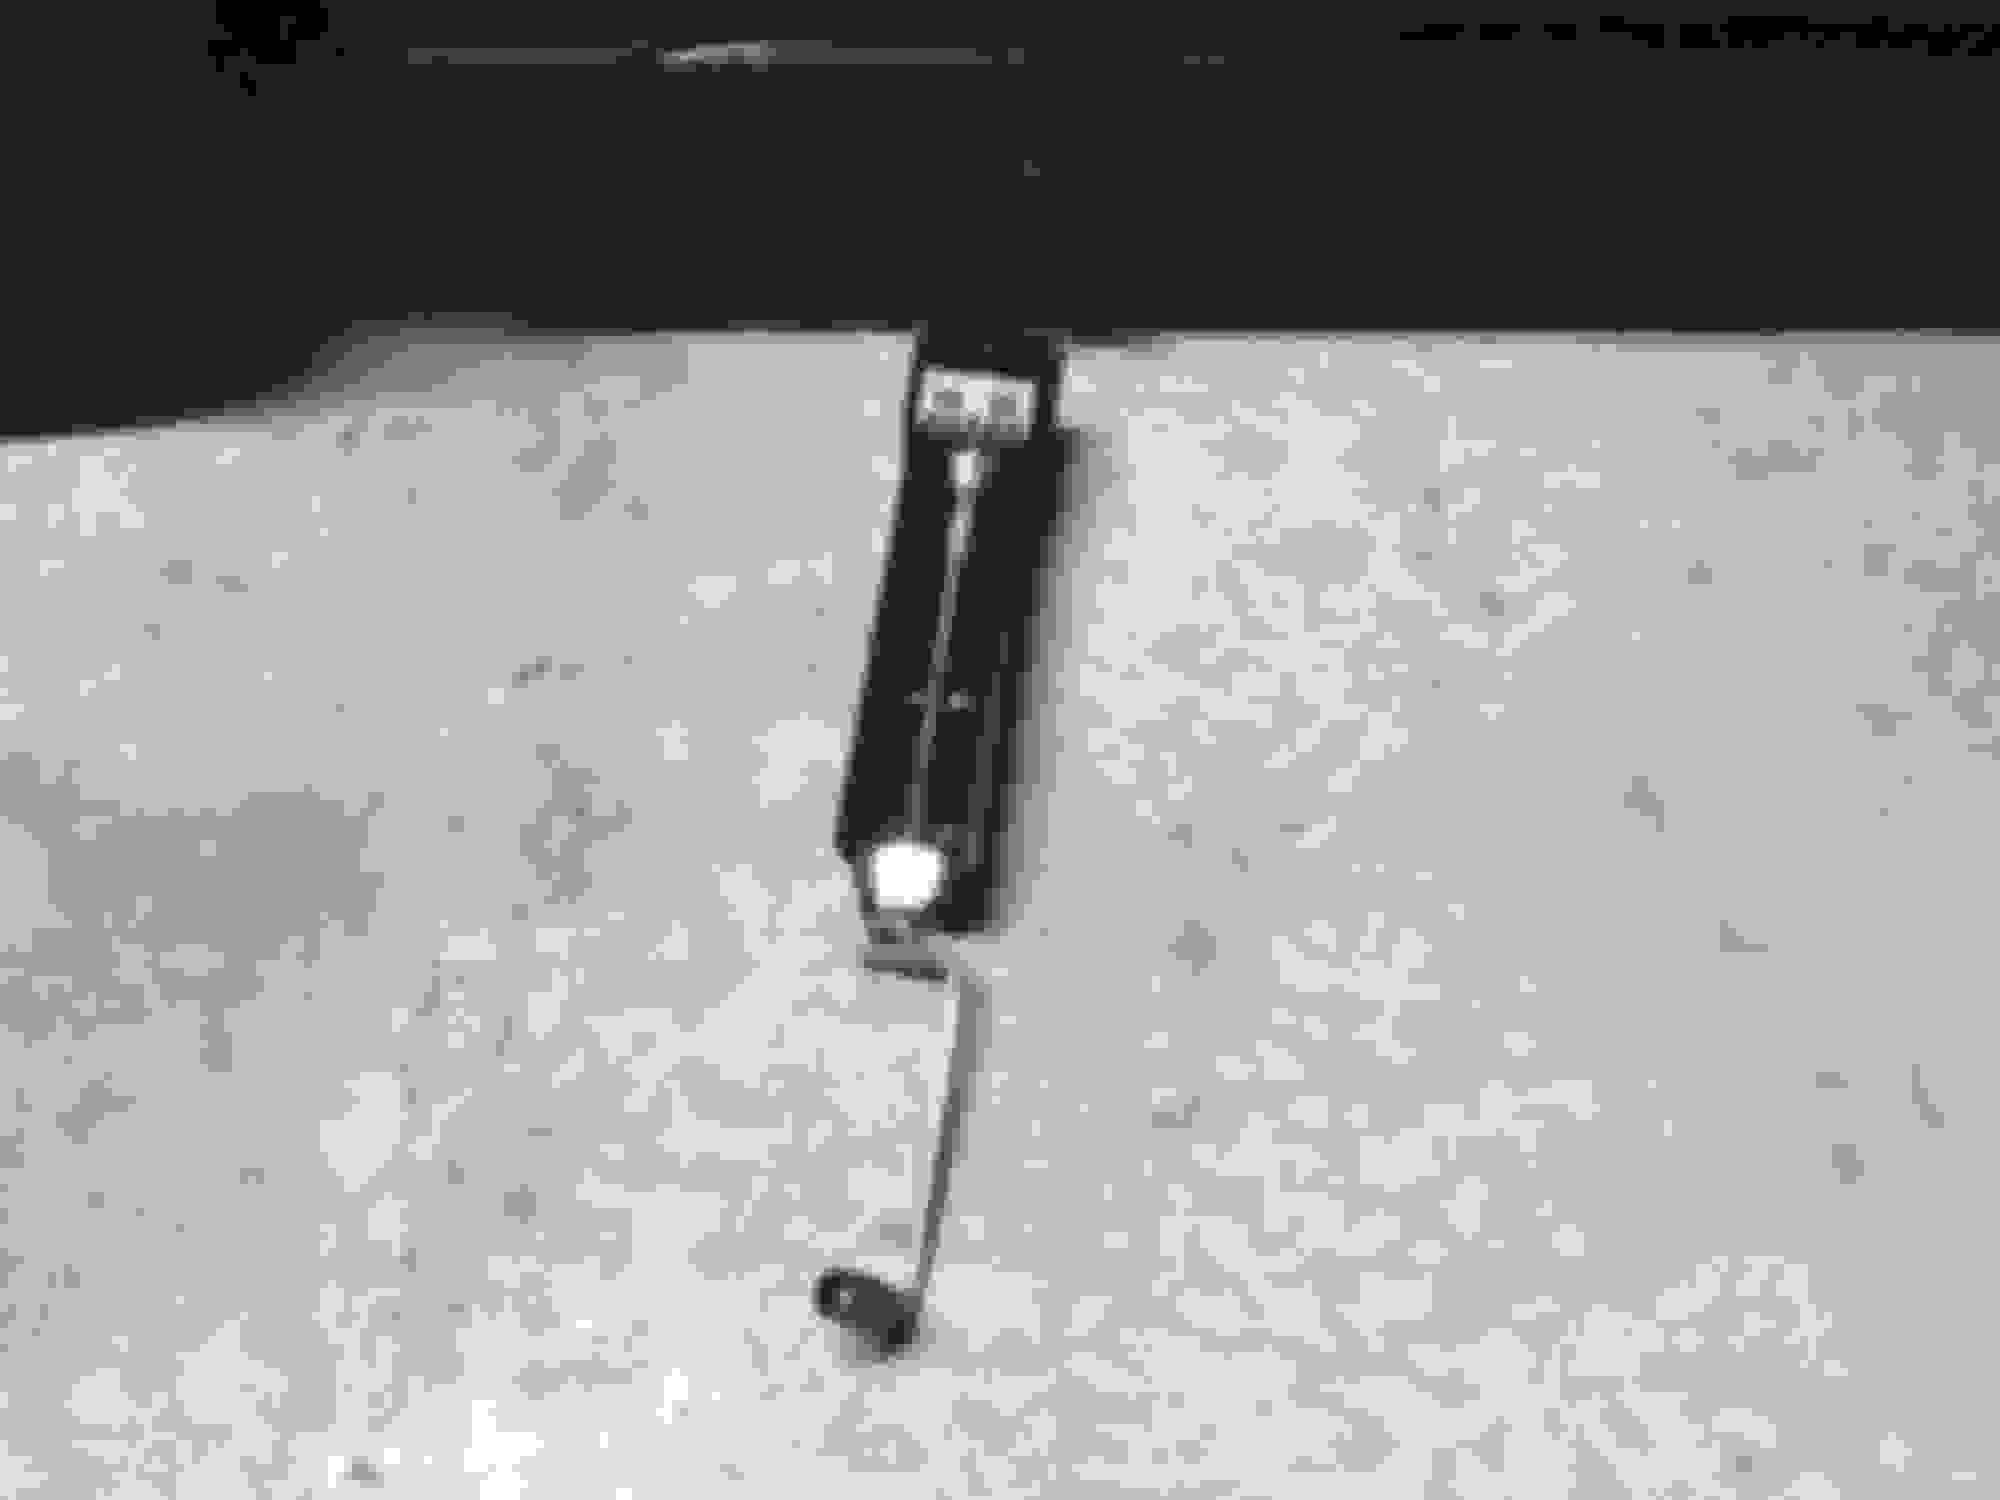
- Flat Head screw driver or pick
- socket adapters from 1/2" to 3/8" and back.
- OEM Mercedes Jack, or jack adapter with floor jack. or ramps. or lift
- Wheel Chock
- Jack stands if draining out the bottom
- Hammer Drill Optional to make getting bottom cover off quickly.
- Oil Filter wrench Part #: 103589020900
- Oil Filter Part #: A2761800009 or 2761800009
- Mobile 1 0W-40 Full Synthetic Oil roughly 7 quarts up to 7.5 Max.
- Oil Drain Pan
- Nitrile gloves
- Mityvac 7201 If you want to drain out the top. This eliminates need for a majority of the tools and steps. I plan to use this for future changes.
Note all tools are not pictured.
First step is to chock tires and lift up the passenger side of the vehicle. Place jack stand under control arm pivot ( jack not in correct position in picture, move to the frame or pivot point) and lower car down so it sits on jack stand, so if jack fails you wont be crushed. Ramps would make this easier. Or the mityvac suction out the top eliminates all of this.
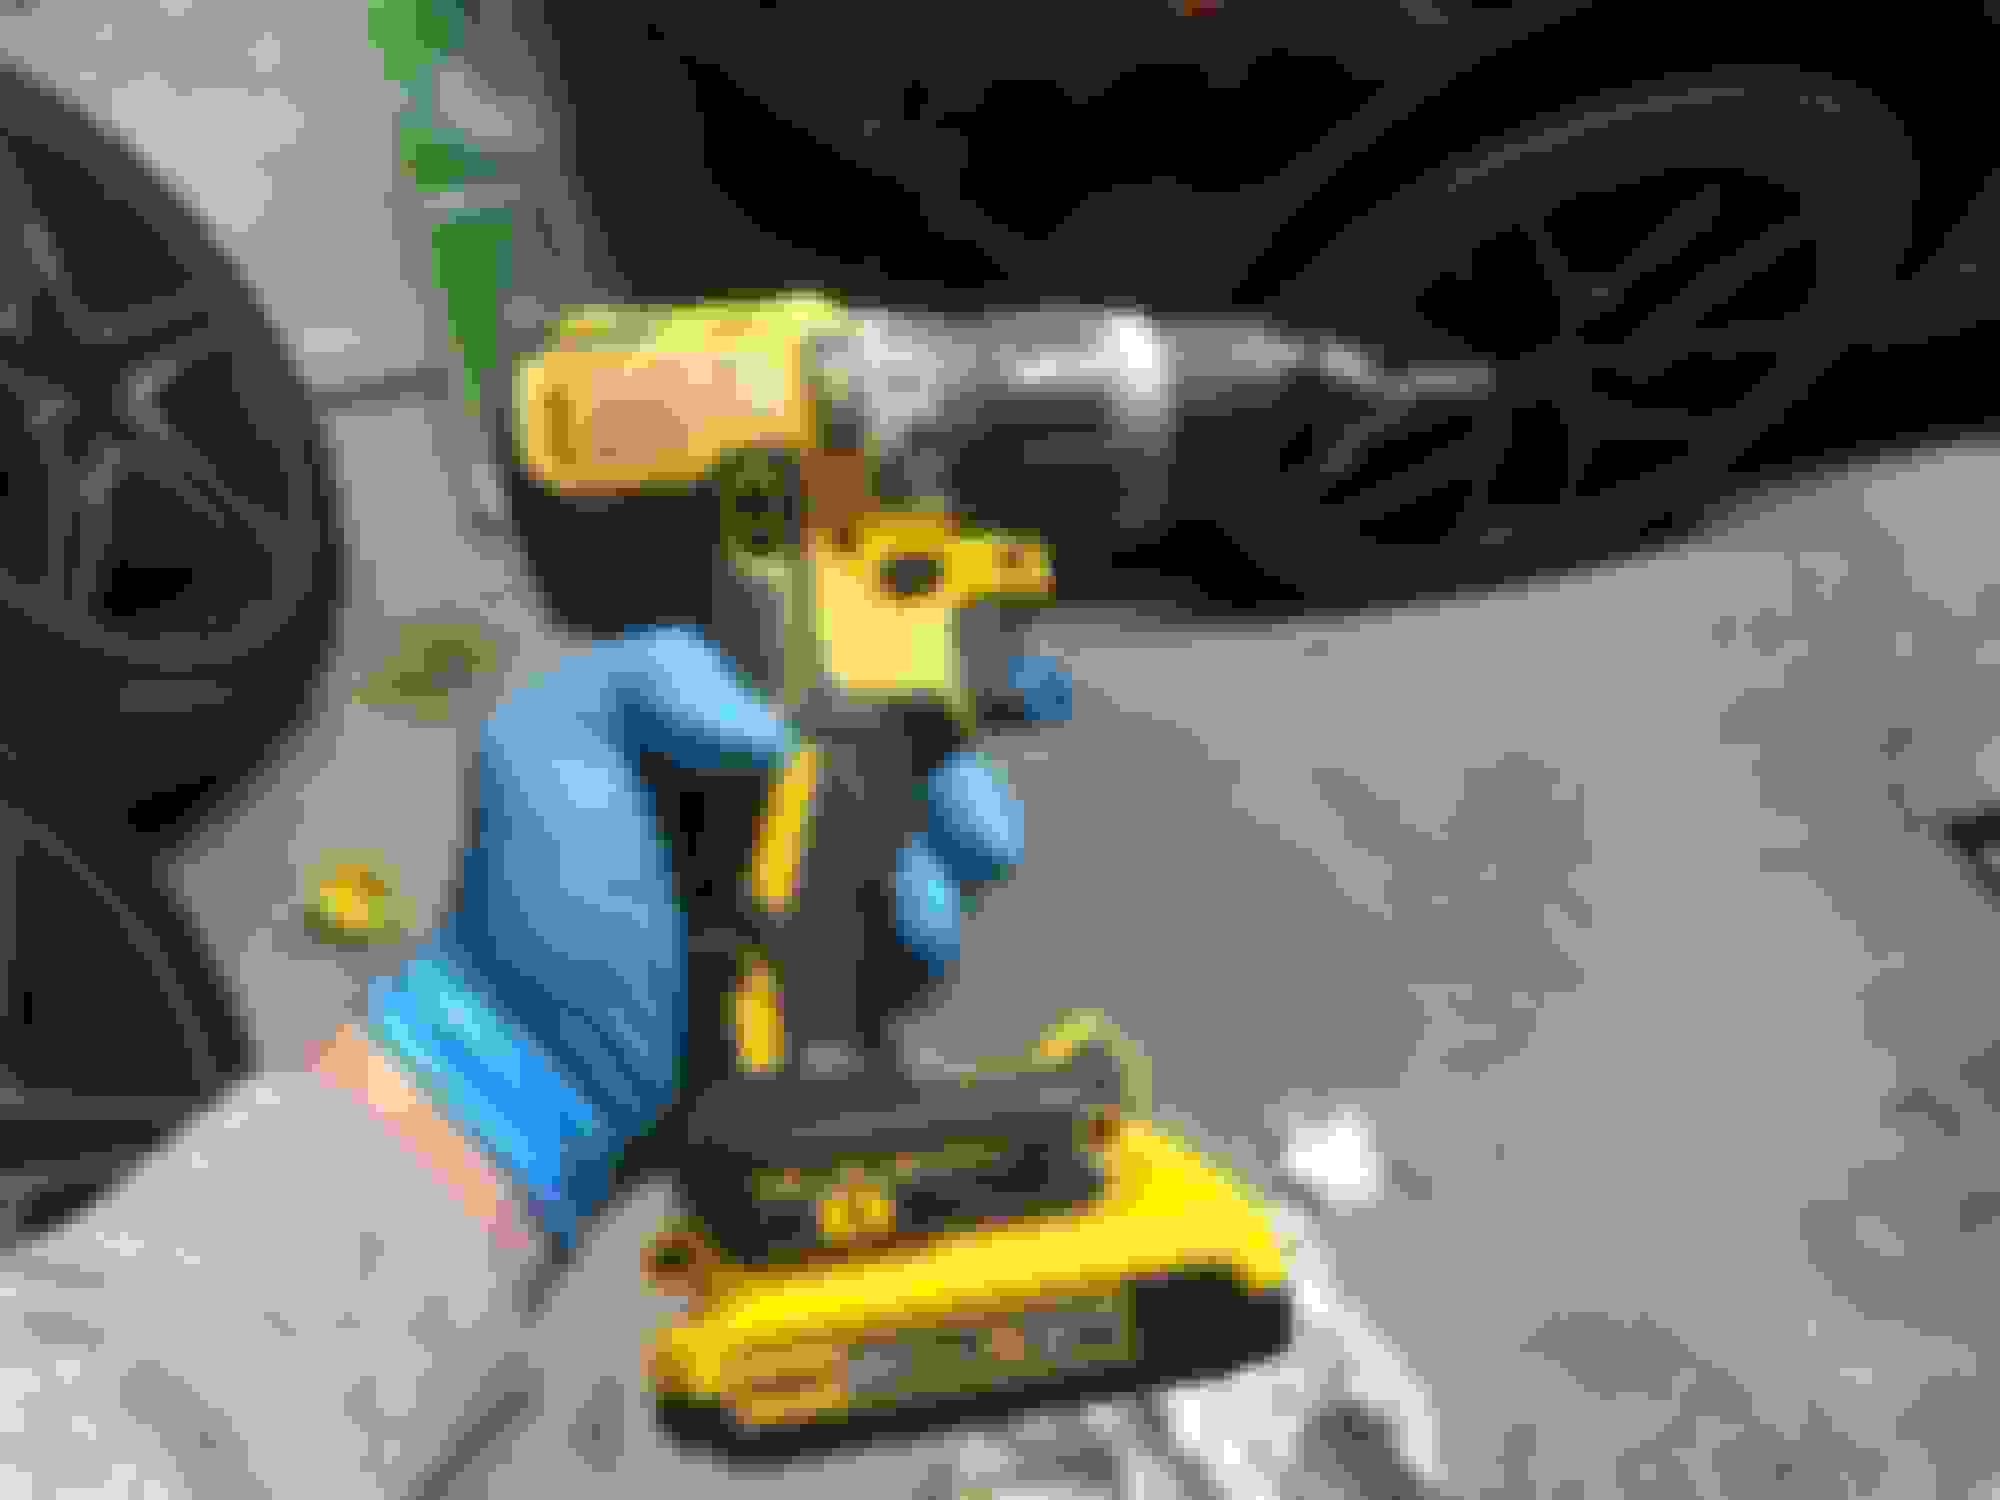
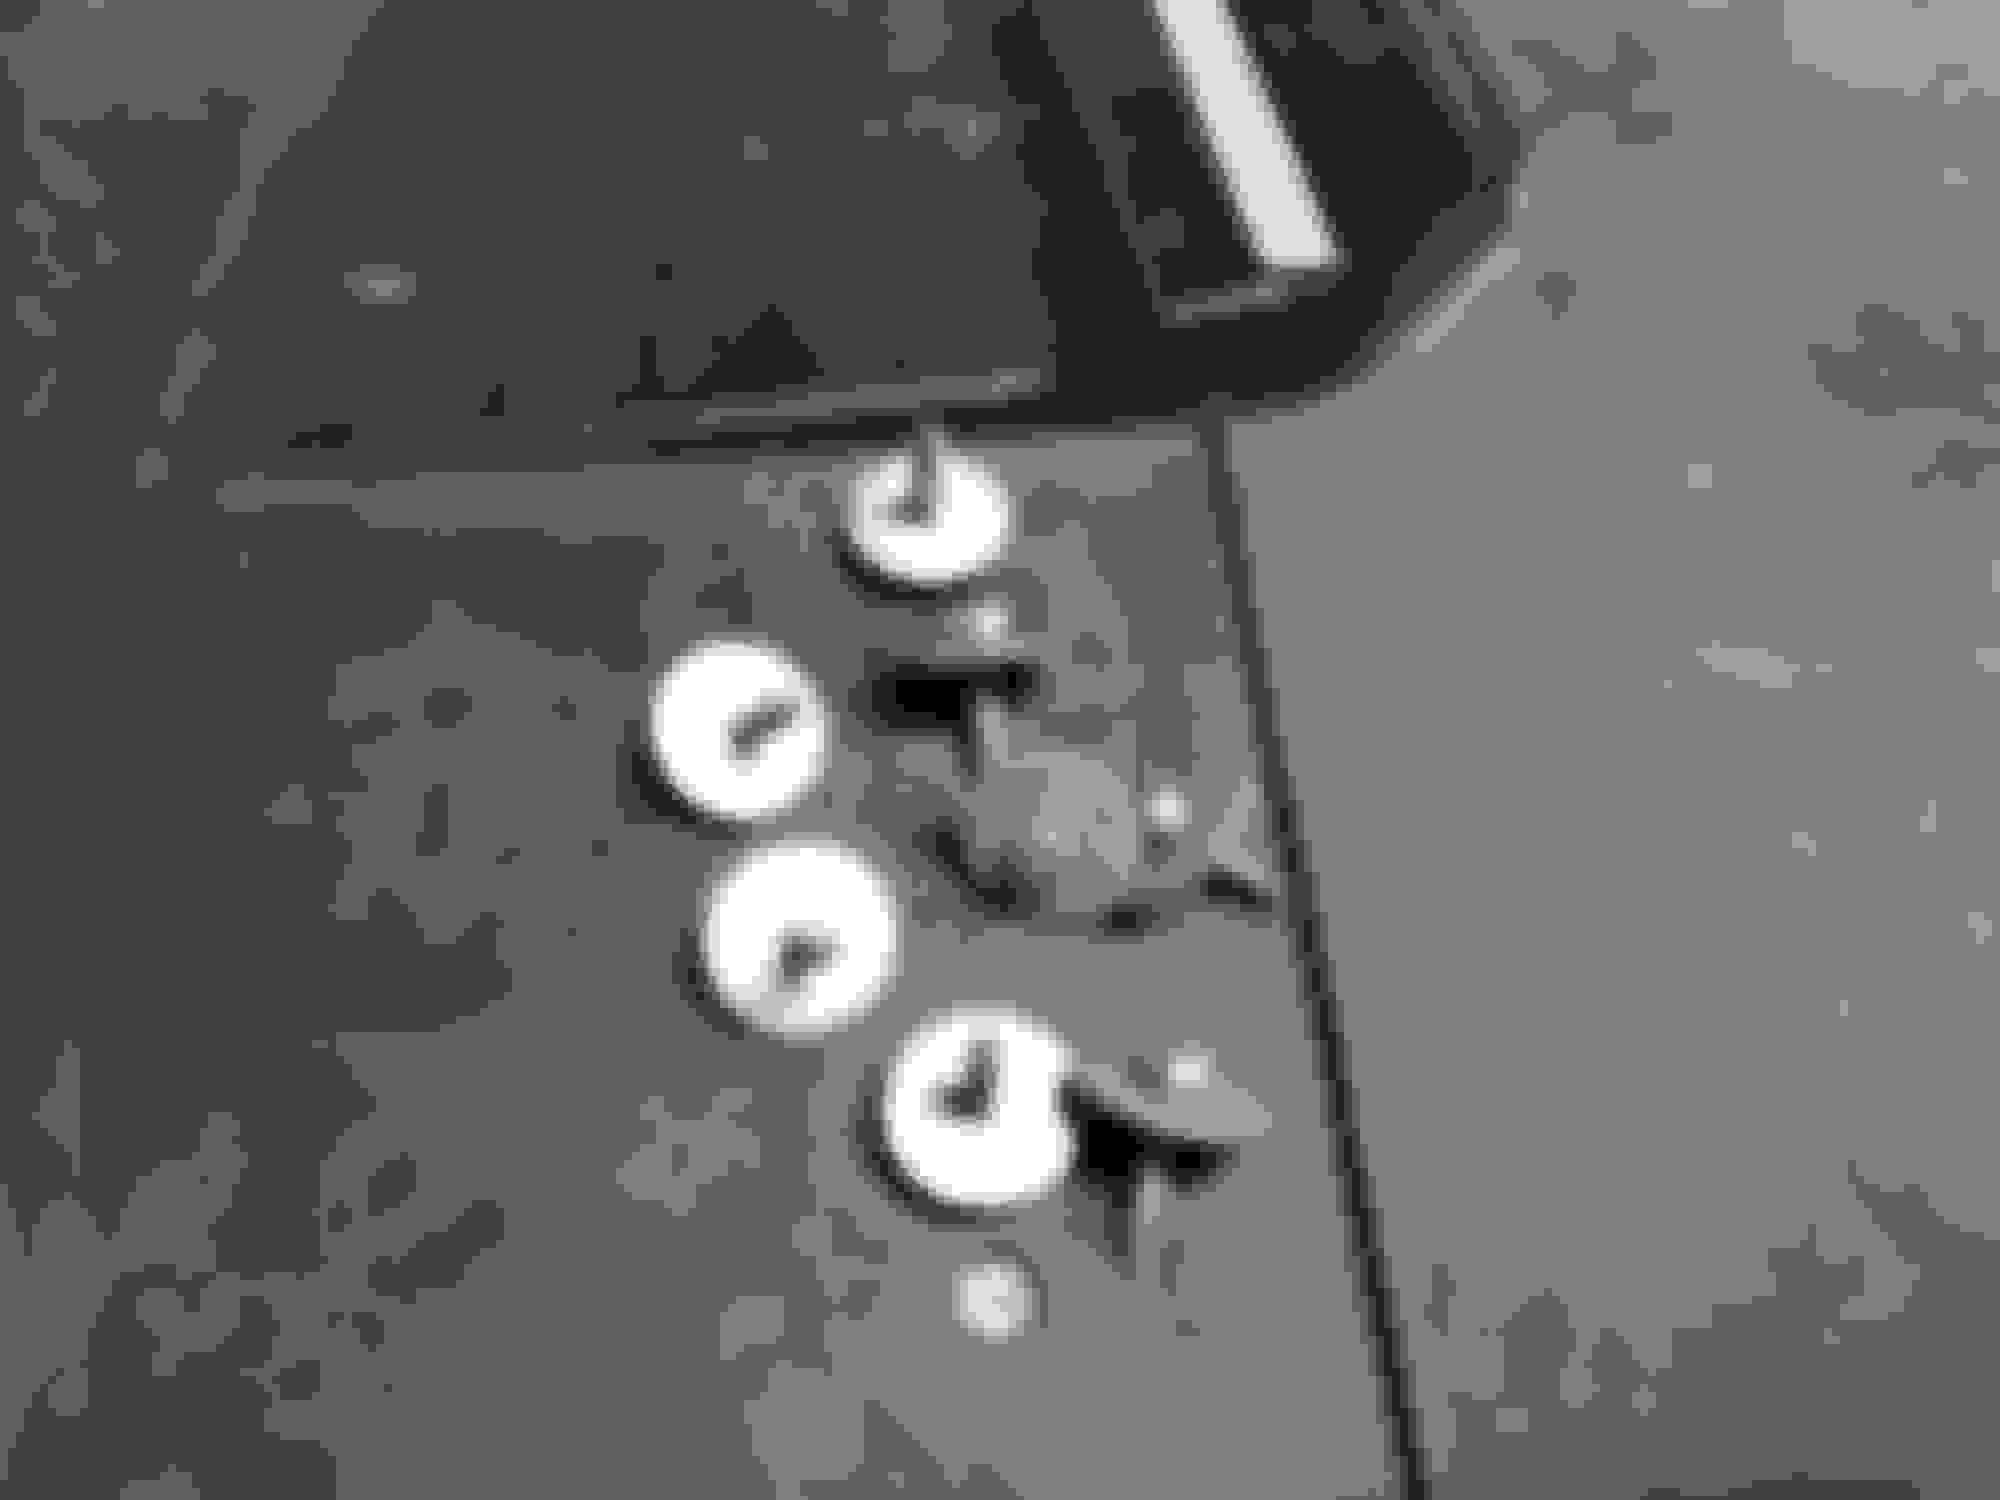
Next Step is to Remove the bottom aero engine cover panel. There are 8 8mm bolts. Youll need the drill (or ratchet) and 8mm socket. I use torque setting 3 on my dewalt cordless hammer drill to take them out and put them back in. You do not want to over tighten these other wise they will strip!!
The next step is to get the top of the engine ready. Open the hood, and remove the engine cover. There is 6 clips holding the cover down and it is connected to an air intake that cools the ecu.
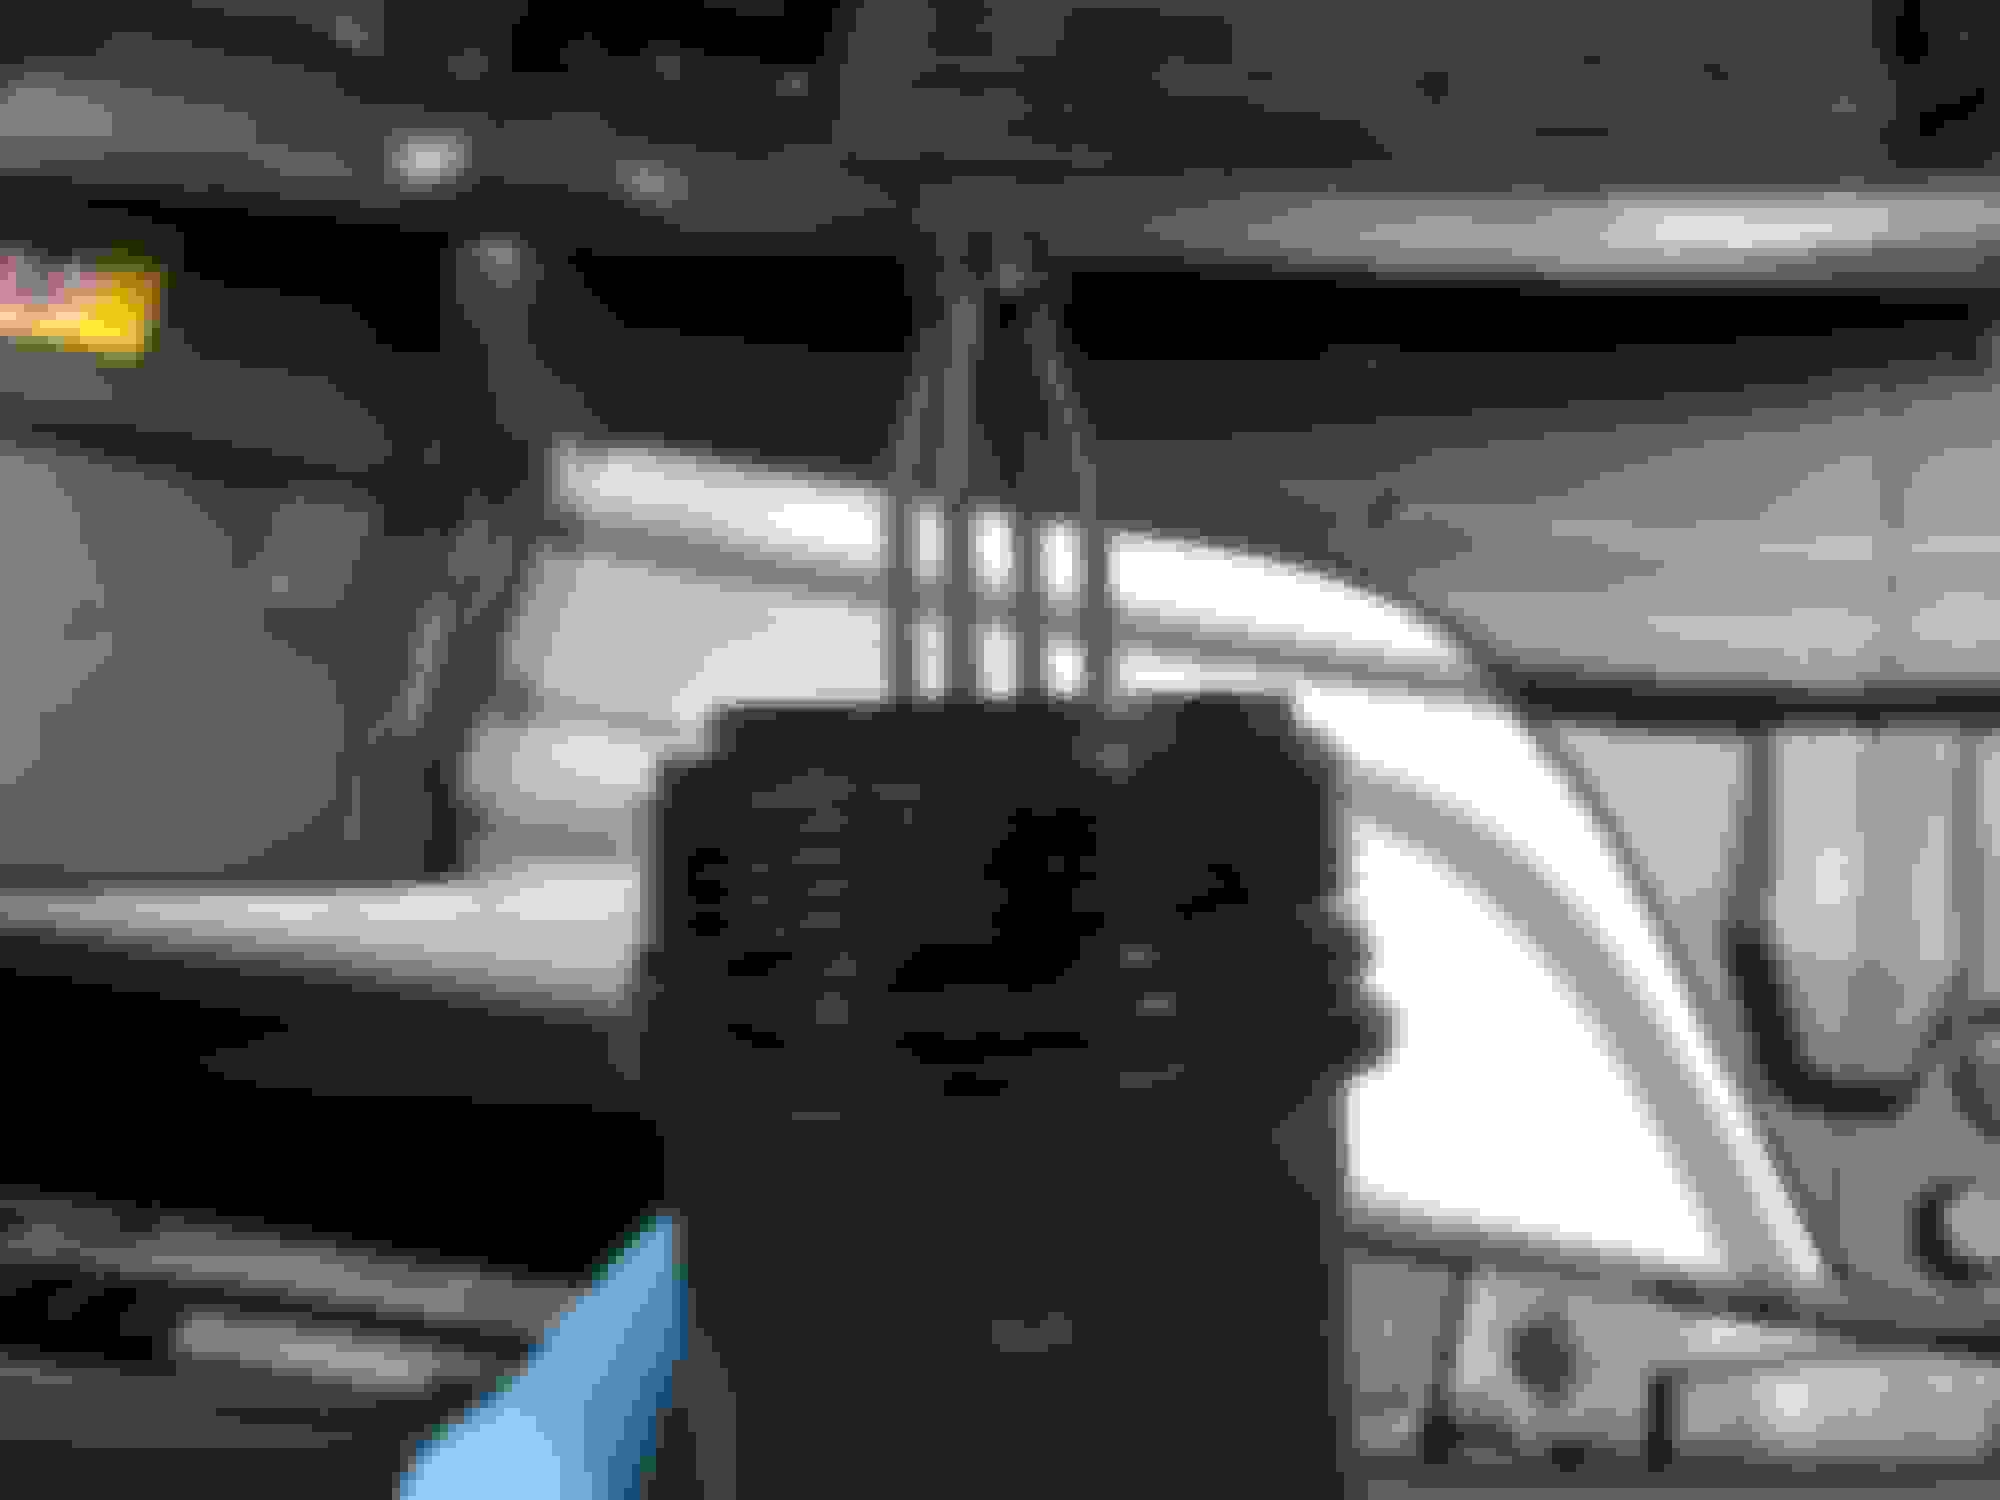
The next step is to remove the engine oil fill cap
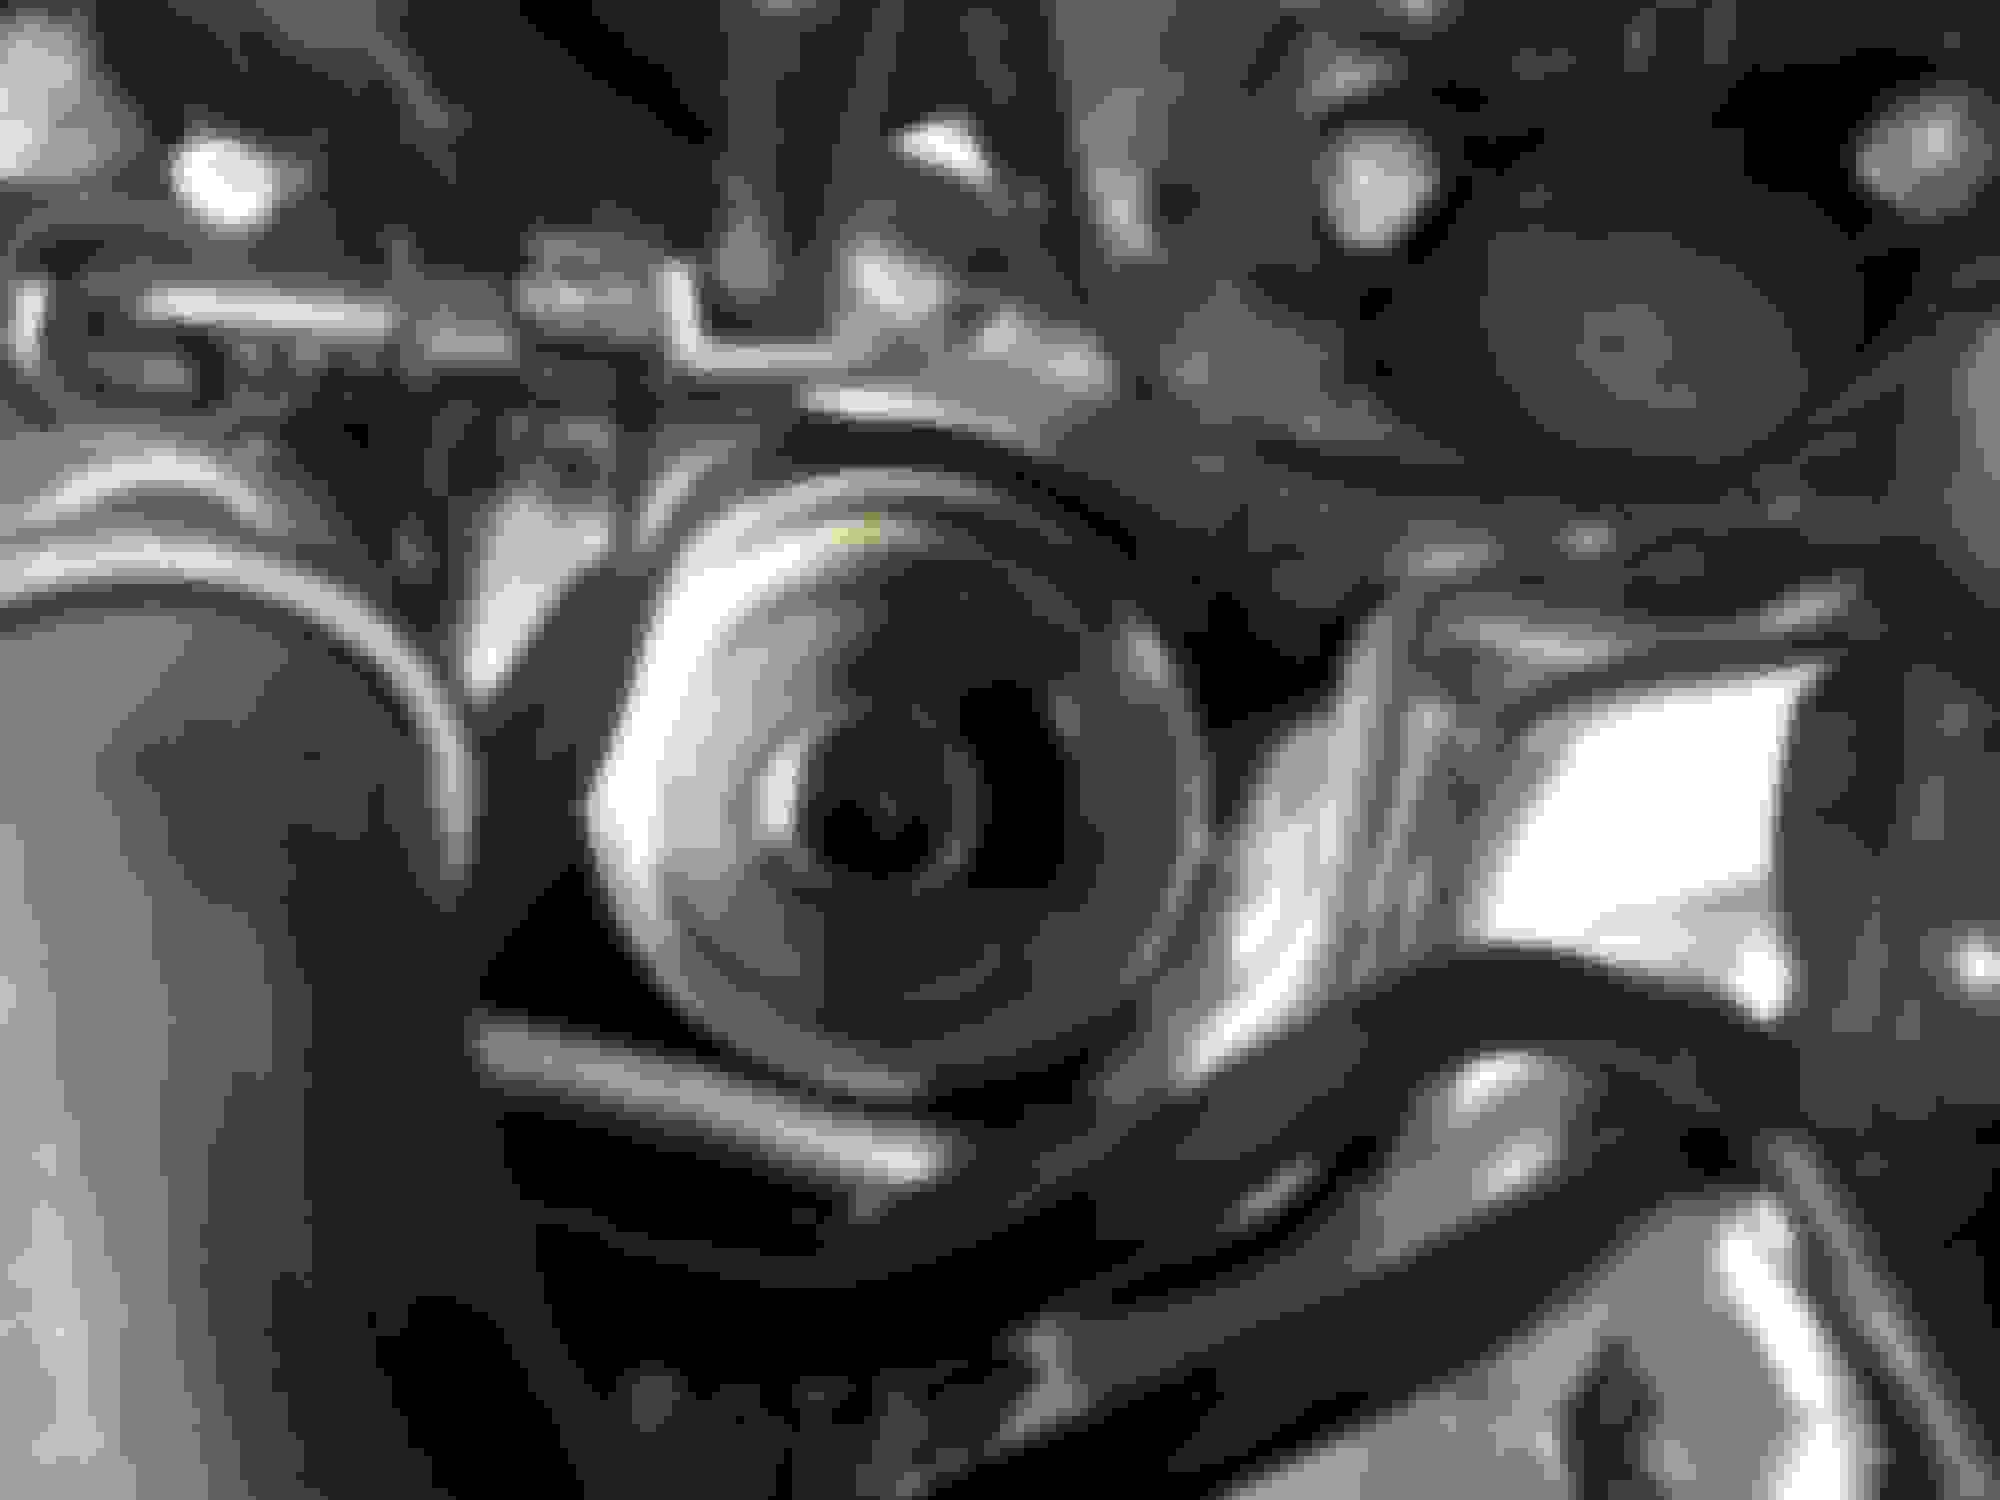
Now we are going to get under the car with our oil drain pan and drain the oil. you first need to locate the oil drain bolt. This is a 13mm bolt. I was able to get mine loose with the 3/8" ratchet. Note how it is not super tight but not super loose either, this is important for putting it back on. I would estimate the torque to be roughly 30 Nm to maybe 45 Nm when putting bolt back in. Once I can find the spec somewhere I will confirm it. But until then, its most likely not going to back out if you are torquing to 40 Nm and I do not think that is too much to strip the pan.
Any way, put your oil pan under the drain hole and crack the bolt loose and remove by hand. I put my hand above the structural bar so I didnt have oil all over my hand.
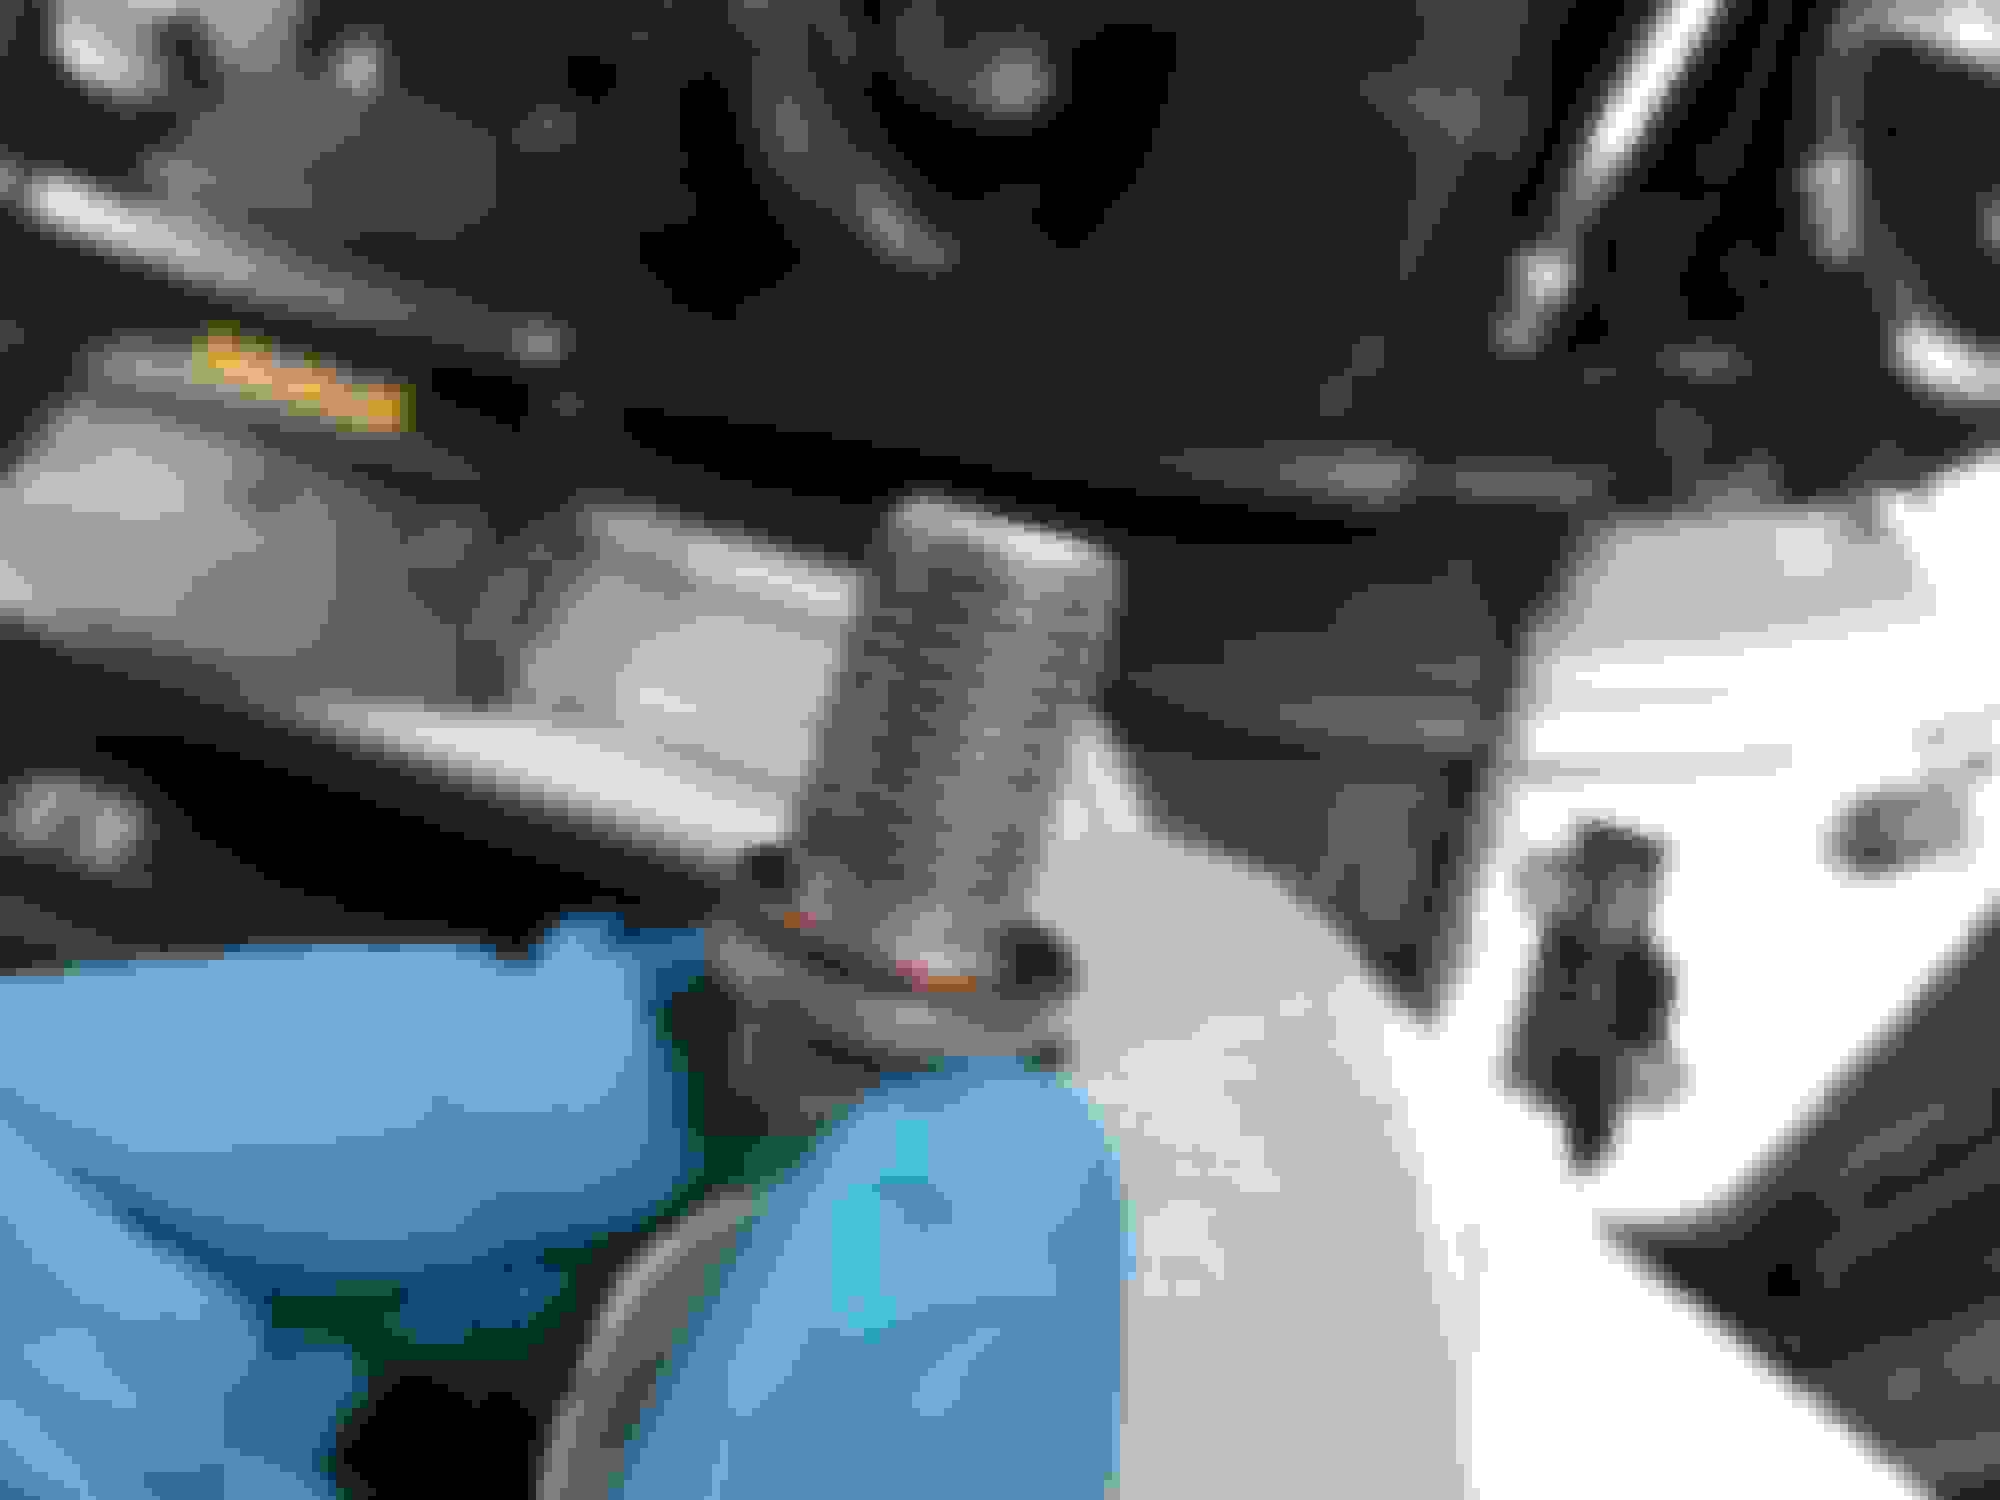
While the oil is draining it is time to replace the filter.
You use the mercedes filter socket with the 21mm socket to attach then the extension and the 1/2" socket so you dont need adapters. Crack loose enough to remove by hand. I put a paper towel on low side of filter to make sure no drips escape.
Once the filter assembly is removed, you simply pull filter out of housing until it unclips. Give it a pretty good tug, it is clipped in pretty good. replace and clip in new filter. Note that the edge of the filter does not sit flush with edge of filter housing.
next remove o ring with flat head screw driver. Take the new o ring you received with filter and oil it up. Install onto filter housing.
You can now reinstall filter housing assembly with new filter and new oiled o ring. Hand tighten as much as possible. Then get your filter wrench assembly back out and torque to 25 Nm as stated on cap.
You may now reinstall oil drain plug. I reused the copper crush washer but this should be replaced at every change per mb spec. But I have never had a problem not doing it yet on this car or the older mercedes. They used to give them as part of the oem filter assembly part.
This is a 13mm bolt. I re tightened choked up on a 3/8" ratchet. Note from before when you removed how it is not super tight but not super loose either, this is important for putting it back on. I would estimate the torque to be roughly 30 Nm to maybe 45 Nm when putting bolt back in. Once I can find the spec somewhere I will confirm it. But until then, its most likely not going to back out if you are torquing to 40 Nm and I do not think that is too much to strip the pan.
Next the bottom cover goes back on.
You'll need the drill (or ratchet) and 8mm socket. I use torque setting 3 on my dewalt cordless hammer drill to put them back in. You do not want to over tighten these other wise they will strip!!
Once the bottom is buttoned up, we can head back up to the top. With the drain plug at the bottom and the filter tight at the top, our system is now sealed with new parts ready for new oil!
The car manual calls for Mercedes approved oil (Mobil 1 0W-40 Full Synthetic) and with a quantity of 6.9 US Quarts. I found that I ended up needing apprix 7.5 quarts or less but that put me to top of acceptable range. You do not want to overfill!!
In Michigan we have meijer here and I usully buy 5 quart jugs for $22 each on sale. This puts my total cost for an oil change to under $60 after Oem filter added to cost. The next time youll only need to buy 1 5 quart jug because you'll have enough left over to reach the 7 quarts making the second change only $36!
I highly recommend using a funnel. I did not have one and ended up spilling some so my total may have been closer to 7.25 quarts.
Once filled up, replace engine cover and start the car up! Check oil level with car off to make sure you are reading some on dipstick. Then take car for a spin to get it up to temperature. Once at temp, stop car turn off and check level, add more if necessary.
Enjoy your Cheap Oil Change (A Service) done right!
I would highly suggest getting a Mityvac as this eliminates a lot of the steps and required tools and bottom end work! I did the first one from underneath for my own personal mind because this was my 4k mile "break in" oil change and I just wanted to make sure if any fragments were in there I just wanted them drained from the pan. it probably wouldnt make a difference either way as the mityvac would most likely just sucked it out the top. Either way , i have peace of mind and you guys have a full oil change tutorial.
I have a 3 ton, but I prefer to use the oem jack since it fits in the oem jack point perfect. with a regular floor jack you need a jack adapter pad so it doesnt ruin the jack points.
I changed my engine oil on the weekend, paid $25 for the labor... But great DIY though!
thanks and the whole change was $25? or just the labor? unless its someone you trust, all the $25 dollar oil changes around me will leave you with a stripped drain plug or used oil put in the engine lol. I have a new car and this is the first time i can have it so no one but me touches the car. so down the road when she grows old, any issues can be blamed on no one but me
thanks and the whole change was $25? or just the labor? unless its someone you trust, all the $25 dollar oil changes around me will leave you with a stripped drain plug or used oil put in the engine lol. I have a new car and this is the first time i can have it so no one but me touches the car. so down the road when she grows old, any issues can be blamed on no one but me
It was a shop that I trust, I even stood next to the guy who changed it lol.. yeah, $25 for the labor only, my own oil and filter
So do hoists require to use that special adapter when jacking your car? I've always used ramps, never had to jack the Mercedes. I have brought the car to a tire shop recently, I hope they haven't done any damage to my car.
Nice writeup and great pictures. The drain plug looks like a good candidate for a Fumoto Drain Valve, it looks like it would fit perfectly and make draining the oil a breeze!
I have a 3 ton, but I prefer to use the oem jack since it fits in the oem jack point perfect. with a regular floor jack you need a jack adapter pad so it doesnt ruin the jack points.
but thanks!
Figured you would since it looks like you are well equipped otherwise.
I just use a plastic shim I had lying around and it works a charm. Those OEM jacks are extremely sketchy on any sort of uneven pavement, in my experience.
I have a 3 ton, but I prefer to use the oem jack since it fits in the oem jack point perfect. with a regular floor jack you need a jack adapter pad so it doesnt ruin the jack points.
but thanks!
Great write-up! Very detailed on the pics and instructions! Wish I had it on my first oil change last month.
BTW..... Just use a hockey puck for the contact point with your 3 ton floor jack. No issues, works great!
Figured you would since it looks like you are well equipped otherwise.
I just use a plastic shim I had lying around and it works a charm. Those OEM jacks are extremely sketchy on any sort of uneven pavement, in my experience.
i agree, luckily my garage floor is flat
before i had the oem jack i searched for something. the other guy suggested a hockey puck and thats an awesome idea.
2010 CTS 3.6 L. AWD, 1996 XJS 4.0 L. Convert., 2014 K 1600 GTL
Originally Posted by 1Gunner
Great write-up! Very detailed on the pics and instructions! Wish I had it on my first oil change last month.
BTW..... Just use a hockey puck for the contact point with your 3 ton floor jack. No issues, works great!
You may want to use a Mercedes Benz Jack Pad Adapter by BMS, $19.00 a piece made in the USA see BurgerTuning.com , from Burger Motorsport, Inc. California, made of black solid billet aluminum which fits inside the contact point perfectly.
The hockey puck may eventually crush the contact point.
Better use the proper tool than being sorry.
.
If buying something defined as a "proper tool" and endorsed by Mercedes lets you sleep better, by all means fill your boots. I like shiny new things also!!
Admittedly, being Canadian may have influenced my choice, but I've never had any cause to be sorry in over 30 years of using a simple hockey puck as a contact point whenever the vehicle warrants it.
My wife's C43 warrants it!
Refreshing the puck to a new(er) one every couple years helps keep it fully functional, along with using common sense!
+1 on that. I've been using the hockey puck trick on my MB's since 2009. I don't do my oil changes, but I swap the winter/summer wheels and tires every year. Works great with a hydraulic floor jack. I tried the ridiculous MB jack once, seems pretty flimsy. I could just imagine tryng to use that jack on the gravel shoulder of a road.
to each their own it seems. im one of those guys that likes to do it with mb tools and such. just buy them on the whole saler sites not the dealer and the cost doesnt creep.
hockey puck may work for some as well. either way jack the car how you want it seems
to each their own it seems. im one of those guys that likes to do it with mb tools and such. just buy them on the whole saler sites not the dealer and the cost doesnt creep.
hockey puck may work for some as well. either way jack the car how you want it seems, but however you jack up your car.... do it safely!!
Extremely nice to see you USE and remove the OIL DRAIN PLUG.
PERFECT write up! Best I have ever seen. I truly thought everyone including the dealerships have succumbed to sucking the oil though the dip stick. FIRST article I have seen doing it the RIGHT way, that is the reason the manufacture installed a oil DRAIN PLUG. Thank you!
PERFECT write up! Best I have ever seen. I truly thought everyone including the dealerships have succumbed to sucking the oil though the dip stick. FIRST article I have seen doing it the OLD FASHIONED WAY, that is the reason the manufacture installed a oil DRAIN PLUG. Thank you!
Fixed it for you.
There's nothing wrong with vacuuming out the oil. Drain plugs are basically vestigial at this point. They are analogous to the appendix on a mammal.
Excellent DIY! Thanks for sharing. I'm including a link to our main page for all our MB DIYs divided by platform - I hope these guides are useful to you all. Please let us know if you have any questions about the DIYs and we'll be happy to assist.
2017 AMG C43, AWE Touring, BMC Air Filters- 2015 BMW X3 3.5i (JB1 Equipped)
I have done this also and highly recommend Race Ramps for getting the car up high enough to reach the oil drain plug. Very convenient and light weight. It made changing the oil a breeze. Jacking a car up & crawling under it freaks me out....
Nice DIY write up Star4life!
You mentioned you did your first oil change at 4k, as this is was your break-in. What will be your normal intervals for oil change?


 11-22-2017, 12:38 PM