When you click on links to various merchants on this site and make a purchase, this can result in this site earning a commission. Affiliate programs and affiliations include, but are not limited to, the eBay Partner Network.
2012 P31 C63 Coupe Trackrat, 2019 GLE63S Coupe Beast
ZDDP and zinc will kill your cats, which is why they recommend it for racing only. The ZDDP and zinc are about twice that found in the 0W-40. Still trying to figure out if it's ok to use for longer intervals or not - if it doesn't have the right detergent package and stability modifiers, then it will break down quickly. I'm about "this" close to taking my cats off anyway. There's some conflicting evidence, but the tests look good. Lots of info about it over on BITOG. Oh, also it's $17 per quart. So there's that.
ZDDP and zinc will kill your cats, which is why they recommend it for racing only... I'm about "this" close to taking my cats off anyway...
Ha! I wish!!! I live in California, I can't go to the bathroom without the state testing it for hydrocarbons!!! Looks like I'll just stick with what MB engineers decided was best. Thanks for the info BLKROKT.
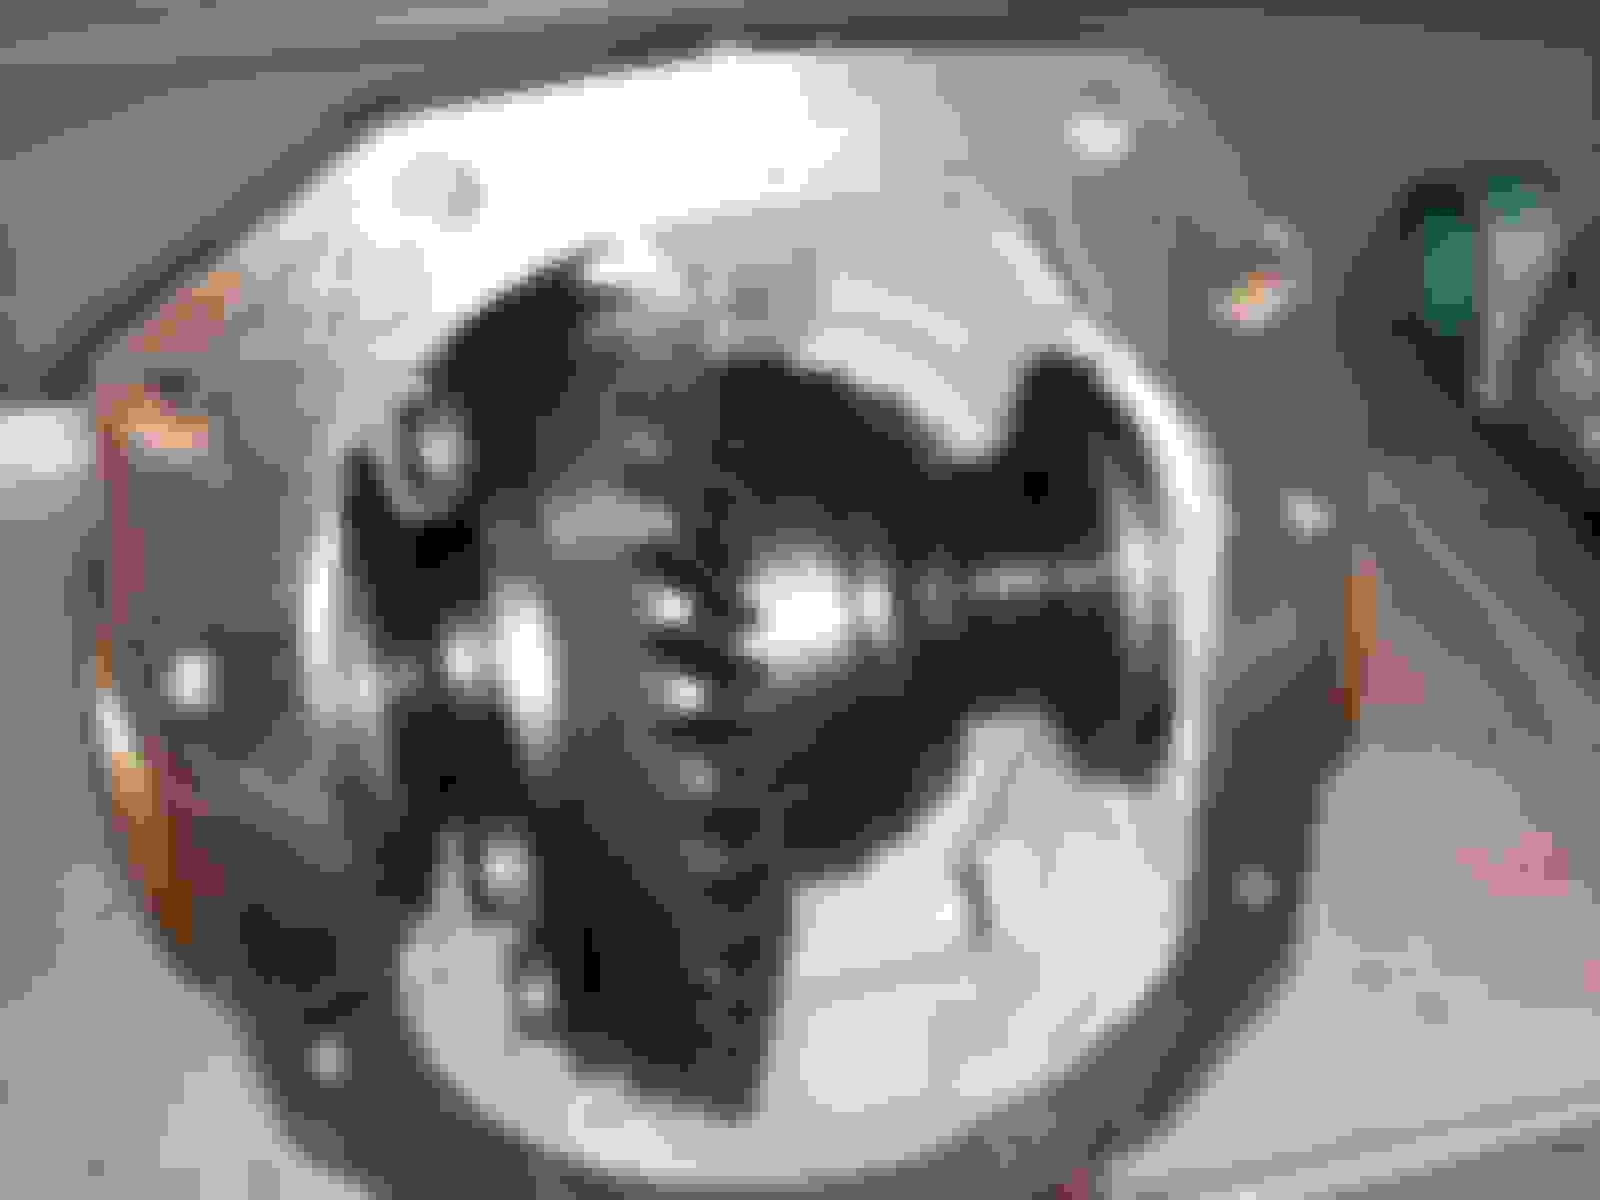
I must admit, having seen the pictures here, I also was very confused about what role the tools played in setting the timing, but once you have everything apart, you see how simple it is and also how brilliant the design is. There are no dowels on the cams like there are on traditional cams, so the only way you get the cams in time with the rotating assembly is with those tools. Each cam has a machined surface near the front of the shaft that the big plate drops on top of. This holds both cams in place because the key to this whole process is making sure the entire rotating assembly is at 40 degrees BTDC. Why they picked that number instead of TDC, I'll never know, but it's what they chose. At any rate, getting everything to the magical 40 degrees was probably the most difficult part of the process; the timing mark on the block is incredibly difficult to see unless you have the radiator out and most of the accessories off the front of the engine. A small inspection mirror was my best friend for that task. At any rate, once everything is on that magical number, all the tools fall into place and you can start slowly removing cam caps. The reason you use that big plate to hold everything is because the exhaust cam on the driver's side and the intake cam on the passenger side have lobes that are fully activated on their eccentrics. So, if you were to try to do this job without them, one of two things will happen; either the cam will snap because the back of the shaft is trying to rotate while the cam gear is trying to stay engaged with the drive gear, or you'll break a tooth off either the cam gear or drive gear. The tools weren't cheap, I got mine for about $175 with free shipping from Amazon and the only thing I would change about the kit is, I would put another gear holder in the kit. Once you have everything timed using the holder tools, then the last part of the process is putting on the reluctor wheels for the phasers and making sure they are in time with the cams. Again, there are no dowels to ensure everything is in time, the tools set everything. The reluctor wheel timing plate has small dowels that fit into certain teeth in the reluctor wheels and once they're in the right spot, they can't move. Once you have everything in time, you torque the bolts down to 85 ft lbs and that's all that holds everything in place. Coming from a place where we use dowels to line everything up and keep everything in time, that made me pretty nervous. But, I suppose with twice the clamping force of what is normally used to secure a timing set with a dowel pin, it's probably safe. Finally, I do have a subscription to alldatadiy.com, but if you've ever used that, you know that all it's really good for is torque values. Don't plan on trying to tackle a job using just that. I had no DIY instructions, I went off what I'd read here and with the help of the alldata site, its just a matter of taking something apart methodically, documenting your progress as you go so you have a reference point, and carefully reassembling it the way it came apart. For most of us here, that's something we've done our entire lives with the lawn mower, the weed eater and anything else with an engine. Just work slowly and carefully, its nothing that someone who has disassembled and engine or two can't do with the right tools and research. I have a bunch of footage of me completing this task with gopro cameras that I'm going to try and edit and post to youtube, but we'll see how that goes.
Additionally, you asked about the buckets and my answer is no, they don't HAVE to be replaced, but I sure was glad I did. I posted a few pics of the buckets that came out of my 25k mi engine and it was SCARY how much wear they'd sustained in a very short period of time. I have no doubt that those things would have caused some form of destruction at some point. You could see very pronounced wear marks in more than one of them where they'd either run dry and there was metal on metal contact or they just weren't holding enough pressure to maintain the proper clearance and there was a gap between the cam lobe and bucket. The buckets are essentially hydraulic lifters that maintain a given clearance between the cam and the valve stem. By the lifter noise mine would occasionally make at start up or anytime the oil level got just a little too low, my guess is that the issue with the lifters has to do with their pressure holding capabilities. Either that or the recommended oil viscosity is way too low for this engine. I have a feeling that has something to do with the phaser failures as well. The phasers are nothing more than hydraulically actuated, electronically controlled, pressure switches, just like what's in your automatic transmission. They have three separate rings that hold the pressure in passages that either retard or advance the cams based on desired conditions. Judging by the amount of wear mine already had on them, I have serious doubts about the long term reliability of this engine using that low viscosity oil that it calls for. I switched mine to 10W-30 just as a precaution, we'll see how that plays out. I'll admit, I'm not an engineer, chemist or physicist, just basing my opinion on what I saw and how I feel about low viscosity oil.
Sorry I wrote a book, had a lot on my mind!
WOW! Thank you so much for this write up! Will definitely reference it when the time comes.
Nice! Smart move taking the radiator out, that driver's side was a B***H because there is literally no space on that side with the radiator still in the car. Are you doing this work yourself or having a shop do it? Are you leaving the heads on?
^^^^^ Sorry those pics are out of sequence, car just before operation, then disassembly...
The shop I am doing it at is Autohaus Frankfort in Murrieta. Richard is a c63 headbolt master, as 4Ramin and a few other cars have been under his OCD gifted hands. He is a BMW Benz Master who knows these cars inside and out.
He lectured me an hour on torquing and proper torquing sequence, let alone putting in one headbolt at a time and waiting hours before placement of the next. Thats the service you will not get a a dealership with high school kids rushing jobs.
Because I live in CA going with water wetter and Redline 0-40 oil. Going to do a 2K oil change to get all the Mobile 1 residue out.
My engine stank but was clean ONLY because I did 3-4K mile oil changes with that crap Mobil 1. Never using it again!
He mentioned 2 of my headbolts looks suspect. I have 23K miles on the car.
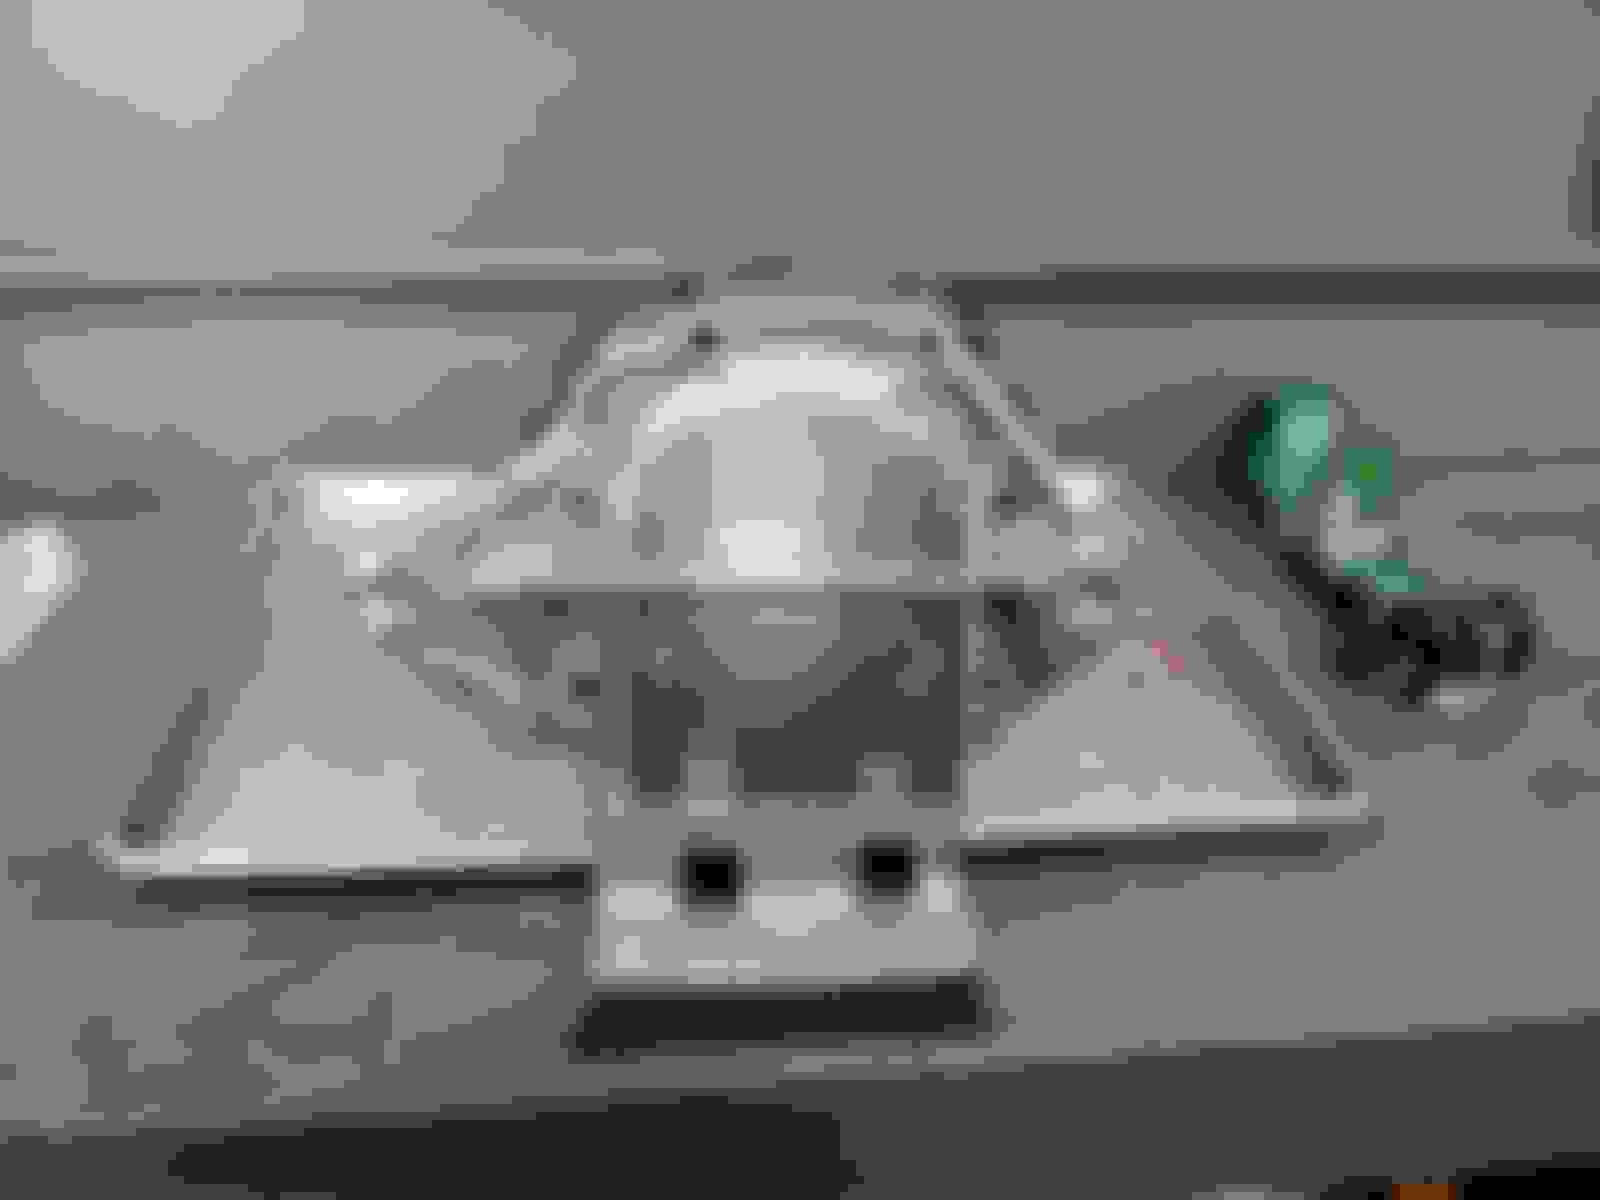
Taking off the heads and even changing all cam bolts....
I love this car and will love it even more with this all done. This car is more near and dear and fun to me than the $35K I can probably get for it. Plus my car is in pristine condition, cared for and garaged.
So, over the last week, I've put about 150 ish miles on the car, everything seems to be working well so far, except the stinking water temp that still seems to want to fluctuate. I've been watching the AMG menu like a hawk, and it's fluctuating between 180-200�F. Anybody have any idea what could be causing that? I added coolant once during the week, but level seems to be staying consistent. The oil level doesn't seem to be changing, so I do not suspect coolant is ending up in the crankcase. I would think by now that any air trapped in the system would have worked itself out by now, but who knows. Thoughts gents???
2012 P31 C63 Coupe Trackrat, 2019 GLE63S Coupe Beast
That's normal for the temp to fluctuate as the thermostat opens and closes. Usually more apparent when the weather gets cooler. Mine goes down into the low-180's to high-170's and back up to 197 and repeats - particularly when highway cruising, or slowing from a high speed.
That's normal for the temp to fluctuate as the thermostat opens and closes. Usually more apparent when the weather gets cooler. Mine goes down into the low-180's to high-170's and back up to 197 and repeats - particularly when highway cruising, or slowing from a high speed.
Glad the surgery seems to have worked!
It has definitely gotten colder here! I don't think it's been more than 70 since I got it all back together, and since this is the first winter I've had the car, makes sense I have no clue what is "normal" for the winter months. Thank you again for the info BLKROKT!!!
nice job Zephr thats got to be one of the cleanest engine bays i've ever seen. That **** looks show room spotless. Good job taking care of that car so well.
nice job Zephr thats got to be one of the cleanest engine bays i've ever seen. That **** looks show room spotless. Good job taking care of that car so well.
nice job Zephr thats got to be one of the cleanest engine bays i've ever seen. That **** looks show room spotless. Good job taking care of that car so well.
Originally Posted by rentzington
Looks like you could eat off that manifold
Thanks for the kind words. The car isn't some garage queen but I have been doing 3-5k oil changes and still drive it spiritedly on public streets while still being safe and not being stupid. As a matter of fact, not sure if you can tell, I have 3 major cracks and chips in the windshield. I have been unlucky enough to have a rock from the OTHER side of the highway hit it freakishly then the car 4 cars in front of me shoot another rock at it and destroy it further. A perfectly pristine windhshield went to crap in 1 month. (BTW anyone know a windshield place in Southern Cal that is great and uses the spider cable removal?)
I should have it back by the end of this week. I am excited to get it back as it is also getting lowered and I am thinking of a tune with either Renntech or Wiestec now the headbolts are behind me and an LSD.
Next is CF parts and maybe powdercoat wheels with a silver lip.
Hi guys!
I have been following up this thread and a have a question to those who have performed the bolt change already... If all I'm doing is changing the head bolts, it is necessary to remove the cam phaser/adjuster from the cams? Can I remove the Camshaft as a whole assembly and not mess with the position of the phaser/adjuster?
It's easier to put the cams in with the phaser bolt lose as some times you can't get them down in exactly the gear tooth they came out of. They don't need to be removed but just loose that bolt some so they can move.
Hi guys!
I have been following up this thread and a have a question to those who have performed the bolt change already... If all I'm doing is changing the head bolts, it is necessary to remove the cam phaser/adjuster from the cams? Can I remove the Camshaft as a whole assembly and not mess with the position of the phaser/adjuster?
Thanks....
jimmy
I would say no. I said somewhere along the line that I tried taking the exhaust cam on the driver's side out without removing the phaser from the front of the cam and it did not go well. That cam and the passenger side intake cam have lobes that are completely on the apex of their eccentrics with the engine at the 40 degrees after TDC that the procedure calls for. If you try removing the caps with those cams in those positions, either the front of the cam will bind in the front cap saddle, or you'll end up stripping out the bolt holes in the saddle that holds the lobes that are on top of their eccentrics. The way to do it is to take the phasers off, leave the holder bridge over the top of both cams then gently work each cam back and forth with a wrench to get the holder off, then rotate the one under tension until its in its lowest tension location. It doesn't take much, maybe an 1/8th of a turn for D/S exhaust cam and same for the P/S intake cam. It's kind of hard to envision it if you've never been in there and had everything apart, and Merc63, jump in here and correct me if I'm wrong, but I don't think that it's critical to get the gears on the phasers back in their original locations in relation to the crank driver gear in the head. What is critical is the phaser reluctor wheel orientation to the cam. So, when you set everything up to install it, the cams are held in place by the bridge holder, and the phasers have to be in their correct positions using the tool that aligns those, but the phaser gears, being independent from the cam and the phaser reluctor wheel, I don't think it matters as long as the spring loaded gear behind the drive gear for the actuator are in time with each other, which is accomplished by using the gear holding tool in the cam kit. Again, someone correct me if I'm wrong, but while I made sure mine went back together exactly how they came out, I think the drive gears on the phasers could go back in differently than they came out as long as the phaser reluctor wheels and cams match up.
After head bolt install, car runs so smooth. Your cold starts will suck if you change out your buckets. The alignment and the updated camber bolts were placed, car runs in a straight line on rails.
I also have 10 OEM updated (hard to find) cam bolts if anyone wants them. They were like $3 each. They are brand new (they are the black ones, not the old silver ones).

 11-10-2015, 12:25 PM