When you click on links to various merchants on this site and make a purchase, this can result in this site earning a commission. Affiliate programs and affiliations include, but are not limited to, the eBay Partner Network.
Used PlastiDip, as its very easy & forgiving to use.
I did my ML63 headlights with this method too, and it turned out great.
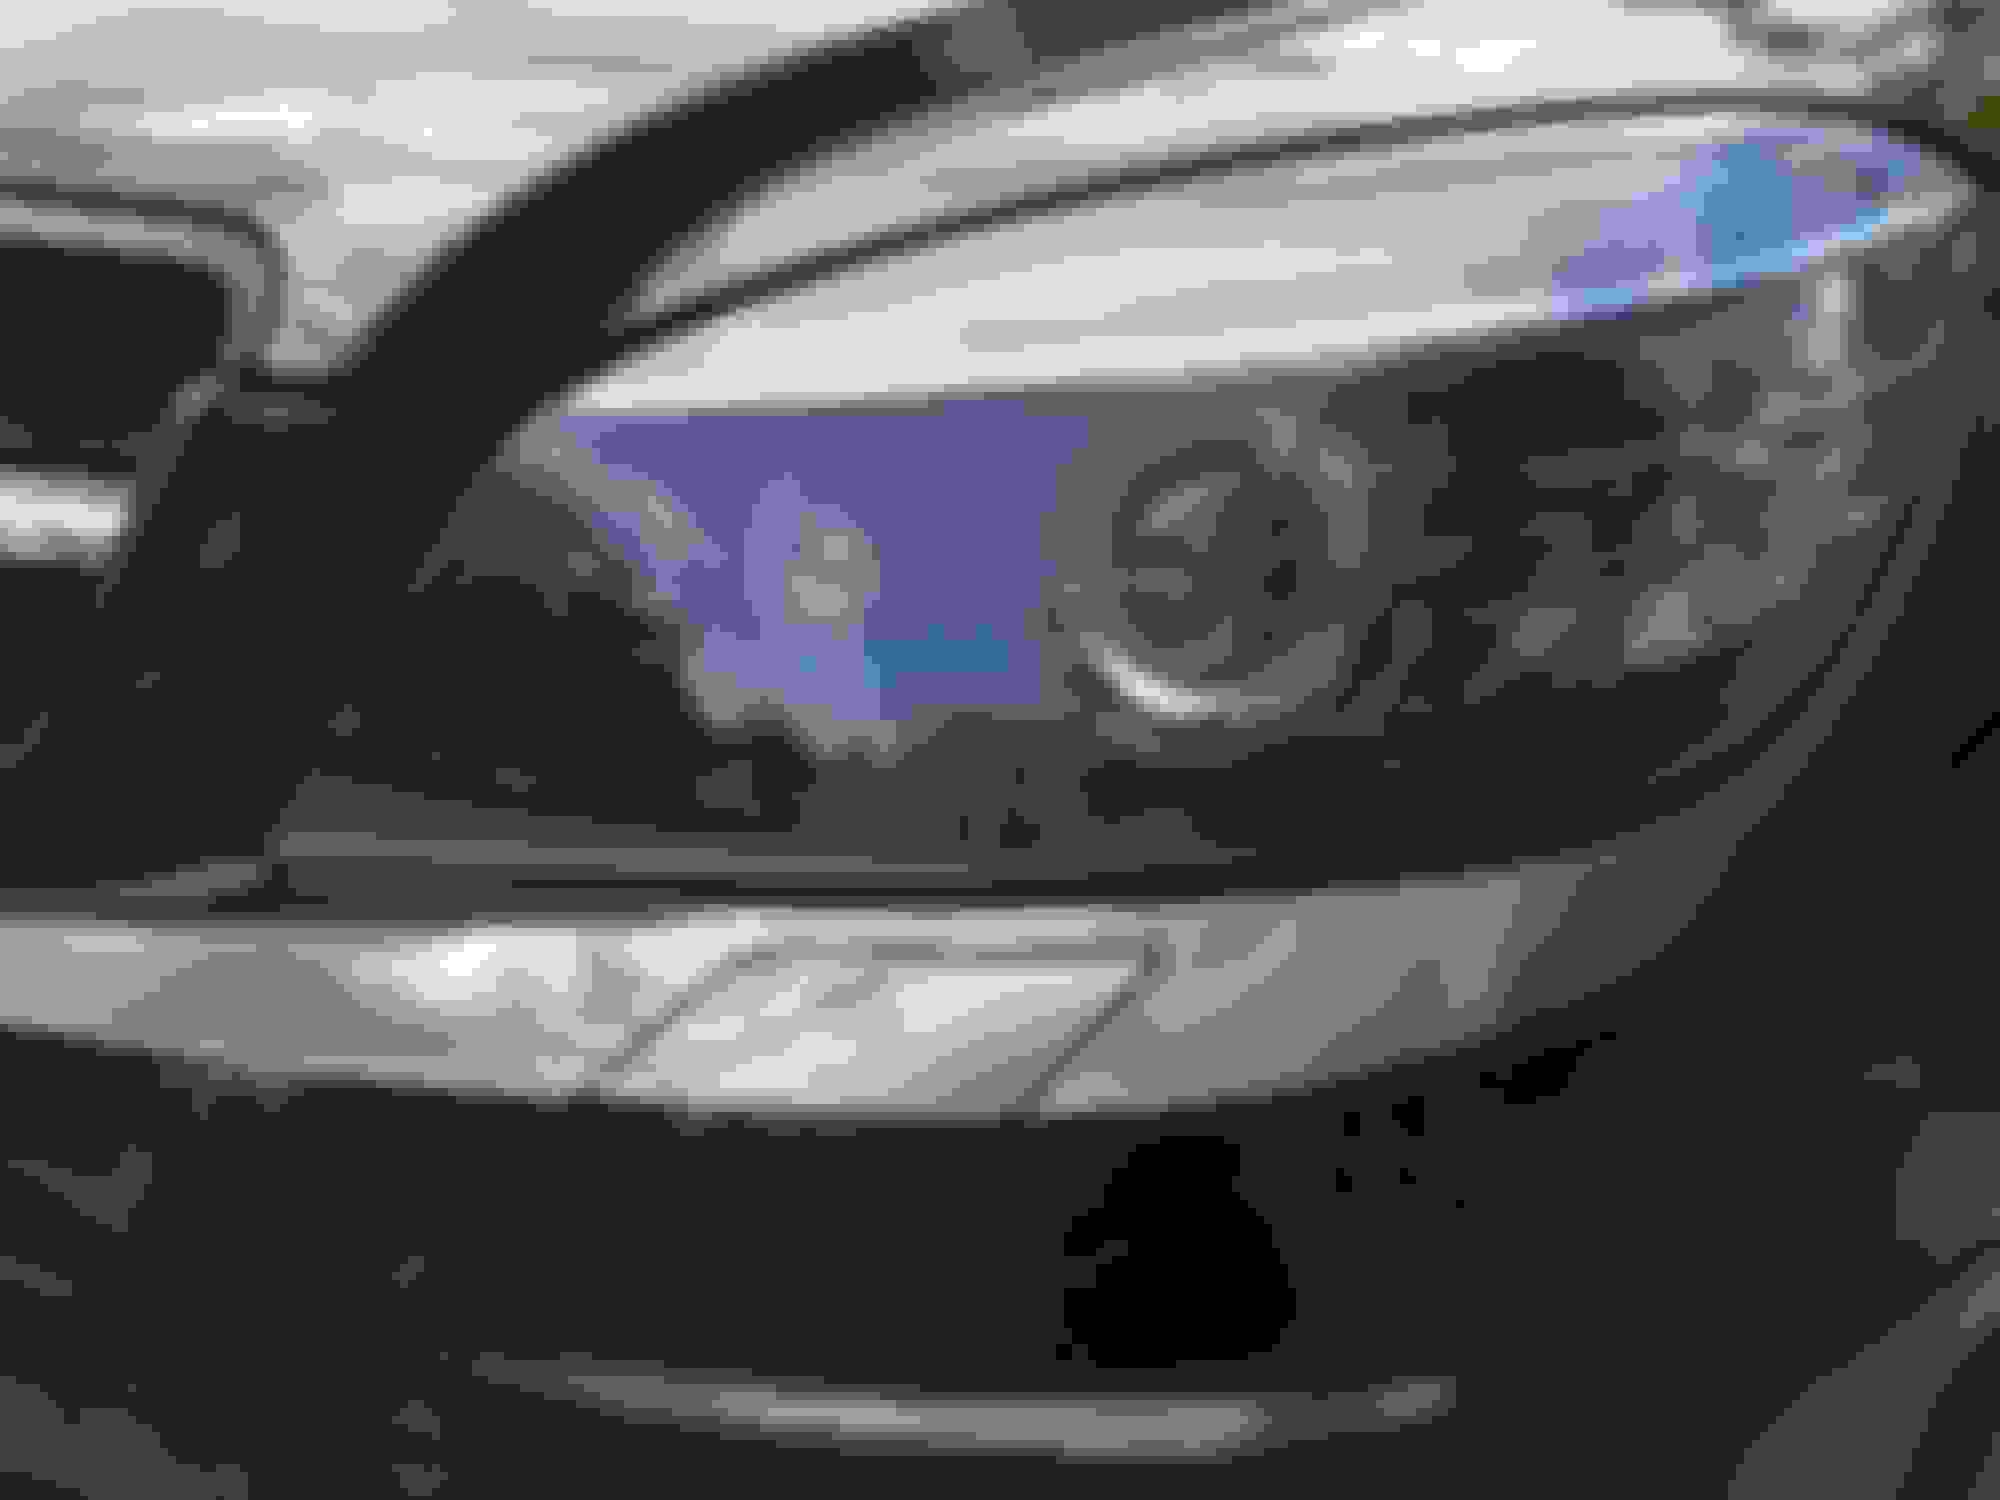
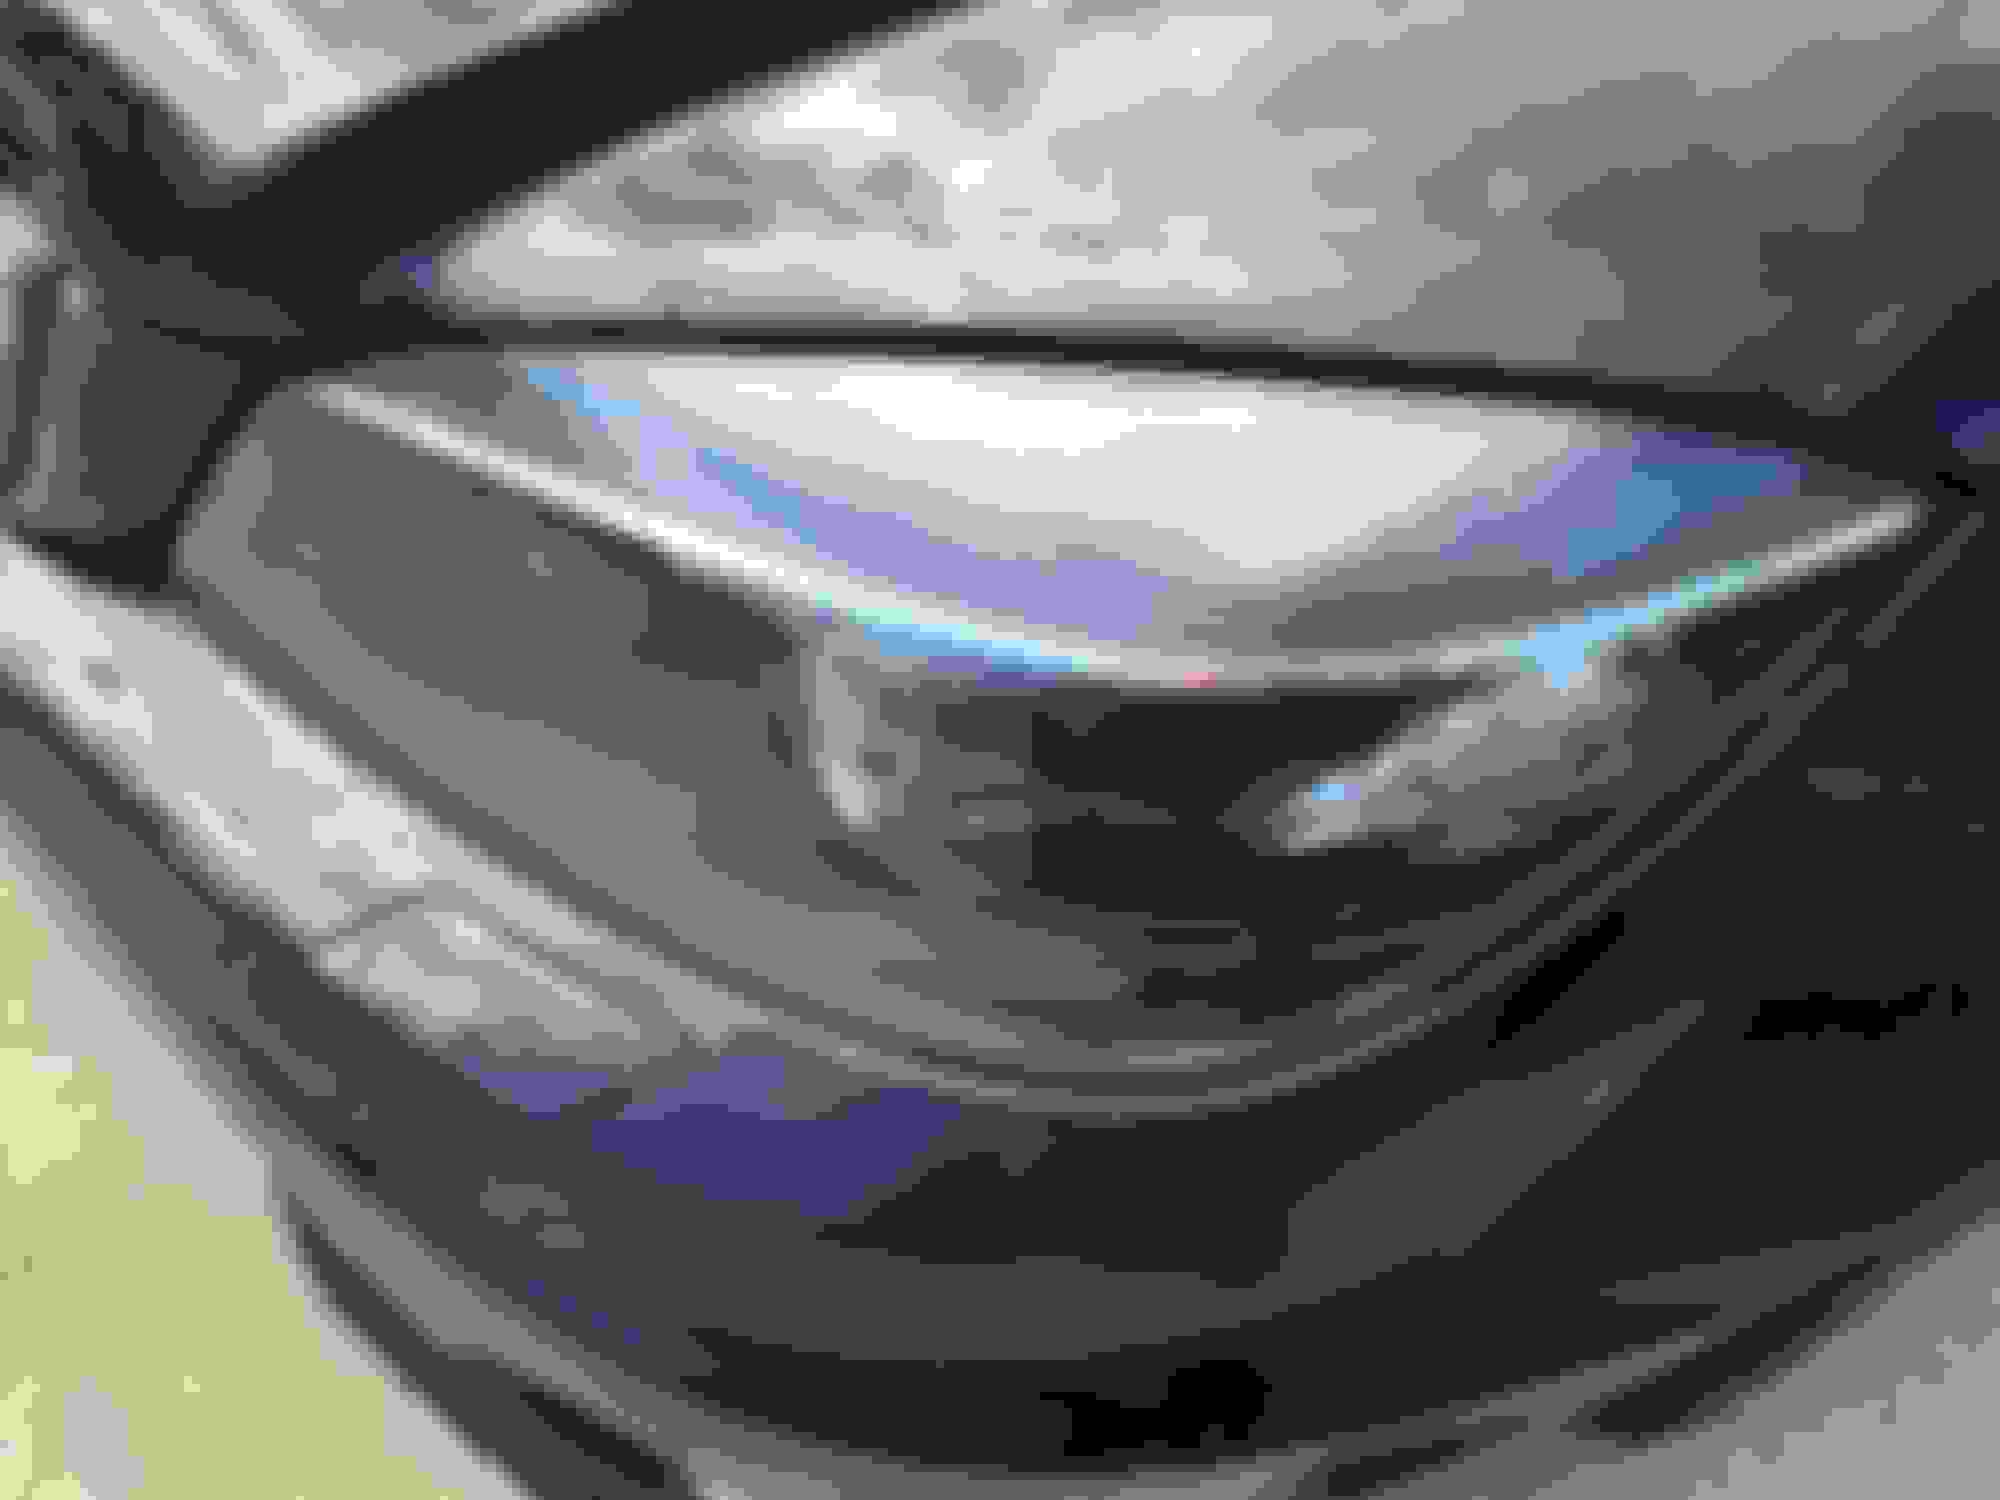
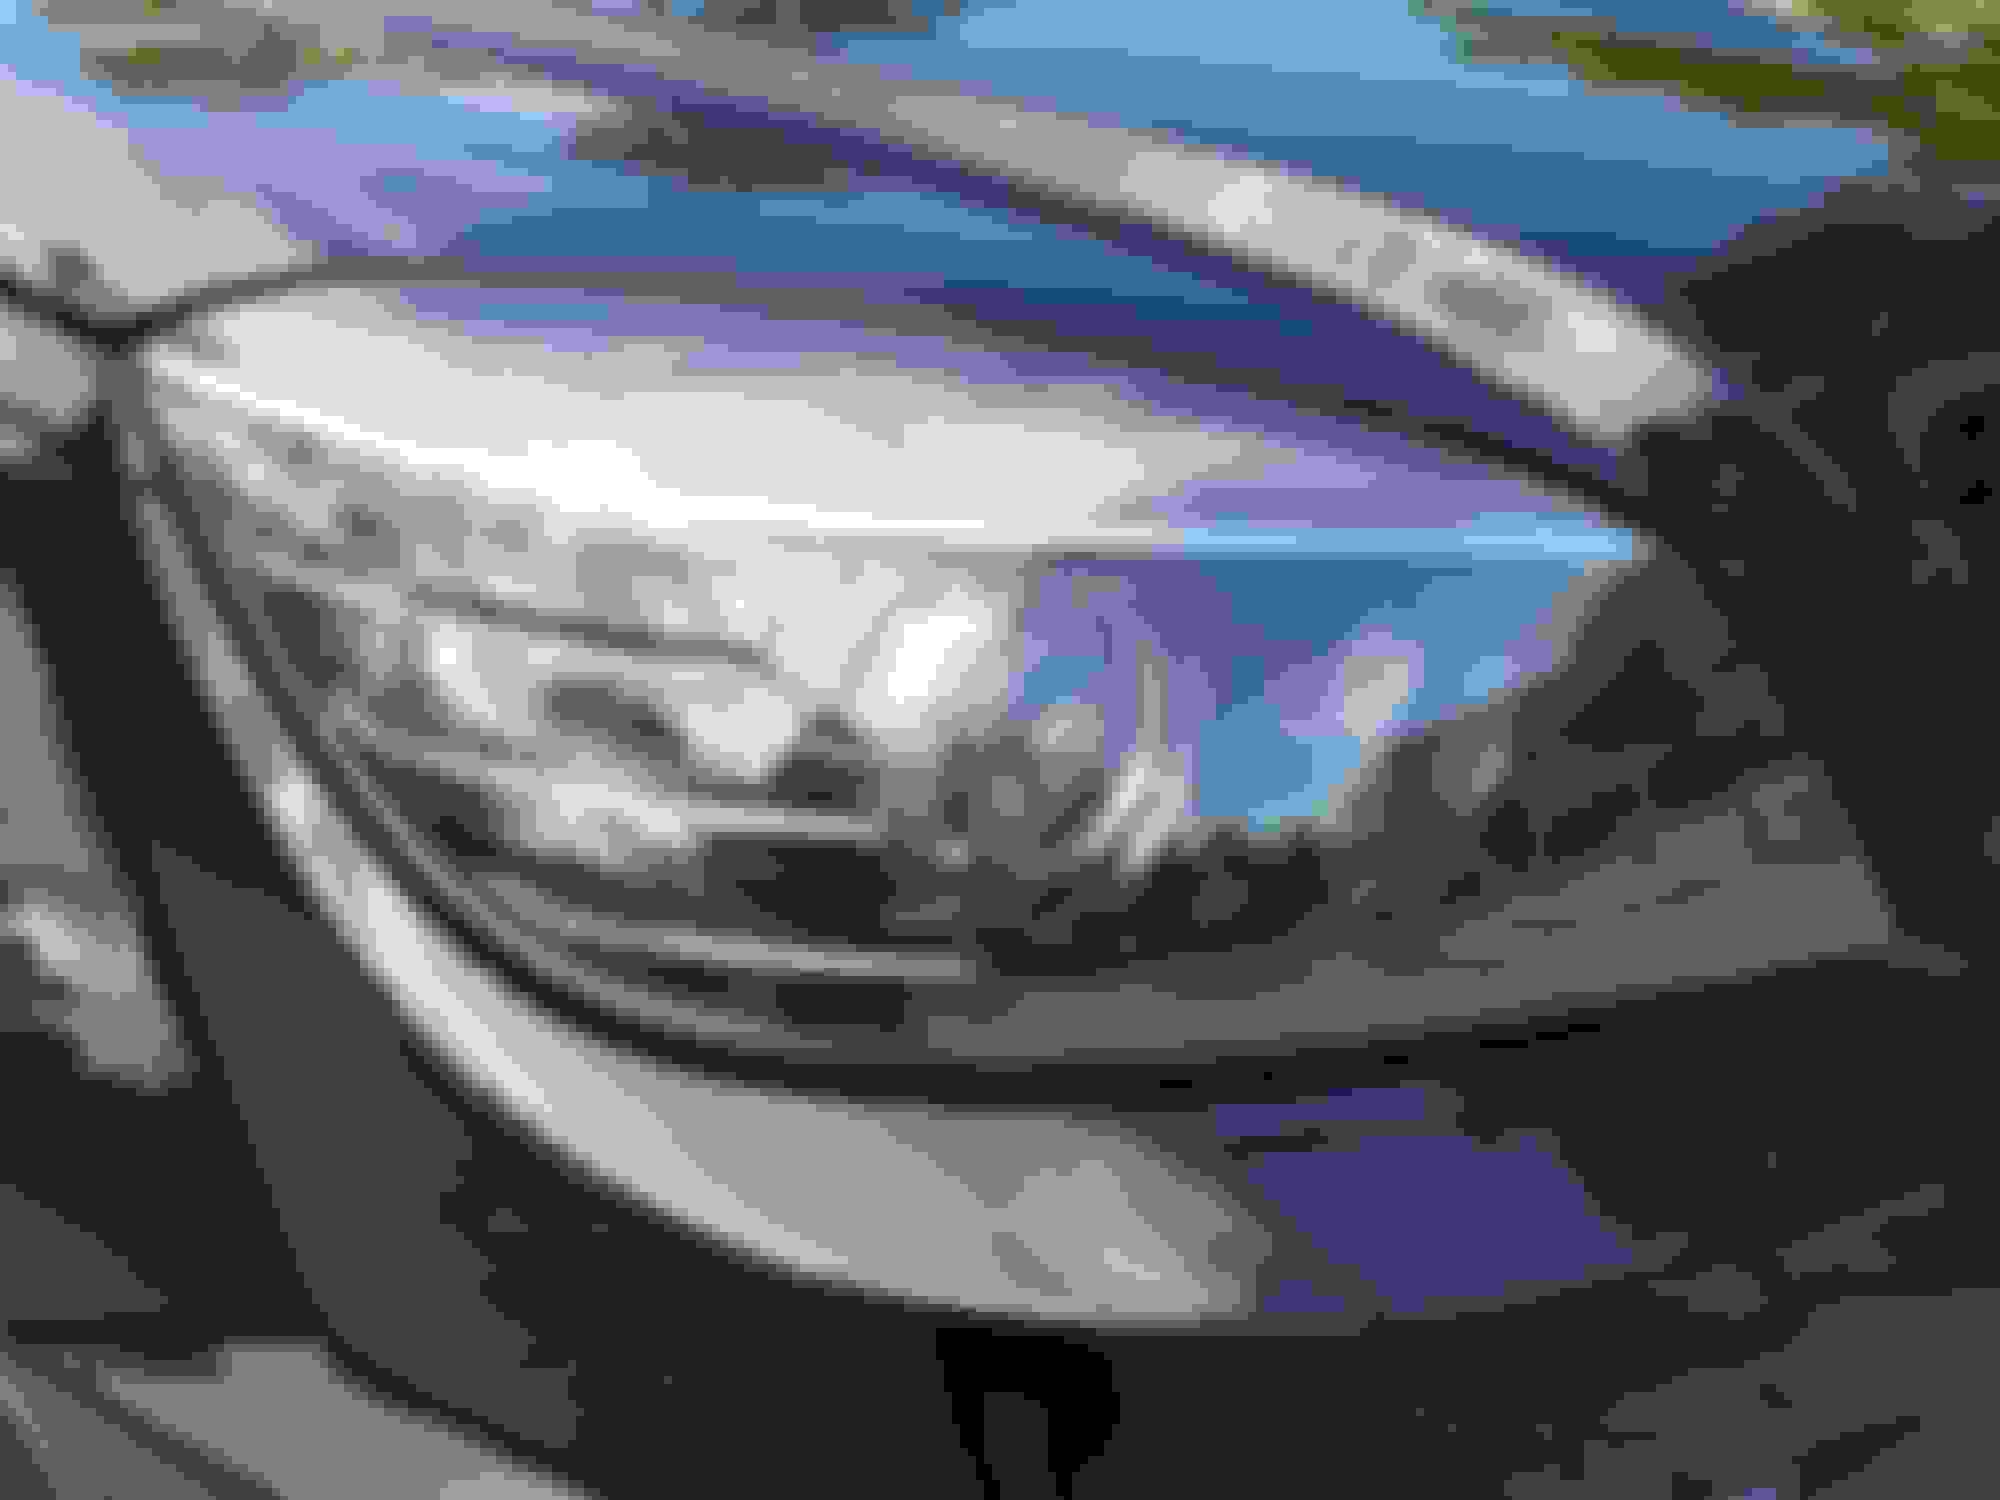
Let me know what you guys think. Its hard to tell in pics, as the plastic headlight housing is so shiny. But in real life, can notice the change quite well.
I quite like the outcome.
Enjoy!
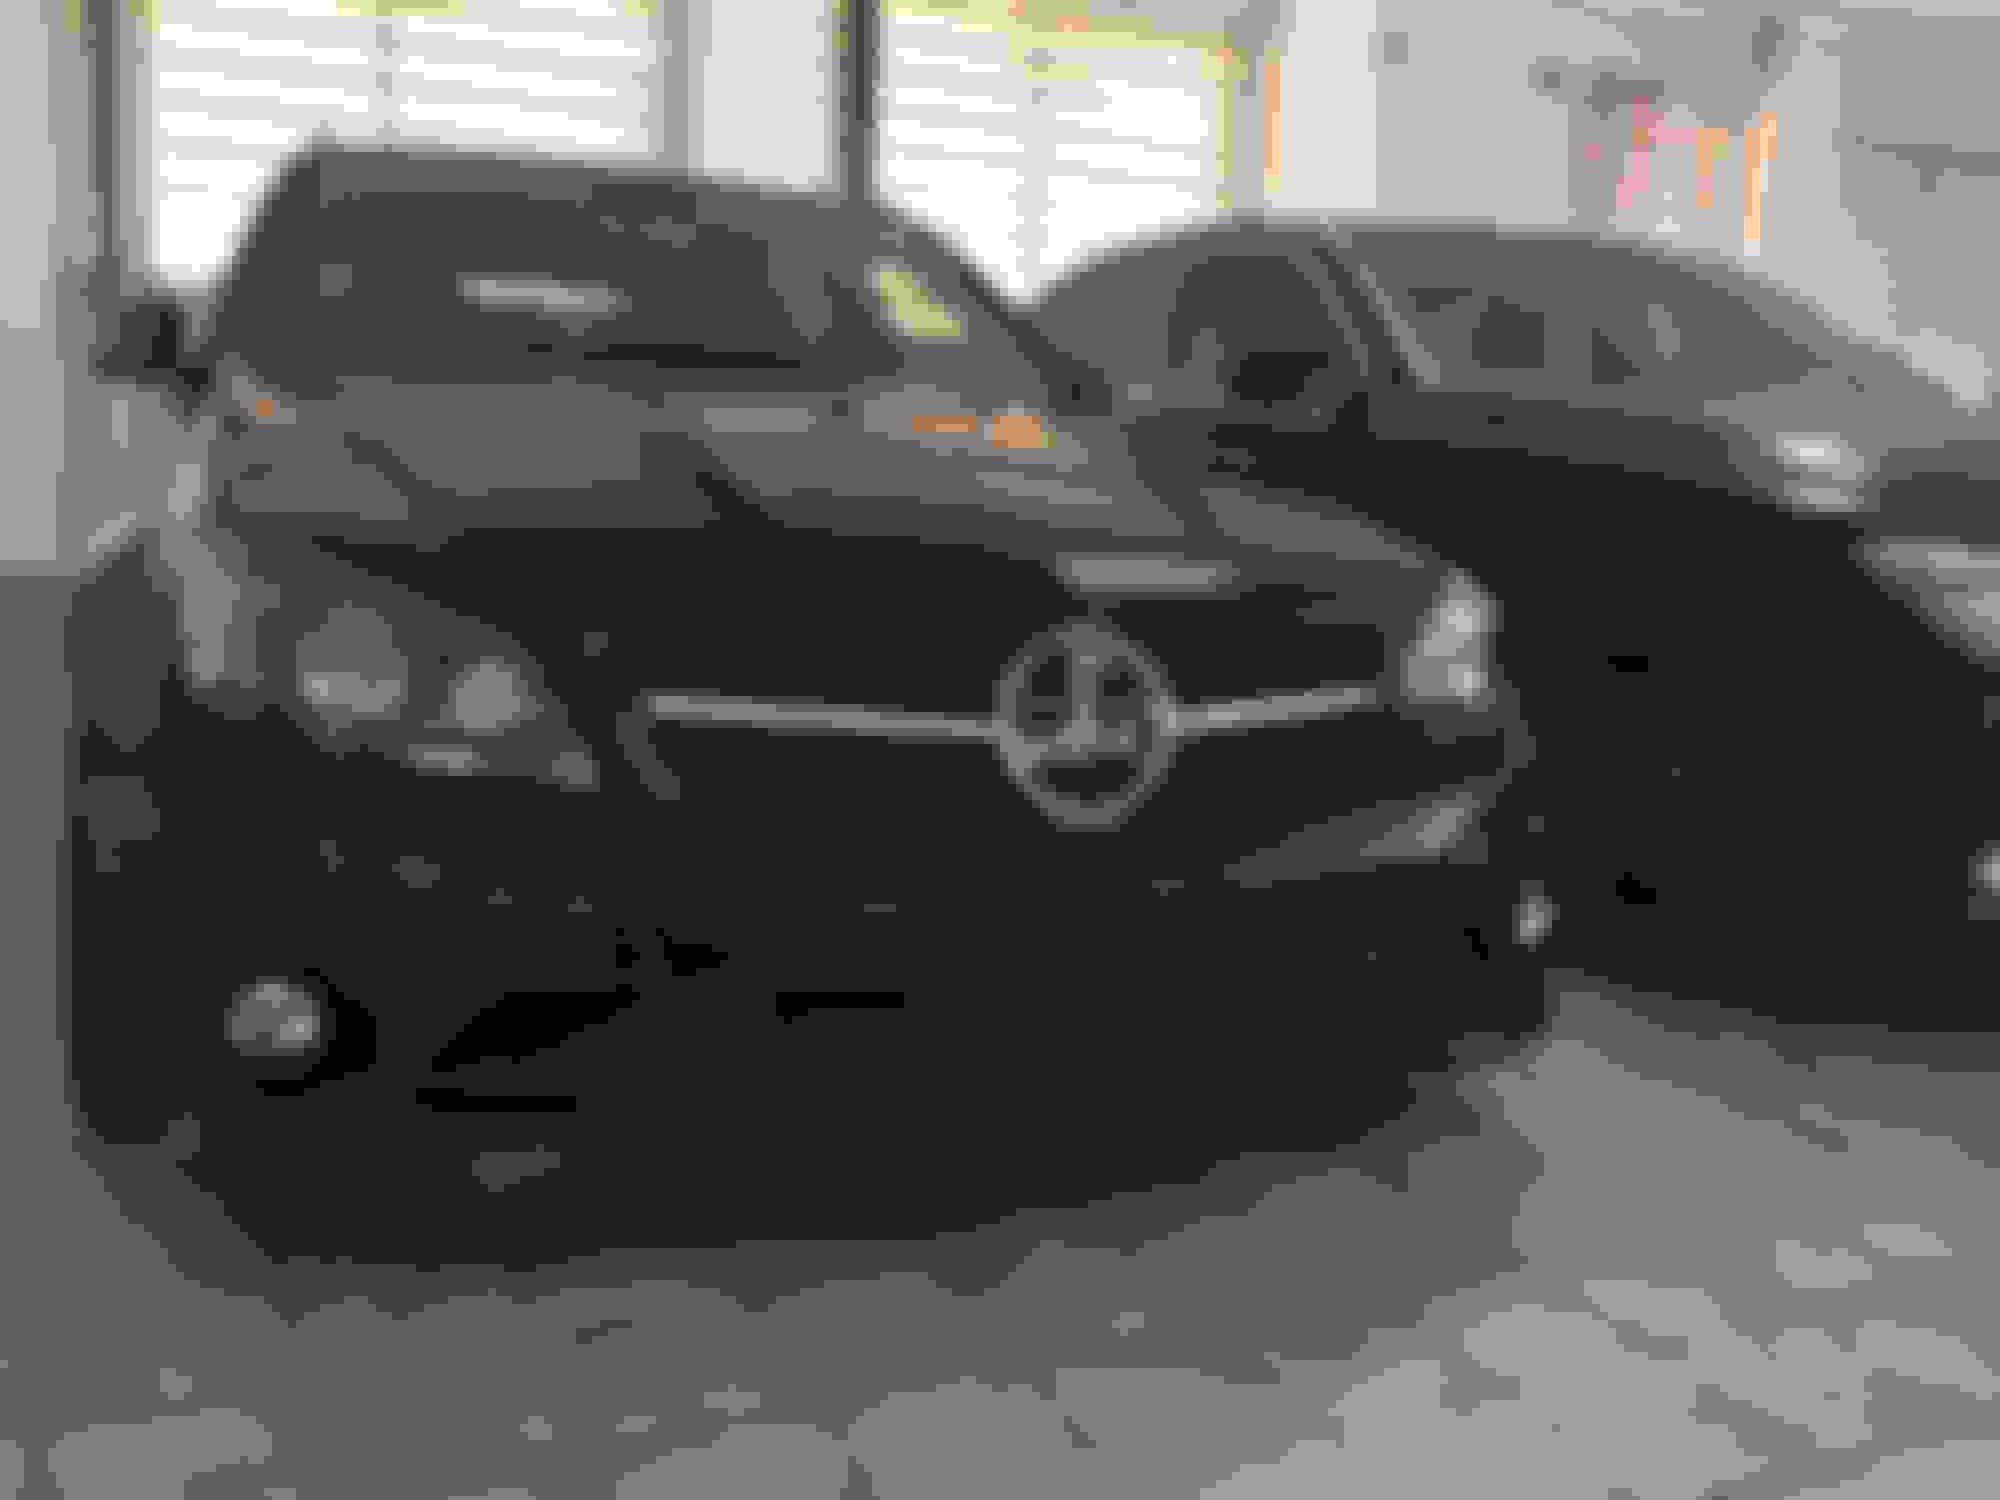
BEFORE: [not my pic, but a stock headlight none the less]
2012 P31 C63 Coupe Trackrat, 2019 GLE63S Coupe Beast
I did the same thing. Subtle is right, and looks great on a black car.
Need to pry them open. I used a heat gun on them, some people like to put them in the oven. Just beware that they will probably never seal as well again once you crack them open, and you may get some condensation in the rain or car washes.
I personally use the oven. 10 mins at a pre-heated 110 Deg C.
Then i literally just opened them with my hands. No need to use any tools.
To put them back together, i used a little slaz, then put them in the oven again for 5 mins, then took them out, and held them together for a few mins to let the glue set.
W213 E63S Wagon, W204 C63 P30(RIP), WK1 Grand Cherokee SRT8(RIP)
I want to add to this thread....there is NO reason to open up the headlights without changing the lenses on the projectors....$40 to TheRetrofitSource and you will be AMAZED at the change in output....our projectors are Bosch E46 units
I did the same thing. Subtle is right, and looks great on a black car.
Need to pry them open. I used a heat gun on them, some people like to put them in the oven. Just beware that they will probably never seal as well again once you crack them open, and you may get some condensation in the rain or car washes.
I had a little fogging in one of my headlights told the dealer about it on my yearly service and they said that was normal because it was not a sealed unit. I personally found this to be a strange set up, but they are supposed to be the experts. So are these seal units or not
AMG893, if you do end up upgrading to these lenses, be mindful that you will need to flip the plate-thingy on the inside or else the cut-off will go upwards to the right into oncoming traffic - whereas we need the cutoff curve to go up towards the left (eg. towards street signs).
i'd LOVE to ugprade to these except i'm way too scared to open up the housing.
You don't flip anything.....it is a DIRECT replacement for our fresnel lenses
no, you're in america. those lenses you linked are for american LHD. we're RHD. the cutoff curves upwards to the right for you guys. we need it to curve up towards the left.
W213 E63S Wagon, W204 C63 P30(RIP), WK1 Grand Cherokee SRT8(RIP)
AMG893,
Let us know how the plastidip holds up....I do lots of headlights and have always shied away from it due to the high heat levels inside of the housing.....looks great though
The lens has nothing to do with the cutoff...the cutoff is controlled by the shield. You are not touching the shield at all, just the glass lens.
In the photo in the link I thought I saw the shield/plate thingo. If that isn't it in the photo then I stand corrected. However, still something to be mindful of regardless for anyone upgrading their lights in any form in Australia.
W213 E63S Wagon, W204 C63 P30(RIP), WK1 Grand Cherokee SRT8(RIP)
Originally Posted by Phorte
In the photo in the link I thought I saw the shield/plate thingo. If that isn't it in the photo then I stand corrected. However, still something to be mindful of regardless for anyone upgrading their lights in any form in Australia.
It may have been included in one of the pics but I was just referring to the lens itself.... And I agree about the cutoff needing to be accurate, I have a friend that lives in Australia and he relayed a story of a SERIOUSLY heavy fine because he had North American aftermarket headlights in his SRT8 Grand Cherokee....definitely need to keep that in mind
It may have been included in one of the pics but I was just referring to the lens itself.... And I agree about the cutoff needing to be accurate, I have a friend that lives in Australia and he relayed a story of a SERIOUSLY heavy fine because he had North American aftermarket headlights in his SRT8 Grand Cherokee....definitely need to keep that in mind
If only I had someone confident like you in the city I'm in to do the lens swap for me haha
AMG893,
Let us know how the plastidip holds up....I do lots of headlights and have always shied away from it due to the high heat levels inside of the housing.....looks great though
I can say that it holds up perfectly fine.
I did the same thing in my ML63 and never had a problem at all.
PlastiDip is surprisingly resilient, and its so forgiving to work with.
Mercedes SLR McLaren 722 S Is Extremely Rare Example Modified by McLaren
Slideshow: A one-of-one U.S.-spec Mercedes-Benz SLR McLaren Roadster became even rarer after a factory-backed transformation at McLaren's headquarters.


![[PICS] - Subtle Headlight Change-img_2955_1.jpg](https://mbworld.org/forums/attachments/c63-amg-w204/372001d1501267401-pics-subtle-headlight-change-img_2955_1.jpg)
![[PICS] - Subtle Headlight Change-img_3225.jpg](https://mbworld.org/forums/attachments/c63-amg-w204/372002d1501267401-pics-subtle-headlight-change-img_3225.jpg)