When you click on links to various merchants on this site and make a purchase, this can result in this site earning a commission. Affiliate programs and affiliations include, but are not limited to, the eBay Partner Network.
2012 P31 C63 Coupe Trackrat, 2019 GLE63S Coupe Beast
Fair enough, thanks for your thoughts on that.
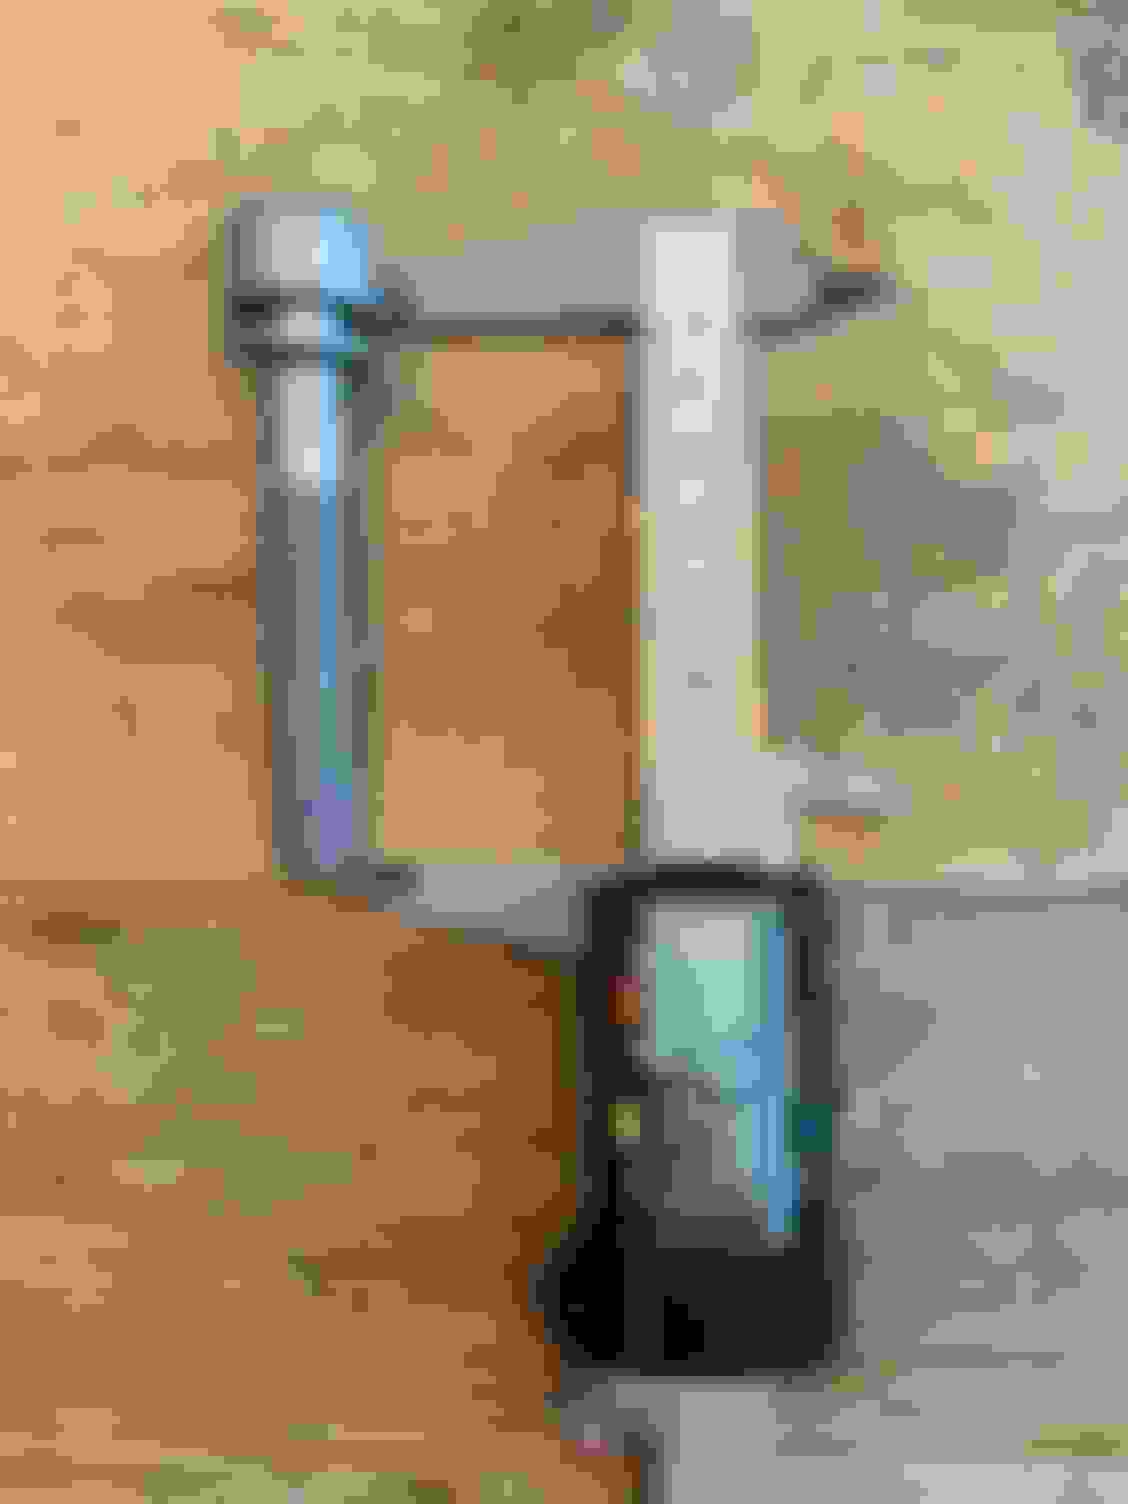
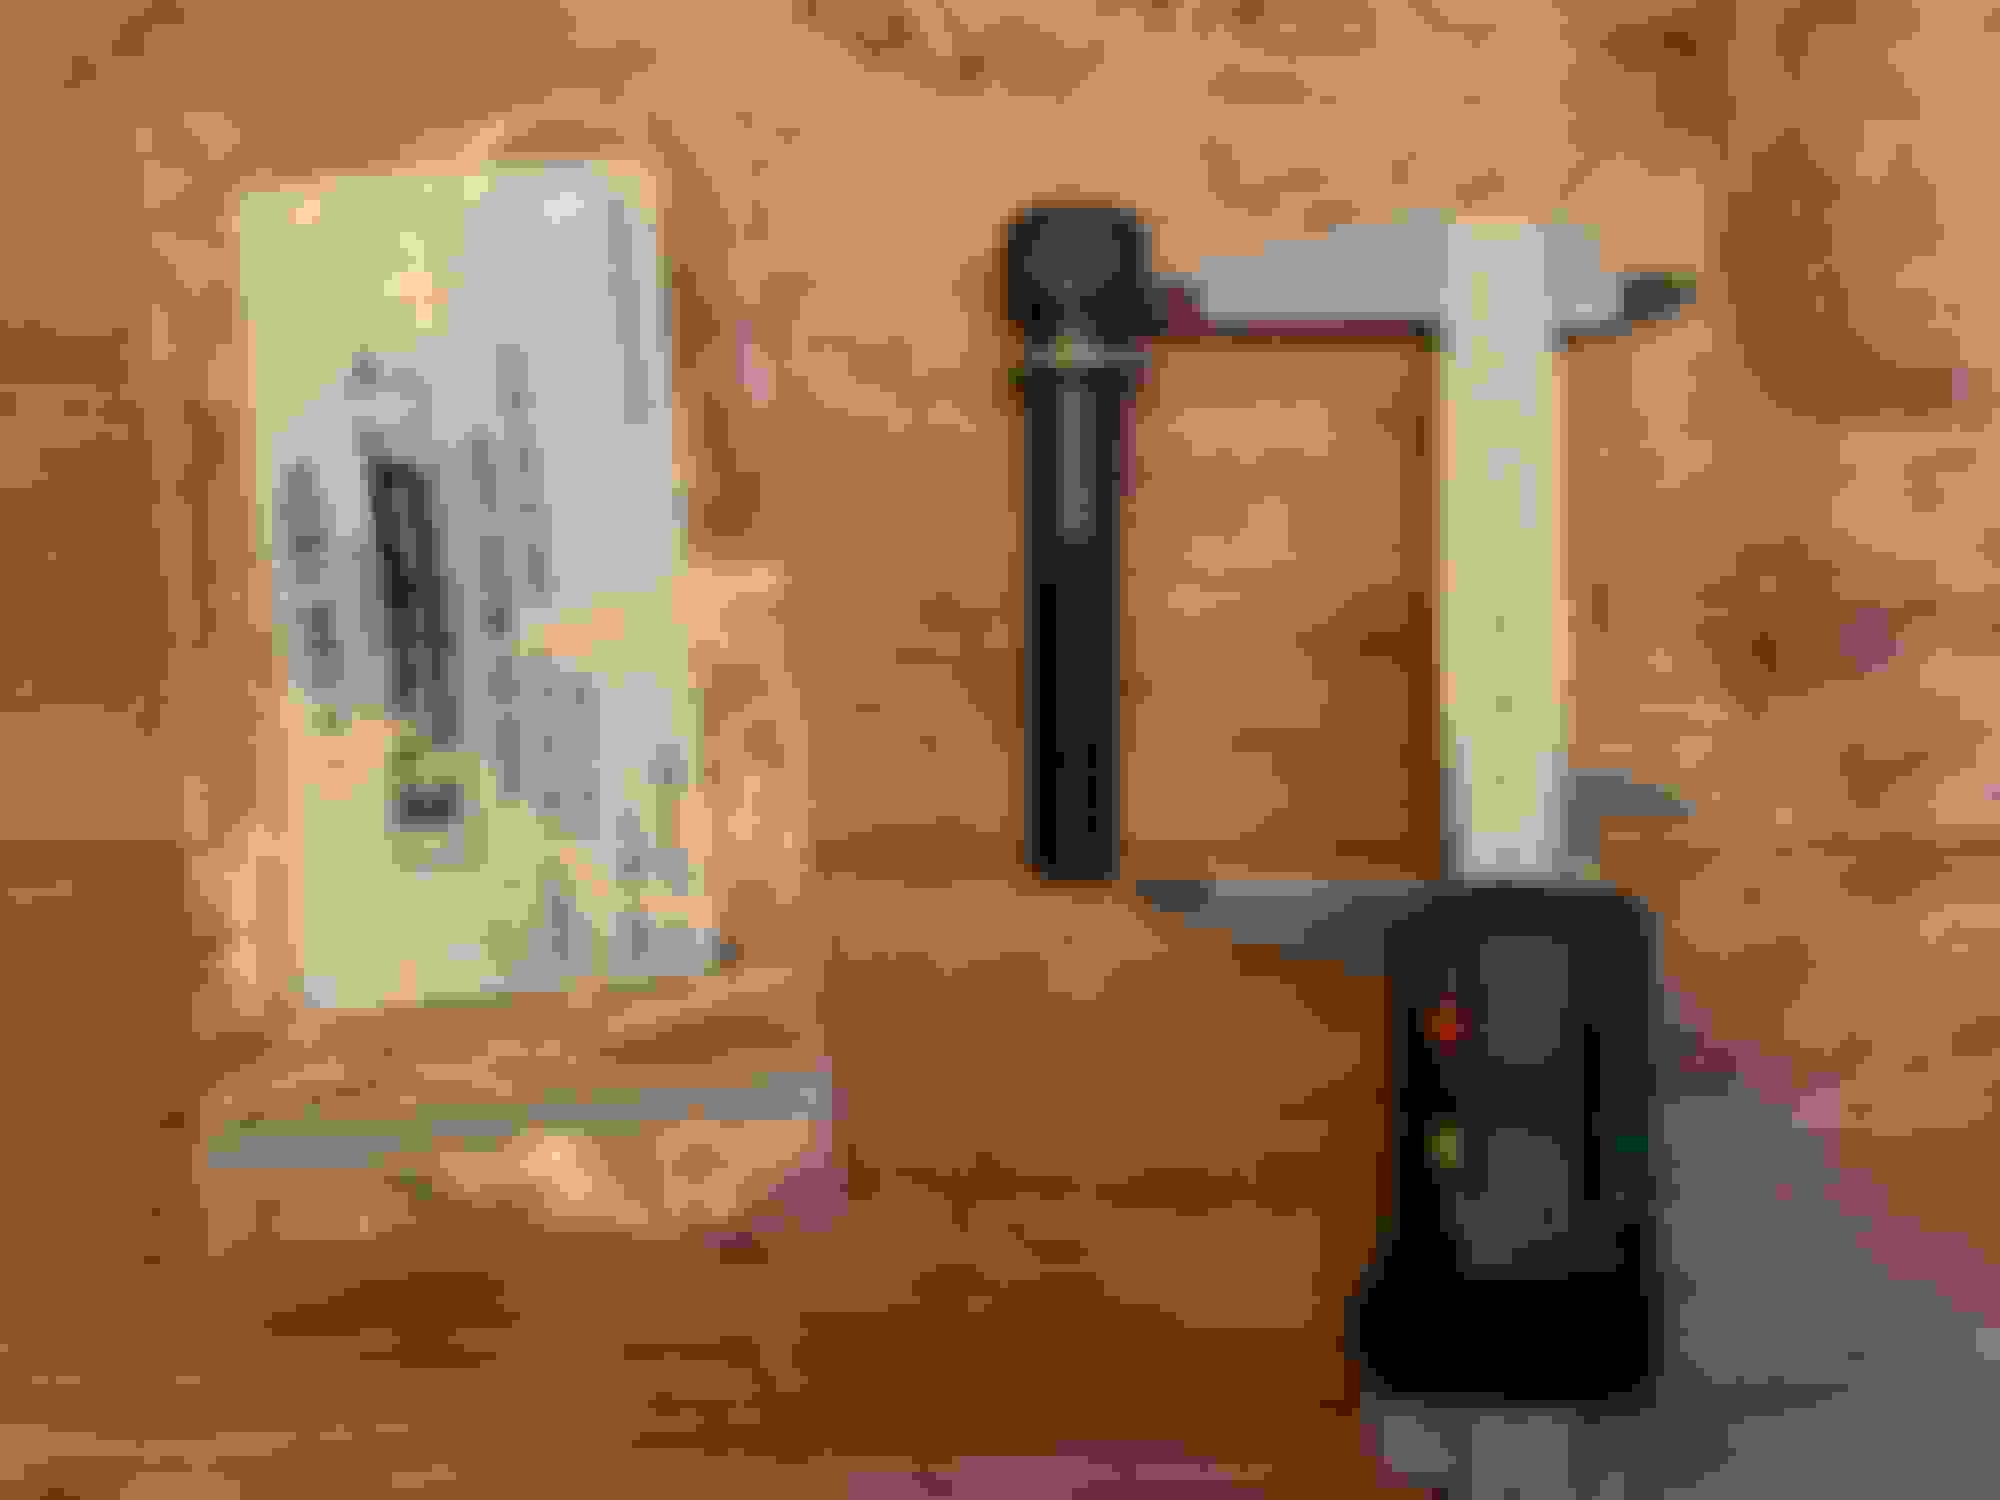
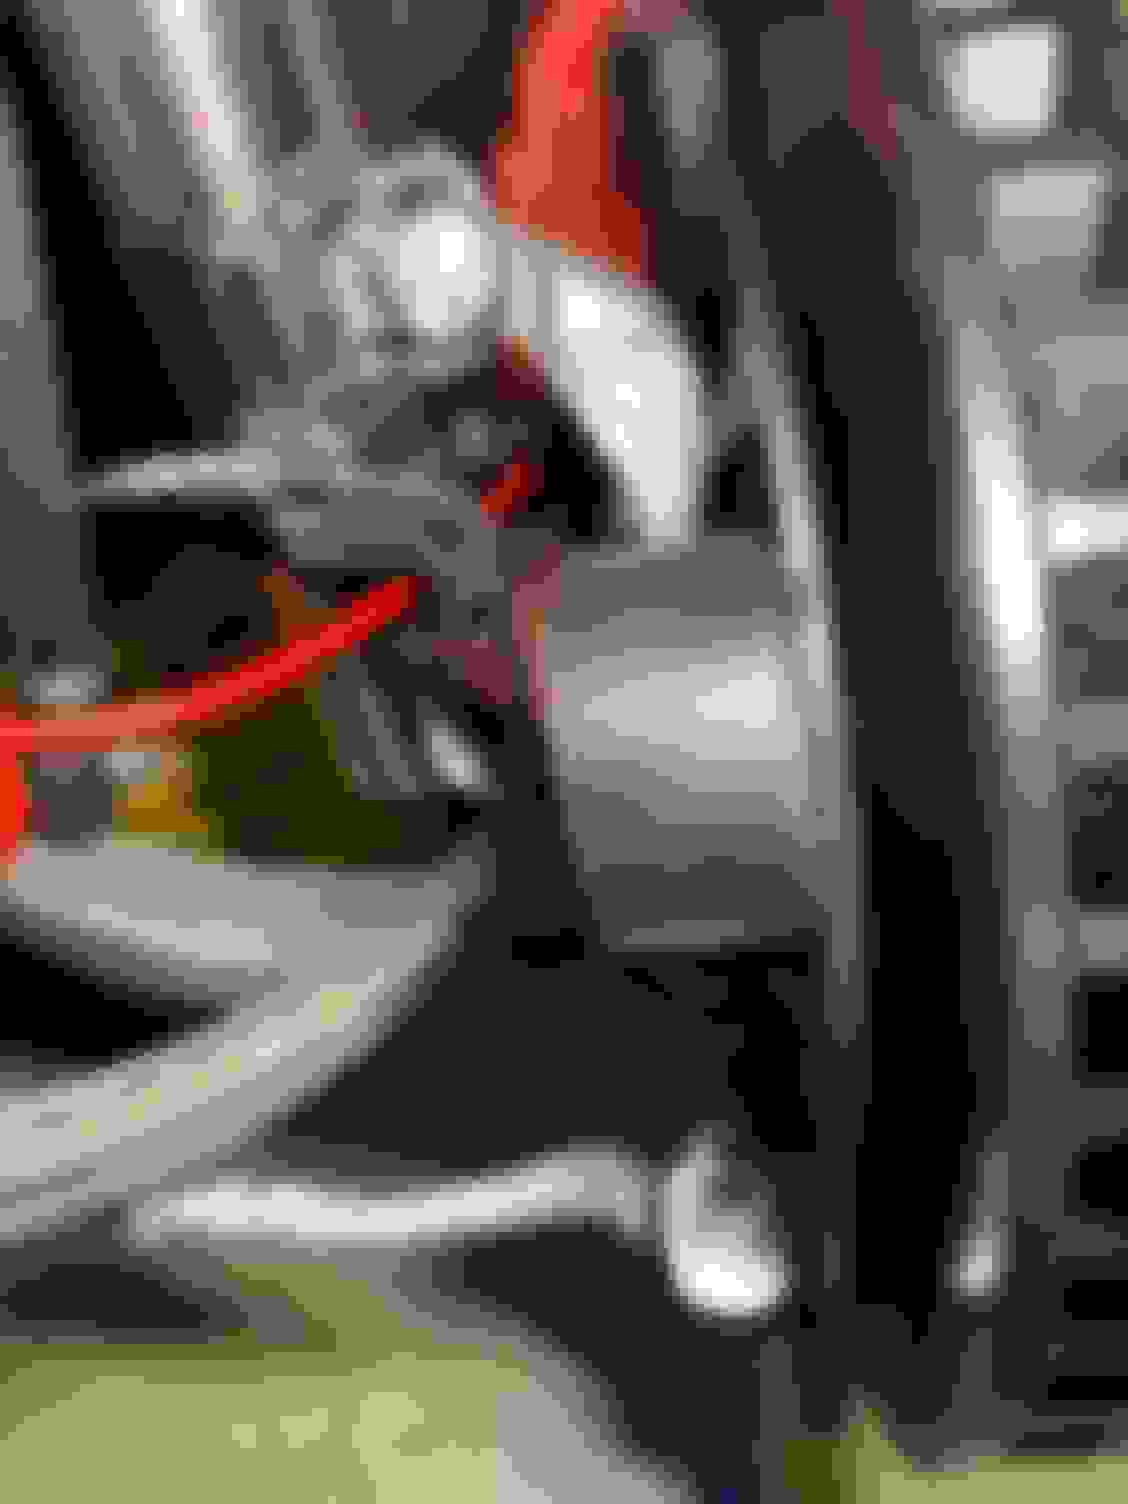
Last question. So should I be using the OE caliper bolts to put it back together, or do I need to order more of yours? The RB bolts supplied with the BBK (72mm - 12mm head, no washer, 60mm shank) are significantly shorter than the OE bolts (85mm - 12mm head, washer, 73mm shank). The RB bolts probably threaded just a bit more than halfway into your adapter, they did not come close to bottoming. The OE bolts may just barely bottom out in the adapter before reaching proper torque on the caliper. Is there a length inbetween you’d recommend? Thanks.
2012 P31 C63 Coupe Trackrat, 2019 GLE63S Coupe Beast
Had a little breakthrough today. The KW Clubsport rear upper adjustable spring perch.... can be used on the lower control arm instead. Requires a new OE upper perch and maybe a little trimming to the KW adjustable perch so that it sits snugly in the lower seat. I’ll document here whatever I have to do for it to work. Flip it. Done. Now my ride height - and yours - can be adjustable without disassembling anything. Winning.
Last question. So should I be using the OE caliper bolts to put it back together, or do I need to order more of yours? The RB bolts supplied with the BBK (72mm - 12mm head, no washer, 60mm shank) are significantly shorter than the OE bolts (85mm - 12mm head, washer, 73mm shank). The RB bolts probably threaded just a bit more than halfway into your adapter, they did not come close to bottoming. The OE bolts may just barely bottom out in the adapter before reaching proper torque on the caliper. Is there a length inbetween you�d recommend? Thanks.
OE caliper (6 pot) mounting depth is 44mm, so with 70mm bolt length it leaves you 26mm which is very proper, anything longer is un-necessary.
Our bolts are standard cap bolts = same as Porsches' OE caliper bolts (w/o washers).
Caliper bolts can be used at users' own discretion but what we included in the kit is based on good engineering practice. The bolt head (standard) usually is normally not account for the bolt length. eg. 70mm bolts refers to shank length only.
2012 P31 C63 Coupe Trackrat, 2019 GLE63S Coupe Beast
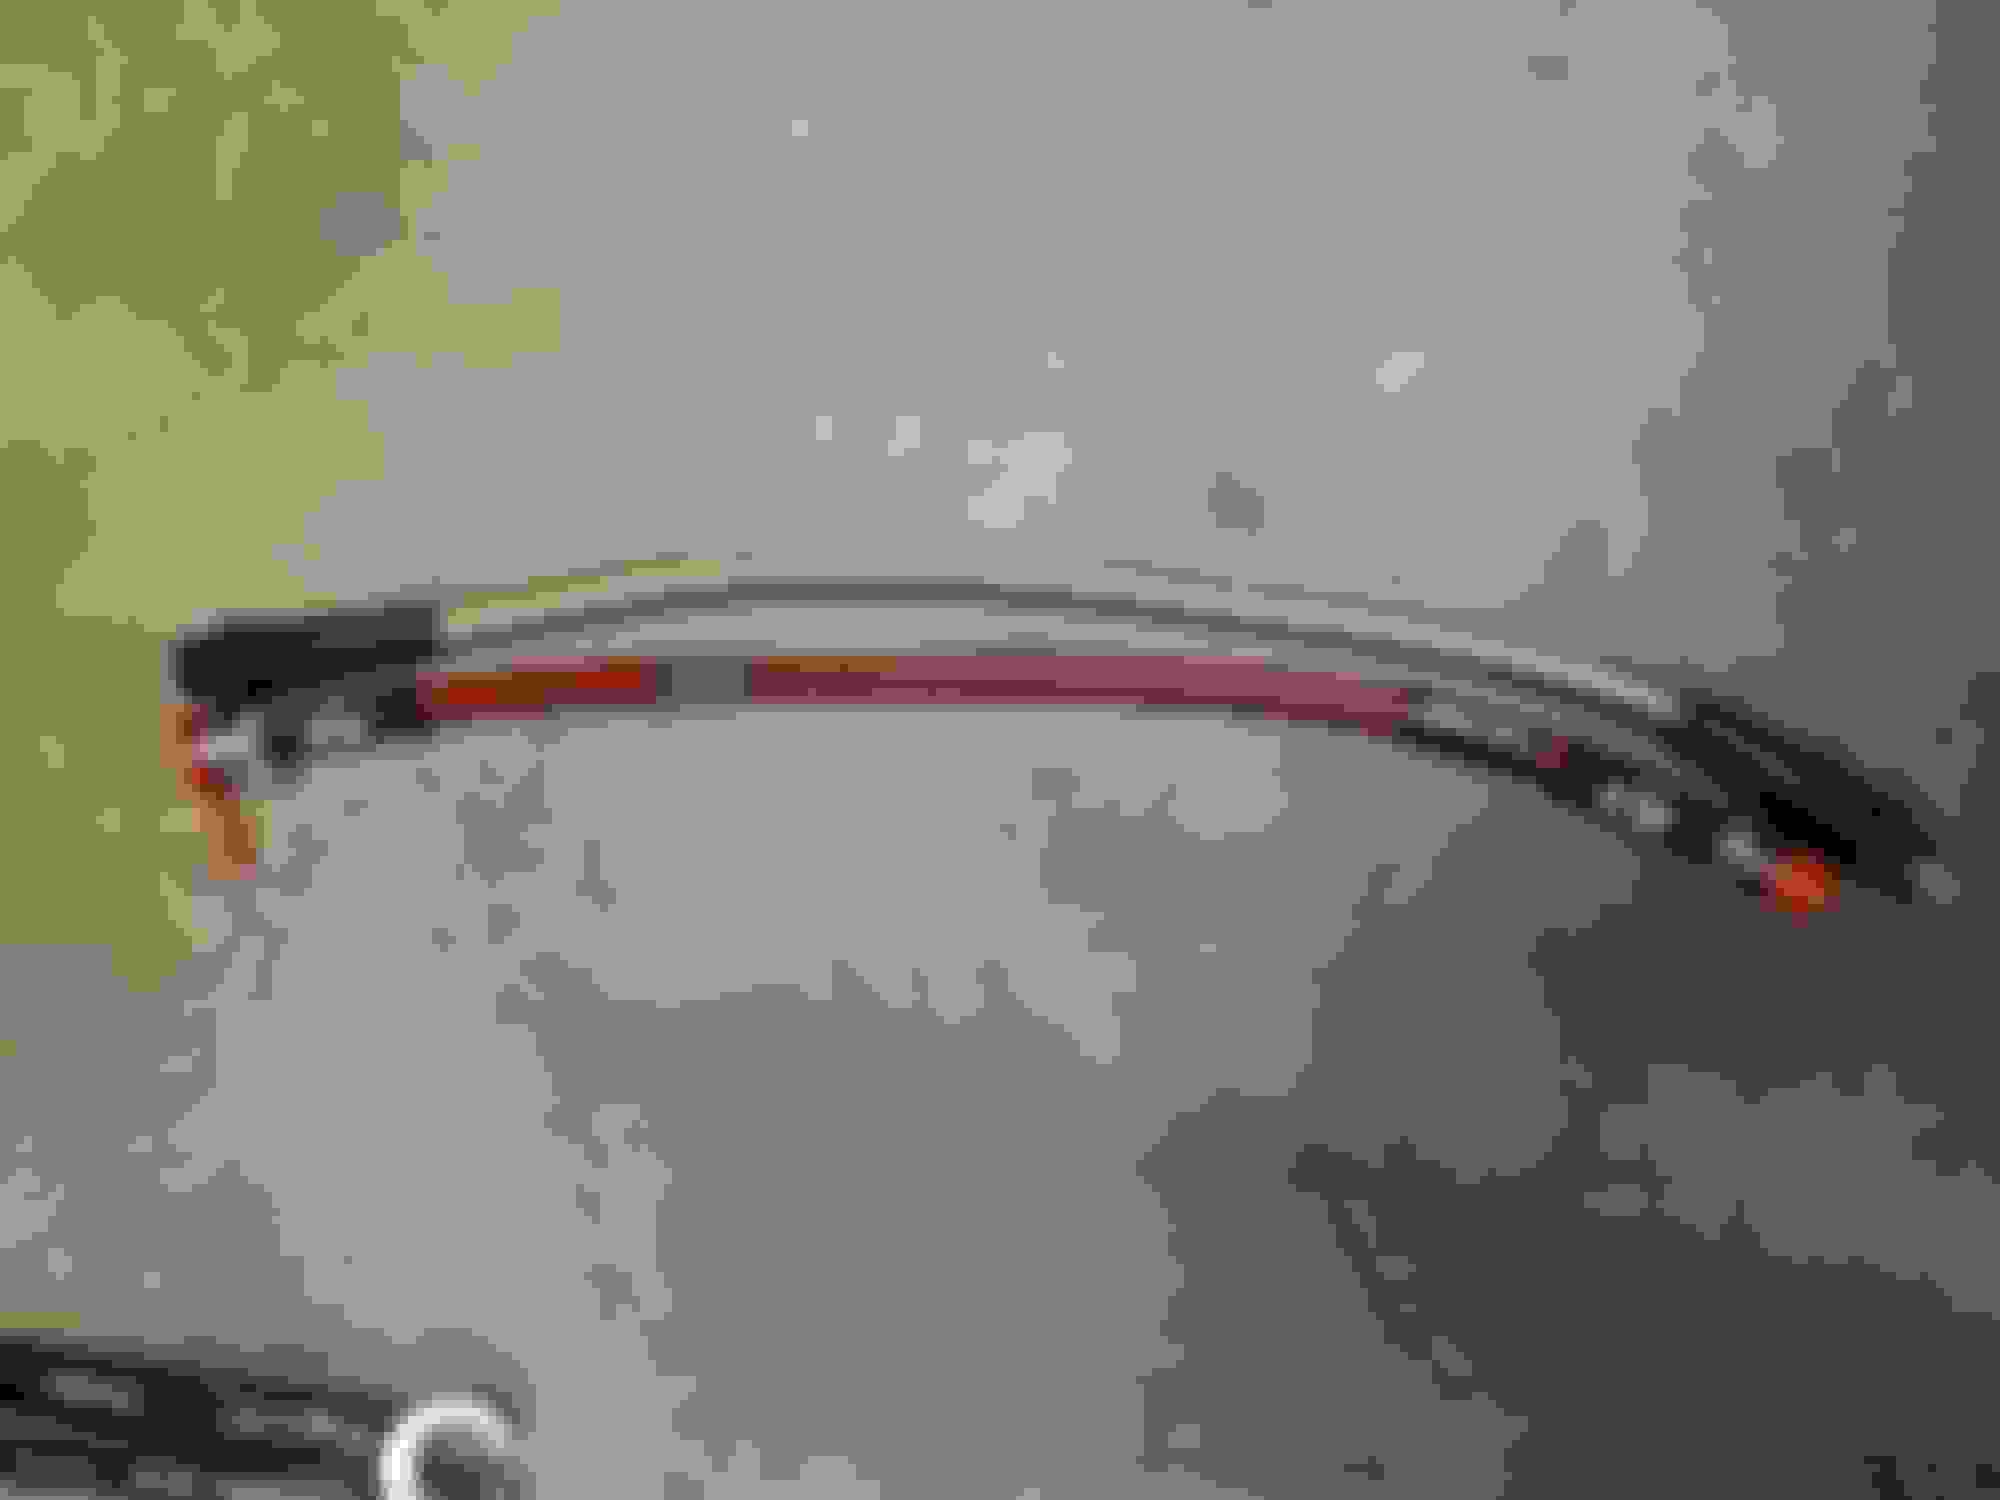
Thanks for the response. I was trying to say that the bolts provided in the RB BBK kit were 60mm, not 70mm. See pic below.
So are you saying, yes I should be using 70mm bolts there?
The OEM bolts are 72mm with a 2mm washer.
The RB BBK bolts are 60mm no washer.
The thread depth of the caliper adapter is 26mm.
If you're saying that the caliper depth is 44mm, and since the adapter depth is 26mm, then shouldn’t I be using the OEM 72mm bolts w/ 2mm washers, which would use all adapter thread leaving zero space, rather than the 60mm RB BBK bolts which would only thread 16mm into the 26mm adapter leaving 10mm of unused thread?
OEM Bolts: 72-2-44-26=26mm insertion into adapter with 0mm unused adapter thread
RB BBK Bolts: 60-44-26=16mm insertion into adapter with 10mm unused adapter thread
Sorry for all the back and forth, just want to make sure I’m using the correct hardware.
2012 P31 C63 Coupe Trackrat, 2019 GLE63S Coupe Beast
Possible solution arrived in the mail today. YFS Grade 12.9 70mm bolts with 2mm stainless washers from BelMetric. Should be a perfect fit.
Also these cannons (brake duct intakes) for the front grill. 5” OD to 3” hose adapter.
One other thing. My Goodridge rear brake lines are a little short and there’s tension on the fittings I don’t like. Have reached out to see if they can make me a set 1-2” longer stay tuned.
Most of my parts are in and got the passenger side apart today. Should be all downhill now.
2012 P31 C63 Coupe Trackrat, 2019 GLE63S Coupe Beast
Thanks for that ^. I haven’t heard back from Goodridge yet. Since I already bought these hoses I’d like to see if they’ll fix this first, but it’s good to know I have options.
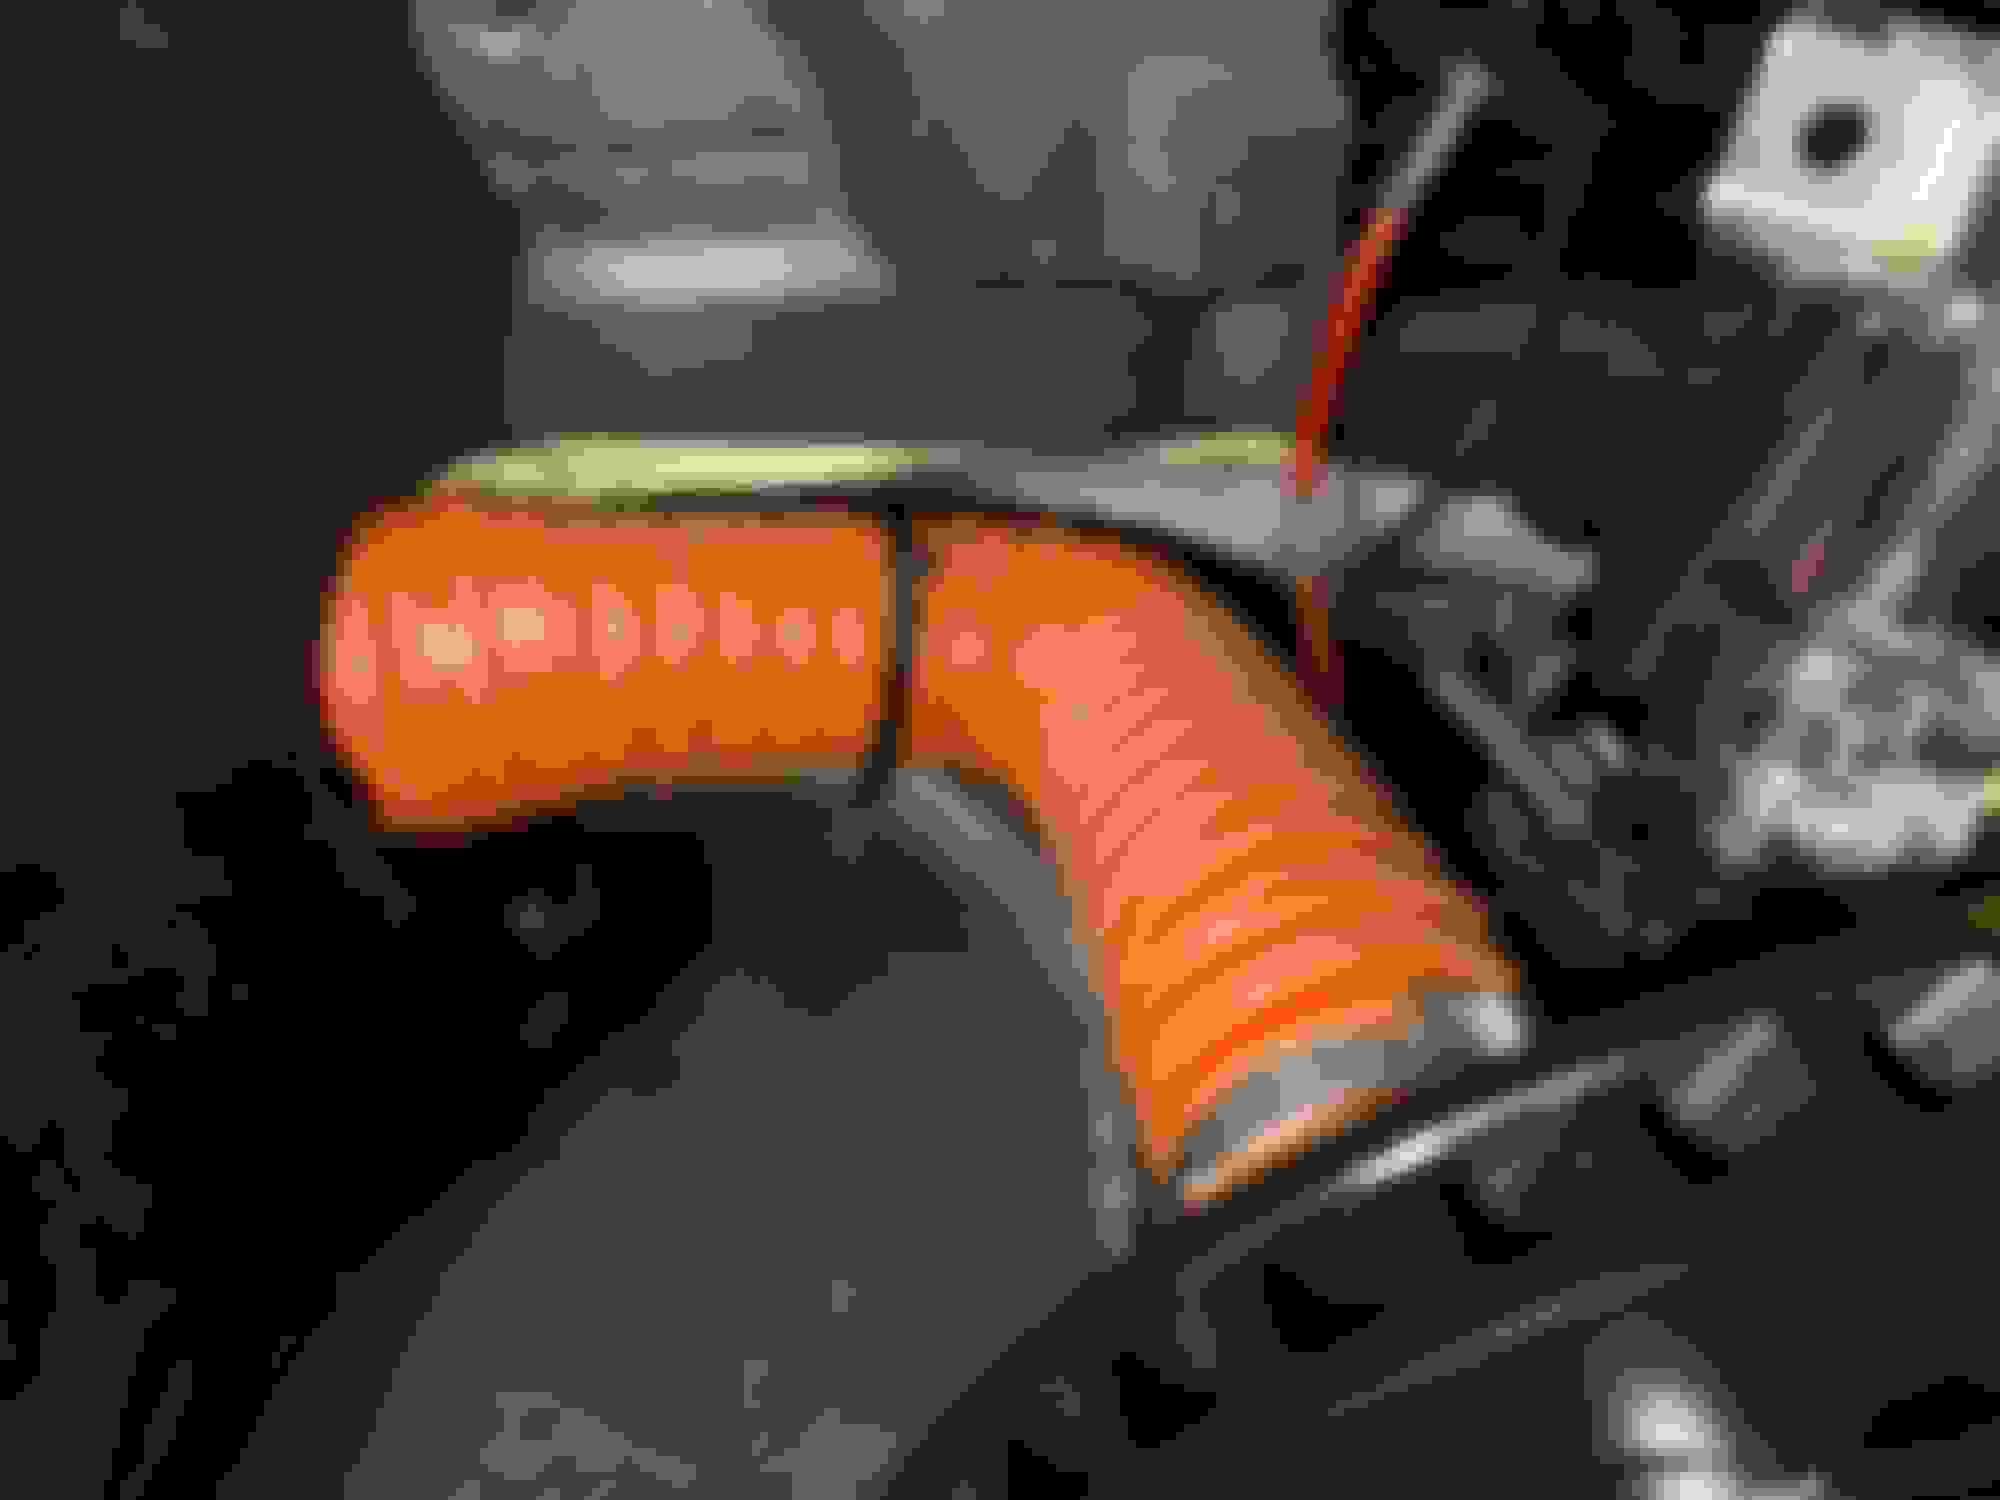
Quick picture of the new dust shield and rotor. You can’t really see it in the pic, but that duct is pointing right at the inner hub area, which will pick up the cool air with the rotor vanes. You want it pointing here rather than a spot on the rotor itself which won’t be very effective.
I had to order from Goodridge like 4 times lololol.
The X204 platform never had the AMG treatment, so there isnt much information about retrofits or brake lines length. I tried a C63 kit first and it was too short, and then I place an order for C63 front only, but in special notes I said I wanted it minimum for 600mm length or something and Goodridge obliged.
I ended up finding brake length information for various Mercedes and I now I got Front W211 for rear calipers and that (C63) custom stainless length front.
I also ordered the ML front hose because it has a rubber bumper with the W211 kit (not installed yet). Also the goodridge copper crush washers are amazing quality.
2012 P31 C63 Coupe Trackrat, 2019 GLE63S Coupe Beast
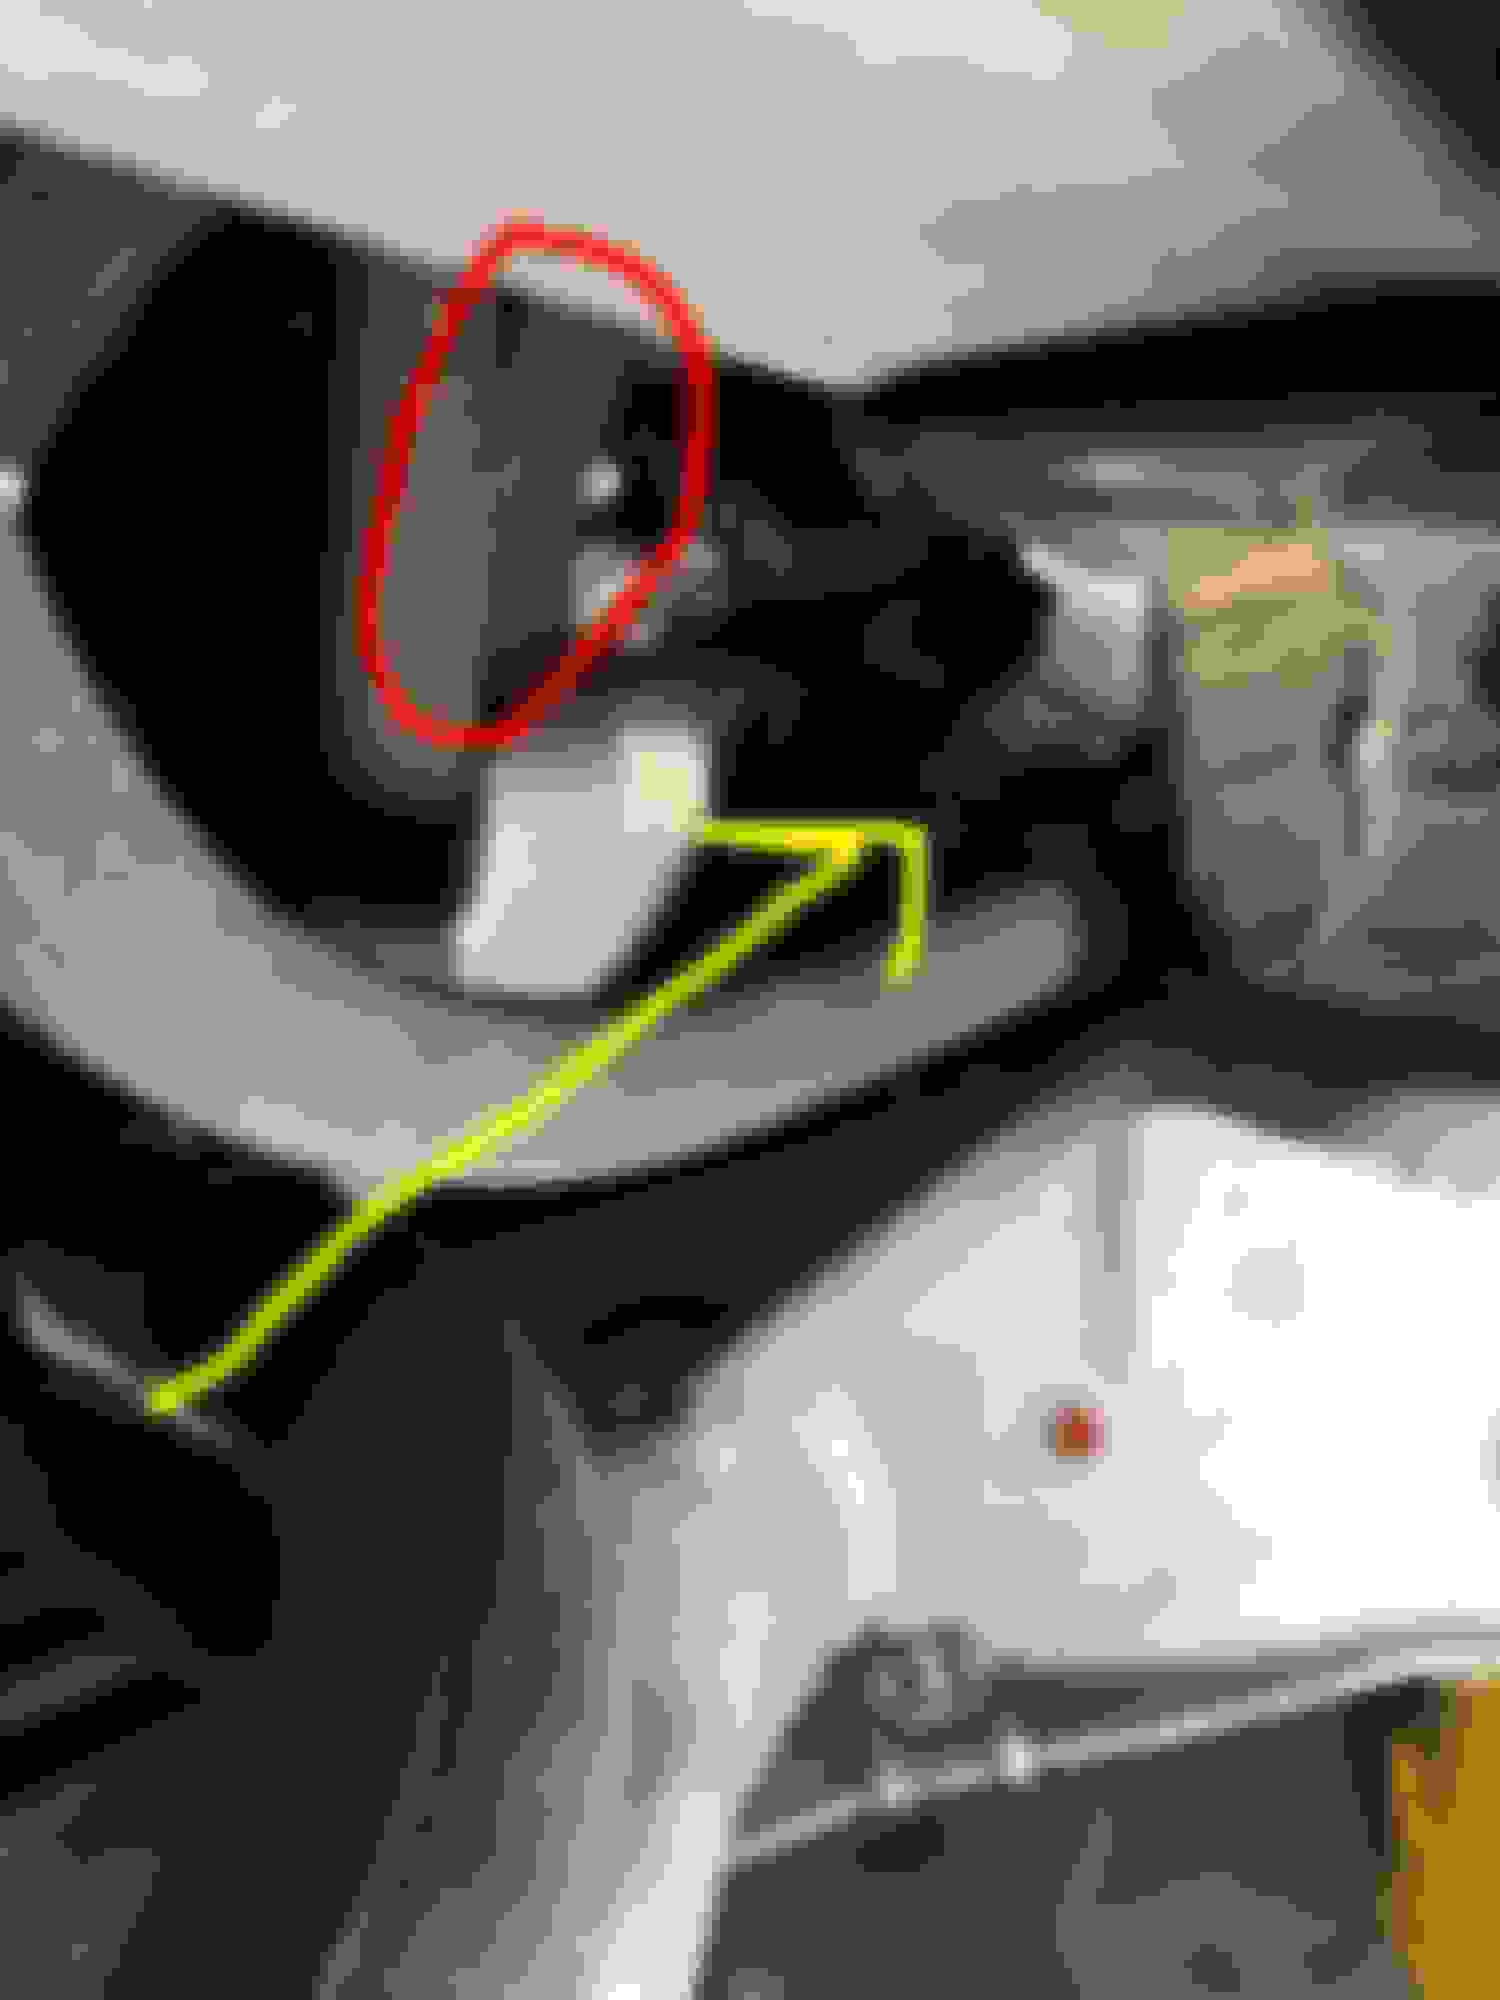
Secondary air injection pump before
After
I’m pretty sure I can just plug the one hose off the pump circled above. Will make EGR blockoff plates some other time when I have more patience to remove the entire system with hoses etc. Taking the pump out gives me the room I need.
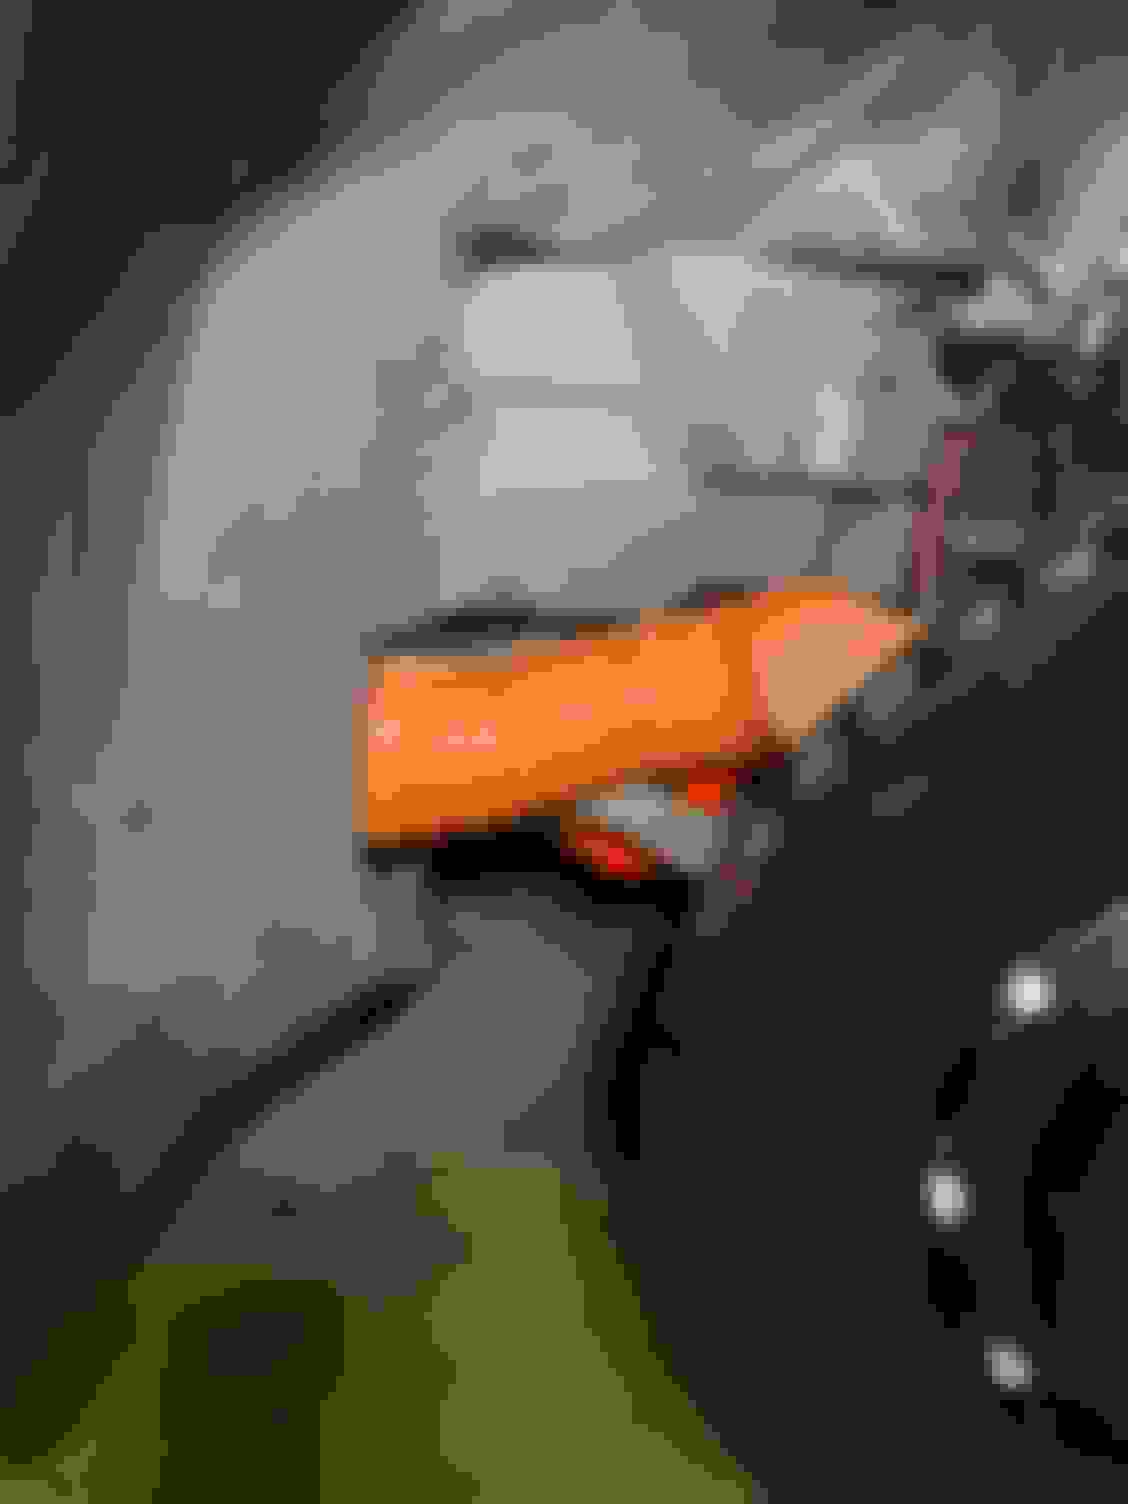
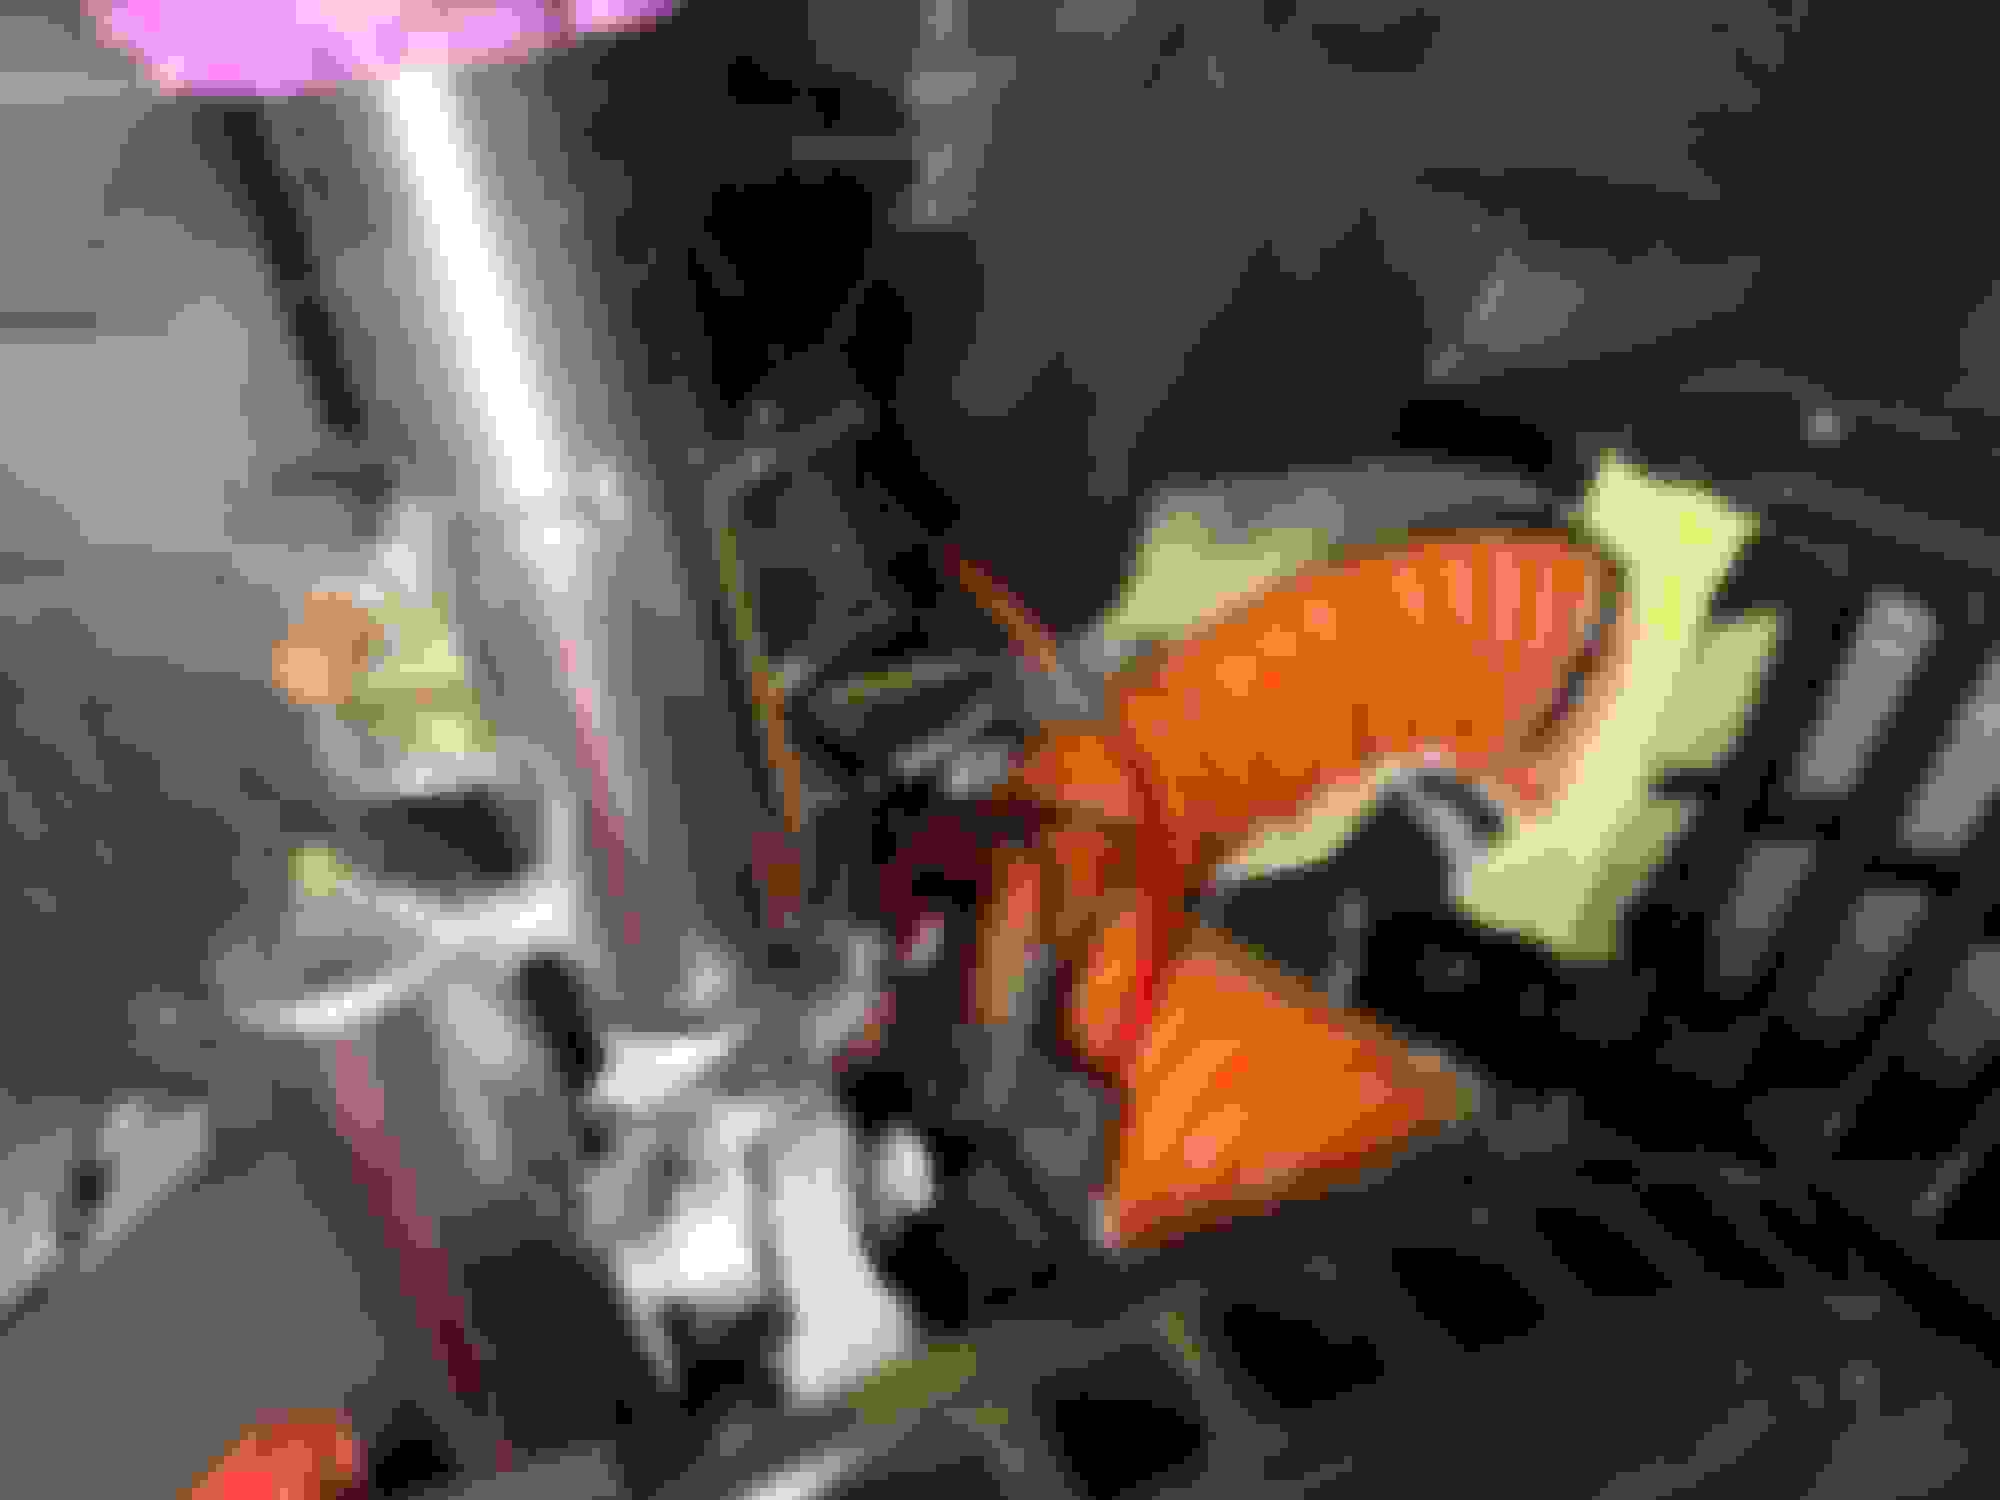
Direct shot through.... almost. I was going to shoot through this gap below, but it’ll route dangerously close to the alternator and belt. Even crushed down and zip tied I don’t like it. FML. A 2” hose here would be easier...
So I may have to rethink using a 3” hose as it’s just not going to get through there. This is about the best I can do with 3” hose, and I don’t think it will work once the tire is on and cranked right.
2012 P31 C63 Coupe Trackrat, 2019 GLE63S Coupe Beast
Actually, you know what, after squishing the hose a bit and wedging it up between the windshield washer reservoir and body, with the fender liner trimmed a bit it doesn’t look bad.
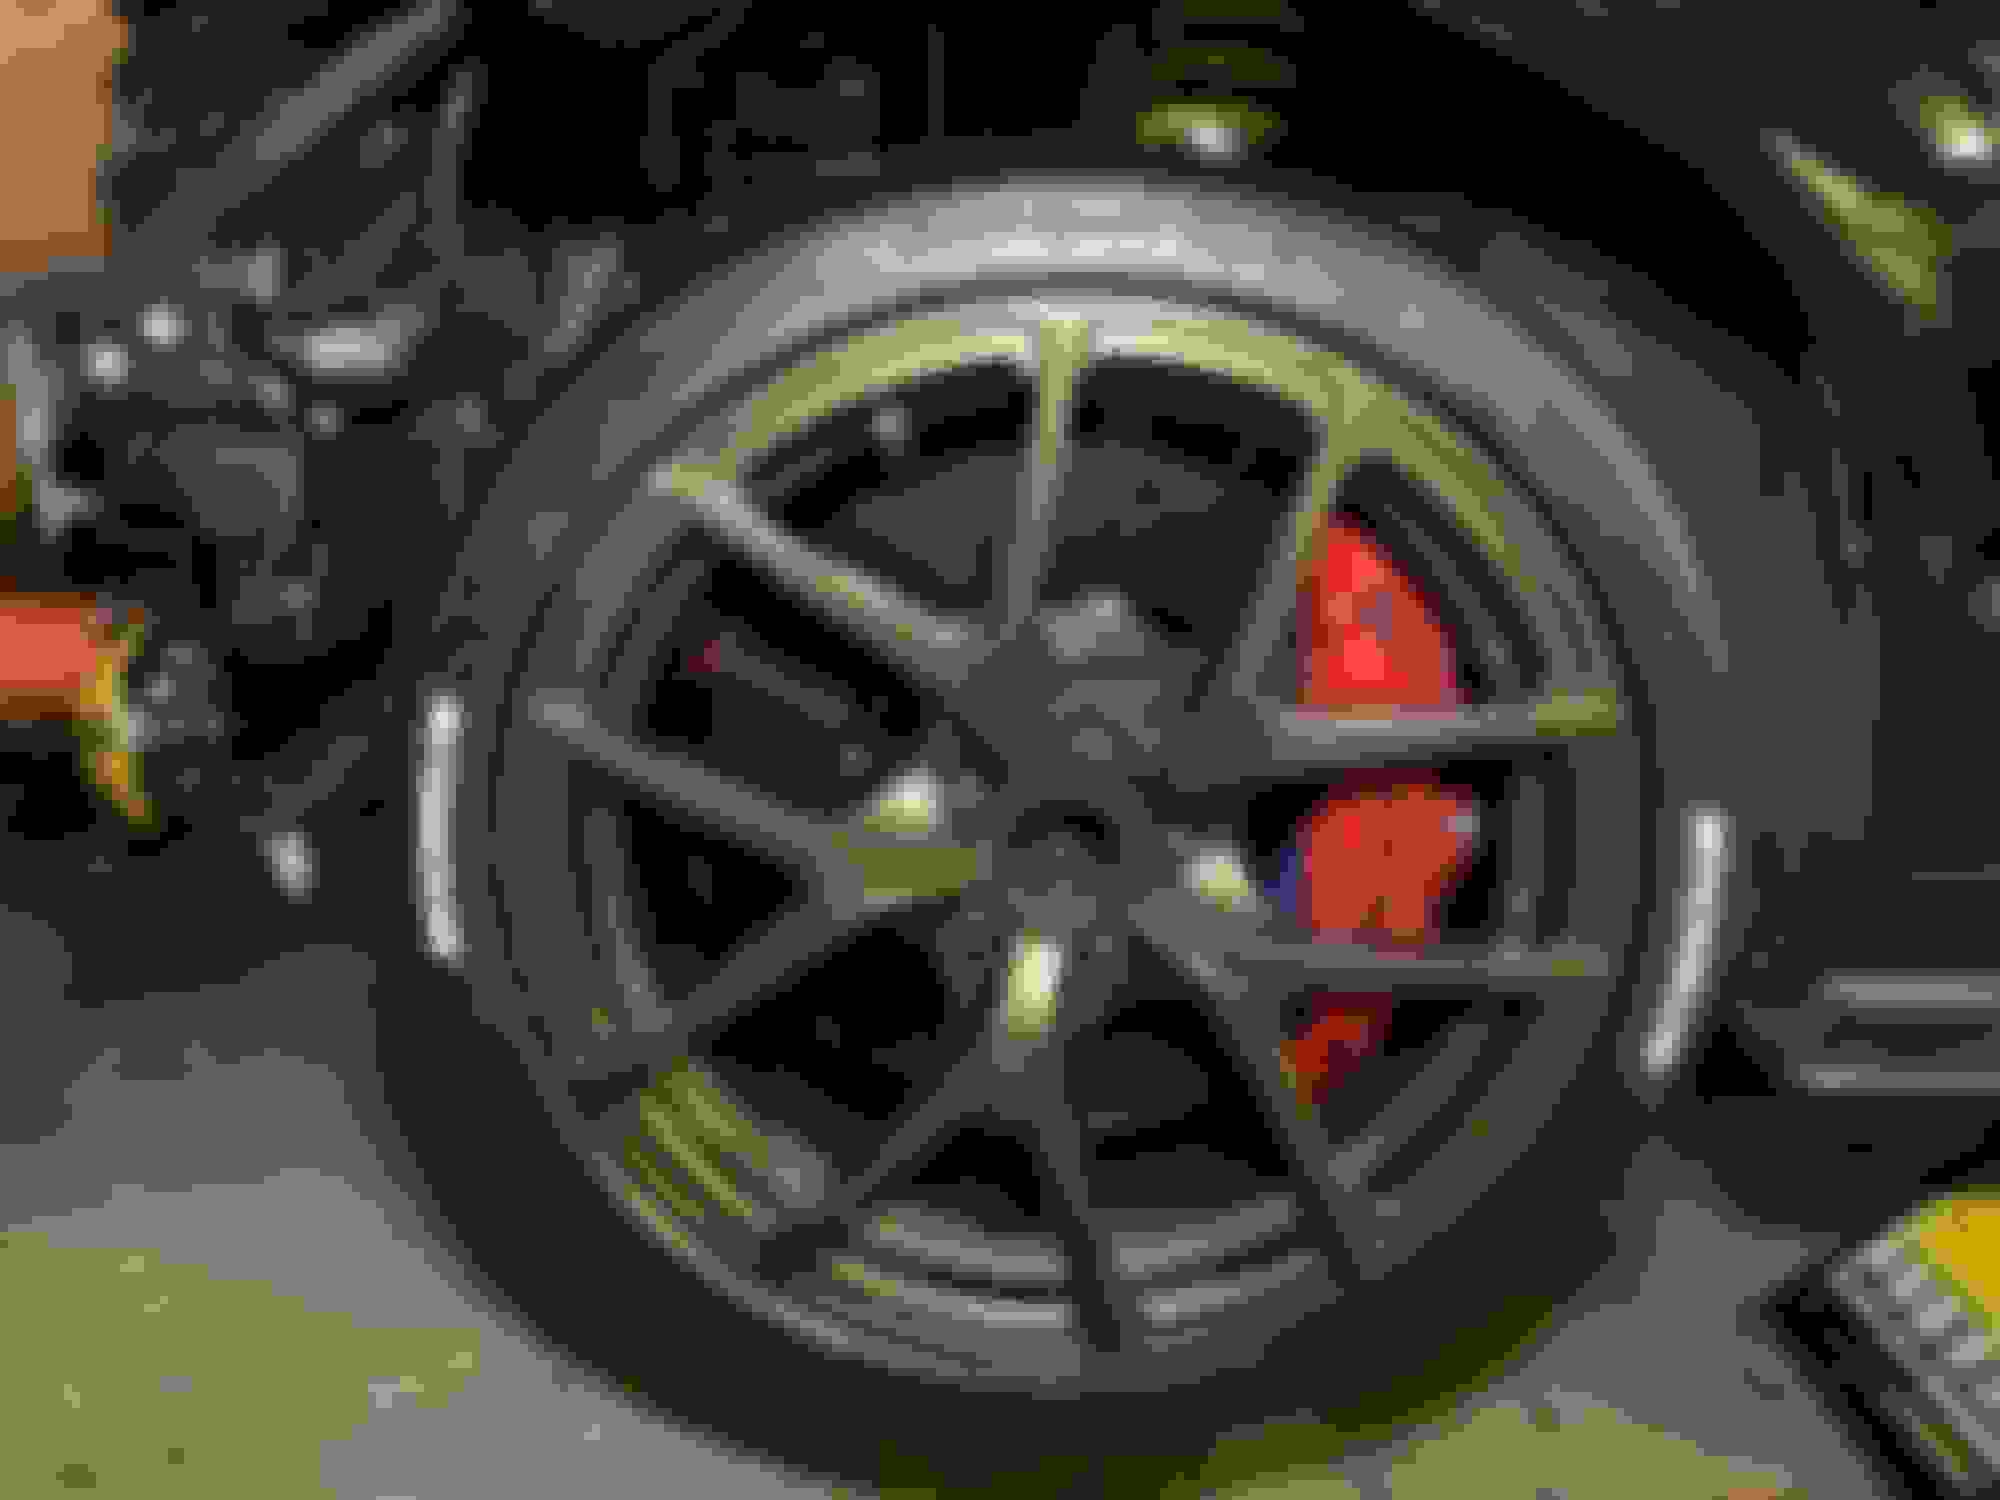
And with a wheel on.... I’m tempted to say that might just work. I’ll cover the part of the duct that might come in contact with the tire on full lock with Kevlar felt tape.
On an unrelated note, it’s nice to see a wheel back on the car after 6 months. Have a new set of PSC2’s in the mail (hey they were on sale). Really going to push to get it all done in the next week.
Just went through this thread and good to see all the R&D to your car to bring the chassis up to operate functionally on track.
I look forward to seeing more of your progress as you give me ideas about things you upgraded on your car so I can use your ideas to copy or R&D to upgrade my car. Although doubt I'll ever track it, just hard street driven.
Lastly, when you do the racing brake caliper rebuild kit which you have done. And getting rid of the hats on the pistons with the new ones you can now run GTR pads which will give you a lot more compound options and without doing research I'll bet are a bit cheaper. Now the only thing is the pad is NOT notched for the wear sensor other than that they are I believe 4mm thicker, cheaper price, and more compounds offered. Just a bit of info if you didnt already know, as I plan to rebuild mine and get them repowdercoated as well.
2012 P31 C63 Coupe Trackrat, 2019 GLE63S Coupe Beast
Thanks.
I was already running the thicker “GT-R” pads. Carbotech XP12. No wear sensors (they’re zip tied to the struts) and you have to drill out the caliper pin holes too.
They actually fit fine on calipers with piston hats. You just have to get the pistons completely pushed in, then lube up the pad backing plate liberally with the purple ceramic Permatex, and they’ll slide in. I even got shims in there too. It was a very tight fit.
These new pistons made made it easier to install the new set of front pads for sure though.
2012 P31 C63 Coupe Trackrat, 2019 GLE63S Coupe Beast
Drivers side brake duct done. Got the inlets mounted to the grill too. Will finish passenger side tomorrow. Then flush the brakes with new SRF and hope for no leaks (cross threaded a caliper line last week and repaired the threads, I think). After that, throw in 5gal of new 100-octane and a can of BG44K to add to the 1/4 tank of 9mo old gas, start her up and hope for the best. Hooked up the battery and my dash is lit up with errors like a Christmas tree, still need to figure out how I�m going to code everything out....
Three years ago thats exactly where I said I was going to punch through. Looks like it might even work...
2012 P31 C63 Coupe Trackrat, 2019 GLE63S Coupe Beast
Passenger side done. This side was much tighter because there are a bunch of things in the way that can’t be moved like oil coolers and lines. Also the 44O kit has an extended scoop to direct more air into the larger cooler. So that had to be modified too.
First plug the outlet tube from the secondary air injection pump. Also had to drill out a bunch of rivets to remove the pump bracket.
44O scoop duct needs to be trimmed
This is where a 3” duct has to come through
Good shot of how the duct has to go under one of the oil lines for the 44O cooler. Anything sharp or might rub gets covered with Kevlar felt tape.
Tucked against the body, secured with zipties and with enough excess for wheel turning.
Passenger side done with modified duct/scoop thing.
2012 P31 C63 Coupe Trackrat, 2019 GLE63S Coupe Beast
Well, she lives. Guess year-old gas isn’t so bad after all. Added 5gal of 101-octane to the 1/4 tank of 93 that was in there, plus a can of BG44K and a bottle of Lucas Cylinder Lubricant and Injector Cleaner. Fired right up and sounds like a big old diesel truck with the open exhaust.
Don't appear to have any leaks. On full lock the drivers side duct is rubbing on the tire FML. Need to figure that out when I have more patience.
Next challenge is getting it out of the garage and up the ramp. I jacked the KWs height all the way up in front, still don’t think it’s enough. Next project is to either get a small ramp made to cut the angle or make the front bumper quick-release. Getting closer...
Next challenge is getting it out of the garage and up the ramp. I jacked the KWs height all the way up in front, still don�t think it�s enough. Next project is to either get a small ramp made to cut the angle or make the front bumper quick-release. Getting closer...
I use two 3ft lengths of 2x10 that i angle cut the front of with a mitre saw to get onto my ramps or just to get it high enough to jack etc, not sure if it would work for your situation.
QQ - do you have any perforations for water to drain out of the hose (over time or rainy days) and have you considered putting a "filter" of some sort to prevent small rocks and debris being pushed to the back side of the rotors?
Impressive work either way. nice mod!
To begin with, loads of information here for a thread with the most unassuming name!!
I was just about to start the brake cooling project. Going with the upgraded Black series kit from RB to begin with. Have the 44O installed so I will probably face the same problem that Jim has in trying to squeeze things in.
I have the BS front bumper so saves me the modifications that Jim had to do (hats off this his patience)
With the 44O Kit I had a lot of space in front but, I under up installing a custom tranny cooling line with a pump connected to the weistec pan.
My only concern is that I think at complete lock, the not so flexible 3inch silicon pipe may rub on a full lock.
2012 P31 C63 Coupe Trackrat, 2019 GLE63S Coupe Beast
Nope. It rubs. Not much, but enough to be a problem. I can’t crush the hose down much more than it already is. I need to figure out new routing. Will maybe go up and over, but will have to remove the windshield washer reservoir which is the limiting factor on the drivers side. Passenger side looks ok, which means that I don’t need a whole lot more space. I don’t know, maybe I just need to shift it around a bit. At this point I just want to drive the thing, mainly so I can go get the mufflers welded on, so I’ll figure out the ducts later.
@BLKROKT please also let me know if the brake air intakes are affecting the balance of the car.
I was just going through the Porsche design and it looks like it's just a simple channel that hits the rotors and deflects.
The design that I saw on your picture actually hits the brakes with air perpendicular to it and in line with the steering rotational movement
Point here is that at high speeds the air velocity through the 3 inch ducts can tend to cause stability issues specifically on long straights. This is plain physics and may need looking into as there is no way that the air channel on both sides will have balanced pressures
Just do a straight pull and see if you are fighting with the steering to keep it straight
I wouldnt be surprised that this may end up in some stability issue
Just my two bits, but could be wrong completely if the air pressure is negligible on the brake
Has anyone used the product from Race Gas ? Is it good ? The max octane rating in India is 99 from pump gas, wanted to add this to hit 103.
Another interesting revelation - (true or BS is to be determined). Was speaking to a German tuner who claimed that a direct ECU benched tune for the c63 W204 gives access to functions that otherwise are not available via OBD. It specifically addresses the gear shift lag is what I was told. I currently run a EC V7, but haven�t found it to be very aggressive
@BLKROKT please also let me know if the brake air intakes are affecting the balance of the car.
I was just going through the Porsche design and it looks like it's just a simple channel that hits the rotors and deflects.
The design that I saw on your picture actually hits the brakes with air perpendicular to it and in line with the steering rotational movement
Point here is that at high speeds the air velocity through the 3 inch ducts can tend to cause stability issues specifically on long straights. This is plain physics and may need looking into as there is no way that the air channel on both sides will have balanced pressures
Just do a straight pull and see if you are fighting with the steering to keep it straight
I wouldnt be surprised that this may end up in some stability issue
Just my two bits, but could be wrong completely if the air pressure is negligible on the brake
You have any proof of that? Pointing a brake duct directly at the inner vanes is how all ducting is routed in any major race series. Pointing at the rotor surface won't do much.
2012 P31 C63 Coupe Trackrat, 2019 GLE63S Coupe Beast
The heat shield brake duct is pointed at the hub, it is not perpendicular to the rotor nor does it point at the rotor face surface. It’s directed to the inside rear of the brake rotor assembly where the cool air can be picked up by the vanes.
And I already tried using the Porsche 996 GT3 Cup brake ducts. Insufficient for our 1000lb heavier cars.
Mercedes SLR McLaren 722 S Is Extremely Rare Example Modified by McLaren
Slideshow: A one-of-one U.S.-spec Mercedes-Benz SLR McLaren Roadster became even rarer after a factory-backed transformation at McLaren's headquarters.