When you click on links to various merchants on this site and make a purchase, this can result in this site earning a commission. Affiliate programs and affiliations include, but are not limited to, the eBay Partner Network.
I noticed there wasn't really a DIY for the intake manifold gasket replacement. I needed to do mine since the car was whining when warm. Here is my attempt at a DIY for the intake mani gasket and PCV valve.
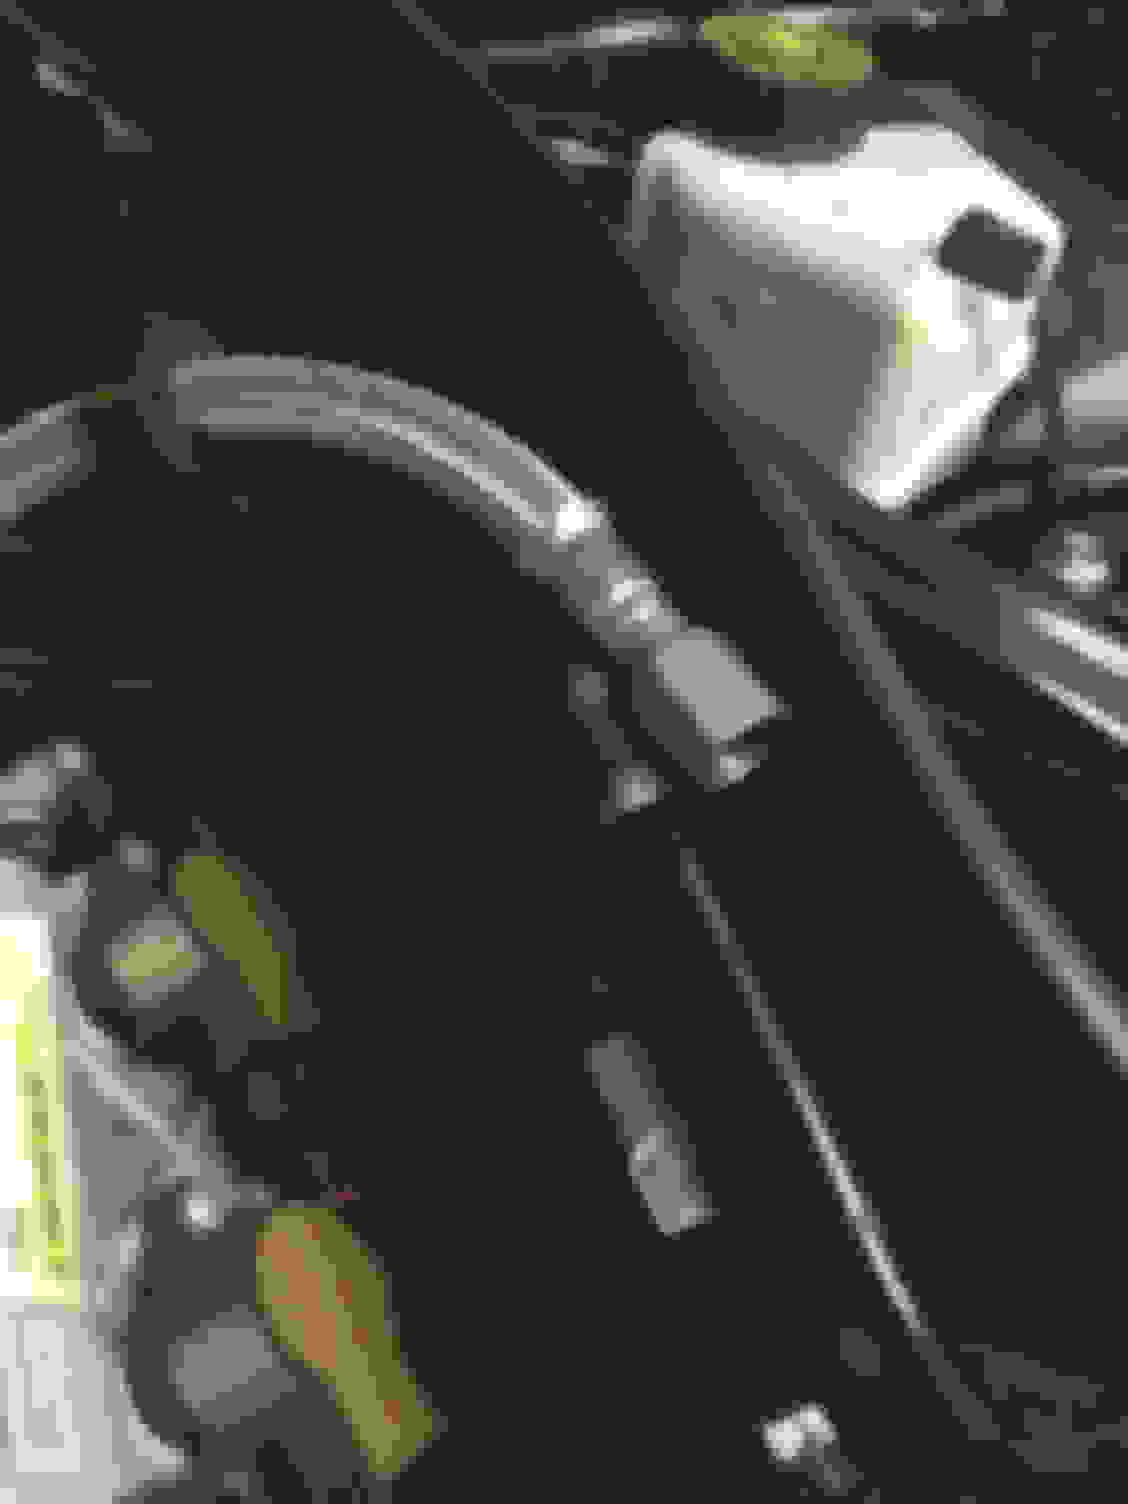
First, remove the airboxes and intake tubes. Then remove the Y-pipe. There is a tab on either side of the y-pipe that just basically lifts to release. I also removed the vacuum hose attached to it. You can see the tabs below.
Next, undo the vacuum hose at the front of the intake mani. It should just pull out.
Next, unhook all 4 plugs at the front of the intake manifold.
Remove the top connector on the PCV valve at the back of the intake mani on the passenger side. I think the one screw is a T30.
On the driver's side, undo the (I think this is what this is?) EGR tube from the back of the mani. There should just be 2 tabs you pinch and the tube slides right out.
Then cut the 6 zipties that are holding the wiring harness for the fuel injectors and disconnect the wiring harness from the injectors. I found that a small flathead screwdriver or a pick helped to undo the plugs in the tight space. You can see where the zipties are that I replaced. Also, disconnect the plug on the fuel rail, driver's side of the intake manifold.
Disconnect the intake air temp sensor at the back of the manifold. I forgot to take a pic, but it's the only sensor at the back of the intake manifold, driver's side that is on the oval intake part.
Next, undo the 10 T45 intake manifold bolts and throw them away. They are torque to yield. I found 2 of mine to be finger tight, likely the cause of my leaky intake manifold.
Then undo the line going to the fuel rail on the driver's side bulkhead. I used a 9/16 and an 11/16 wrench. Have a rag ready as a small amount of fuel will come out.
From there, the intake mani should lift off. I couldn't figure out how to get one vacuum line off the bottom, so I left it. There was plenty of room to take care of the PCV valve and the gaskets still.
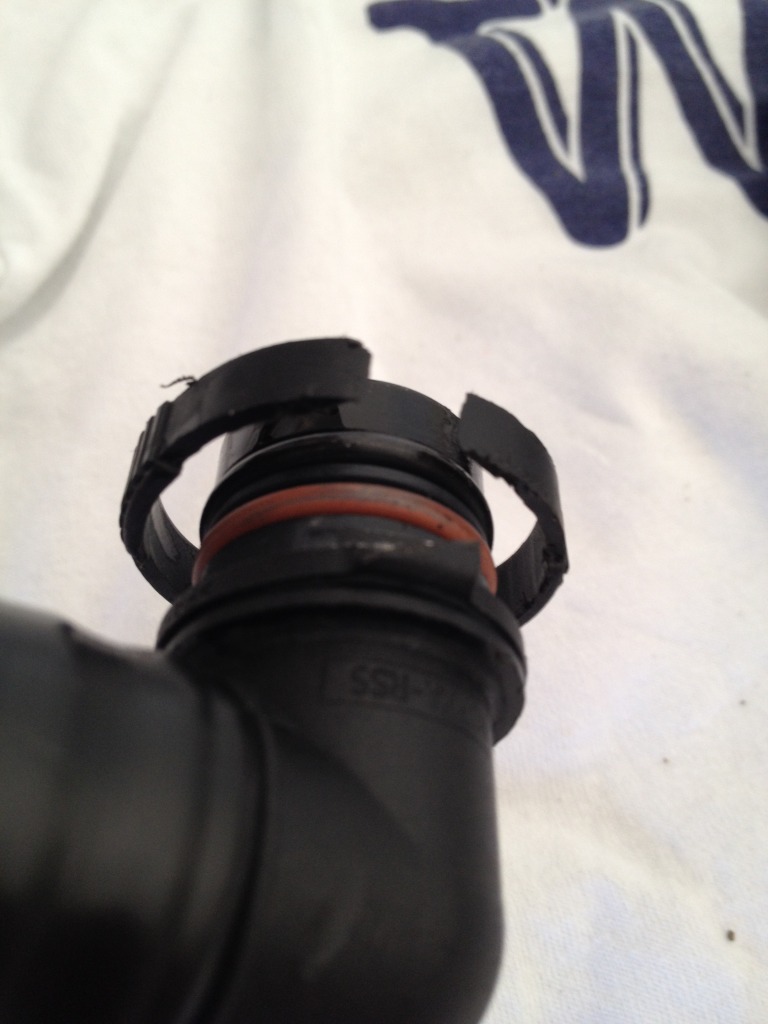
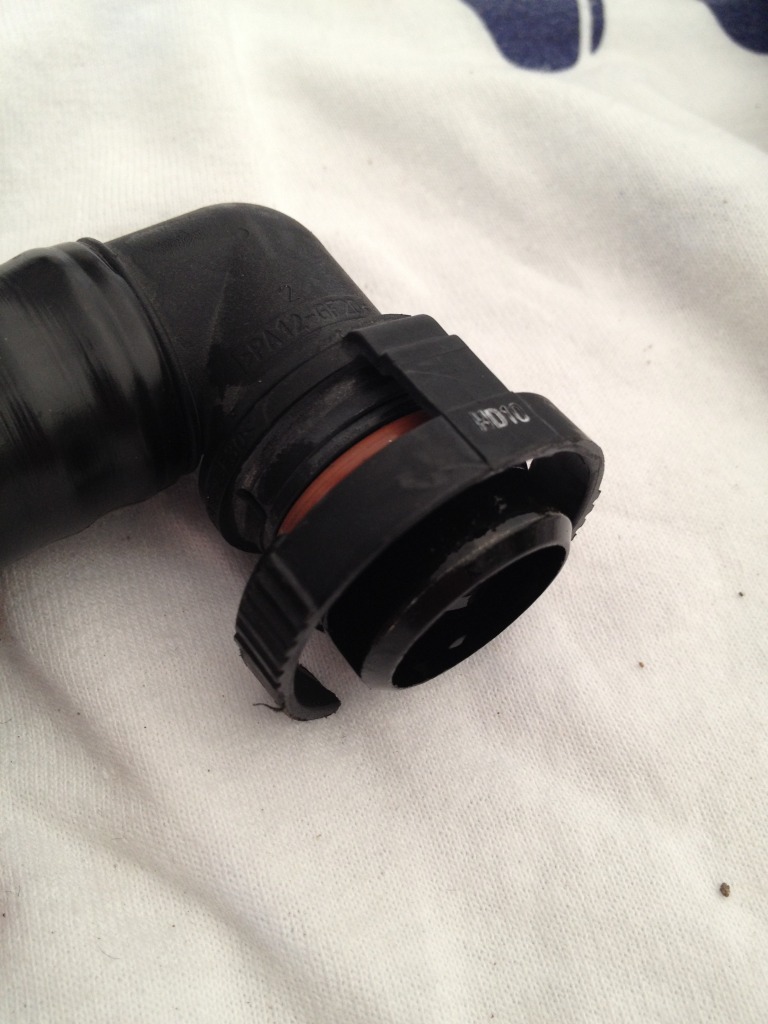
With the intake mani out of the way, replace the PCV valve at the back of the motor. It just clips on. It took quite a bit of wiggling and force to get it off. I have no idea how people replace it without taking the mani off. Take the old one off. Pop the new one on.
Wipe any crap out of the heads with a rag and some brake clean. Mine were pretty clean after 70k miles.
Wipe the mating surfaces down and make sure everything is nice and clean. Pop the new gaskets on and set the manifold back down. Torque via the torque sequence below. Do the reverse of everything making sure to reconnect all the plugs and vacuum lines. Pop the airboxes back on and give it a start.
I hope this helps someone. It wasn't too hard. The intake mani is surprisingly light too. I'm no master mechanic and I took my time and did it all in about 2.5 hrs.
Last edited by chrisridebike8; Jul 17, 2016 at 12:13 PM.
Thanks! I just paid for over $600 for mine to be replaced. Looking at this excellent write-up now makes me think I could have done it. I was told it takes about 5 hours total to do it....by a master mechanic.
Yeah. I always get worried when I start taking things apart. But I'm usually pleasantly surprised on Mercs and BMWs. Audi...I will never work on another VAG car again. Horrible. But this job is pretty straightforward.
How many miles does your car have? Your valves are clean, reminds me of how mine looked when i did my gaskets and breather hose at 35k. Pretty straight forward job and easy to work around.
Outstanding. Thanks for taking on the task of putting together such a thorough DIY at the same time as doing
a decent sized job. This is something that many of us are capable of doing but may not without something like
this.
Thanks guys! Really I was taking pictures so I could put the car back together. Lol. I decided to take a couple extra to make the DIY. Started the car this morning and drove it pretty hard. Happy to say there are no CELs and no more whining noise.
great write up and pretty straight forward steps. would you please elaborate more when it whine exactly during high RPM or ideal ? because I just cleaned mine and it wasn’t whining at all before and now I hear a low whine coming from the engine side, it come only at 1500 RPM and it is very low, you have to concentrate to hear it
Last edited by alamoudis2; Jul 18, 2016 at 08:13 AM.
With the intake mani out of the way, replace the PCV valve at the back of the motor. It just clips on. It took quite a bit of wiggling and force to get it off. I have no idea how people replace it without taking the mani off.
You have to cut the clip with some mini side cutters.
Yeah. I saw that thread too. Honestly, I'm one of those people that likes to make steady progress on something rather than fiddle with a frustrating shortcut. I think next time I have to replace the PCV valve I'll still remove the intake mani. I kind of like peeking at the valves to make sure they are nice and clean. And sticking my hand way back there and trying to get to the PCV valve would definitely frustrate me.
Yeah. I saw that thread too. Honestly, I'm one of those people that likes to make steady progress on something rather than fiddle with a frustrating shortcut. I think next time I have to replace the PCV valve I'll still remove the intake mani. I kind of like peeking at the valves to make sure they are nice and clean. And sticking my hand way back there and trying to get to the PCV valve would definitely frustrate me.
It's not a shortcut. IIRC, cutting the clip is also mentioned in the WIS.
Awesome write up. I think I need to do both gasket and PCV. Besides the engine whistle, was your car idling high and fluctuating? Mine has a loud whistle and idles around 1500 rpm
Awesome write up. I think I need to do both gasket and PCV. Besides the engine whistle, was your car idling high and fluctuating? Mine has a loud whistle and idles around 1500 rpm
Mine just had the whistle at normal idle when warm and then when the car was hot, around 3700 rpm I would get a supercharger like whine for a couple hundred revs. Also under part throttle the car would sort of lightly stumble when accelerating. It almost felt like hitting an expansion joint but instead of it being vertical, it was longitudinal if that makes sense. Just a slight "thump thump thump" while accelerating lightly sometimes until speed was stabilized.
Anyone know the part # for the vacuum rubber line that goes into the front of the intake, mine broke on the way out. It's the second picture in this DIY.
I also can't get the vacuum hose off the Y intake tube, but there's enough slack just to push it on the side.
So far I found one of the intake bolts was finger loose.