When you click on links to various merchants on this site and make a purchase, this can result in this site earning a commission. Affiliate programs and affiliations include, but are not limited to, the eBay Partner Network.
Recently, I got a new Uniden R3 and a dashcam, so I finally got around to installing them both at the same time. I couldn't decide whether to tap into the overhead light console, or the 12V cigarette lighter in the ashtray. I ended up doing the latter because:
1. The light console has sensitive electronics and circuit boards, whereas the cig light does not and is pretty robust.
2. There wasn't an easy place to install the ground wire in the overhead light console area, whereas there's one staring you in the face near the cig lighter.
So here are the steps I took to disassemble everything. Hope this helps others with future DIYs!
Make sure you view ALL the photos before proceeding because I will show you where all the clips engage, etc.
Disclaimer: I am not liable if you break something! And please take your time!
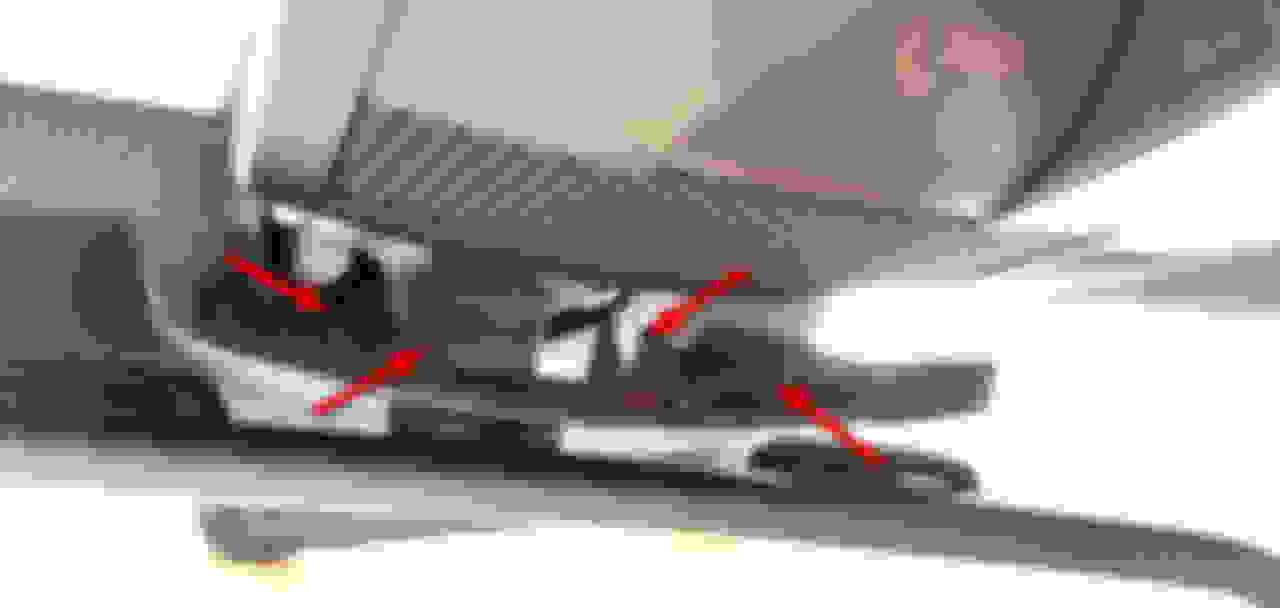
First, using a trim tool, gently pop open the small black cover between the light console and the rear-view mirror. There are four clips holding it in place. You don't need to remove it, just pop it loose.
Another angle.
To lower the light console, I used a flat trim tool inserted in the center of the console that is facing the rear of the car. You can probably do the same with a stiff credit/club card.
There is a spring-loaded, sliding black piece which contains two tabs. When you press on the center grooved part, the outer tabs slide in.
The other end of the console has two plastic hooks which clip onto two round plastic pins. You can pop this free is you want really free up the console, but it's not necessary.
The pins they hook onto.
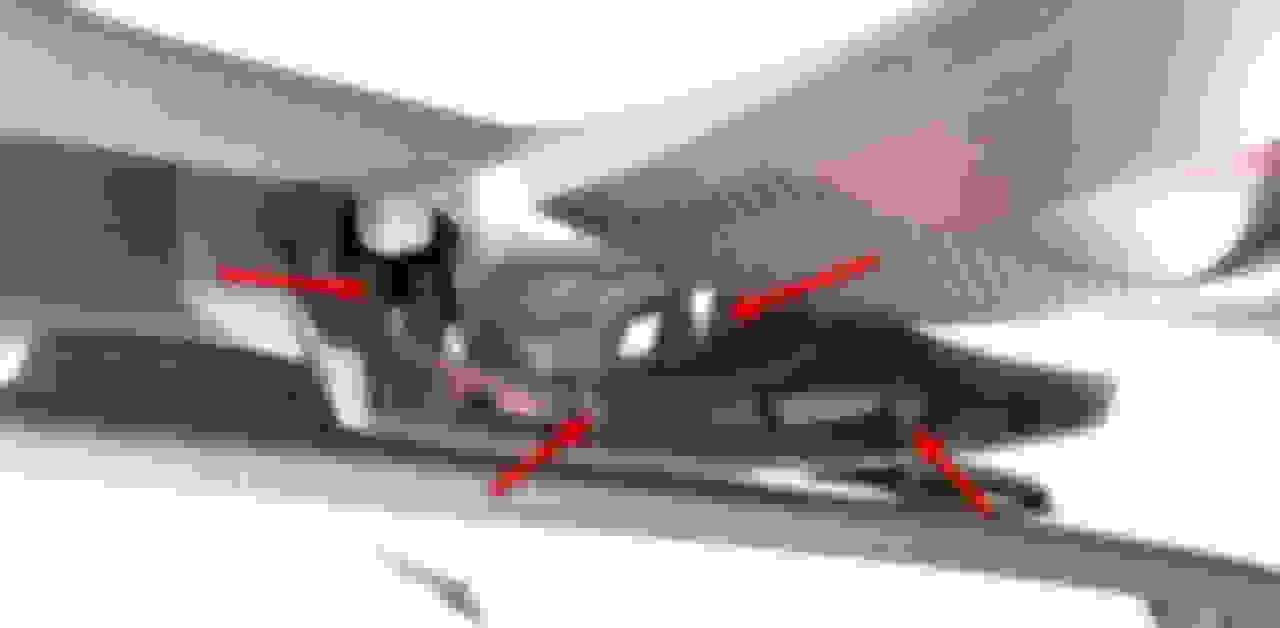
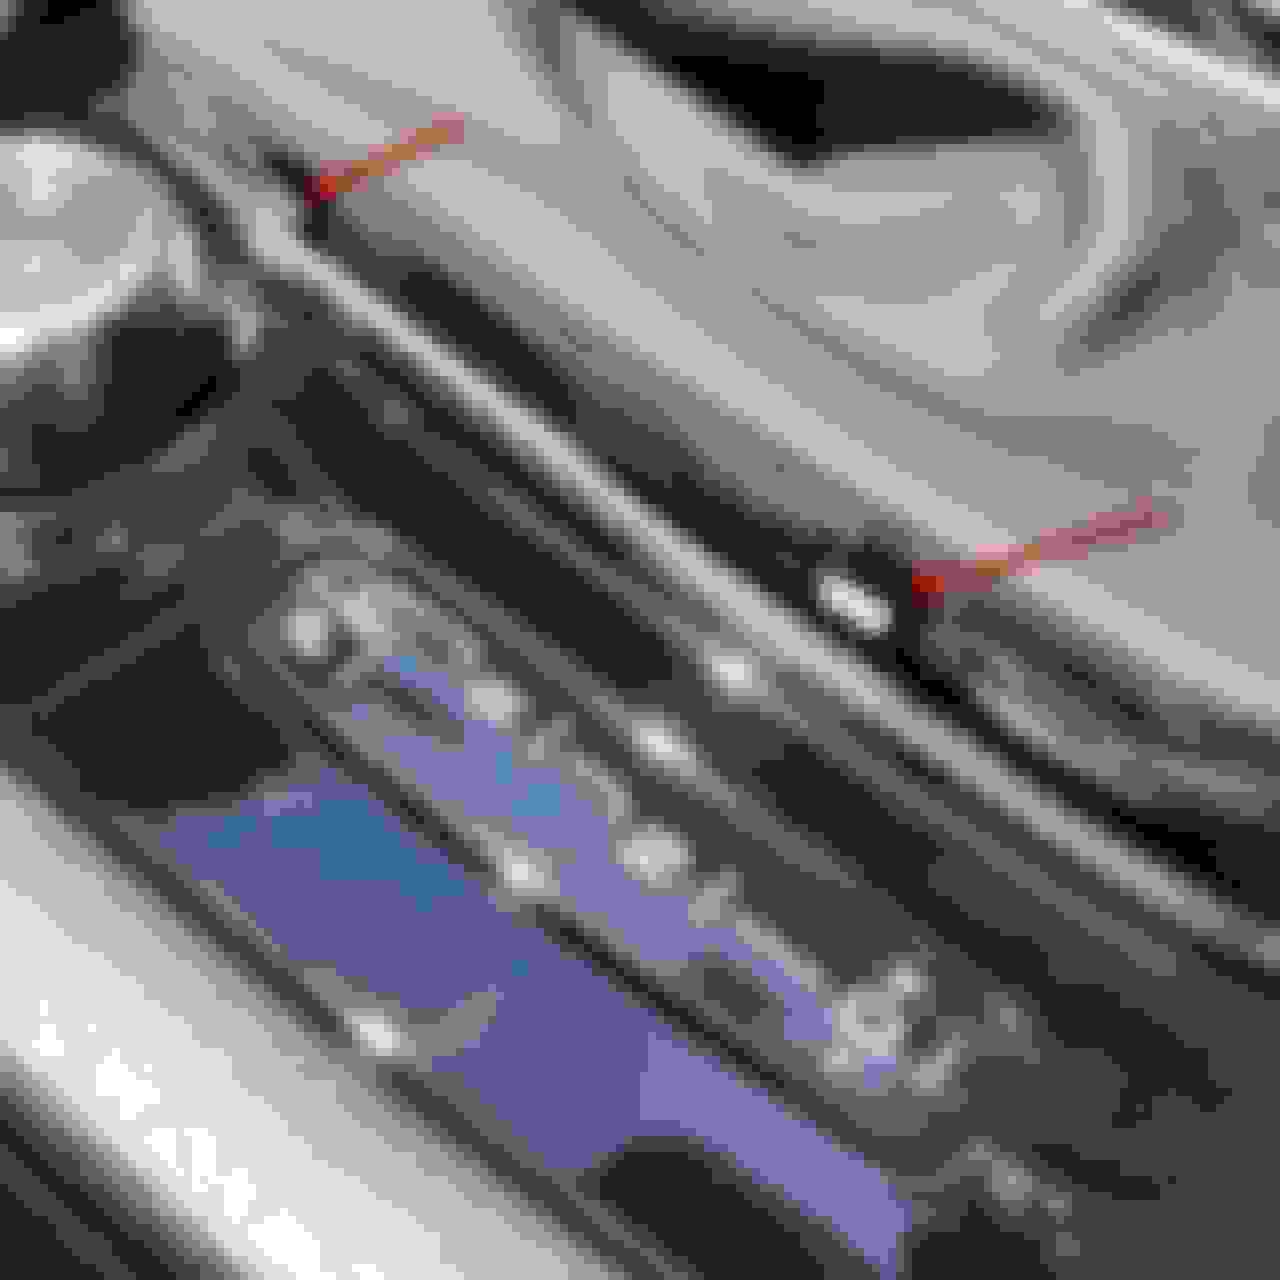
With the console free, I carefully removed the connector shown here.
A word of caution: When you reconnect the wiring to the connector shown below, push STRAIGHT in and not down towards the console body, or you risk bending the connector away from the circuit board where it's mounted. (Ask me how I know.)
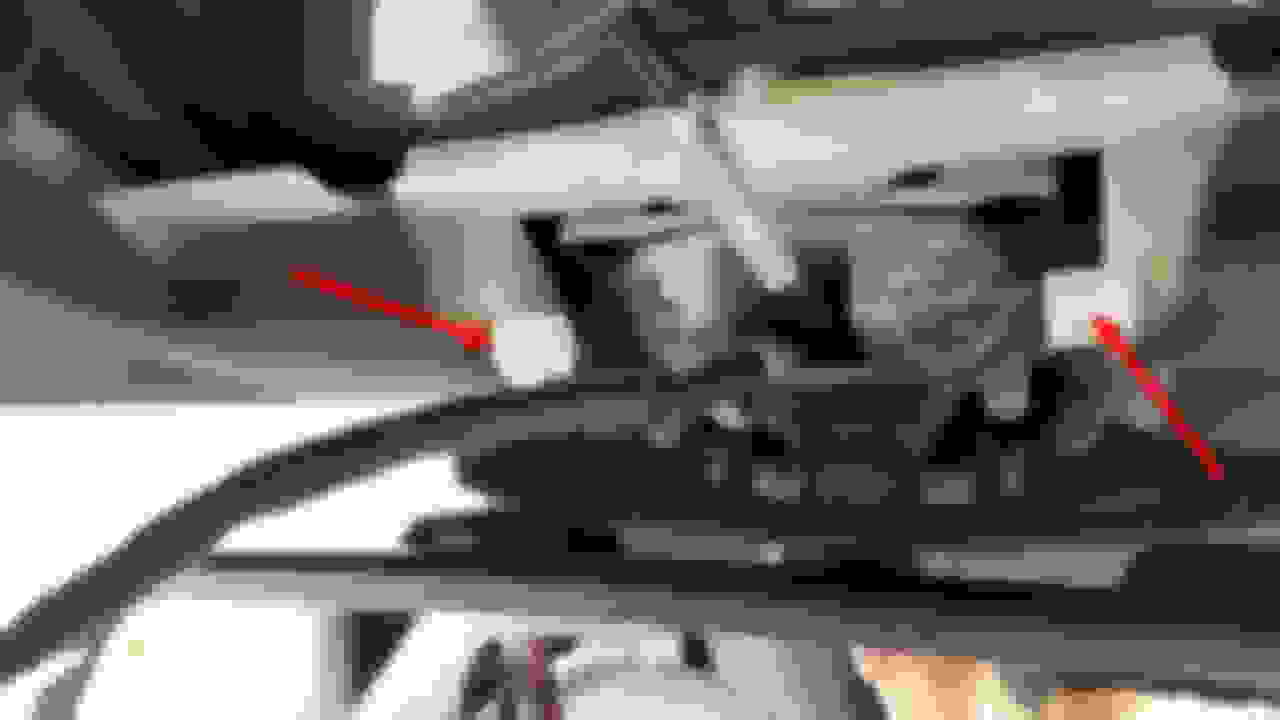
Using a safety pin and my voltmeter, I tested the various wires with the ignition OFF until I found one that was 0.00 volts. Then I turned the ignition ON and found that the 2nd wire (gray), jumped to life.
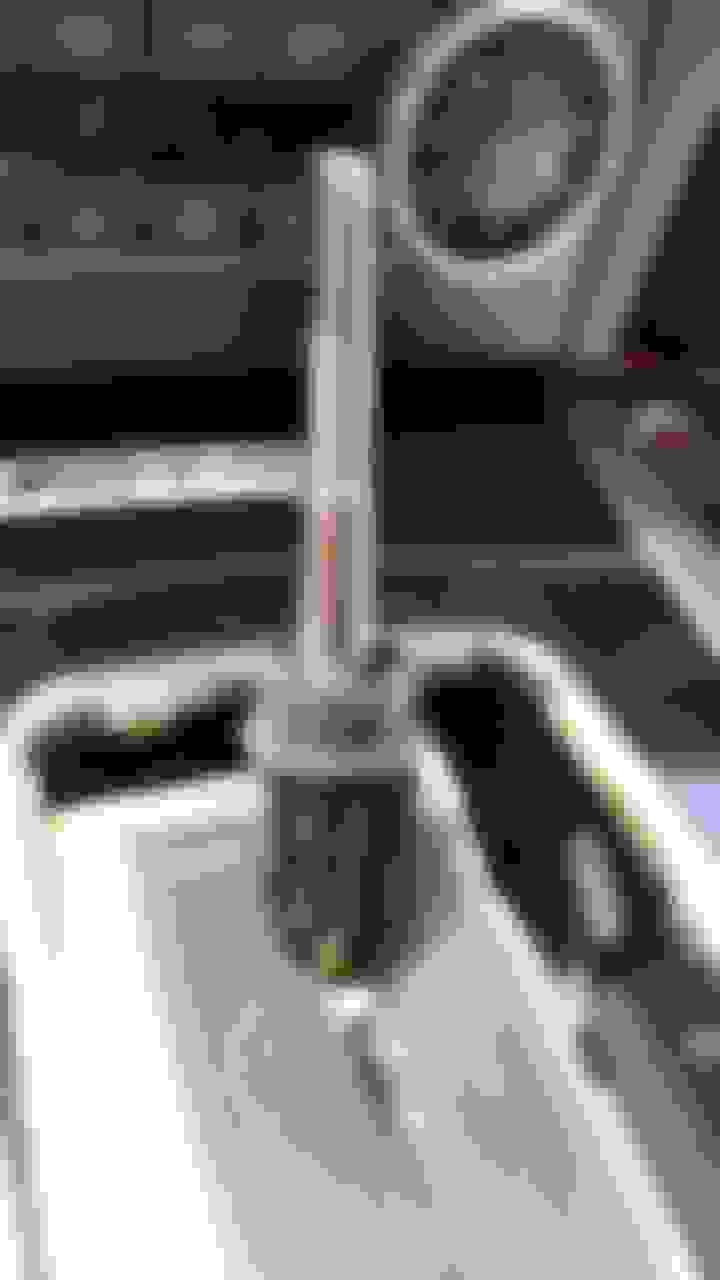
This is where I grounded my other terminal for testing purposes. Unfortunately, I could not find a suitable grounding nut anywhere up there!
Testing voltage.
After all that, I decided MEH... I'm not going to use the light console after all. On to Plan B -- using the cig lighter...
Plan B:
Remove shift boot
Remove shift knob
Remove shift trim piece
Remove ashtray
Locate 12V wiring that is only live when ignition is ON
The shift knob and boot are attached together as a single piece. To remove the shift boot first, use a trim tool to gently pry the four rubber-like tabs holding it in (two on each side). I was honestly surprised that it was so easy to remove.
Lift up the shift boot and you will see the plastic locking collar holding the shift knob on. Unscrew it and pay close attention to which way you rotate it as you will need to do the reverse to reinstall it.
Once the collar has been disengaged, you can slide the shift knob off.
Here is the shift knob and boot removed. Notice the tabs (and beautiful staple work).
You can slide the locking collar off, or just leave it there.
Another photo of the locking collar.
Now it's time to remove the shift trim piece. It is secure in four places: two metal retaining clips and two hooks.
Slide open the ashtray and then using a trim tool, gently pry up the edge of the shift trim that faces the ashtray, shown by the arrows below.
Once you lift up the front end, slide the back-end out from the "hook retainers". The following photos will clarify what I mean. You can see the two metal retaining tabs on the ashtray side of the trim piece as well as two retaining "hooks" on the cupholder side. Disconnect the two connectors shown below in order to move the trim piece out of the way.
Another shot of the front (ashtray side) metal retaining tabs.
Another shot of the rear (cupholder side) retaining hooks.
Here you can see all four mounting spots for the shift trim piece.
The rear (cupholder side) hook retainers from another angle.
The shift trim piece removed.
Next up, remove the ashtray by removing the two Torx screws shown below.
For safety reasons, first confirm that your emergency brake is engaged.
I then had to start the car and place it into DRIVE in order to move the shifter back far enough to remove the ashtray. It's in there good. Tight fit, but it will come out.
Disconnect the single wiring connector going to the ashtray and then remove the ashtray assembly.
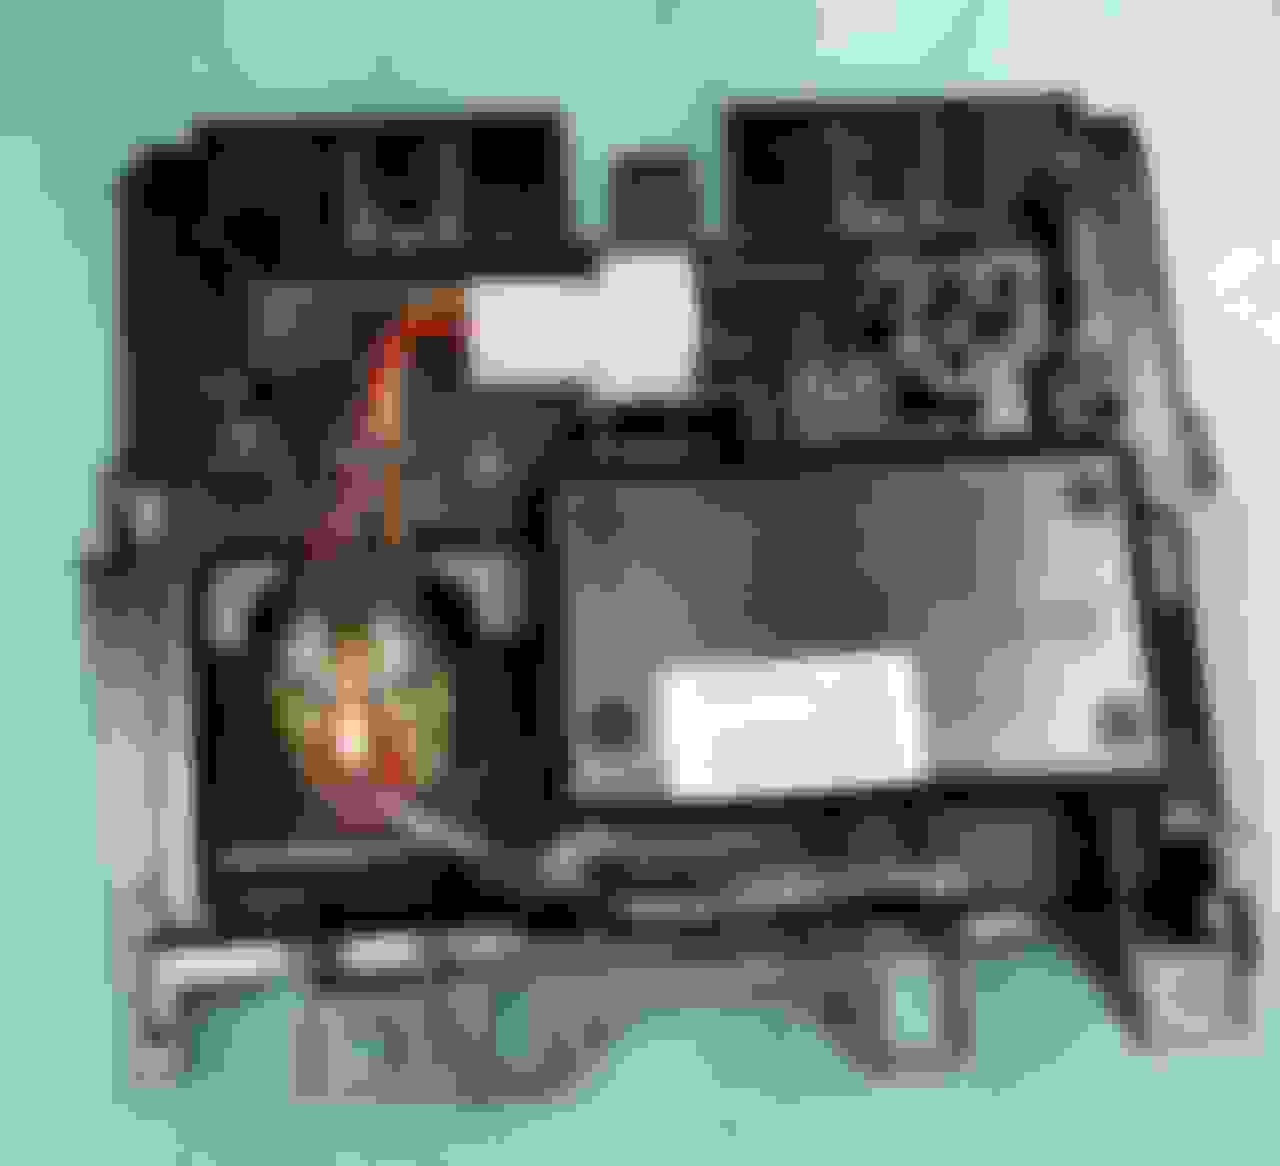
Photos of the ashtray assembly.
For fun, I took this photo of everything "ripped apart" and sent it to my wife to freak her out. It worked.
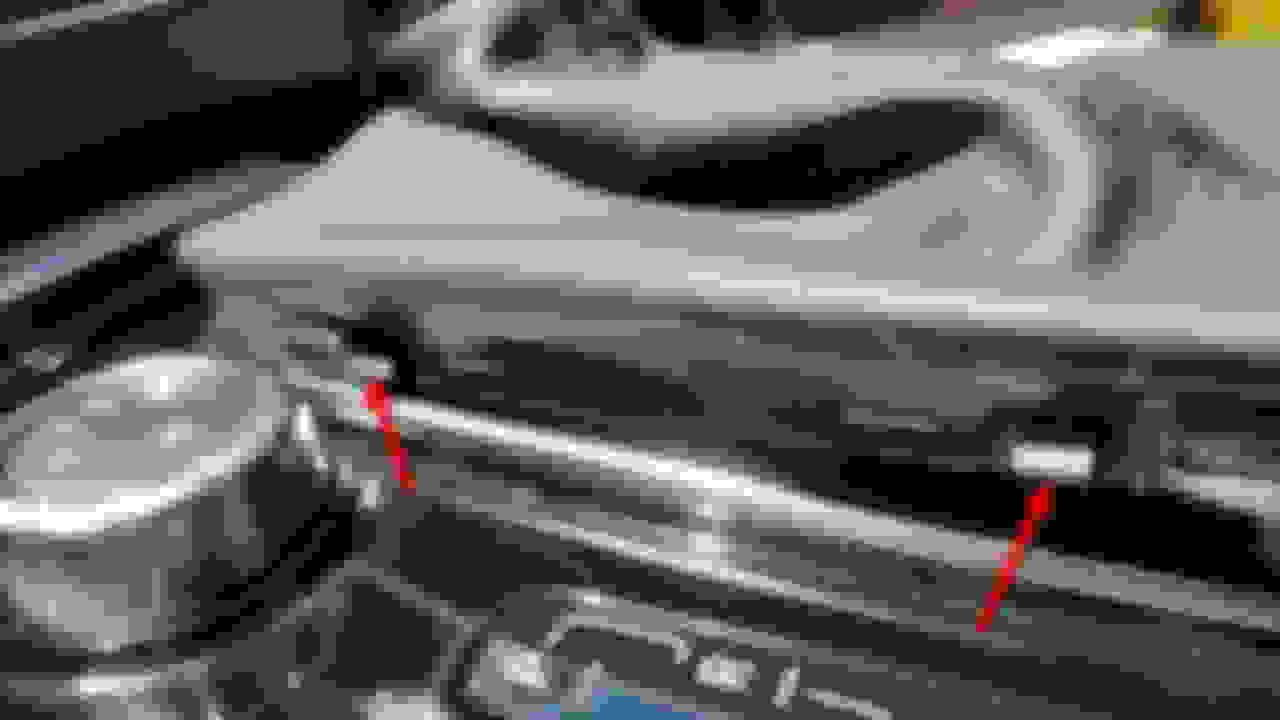
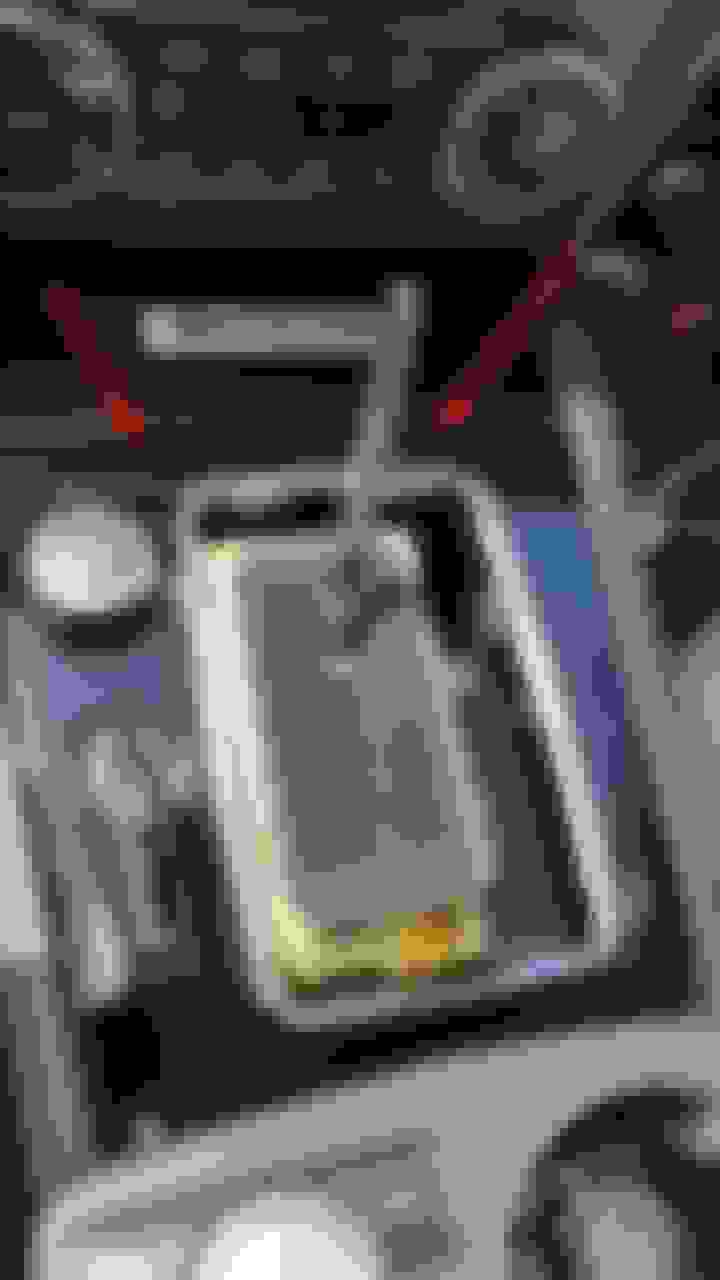
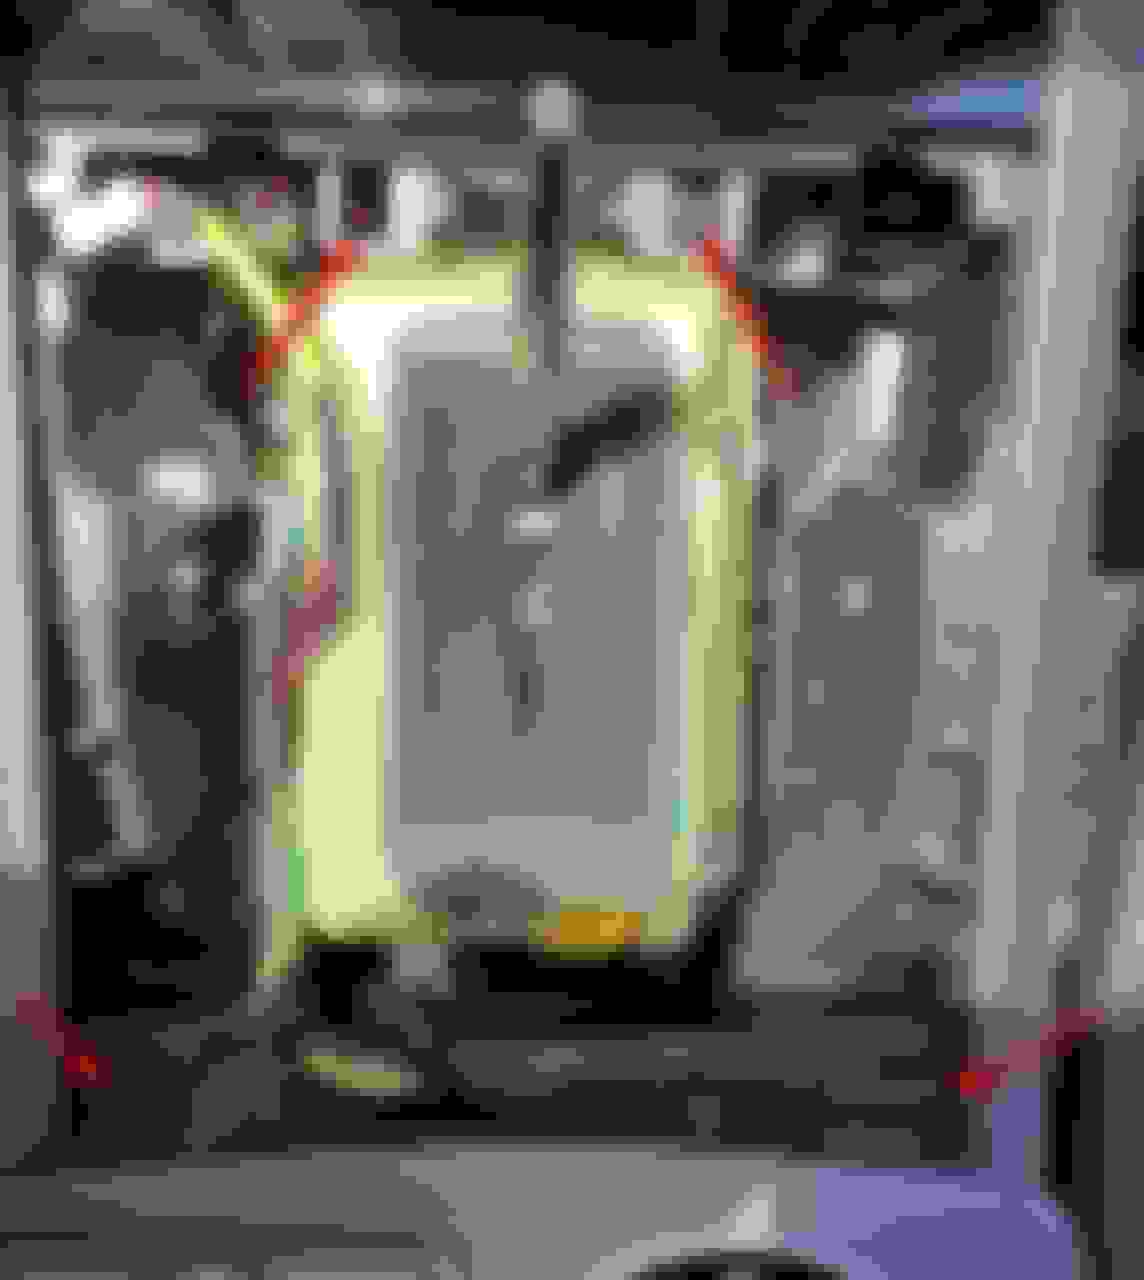
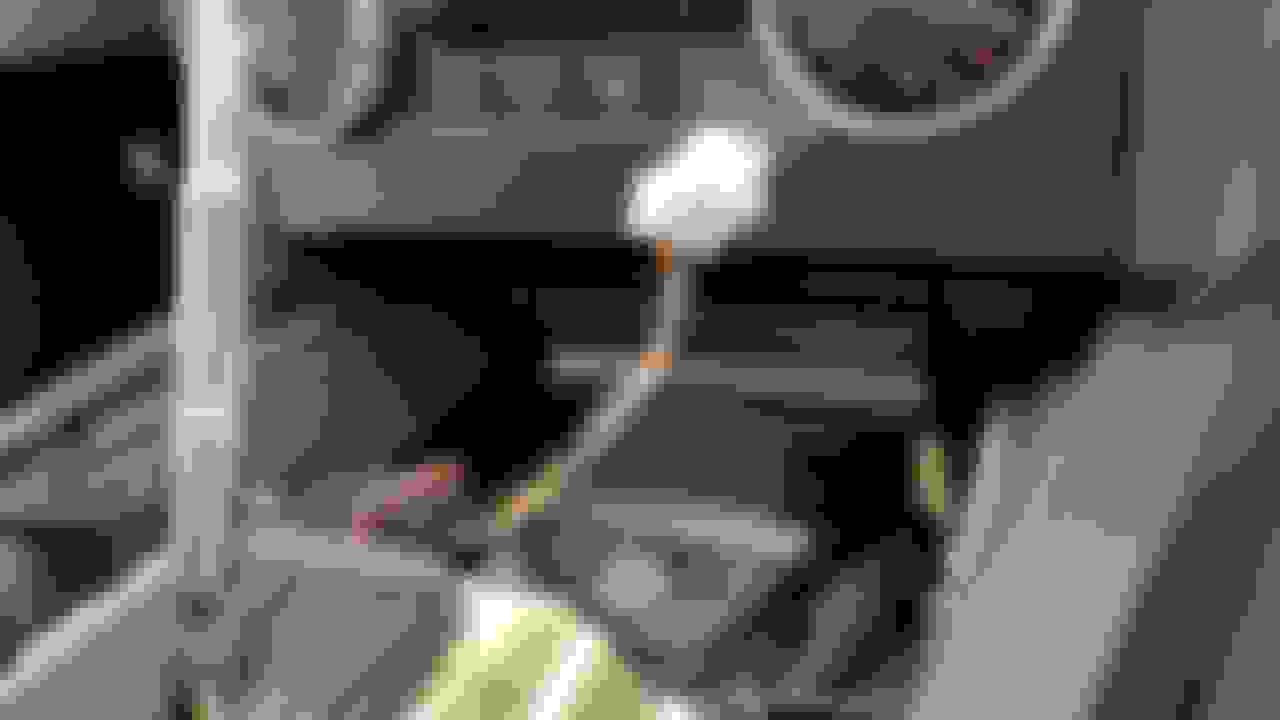
With the ashtray assembly removed, you will see the single set of wires which power the 12V power port (cigarette lighter).
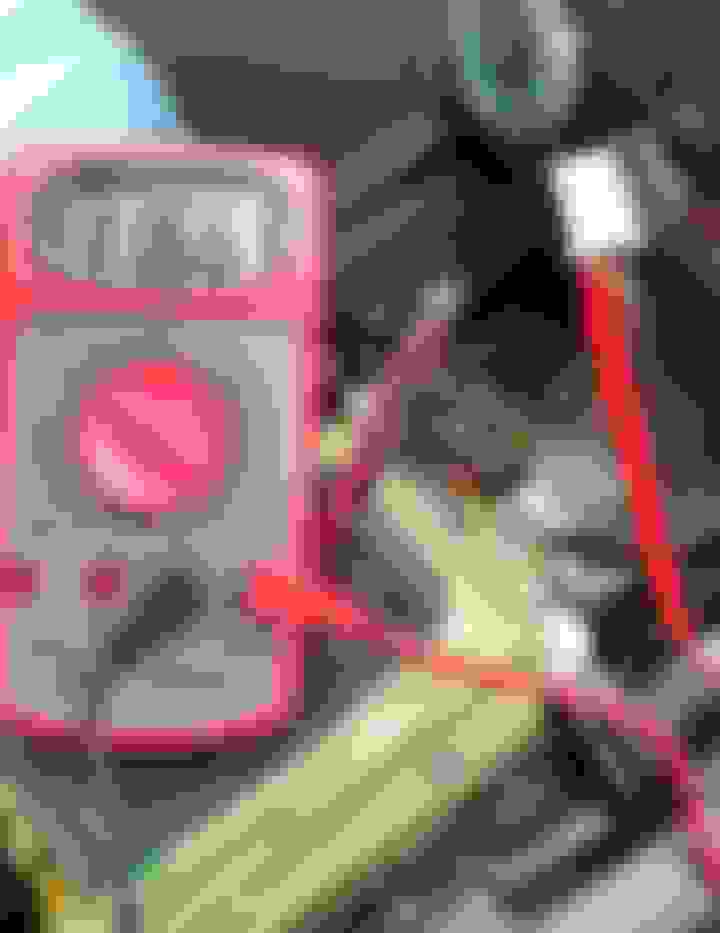
Of the three wires, the one I used was the ORANGE wire with the YELLOW stripe. But best practice is testing them all yourself to confirm!
I connected my voltmeter and confirmed 0.00V when ignition is OFF, and 12V when the ignition is ON.
Then, using a wire tapper, I connected both red power wires (one for my radar detector and the other for my dashcam) to that ORANGE wire with the YELLOW stripe.
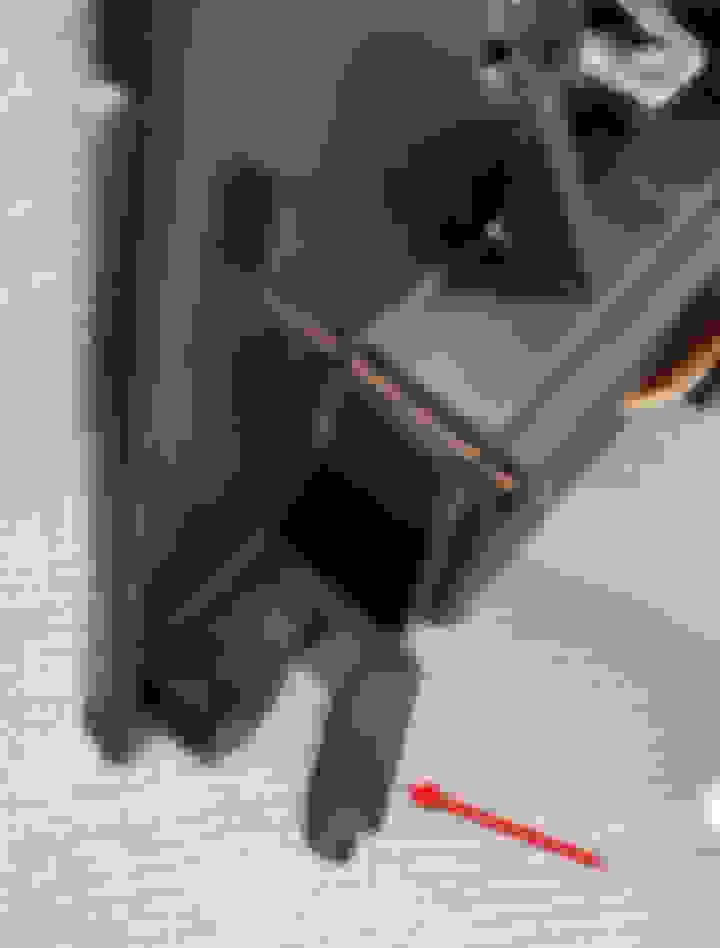
For grounding, I used the existing (and very conveniently-placed) grounding nut!
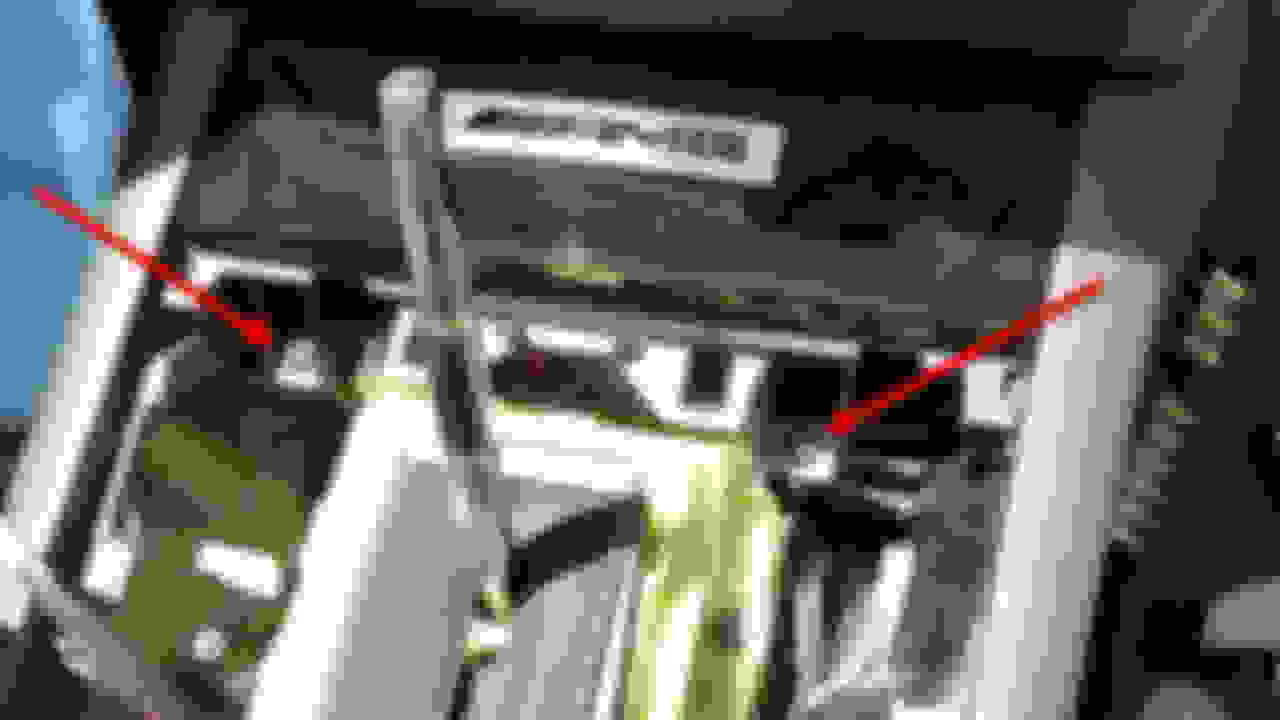
I then removed my glove box and ran the power wires from behind the ashtray area, above/behind the glove box, up the A-pillar trim (being careful to only tuck the wires into the edge of the trim as to not block the airbag), and up into the ceiling trim.
Some photos of what you see peering into the center console behind the ashtray as well as how I wired above/behind the glove box. There is around 10-screws to remove to get the glove box out.
Sorry I did not go into more details on this part. Was getting kinda tired at this point.
And voila! Here are both devices after installation.
For those who might be interested, I used the following mounts and wiring...
Permanent mount for Uniden R3:
Search eBay for "Nice Permanent Windshield Mount For The All Recent ( New ) Uniden Radar Detector"
Wiring kit for Uniden R3:
Search eBay for "RJ11 Direct Wire Radar Detector Hardwire Power Cord for Uniden DFR6 DFR7 R1 R3"
Permanent mount for Aukey Dashcam:
(included with dashcam)
Mercedes SLR McLaren 722 S Is Extremely Rare Example Modified by McLaren
Slideshow: A one-of-one U.S.-spec Mercedes-Benz SLR McLaren Roadster became even rarer after a factory-backed transformation at McLaren's headquarters.