When you click on links to various merchants on this site and make a purchase, this can result in this site earning a commission. Affiliate programs and affiliations include, but are not limited to, the eBay Partner Network.
On most cases I would 100% agree, what I'm going to do though. Since heat is a factor majorly with the whipple and m156 in going to monitor AIT1 and AIT2 to see if bringing down AIT2 will still be beneficial. And in that case the meth will be a very small shot just for the cooling of the blower and ait's, not for knock protection which its still essentially doing anyway.
But I will be logging everything once the e85 is in order. Because I'm going standalone at the same time for true flexfuel capability. So we'll see what data we gather when that time comes.
inject e85 with your meth injection kit. cheaper and will do the same.
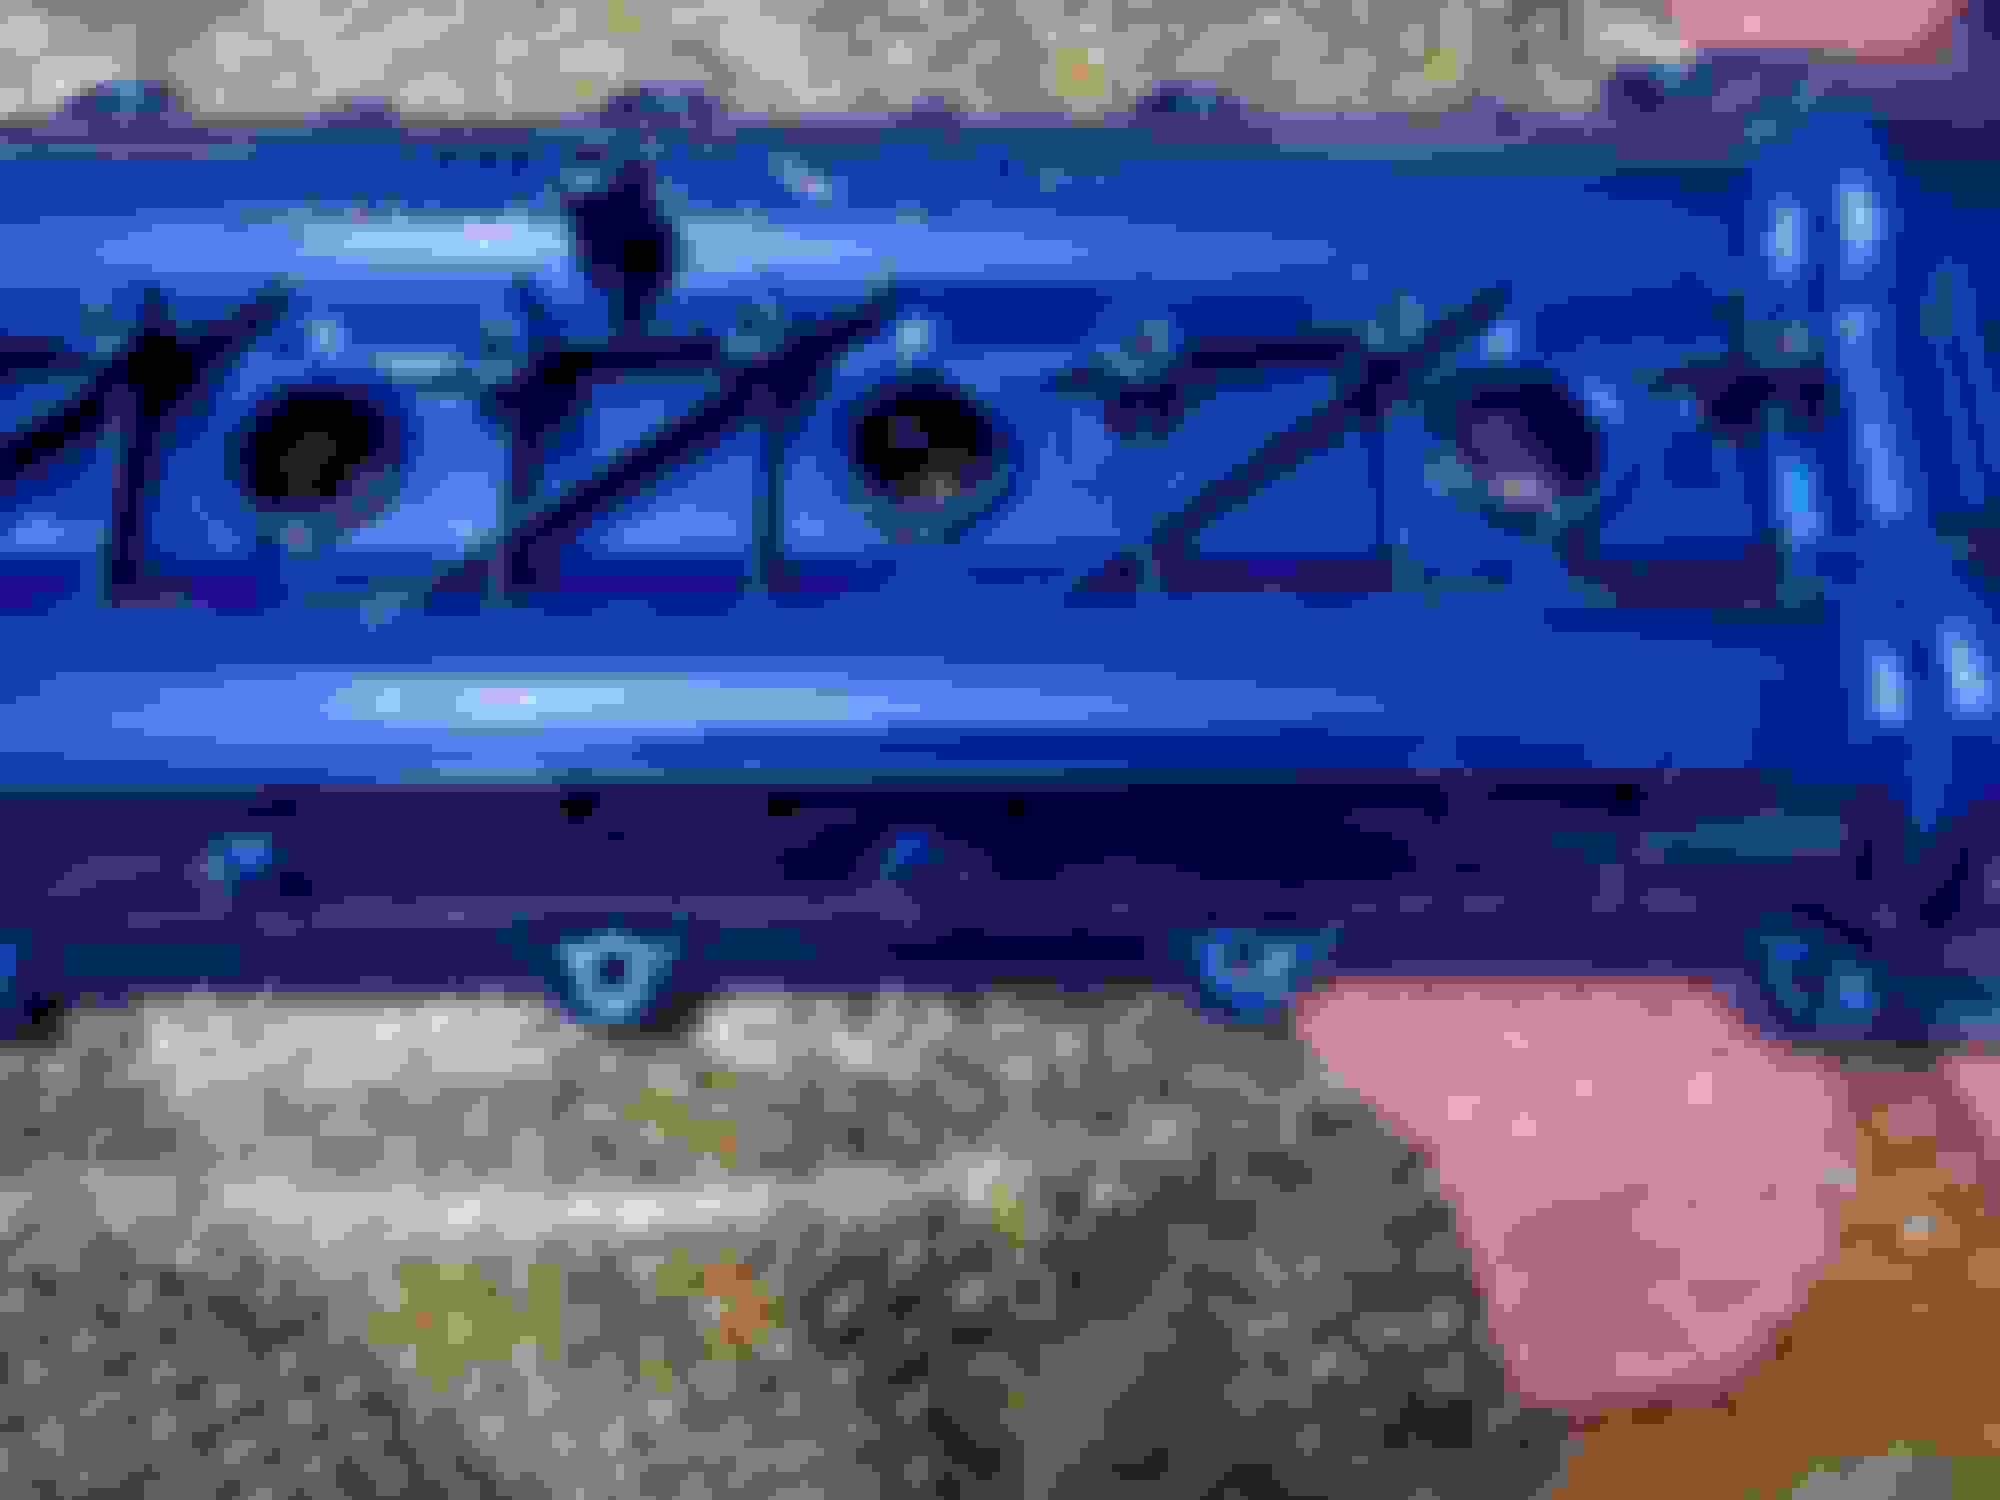
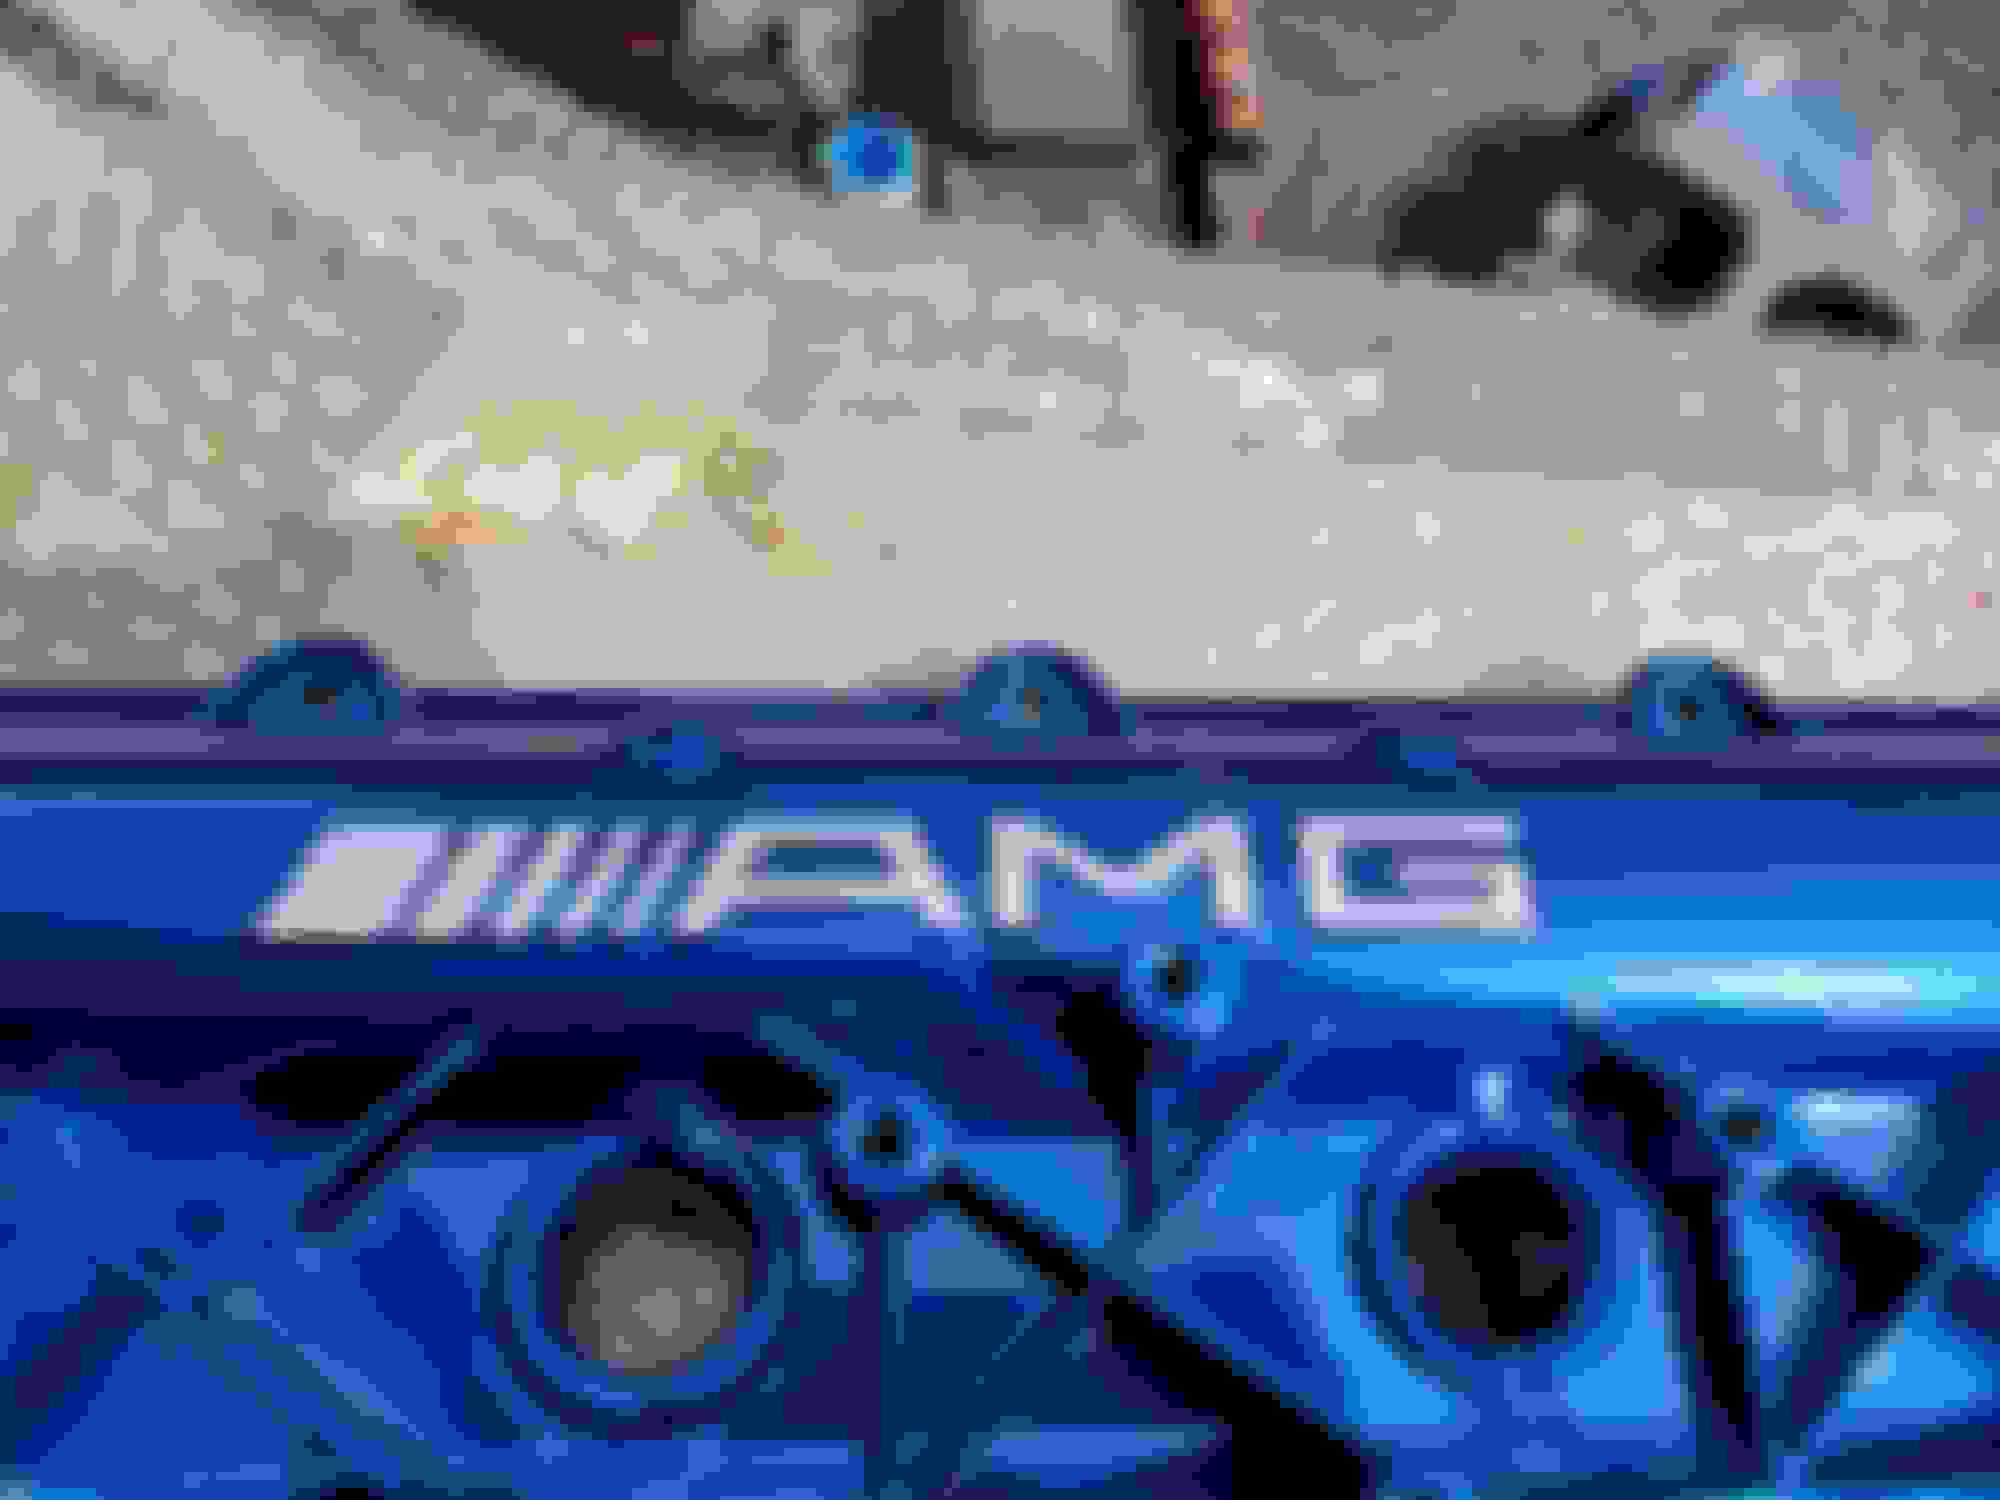
Little update:
got my valve covers back from powder coating. They look amazing in candy blue, I also sanded and polished the AMG insignia on them.
Moving very slowly on this which is a little saddening but I kinda want everything done at once (e85, standalone) but the budget isn't there quite yet. Soon though hopefully. Will keep you guys updated on the progress,, which will hopefully be a little quicker now.
2010 C63 AMG RIP. 2021 Toyota Tacoma TRD Off Road, 2013 C63 coupe
Not saying that would happen to you as well but that reminds me of someone I know who had his oil pan on a Golf MK1 powder coated.
Unfortunately the coating started to flake when it came in contact with the oil and destroyed his engine.
This is just my opinion.
I would clear the bolt seats and the inside of the cover from any paint/powder coating. Maybe the inside doesn't have any coating on it which I cant see based on the pictures.
Last edited by sventastic82; 05-19-2020 at 08:43 AM.
Not saying that would happen to you as well but that reminds me of someone I know who had his oil pan on a Golf MK1 powder coated.
Unfortunately the coating started to flake when it came in contact with the oil and destroyed his engine.
This is just my opinion.
I would clear the bolt seats and the inside of the cover from any paint/powder coating. Maybe the inside doesn't have any coating on it which I cant see based on the pictures.
that would only happen if you did the inside, and I dont know why you would. And there's been countless valve covers powder coated for cars with out trouble. I've personally had 5 or 6 different cars done.
Also the tiny bit of over spray won't hurt anything, and if it's prepped right it would take alot to get it to flake.
2010 C63 AMG RIP. 2021 Toyota Tacoma TRD Off Road, 2013 C63 coupe
Originally Posted by Phil1305
that would only happen if you did the inside, and I dont know why you would. And there's been countless valve covers powder coated for cars with out trouble. I've personally had 5 or 6 different cars done.
Also the tiny bit of over spray won't hurt anything, and if it's prepped right it would take alot to get it to flake.
Fair enough couldn't see that the inside wasn't coated.
I would at least clear the bolt seats and definitely the ignition coil seats which seems to have a thicker coating than other areas and might stack up the coils.
just remember to be VERY VERY careful when tightening the valve cover down. they need to be criss cross torqued little by little with a light final torque spec or the magnesium ear will snap.
post up pics when done! i'm sure it'll look awesome.
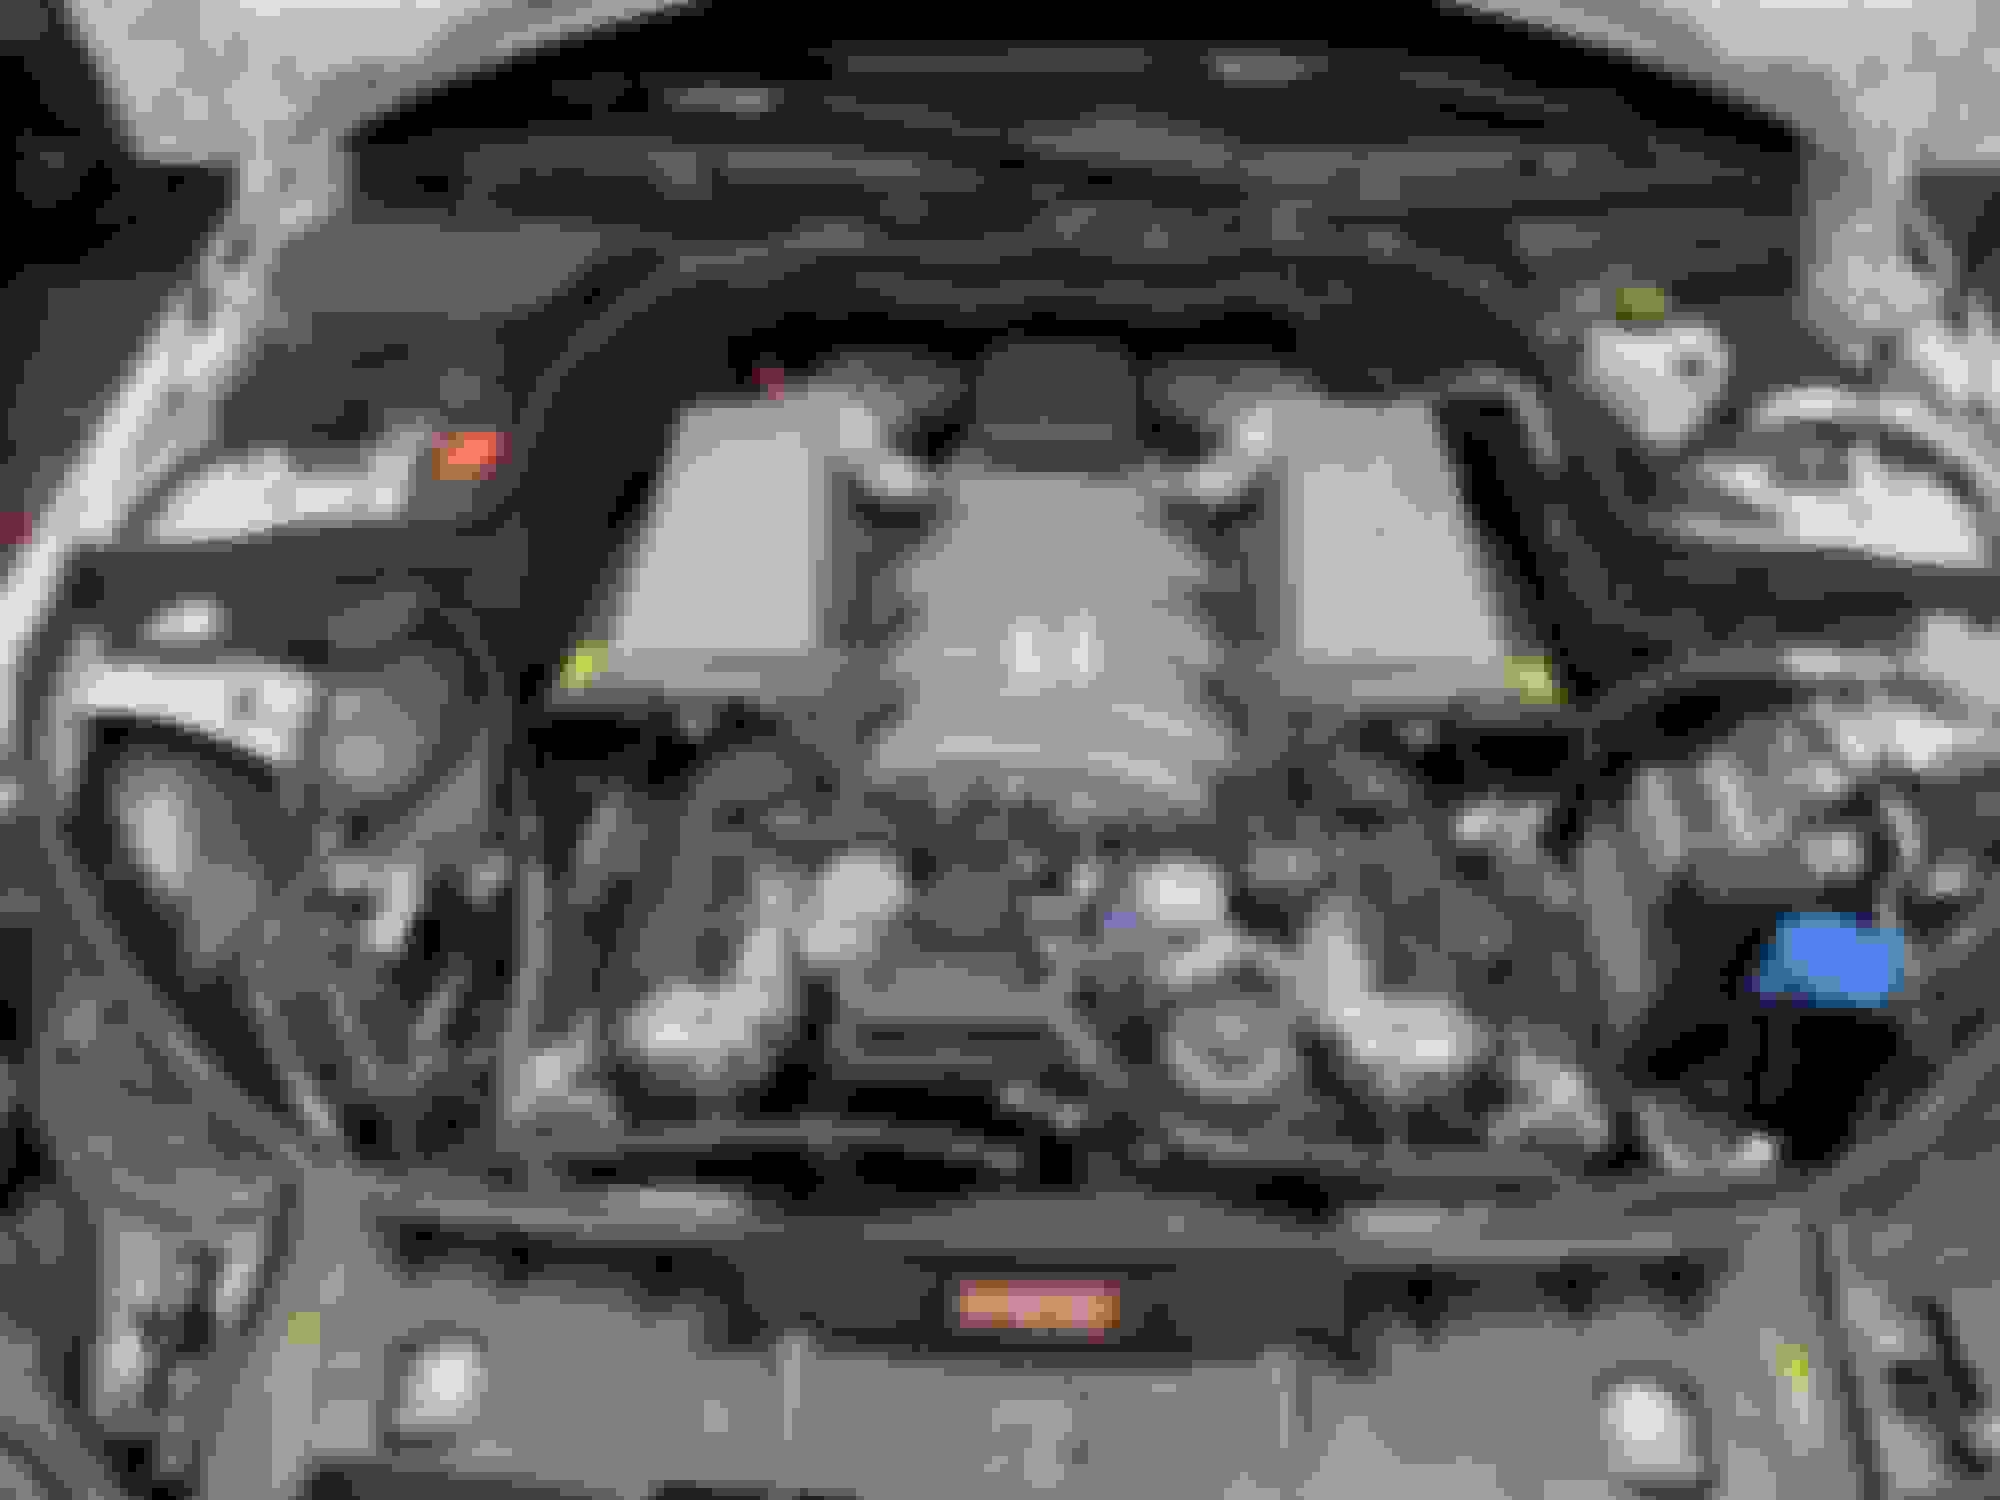
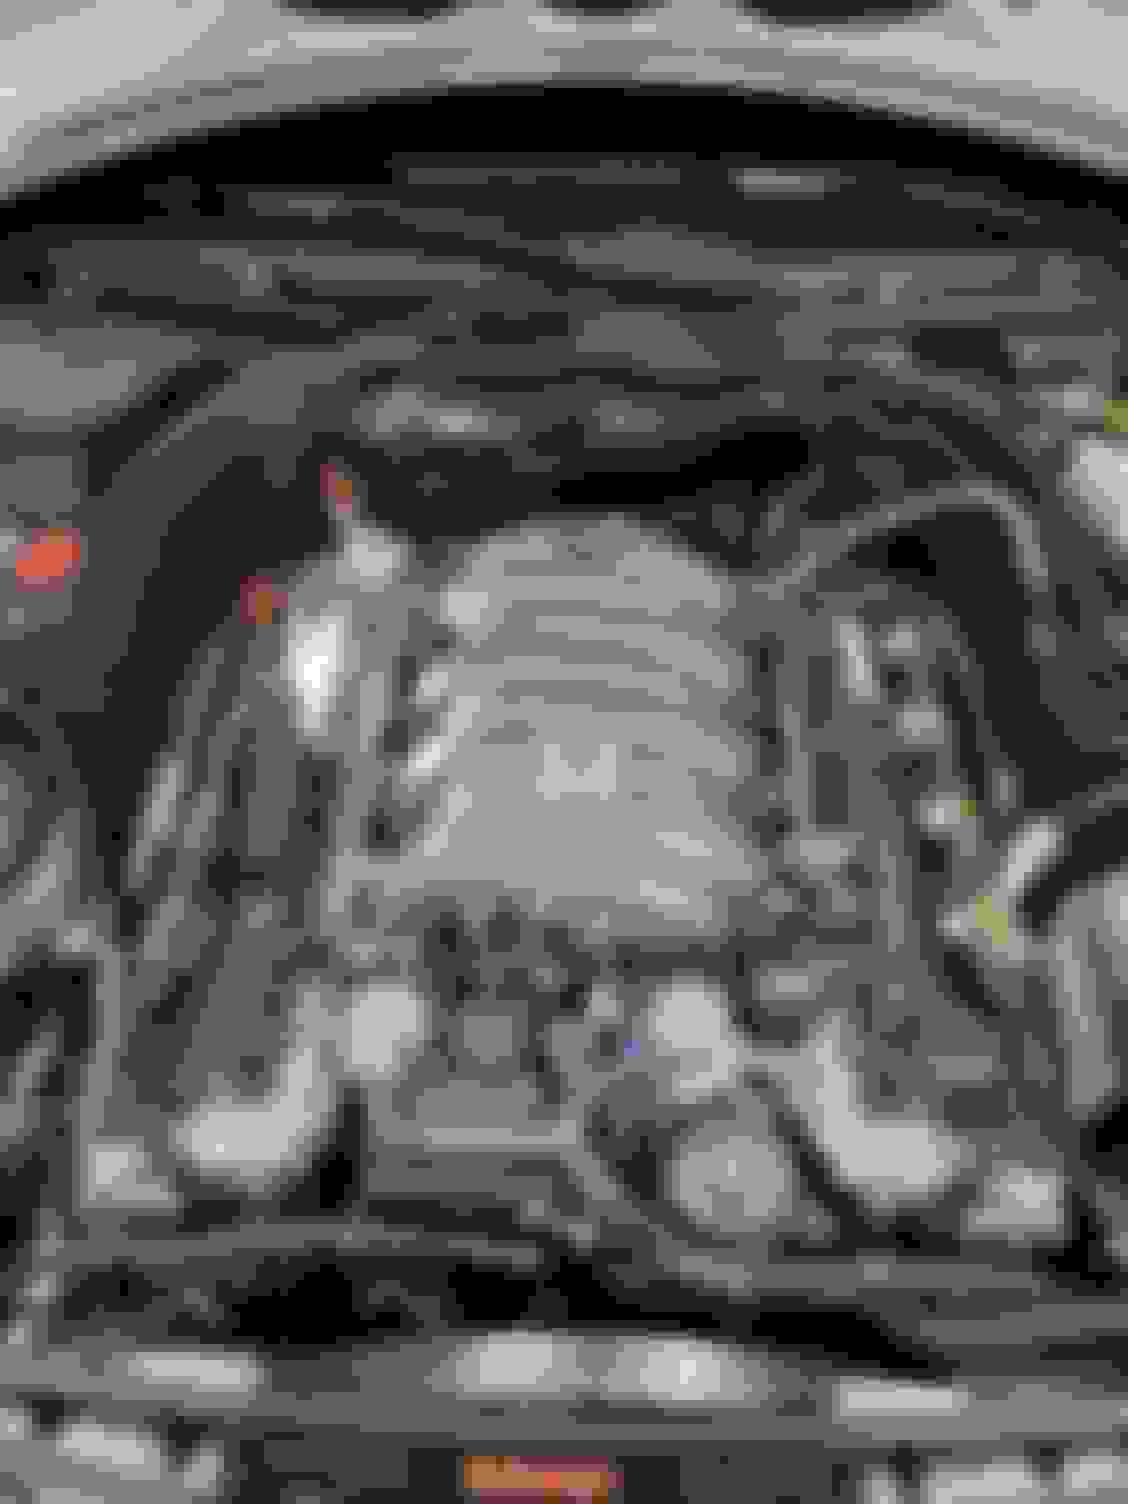
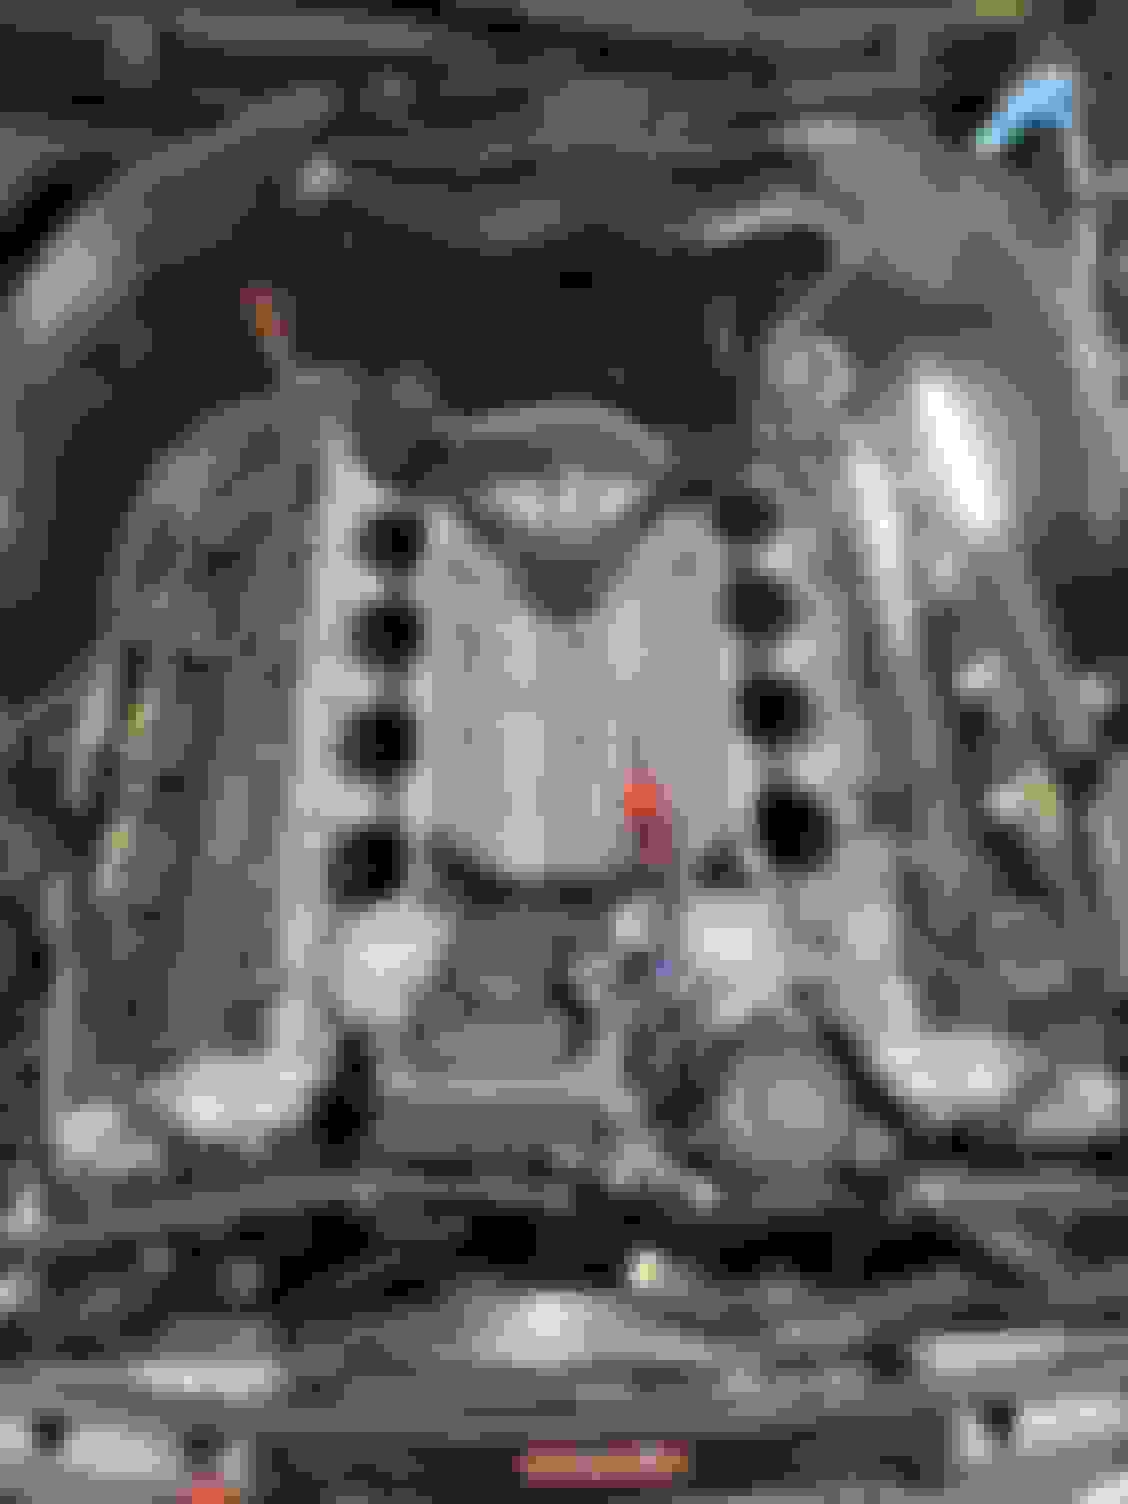
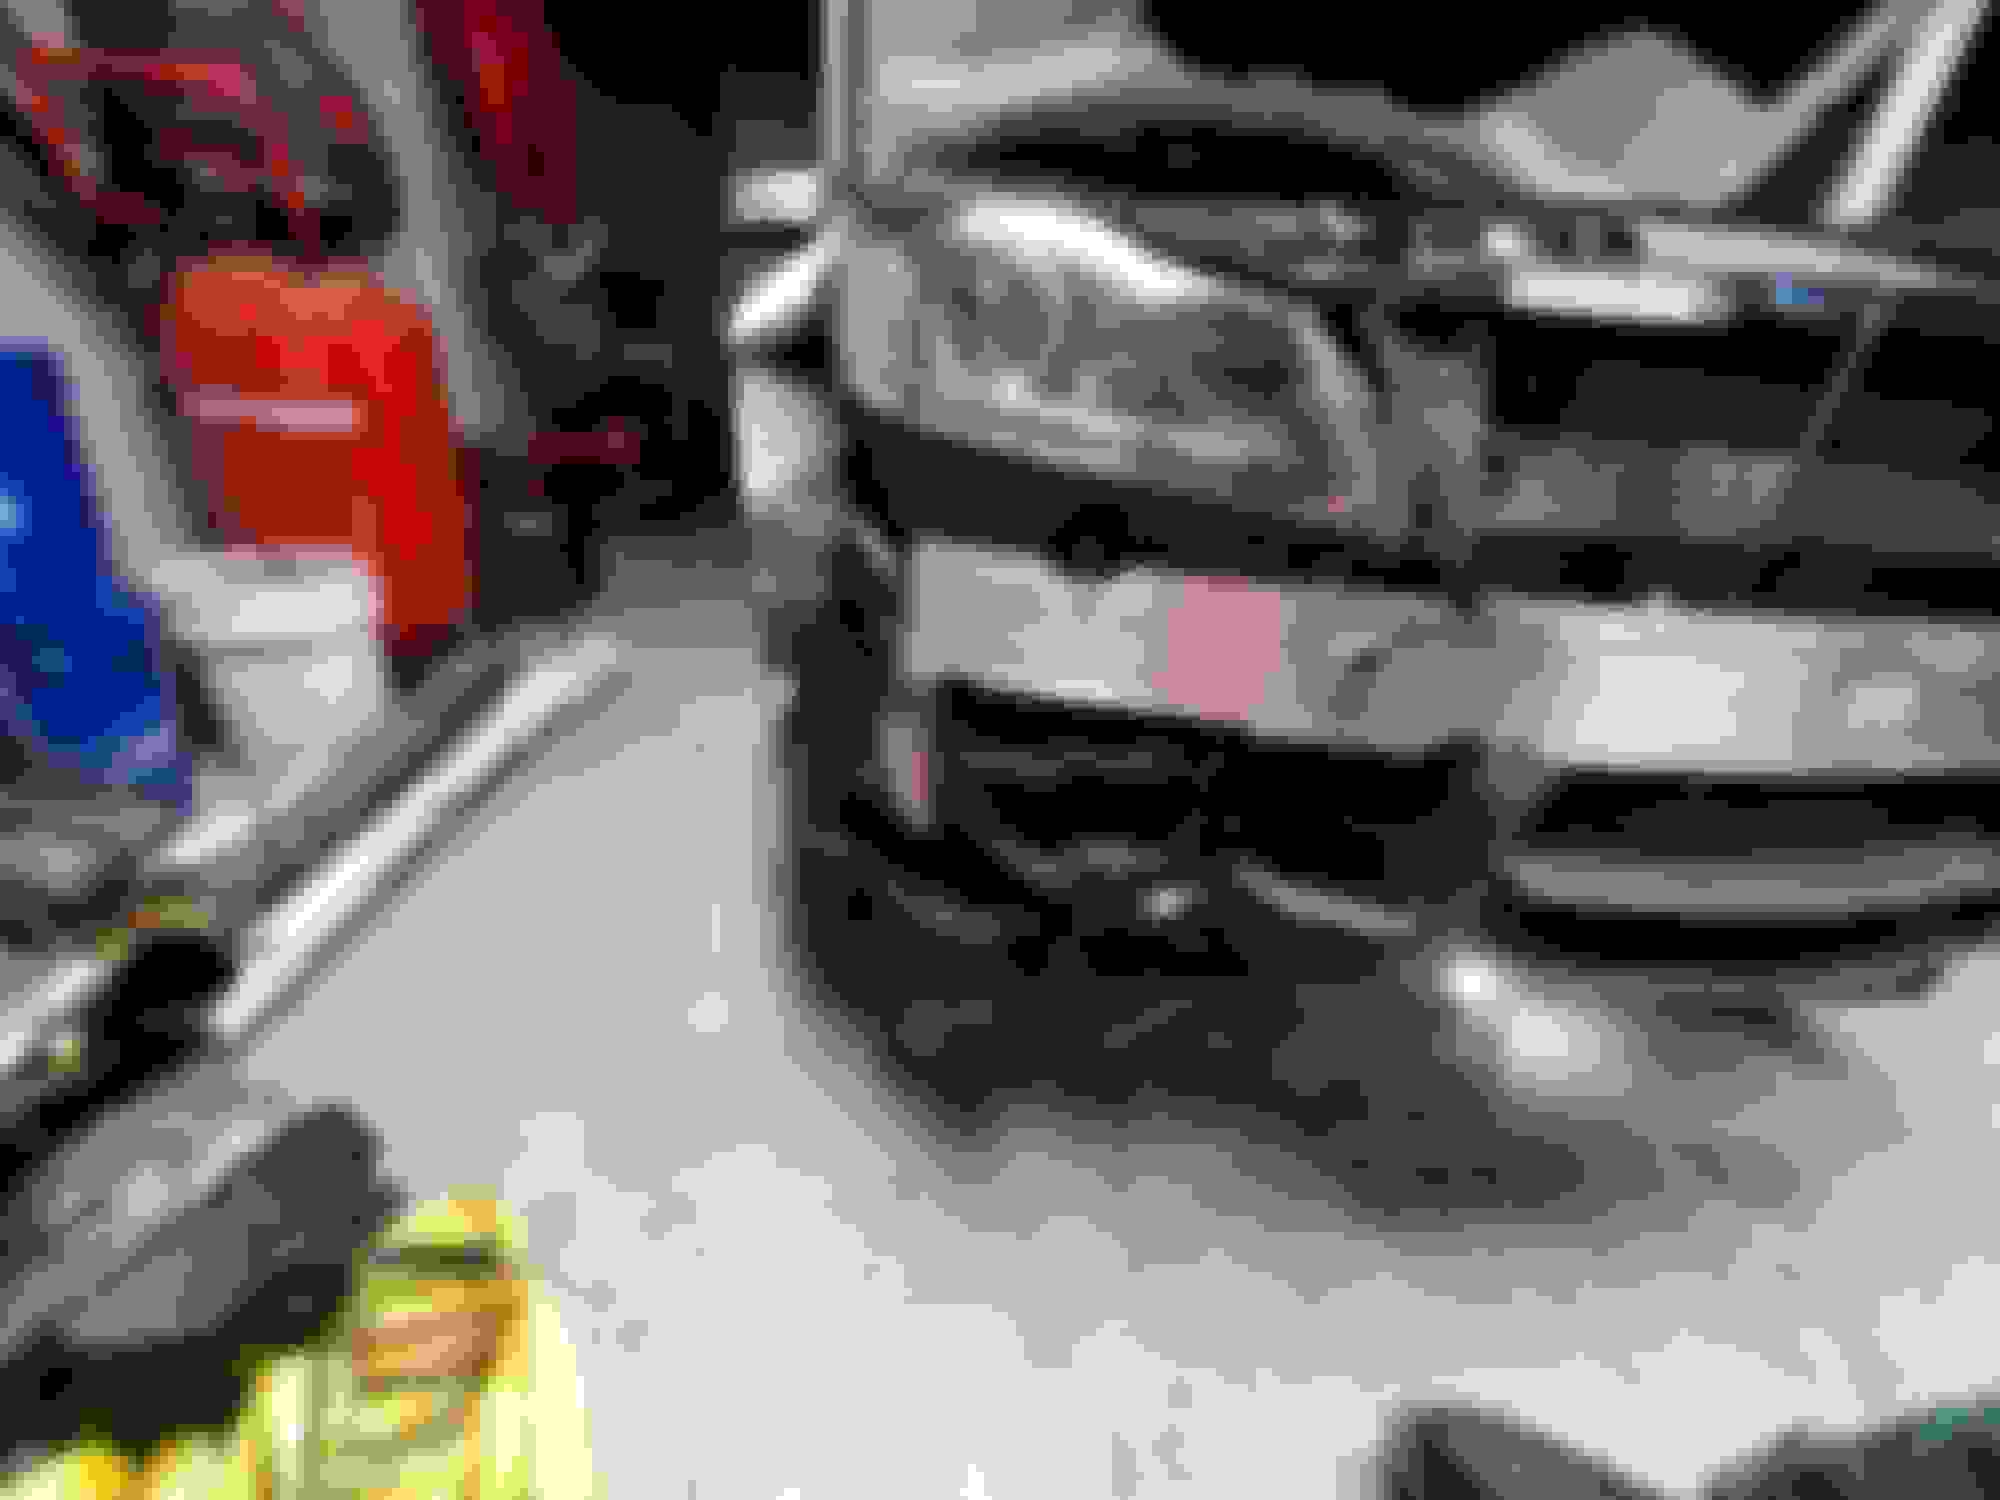
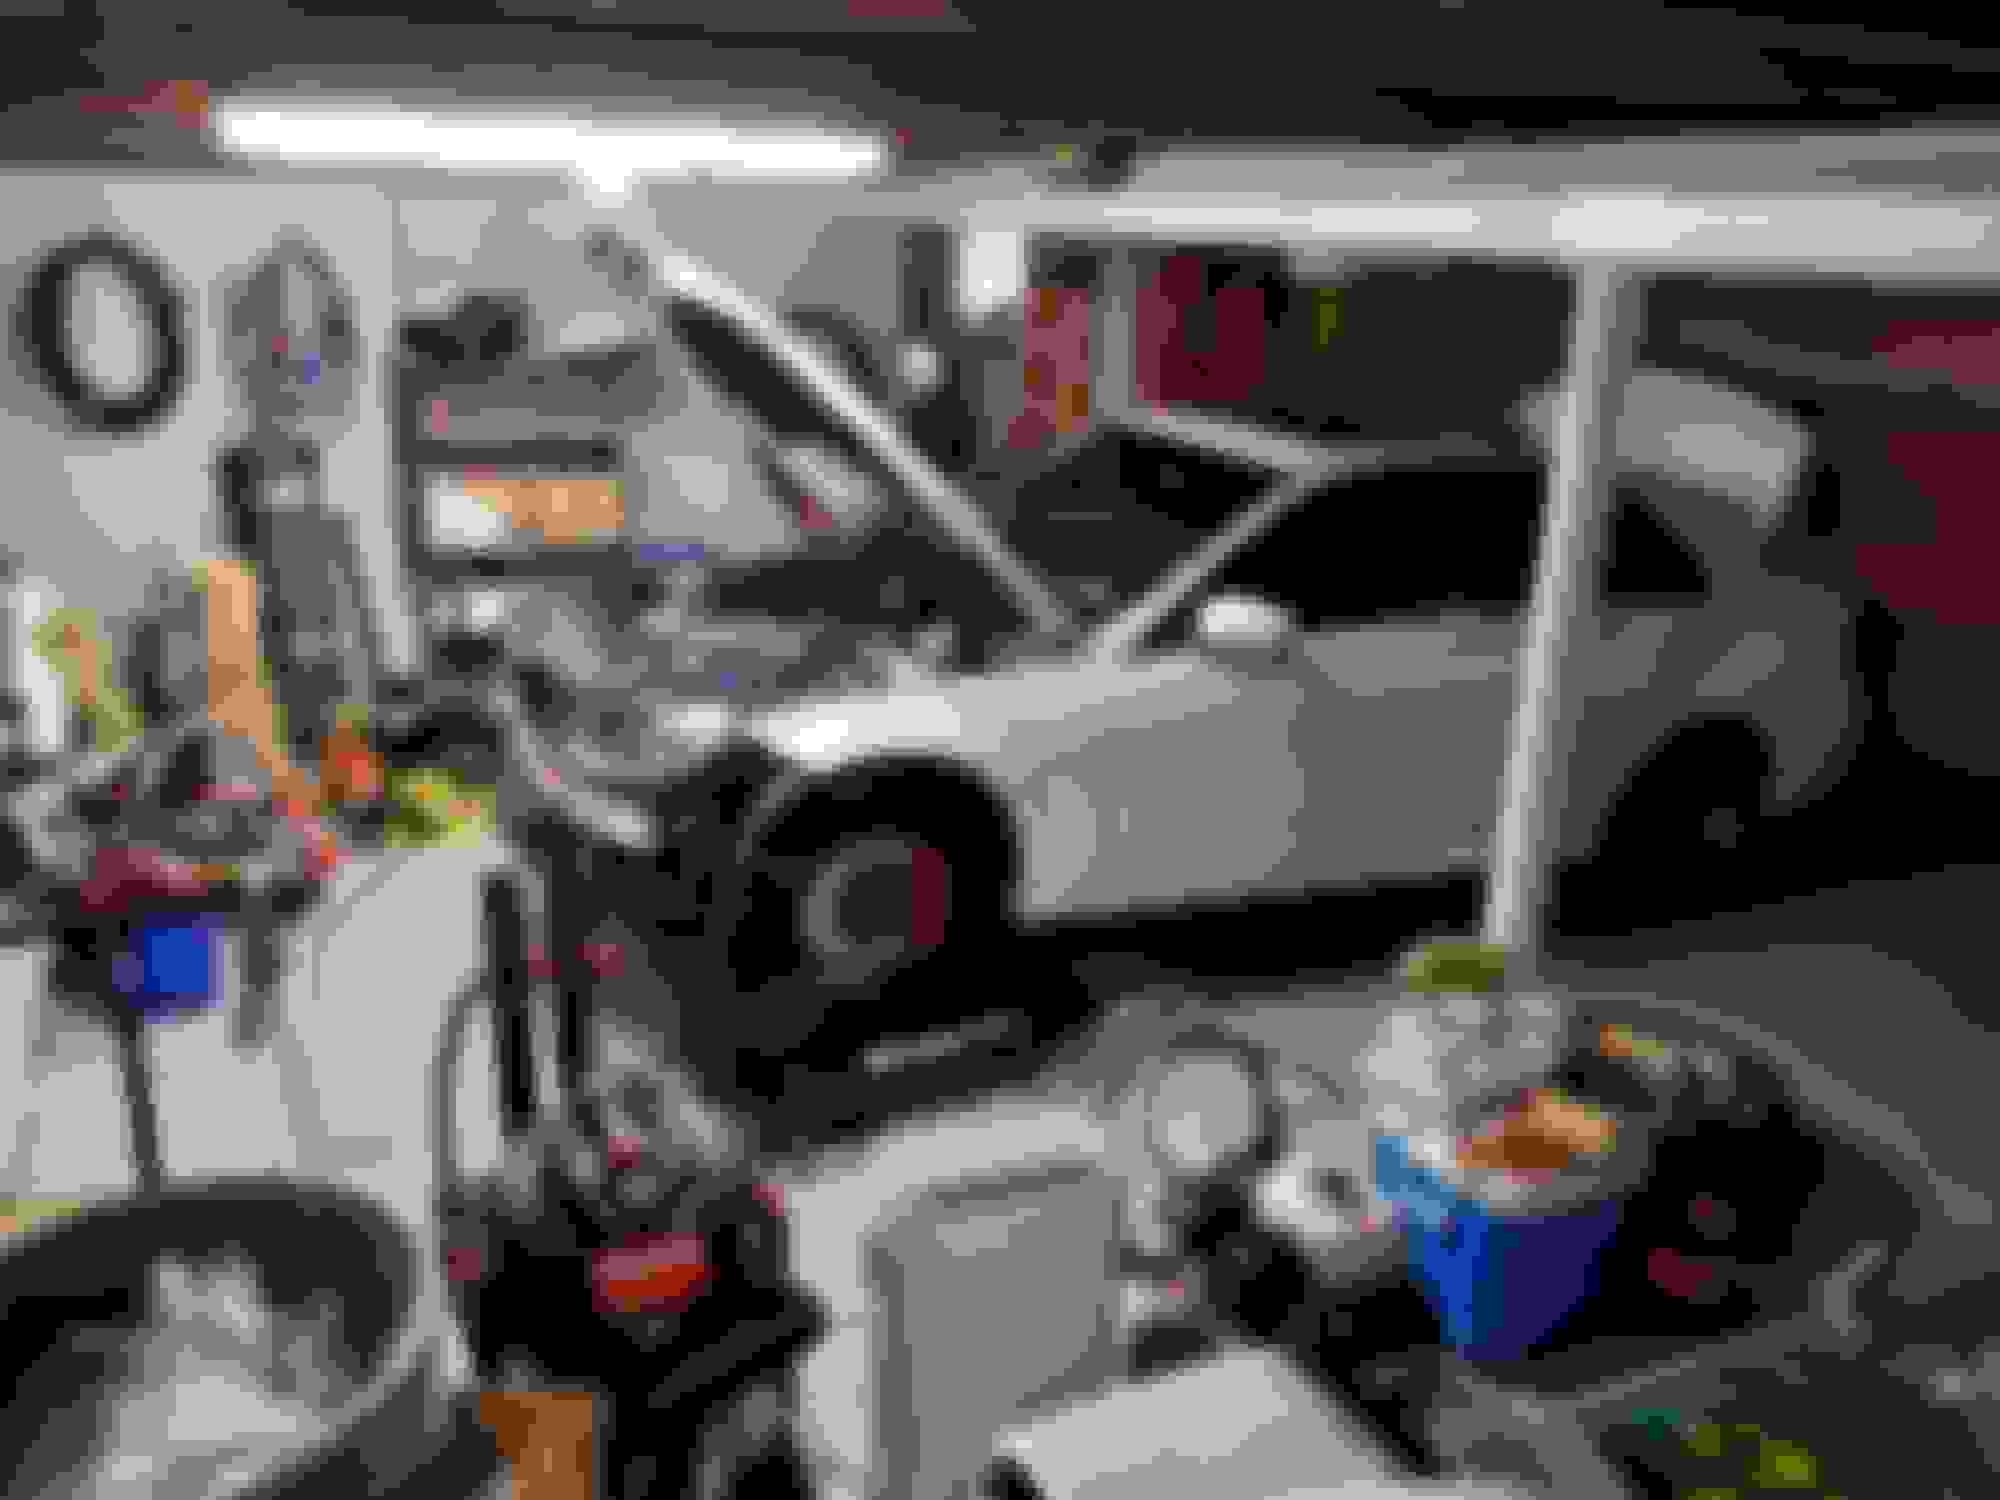
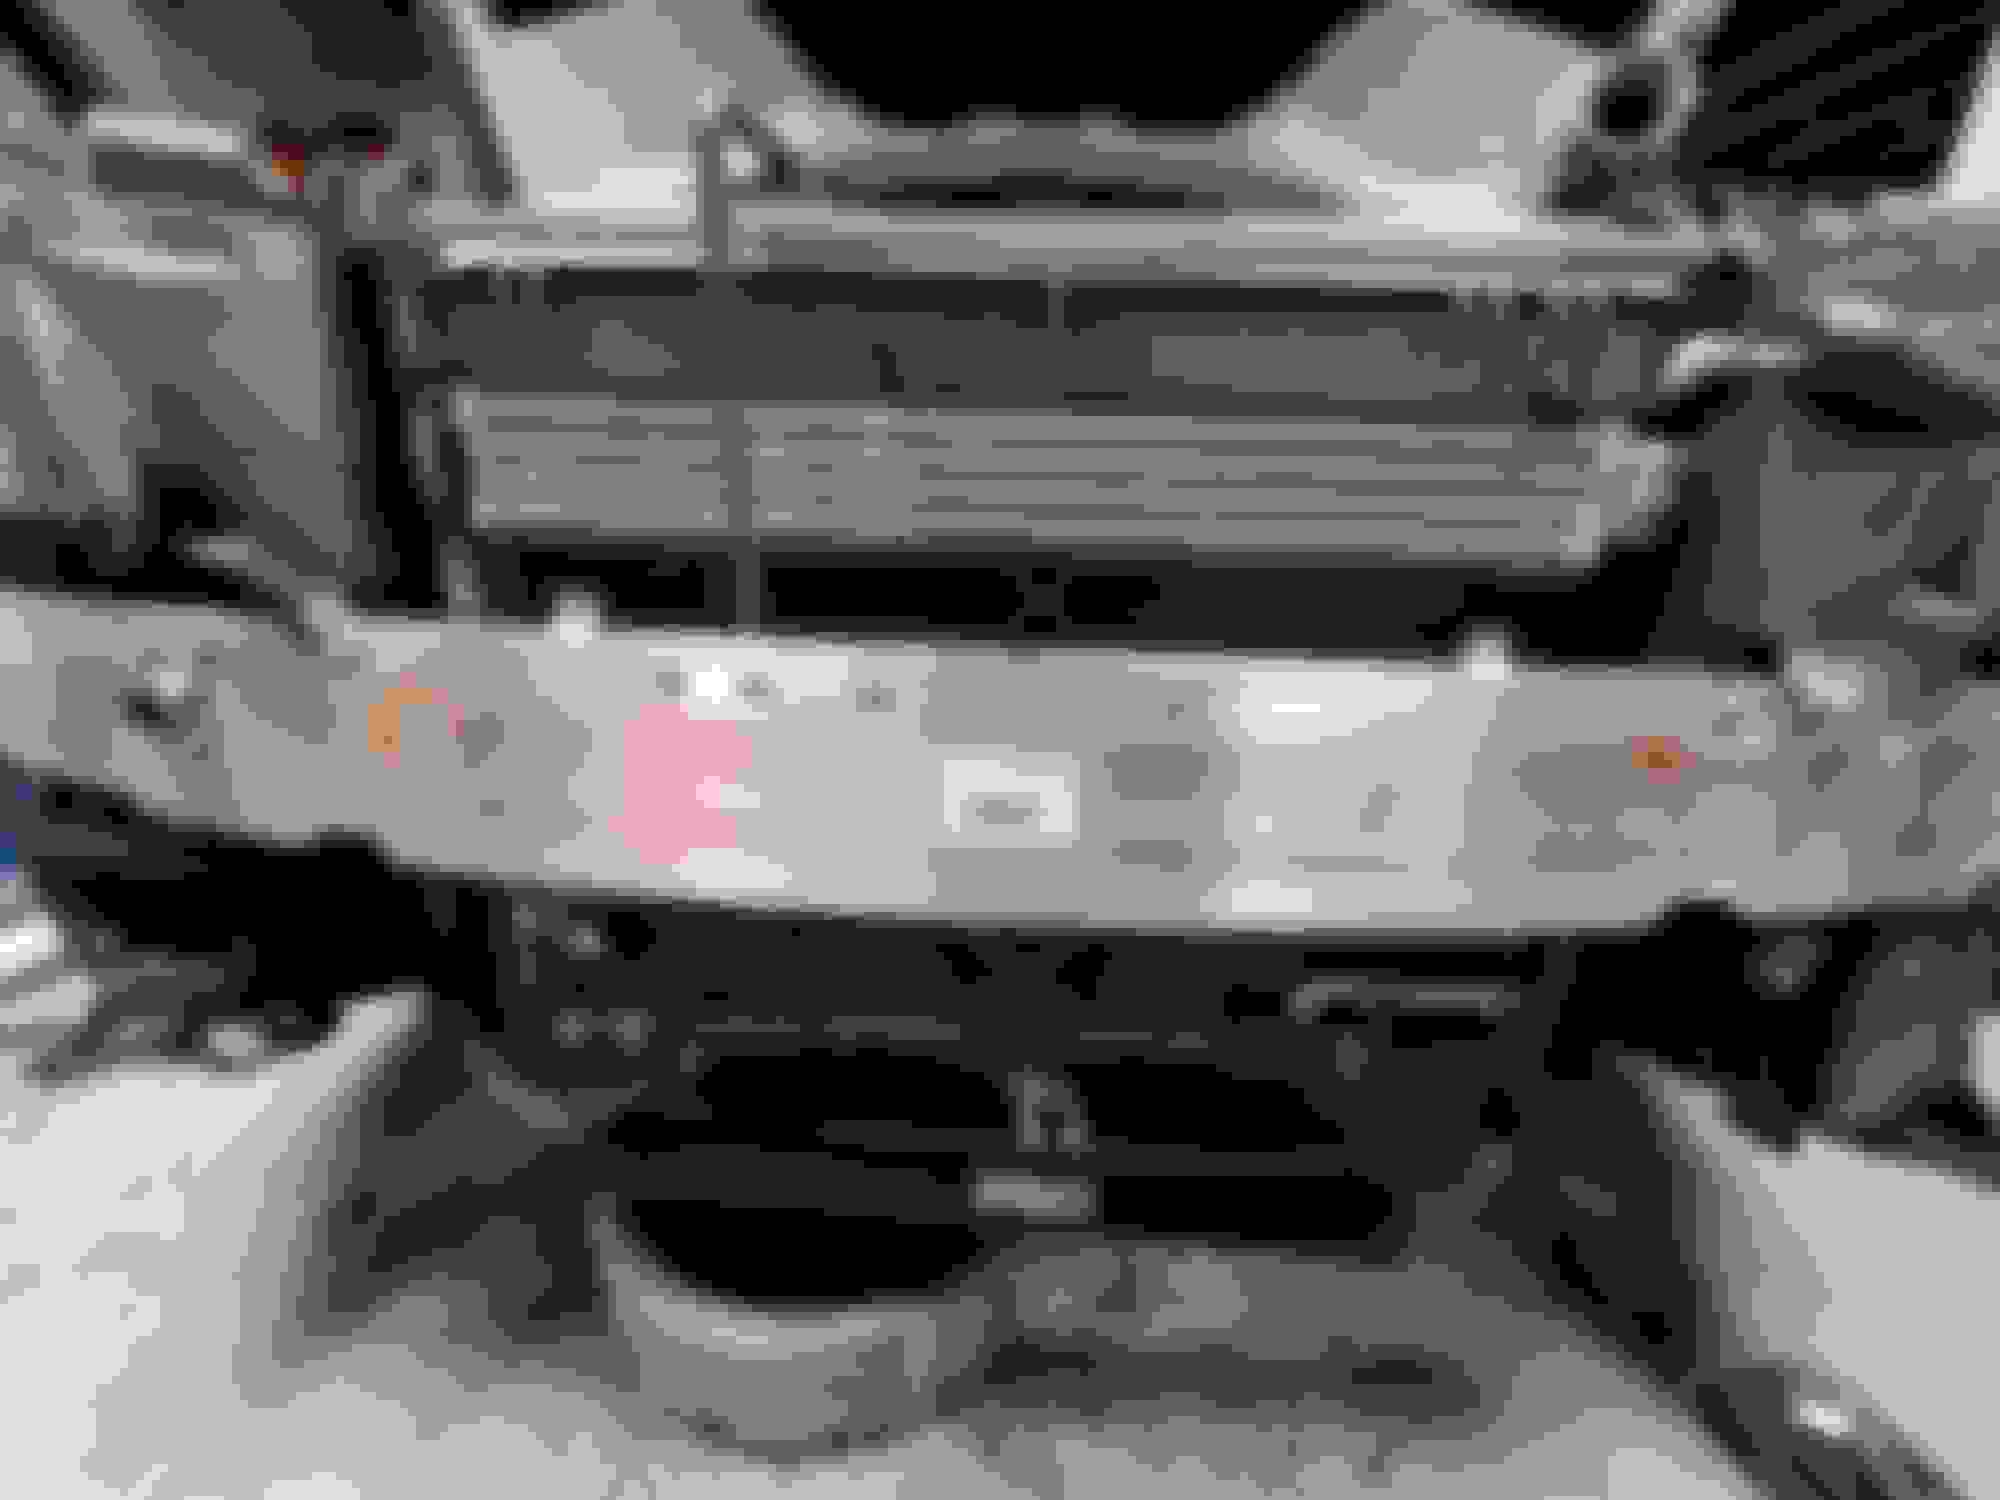
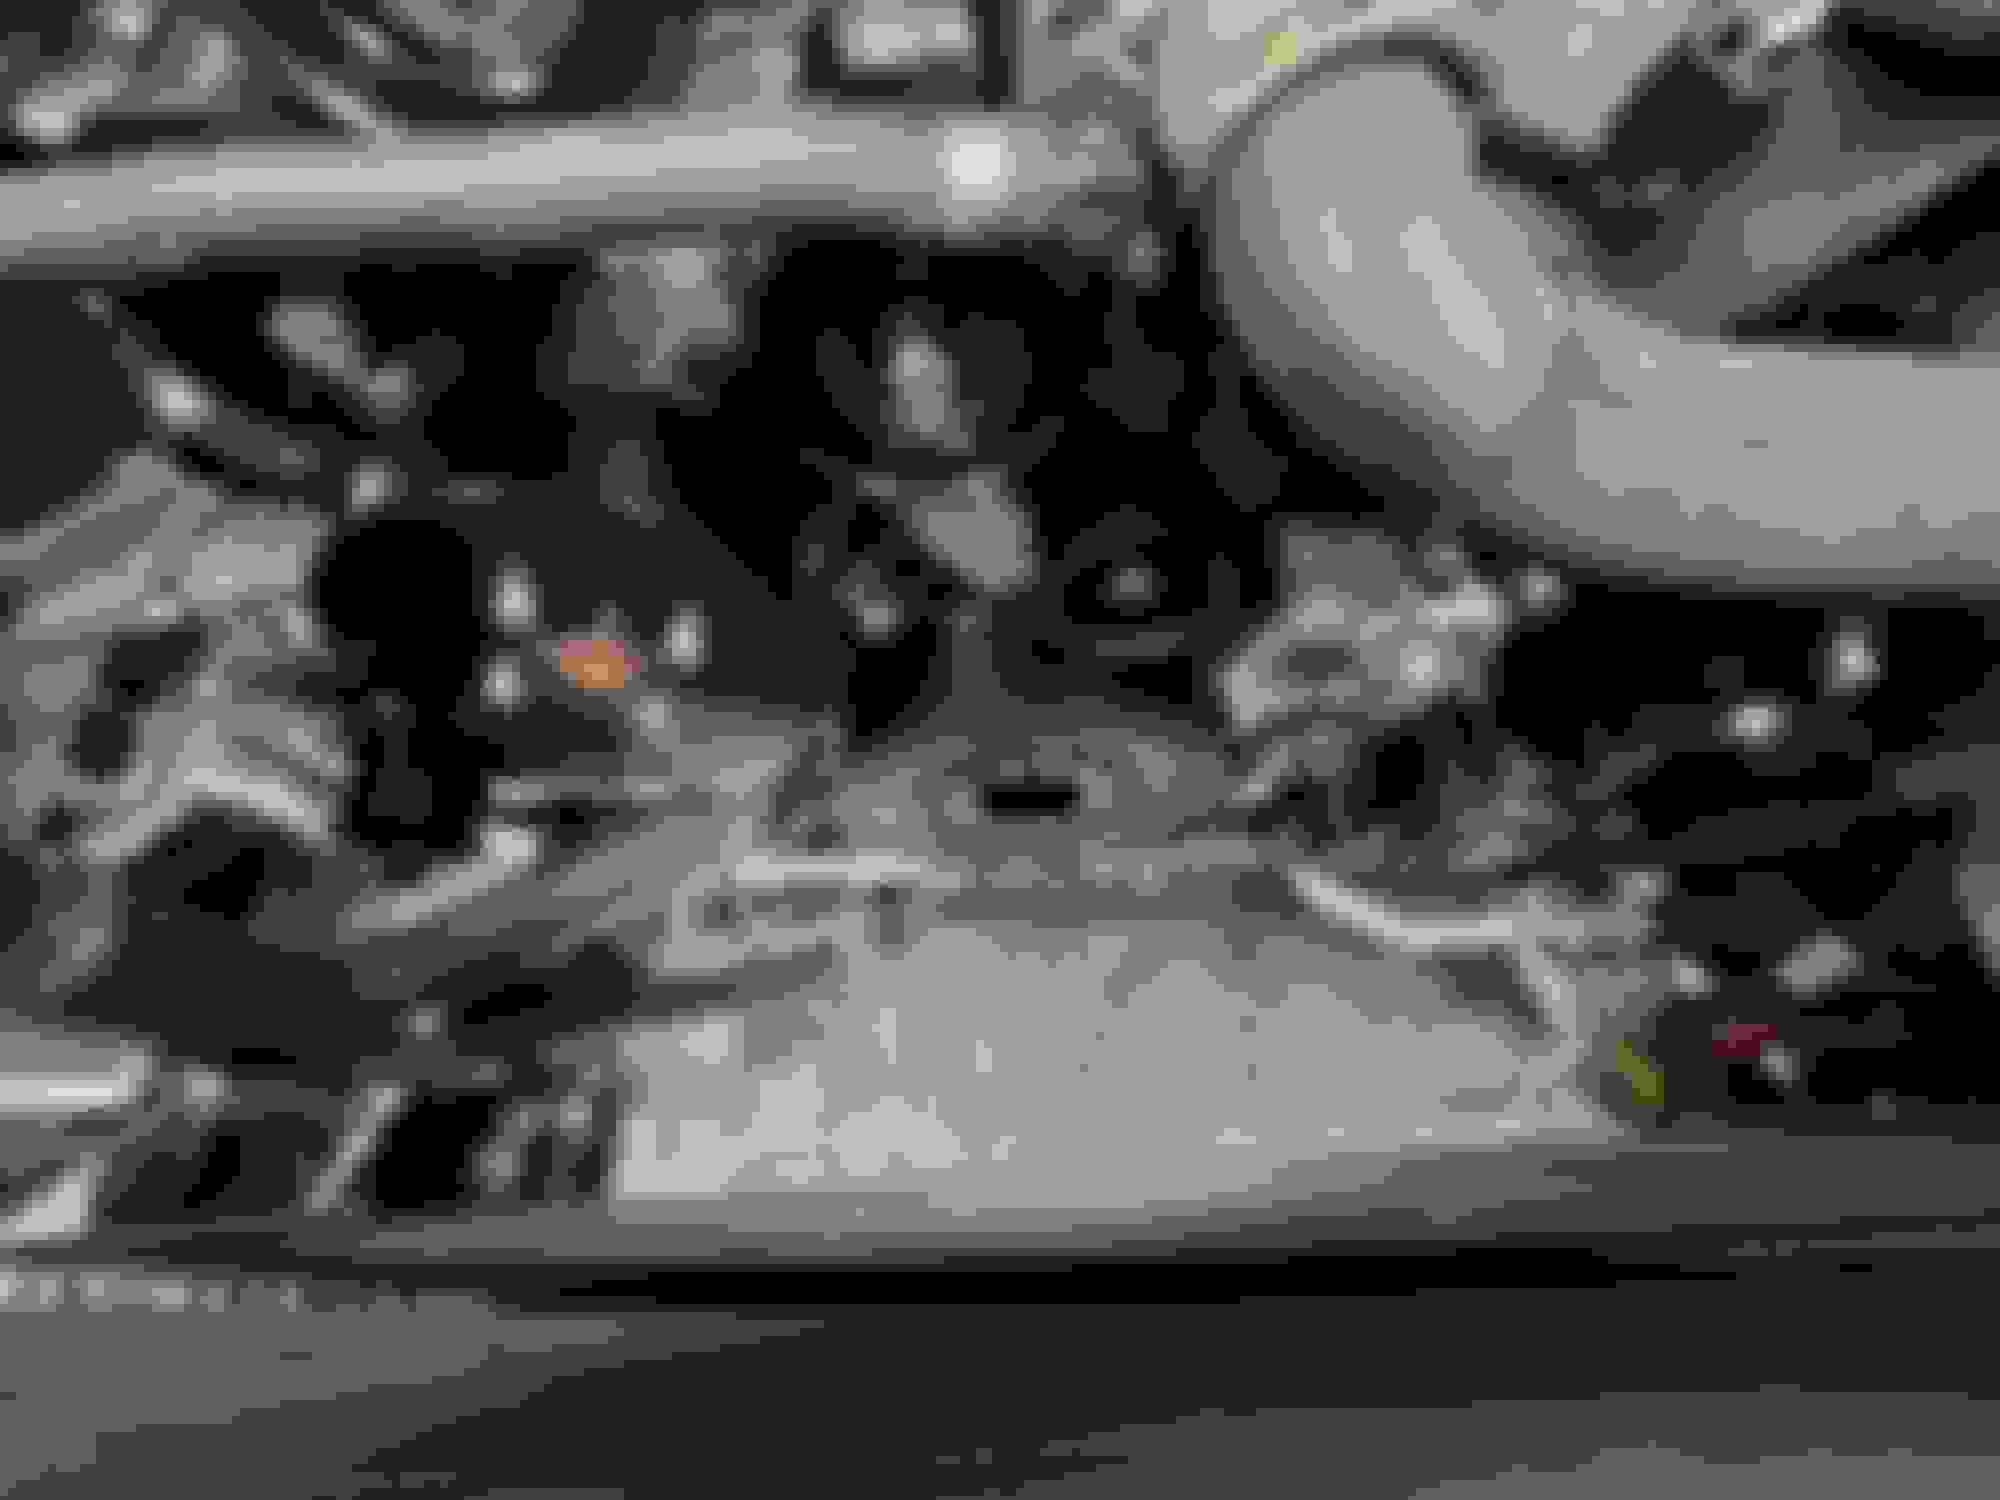
Very slow progress since I work 2 jobs and have no free time. Bumper cover is off and I will continue more after work tomorrow. I'm thinking of removing the auxiliary oil cooler fan as iirc its not really needed and actually hinders airflow. Will be upgrading these one day anyway. Here's a few pics of the progress for today. And my one car garage/ basement I've done some pretty impressive work out of till i get a bigger shop.
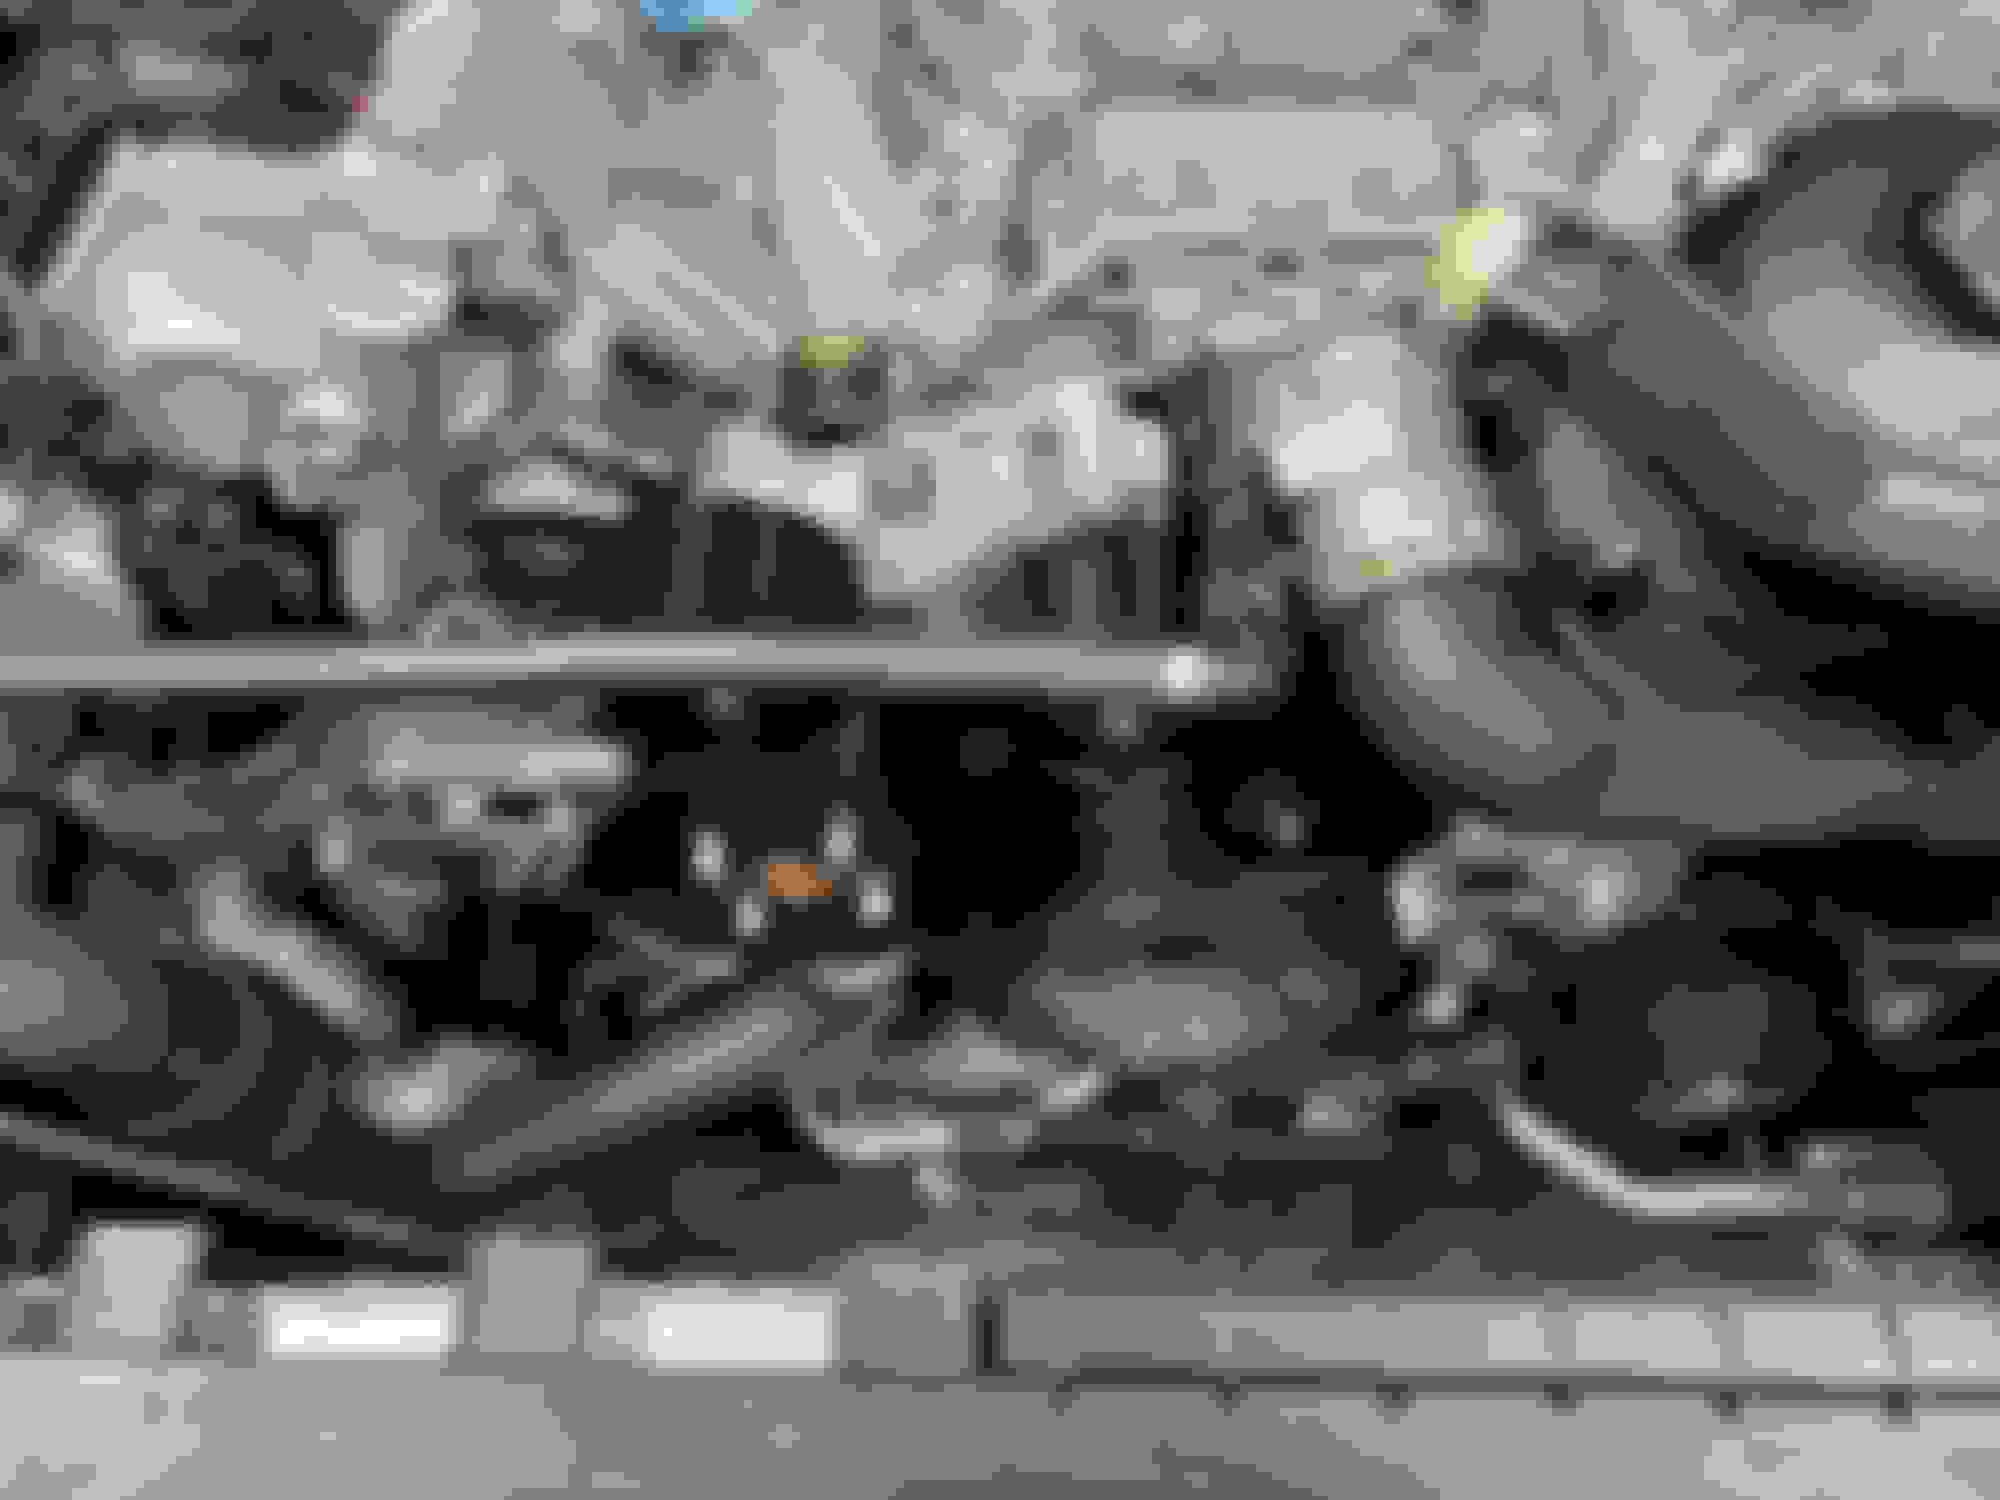
Got back from running errands and had some time to continue on with installation. I pulled the radiator fan and started swapping over the 8 rib pulleys. All except the AC and crank. Waiting on my buddy who's a mercedes tech to get me the crank lock tool. And the AC i was just not there yet.
I also started pulling the air valves off. The right side is completely off and plugged, the left side valve is off but haven't loosened the power steering pump yet to finish removing all of it and blocking it off.
again few more progress pics. More to come tomorrow.
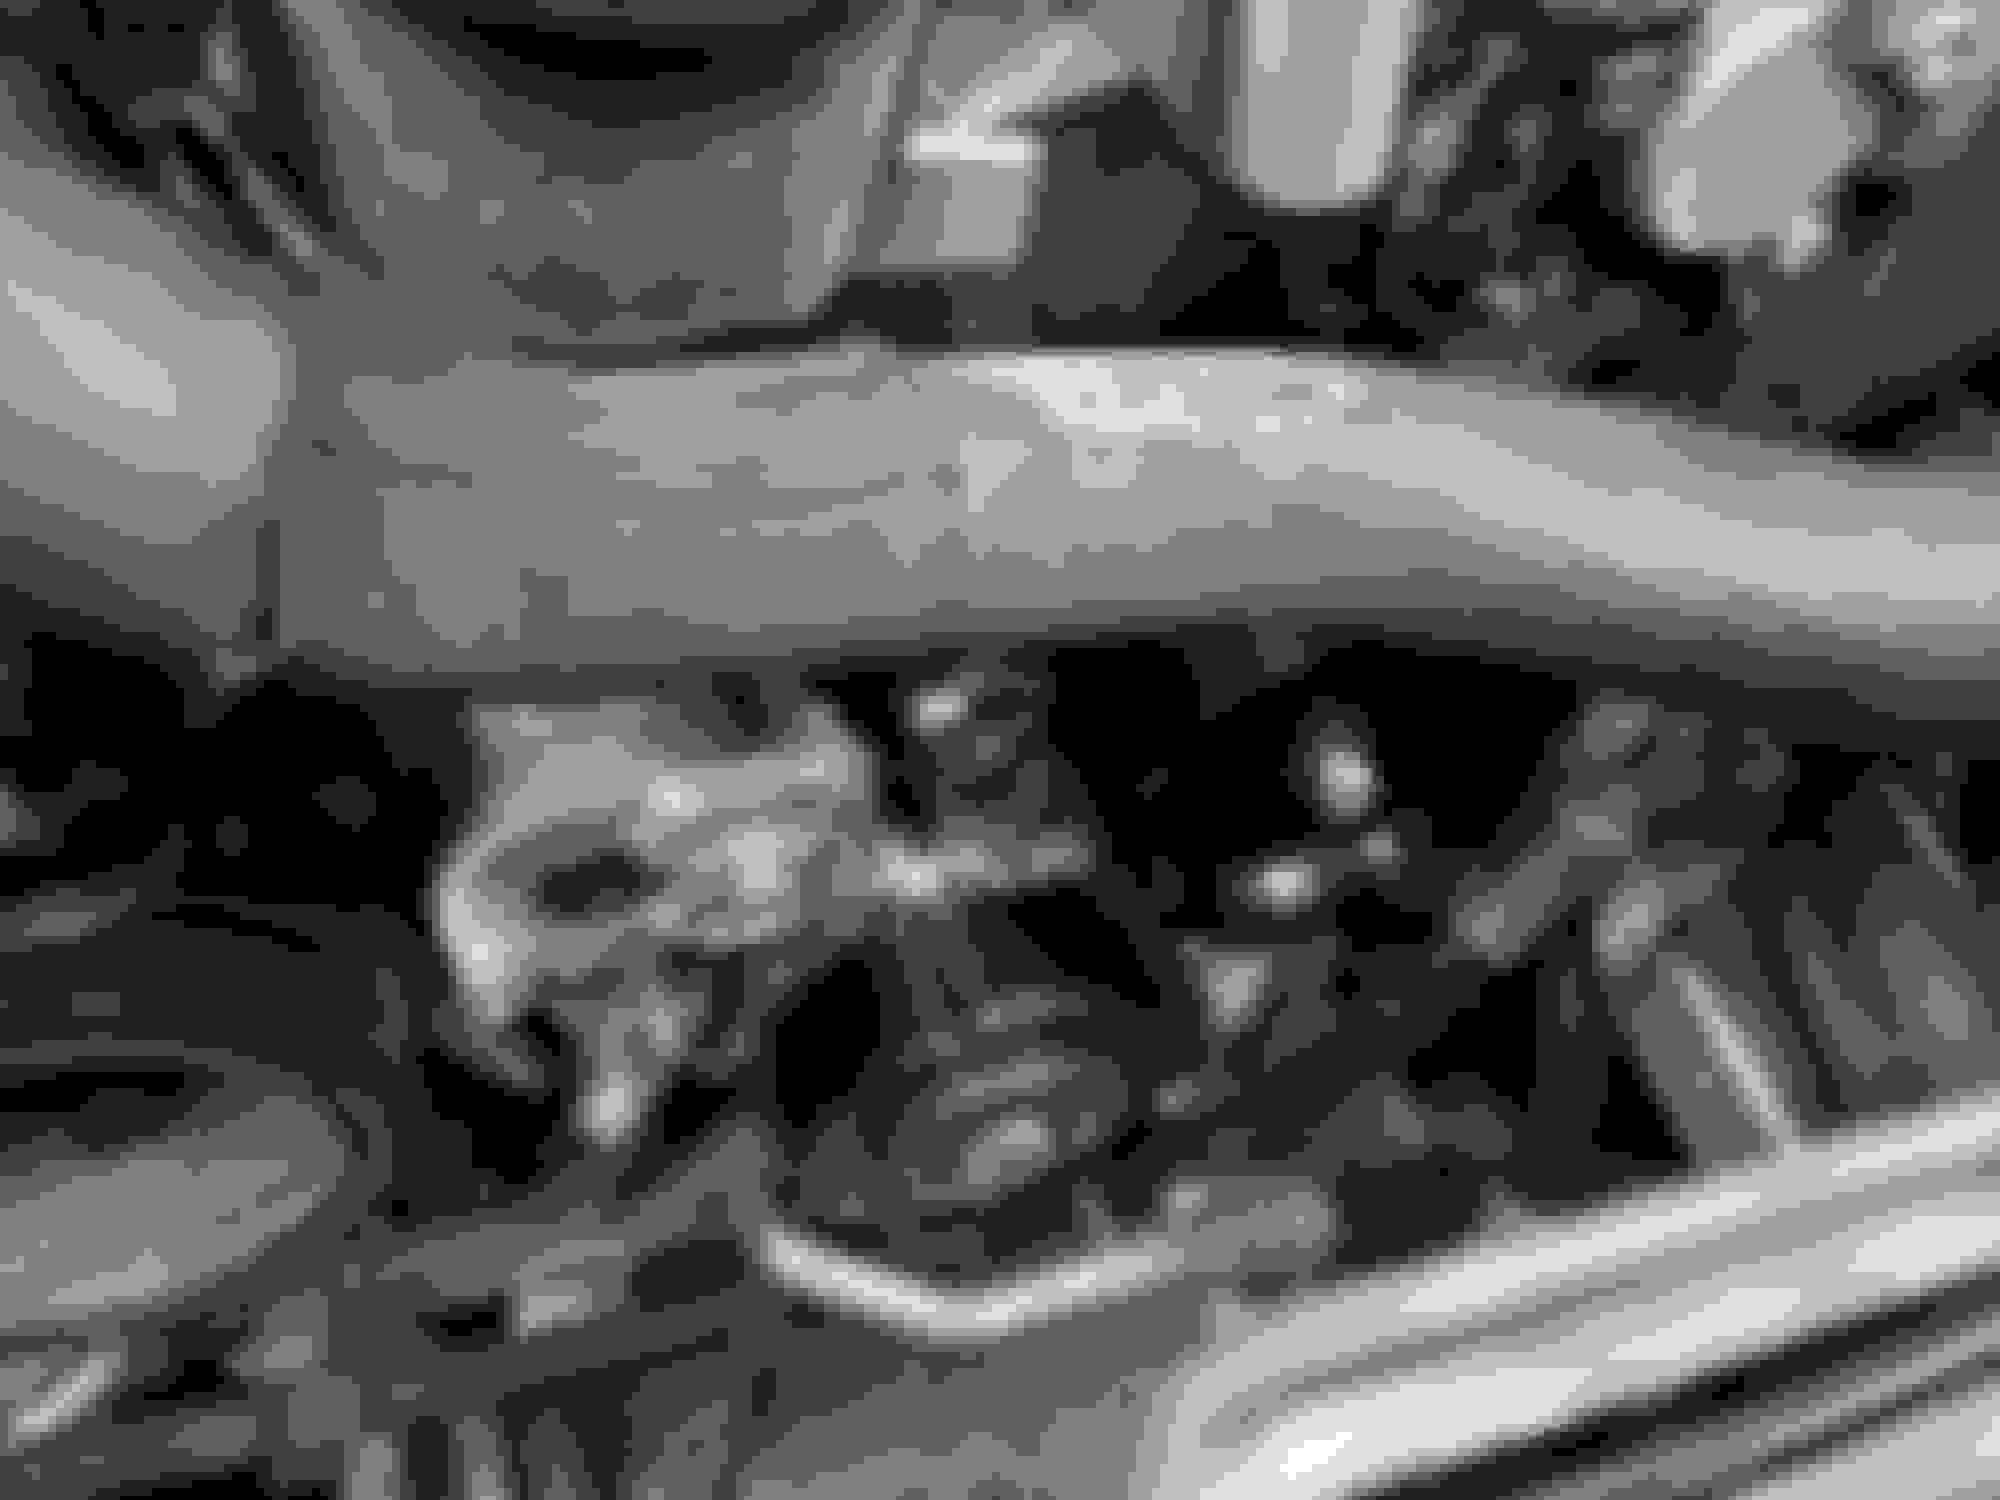
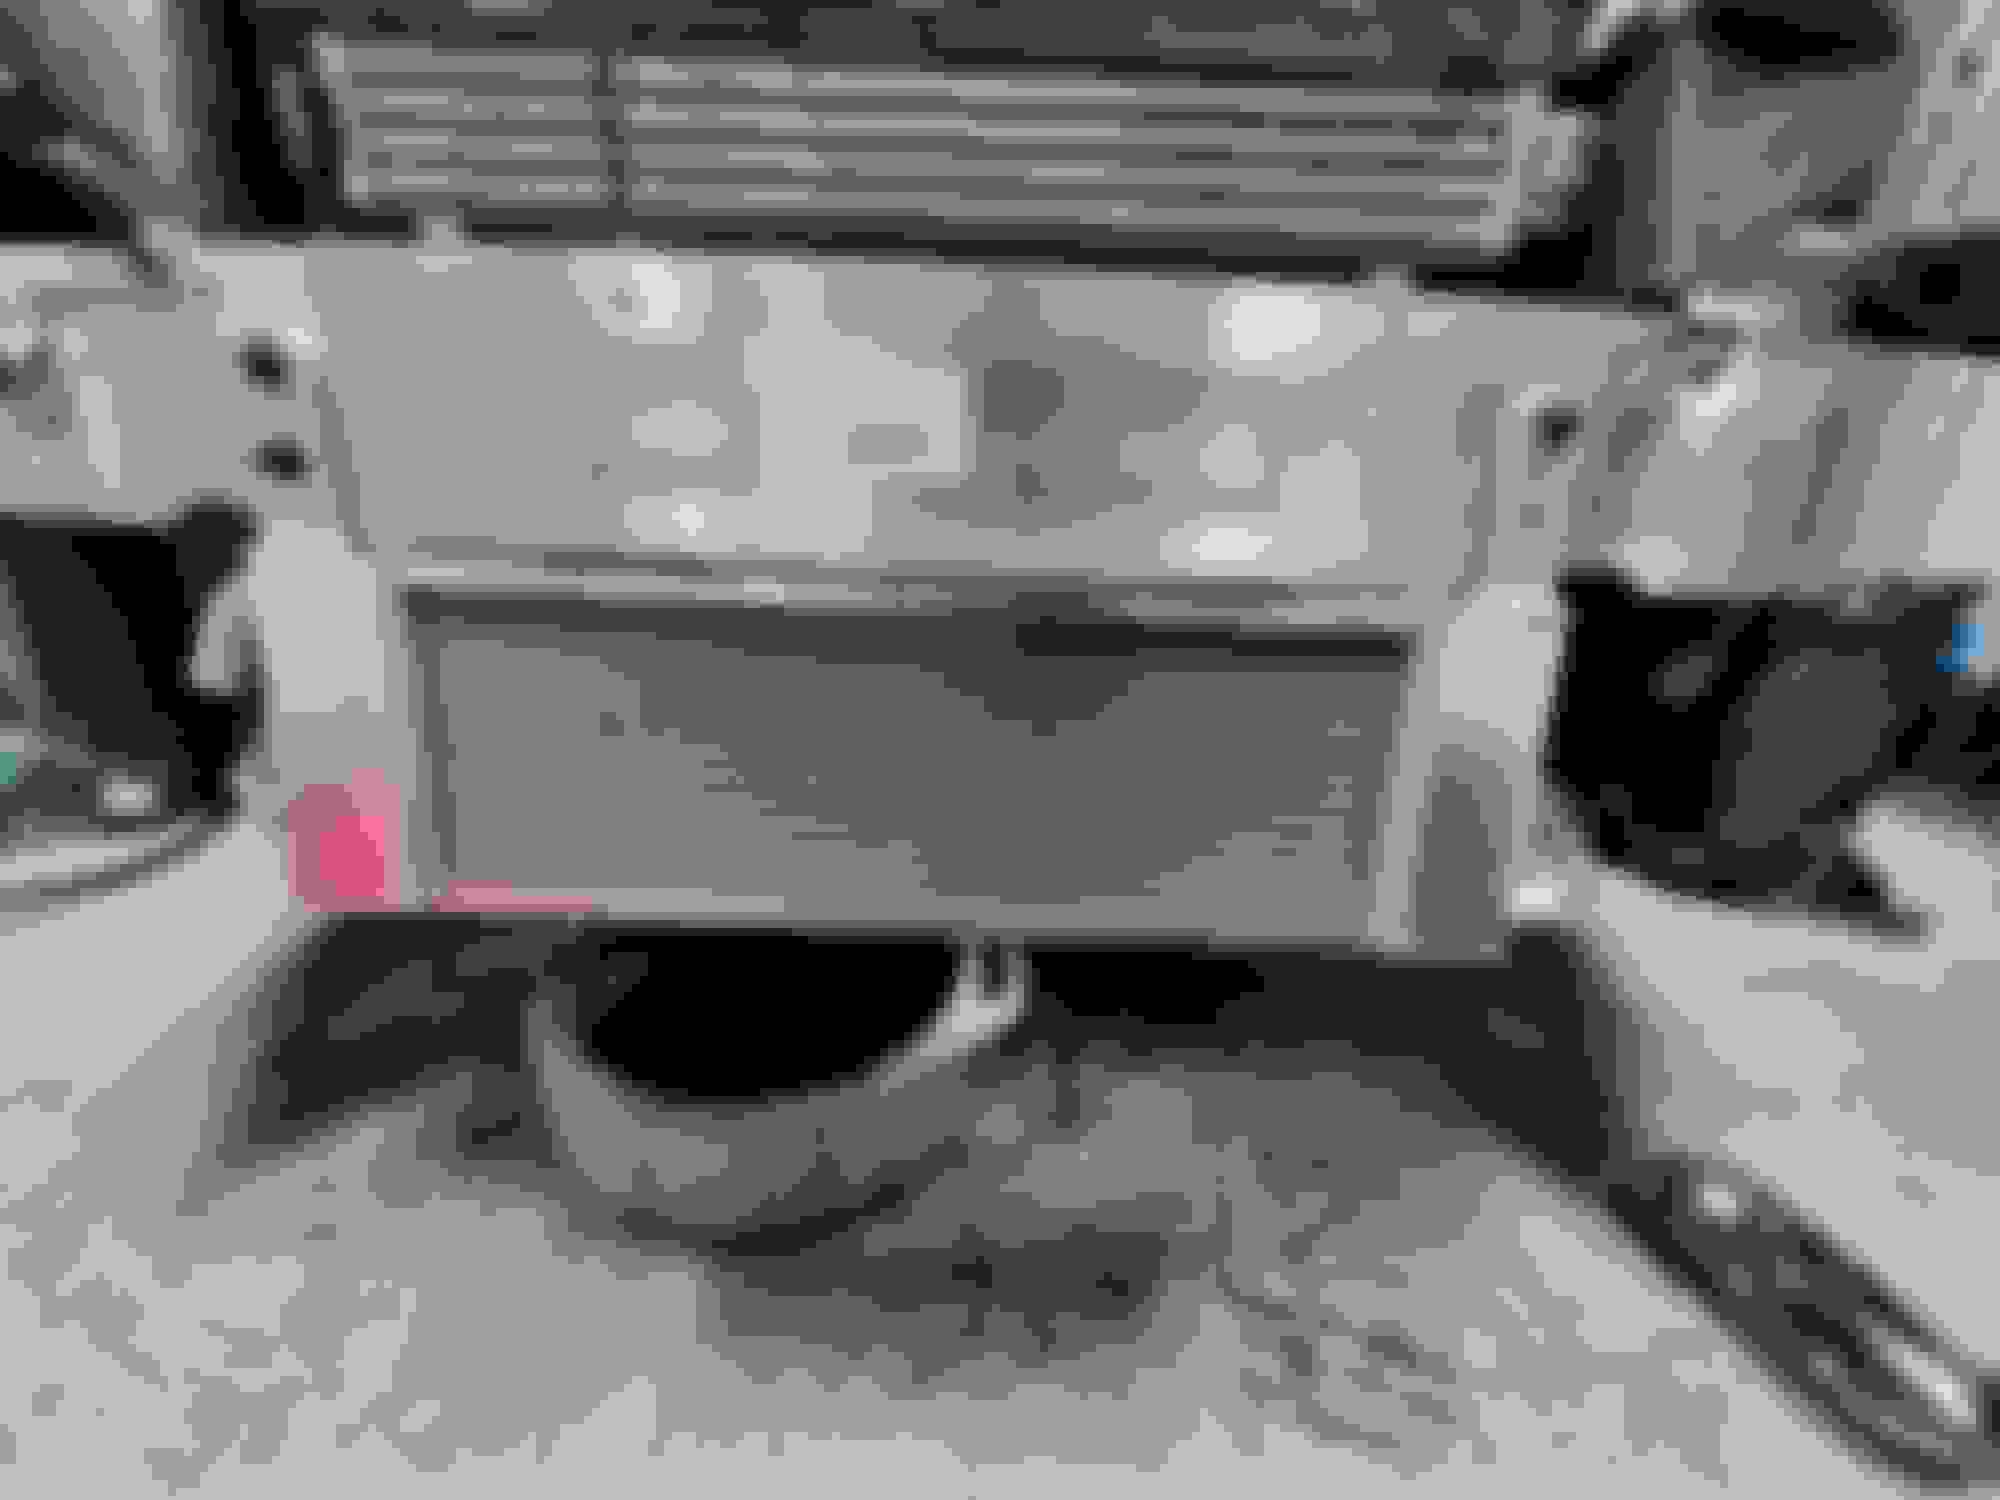
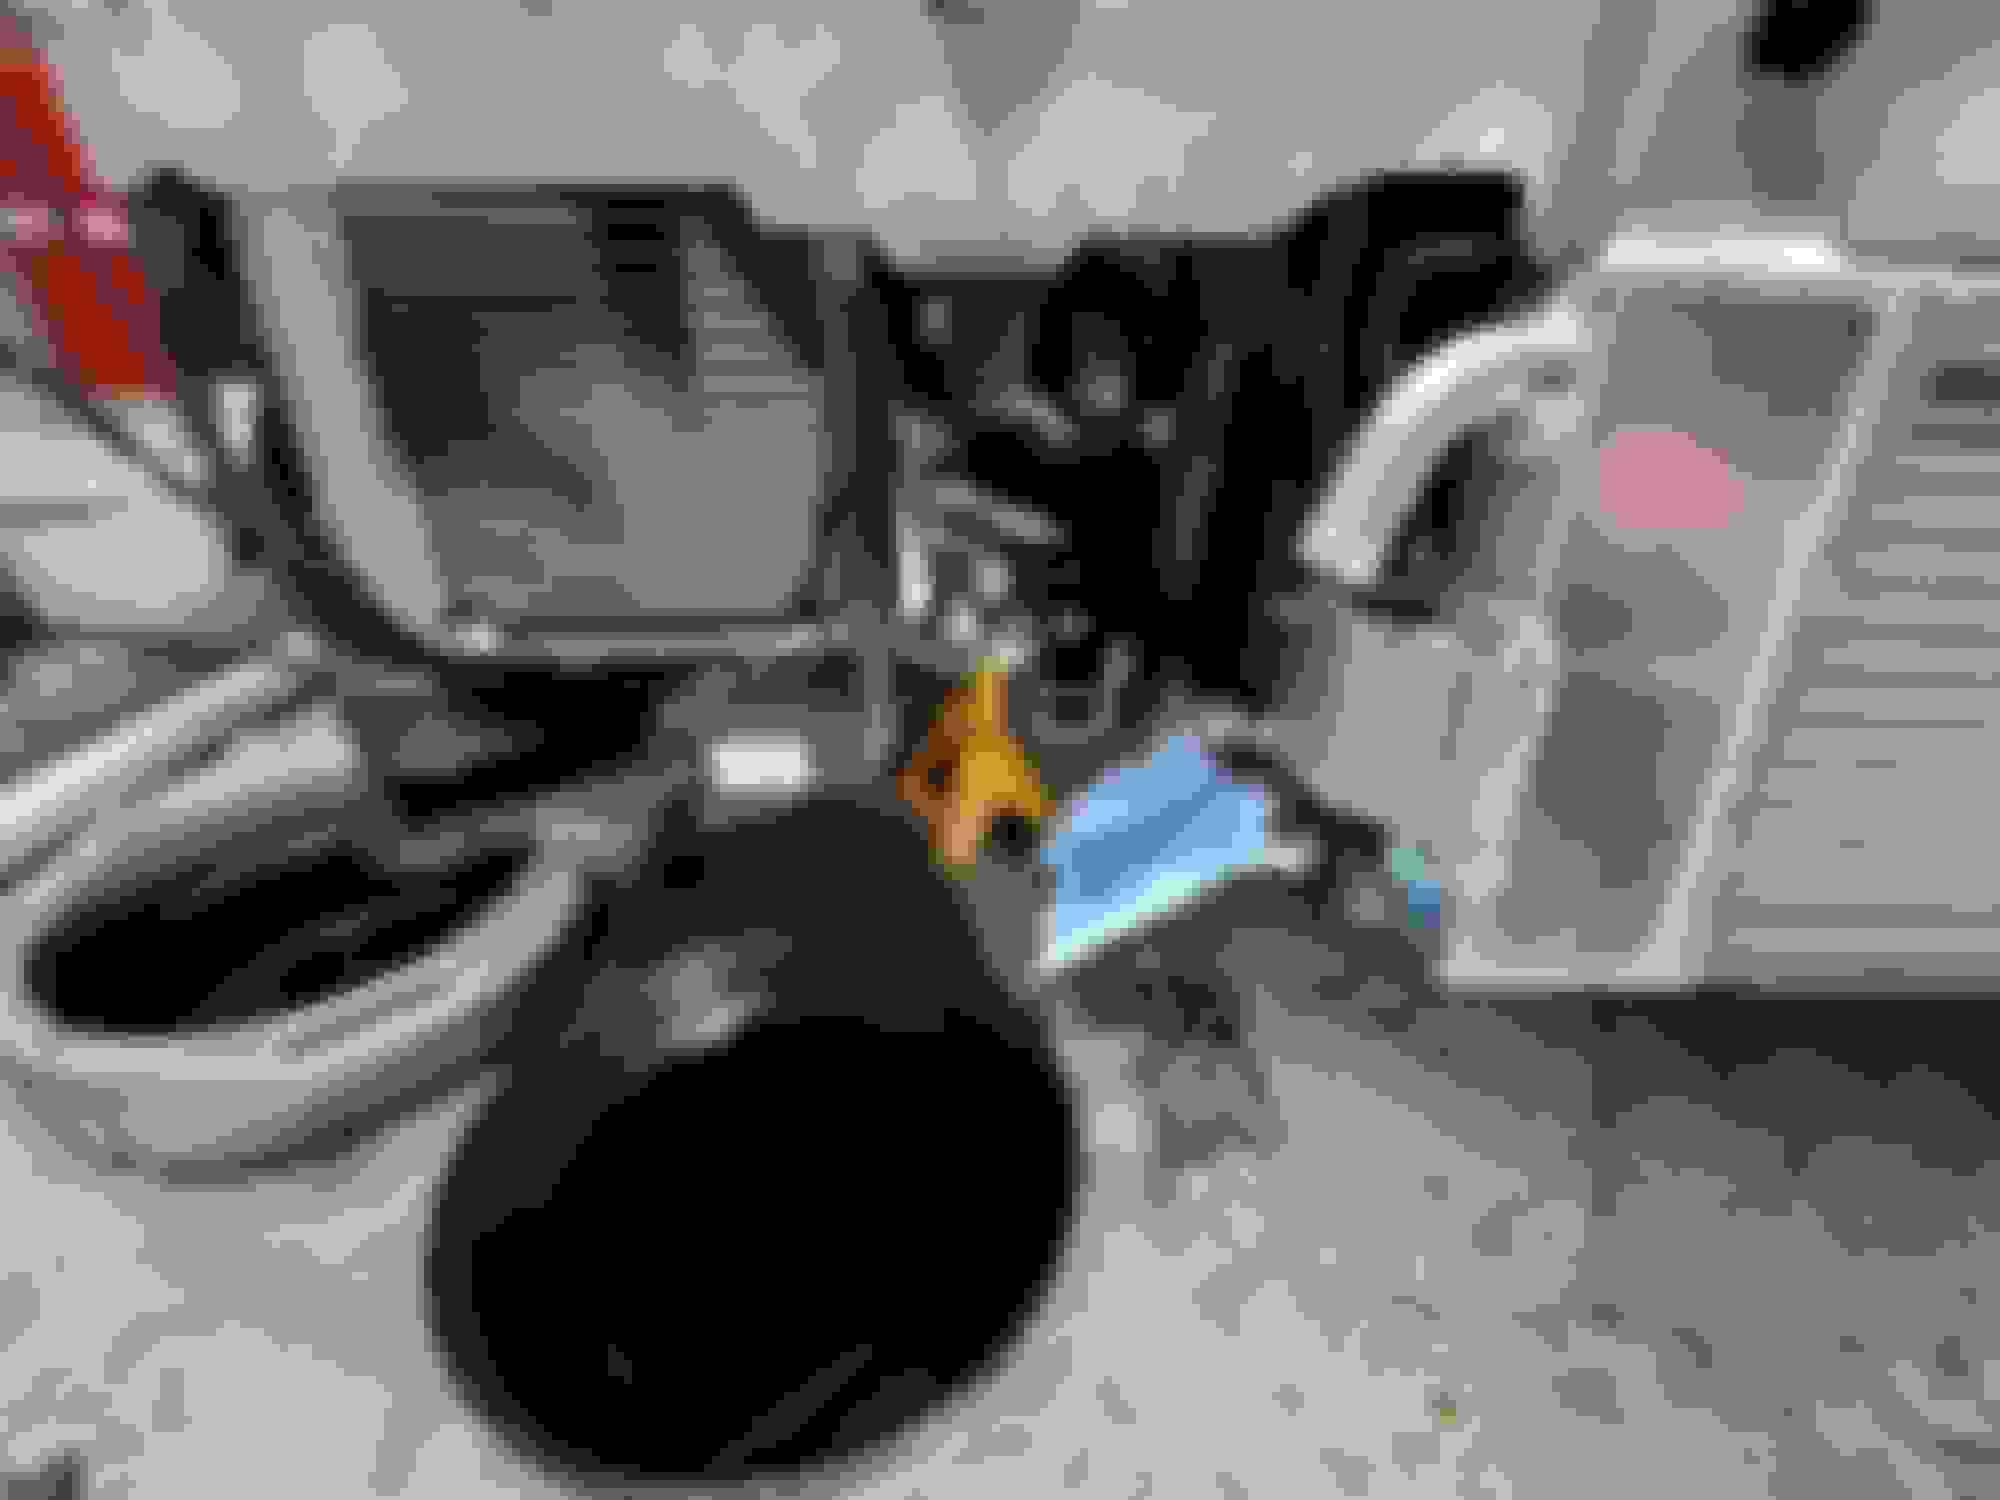
Tonight I was able to get the A/C pulley and the power steering pulley installed. I also finished removing the tube for the air valves on the left side. And mounted the upper belt wrap idler for the blower.
Tonight I was able to get the A/C pulley and the power steering pulley installed. I also finished removing the tube for the air valves on the left side. And mounted the upper belt wrap idler for the blower.
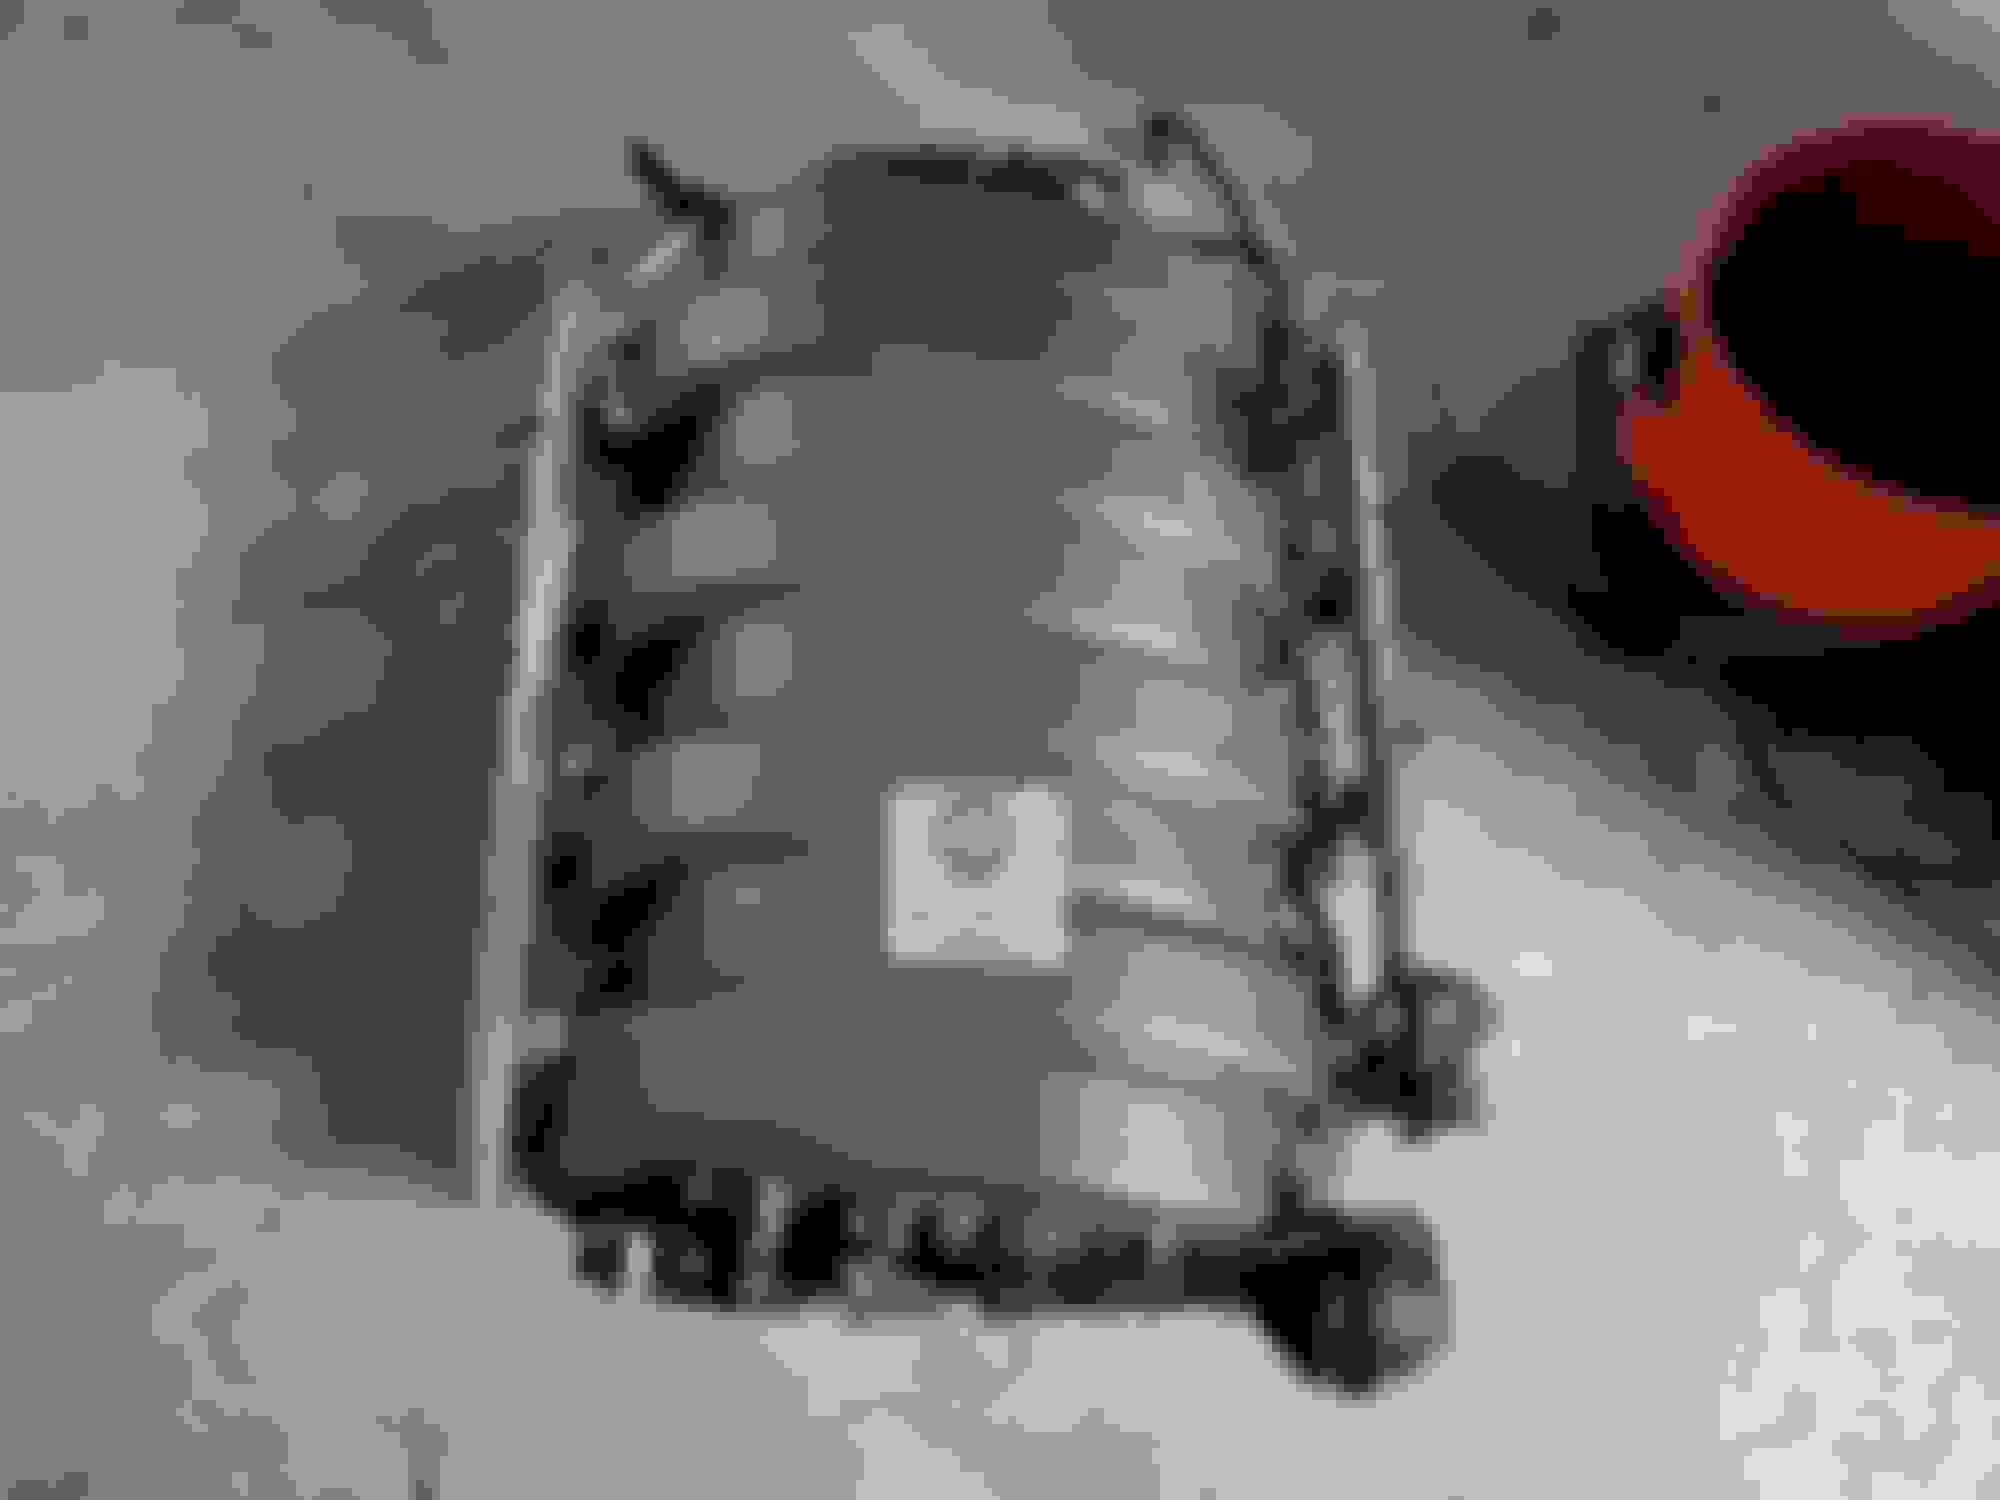
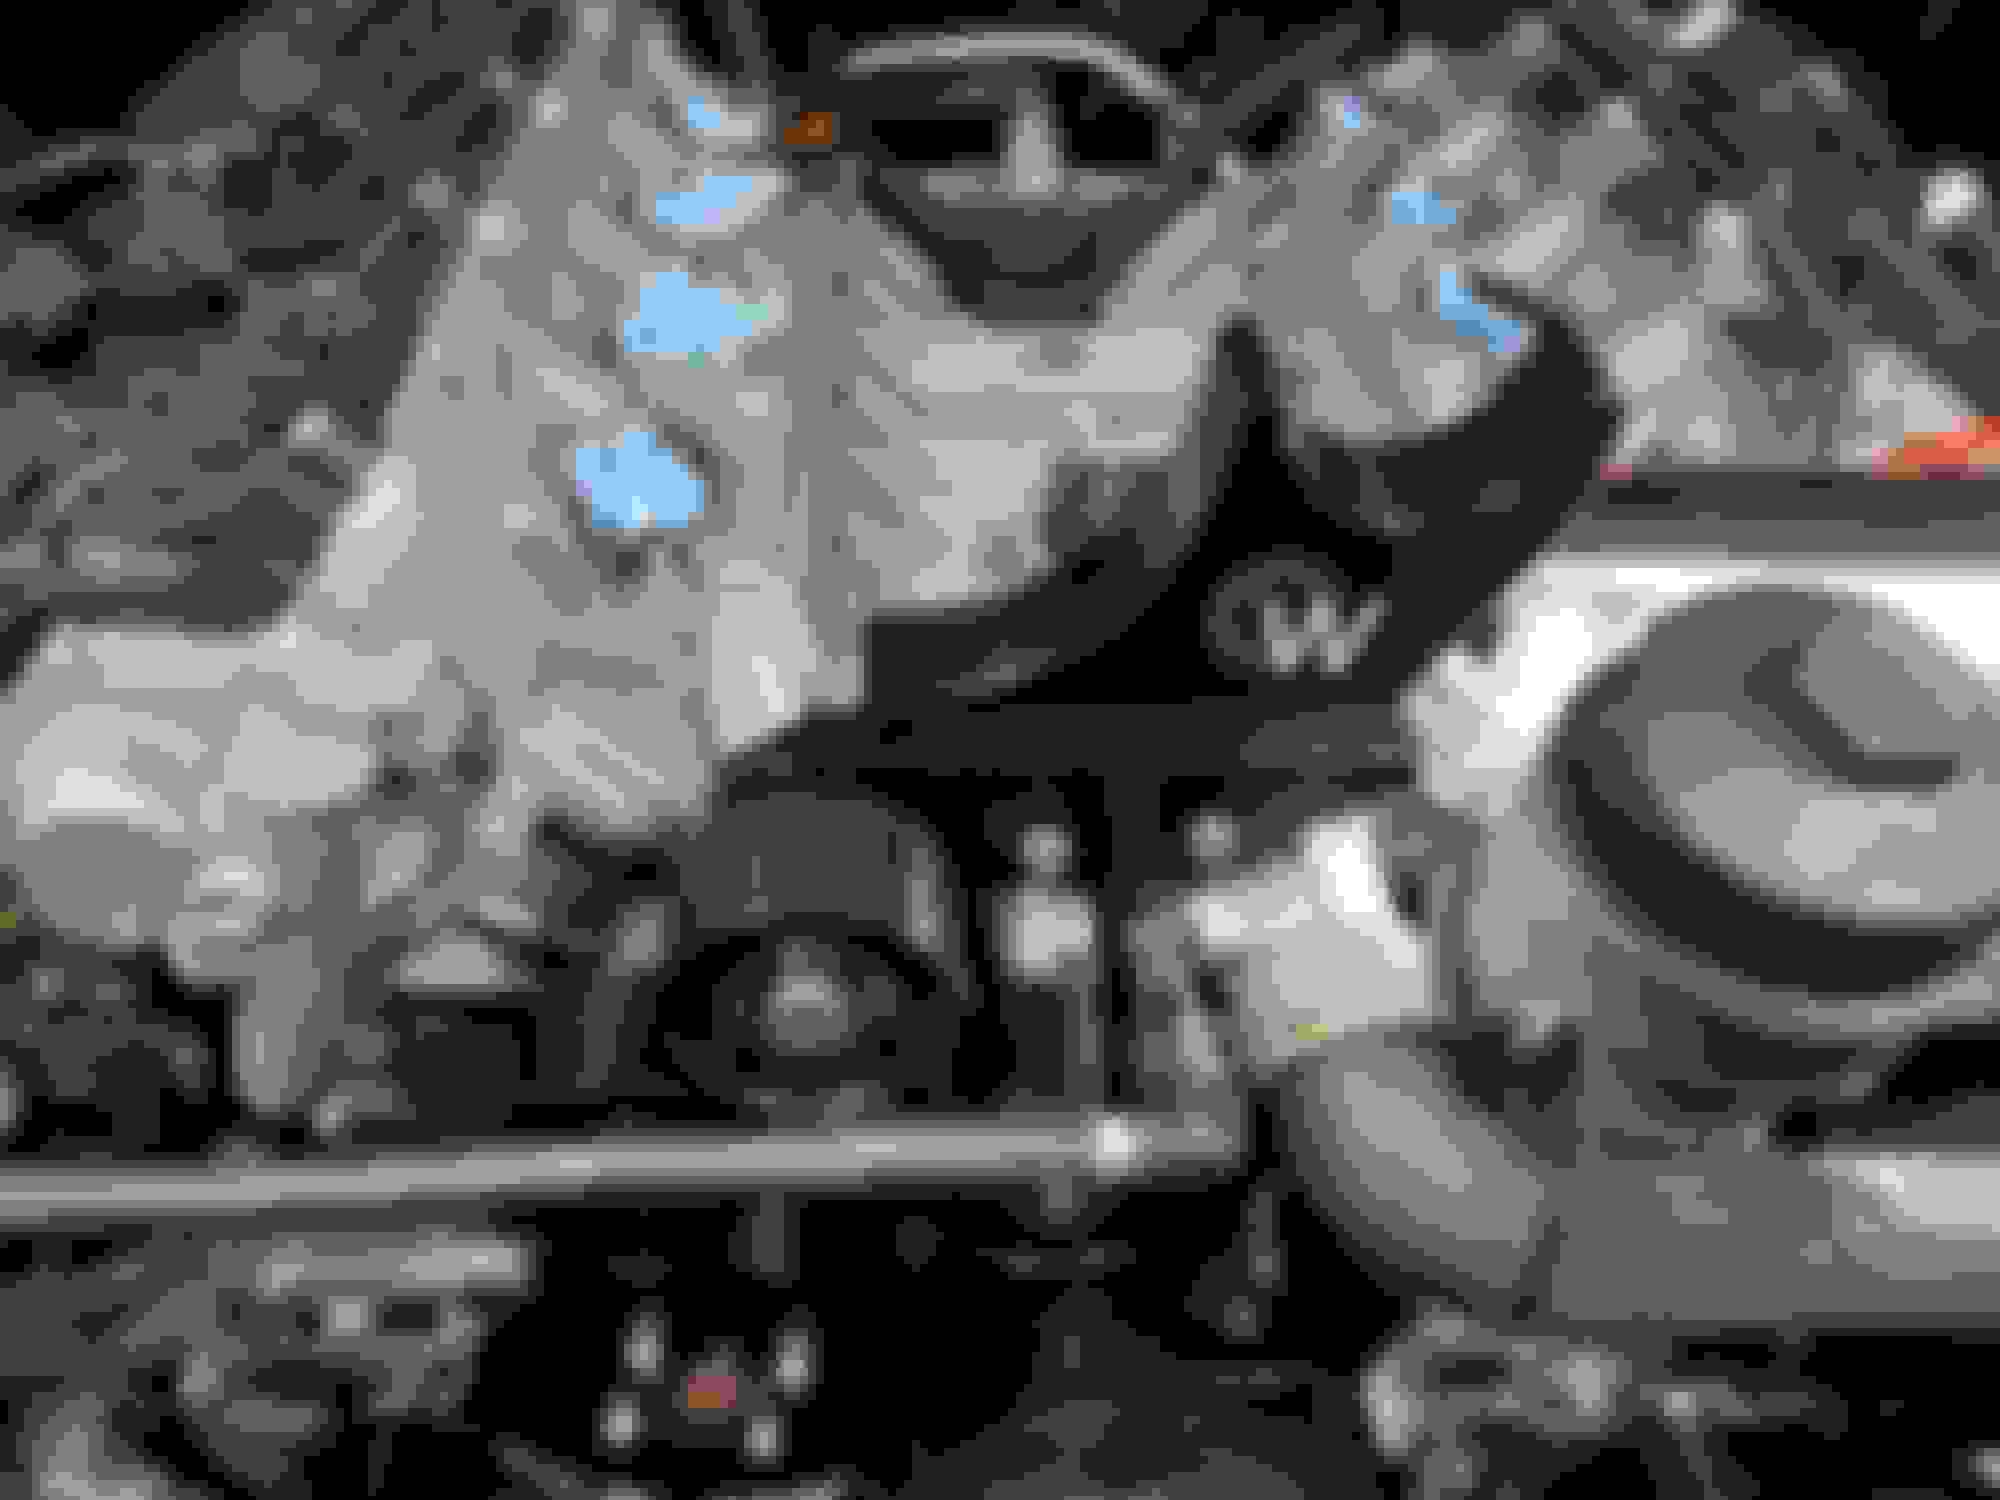
Last night got the intercooler fitted and the blower ready to go on. One of the self tappers snapped so gotta get new bolts for it. 90% of the kit is pretty good but the other 10 is just junk for what you pay.
Also, the oil cooler line going to the auxiliary oil cooler is kinked ever so slightly, so I'll be cutting the flanges off and having AN fittings welded on to adapt and make my own line. I did remove the fan from the auxiliary cooler as well.
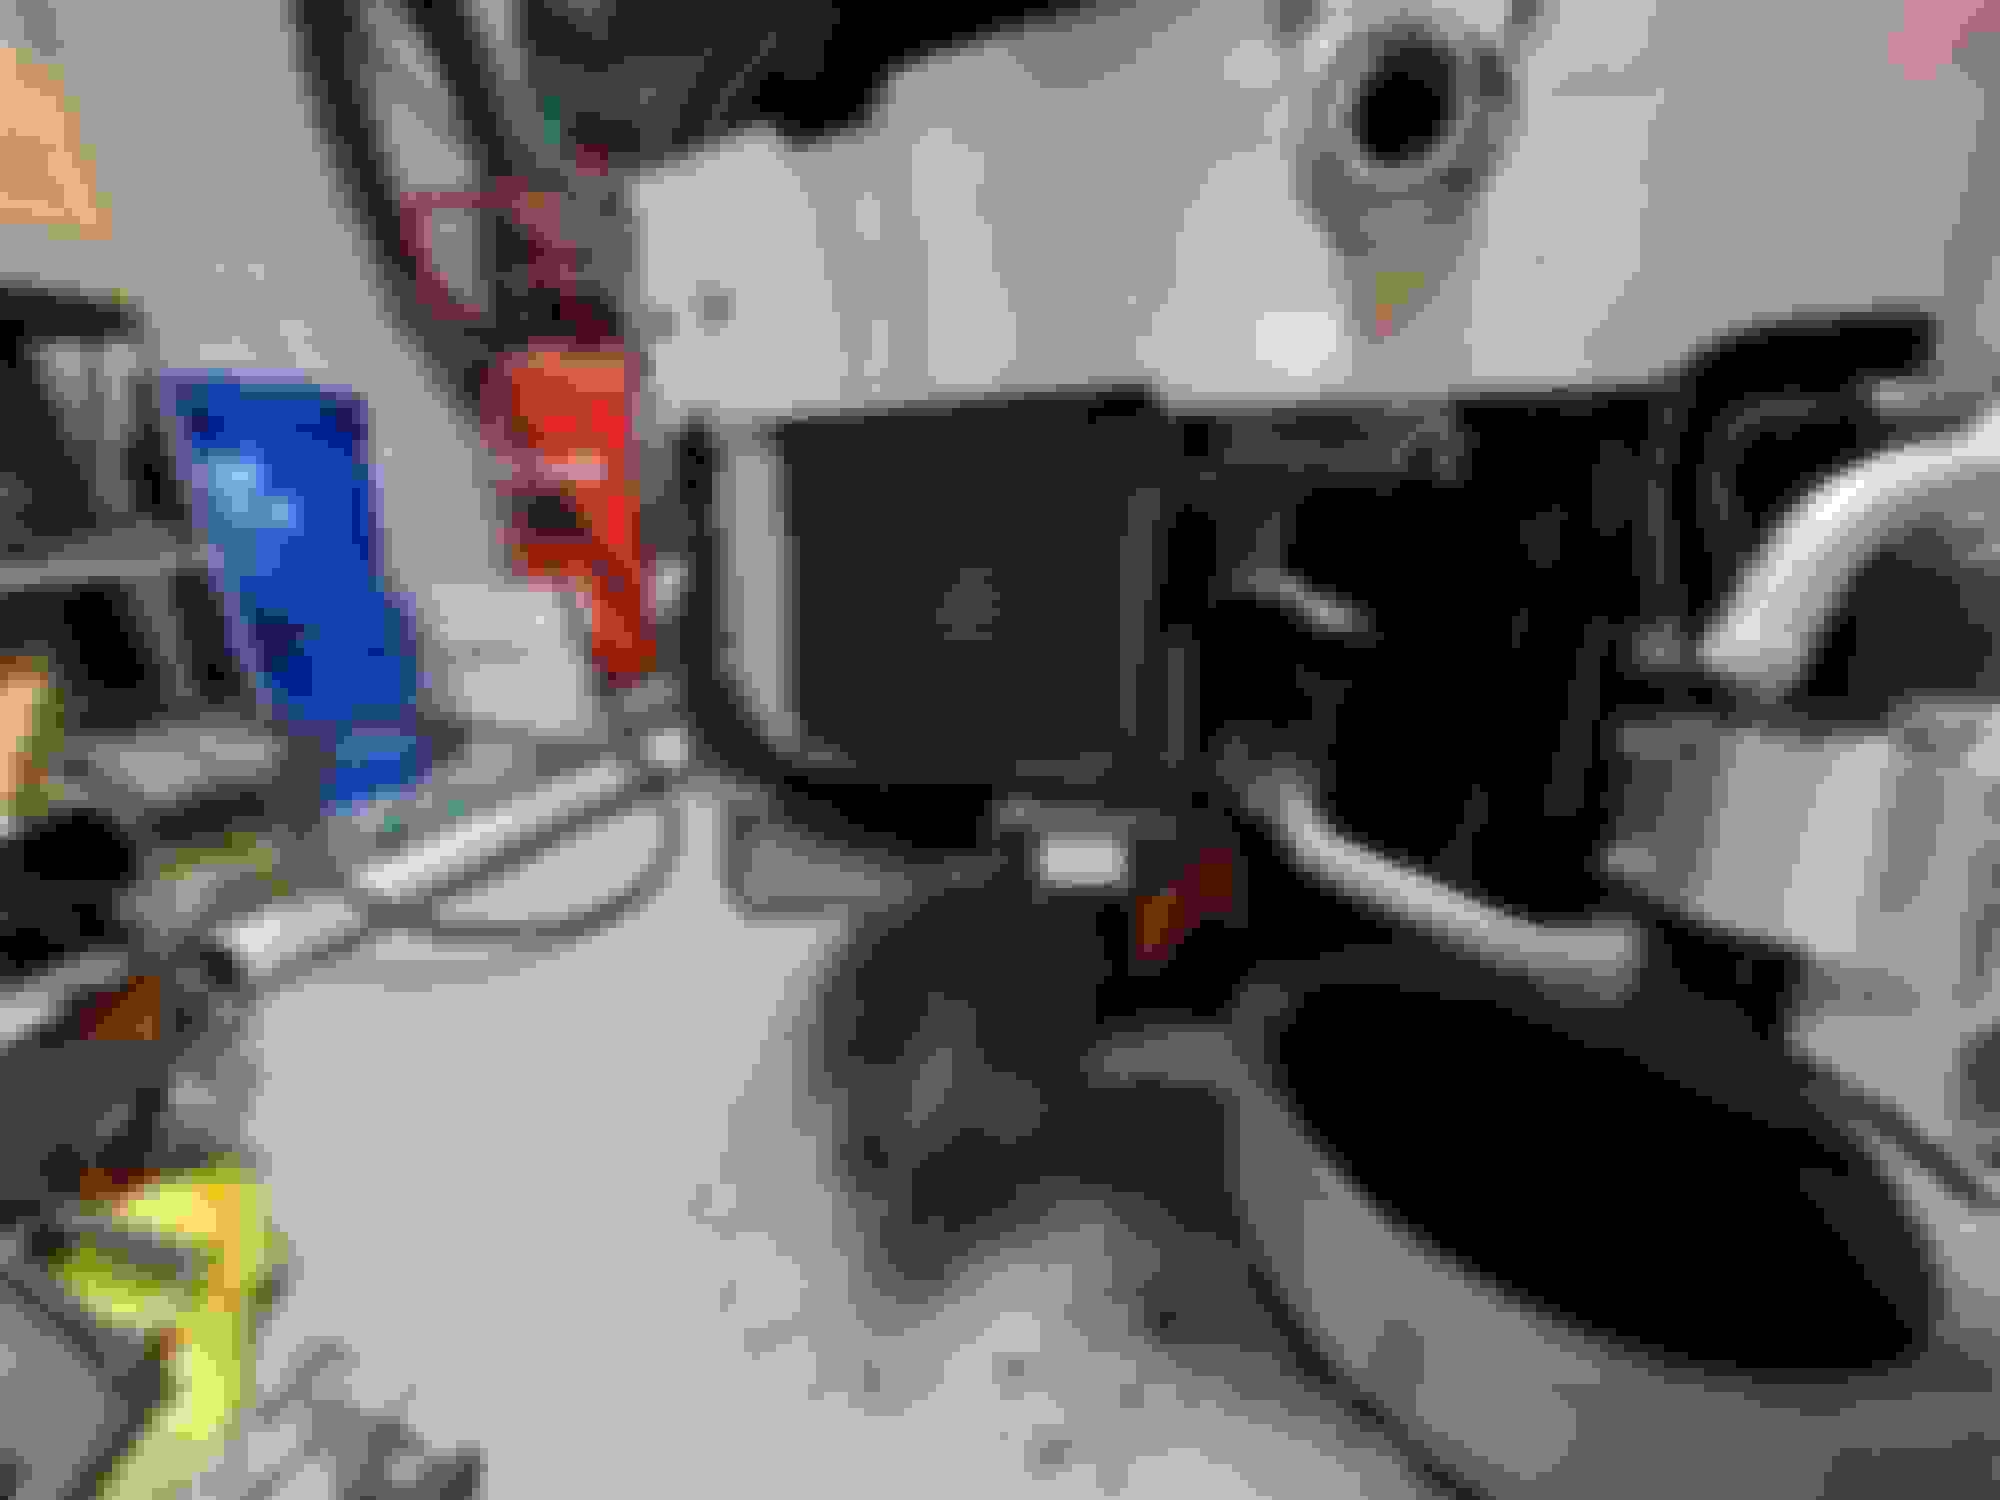
So today I got a few more things done. My buddy who's a master mercedes tech got me the crank lock tool and the flex plate lock to get the crank pulley off.
I got the oem crank pulley off and the crank drilled. This was not really fun, the crank was slow to drill in retrospect to drilling through metal. But, the new damper is on and loctited and torqued.
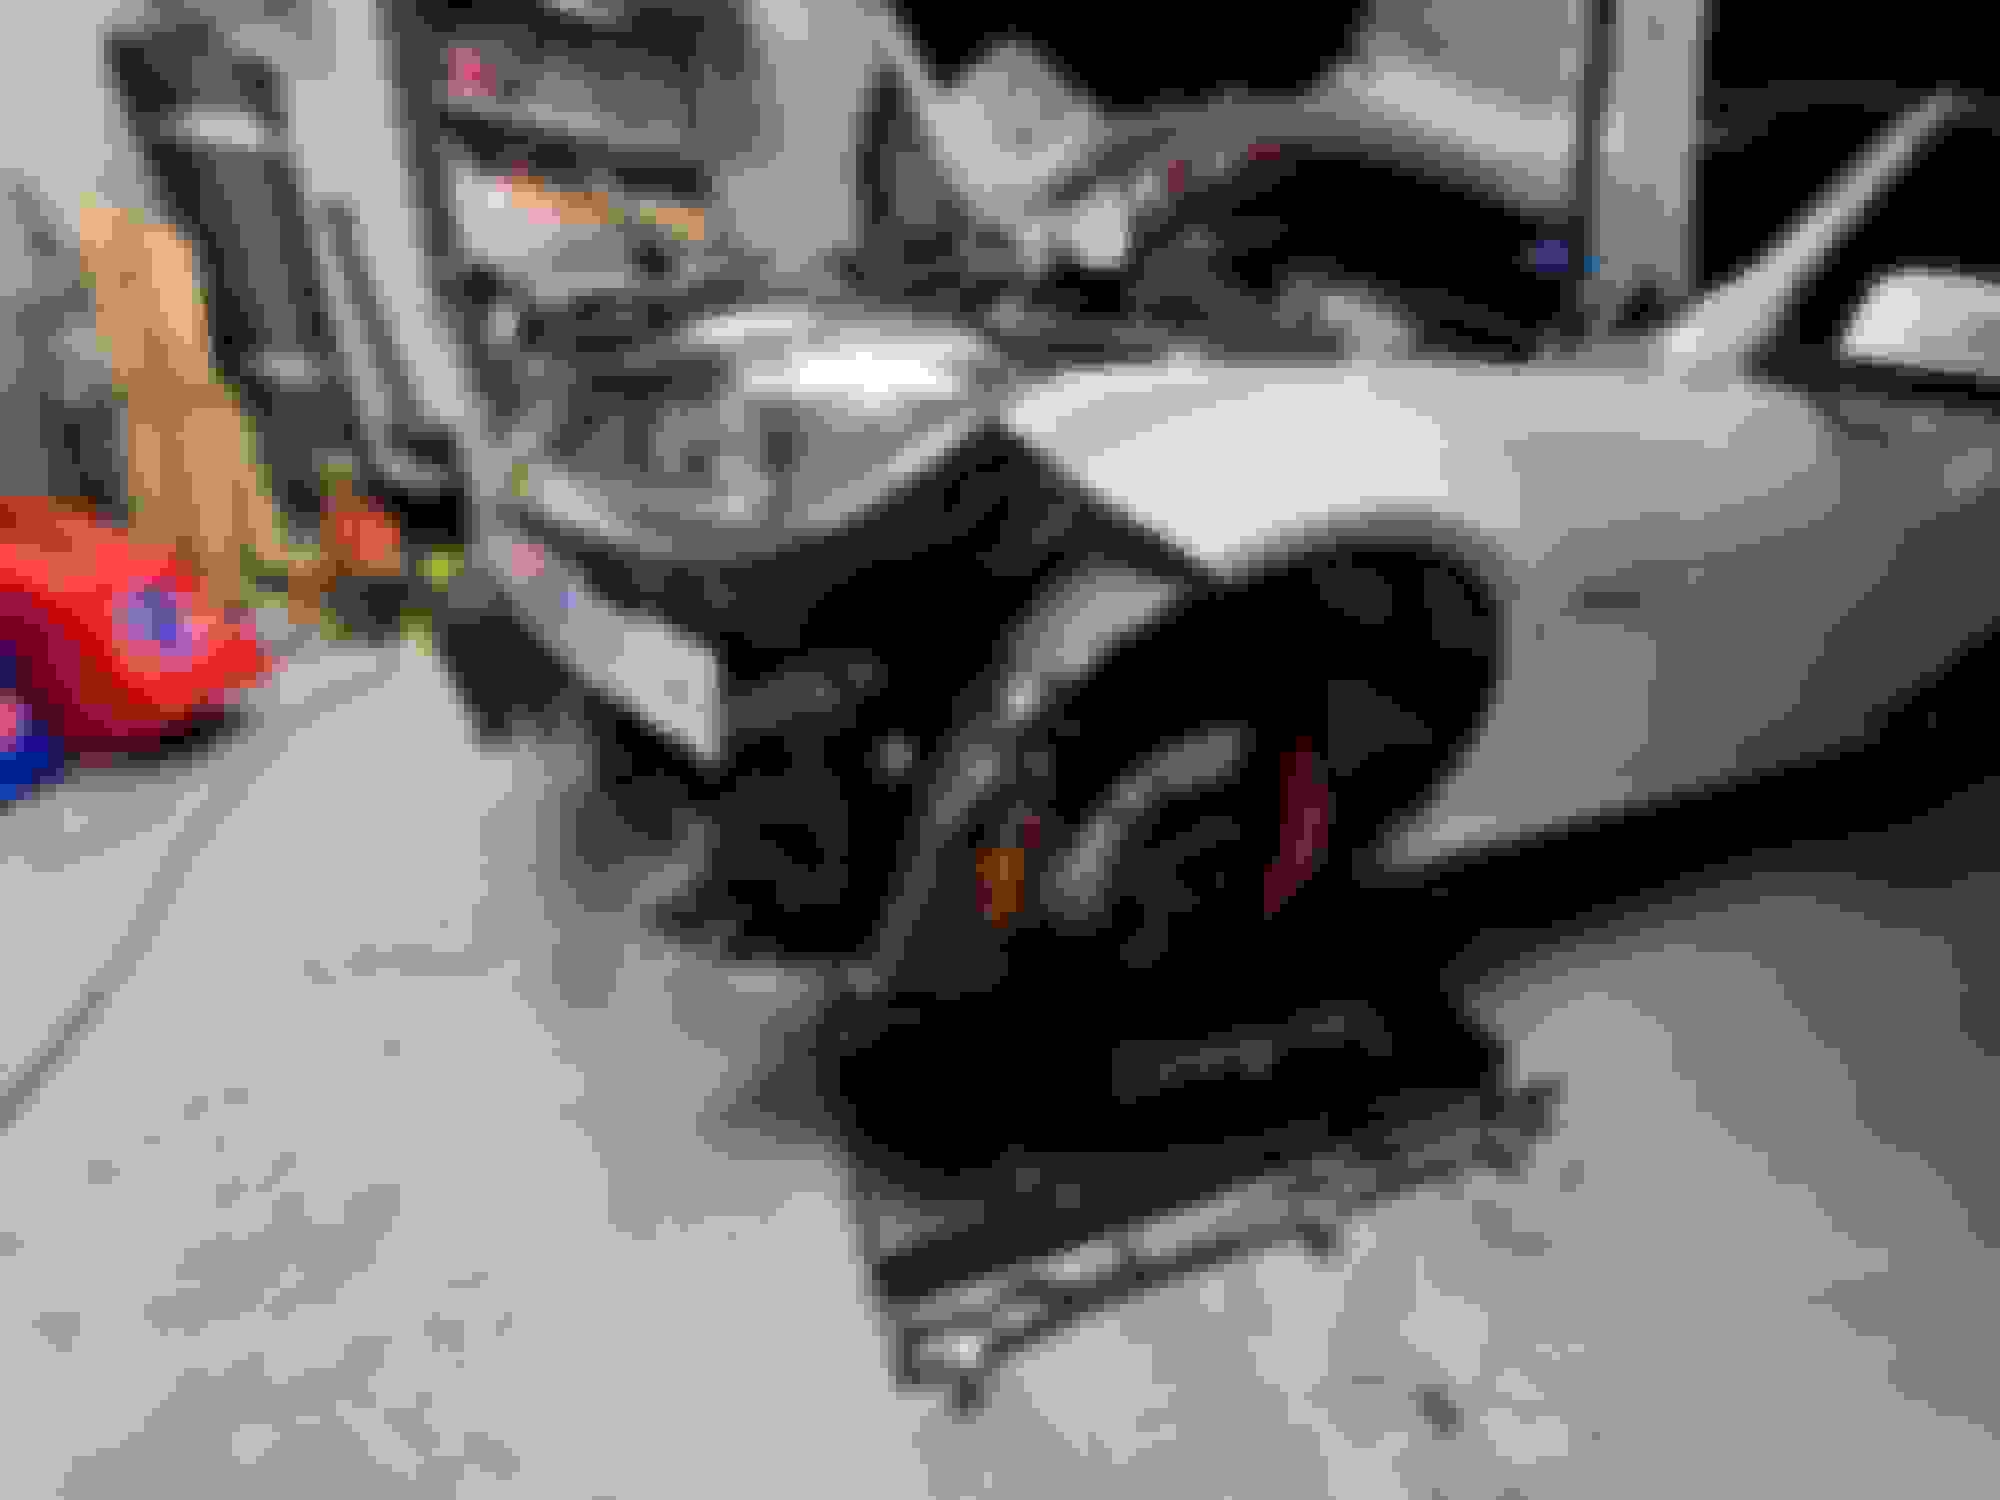
I decided to change how the intercooler is mounted. so instead of using the 6mm self tappers I drilled all the way through the bumper and I am going to use 8mm bolts and lock nuts. The bolts I had were too long so ill get shorter ones from work tomorrow to finish that up.
I also pulled off the oil cooler hose between the main and auxiliary oil cooler. Ill get it cut and prepped so the AN fittings can be welded. They should be here tomorrow.
2012 P31 C63 Coupe Trackrat, 2019 GLE63S Coupe Beast
Hey Phil, mind telling me more about those air valves? My air pump is long gone and I’d like to get rid of the rest and plug things up professionally. Can you walk me through what you did? Thanks bud
Hey Phil, mind telling me more about those air valves? My air pump is long gone and I�d like to get rid of the rest and plug things up professionally. Can you walk me through what you did? Thanks bud
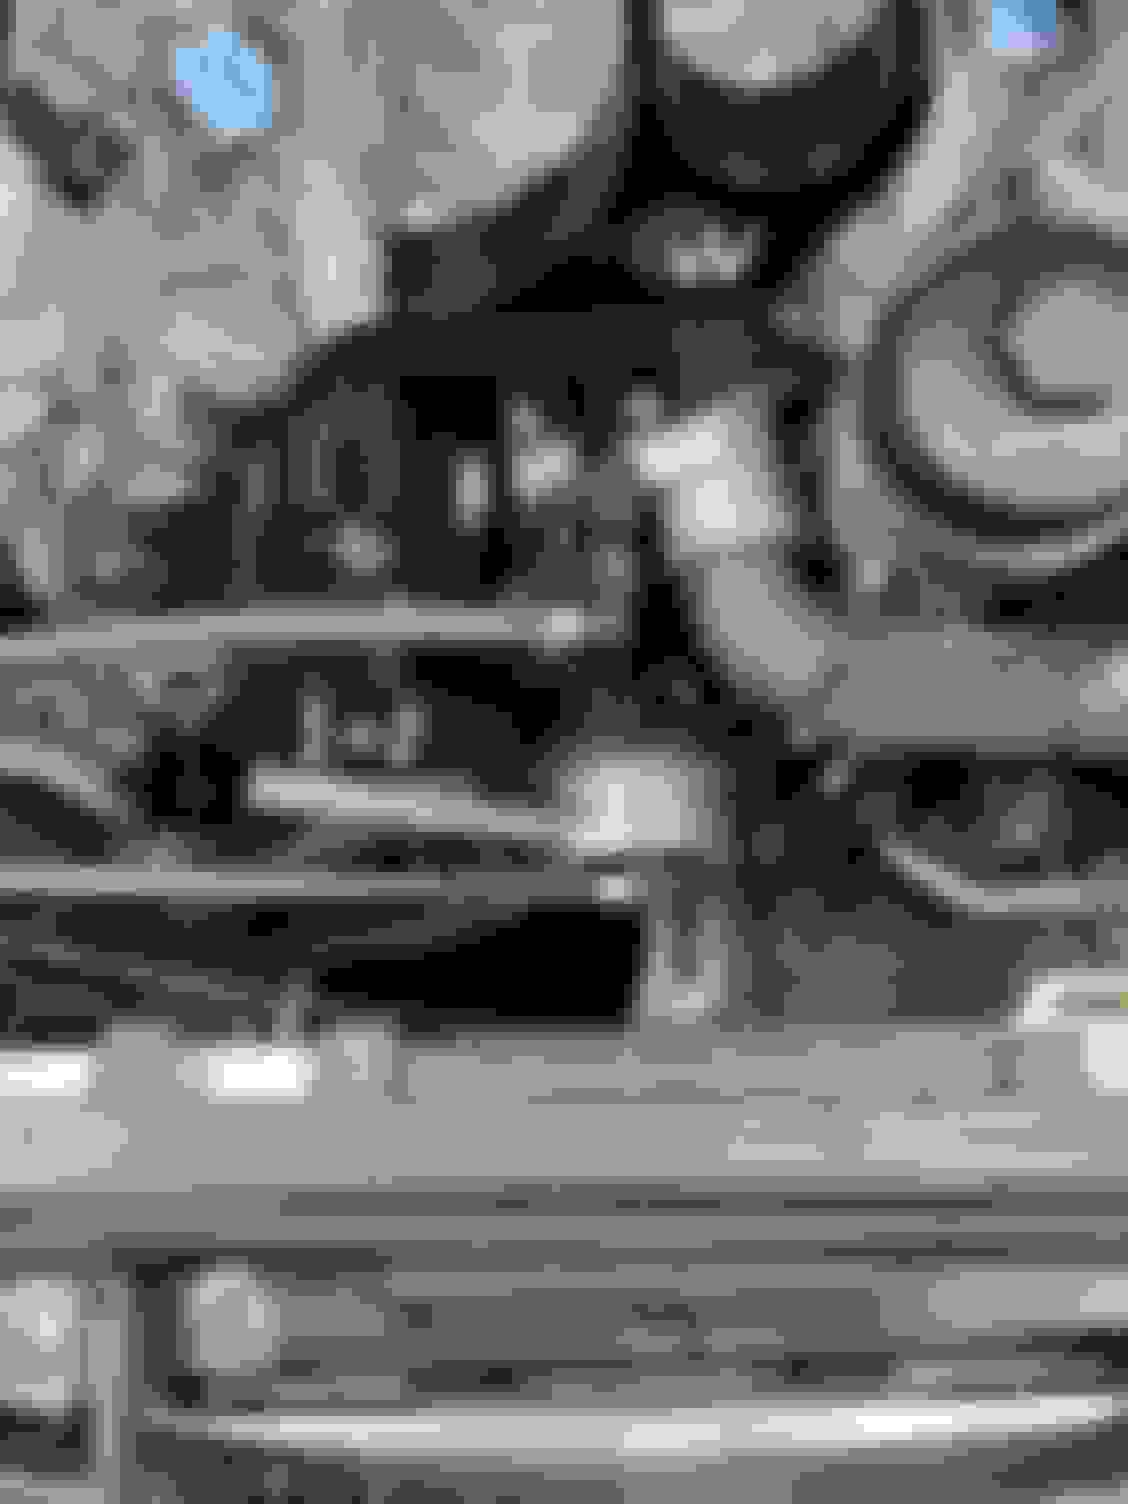
This is what I ended up doing. Chopped the pipe, pinched and folded a few times. Then filled with high heat JB weld putty.
VRP has some for the M113 but not sure if they are the same dimensions. I sent a PM and they didn't know if they fit either. I offered to test fit but they didn't respond to the offer.
Hey Phil, mind telling me more about those air valves? My air pump is long gone and I�d like to get rid of the rest and plug things up professionally. Can you walk me through what you did? Thanks bud
weistec came with similar block off plates as the ones Jasonoff posted. I just unbolted the tubes and air valves and put the new block off plates on with new gaskets.
The left tube is a little more involved as you have to loosen the power steering pump to get it moved far enough to get the tube by.
Excuse my ignorance but can someone explain what the Secondary air pump actually does?
Also if you remove it, are there any codes to deal with and why do you remove it other than for supercharging.
Excuse my ignorance but can someone explain what the Secondary air pump actually does?
Also if you remove it, are there any codes to deal with and why do you remove it other than for supercharging.
it heats up the cats faster. You will get a code for it. It�s needed for emissions. Some remove it to make room for ducting to cool the brakes


 04-24-2020, 07:29 PM