When you click on links to various merchants on this site and make a purchase, this can result in this site earning a commission. Affiliate programs and affiliations include, but are not limited to, the eBay Partner Network.
Ok, so it looks like the pictures will stay separate and I can't really write a pictorial. They also didn't load in order.
I tried to fix the lumbar by replacing the fuse, but it blew in 1 day without me even using the lumbar controls. So I went to do the work to find the short and below is what I did and how.
So below, you will see the two "special tools" that you need:
A nicely cleanly taped hammer and a nicely taped and bent screwdriver.
To remove the seat:
It's never easy, I've already removed seats in all my cars. What I mean is that it's easy to make some nasty scratches in the door jambs, so by yourself, like me, you have to take it slow and watch all angles.
The seats are not as heavy as I thought they would be.
The old w126 had simpler but heavier seats.
I was able to handle the seat by myself, not something that needs to be assumed., because it needs to be risen, lifted at an angle and not allowed to touch and rip anything with those rails.
Oh, and don't forget to unbolt the seatbelt, like I did.
With this said:
-You need the standard special mercedes female torx "hexalobular" female sockets.
-The seat bolts have threadlocker on them, put either OEM, or threadlocker blue on them, when putting them back in.
-Don't disconnect anything until you have all 4 bolts out. Then first disconnect the battery, because you don't want an airbag code.
-Once you disconnect, there's one of those zipties that goes through a ring, to hold the body harness to the seat. Don't try to rip it out, cut the zip tie and then you will put a fresh new zip tie at the end through the ring.
-Once the body harness is separated, tilt the seat all the way back. Let it rest against the rear bench. Maybe cover the bench. open front and rear door all the way. Then gently carefully lift the seat on top of the rear bench with the headrest towards the passenger side, as in my pic.
-The seat comes out bottom first through the rear driver's door, barely clears the door card
-then the objective is to remove the cover on the inner side towards the center console. There are two screws, one from the outside in and one by the hinge inside out. The covers split into two. Only remove the right-inner cover, you only need to work there. The portion of the cover that is on the inner side of the seat can stay, doesn't need to come out.
-I removed the access panel of the lumbar switches and took the switches out. I did this to confirm the wiring cable, by tugging. You don't have to remove it, but it's easy with the bent screwdriver, protecting under the screwdriver with a towel.
-Once the cover is removed, you will find that the cable in question is the one with the fabric insulation. Now the leather has to be peeled back, to allow you to reach behind the hinge and pull back this cable until you find the failure point. So, to peel the leather back partially, follow the next steps.
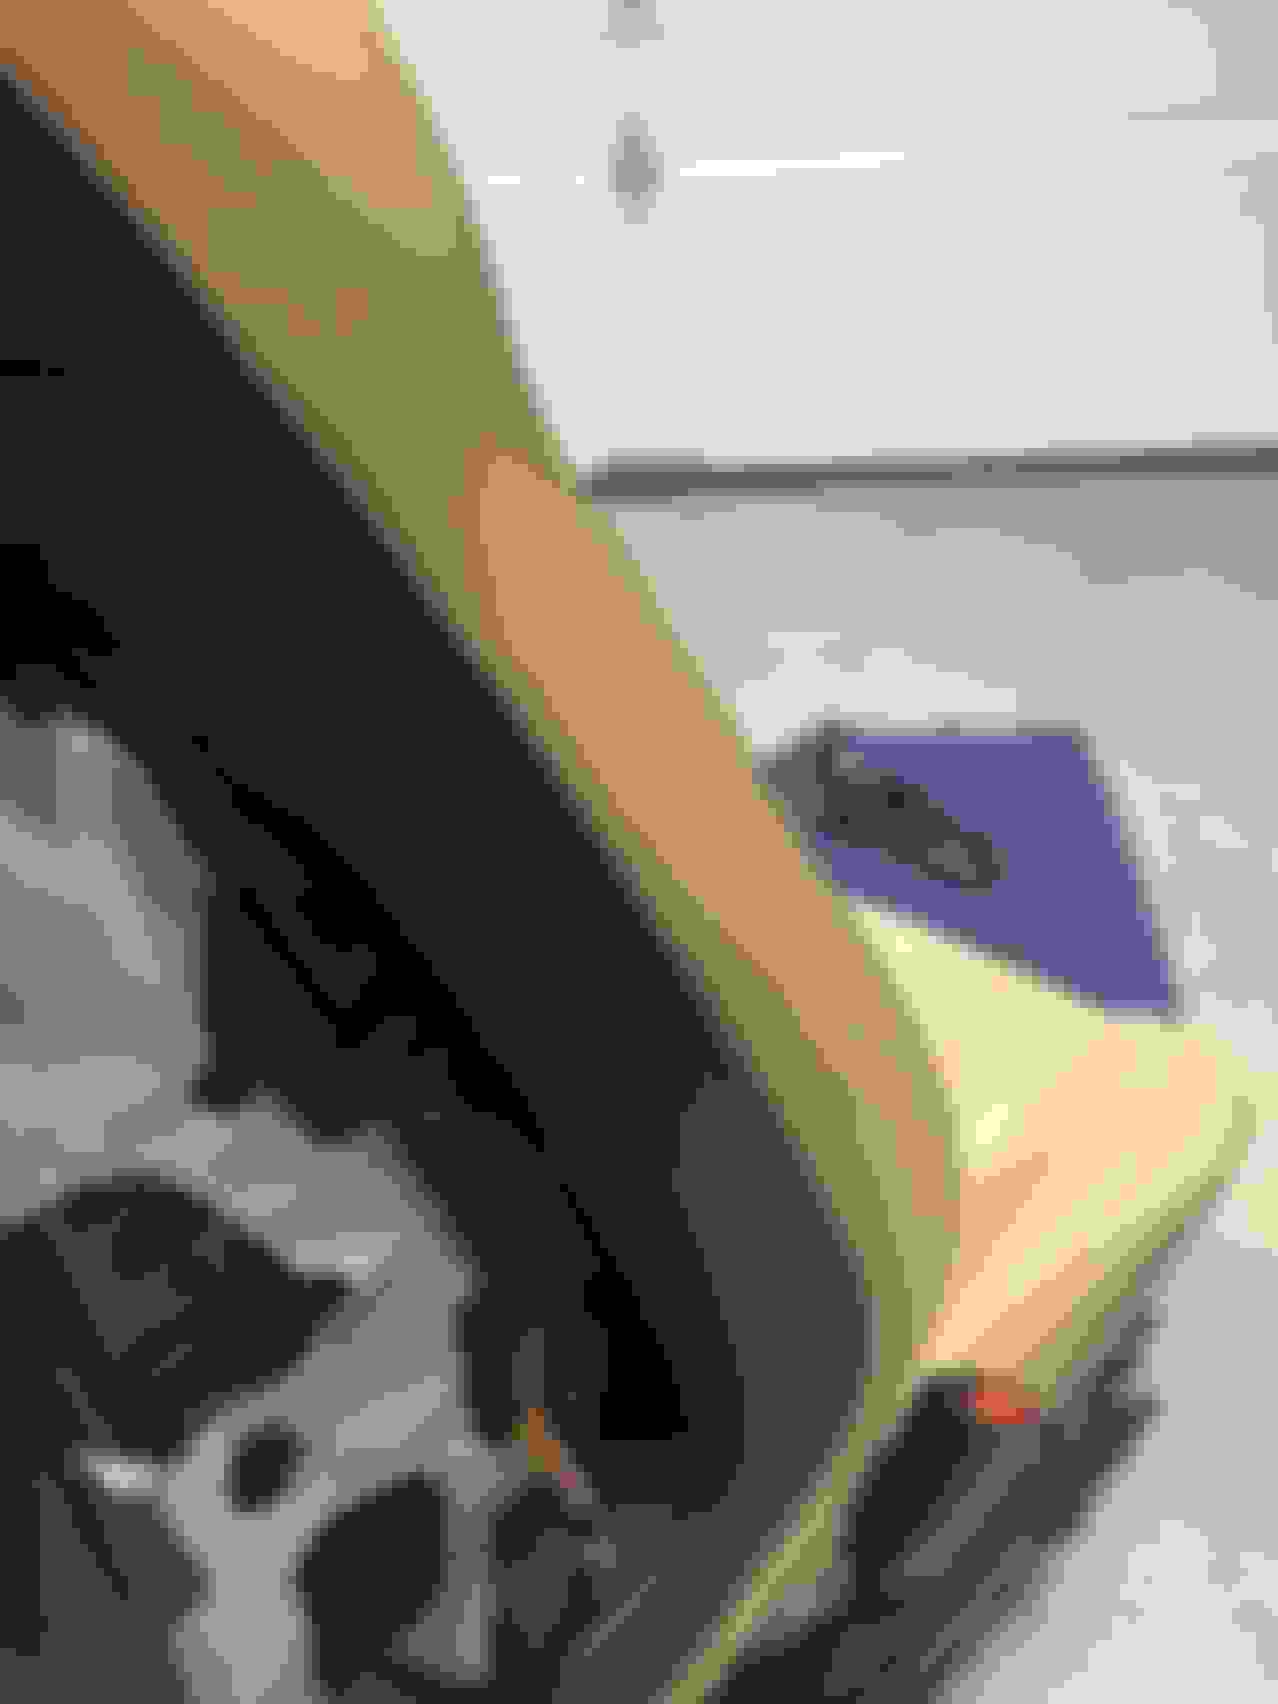
-At the bottom of the backrest, on the side that faces the back seat, there is a plastic molding that is attached to the leather. This molding is tucked into a groove of the plastic back seat. Using the screwdriver carefully pry the plastic molding out. Note that it's kinda rolled over the leader then tucked in, an upholsterer's trick, so you have to do the same when re-installing, very easy.
-Now, you'll have to peel back the leather of the side bolster a bit, to expose that wire. I peeled all the way to the headrest, you can try to do less, I think less is needed.
-To accomplish the peeling, first look at the pictures of the hinge. There's a flex nut that holds down a plastic ear, like in my pic. Take out the flex nut, take out the ear and pull the leather that you released at the back, loosening the stretch a bit. The front leather seat cover, at the bottom of the backrest, is fed between the backrest and the seat bottom, to the back where it's tucked in. Once you removed it from that as above, you can yank the leather backrest cover from the front and out from between the backrest and bottom cushion, which in turn slackens the whole backrest cover.
-Now the leather as it is fastened to the side of the plastic cover, has a plastic molding that is pushed into a groove of the plastic rear shell. Using the screwdriver, pry this molding out little by little
-Now you can peel the leather off the side bolster and then there are a few metal spring clamps that hold in the groove a sort of insulation which is white. Remove these then you can peel back the foam padding of the side bolster.
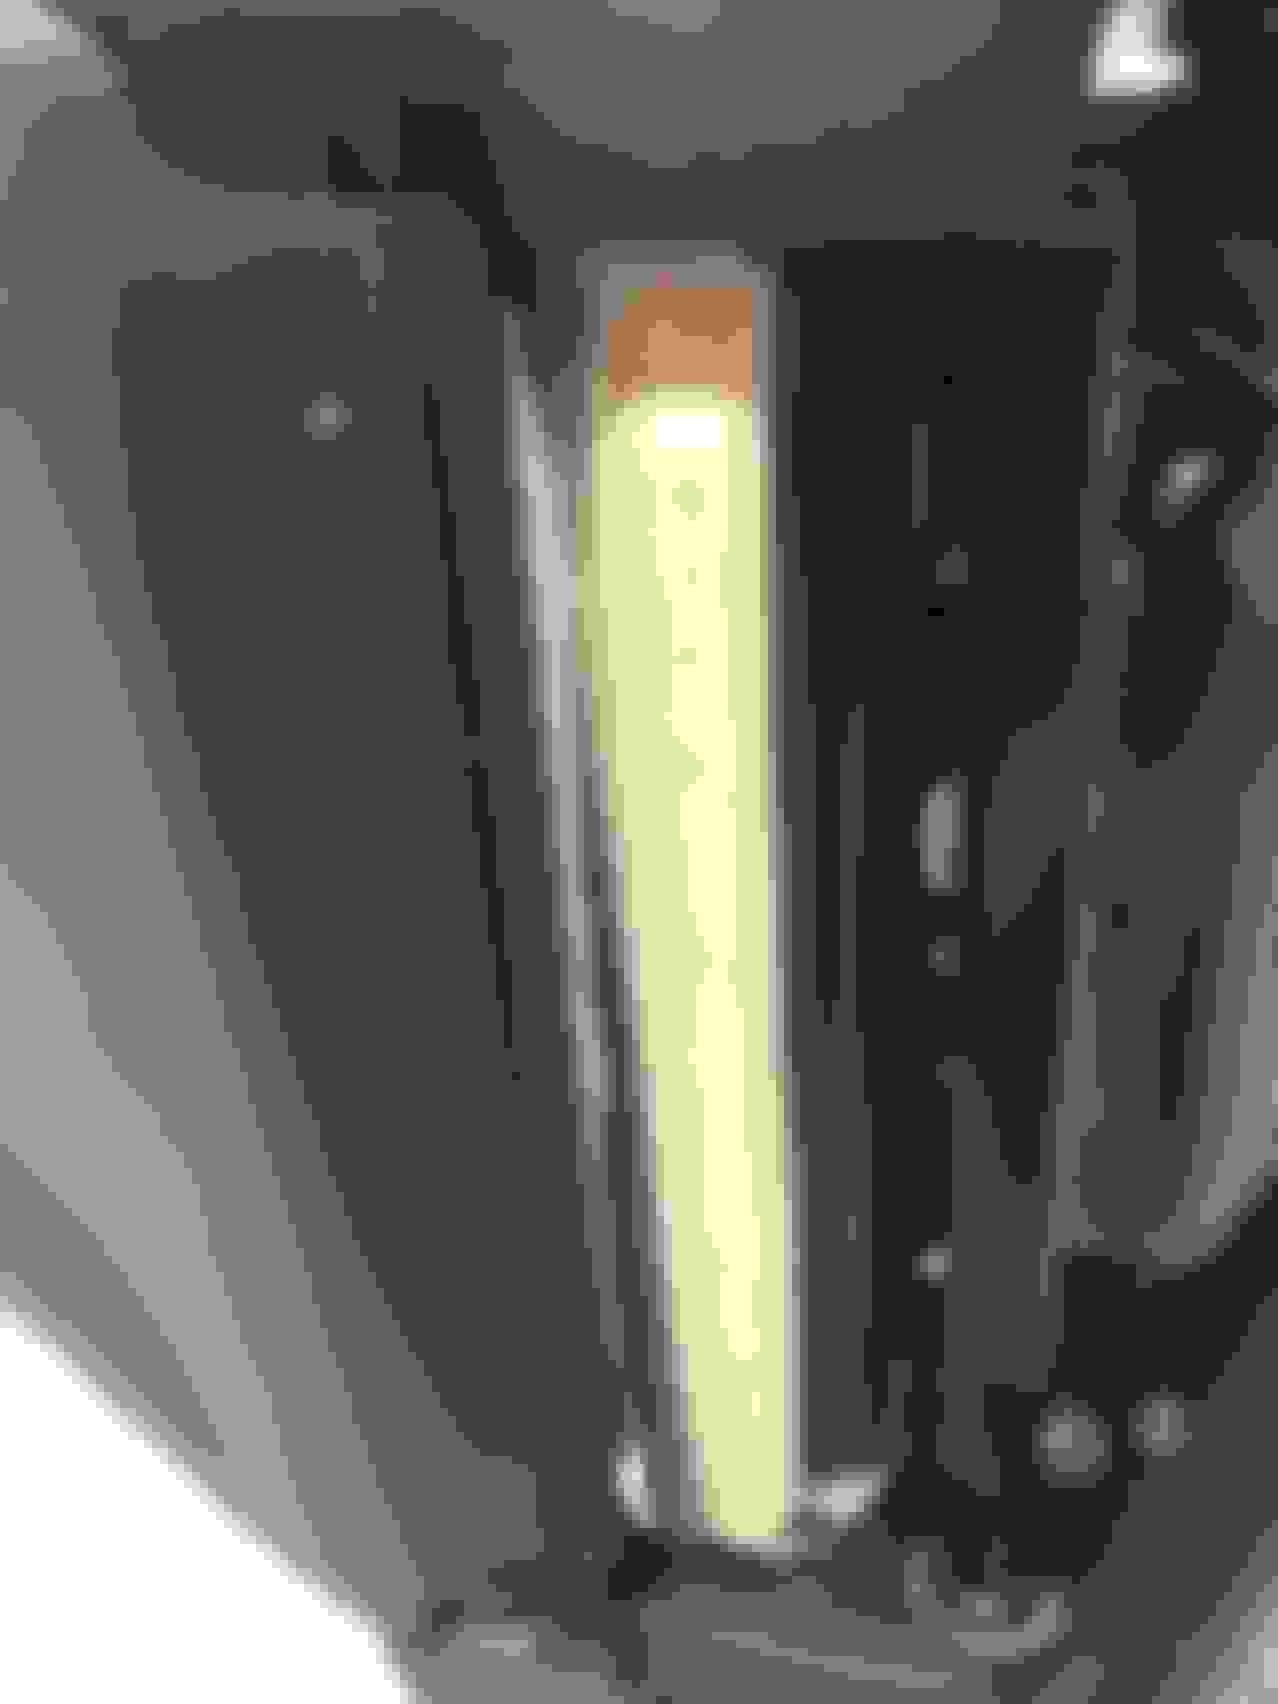
-Now you should see the fabric insulated cable. The stupid thing about it is that it is designed with quite sufficient slack. It is the way the slack is taken under the seat by the connector that is the problem. 4 inches of slack of this cable are coiled by the connector..
-Cut the zip tie that holds by the connectors under the seat all the slacks together. Free the slack of this cable and pull out two more metal clamps that hold the 3 cables together on the side of the seat, en route to the connectors.
-Now with a pair of pliers reach on the inside the seat, behind the hinge and pull slack back from the cable. Find the shiny spot where the hinge wore through the insulation and tape over it. Then protect a different section of the cable by the hinge with several layers of tape. The whole cable will now sit with a lot more slack, because you will use the additional 4 inches., so it will make contact with the hinge at a new spot, closer to the front, but this new spot will be protected by you with layers of electrical tape on top of the fabric jacket and the whole cable will be a lot more slacked. I felt it can be used as-is, doesn't need to be extended.
-reinstallation is in reverse order, you will need the hammer once you've reinserted the leather with the plastic molding into the groove of the rear plastic shell, to make sure the molding is in the groove all the way. How deep you can find out by looking at the other side of the seat. And you can see from my reassembled pic that I've stretched the leather nice and it's back flush with the plastic.
Don't be afraid to use the hammer, the WIS mentions using a plastic mallet and using a piece of plastic as counter at the back. I was using the heavy hammer but was only using my palm as back, basically hold the inner side of the bolster while hitting the leather above the groove to press that molding nicely into the groove.
This sounds complicated, but the pictures are easy to follow. I didn't think this was complicated or needed to take all day.
Wire loom could work, only you have to block it from moving around.
And this could become a 2 hours or less project, but you're best off moving slow in upholstery, so as to avoid scratches or damage.


 03-30-2019, 09:54 PM