When you click on links to various merchants on this site and make a purchase, this can result in this site earning a commission. Affiliate programs and affiliations include, but are not limited to, the eBay Partner Network.
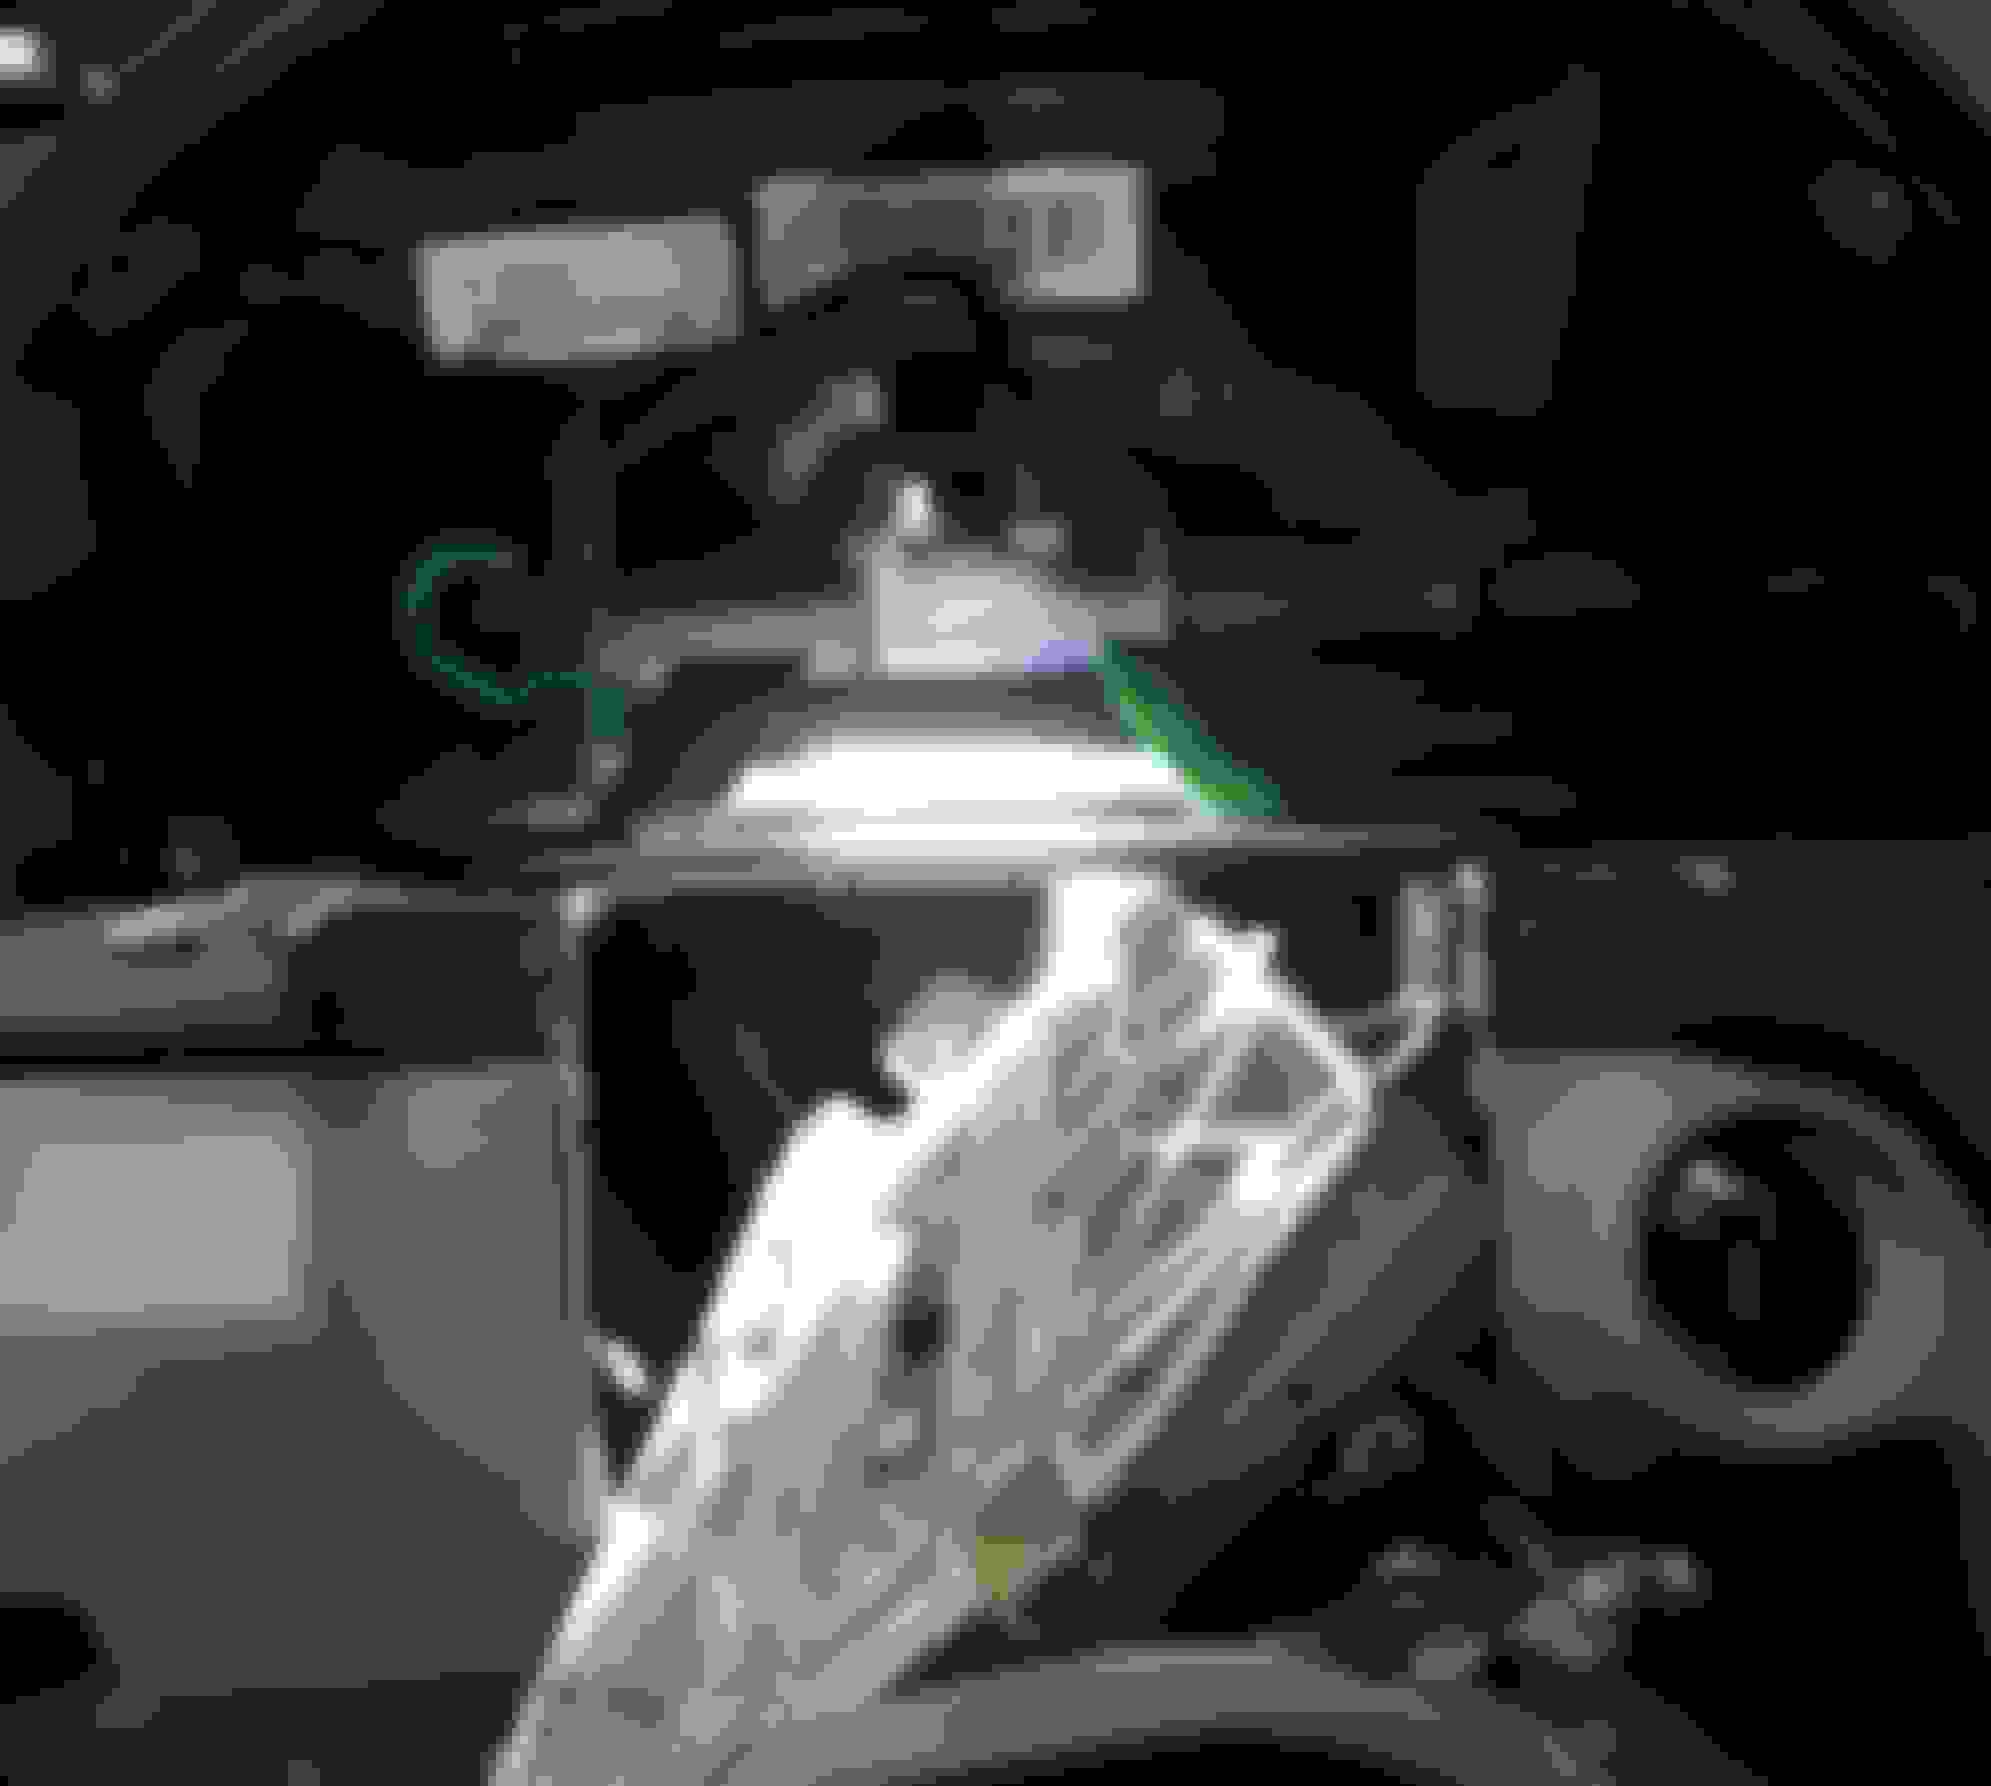
@olszowa12 Back at it again. Since Matt and I have never seen this done we took a gamble on the antenna from a reception standpoint, was more than glad to be the guinea pig and had no problem sending him my original factory unit. Pleased to report that reception has not been altered nor are there any leaks or creaks *REMOVE REAR DOME LIGHT ASSEMBLY AND DISCONNECT CONNECTOR (INSERT SMALL FLAT INTO FRONT RELEASE TABS, GENTLY USE FINGERS TO PRY/PULL DOWN REAR DOME LIGHT ASSEMBLY *REMOVE DRIVER/PASSENGER SEATBELT C PILLARS (PULL STRAIGHT OUT) *REMOVE REAR SEAT HEAD RESTS *SIT AS FAR BACK AS YOU CAN IN THE CENTER REAR SEAT AND INSERT YOUR FINGERS TOWARDS THE BACK OF THE ROOFLINER AND FEEL/LOCATE THE ROOFLINER FINGERS/TABS *ONCE YOU'VE LOCATED THE ROOFLINER FINGERS CAREFULLY PULL ENTIRE ROOFLINER TOWARDS YOU (STRAIGHT BACK AND DOWN) THE IDEA IS TO GET THE ROOFLINER TO BUDGE AS FAR BACK AS POSSIBLE SO THE FINGERS RELEASE WITHOUT RIPPING OFF THE ROOFLINER. *DO NOT REMOVE ENTIRE ROOFLINER *ONCE REAR SECTION OF ROOF LINER IS FREE PEEK INSIDE INSPECT/ANALYZE AND TRACE ANTENNA HARNESS ROUTING (ANTENNA WIRING HARNESS ROUTES NEARBY UPPER REAR WINDOW AND SNAKES DOWN TOWARDS PASSENGER C PILLAR VICINITY AND ARE HELD IN BY H CLIPS WHICH REQUIRE PATIENCE (2 SMALL ANGLED PICKS ARE YOUR BEST FRIEND) ONCE ALL 3 HARNESS CLIPS ARE RELEASED LOCATE/DISCONNECT BLUE, PURPLE, MAGENTA ANTENNA CONNECTORS NEARBY C PILLAR VICINITY (REMOVING UPPER/LOWER REAR DOOR SILL TRIMS AND DOOR SEAL MAY GRANT YOU MORE ACCESS)
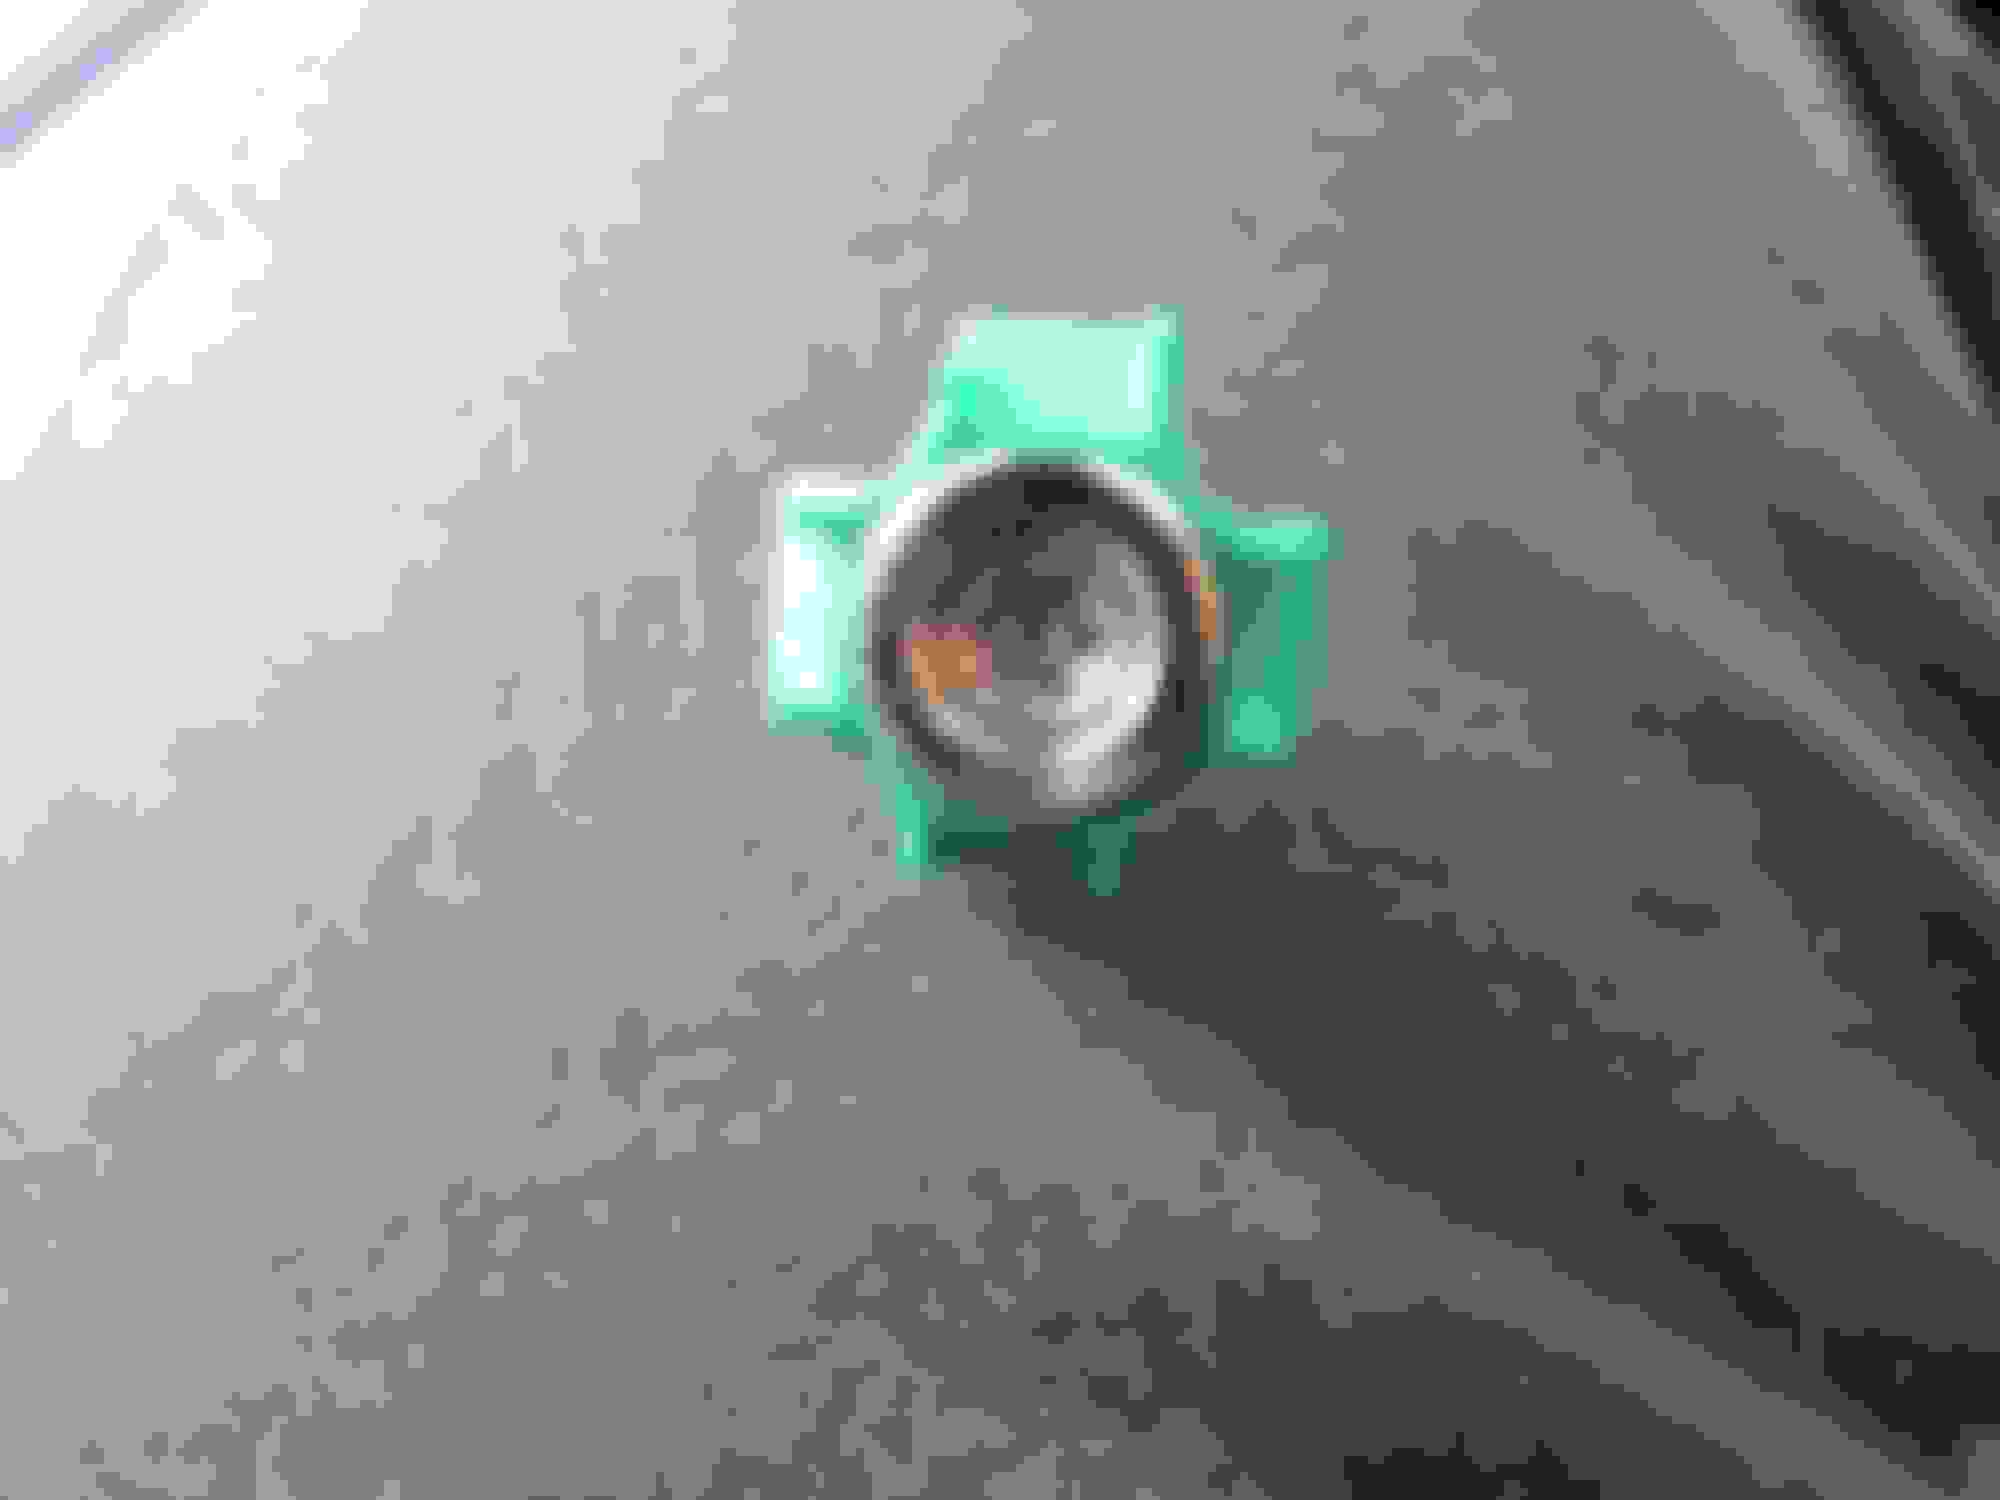
*REMOVE GREEN ANTENNA FASTENER TORX 25 (BREAK FREE WITH 1/4 SHORTY WRATCHET THEN FINISH UNTHREADING BY HAND WITH TORX BIT ONLY)
*CAREFULLY REMOVE ANTENNA AND GUIDE OUT ANTENNA HARNESS UP THROUGH THE ROOF
*REINSTALL IN REVERSE ORDER
Afterthoughts: This along with every other carbon fiber trim has been ceramic coated and will be repeated every 6 months to withstand the test of time against mother nature
Prayed for the rain and now I have to deal with the mud. Beginning to realize with low mileage lies great repairs ahead. This nightmare before Christmas definitely threw me off guard because there is typically no warning. A dead giveaway is when you insert/turn your key into the EIS and there's no response, the instrumental cluster is completely blank. However, unlike a dead battery there is complete power throughout the car. You're fortunate if your ESL fails in the unlocked position. However, if it fails in the locked position and you fail to revive/convince the ESL motor into the unlocked position the entire steering column must be removed. Not only is the steering wheel locked now it prevents the car from starting. Once the ESL has been removed it ultimately comes down to three repair options. Replace with new OEM E$L, rebuild/replace motor ($25) or an emulator ($50-200) which mimics the ESL (Programming required to resync all components $150-300). After discovering that the OEM ESL utilizes junk components (worn carbon brushes are the weak link in the ESL motor, once the motor fails the NEC chip which consists of the key/ immobilizer info will burn out and will no longer be able to communicate with the EIS/ key due to high resistance which in turn can very well lead to the ESL, EIS, and key requiring all three to be resynchronized) I refused for history to repeat itself. Making a mistake once is fine, making the same mistake twice is a decision. I can go on and on about this until I'm blue in the face but there are presents that require my presence. If you're in the bay area and are considering replacing the ESL with an emulator, contact Sean @Golden Key Locksmith and he will get you squared away within a drop of a hat (less than 24 hours upon contact) he has dealt with countless C-class ESL quandaries which explains why he stocks all these components on hand allowing for a quick turnaround time, not to mention he can create additional keys for $150. Keep in mind the going rate for this repair at the dealer is anywhere between ($2-3K) *LOCKED ESL*
*ADJUST STEERINGWHEEL AS FAR BACK AND AT ITS LOWEST POINT AS POSSIBLE
*DISCONNECT BATTERY SO SRS LIGHT ISNT TRIGGERED
*REMOVE INSTRUMENTAL CLUSTER SHROUD BEZEL (USE SMALL WINDOW TRIM TOOL AND PRY DOWNWARDS ON UPPER SHROUD BEZEL WHILE GENTLY PULLING TOWARDS YOU, BE MINDFUL OF THE SIDE SHROUD TABS THAT ARE CONNECTED TO THE SIDE VENT) ONCE CAREFULLY REMOVED SET ASIDE
*PULL OUT PLASTIC ODOMETER HANDLE
*REMOVE ALL 4 INSTRUMENTAL CLUSTER TORX 25 FASTENERS (TORX 25 SCREWDRIVER)
*GENTLY PUSH THE INSTRUMENTAL CLUSTER FACE DOWN TOWARDS YOU AND REMOVE CLUSTER CONNECTOR (PUSH WHITE TAB AND SLIDE GRAY HANDLE OUT)
*REMOVE FOOTWELL UNDERPANEL (THREE TORX 20)
*REMOVE HOOD LATCH WITH MINI PHILIPS SCREWDRIVER (GUIDE/EXIT HOOD CABLE FROM FOOTWELL COVER AND SET ASIDE)
*HIGHLIGHT/MARK STEERINGWHEEL AND COLUMNSHAFT IN CURRENT POSITION
*DISCONNECT COLUMN SHAFT TORX 45 AND SET ASIDE
*LOCATE/REMOVE ALL 4 STEERING COLUMN E12 INVERTED TORX FASTENERS
*DISCONNECT BOTH CONNECTORS ON ADJUSTABLE STEERING WHEEL MOTOR (IF YOUR STEERING WHEEL FAILED CENTERED YOU MAY BE ABLE TO REMOVE THE MOTOR FOR EXTRA CLEARANCE UPON STEERING COLUMN ASSEMBLY REMOVAL)
*DISCONNECT ESL CONNECTOR
*SEPARATE/RELEASE STEERING COLUMN LEATHER NECK BOOT TRIM FROM DASH (BEHIND CLAMSHELL)
*PEEK INSIDE BEHIND NECK BOOT TRIM AND REMOVE LOCKING RED TAB WITH PICK
*ONCE LOCKING TAB IS REMOVED RELEASE STEERING COLUMN SWITCH TUBE CONNECTOR AND SLIDE/TUCK OUT OF THE WAY
*DISCONNECT EIS
*REMOVE EIS OUTER TRIM RING (INSPECT INSIDE OUTER RING AND TAKE NOTE THERE ARE NOTCHES, WEDGE TWO MEDIUM THIN SIZE SCREWDRIVERS AGASINT NOTCHES FORMING AN X SHAPE AND TURN COUNTERCLOCKWISE ENSURING THE SCREW DRIVERS DONT SLIP)
*PUSH IN EIS MODULE GENTLY INTO DASH
*DISCONNECT EIS CONNECTOR AND SLIDE OUT LOCK OUT CABLE (SQUEEZE BOTH LOCK OUT CABLE TABS AND MOVE FORWARD, UP AND OUT.
*CAREFULLY MUSCLE/WALK OUT STEERING COLUMN OUT OF DASH (TURNING THE COLUMN DIAGONALLY MAY HELP)
*FOLLOW @knowbenz STEPS IF YOU INTEND ON REBUILDING ESL ESL Steering lock motor replacement *lots of pics* - MBWorld.org Forums *408-886-9444 SEAN @GOLDEN KEY LOCKSMITH IF YOU INTEND ON USING EMULATOR IN BAY AREA
Since I had the steering column assembly removed, I figured it would be a crime not to address this culprit. For all my C class peeps with the infamous wobble, play, with minimal sway in your steering wheel that leads you to believe it may be loose when the car is in a stationary position look no further. It has come to my attention that more often than not PFL C class shafts were plagued with this issue. However, E class and facelift C classes not so much. Unfortunately, you can't obtain the intermediate shaft at the dealer without purchasing the entire column shaft assembly so source a decent mileage unit from an online dismantler for $20-50. Without getting nitty and gritty the E class/ facelift C class shafts are ever so slightly more robust/stout and share the same amount of splines and dimensions making it a drop in upgrade.
*STEERING COLUMN ASSEMBLY INSTALLED* *CENTER STEERING WHEEL AS STRAIGHT AS POSSIBLE
*SLIDE SEAT ALL THE WAY BACK
*REMOVE FOOTWELL UNDERPANEL (THREE TORX 20)
*REMOVE HOOD LATCH WITH MINI PHILIPS SCREWDRIVER (GUIDE/EXIT HOOD CABLE FROM FOOTWELL COVER AND SET ASIDE)
*DISCONNECT STEERING COLUMN NUB FROM INTERMEDIATE SHAFT TORX 45 (HIGHLIGHT/MARK CURRENT POSITION BEFORE SLIDING DOWN INTERMEDIATE SHAFT)
*SLIDE INTERMEDIATE SHAFT BOOT AS FAR DOWN AS POSSIBLE TO EXPOSE LOWER INTERMEDIATE SHAFT
*HIGHLIGHT/MARK INTERMEDIATE SHAFT AND LOWER SHAFT CURRENT POSITION AND PULL STRAIGHT OUT (SLIGHT RESISTANCE, MILD EFFORT REQUIRED TO RELEASE PLASTIC TABS SECURING INTERMEDIATE SHAFT BOOT)
*ONCE REMOVED ANALYZE/COPY EXACT LOCATION YOU HIGHLIGHTED/MARK ON THE ORIGINAL INTERMEDIATE SHAFT ONTO THE NEW SHAFT
*CAREFULLY INSTALL/ALIGN INTERMEDIATE REPLACENT SHAFT AS SCRUPULOUS AS POSSIBLE BEFORE FULLY INSERTING/SEATING INTERMEDIATE SHAFT ALL THE WAY DOWN INTO LOWER INTERMEDIATE SHAFT
*CAREFULLY REALIGN/ INSTALL STEERING COLUMN NUB SPLINES INTO INTERMEDIATE SHAFT PER ORIGINAL HIGHLIGHT/MARKS WITH PRECISION (SPLINES ARE ALUMINUM, DO NOT FORCE ON OR SPLINES WILL MAR) BEFORE INSERTING/SEATING ALL THE WAY DOWN
*REINSTALL EVERYTHING IN REVERSE ORDER
Afterthoughts: Steering wheel is SOLID, feels like a new car now. Best $20 spent, thus far
This one caught my attention as I know it's only a matter of time before I'm in a similar bind with 4 Benz's in the household. What did the emulator cost? I've seen some for my Sprinter for a low as $25 with solid reputation (as long as not already locked), but doubt the same holds true for the AMGs.
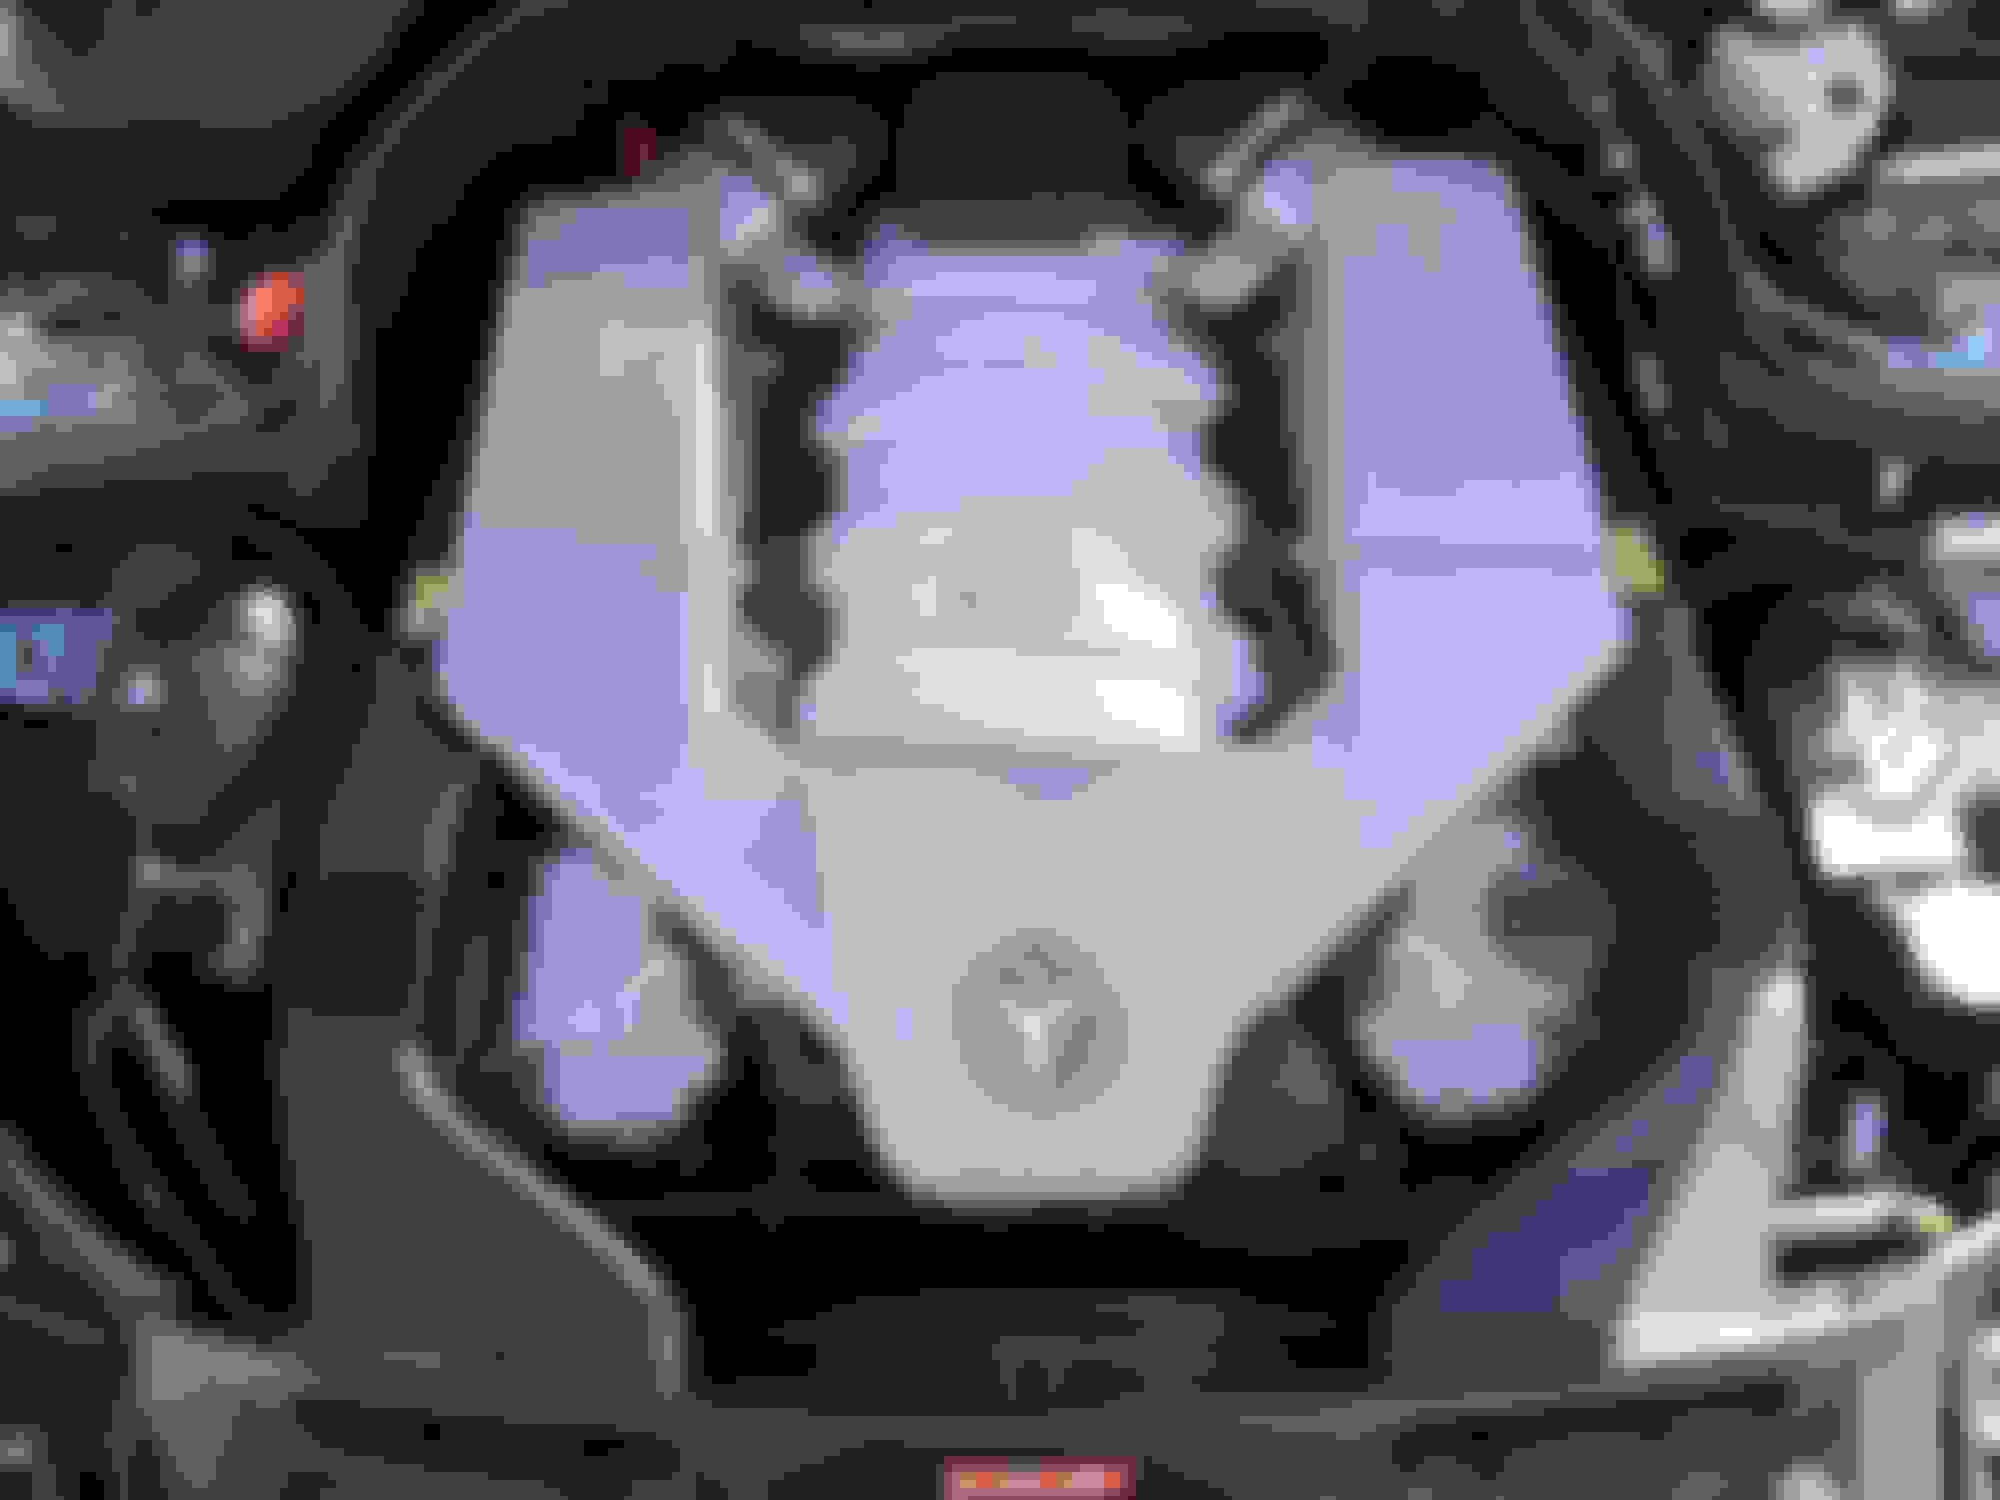
Word on the street is that these are worth 1/10 of second (100MS). That's nearly equivalent to eliminating 100lbs. You don't have to tell me twice with them being 160%+ larger over factory intakes it's like a breath of fresh air for the M156 *UNCLIP/REMOVE FACTORY ENGINE COVER AND AIR INTAKES *DETATCH HOOD RELEASE CABLE AND COOLANT RESERVOIR HOSE *UNCLIP/REMOVE UPPER PLASTIC RADIATOR FAN SHROUD SUPPORT TRIM, TURN FRONT CENTER TAB 90 DEGREES TO RELEASE FROM GRILL SUPPORT, ANALYZE WHERE HOOD SPRINGS SEAT ONCE HOOD IS CLOSED AND PULL VICINITY TOWARDS YOU WHILE LIFTING OUT THE REAR SIMULTANEOUSLY AND SET ASIDE *REMOVE DRIVER/PASSENGER UPPER RADIATOR SUPPORT FASTENERS (10MM) *REMOVE 90 DEGREE CENTER LOCKING TAB ON ORIGINAL UPPER RADIATOR FAN SHROUD SUPPORT AND INSTALL ON GRUPPE M CF SUPPORT SHROUD *GUIDE/ANGLE IN GRUPPE M CF SUPPORT SHROUD OVER HOOD HINGE AND IT WILL FALL INTO PLACE
*CAREFULLY SECURE SHROUD SUPPORT ON DRIVE/PASSENGER SIDE WITH UPPER RADIATOR SUPPORT 10MM FASTENERS (HAND TIGHT LIGHTLY ONLY, OVER TORQUING WILL CREATE STRESS CRACKS) *INSTALL SILICONE COUPLERS OVER INTAKES AND SLIDE/ALIGN ONTO AIRBOXES (USE WORM DRIVE CLAMPS FOR EXTRA SECURITY IF TOO LOOSE FOR PERSONAL PREFERENCE) *INSTALL INTAKE SHROUD COVERS AND SECURE 6 FASTENERS WITH MINI PHILIPS SCREWDRIVER (HAND TIGHT ONLY, OVER TORQUING WILL STRIP THREADS)
*REINSTALL EVERYTHING IN REVERSE ORDER
Afterthoughts: Tight 10/10 fitment, hood closes without contacting upper radiator shroud. Now if I can only convince @mthis to sell me his RENNTech boxes to complete the package
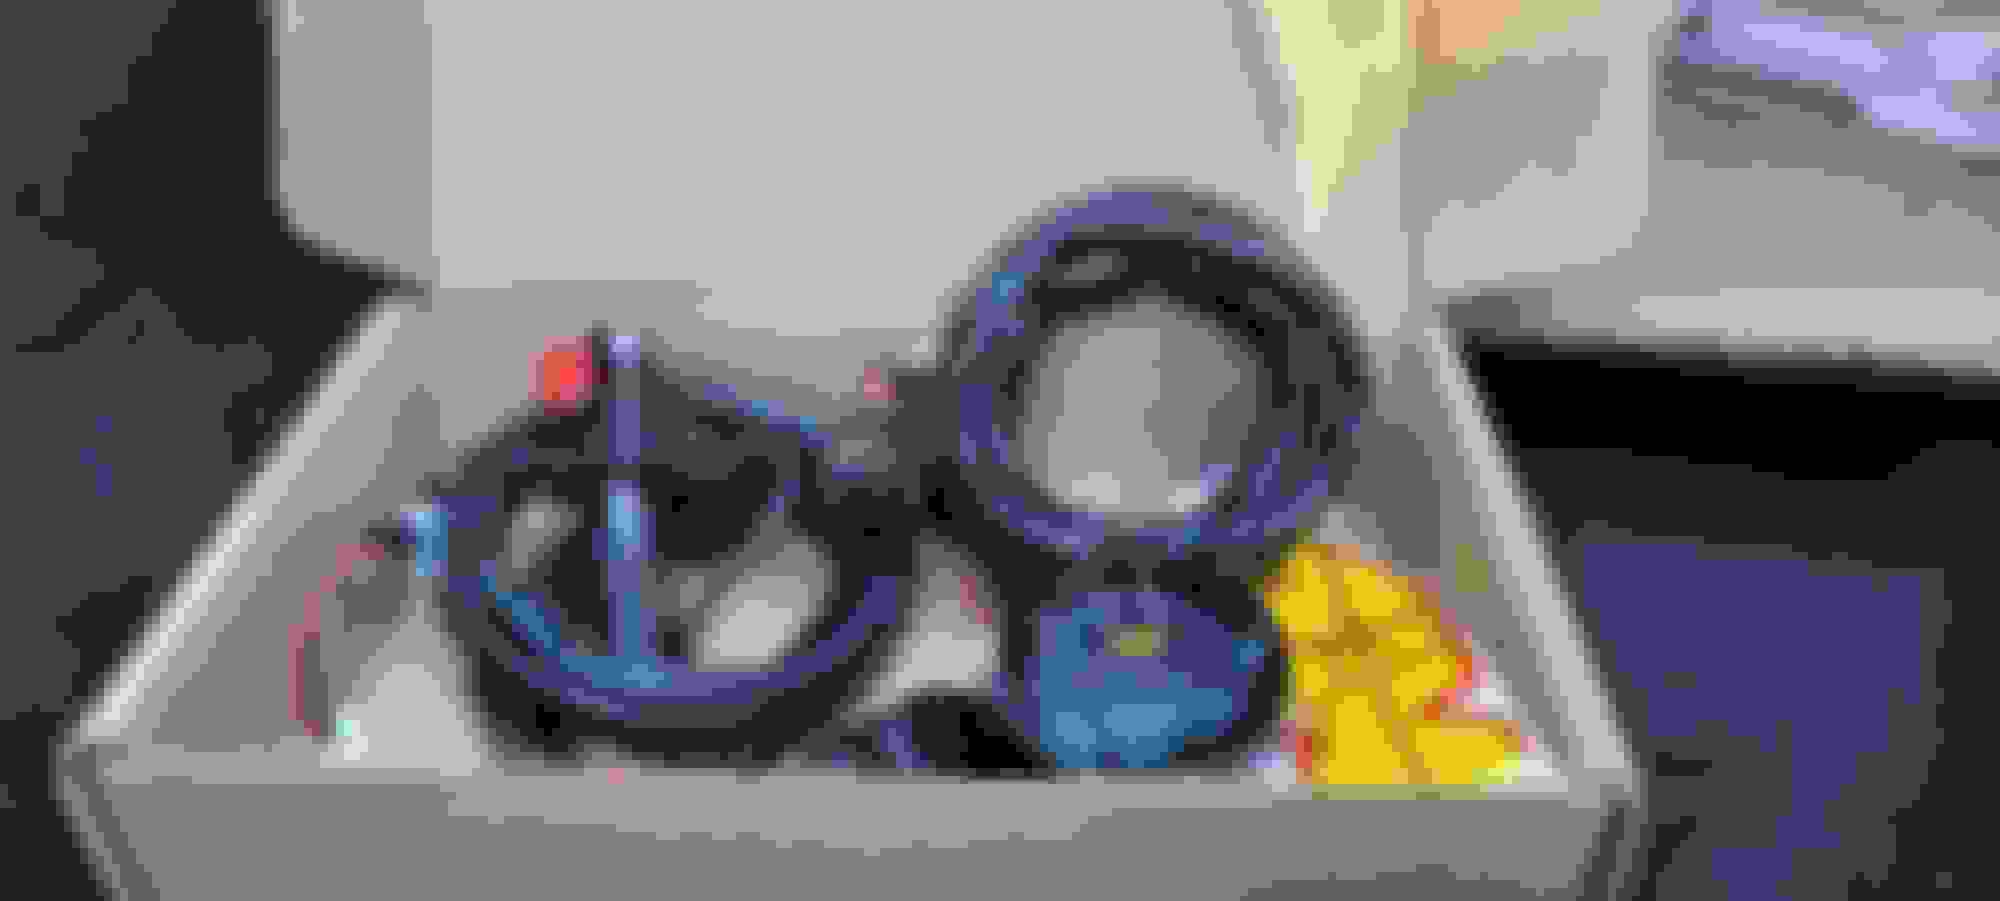
The tune can only be good as the data provided. This particular wideband has been chosen to supply as a prelude to what's in store. Short term glove box solution to keep things subtle on the fly
*REMOVE PASSENGER FLOOR MAT AND FOLD CARPET BACK *REMOVE STYROFOAM FLOORBOARD SUPPORT
*PUSH/MASSAGE PASSENGER TUNNEL GROMMET OUT
*FEED WIDEBAND 02 HARNESS THROUGH TUNNEL GROMMET
*INSTALL WIDEBAND SENSOR INTO ADDITIONAL BUNG OR EXISTING DOWNSTREAM BUNG (YOU CAN REQUEST YOUR TUNER TO OFF THE DOWNSTREAM 02'S SINCE THEY ARE NOT EESSENTIAL AND UTILIZE EXISITING DOWNSTREAM BUNG)
*PUSH/SEAL TUNNEL GROMMET BACK INTO ORIGINAL POSITION
*GUIDE/NAVIGATE WIDE BAND HARNESS TO PERSONAL PREFERENCE MOUNTING LOCATION (GLOVEBOX)
*PLUG OPTIONAL 12 VOLT ADAPTER INTO 12 VOLT OUTLET INSIDE GLOVE BOX IF USING GLOVE BOX LOCATION
*REINSTALL EVERYTHIHNG IN REVERSE ORDER
Afterthoughts: Get familiar with your air fuel ratios under all circumstances and it will serve you well in any unexpected event
2012 P31 C63 Coupe Trackrat, 2019 GLE63S Coupe Beast
Nice. There�s room for that gauge in the ashtray, lots of handy power wires to use there for hookup too.
One thing to be aware of as I used that spare bung for mine as well. Your tuner can turn off the secondary O2 for sensing purposes no problem. But no tuner, as far as I know, can turn off the heaters. If you unplug those completely, you�ll light up error codes and a CEL. If you want to remove them completely you�ll have to build simulators like I did here. Read from this post forward: https://mbworld.org/forums/c63-amg-w...ml#post6374077
Word on the street is that the tri-y design serves FI applications best, we'll see about that.
After thoughts Craftsmanship is second to none. All components fit snug like a glove, zero alignment or leaking issues. Unmolested factory exhaust directly bolts on without any modifications; exhaust tips remain centered. VRP has this revision down to a T. Needless to say you'll now hear me before you see me.
FI and VRP are all cheap, Chinese copies of our headers. It goes like this. FI copied our headers and they get them made in China. We stopped selling to VRP. VRP starts selling FI headers. VRP sent the FI headers to China to be copied. Your headers are literally a copy of a copy. We are the original makers of these headers. When it comes to craftsmanship these Chinese headers are not even in the same zipcode as our American made headers are. The collectors used in VRP headers are some of the absolute worst/cheapest collectors ive ever seen on an exhaust. I dont have any ill will in this post. Its just that some people find out after that fact that what they have is just a cheap copy of something that's much better. I get a lot of people saying "if I only knew of yours before" Its all good though, nice build.
Sorry to veer off topic a bit but blkrokt how many resistors did you use? One for each side or just one and then solder both secondary circuits to the one resistor?
2012 P31 C63 Coupe Trackrat, 2019 GLE63S Coupe Beast
Originally Posted by deadlyvt
Sorry to veer off topic a bit but blkrokt how many resistors did you use? One for each side or just one and then solder both secondary circuits to the one resistor?
One for each side. See post for details, they use the O2 plugs and plug right in factory location and tuck up on either side of the transmission. I took them out last year to have a look. Just needed to change the thermal wrap they had been in for 6yrs, otherwise they were fine. Zero codes or CEL.
One for each side. See post for details, they use the O2 plugs and plug right in factory location and tuck up on either side of the transmission. I took them out last year to have a look. Just needed to change the thermal wrap they had been in for 6yrs, otherwise they were fine. Zero codes or CEL.
thanks, yeah I stopped reading right before the part you answered my question.
Nice. There�s room for that gauge in the ashtray, lots of handy power wires to use there for hookup too.
One thing to be aware of as I used that spare bung for mine as well. Your tuner can turn off the secondary O2 for sensing purposes no problem. But no tuner, as far as I know, can turn off the heaters. If you unplug those completely, you�ll light up error codes and a CEL. If you want to remove them completely you�ll have to build simulators like I did here. Read from this post forward: https://mbworld.org/forums/c63-amg-w...ml#post6374077
That looks very nice! I�ve been wondering where to put mine. Hopefully I can do the same thing. 🙏🏻
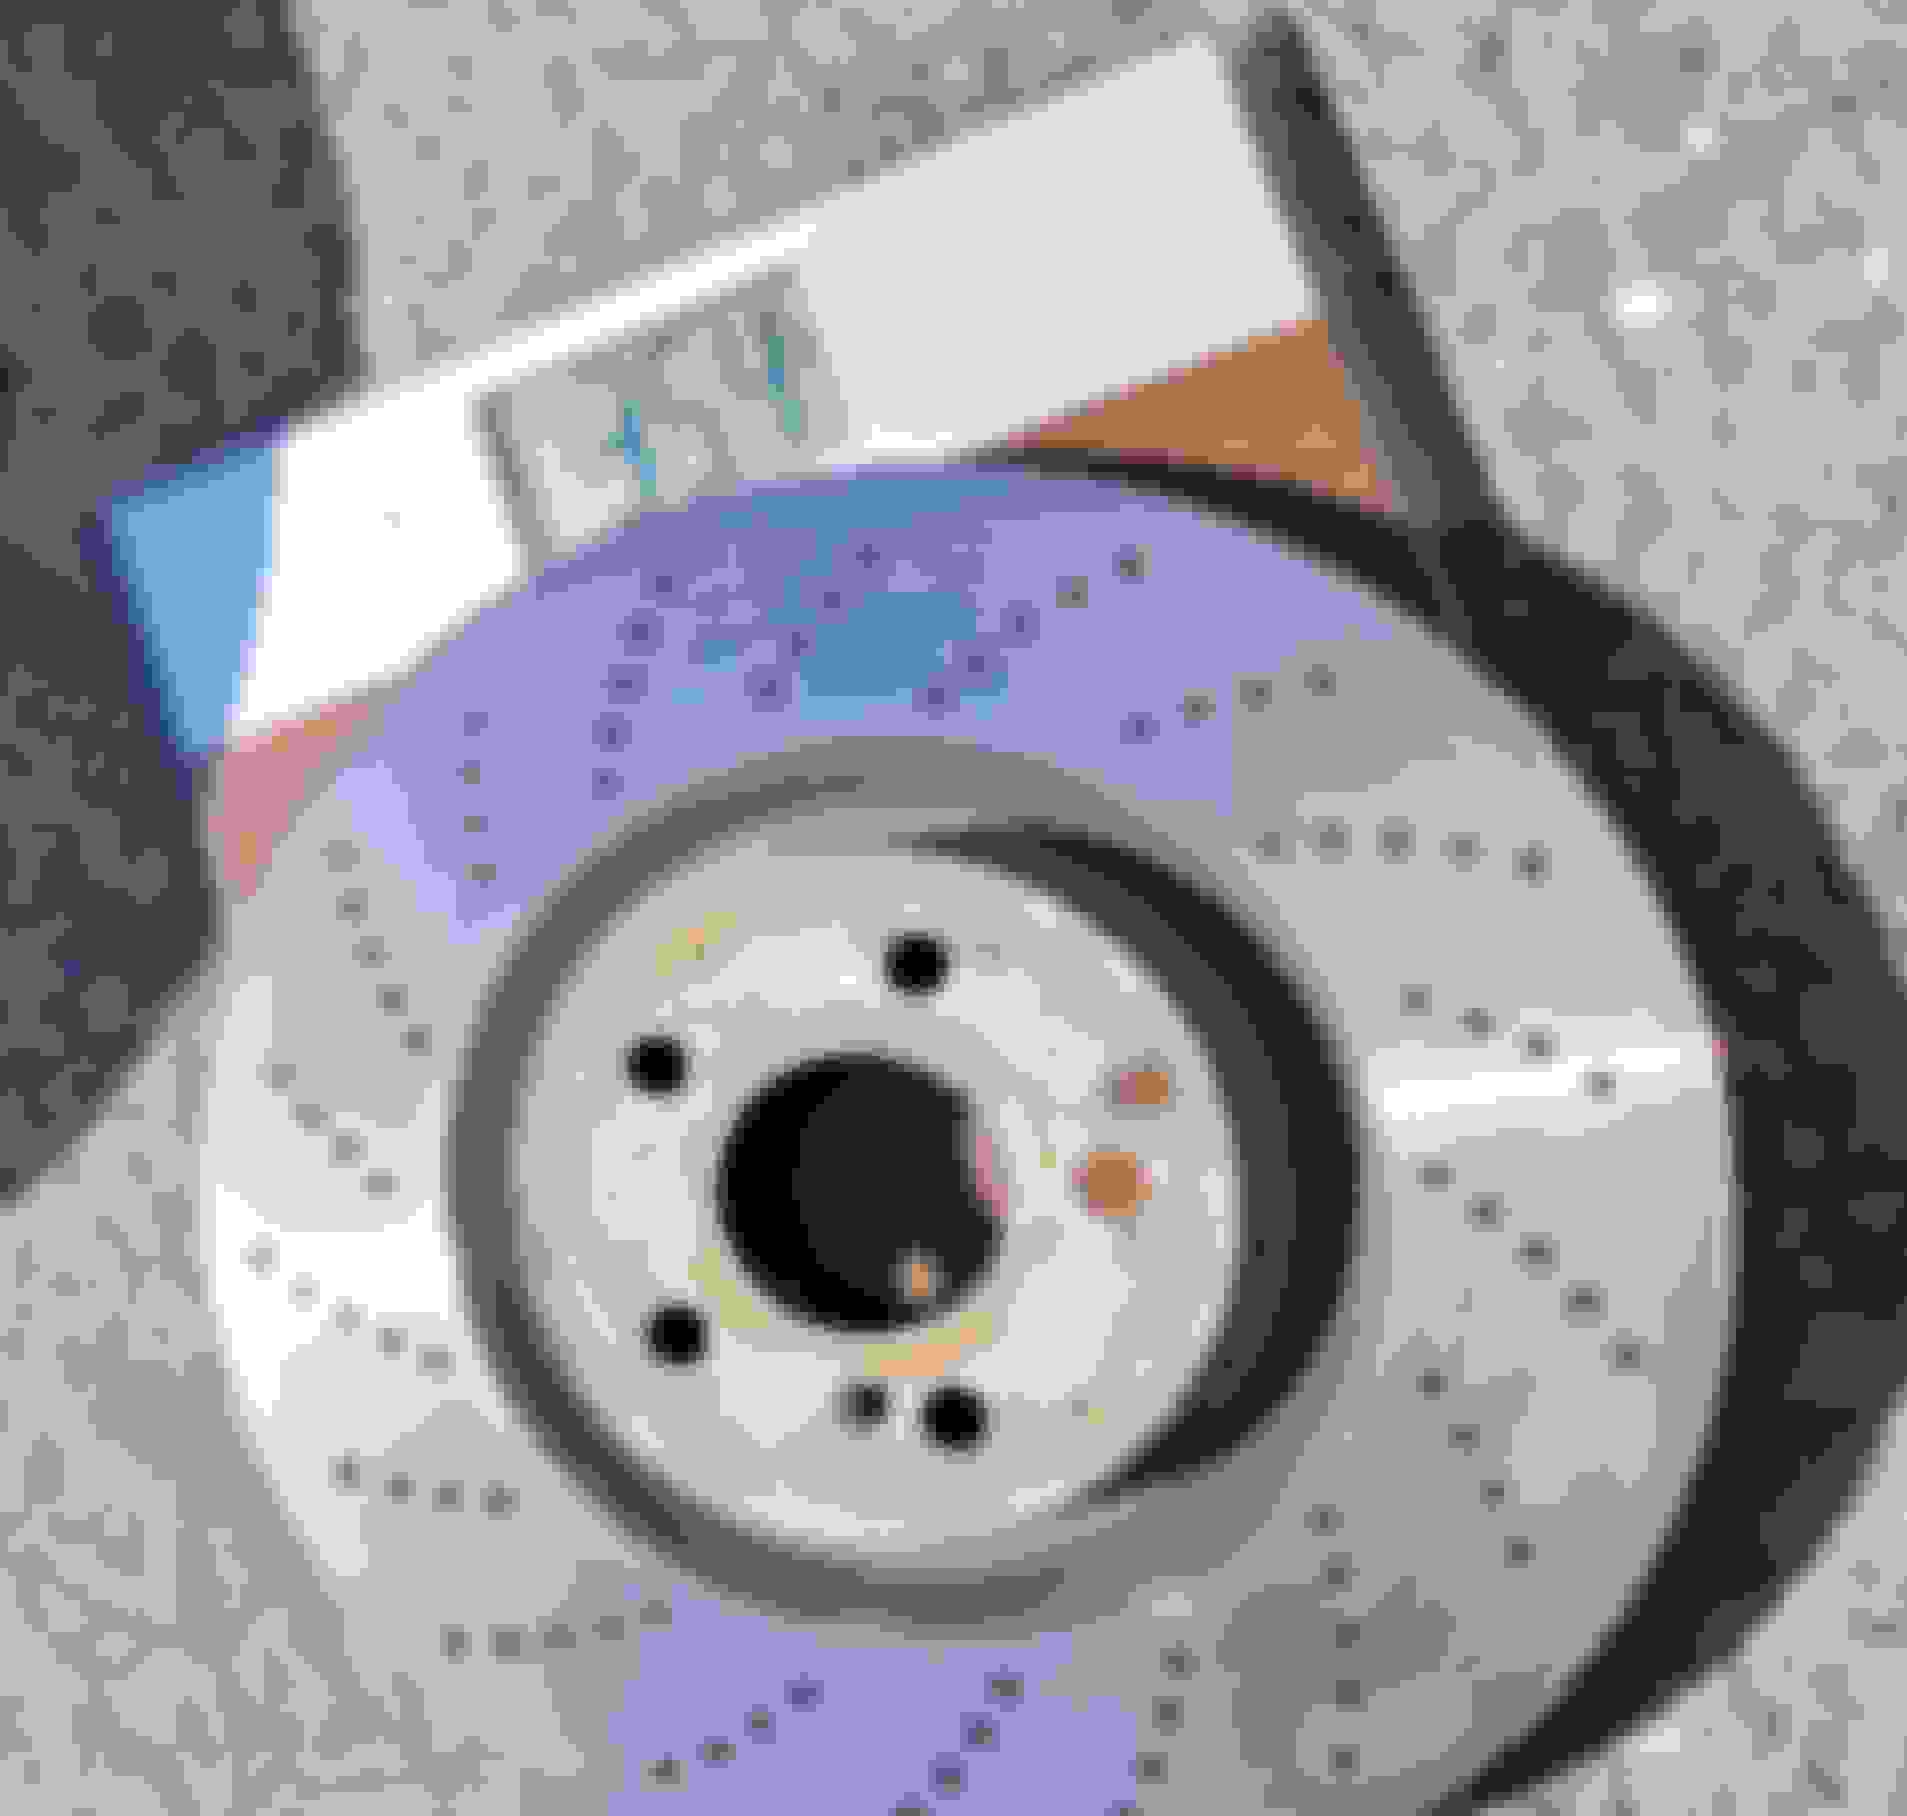
Since the front brakes days were numbered, I took the opportunity to eliminate some dead weight. For what it's worth, every 1lb of unsprung rotational mass decrease is comparable to 4-7lbs of static weight savings. @AutoTalent had these on my doorstep within two days. However, although the part numbers on the box were correct the actual rotors were incorrect. At first, I thought they may be interchangeable but apparently that was not the case. Golan had appropriate replacements on my door step the next day. Despite the unexpected surprise I can vouch for the Auto Talent team and acknowledge their endeavors AVOID CL55/S55 PART NUMBER: A10721013 (TOP HATS TOO DEEP, DOESN'T SEAT 100% FLUSH, CONTACTS DUST HEAT SHIELD)
W204 2008-15 C63 AMG PART NUMBER: A1-022
W204 C63 AMG OE Base Model Front Brake Part Number: 0074205920
Afterthoughts: Give or take 90~150lbs static weight savings. 23lbs unsprung rotational mass savings.
Enough Christmas lights, time for courtesy lights. Plug and play direct factory replacements *PRY/POP OUT FACTORY COURTESY LAMPS OUT WITH PLASTIC WINDOW TRIM TOOL (START FROM THE BOTTOM AND WORK YOUR WAY AROUND)
*DISCONNECT LAMP HARNESS (REAR COURTESY LAMP HARNESS HAS LITTLE TO NO SLACK, CAUTIOUS NOT TO RIP OFF HARNESS CONNECTOR
*CONNECT LAMP HARNESS ENSURING THE CONNECTOR TABS LOCK/CLICK TO PREVENT CONNECTIVITY ISSUES
*INSTALL/MASSAGE COURTESY LIGHT REPLACEMENTS INTO DOOR CARD UNTIL SEATED COMPLETELY FLUSH
Afterthoughts: Beginning to believe I may have an apple tree disease
Custom 12lb battery kit. Aluminum cage utilizes factory mounting points, cable terminals align perfectly with battery post. Resting voltage 12.8~9V. Cruise/WOT voltage 13.7~14.2V.
*REMOVE BATTERY BRACKET (13MM)
*REMOVE NEGATIVE TERMINAL FIRST AND THEN REMOVE POSITIVE TERMINAL (10MM) TUCK ASIDE SO THEY DON'T GET CAUGHT UPON BATTERY REMOVAL
*DISCONNECT BATTERY VENT TUBE
*FLIP UP HANDLES AND CAREFULLY REMOVE BATTERY
*REINSTALL IN REVERSE ORDER (POSITIVE TERMINAL FOLLOWING WITH NEGAVTIVE TERMINAL)
Afterthoughts: 46~lbs static sprung weight savings. Do not, I REPEAT DO NOT switch/upload maps on a small battery alone, you will brick the ECU leaving a huge hole in your pocket. Most importantly do not leave in accessory mode for too long, turn car on when accessories are in use. 310CCA Not feasible for luxury daily driving (excessive accessory mode use, leaving doors open etc.) However, leave on battery tender routinely if daily driven and it will fire up every winter morning (40~45�F) effortlessly throughout the day with conservative use while being armed. No unusual xentry activity, all parameters within range so far. Theoretically I'm slipping through the general cracks considering each cubic inch requires one CCA (6.2L = 378in�)
People like me appreciate the time and effort people like you put in a thread!
the build is insane! Appreciate your time and effort to share the info!!
2012 P31 C63 Coupe Trackrat, 2019 GLE63S Coupe Beast
Originally Posted by sickSVT
If your car has IBS (Intelligent Battery Sensor) all you have to do is unplug it and it'll work like normal.
MAYBE
The OE alternator running at 14V+ all the time is probably well past its design limit. I cooked one already after unplugging my IBS (coincidence?), and have been plagued by a host of strange electrical gremlins since. We'll see how my new one holds up...
Originally Posted by Jasonoff
Li has caused issues with the charging system. Not sure it's worth the potential headache.
Custom 3" titanium race dumps retaining factory chassis brace mounting location. We can agree to disagree about scavenging, back pressure, and everything in between another day. Sole purpose to shed dead weight and leave factory secondary resonators/mufflers unmolested
Afterthoughts: 80~90lbs static weight savings. Goodbye audible conversations. Cold start/ downshift blips just got out of hand and sound like a Tsar bomb going off


 12-23-2021, 05:34 AM