When you click on links to various merchants on this site and make a purchase, this can result in this site earning a commission. Affiliate programs and affiliations include, but are not limited to, the eBay Partner Network.
Although the dealer had the bumpers exceptionally resprayed it didn't meet my criteria. All new U.S. PFL (2008-11) front bumpers come with signal corners precut from the factory (ordered one without signals and still came precut). Since I couldn't get my palms on a euro front bumper, I decided to take matters into my own hands and eliminate the corner signals myself. *UNCLIP/REMOVE FACTORY ENGINE COVER AND AIR INTAKES *DETATCH HOOD RELEASE CABLE AND COOLANT RESERVOIR HOSE FROM BRACKETS *UNCLIP/REMOVE UPPER PLASTIC RADIATOR FAN SHROUD SUPPORT TRIM, TURN FRONT CENTER TAB 90 DEGREES TO RELEASE FROM GRILL SUPPORT, ANALYZE WHERE HOOD SPRINGS SEAT ONCE HOOD IS CLOSED AND PULL VICINITY TOWARDS YOU WHILE LIFTING OUT THE REAR SIMULTANEOUSLY AND SET ASIDE
*REMOVE BOTH GRILL SUPPORT 10MM FASTENERS
*GENTLY PUSH LOWER GRILL IN TOWARDS RADIATOR TO RELEASE GRILL TABS FROM BUMPER FINGERS THEN PULL STRAIGHT UP AND SET ASIDE
*APPLY PAINTERS TAPE BETWEEN BUMPER/FENDER WHERE THEY CONVERGE
*POP OUT DRIVER/PASSENGER FENDER LINER CLIPS AND REMOVE 10MM FASTENERS ALONG/BELOW FENDER LINER *REMOVE UNDERTRAY 8MM FASTENERS *TWIST/PULL DRIVER AND PASSENGER SIDE MARKER HOUSINGS OUT *DISCONNECT DRIVER/PASSENGER FOG LAMP HARNESS *UNCLIP ABIENT TEMPERATURE SENSOR W/O REMOVING HARNESS (DRIVER MESH GRILL) *REMOVE DRIVER/PASSENGER LOWER MOUNTING BUMPER 10MM FASTENERS *REMOVE BOTH DRIVER/PASSENGER INNER FENDER/BUMPER 10MM FASTENERS *REMOVE UPPER MOUNTING BUMPER 10MM FASTENERS (GENTLY PULL/EXPOSE BACK UPPER RADIATOR RUBBER SUPPORT DOOR FOR ACCESS) *REMOVE FRONT FASCIA WITH EXTRA SET OF HANDS (SIMULTANEOUSLY PULL-DOWN DRIVER/PASSENGER FACINITY THEN CAREFULLY PULL/SLIDE OUT)
*ZIPTIE DRIVER/PASSENGER CORNER SIGNAL HARNESS TO FRAME OR INSIDE FRONT BUMPER SUPPORT (DISCONNECTING BULBS WILL DISPLAY ERROR DASH MESSAGE)
Afterthoughts: Since day one I thought the bumper corners took away from the factory wide fenders
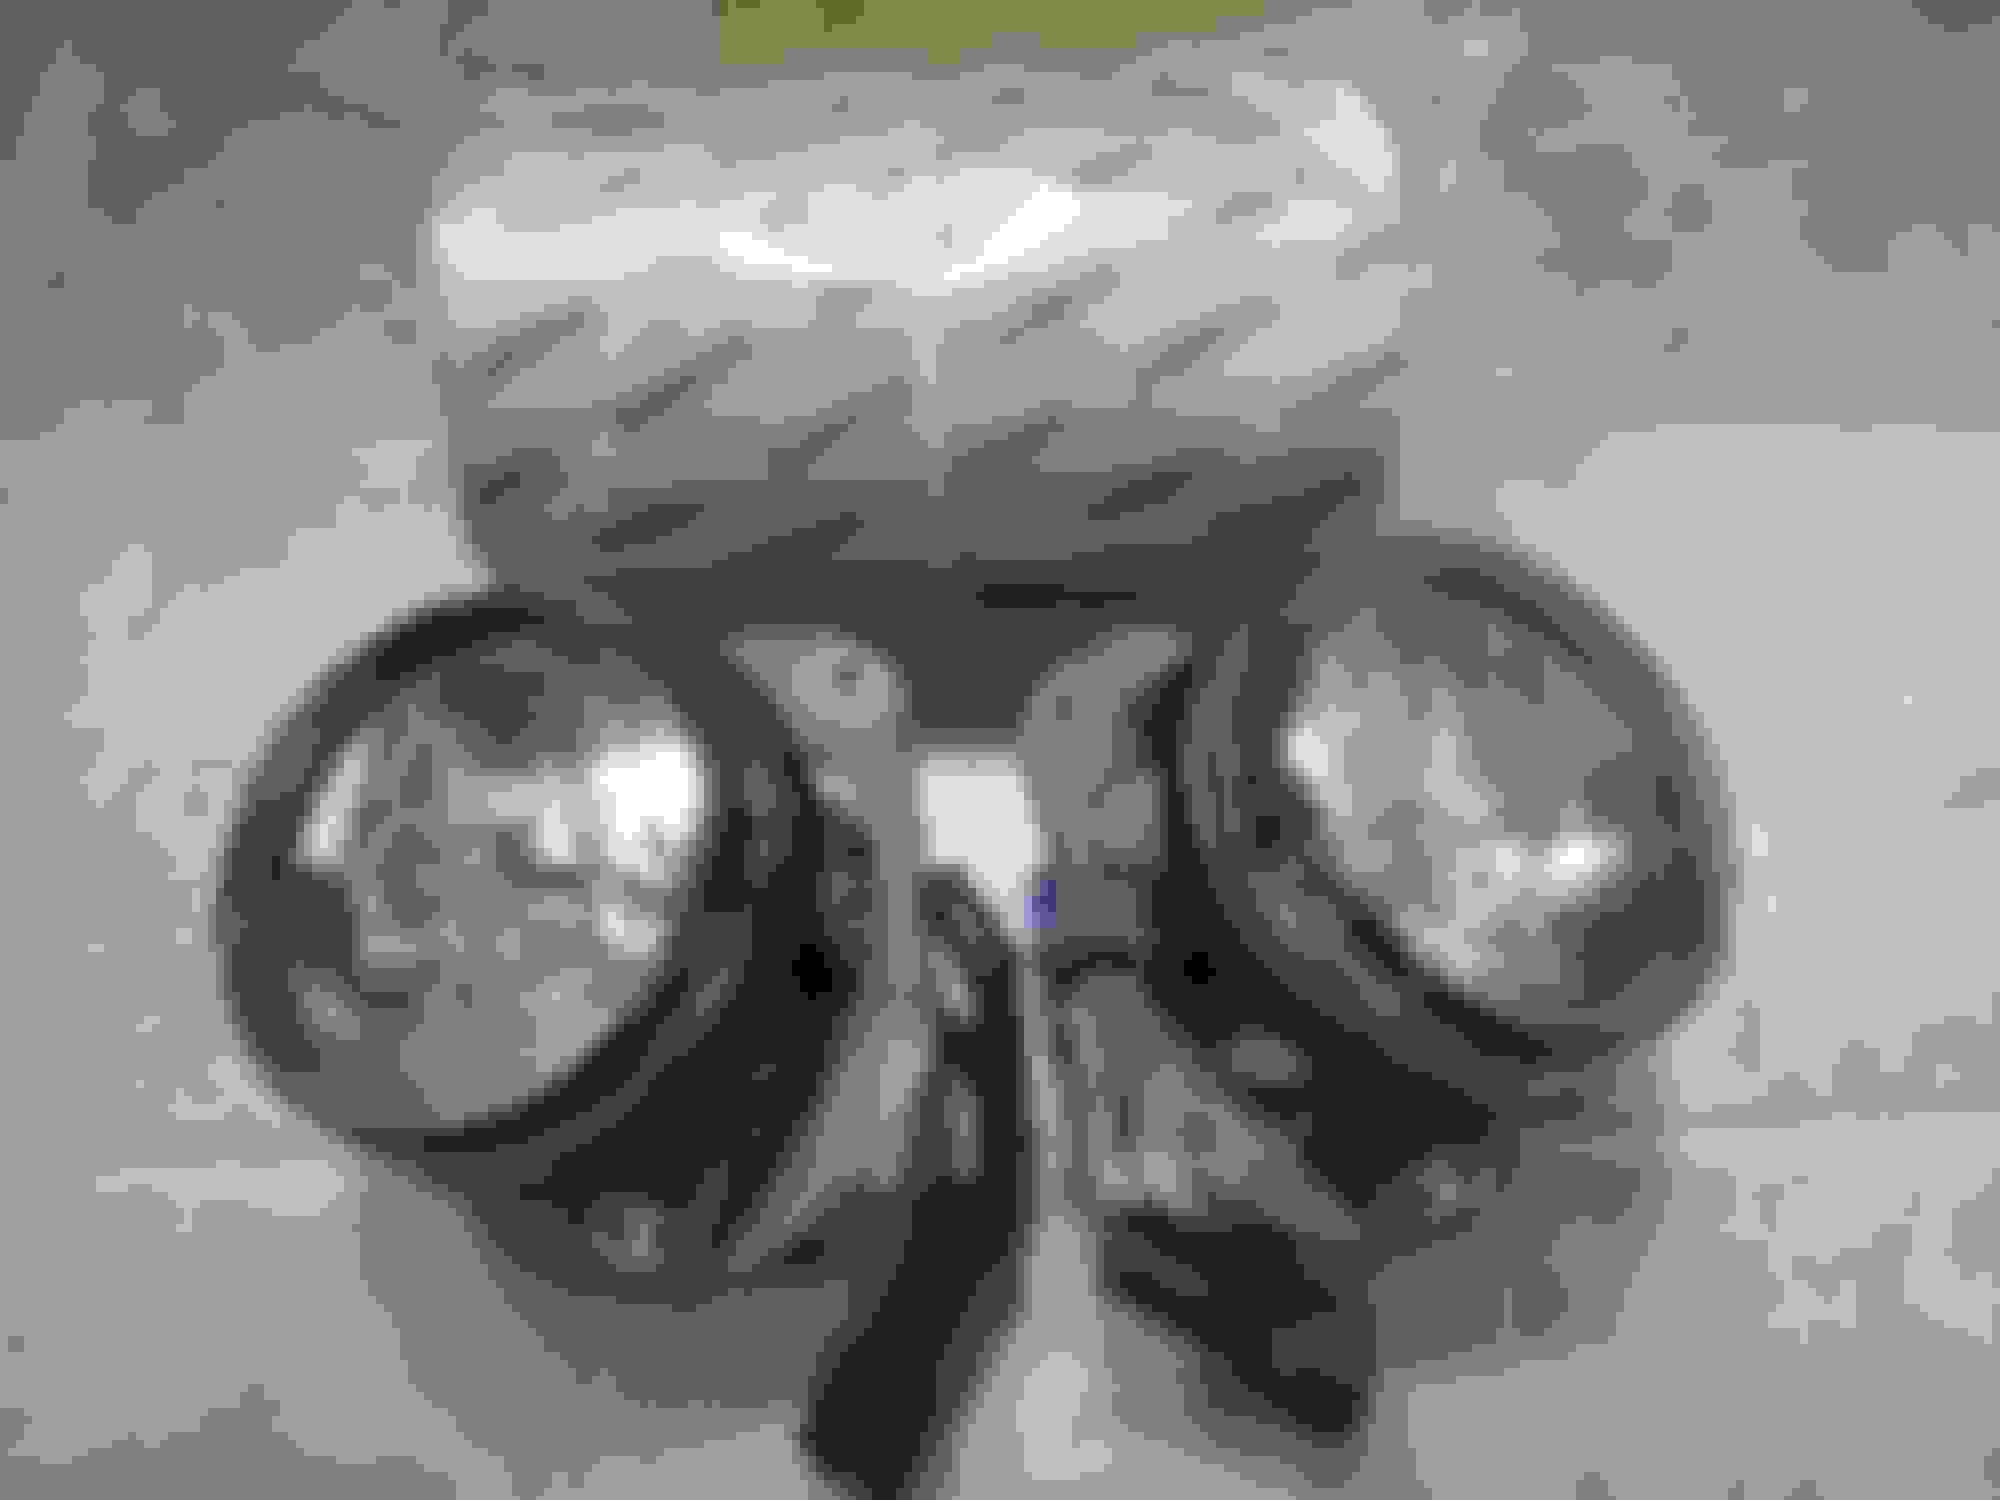
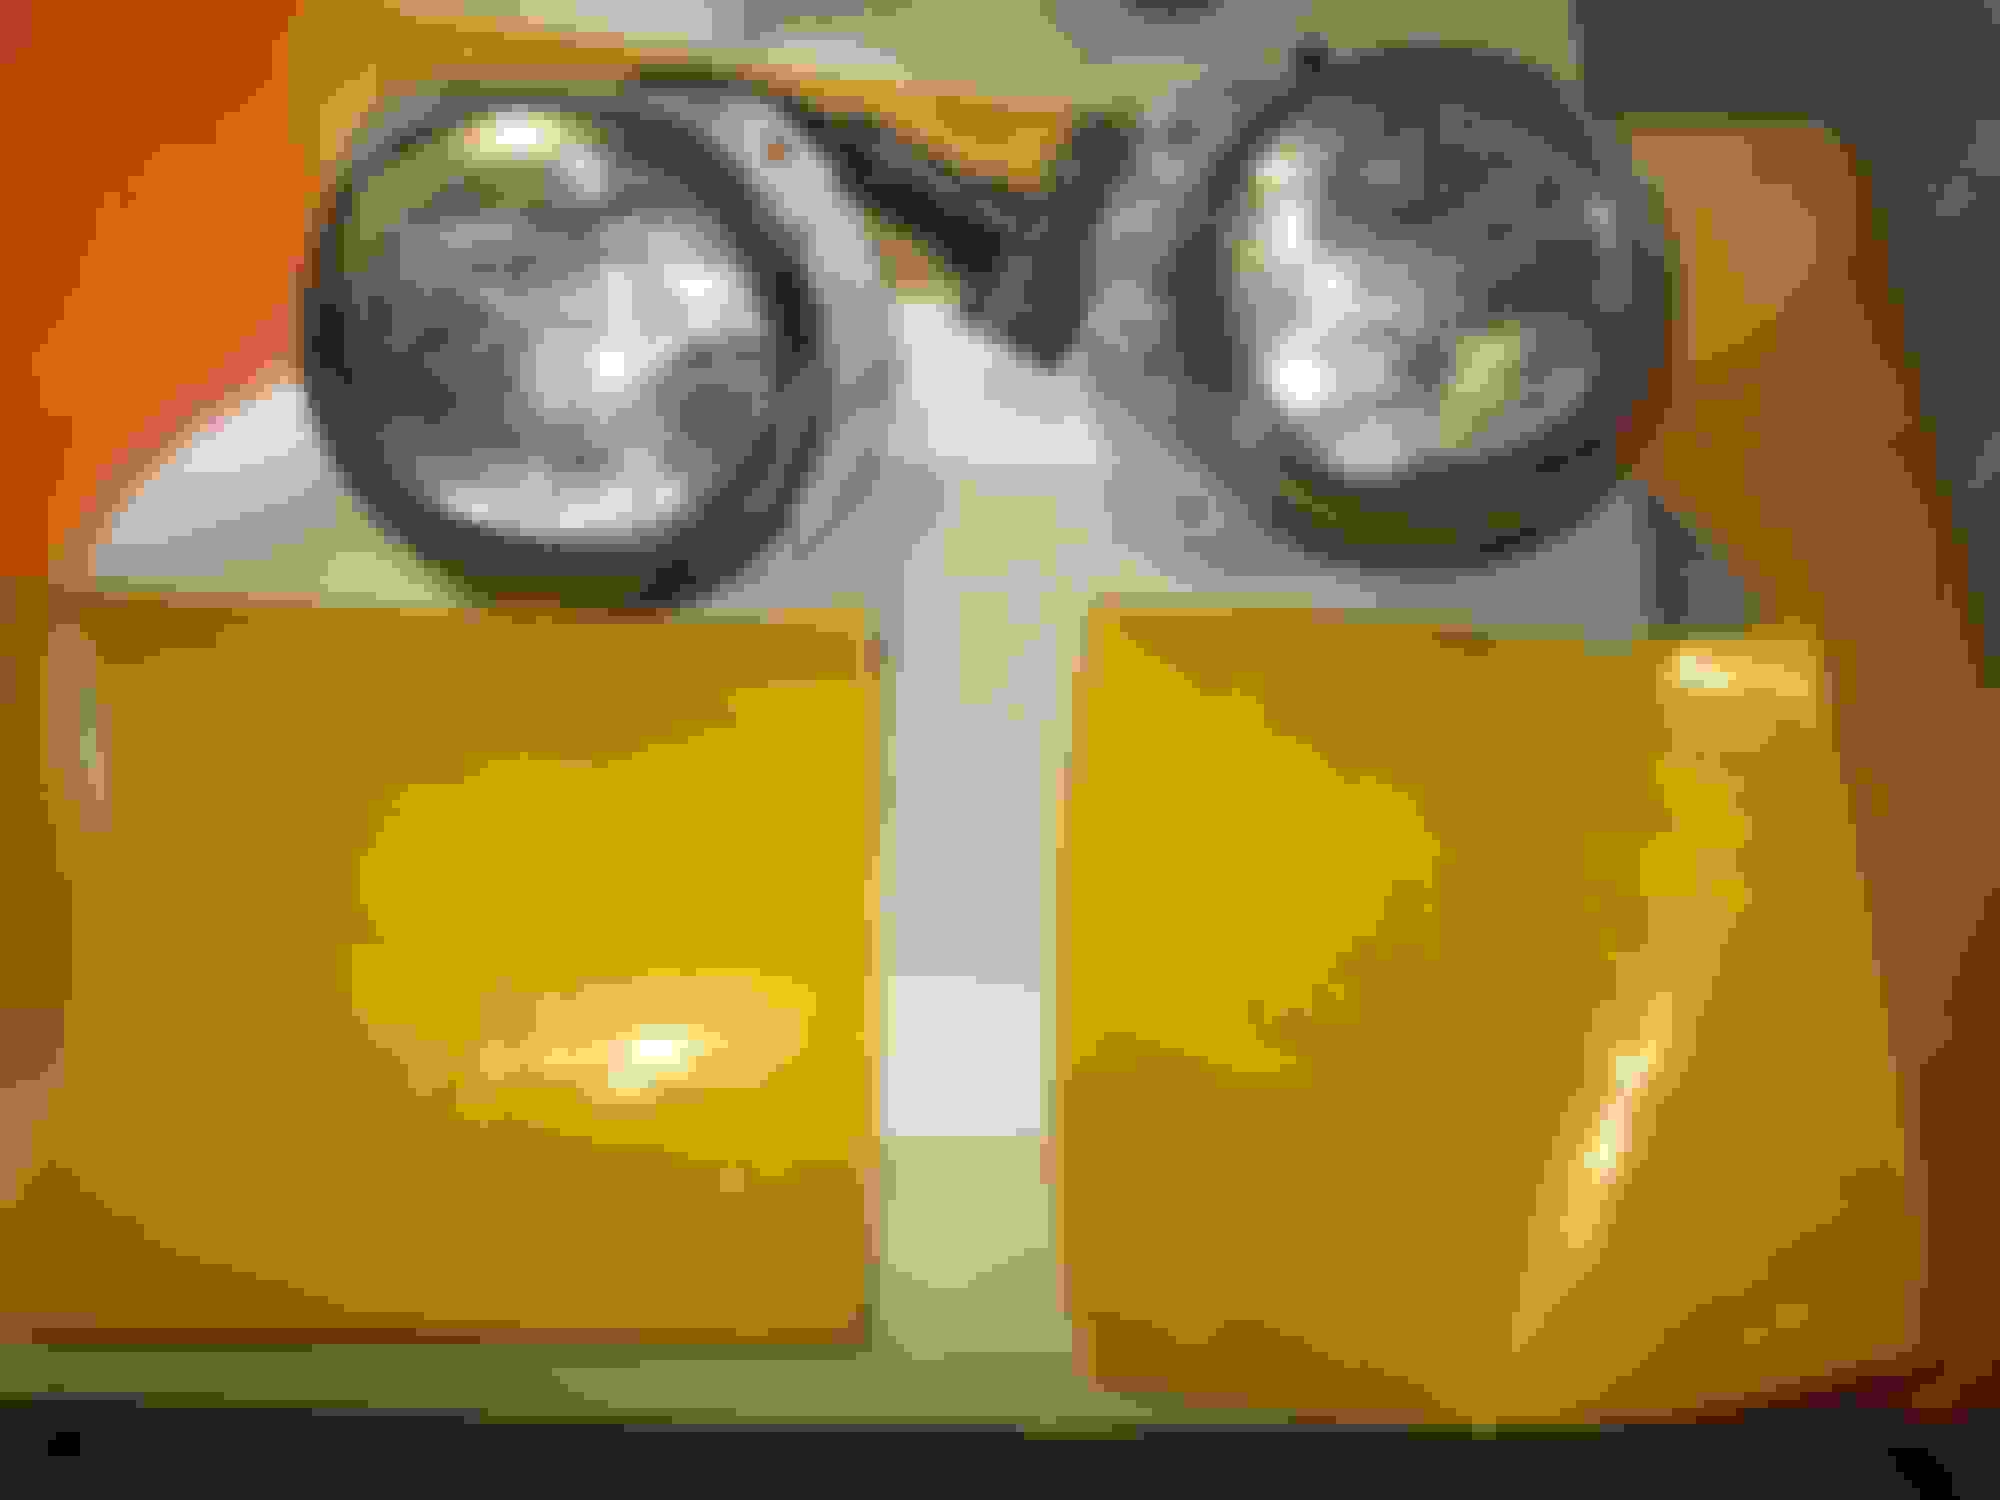
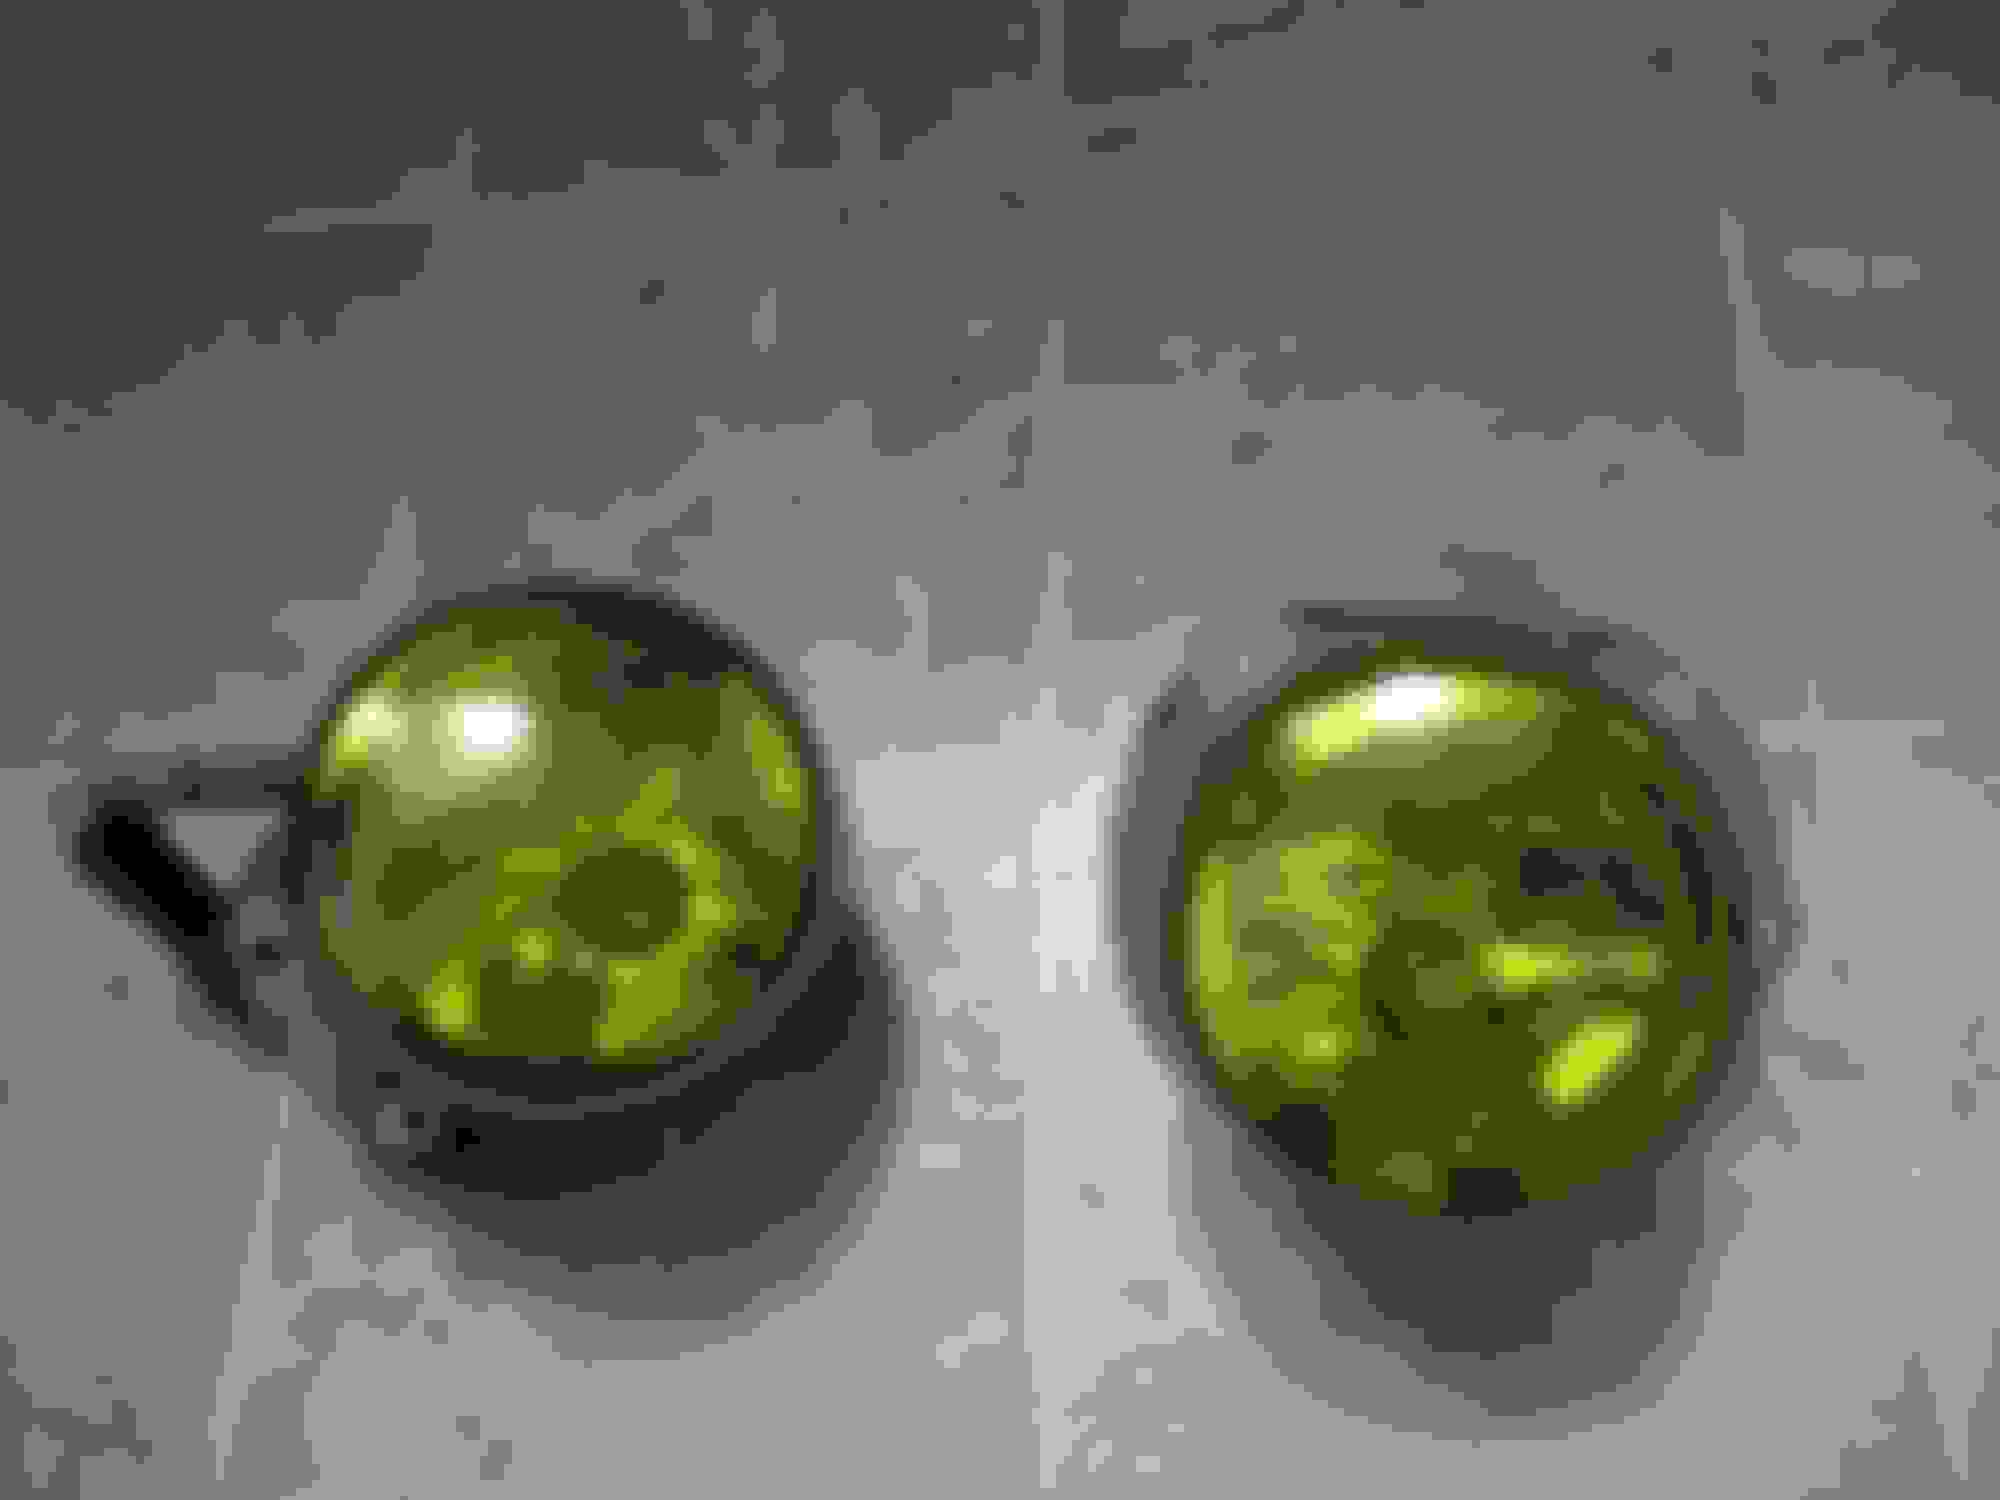
Meanwhile with the bumper removed it's time to preserve the foglamps from any further pitting. Howbeit, I got more than I bargained for just one piece of 6 x 12 12-millimeter impact resistant film cut in half. Not only have I dodged debris, but I've dodged bulb$ while increasing visibility, function and form. *BUMPER REMOVED*
*REMOVE DRIVER/PASSENGER (4 TORX 20) FOG LAMP HOUSING FASTENERS PER SIDE
*CLEAN FOGLAMP ASSEMBLIES THOROUGHLY
*INSTALL PER LAMIN-X INSTRUCTIONS
This is wrong.
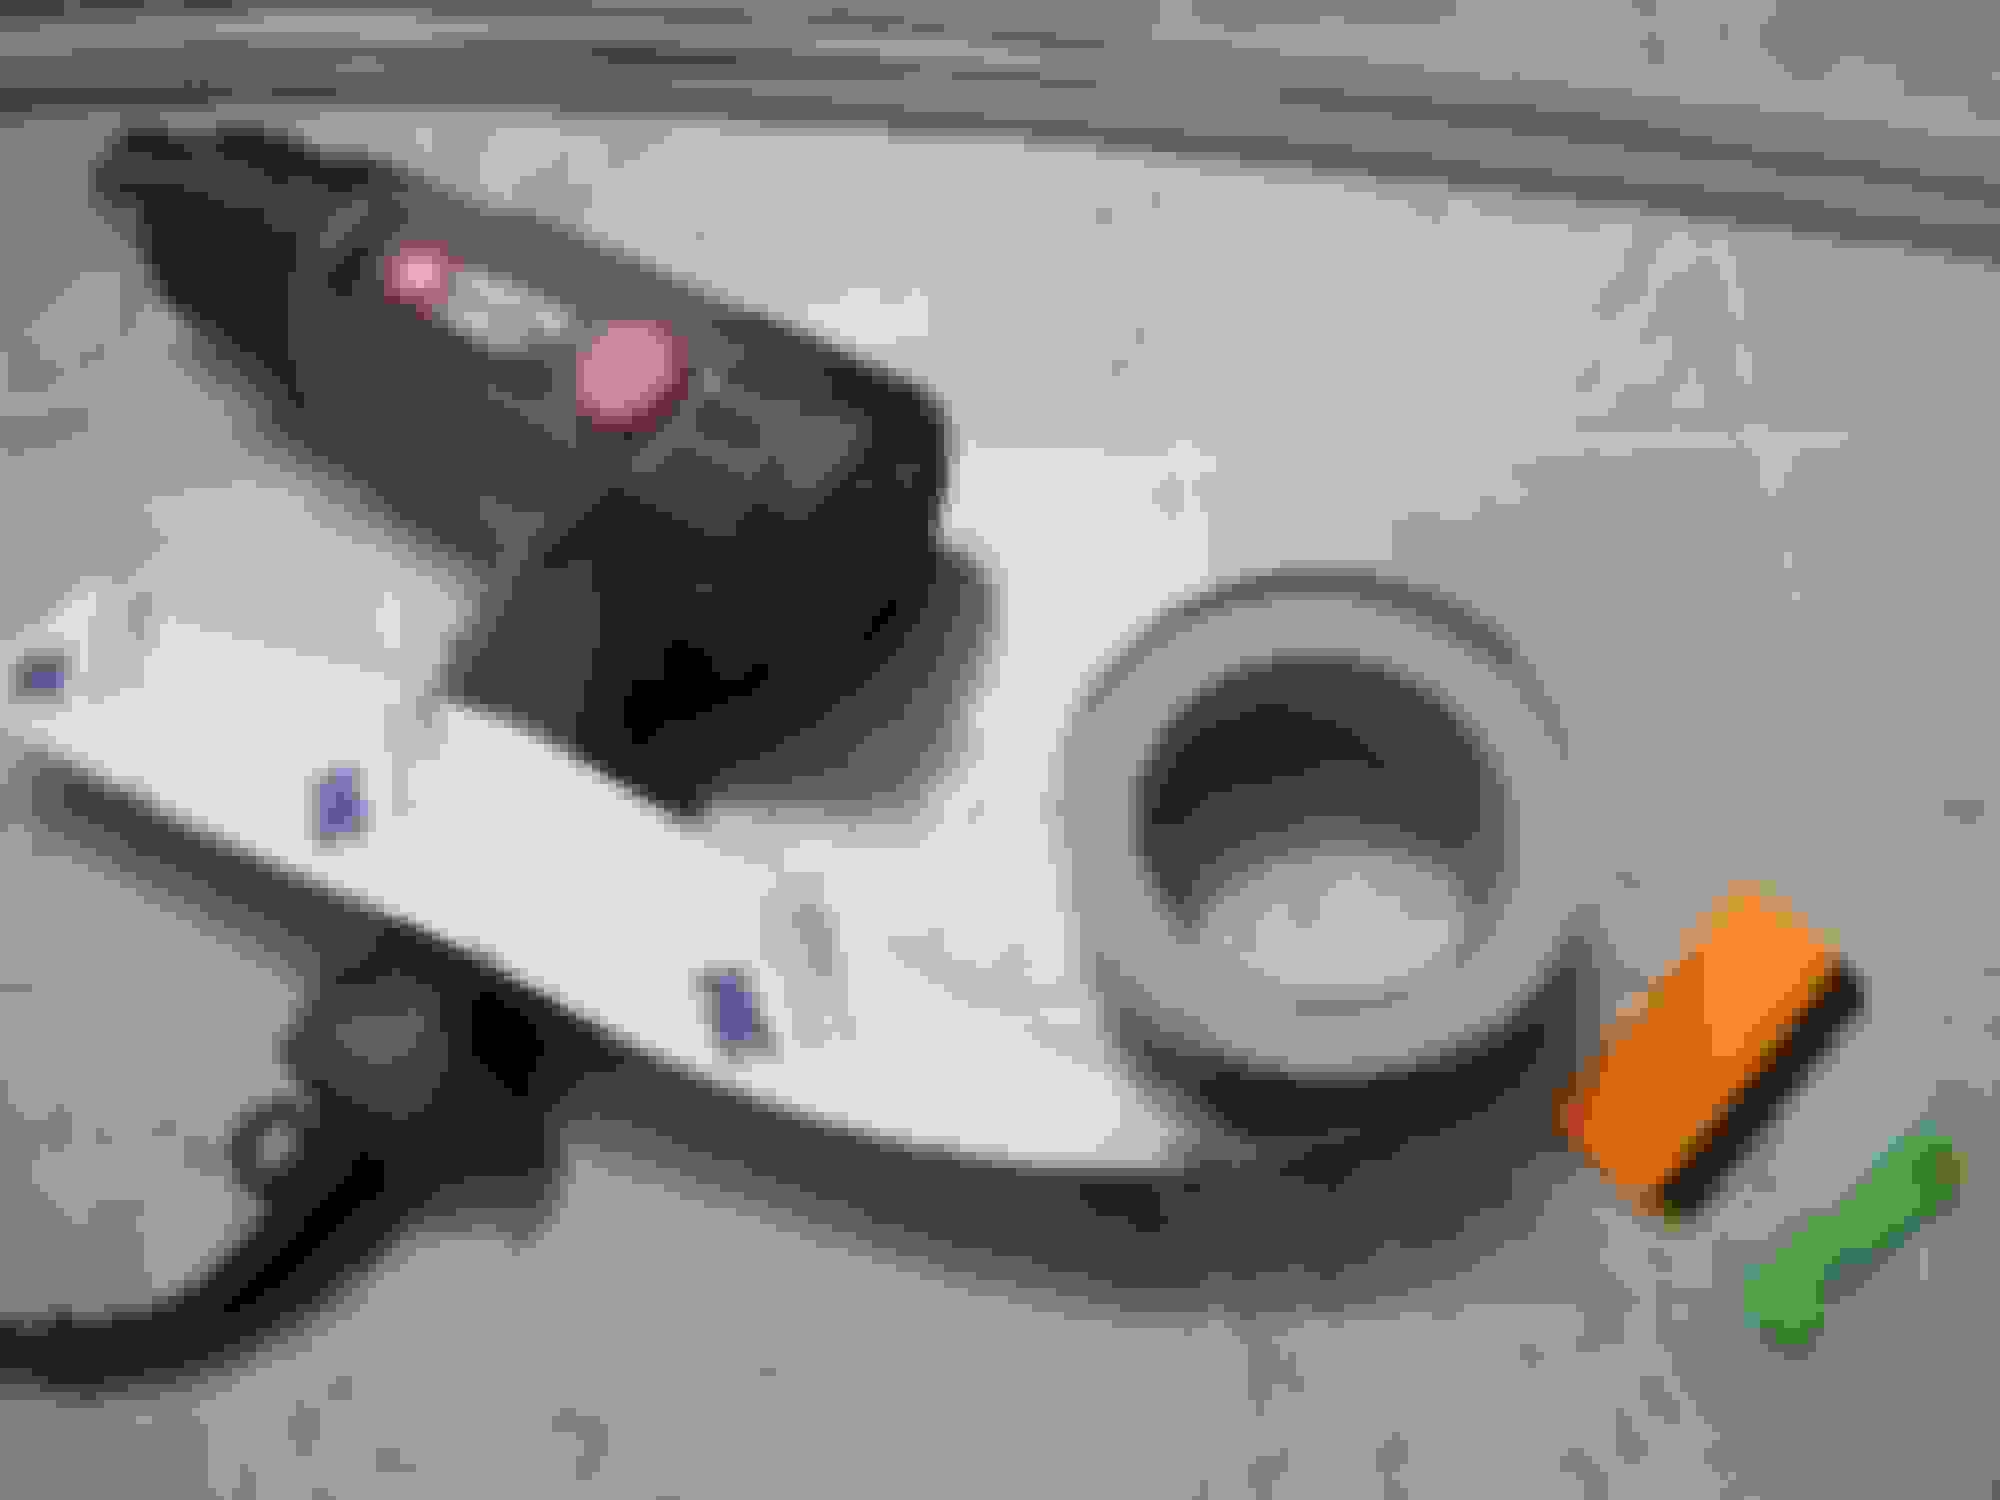
You don't need to drop the liner and get the antenna out. All you have to do is get the dome light out, get the green piece out, pull the antenna up, flip it 90 degrees, then the shell can be unbolted from the base and you bolt on the shell that you want on top of your factory antenna hardware.
These antennas are of 4-5 types, there are several assembly part numbers, there are odds you'll replace yours with something with a different set of options.
Also I like my Mercedes to not have additional rattles. Dropping the roofliner is almost guaranteed to bring additional rattles there, as one or more of those plastic clips, which are old and brittle at this point, will chip or won't go back in all the way.
Also, this is not the place where you'd want an aftermarket shell. For the shark fin, if it has to be carbon fiber, you're best of wrapping it.
What's at stake here is rainwater slowly dripping onto the wiring harness inside the roof liner.
This is because the sealing of the shell against the antenna base relies upon proper seating of the shell against the base.
A copy of the factory shell, for the purpose of making it carbon fiber, may not get the seating area correctly and now you'll have a problem.
Also, when installing the new antenna, clean the seating area.
*ALLOW ONE HEAT CYCLE (ONCE COOL TOP OFF COOLANT RESERVOIR LEVEL)
*SYSTEM WILL BLEED ITSELF AFTER A FEW HEATCYCLES[/b]
jpg[/img]
You may think that for your purposes the cooling system of this car can be left the way it sits once you opened the freeze out plugs and drained the crank case.
But this is not how it is. Refer to the WIS for how to make sure that the system is properly bled.
I wanted to bring the car to the dealer for the purpose of only bleeding the air out of the system, but this would be pointless if I can't have my eyes on them while they do this work.
One of the dealers in my area just told ne that customers are allowed to watch the work wile being done, so I'm going to ask for a quotation.
BTW, 4 Mercedes' devices are needed, including two pumps and a large amount of coolant has to be cycled through.
If this is like $300 or so, it will be well worth it.
Acceleration is key on this journey so whether if it's 1/2 or 1.5 lbs lighter it must be done.
Afterthoughts THROTTLE NOTICEABLY LIGHTER AND MUCH MORE RESPONSIVE. LESS EFFORT TO REV. TORQUE DELIVERY INCREASE PER BUTT DYNO. ZERO VIBRATIONS. FAVORITE MOD, THUS FAR.
Underdriving the alternator in this car may not be a path to better acceleration.
I wonder what underdriving the power steering pump does, I think there is a speed sensitive assist feature built in.
At the same time the wrapping over the pulley changes, tensioner working preload changes, so maybe it (the belt) will just skid here and there.
It actually might be better to underdrive the accessories on these high revving engines. I've been driving with an U/D pulley for over a year with no issues, it drives just like factory.
Noticed a temperature sensor that needed to be disconnected on the driver side footwell cover while removing the steering column assembly. However, this wasn't the case on the passenger side footwell cover. Instead, I was greeted with two bare wires with no connector or sensor in sight while servicing the cabin air filter. I can only speculate but am led to believe that the last time the footwell cover was removed the harness was simply yanked clean from the sensor connector due to the very little to no slack in the harness. Didn't want history to repeat itself so I decided to lengthen/replace the harness with appropriate part numbers/components in the following pictures
*REMOVE/ PULLBACK PASSENGER FLOORMAT AND CARPET (ADDITIONAL FOOTWELL/ KICK PANEL ACCESS) *REMOVE 3 TORX 20 FOOTWELL FASTENERS
*REMOVE/PULL OUT FOOTWELL COVER (CAREFULLY SLIDE OUT FOOTWELL COVER TAB TUCKED BEHIND KICKPANEL OR COMPLETELY REMOVE KICK PANEL FOR COMPLETE ACCESS)
*LOCATE FOOTWELL TEMPERATURE SENSOR HARNESS
*INSERT/ WIRE PINS APPROPRIATELY PER DIAGRAM BELOW
*MOCKUP/ MEASURE/ CUT/ EXTEND NEW HARNESS WITH LEEWAY
*SLIDE APPROPRIATE SIZE HEAT SHRINK PRIOR TO JOINING/ SOLDERING CONNECTIONS
*INSTALL NEW FOOTWELL TEMPERATURE SENSOR (INSERT AND TWIST 90� CLOCKWISE TO LOCK IN PLACE)
*CONNECT TEMPERATURE SENSOR HARNESS CONNECTOR
*REINSTALL FOOTWELL COVER (NAVIGATE/ ANGLE FOOTWELL COVER TAB BEHIND KICK PANEL PRIOR AND IT WILL SLIDE INTO PLACE)
*ONCE FOOTWELL COVER IS ALIGNED SECURE 3 TORX 20 FASTENERS (BY HAND ONLY)
*RESTORE CARPET/ FLOORMAT TO ORIGINAL POSITION
Afterthoughts: Xentry passenger footwell temperature sensor short/ground error addressed
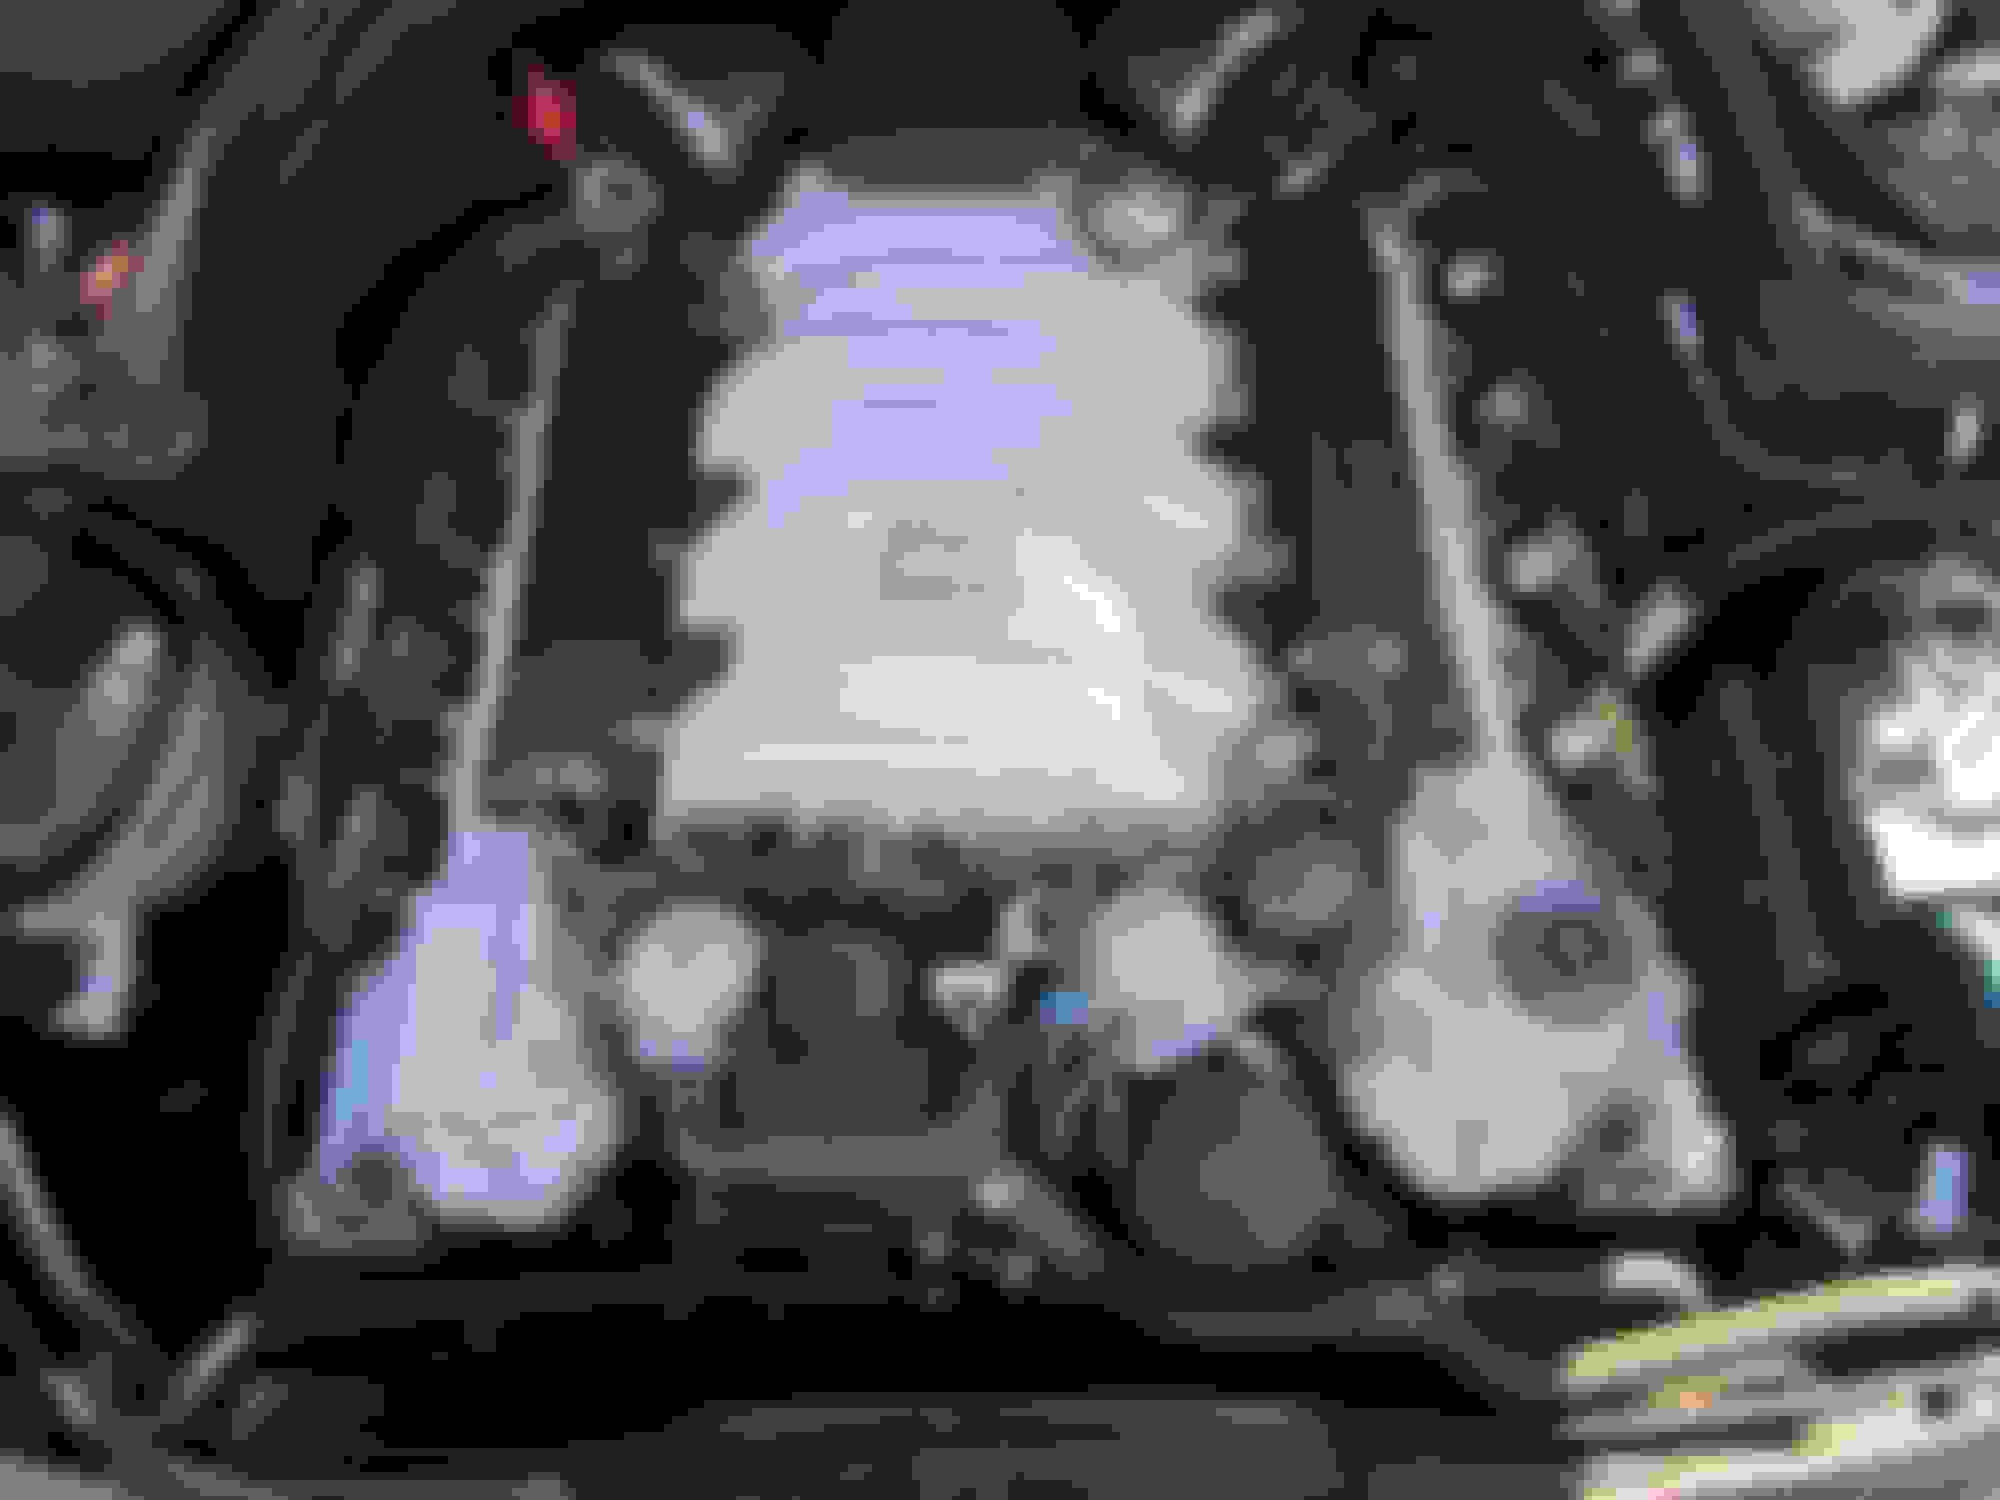
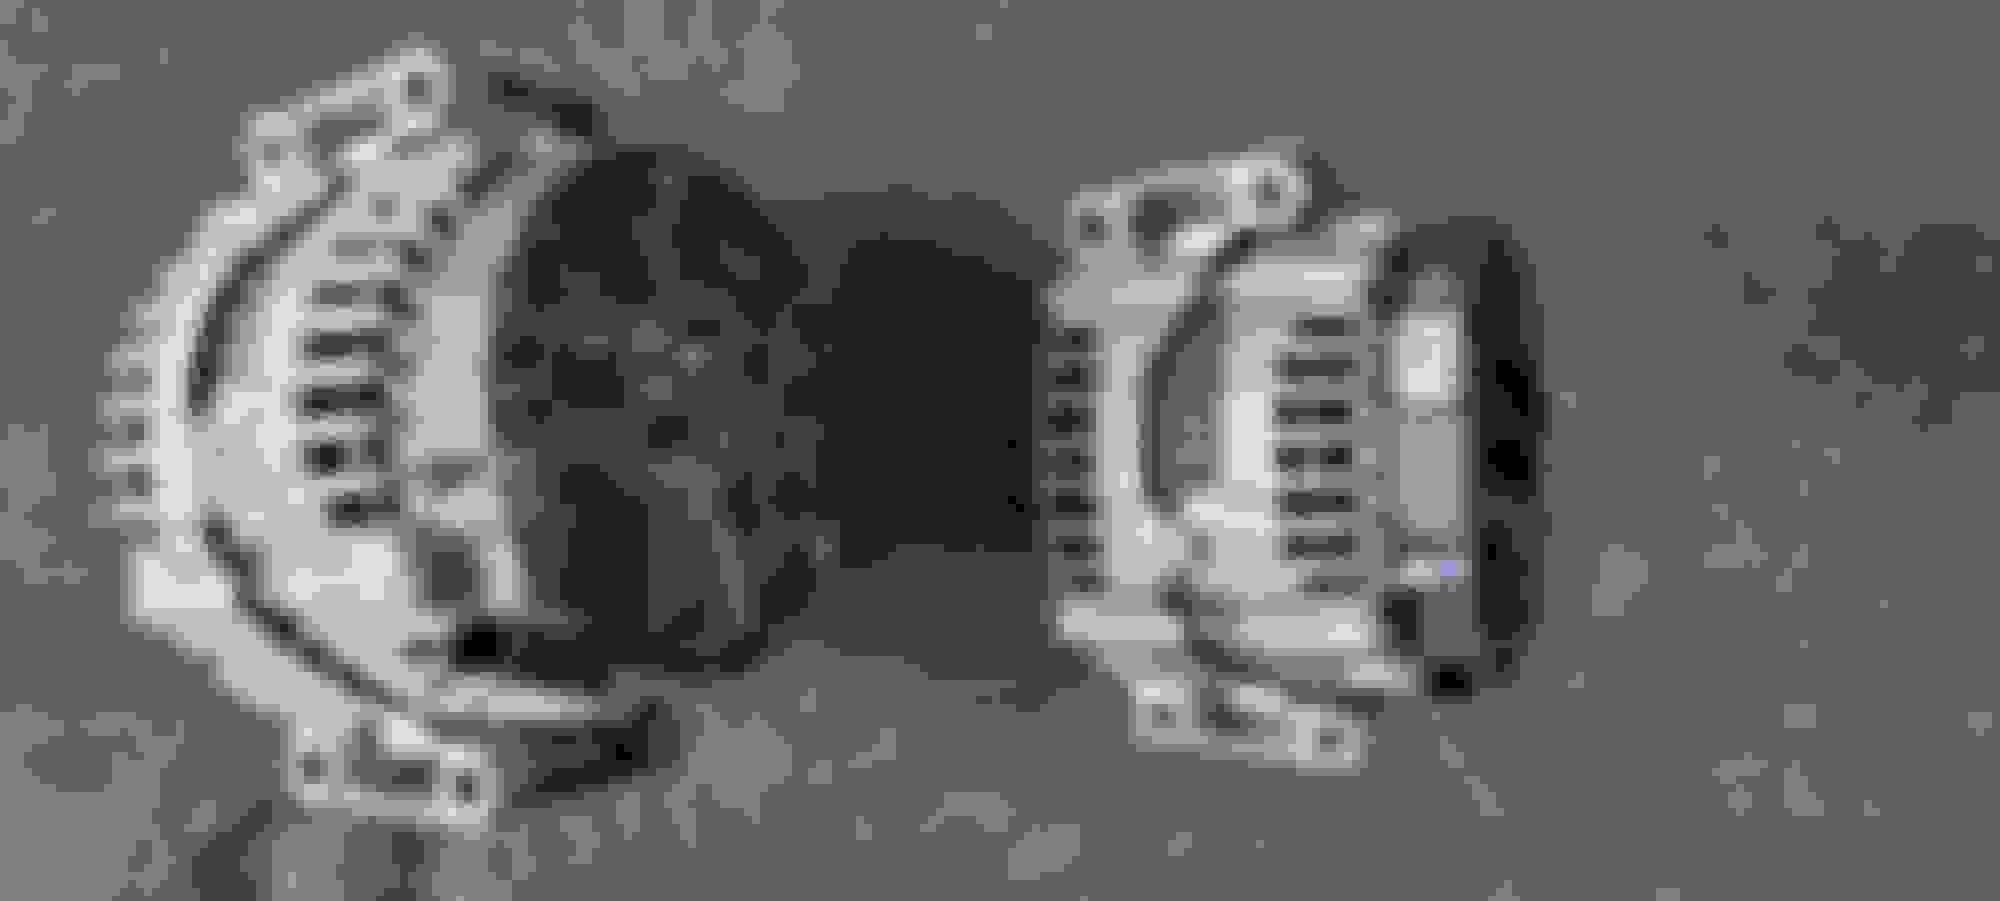
Current alternator passed the Xentry load free test with actual values of 10.60V. However, my love for aluminum oxidation is nonexistent *DISCONNECT BATTERY
*REMOVE FACTORY AIR INTAKES *UNCLIP/ TUCK HOOD RELEASE CABLE TOWARDS THE ENGINE
*UNCLIP/REMOVE UPPER PLASTIC RADIATOR FAN SHROUD SUPPORT TRIM, TURN FRONT CENTER TAB 90 DEGREES TO RELEASE FROM GRILL SUPPORT, ANALYZE WHERE HOOD SPRINGS SEAT ONCE HOOD IS CLOSED AND PULL VICINITY TOWARDS YOU WHILE LIFTING OUT THE REAR SIMULTANEOUSLY AND SET ASIDE *REMOVE UPPER/ LOWER RADIATOR SUPPORT FASTENERS 10MM *REMOVE UNDERTRAYS 8MM *REMOVE A/C LINE BRACKET BENEATH PASSENGER SIDE ATTACHED TO FAN SHROUD AND SET ASIDE (UNCLIP BOTH BOTTOM RADIATOR SHROUD TABS FROM FAN) *UNPLUG FAN CONTROL HARNESS FROM BENEATH DRIVER SIDE *RELEASE BOTH UPPER RADIATOR TABS AND VERY CAREFULLY GUIDE THE FAN UP AND OUT (BE VERY MINDFUL NOT TO LEAN ON THE COOLANT RESERVOIR LINE) *I REPEAT DO NO LEAN OR PUT PRESSURE ON THE COOLANT RESERVOIR LINE, EXTREMELY BRITTLE ESPECIALLY IF ORIGINAL (CAREFULLY REMOVE IT IF YOU DONT TRUST YOURSELF) *SWING TENSIONER 17MM COUNTERCLOCKWISE AND JAM A SMALL FLATHEAD IN THE HOLE RIGHT BENEATH THE TENSIONER PULLEY (SLOWLY RELEASE TENSION AND REMOVE RATCHET TO ALLOW THE SCREWDRIVER TO HOLD THE TENSION NOW *REMOVE SERPENTINE BELT
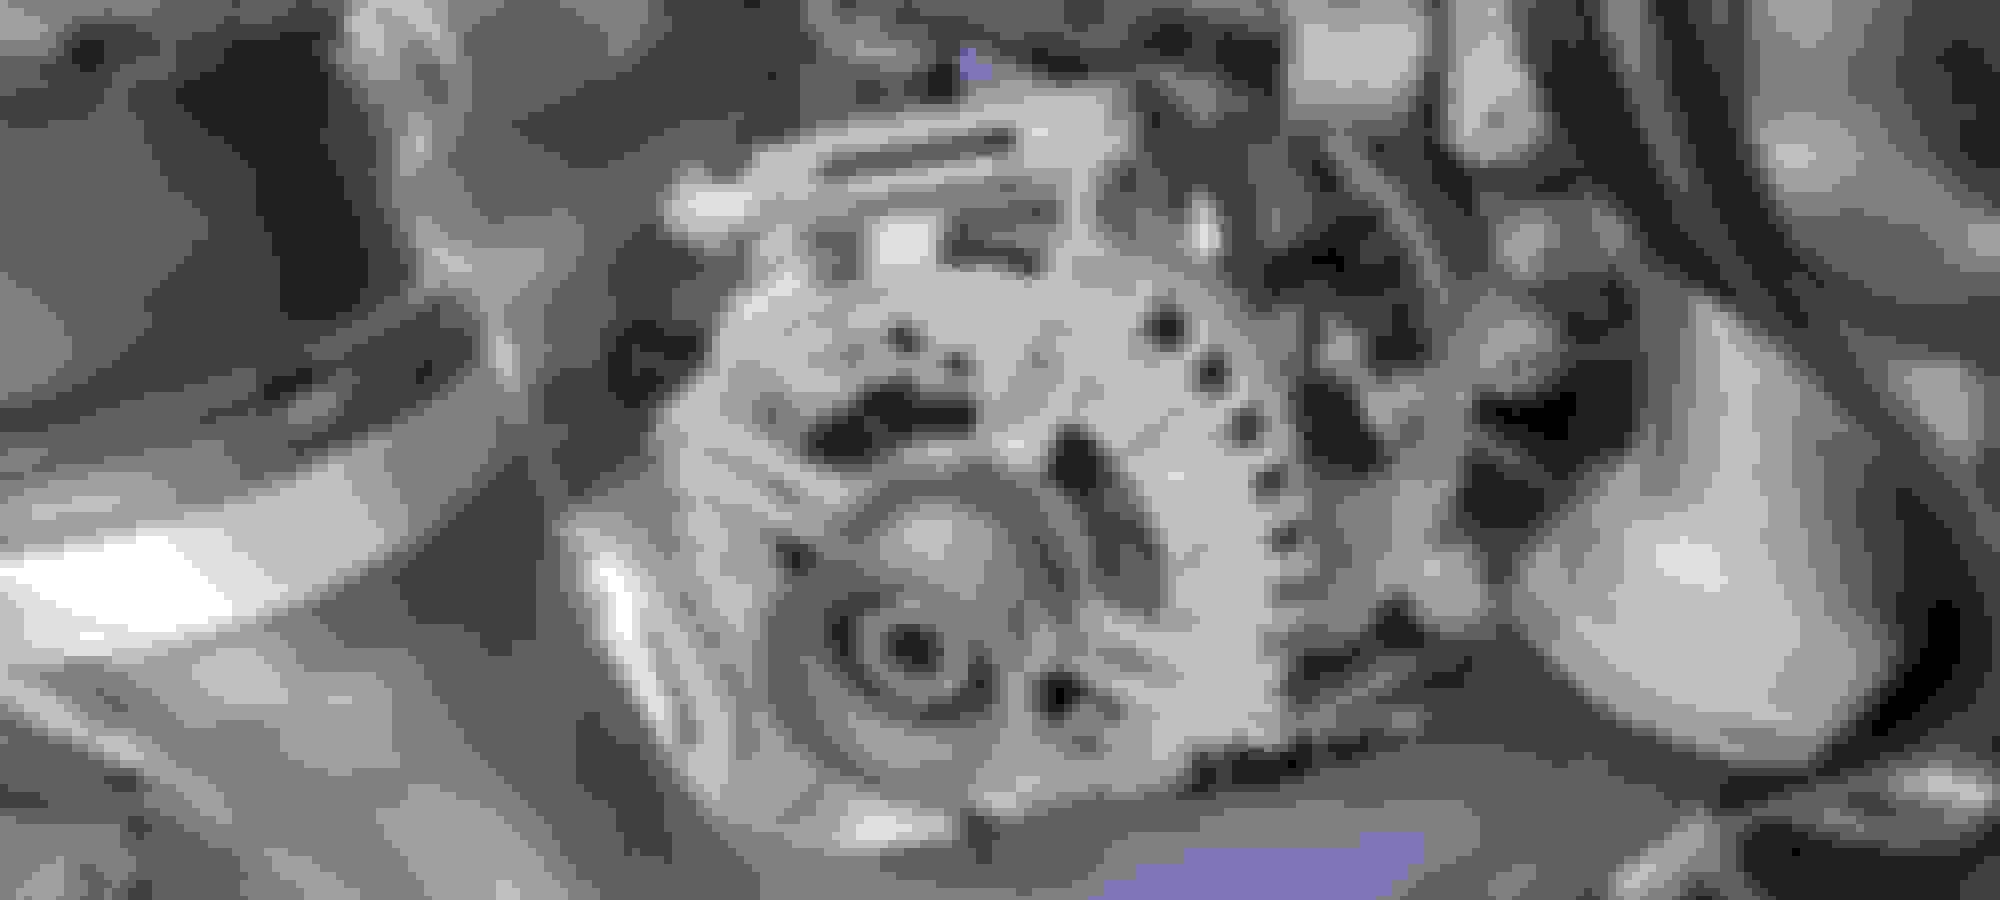
*UNCLIP/ REMOVE ALTERNATOR HARNESS LOOM FROM ALTERNATOR HOUSING AND DISCONNECT ALTERNATOR HARNESS PLUG
*REMOVE/ PULL BLACK PLASTIC COVER OFF BEHIND ALTERNATOR TO EXPOSE/ REMOVE MAIN WIRE AND TUCK ASIDE (13MM) *REMOVE 4 E12 INVERTED TORX ALTERNATOR FASTENERS (12 POINT 10MM CAN BE CAREFULLY UTILIZED IF INVERTED TORX SOCKETS ARE NOT IN YOUR ARSENAL, REMOVE LOWER MOUNTING FASTENERS WHILE TAKING NOTE OF LOWER MOUNTING FASTENER ALIGNMENT BRACKET ORIENTATION, FINALLY REMOVE UPPER MOUNTING FASTENERS)
*ONCE ALTERNATOR IS FREE, FLIP ON ITS SIDE SO PULLY IS FACING DIRECTLY UP (MORE EXIT CLEARANCE IN THIS POSITION)
*CAUTIOUSLY NAVIGATE/ REMOVE ALTERNATOR UP AND OUT ENSURING NOT TO BRUISE RADIATOR FINS (TIGHT EXIT CLEARANCE)
*CAUTIOUSLY NAVIGATE/ INSTALL ALTERNATOR WITH PULLEY DIRECTLY FACING UP ENSURING NOT TO BRUISE RADIATOR FINS (TIGHT ENTRY CLEARANCE) THEN SLIDE ALTERNATOR INTO PROPER SEATING POSITION
*INSERT UPPER/LOWER FASTENERS THROUGH LOWER MOUNTING BRACKET INTO ALTERNATOR PRIOR TO MOCKING/MOUNTING INTO ALTERNATOR BRACKET (LONG ALTERNATOR FASTENERS WILL CONTACT FRAME IN ORIGINAL MOUNTING POSITION)
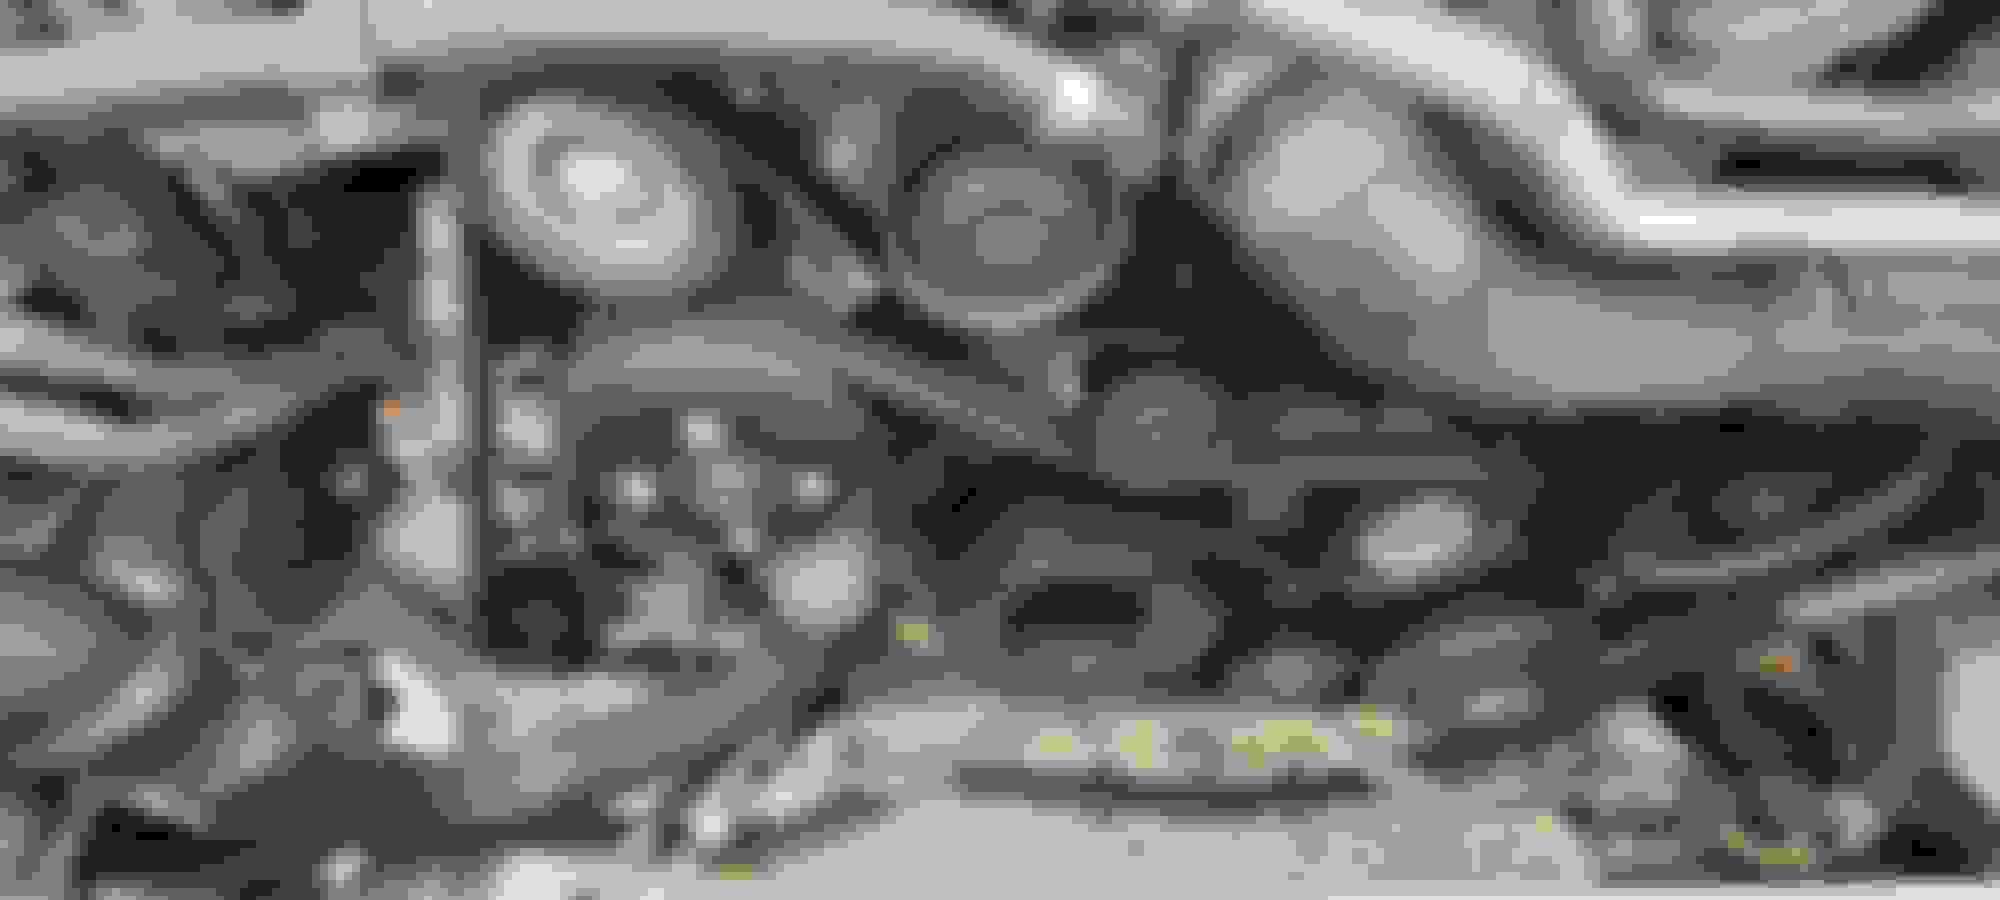
*SUPPORT/ ALIGN BOTTOM OF ALTERNATOR WITH BRACKET MOUNTING THREADS (EVENLY THREAD FASTENERS IN BY HAND, MINI/ STUBBY RATCHET IS YOUR BEST FRIEND) *INSTALL NEW SERPENTINE BELT PER DIAGRAM *ONCE BELT IS ROUTED PROPERLY HOLD TENSIONER COUNTERCLOCKWISE WHILE REMOVING SCREWDRIVER TO RELEASE TENSION
*REINSTALL EVERYTHING IN REVERSE ORDER
Afterthoughts: Being skeptical is the best way of being prepared for any unexpected surprises.
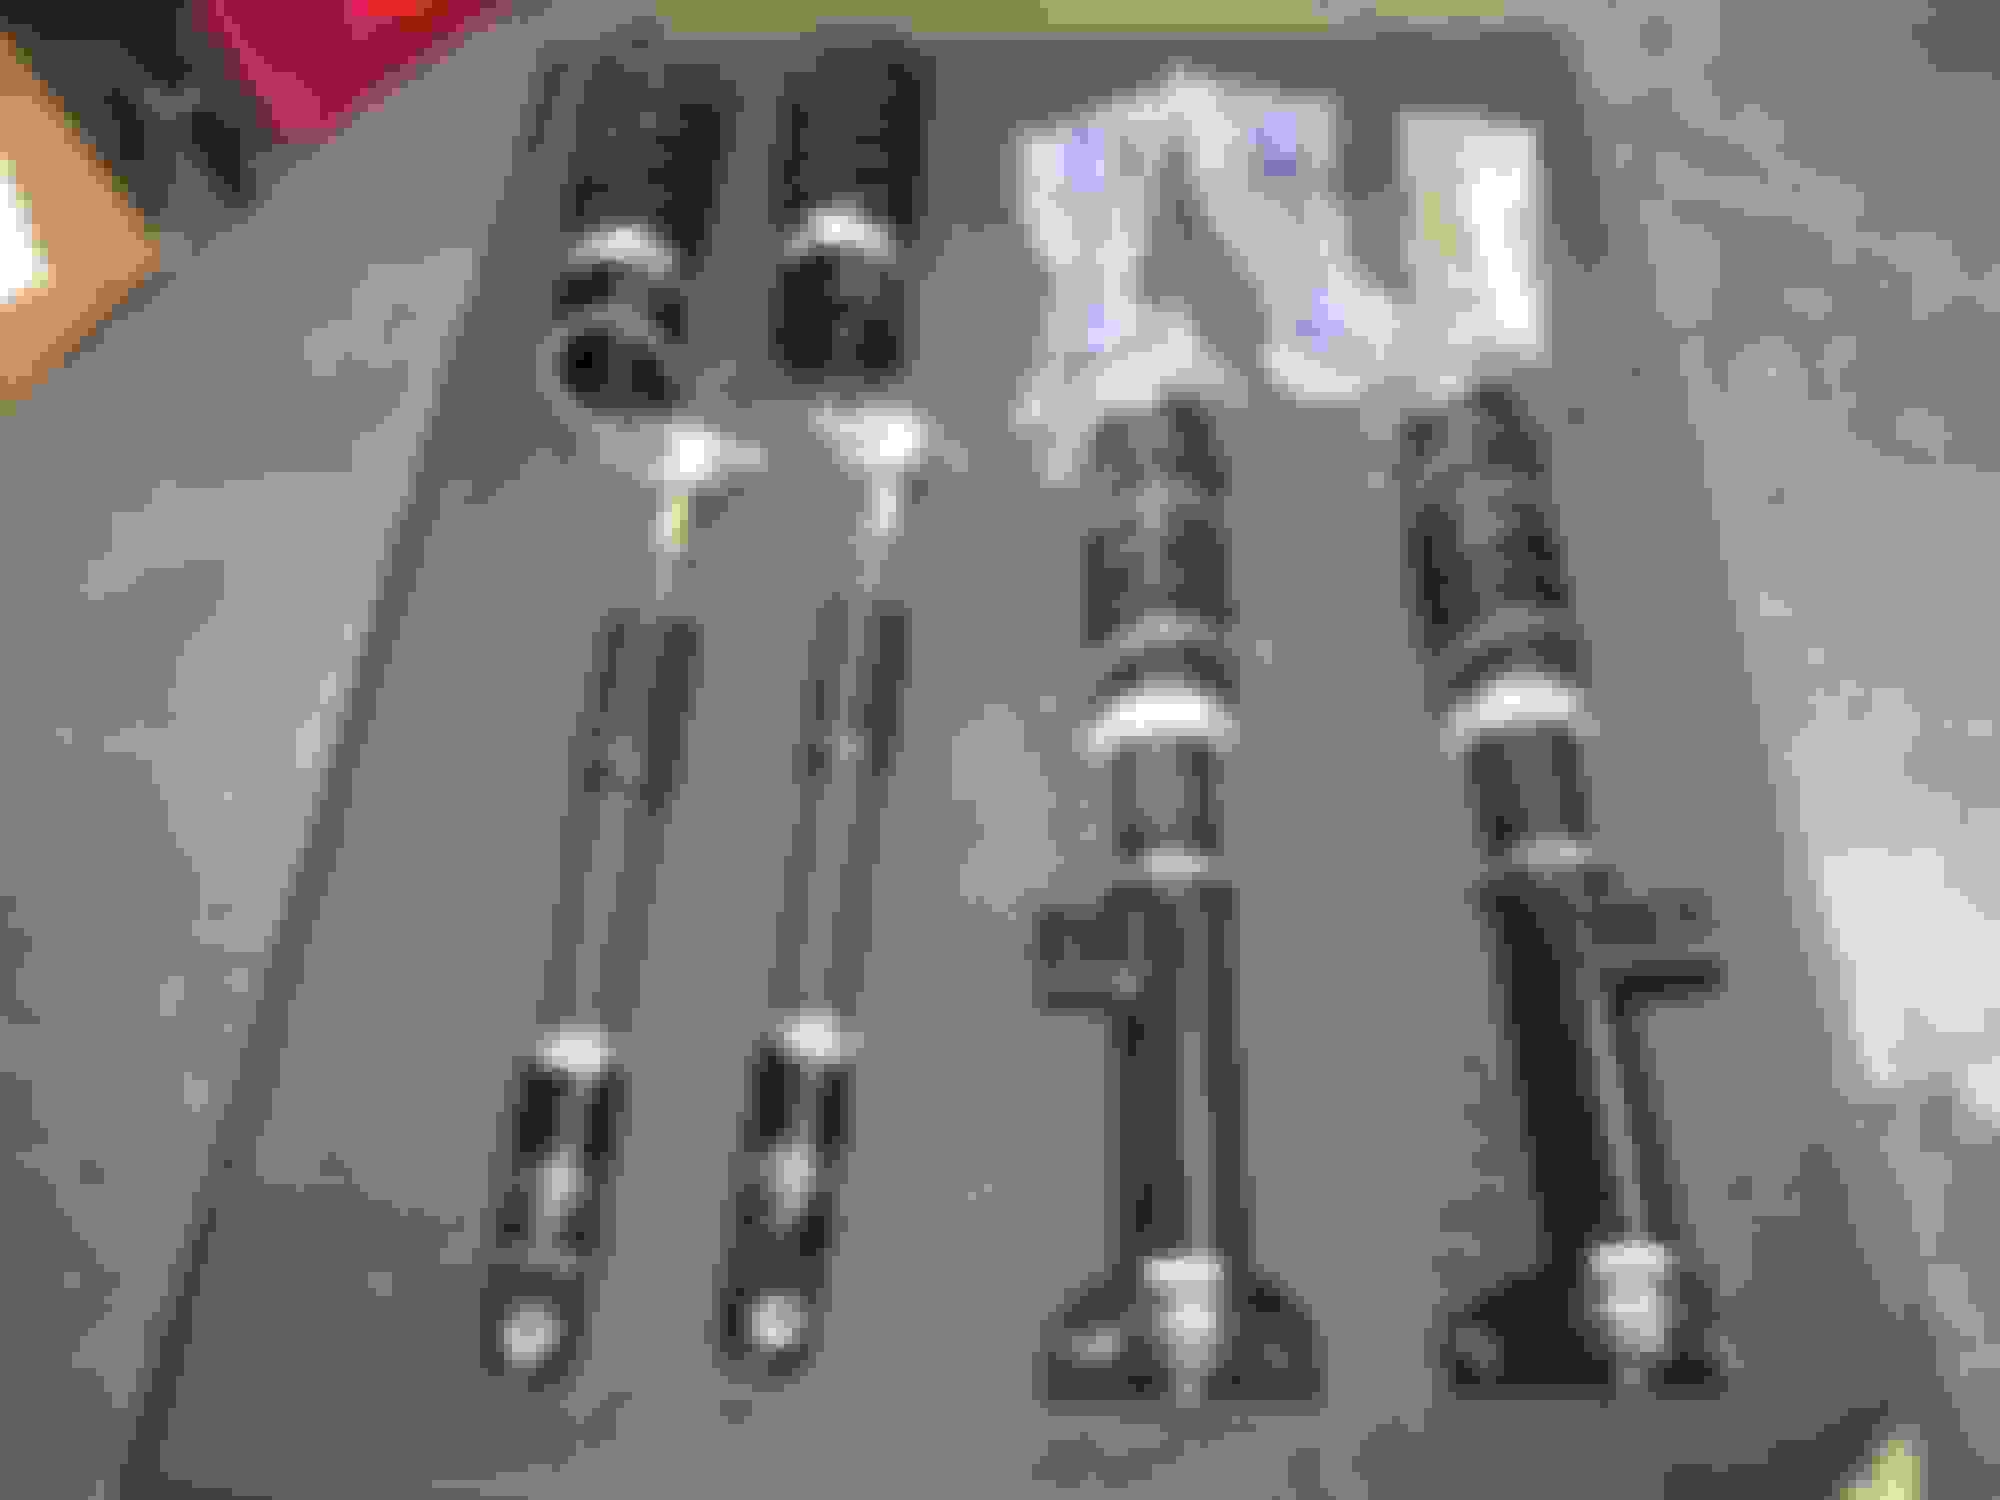
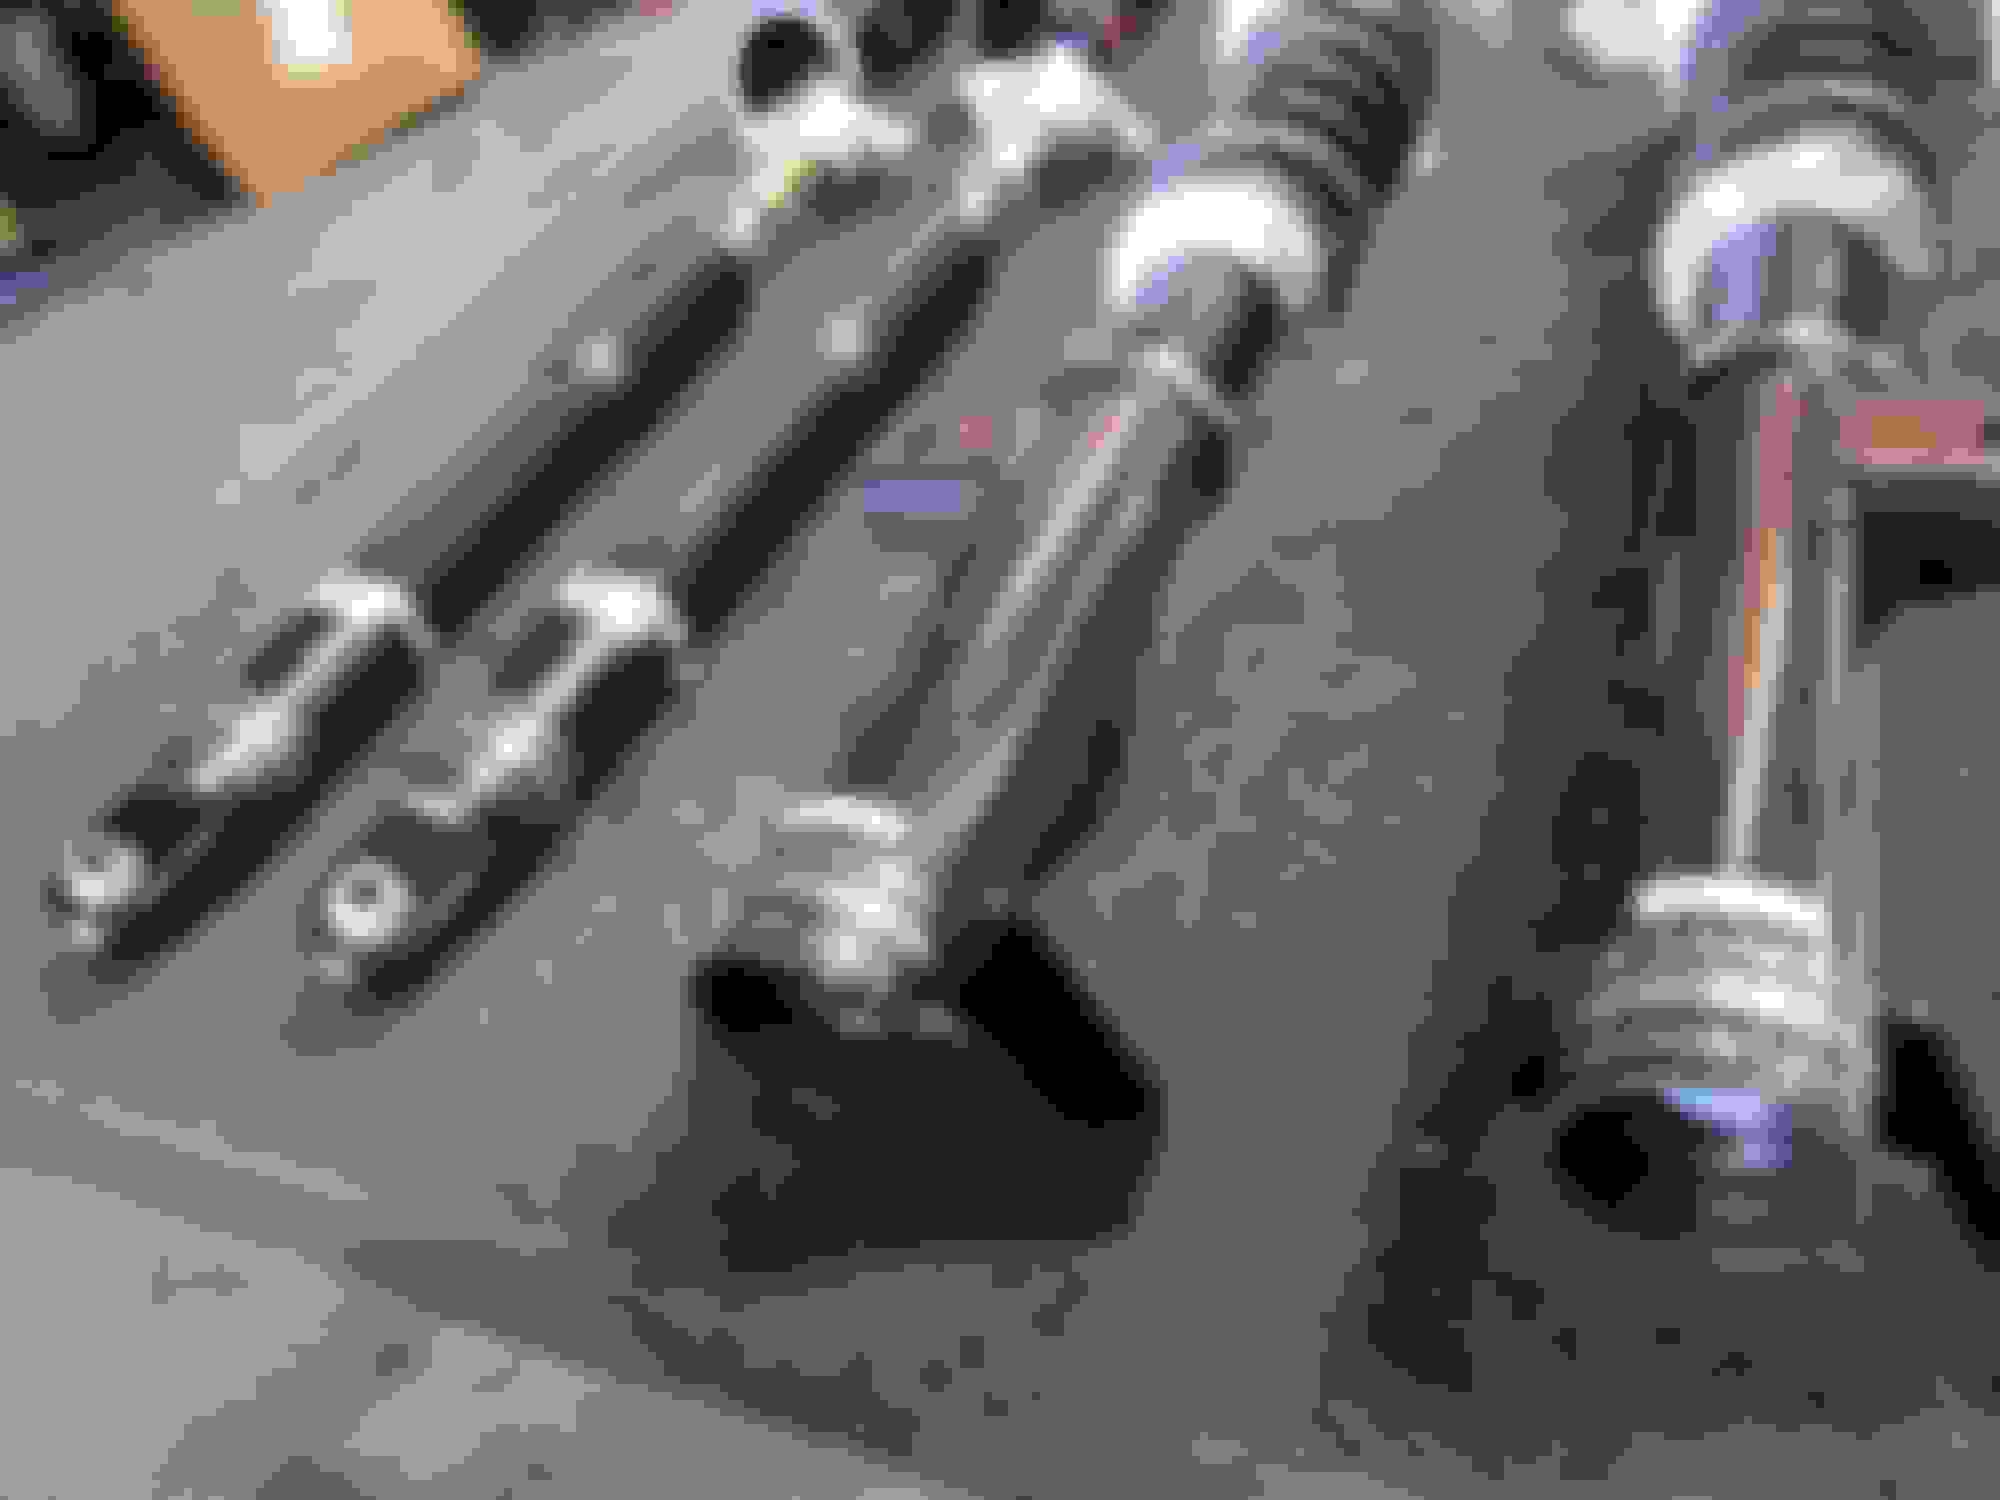
Entry level coilovers to buckle down on optimal weight transfer and ride height. *RIP MEMORY CARD*
Afterthoughts: Substantial shift in dynamics are night and day. Hard to say whether these will fulfill my expectations at the moment. However, I finally feel one with the car almost as if it were an extension of my body. Decent ride quality for an entry-level roller-coaster ride. Toying with 30~ adjustable settings should be boisterous
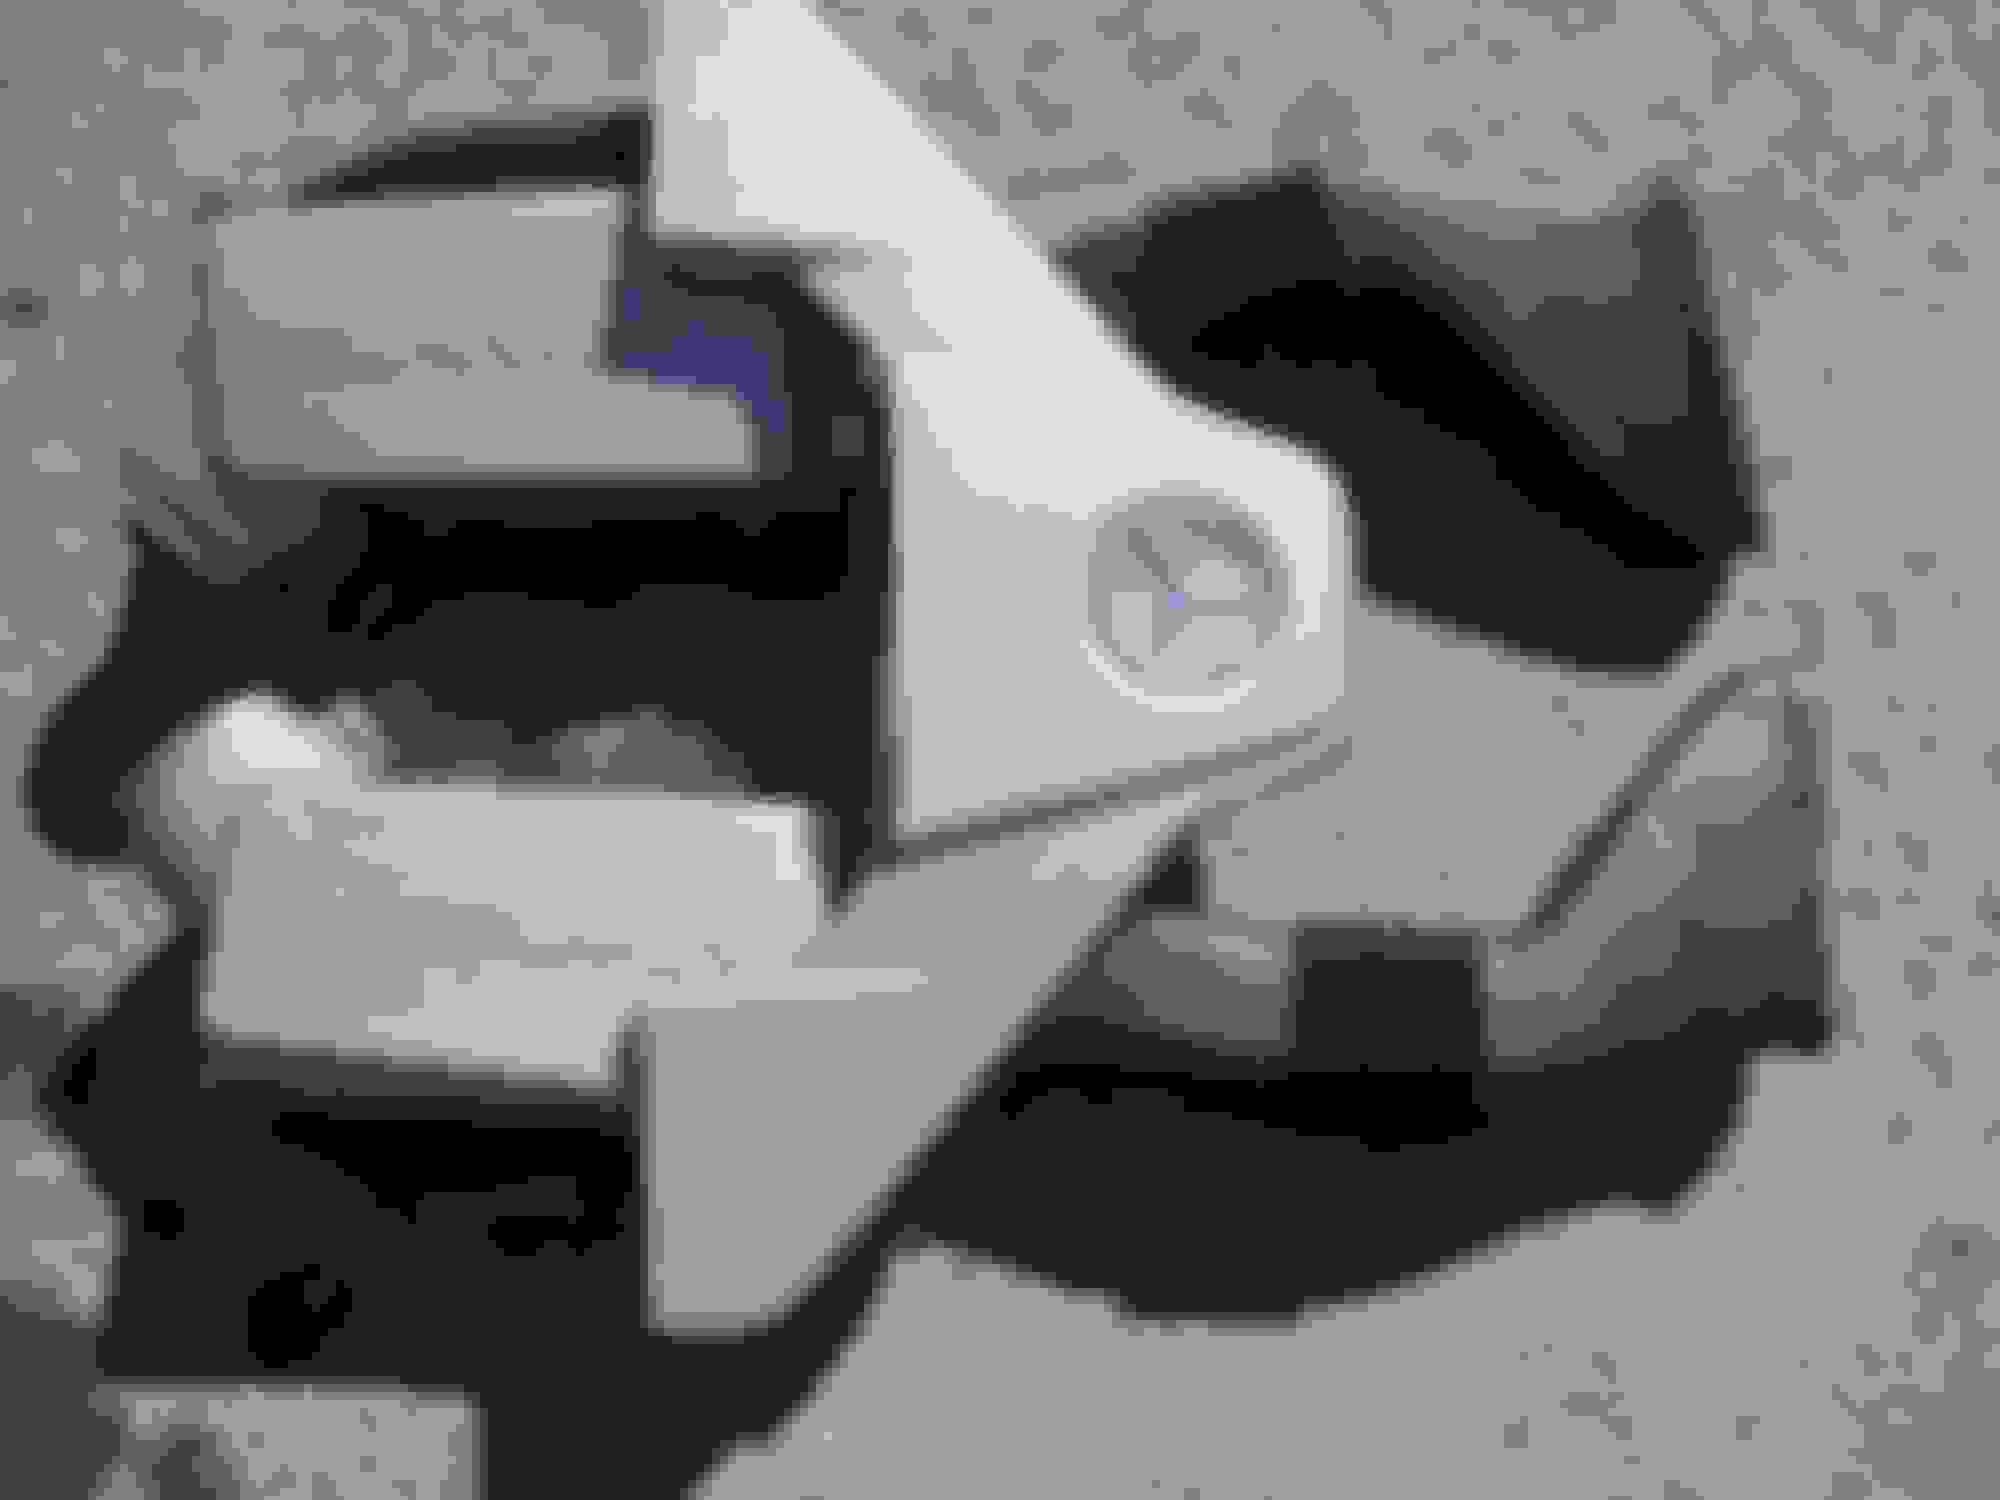
In addition to the antenna removal my secondary objective was to guarantee that the roof was wrapped prudently. During this process @olszowa12 and I discovered that my early 08 model option antenna was inseverable (VIN confirmation) from the base unlike most antenna units which could be isolated leaving me no choice but to send him my original unit. Gratified that everything worked out in my favor and still remains leak/creak free with flawless reception up to the present moment. Furthermore, it would've been a crime If I didn't replace the infamous flaking clear coat water deflectors that the C class is plagued with during this operation (Correct 2008-2011 sedan water deflector part numbers pictured) *REMOVAL/ INSTALL*
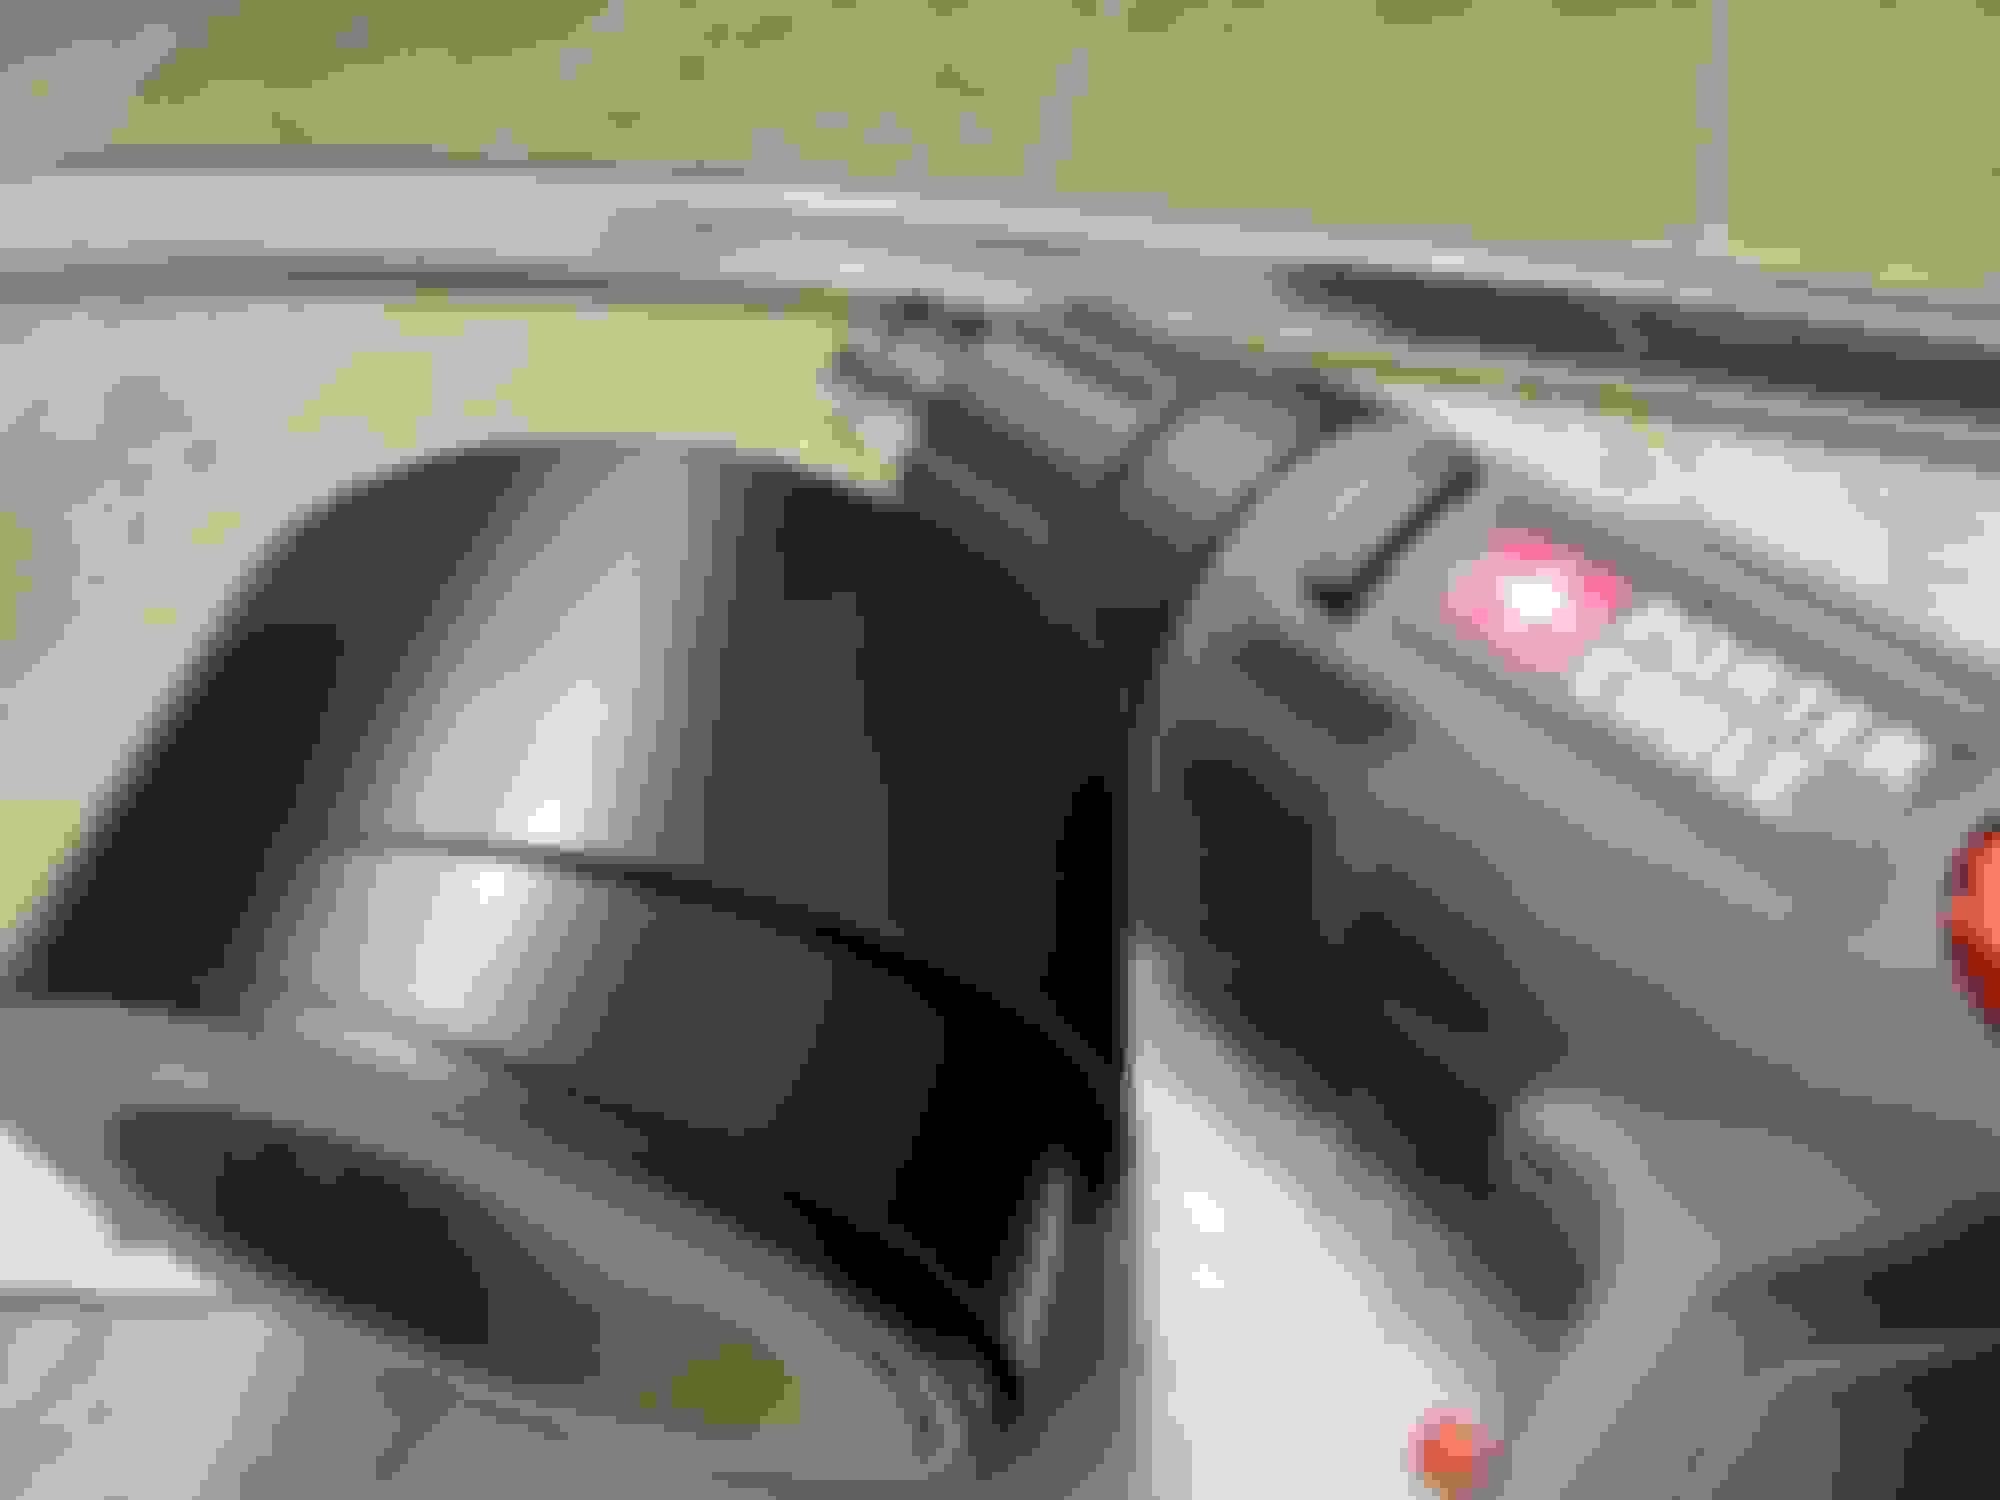
Even though wrapping can be tedious it can really take the edge off things allowing you to unwind/relax while taking your time in the midst of the process. Satin finish to conform/blend with factory rubber trims. In tandem with the window trim chrome delete I had the windows ceramic tinted 5% all around to conceal/preserve the interior while defusing heat exchange in the staging lanes *REMOVAL/ INSTALL*
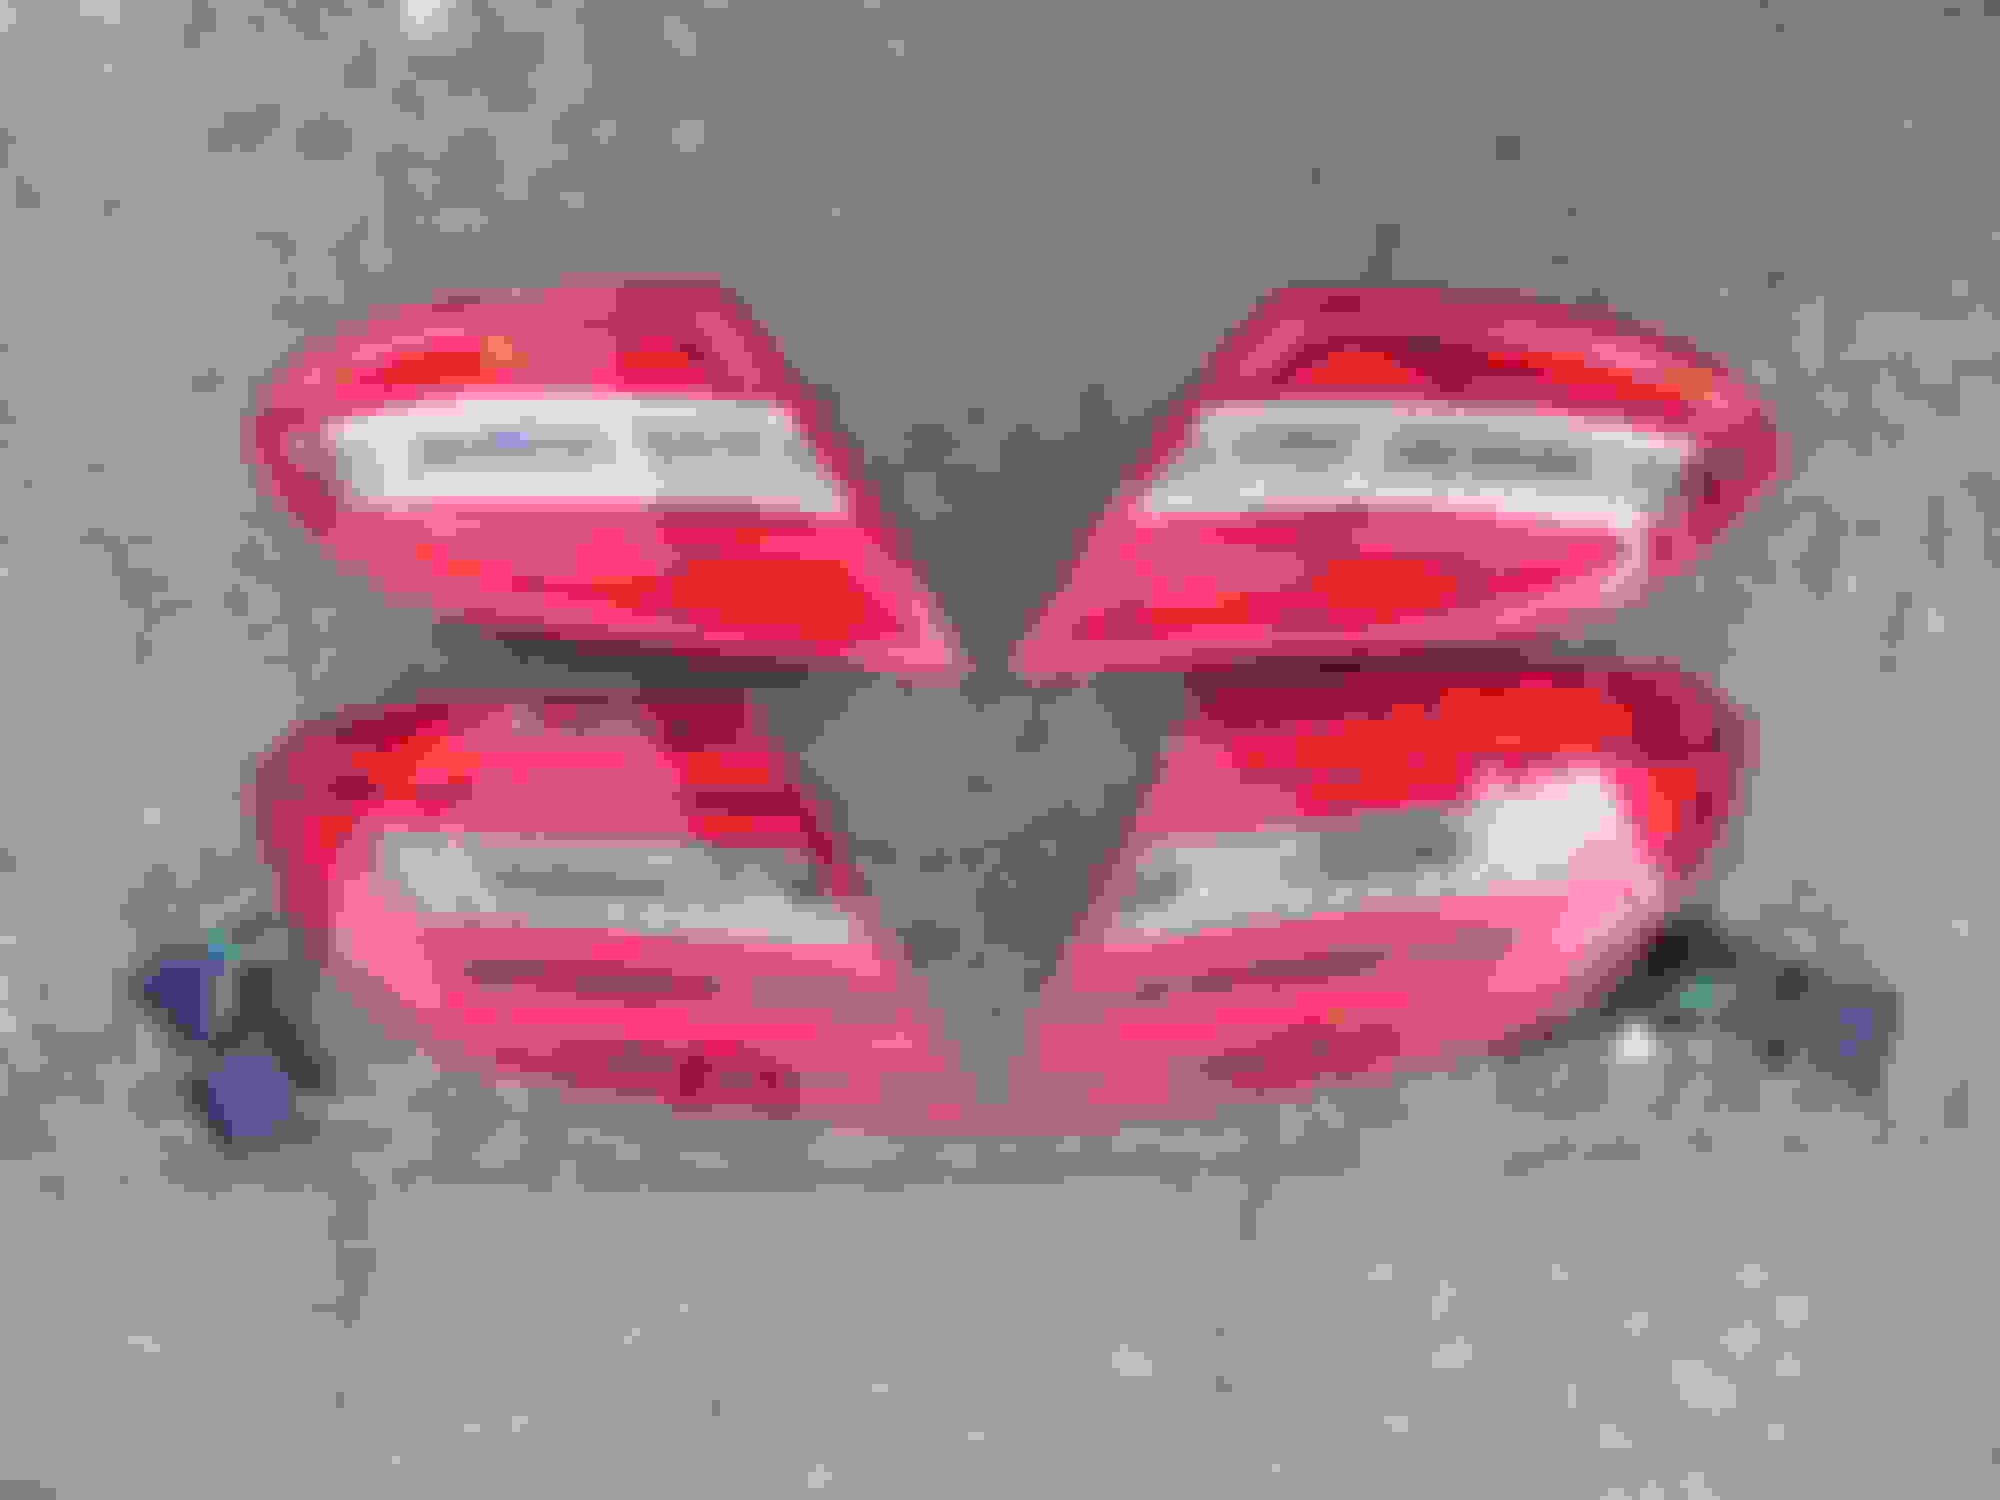
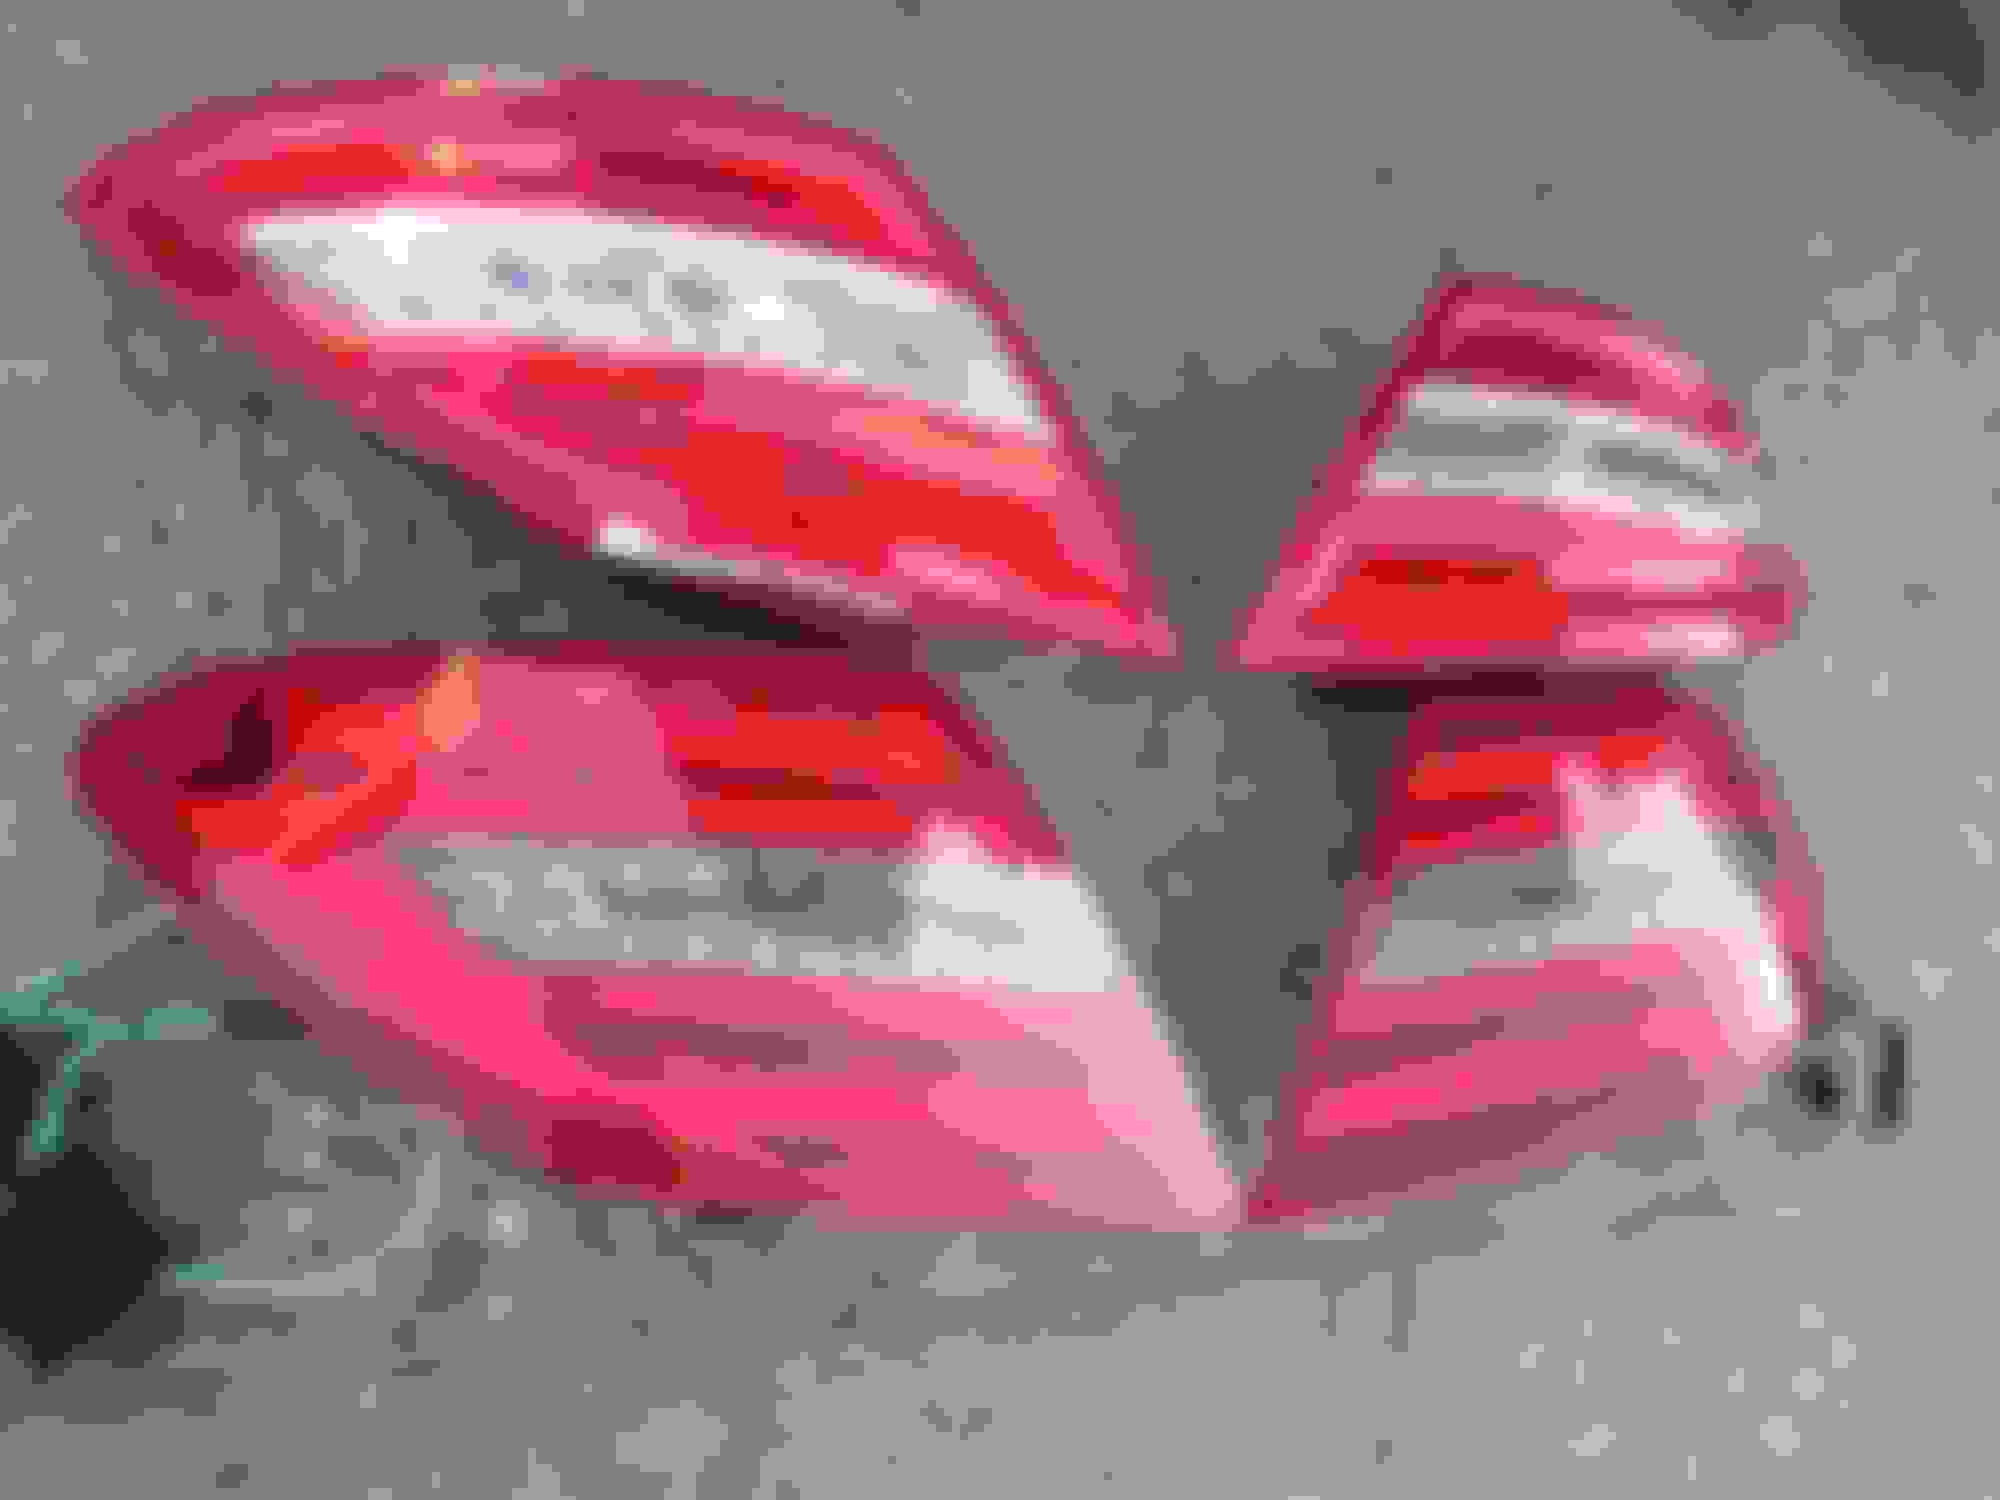
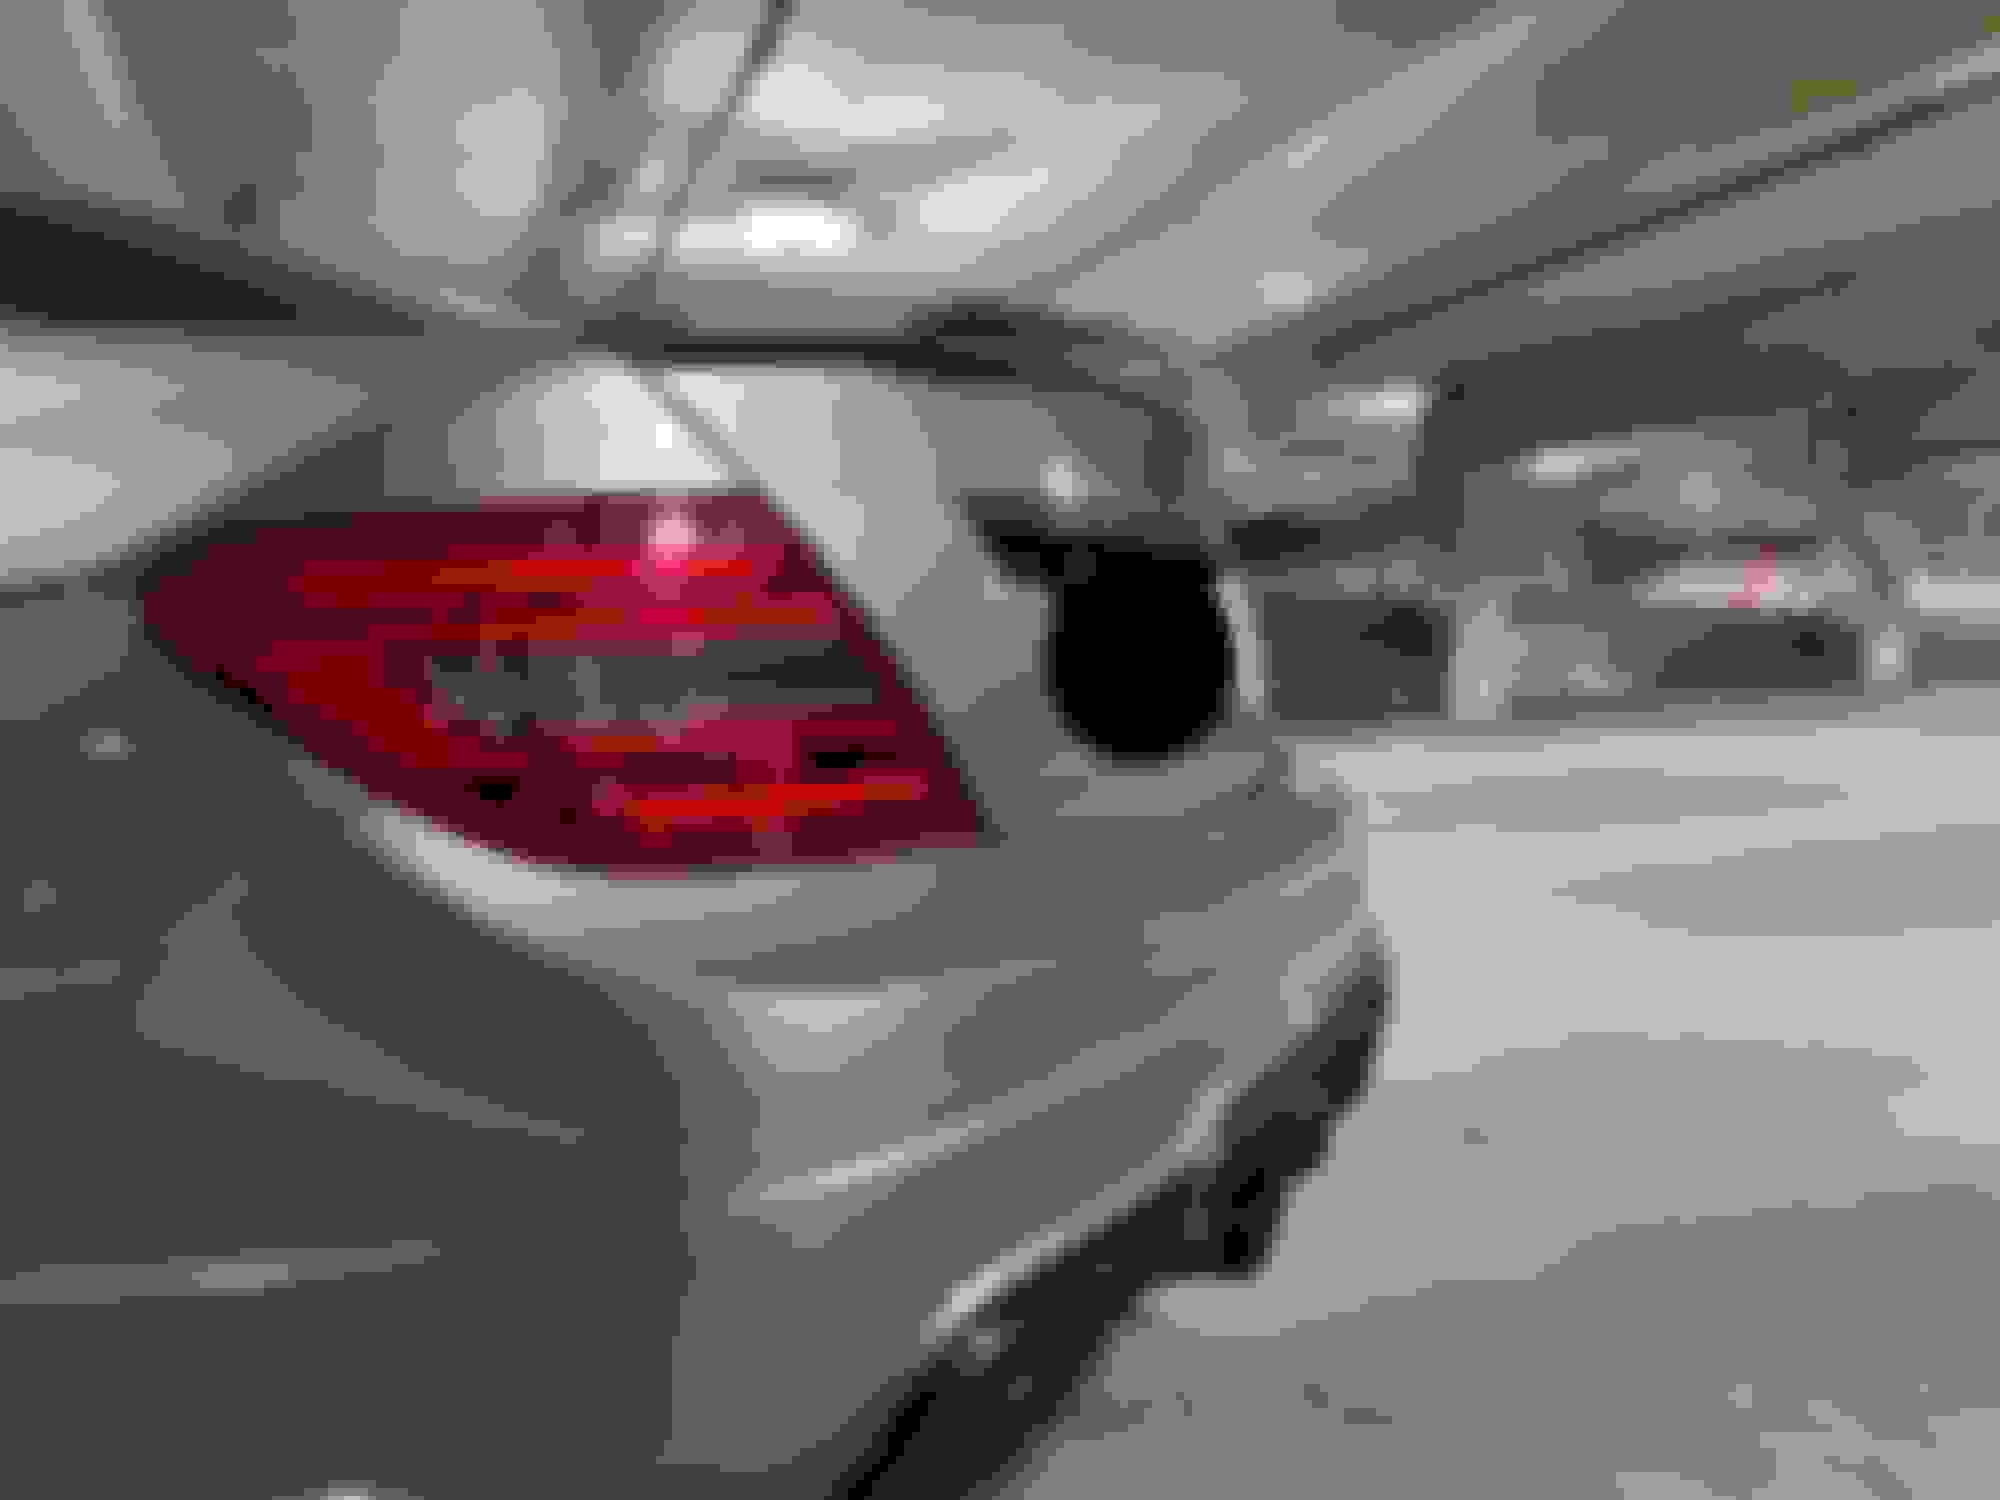
Time to revamp the rear starting with the tails. My C class peeps that are unable to source/locate someone to code ($200-300USD) OE facelift tails to function appropriately look no further. Have had nothing but good results (fitment & quality) with Depo (Ebay user Neondials or Fishcakes) throughout the years on a handful of platforms, once mounted one simply can't distinguish these from OE units, dare I say they're like a carbon copy of factory tails from a fitment/quality perspective. With the error free modules implemented into the depo units they not only function properly while dodging the can bus error messages but no wiring/coding is required making them an excellent plug/play error free alternative. *REMOVAL/ INSTALL*
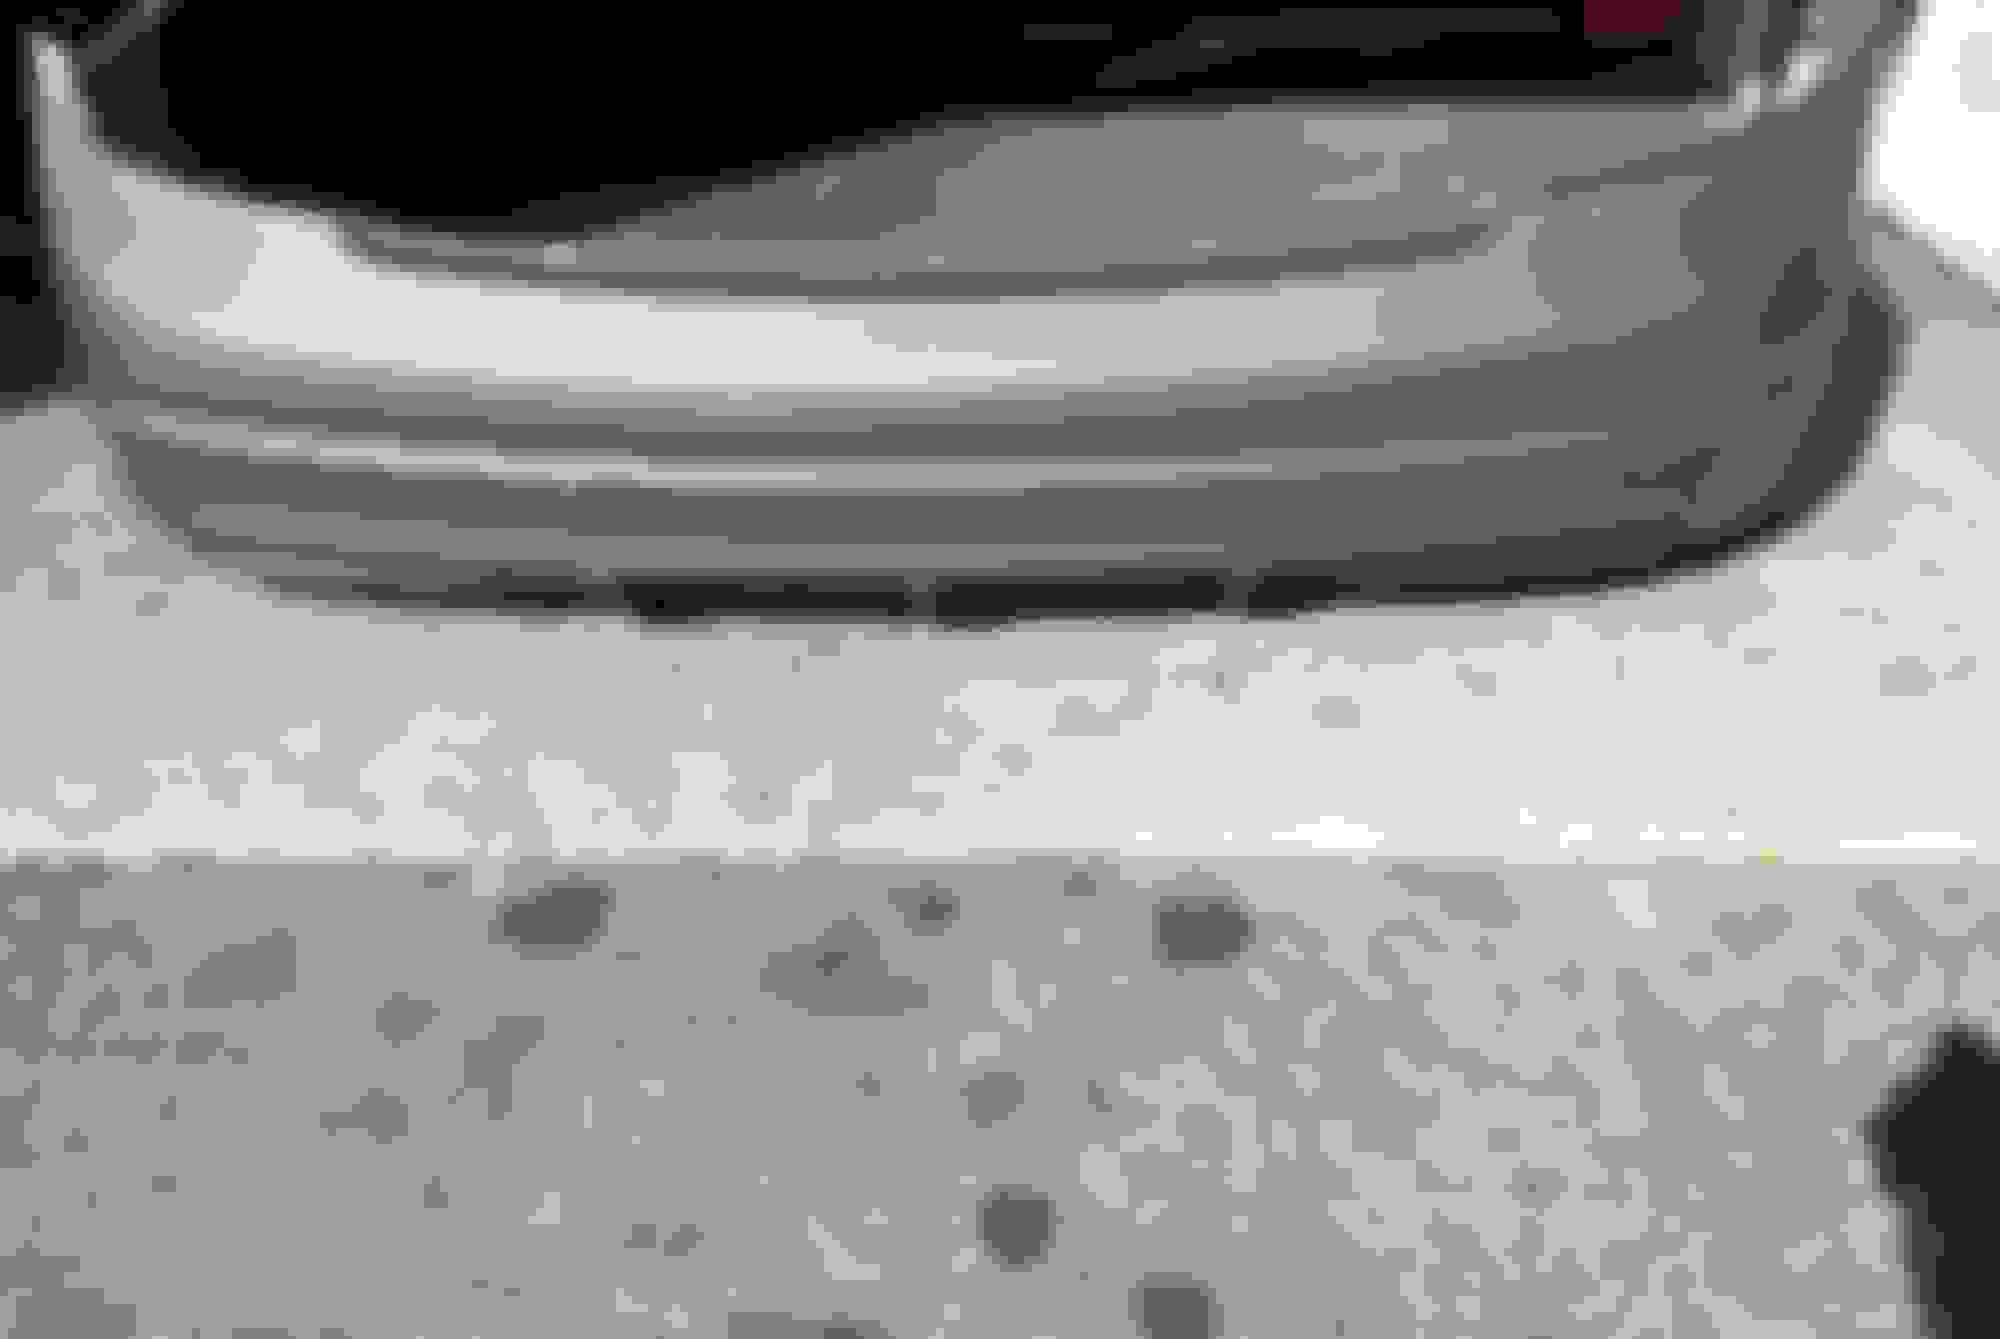
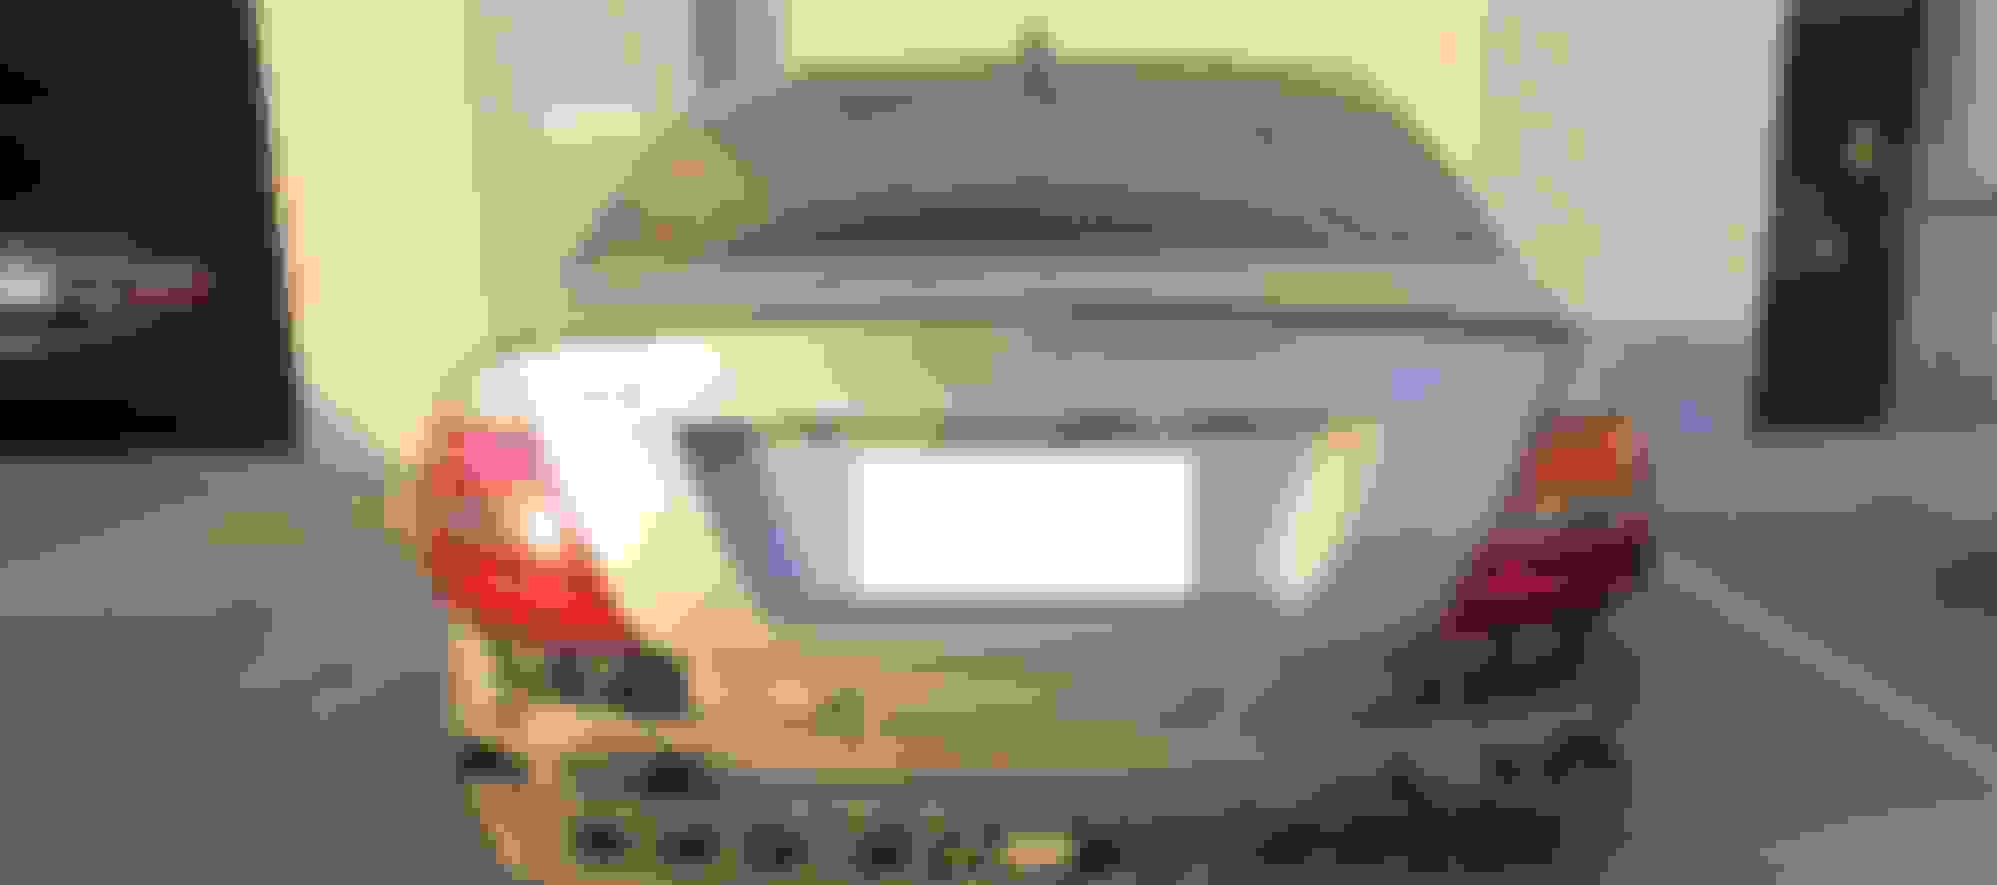
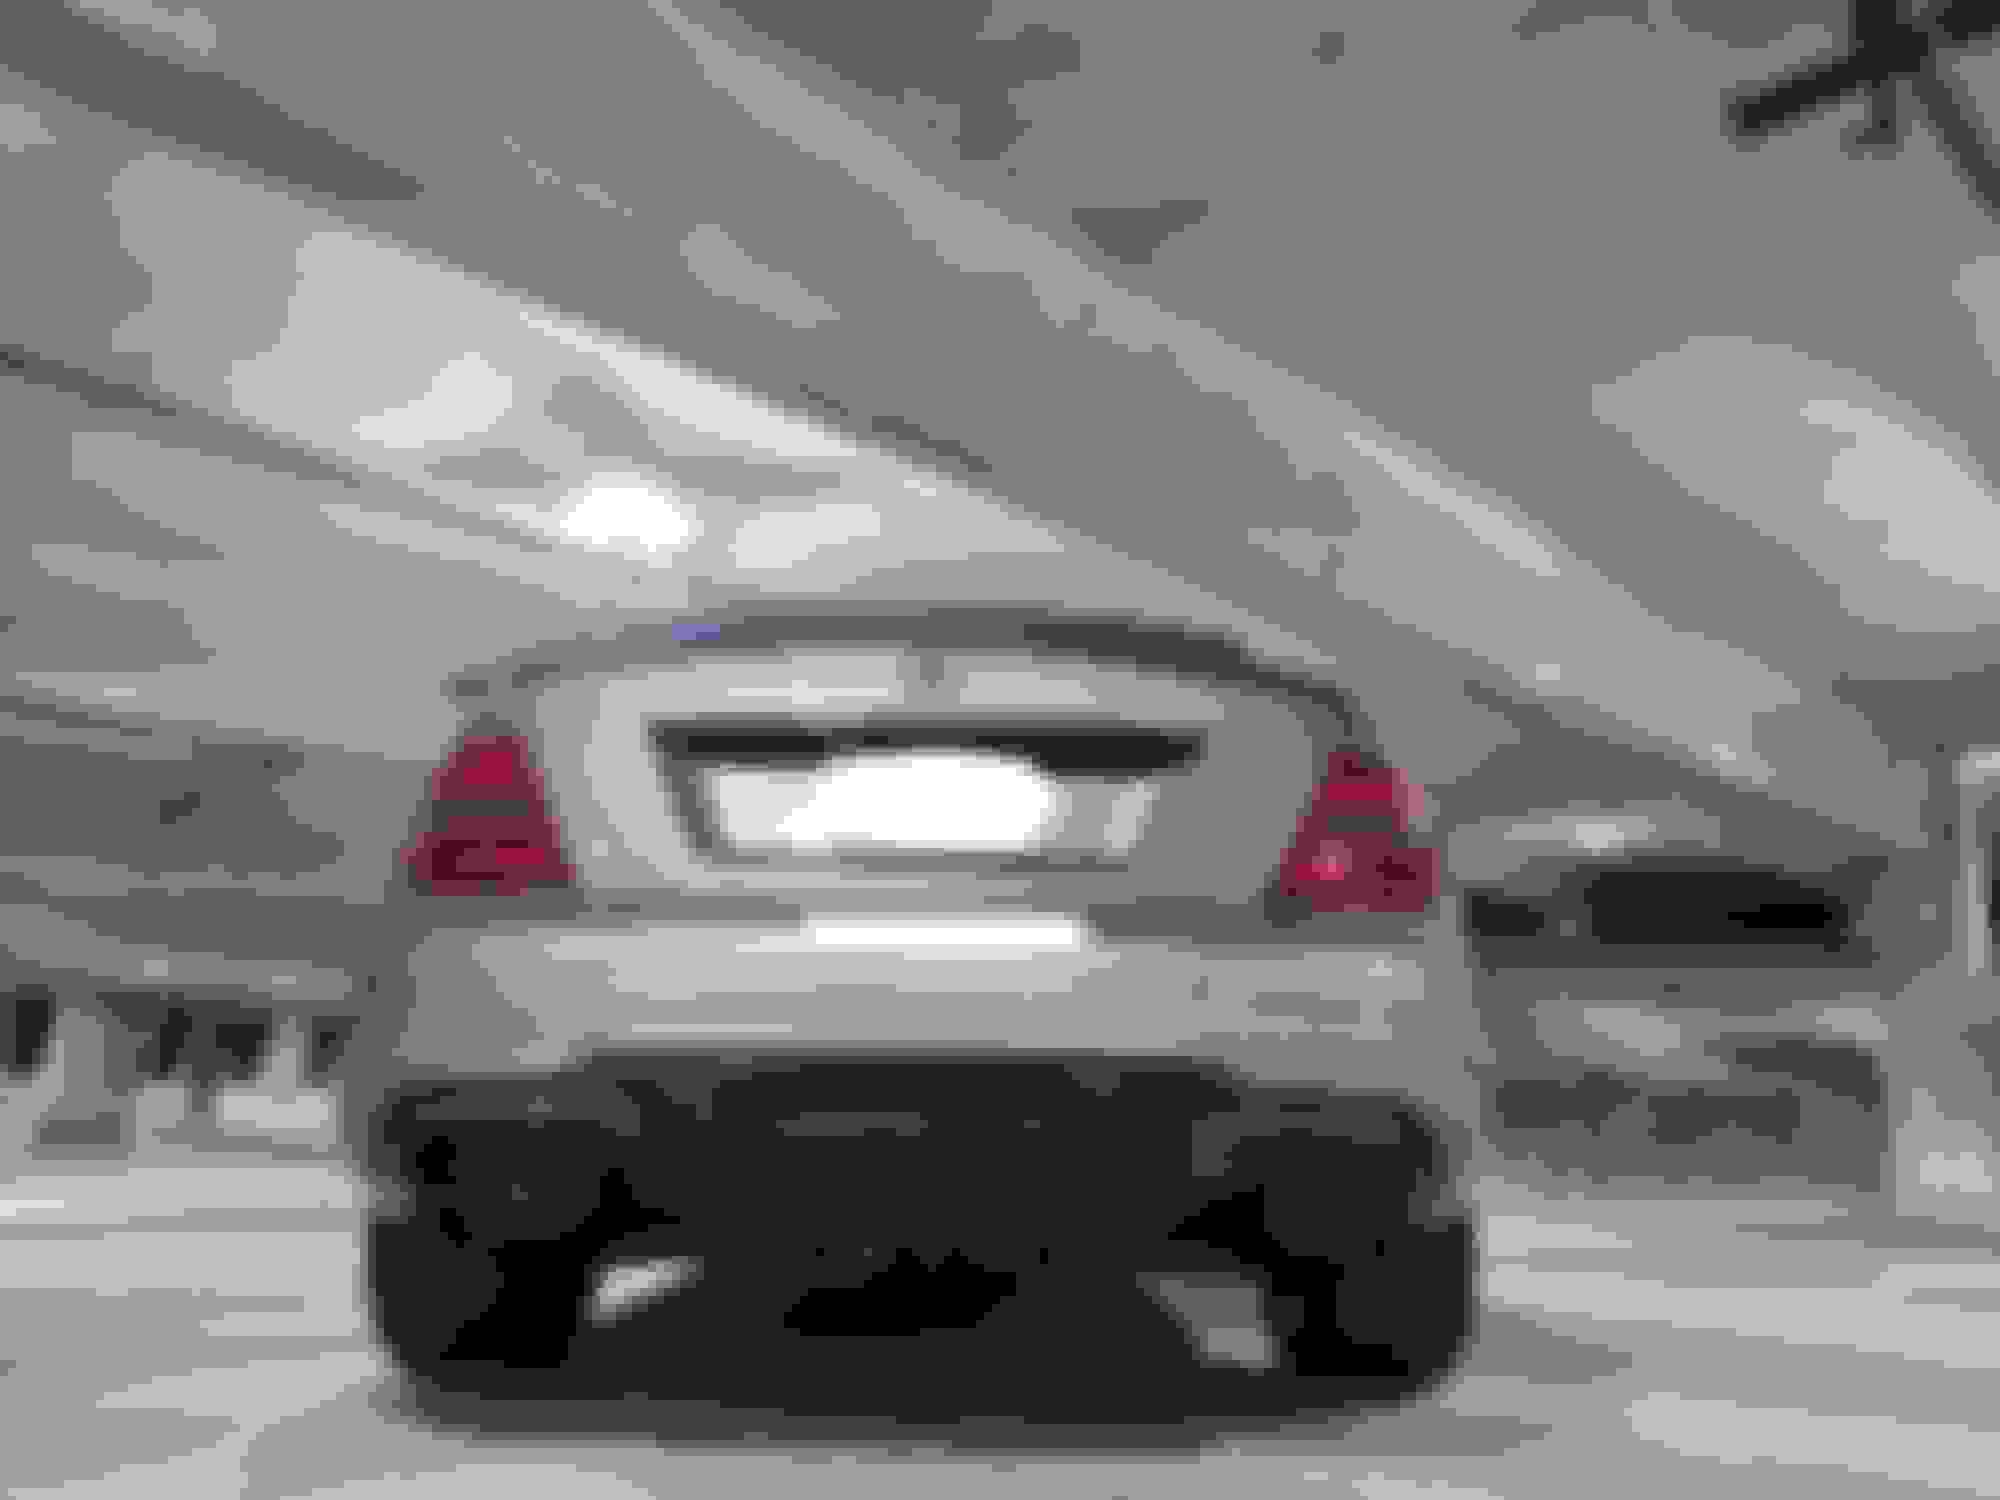
Facelift rear fascia to match facelift rear tails, not to mention more diffuser options/designs available for the facelift models. Vorsteiner diffuser deliberately chosen to serve as a prelude for what's to come. Facelift rear driver/passenger cover space panels (Part # pictured) to keep dust/debris out have a slight variance and will require rivet PN # 0039913270 (1 per side) *REMOVAL/ INSTALL*
(STANDARD 10MM DEEP SOCKET WILL SUFFICE FOR 2 LONG BOLTS AS LONG AS RATCHET ISN'T COMPLETELY SEATED TO SOCKET; GENTLY LOOSEN/TIGHTEN BY HAND ONLY)
@olszowa12 Never ceases to fail. Refuse to wrap any trims in the front or rear, carbon fiber accents only. Went to town with some floss and a rubber eraser to carry out one of my signature trademarks by eliminating all trunk emblems with the exception of a black chrome star finally finishing the chrome delete process. In addition, I took the opportunity to revamp the burnt-out license plate bulbs with LED units
Trespassers should be shot; survivors should be shot AGAIN. RENNtech decklid pried off less than 12 hours after mounting while dining out. Refused to pay/wait for another RENNTech decklid so I settled/contacted Brian at JB SPEED and he had me a paint matched vorsteiner 2 decklid on my doorstep within 4 days. I hardly ever have any expectations to avoid disappointment. However, I'm pleased to report that this vorsteiner 2 decklid is not too far off from the real deal RENNtech decklid (similar shape/contour with shorter tail, not as finesse as the real deal) and seals 100% with no gaps for a fraction of the cost with quicker turnaround time. Not only did fitment exceed my expectations, but paint match job also appeared to be professionally sprayed making blending with the trunk inessential.
Afterthoughts: Decent RENNtech decklid substitute, folks without a train/keen eye will not be able to pick apart the two.
Sorry to hear about your spoiler. The car looks great none-the-less and your doing an awesome job documenting your journey.
The Genuine Renntech spoiler is a work of art though. Its alot lighter compared to the replicas and the V Weave pattern is amazing. The replica is definitely more chunkier compared to the real deal.
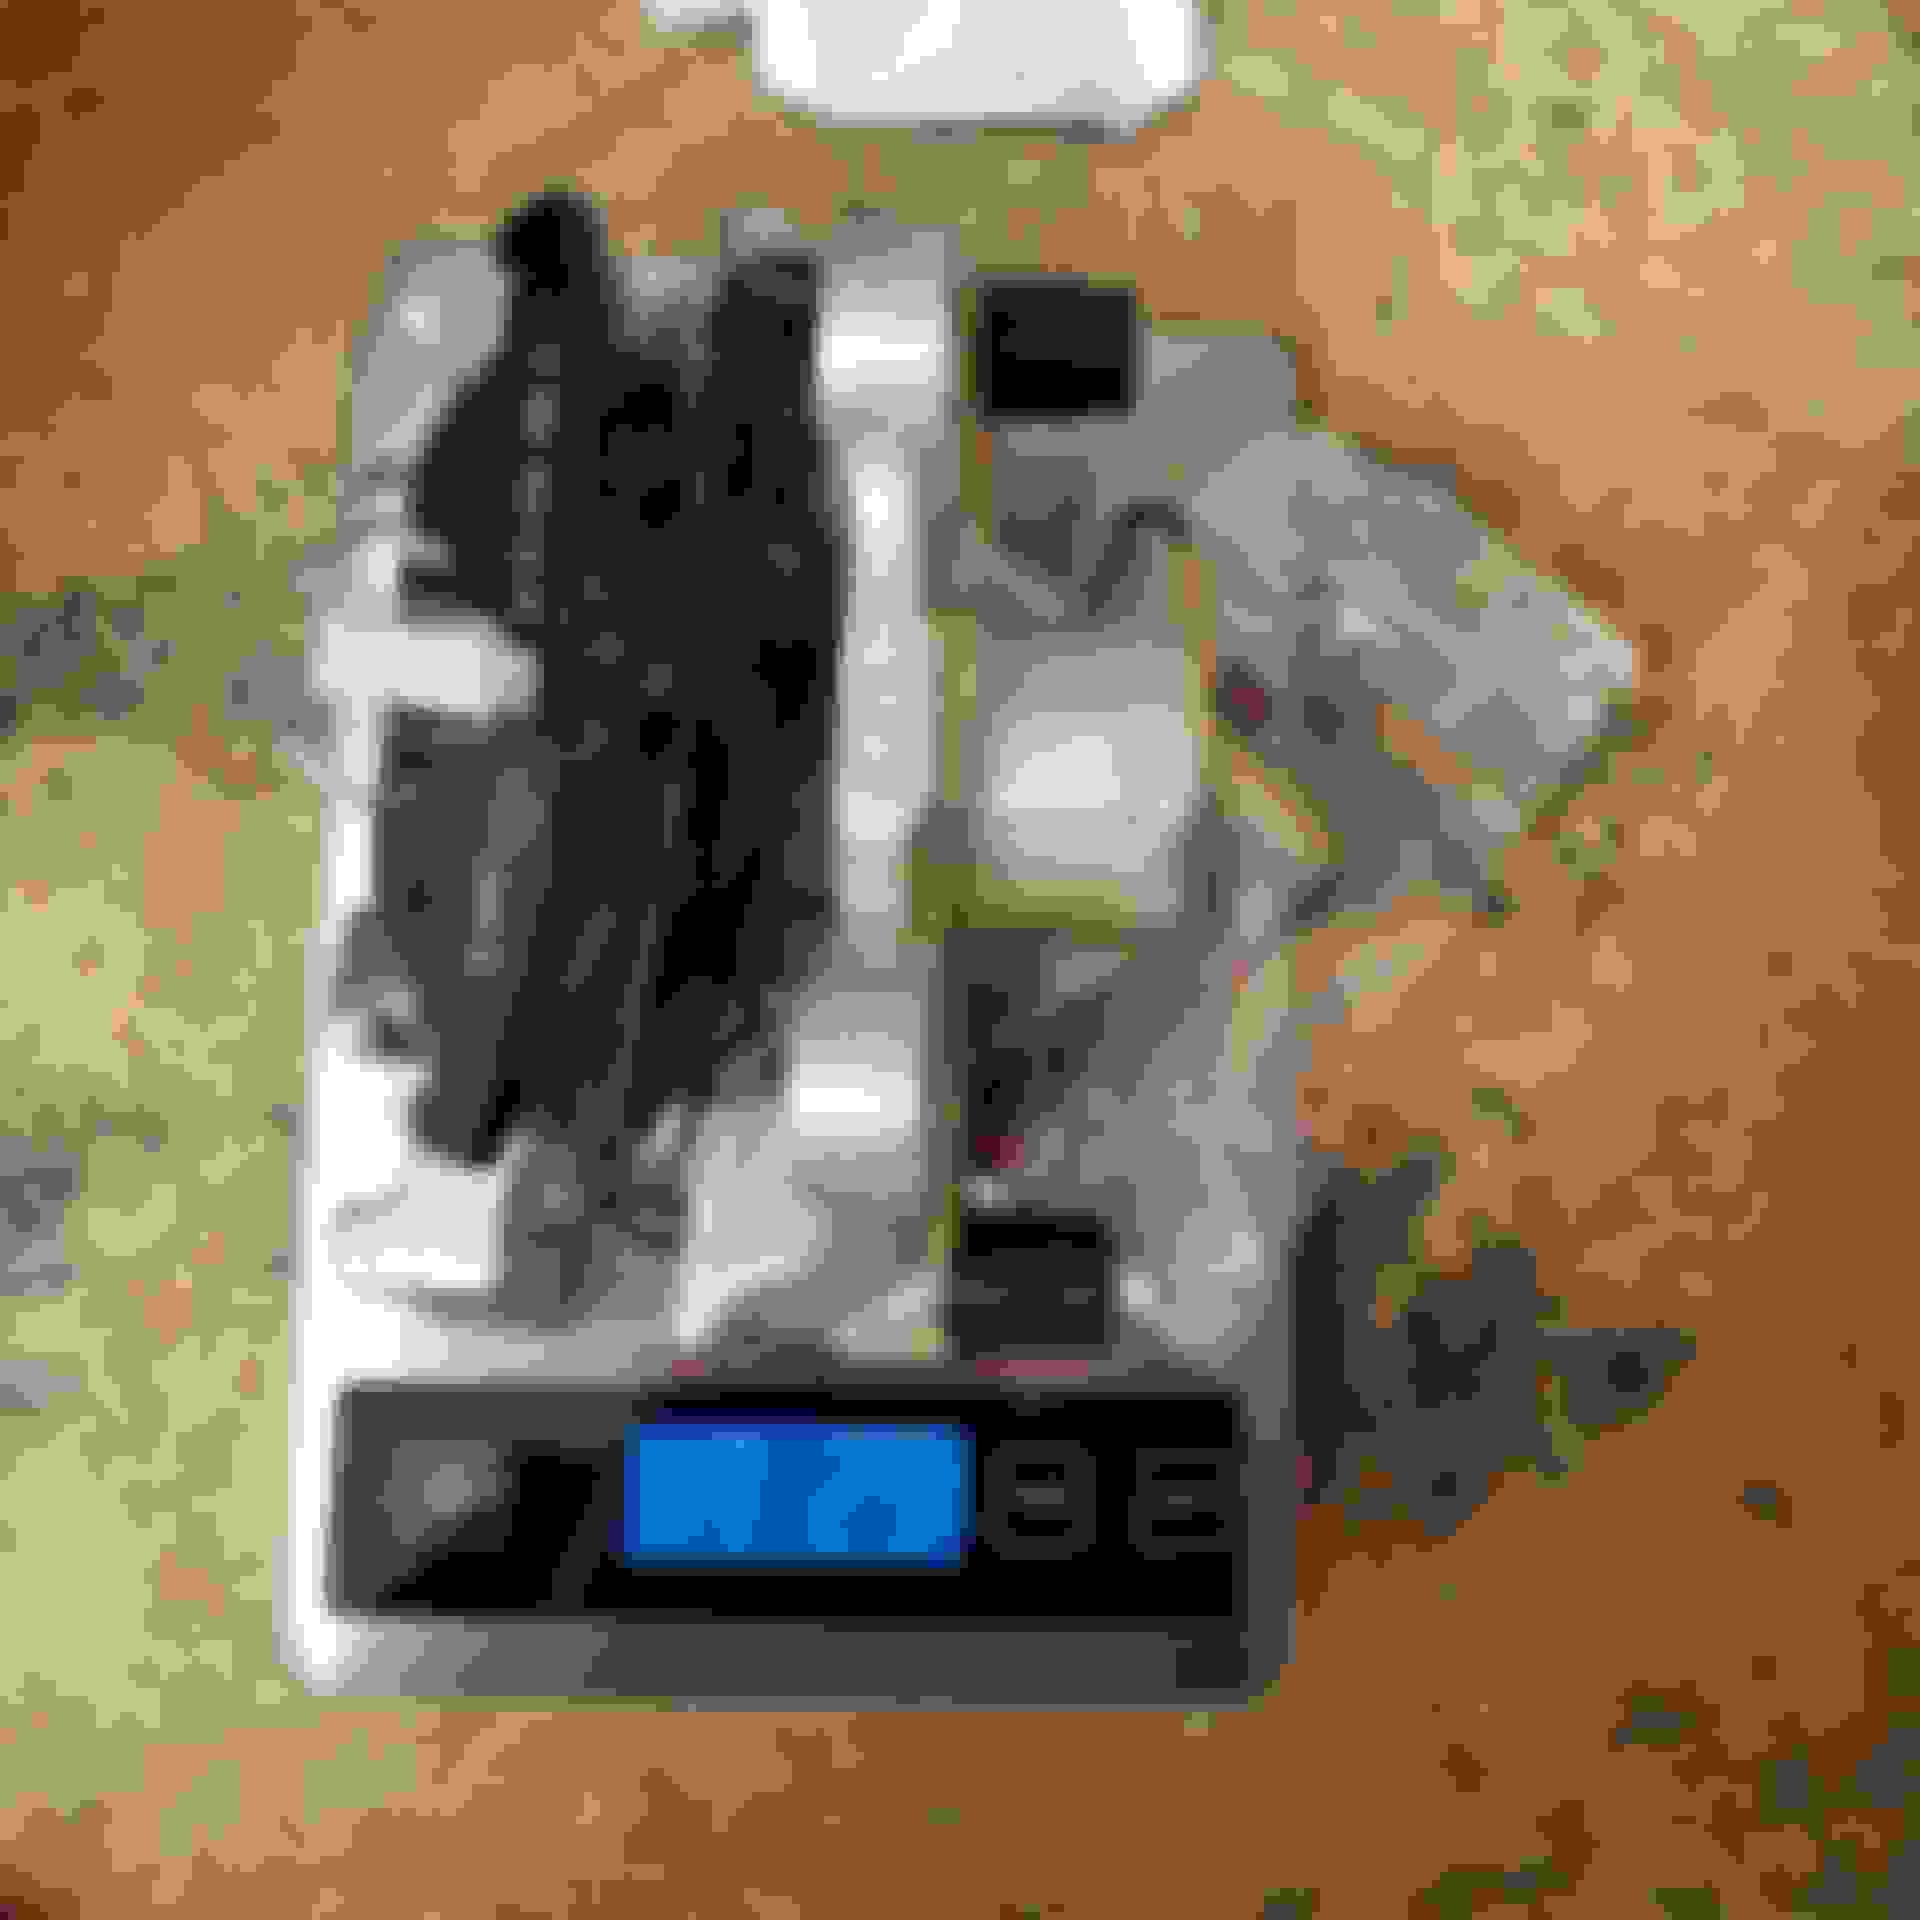
Downgrading to standard C class brake calipers/rotors to accommodate drag pack enroute. Only necessary for 14-15'' rims. Standard C300/ AMG brake lines are identical, all original AMG hardware (caliper housing, brake pad sensor, rotor set screw) can continue to be utilized with no modifications making this a complete direct bolt on. C300 setup scale weight credit @mthis
*REMOVAL* *RELEASE PARKING BRAKE *CRACK BRAKE LINE LOOSE W/O REMOVING (14MM FLARE NUT WRENCH) *REMOVE ENTIRE CALIPER (2) 18MM FASTENERS
*POSITION DRAIN PAN BENEATH BRAKE CALIPER WORKING VICINITY TO CATCH RESIDUE
*LOOSEN ROTOR SET SCREW W/O COMPLETELY REMOVINGTORX 30
*APPLY FEW BLOWS WITH RUBBER MALLOT IF YOU INTEND ON KEEPING (3LB HAMMER IF STUBBORN, DO NOT REUSE) ON THE INSIDE OF THE ROTOR UNTIL FREE THEN REMOVE TORX 30 SET SCREW/ ROTOR *ROTATE/REMOVE ENTIRE CALIPER COUNTERCLOCKWISE FROM BRAKE LINE (SUPPORT BRAKE LINE UPWARDS TO MINIMIZE DRIPPING BRAKE FLUID) *ROTATE C300 CALIPER CLOCKWISE INTO AMG BRAKELINE (MAY TAKE A FEW TIMES TO CLOCK CORRECTLY WITHOUT BINDING/ KINKING THE BRAKE LINE ONCE MOCKED UP IN MOUNTING POSITION PER PHOTOS) *COFIRM ONCE MORE BRAKE LINE HAS NO KINKS/BINDS IN MOUNTING POSITION AND SECURE BRAKE LINE CLOCKWISE (14MM FLARE NUT WRENCH)
Afterthoughts: Braking dynamic remains the same during daily city/spirited driving since majority of the braking is generally conducted in the front. 120~168lb static weight savings. 23~24lbs unsprung rotational mass savings
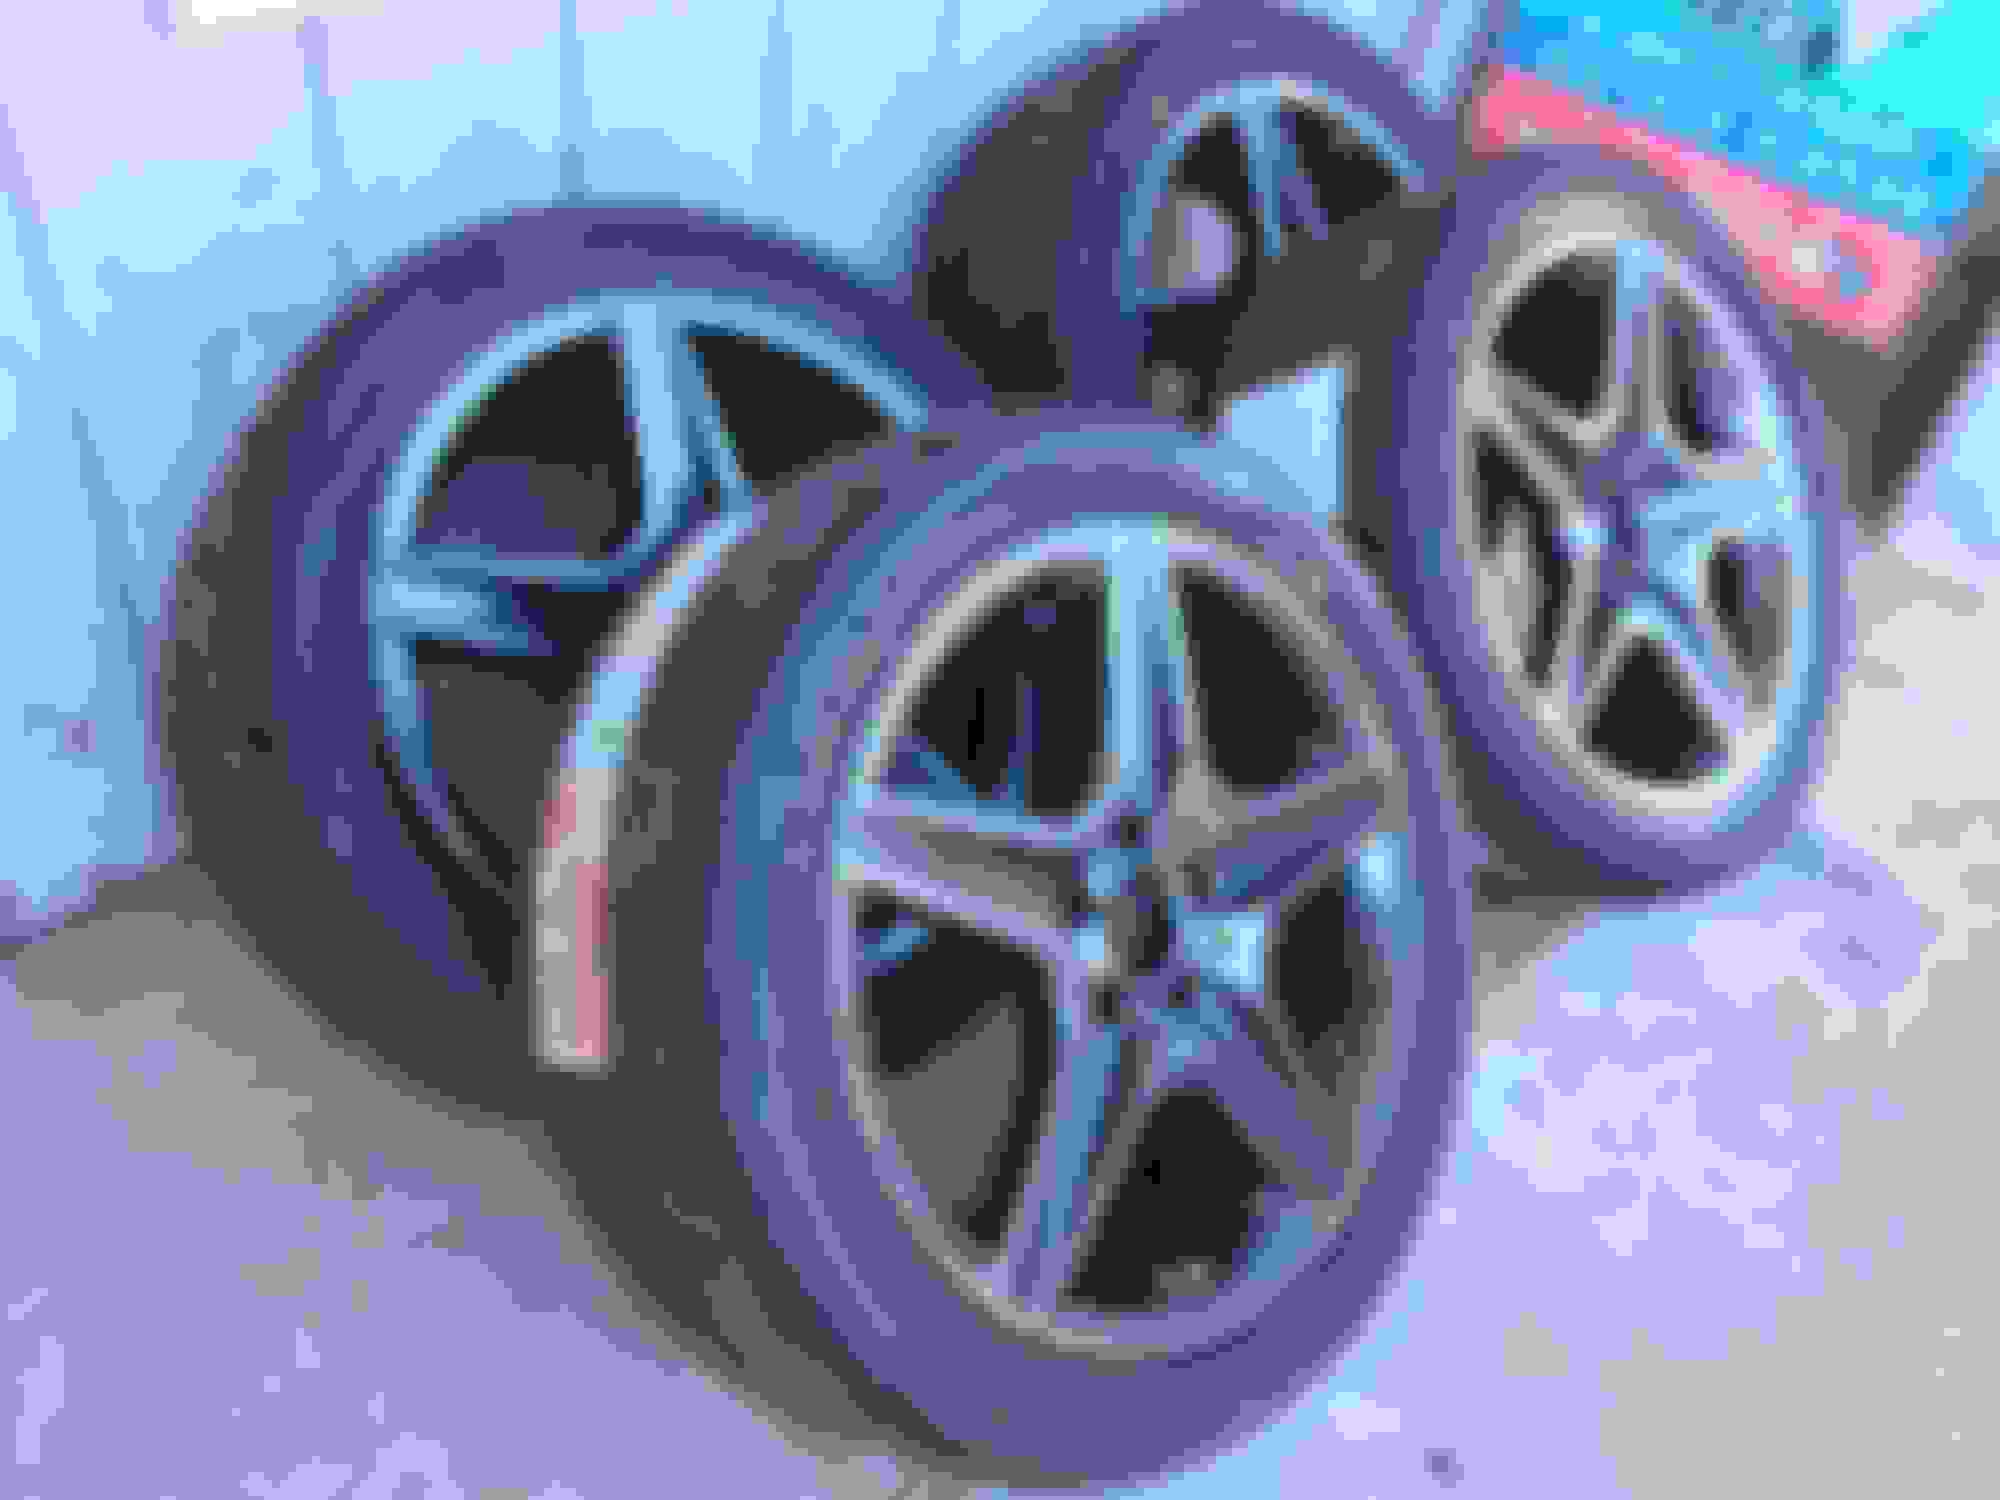
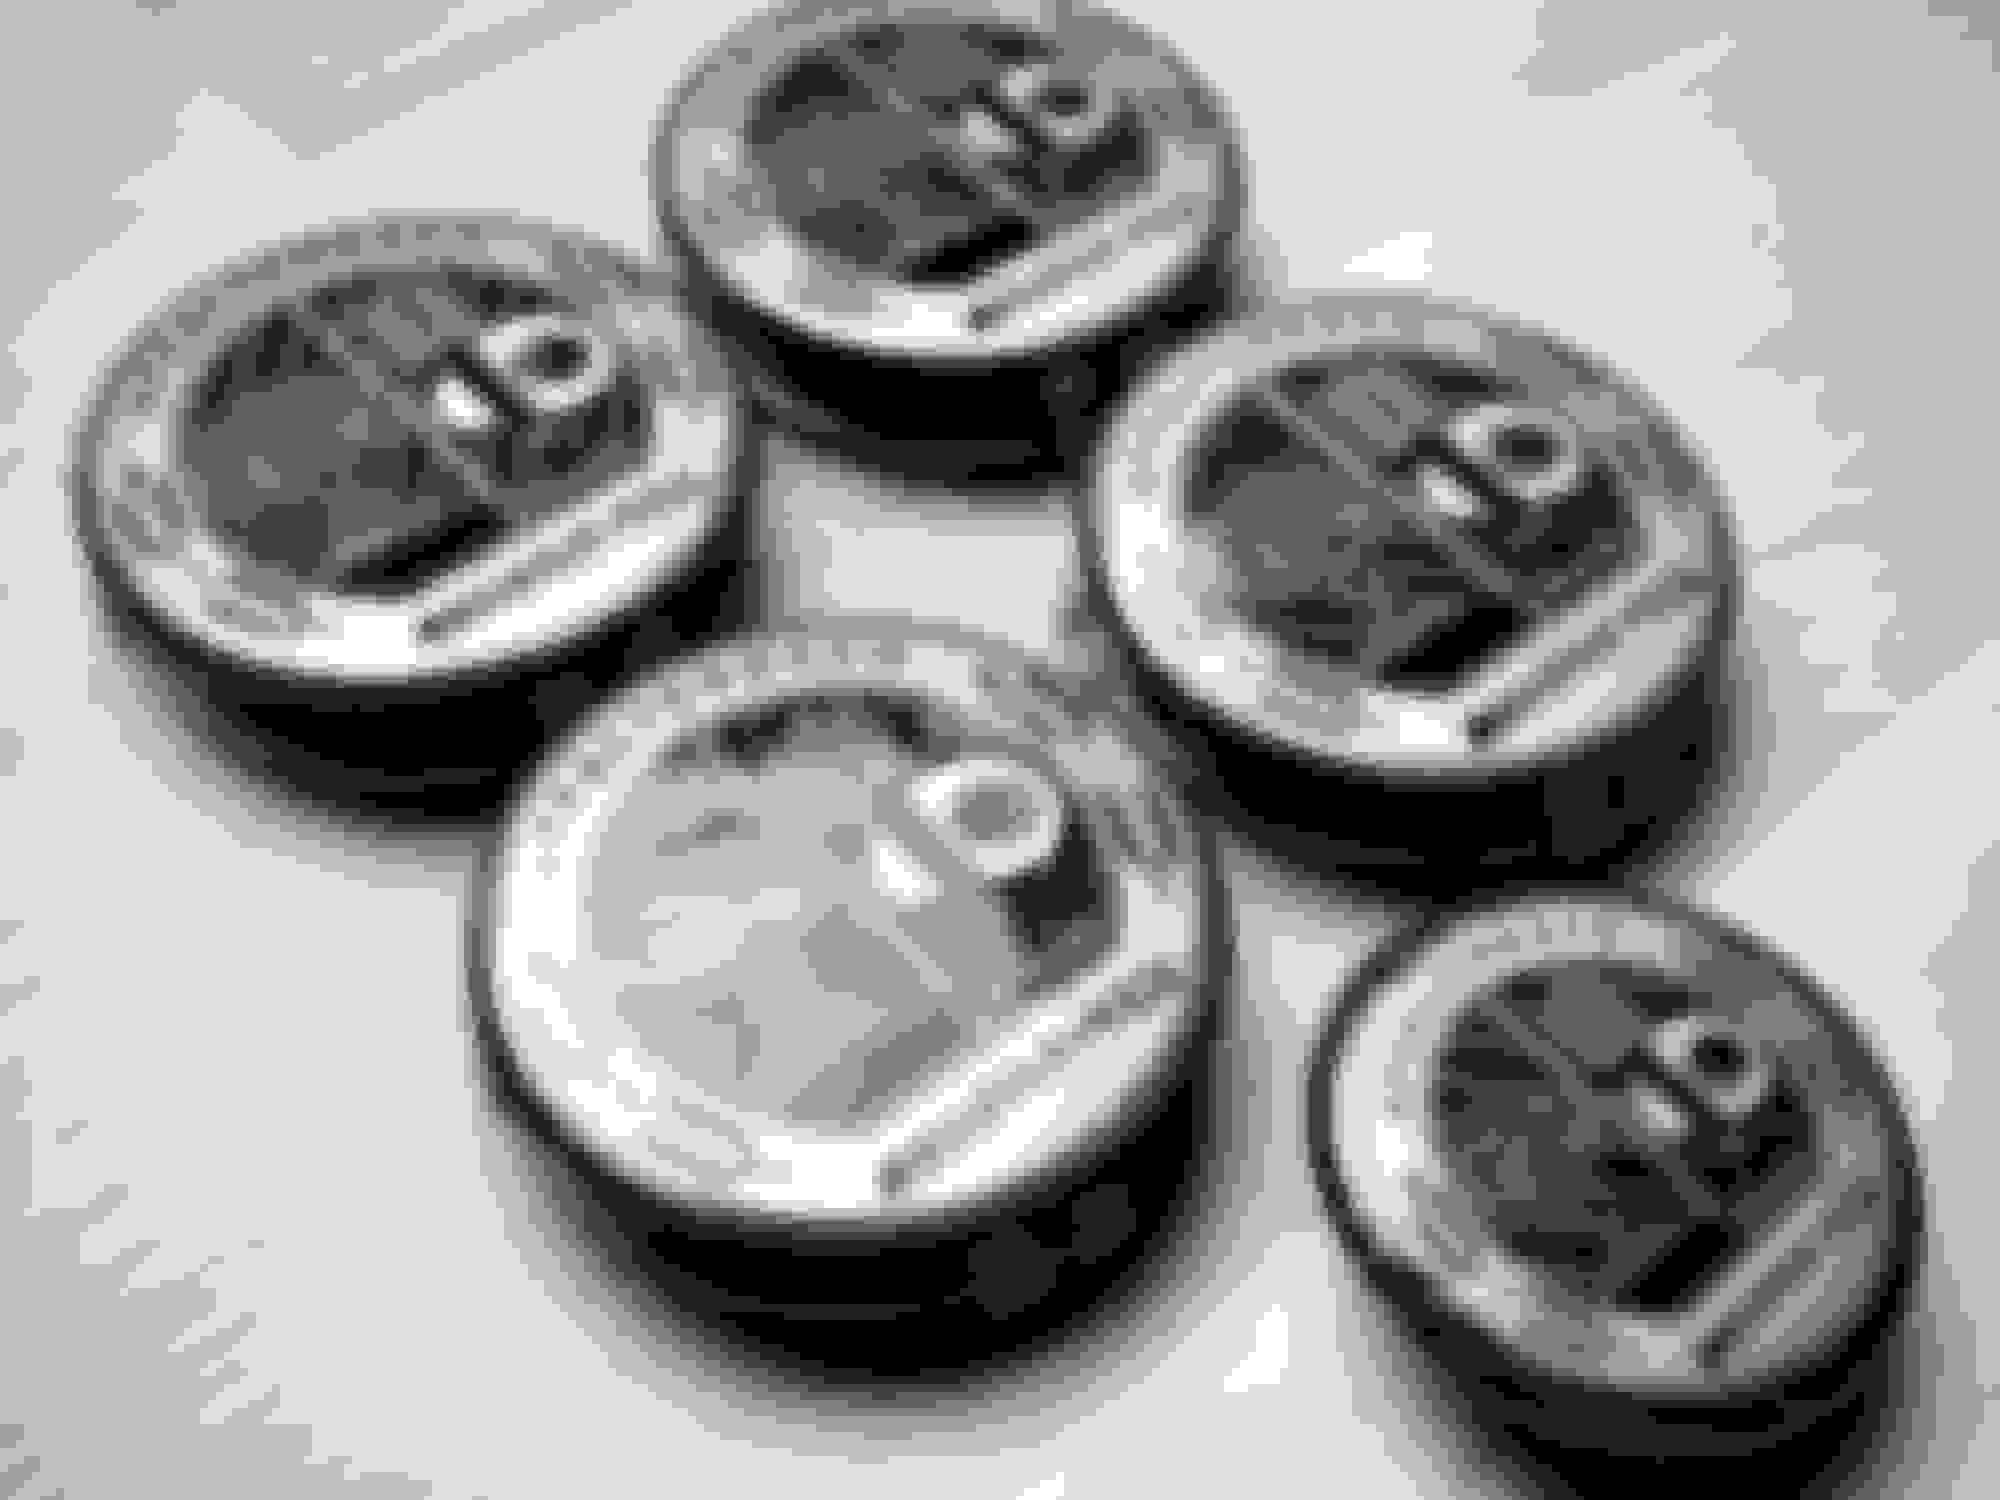
Flawless OEM rims (no tires) powder coated black chrome, not a single chicken scratch all four rims are true. This particular black chrome has many shades and tends to flirt with your imagination throughout the day. Custom palladium silver carbon fiber Afflerbach center caps will be included if the price is right (PM for details) local pickup only. Custom street trim made a guest appearance to the party late.
My motto is you can't knock on something until you try it, make no mistake about it politely put I not only tried once but THRICE. Although I'm just getting my feet wet, I am beginning to question all tuners on this platform. Whether if it's their capability or software holding them back, I'm done with their dinosaur technology/monkey customer service. Besides there's a new or should I say REAL tuner in town, and he just so happens to be in my backyard @hachiroku All I ever ask from a tuner is for them to give me their time of day, up until this point Barry is the only one that could deliver/manage to keep up with my pace. Not only did Barry agree to meet in person but took the time to get in depth/elaborate on what he was offering with HP tuners. After our hour local rendezvous while discovering how eight six tuned transpired I was convinced that if Barry couldn't fuel my goals/journey that no one else could so I chose not to waste any more time and took a leap of faith on eightysixtuned. Stay tuned, eighty six tuned my friends.
Factory Spare rims wrapped in MH radials to counterbalance bias ply tires in the rear increasing stability while reducing rolling resistance/rotational mass allowing me to get a jumpstart off the line.
Afterthoughts: TRACK USE ONLY. 25~26lbs unsprung rotational mass savings. 130~182lbs static weight savings
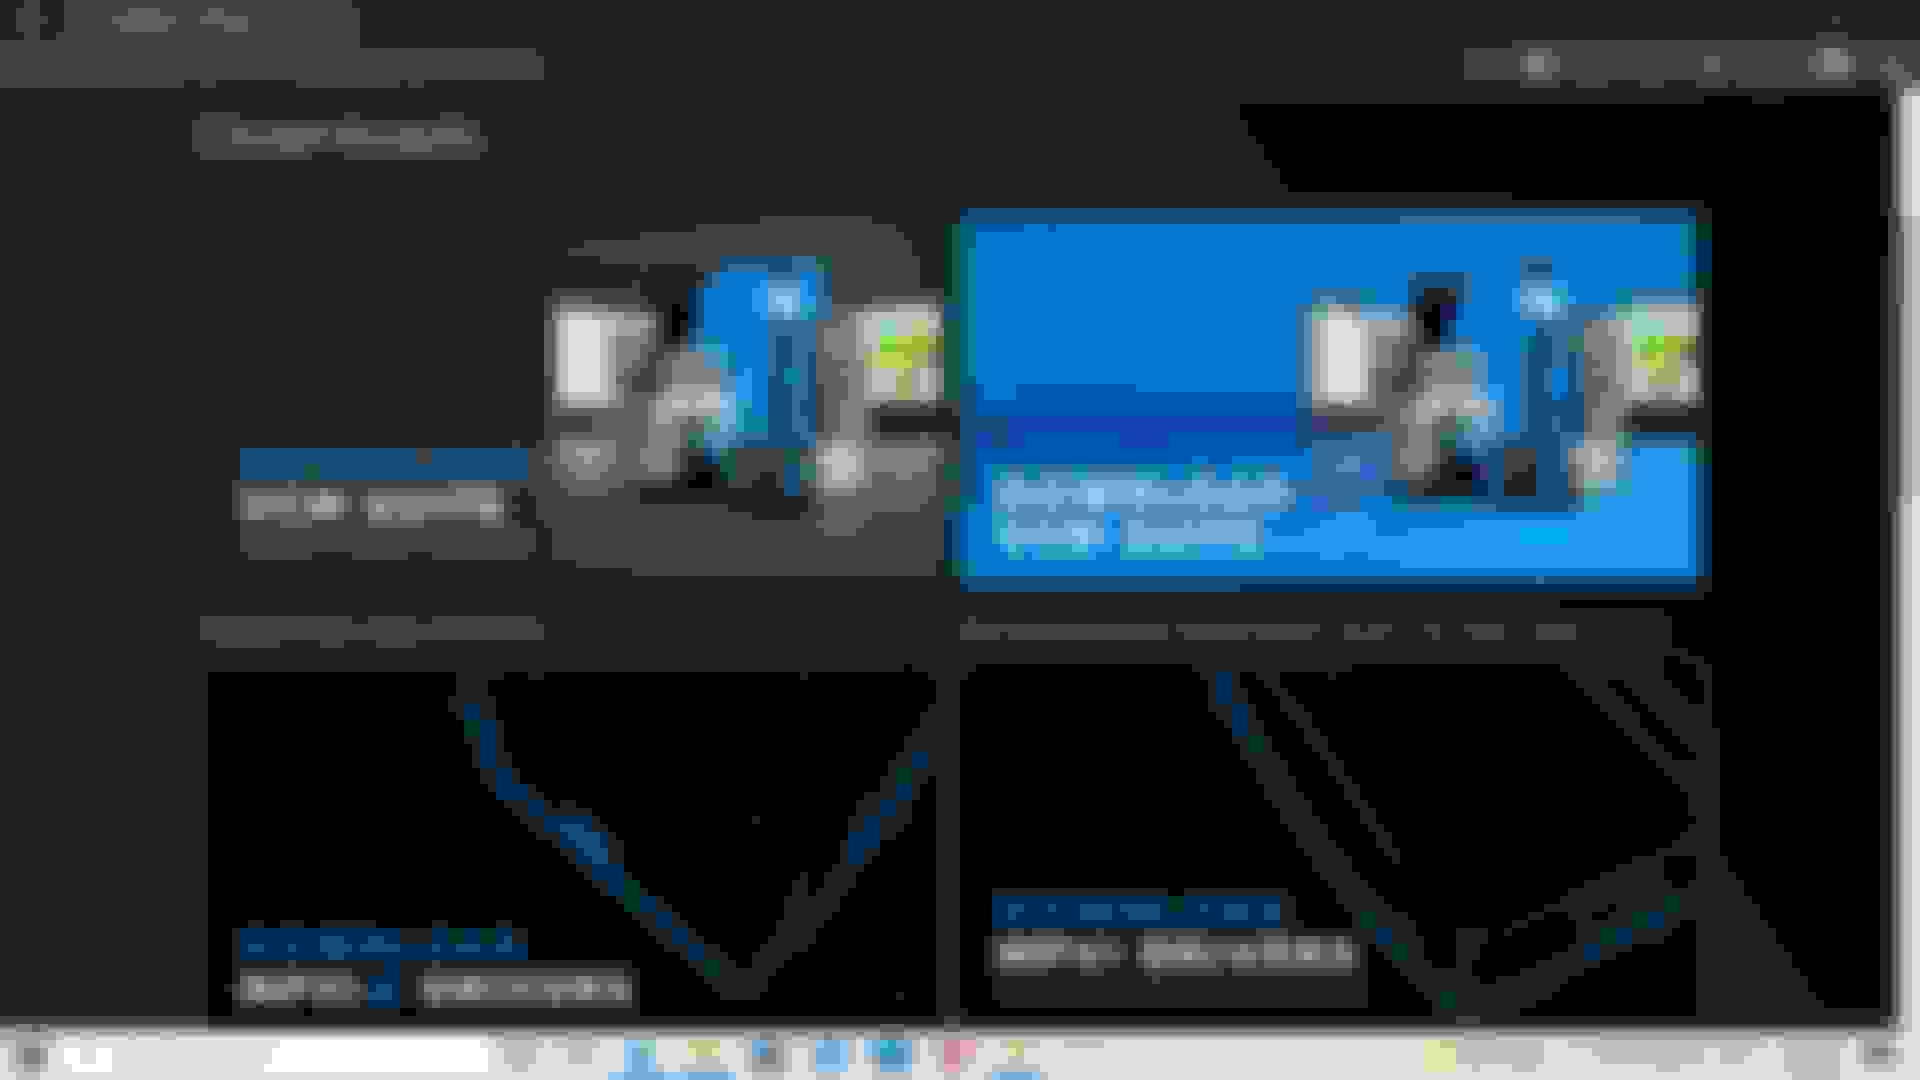
For those looking in from the outside who might still be on the fence converting to HP tuners the objective/process is quite simple. A custom tune is like a custom suit, should specifically only be tailored to your application. Tuning process will require a windows pc/laptop (apple users may have to utilize bootcamp mode), MPVI2 Tuner, purchase/download/ sync license credits and VCM suite/editor software off HP tuners site. Once you become familiar with the 86 HP layout/process @hachiroku has thoroughly fabricated the rest is a breeze and won't think twice about going back to the stone ages, uploading/switching maps roughly 30~seconds give or take and resetting monitors 10 seconds if that. Barry records/reviews up to 150 parameters per log, wish I could say that anyone else is currently investing this length of time to reinvent every map at the moment. For anyone who questions logging this sum of parameters is outlandish fails to realize that a tune can only be as good as the data provided, more data chalks up to a finer tune which alone can put you streets ahead in a different class.


 12-31-2021, 02:17 AM