When you click on links to various merchants on this site and make a purchase, this can result in this site earning a commission. Affiliate programs and affiliations include, but are not limited to, the eBay Partner Network.
Anybody who doesn't have the luxury of parking in a garage while commuting/traveling looking for a decent stout sunshade to preserve/conceal interior from warping/cracking your search ends here. Without saying too much this particular sunshade fits snug like a glove and reduces interior temps up to 30-40�F per infrared thermometer, not to mention fabricated in the U.S. offered in silver or gold finish. Anyone in the bay area can acquire one locally in Morgan hill, free shipping special at the moment. Broad daylight photos with door open/closed attached (5% tint all around) picked one up for the C5Z as well and couldn't ask for more; $40 well spent.
Deleting the rear seats will trigger the following error if the rear seat back latches are left unlocked. Simply clock/lock latches clockwise to eliminate errors. Front SRS errors next in line.
For anyone who still refuses to believe that they're no solid benefits/power to be reaped with ethanol on an NA application have been driving with their eyes closed for too long. Have been shifting gears in ethanol for the last month and had to pinch myself a few nights just to confirm that all the data and events were reality. Further to my previous ethanol tunes/comments @hachiroku dedicated ethanol maps are UNREAL dare I say UNMATCHED. Despite new tires I have 99 problems and traction is still ONE. I can go on about this until I'm blue in the face, but I'll spare that for the full 86 tune review to come once the smoke and dust settles. One off custom CF hood badge took flight in the midst of dialing in on pump ethanol not to mention exhaust cracked/dislodged the other night and is currently being revamped to withstand Barry's hammer tune frequency levels going forward.
Anyone utilizing these mickey mouse flex fuel systems are simply leaving power on the table and will be incapable of unlocking your steed's full potential without a custom dedicated ethanol tune tailored specifically for your application/environment. In addition, regarding the flex fuel unit had encountered several fuel flooding/cranking escapades one too many times, can't be trusted with the least to say. Zero issues since removal. I'd encourage anyone running ethanol to run gasoline every few tanks to prevent ethanol gunk and most importantly habitual frequent oil changes. Before/After consistent injector ethanol gunk photos after 2k miles, following photo of injectors subjected to 91 octane after 200 miles. Stay tuned, eighty six tuned.
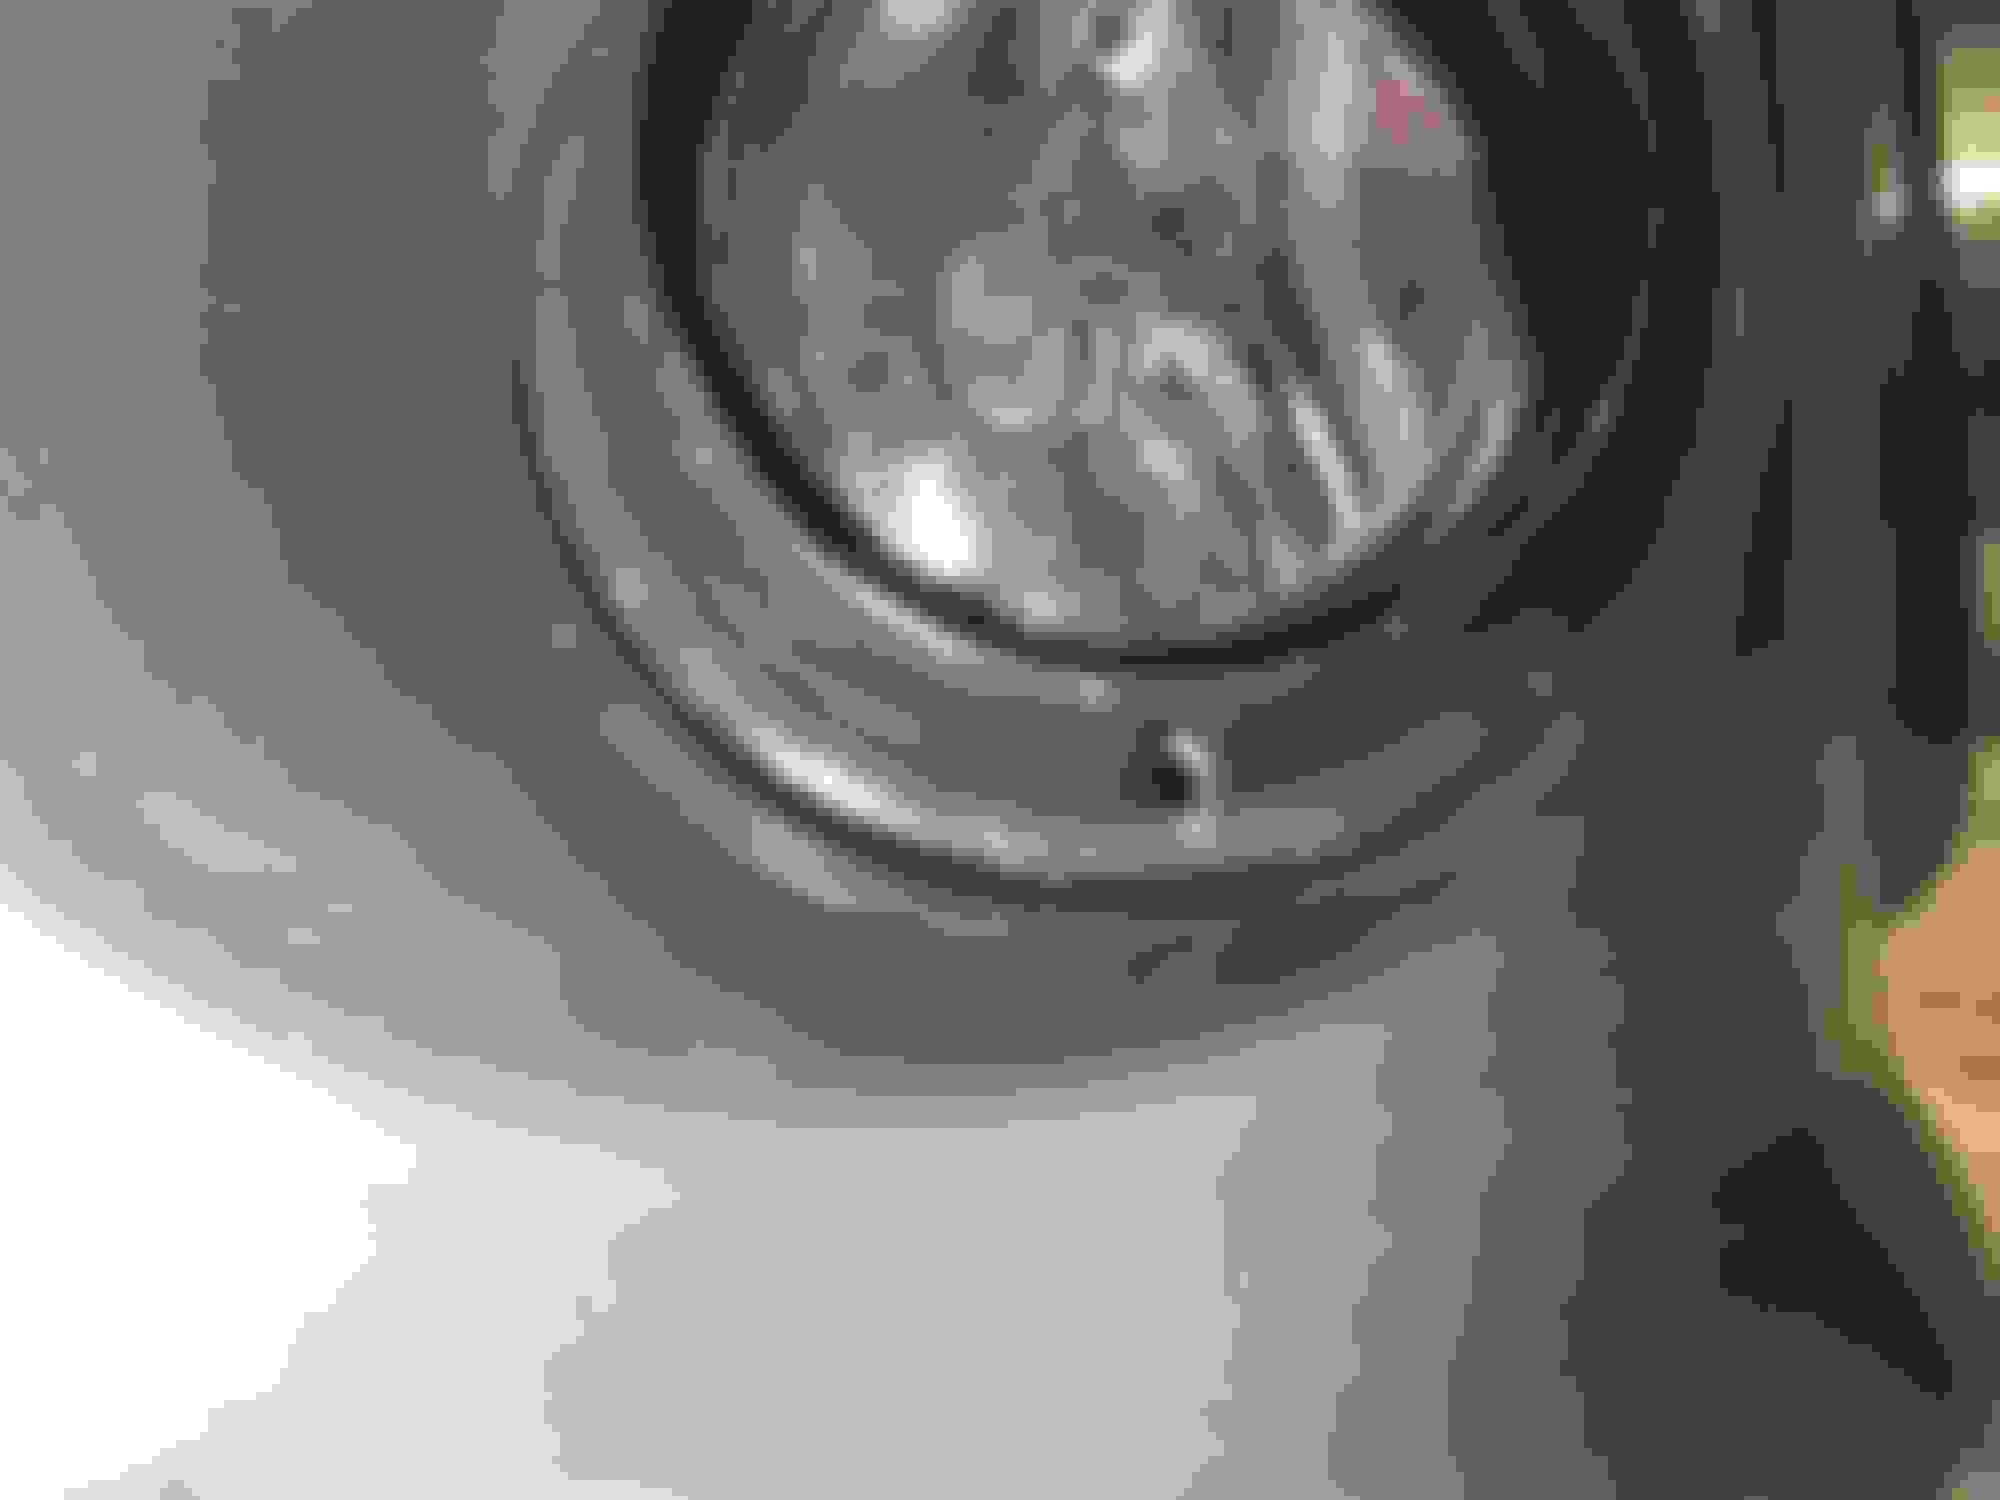
Always been under the impression that the front crossmember center buffer stopper was made of rubber. However, they're plastic. I'd encourage utilizing rocker panel jacking points as this particular section in the cross member is flimsy and can cave in; support buffer stopper with a 2x4 if you MUST use the center jacking point.
*CENTER BUFFER STOPPER REMOVAL*
*HOIST/JACK UP CAR BY ROCKER PANEL JACKING POINTS
*REMOVE UNDER TRAY BELLY PANS
*LOCATE CENTER BUFFER STOPPER BETWEEN BOTH BELLY PANS
*ISOLATE/PULL DOWN CENTER LOCKING PIN (GRADUALLY WORK IT COMPLETELY DOWN WITH TRIM/PANEL FORK)
*REMOVE/REPLACE CENTER BUFFER STOPPER (ONCE PIN IS COMPLETELY PULLED DOWN STOPPER WILL BE RELEASED)
*REINSTALL BELLY PANS IN APPROPRIATE ORDER (STOPPER TABS SHOULD BE BENEATH SUPPORTING BELLY PANS NOT ABOVE TUCKED AWAY)
Latest and greatest exhaust revision weighing in less than my motorcycle battery. Original design couldn't handle @hachiroku Hammer Tune frequency levels @8K and fractured prior to dislodging. Post surgery ATM, time slips this fall @Cammer88
Latest and greatest exhaust revision weighing in less than my motorcycle battery. Original design couldn't handle @hachiroku Hammer Tune frequency levels @8K and fractured prior to dislodging. Post surgery ATM, time slips this fall @Cammer88
Curious, are you on a stock lower end?
Also, stock cams/lifters?
I rolled through your thread and didn't see anything about updating those but I could have missed something quite possibly.
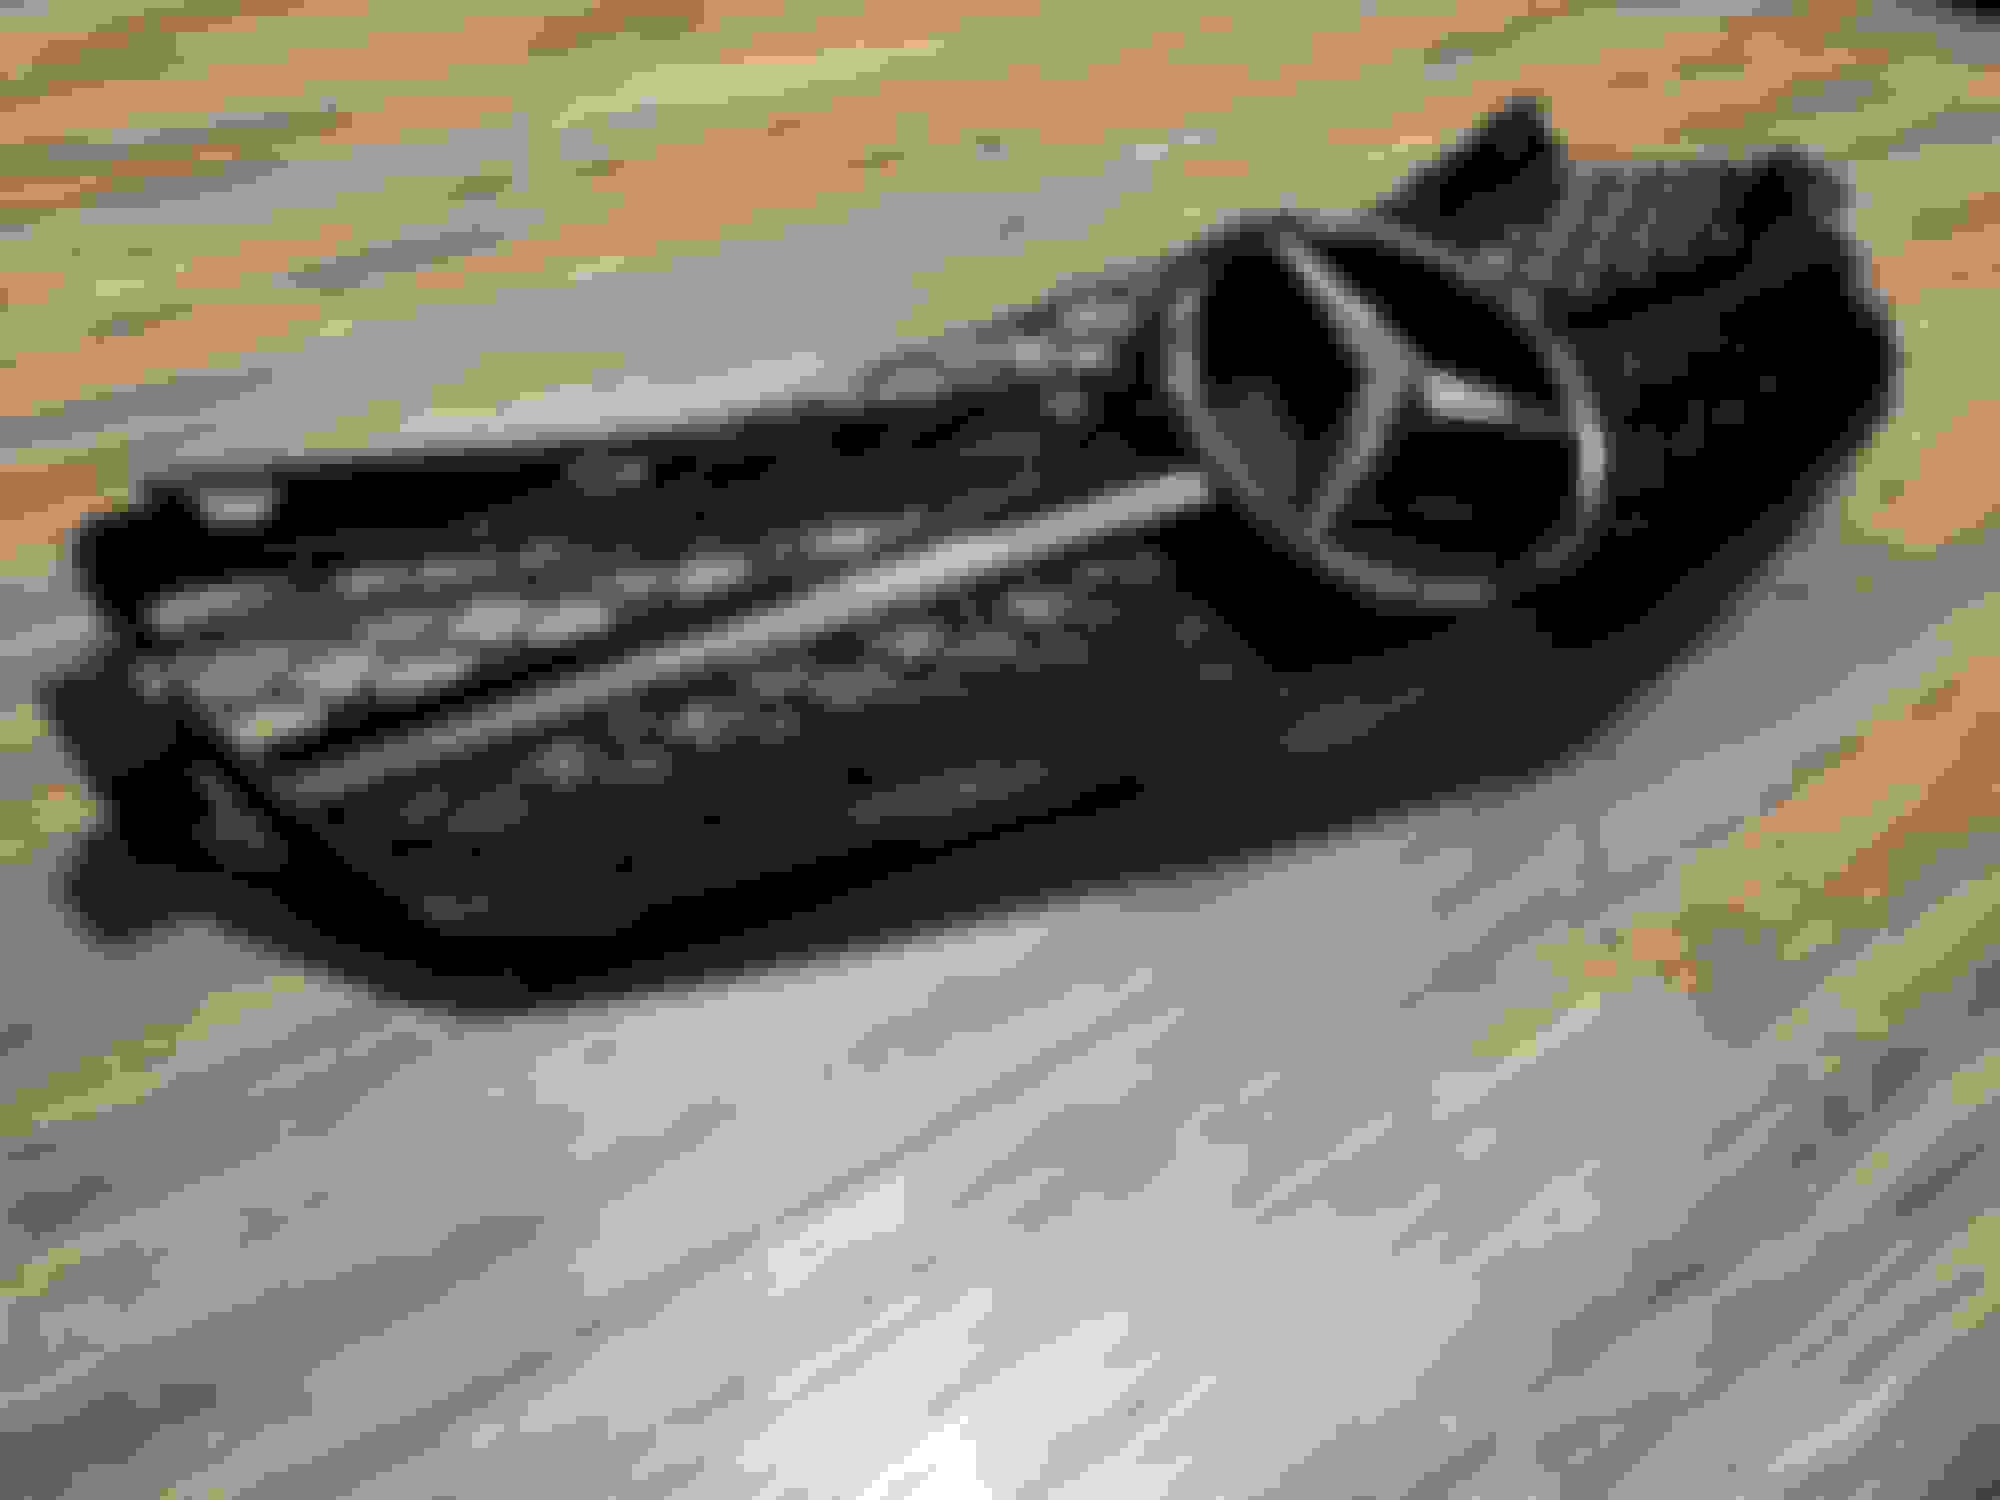
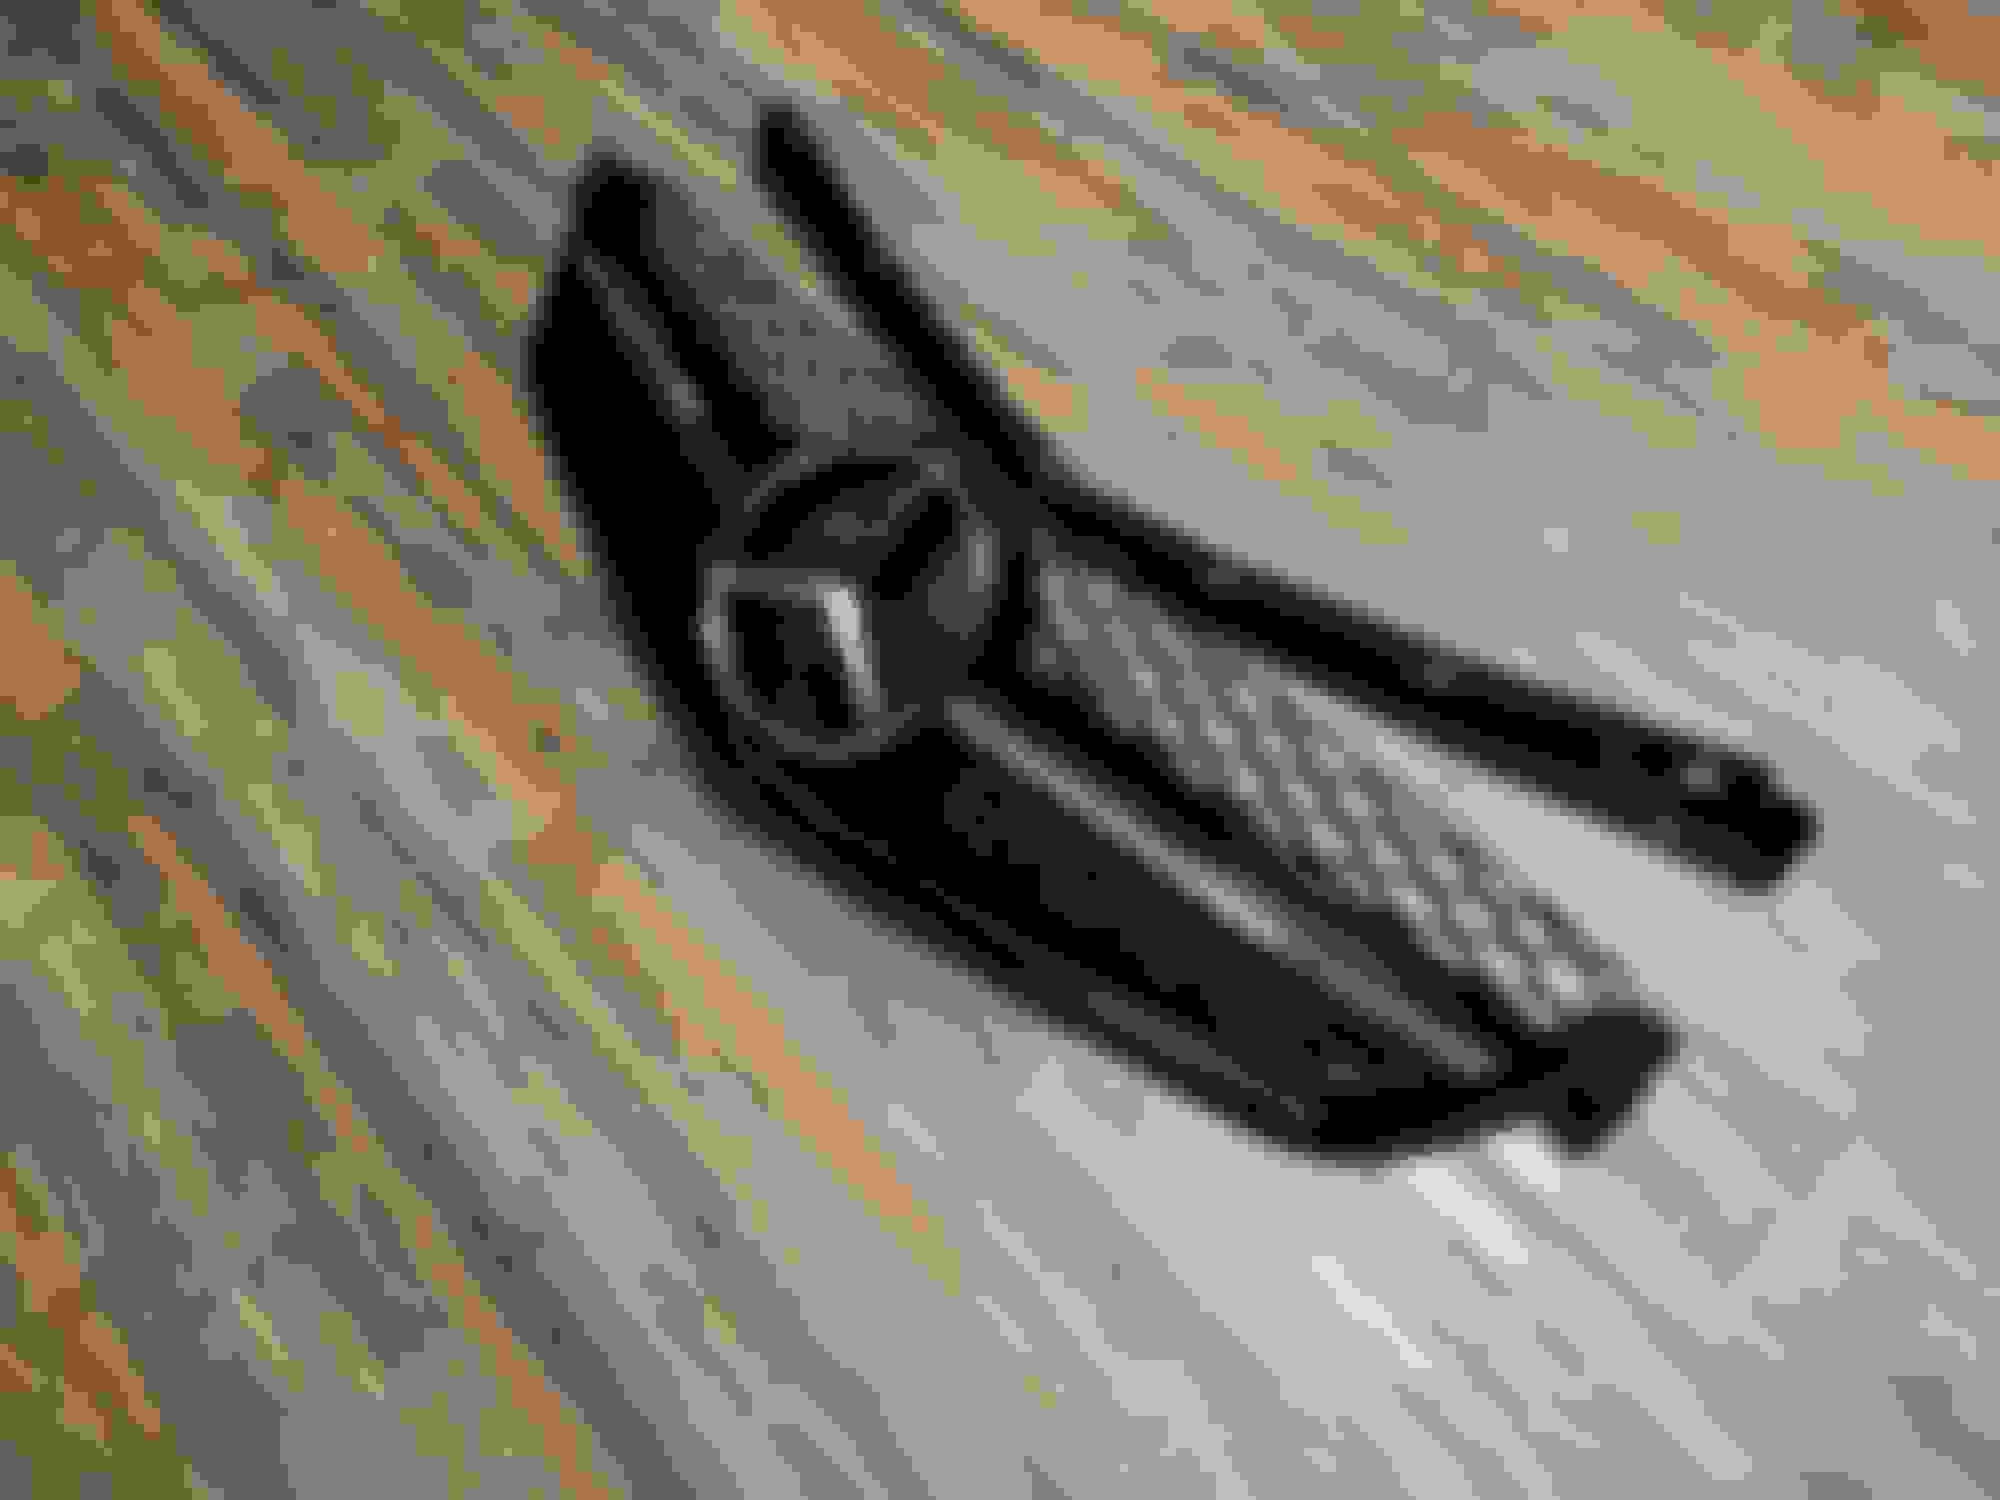
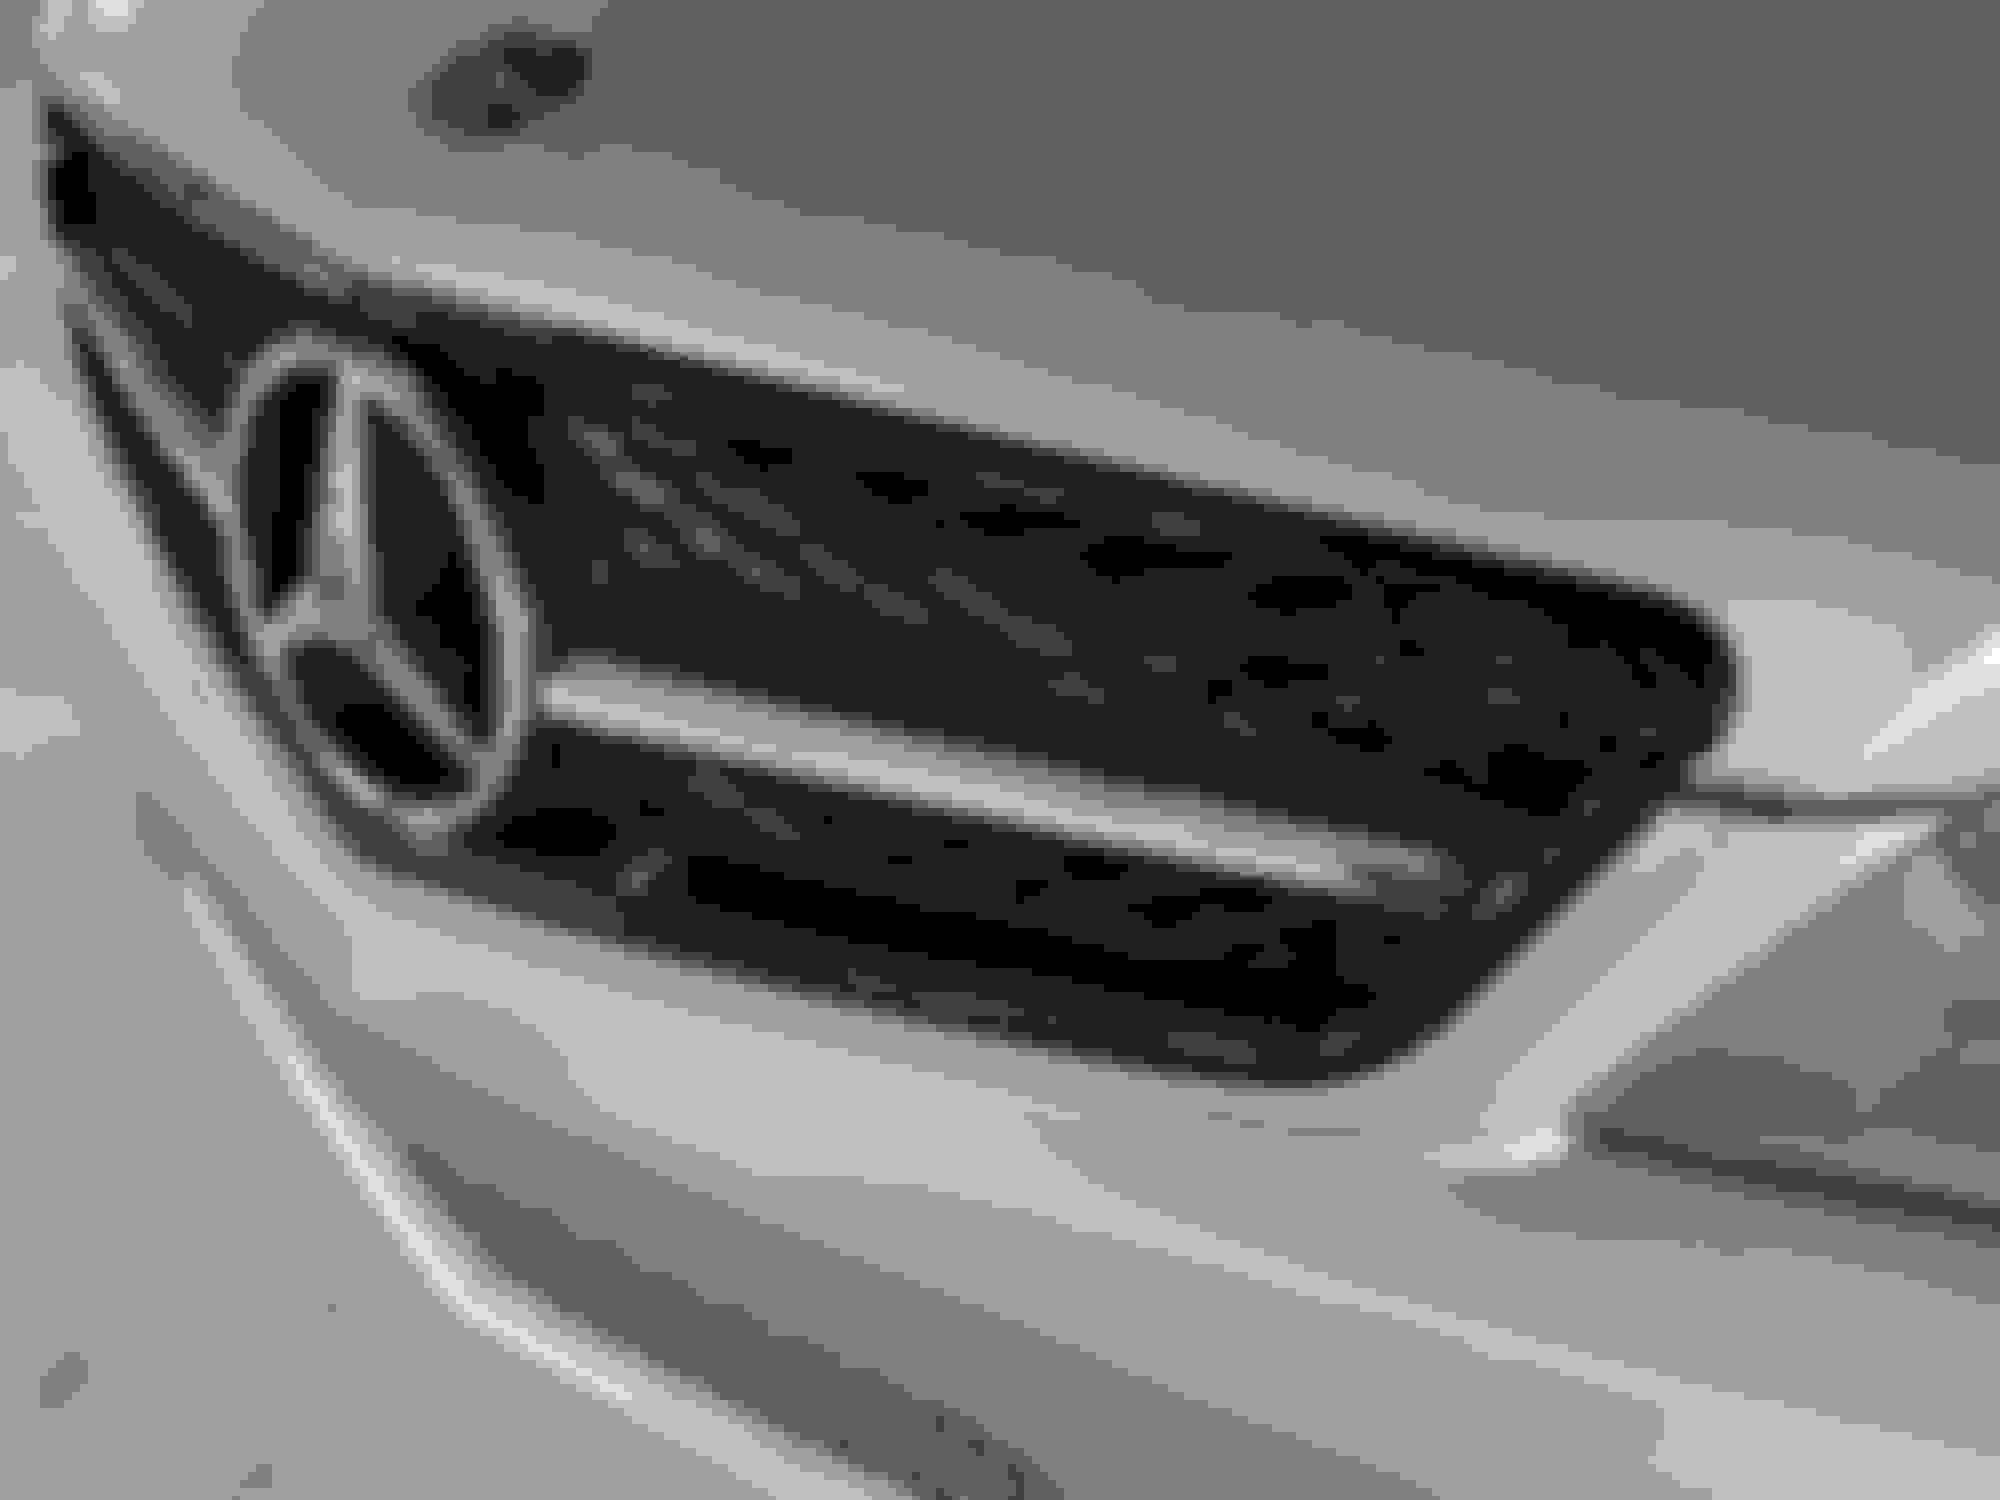
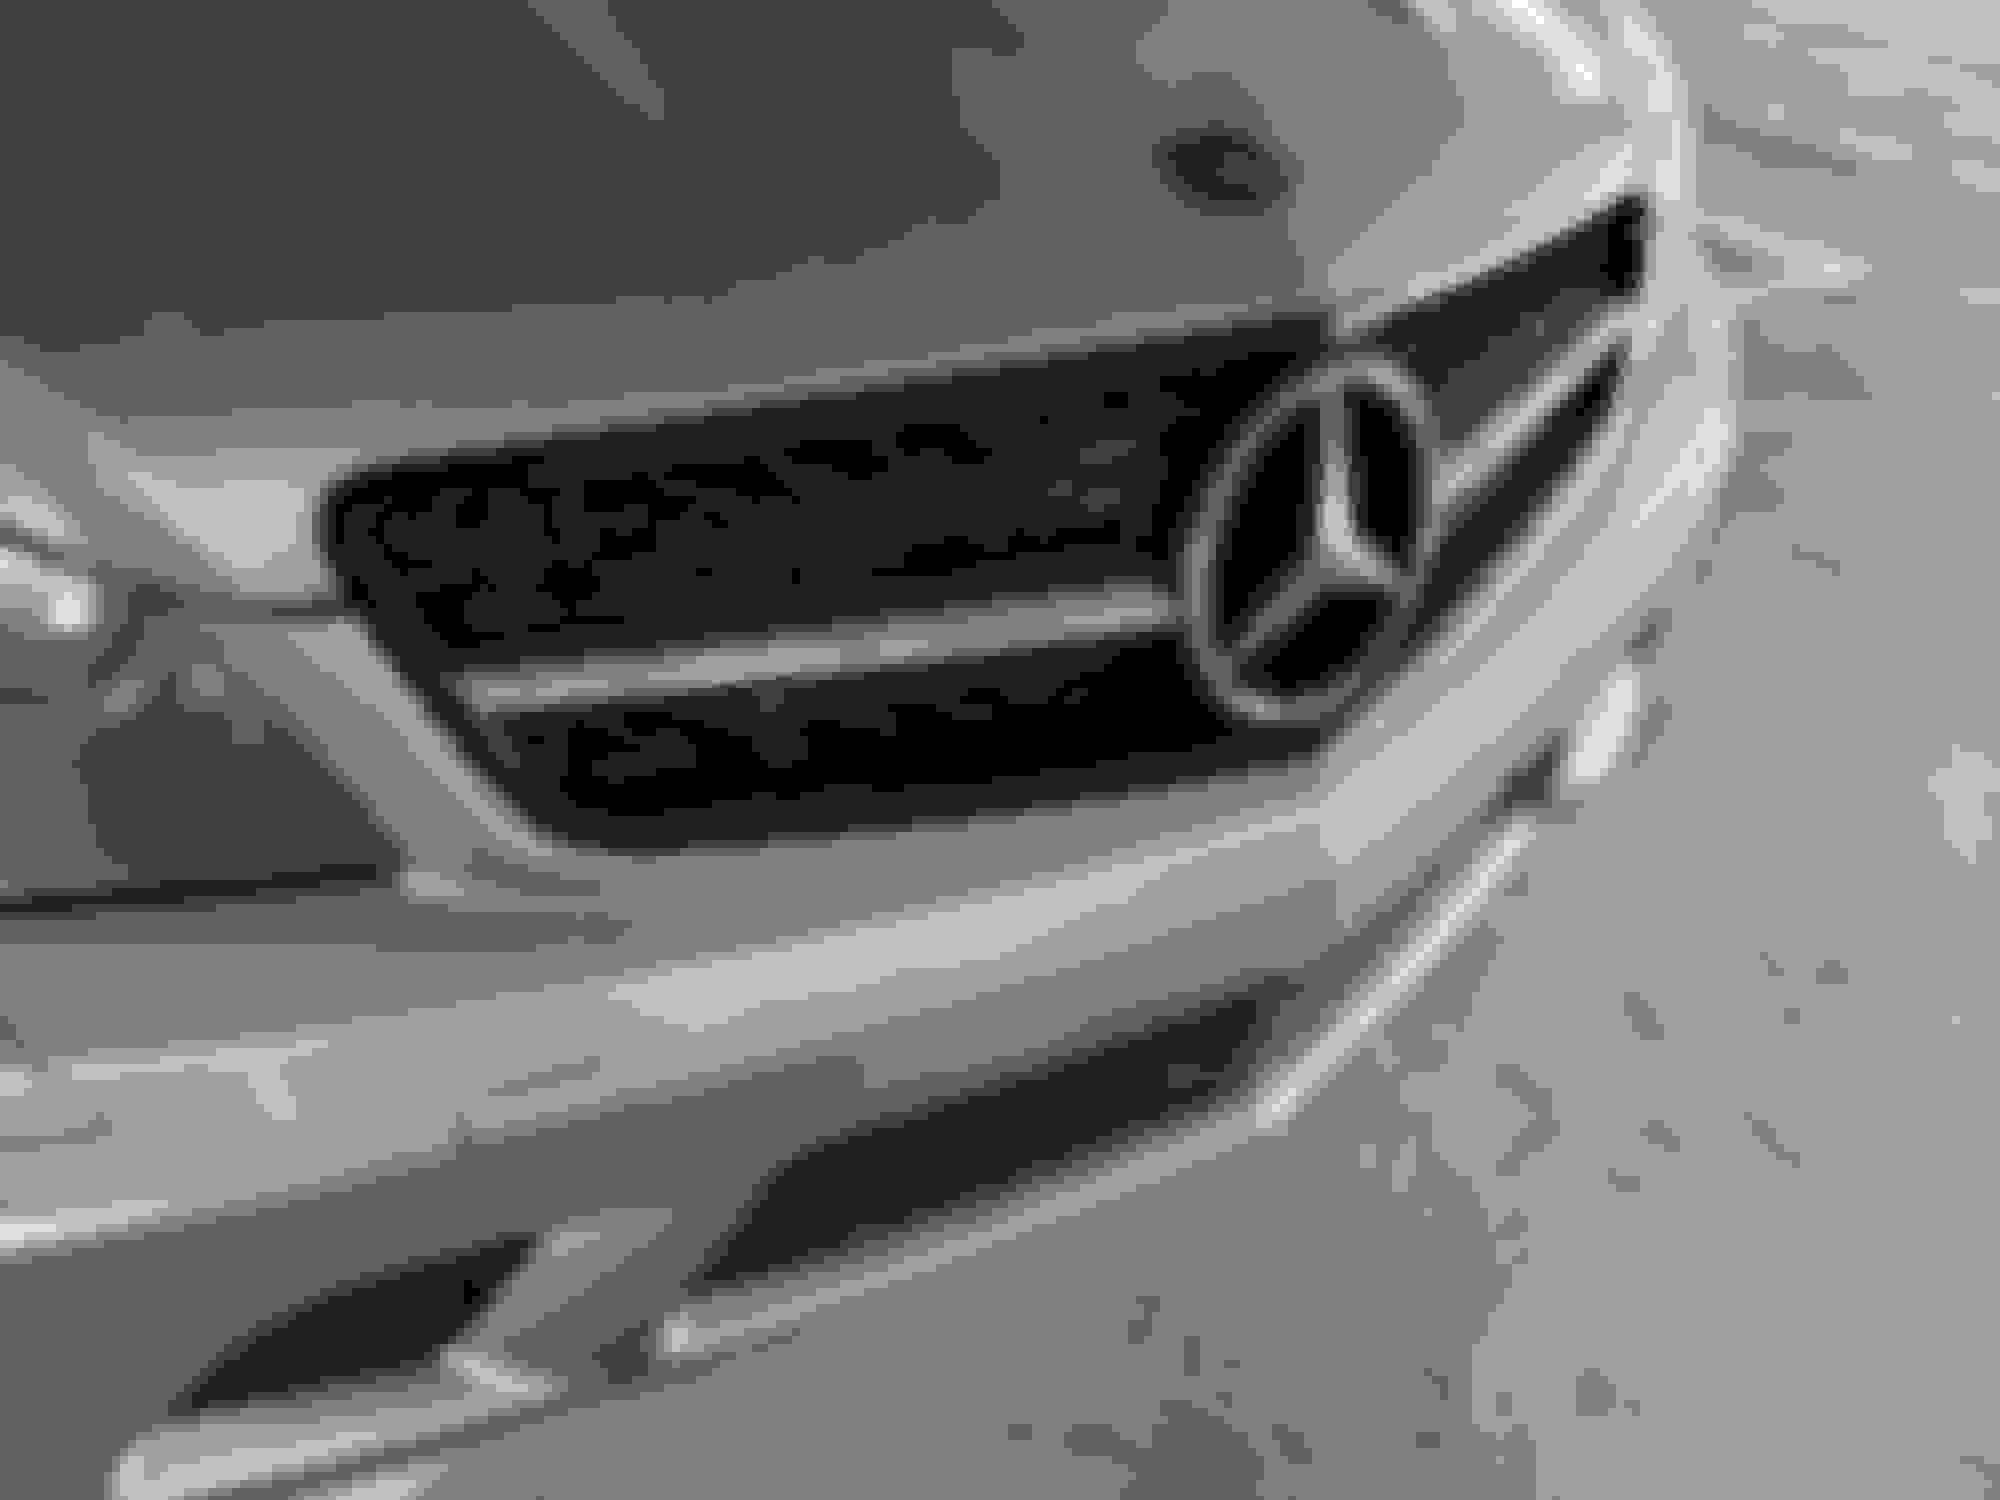
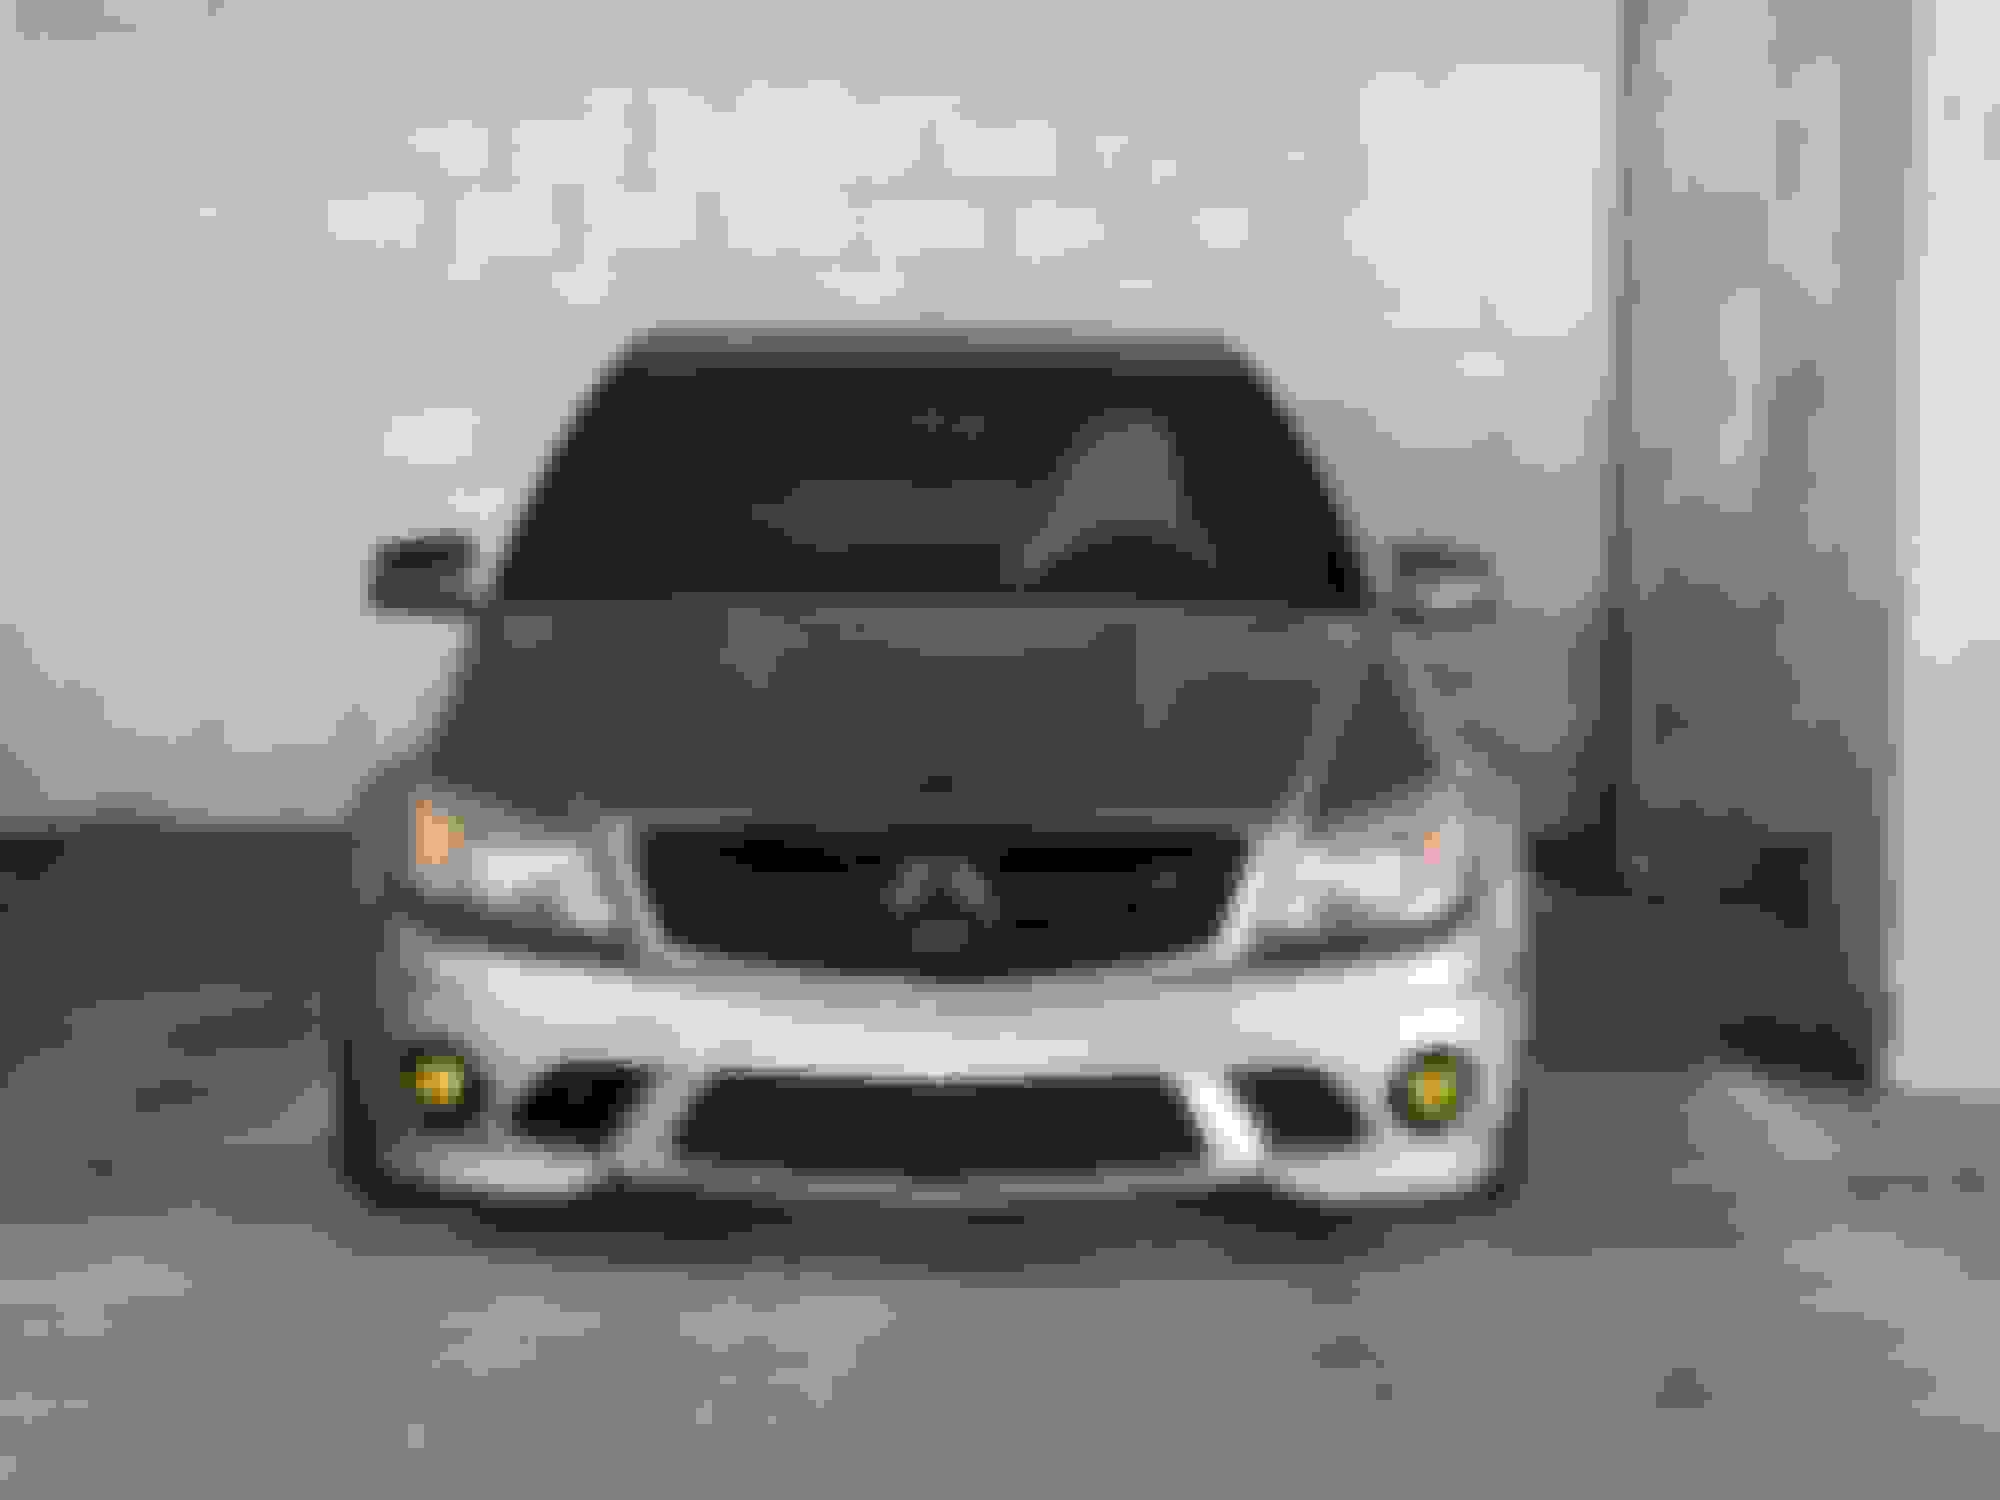
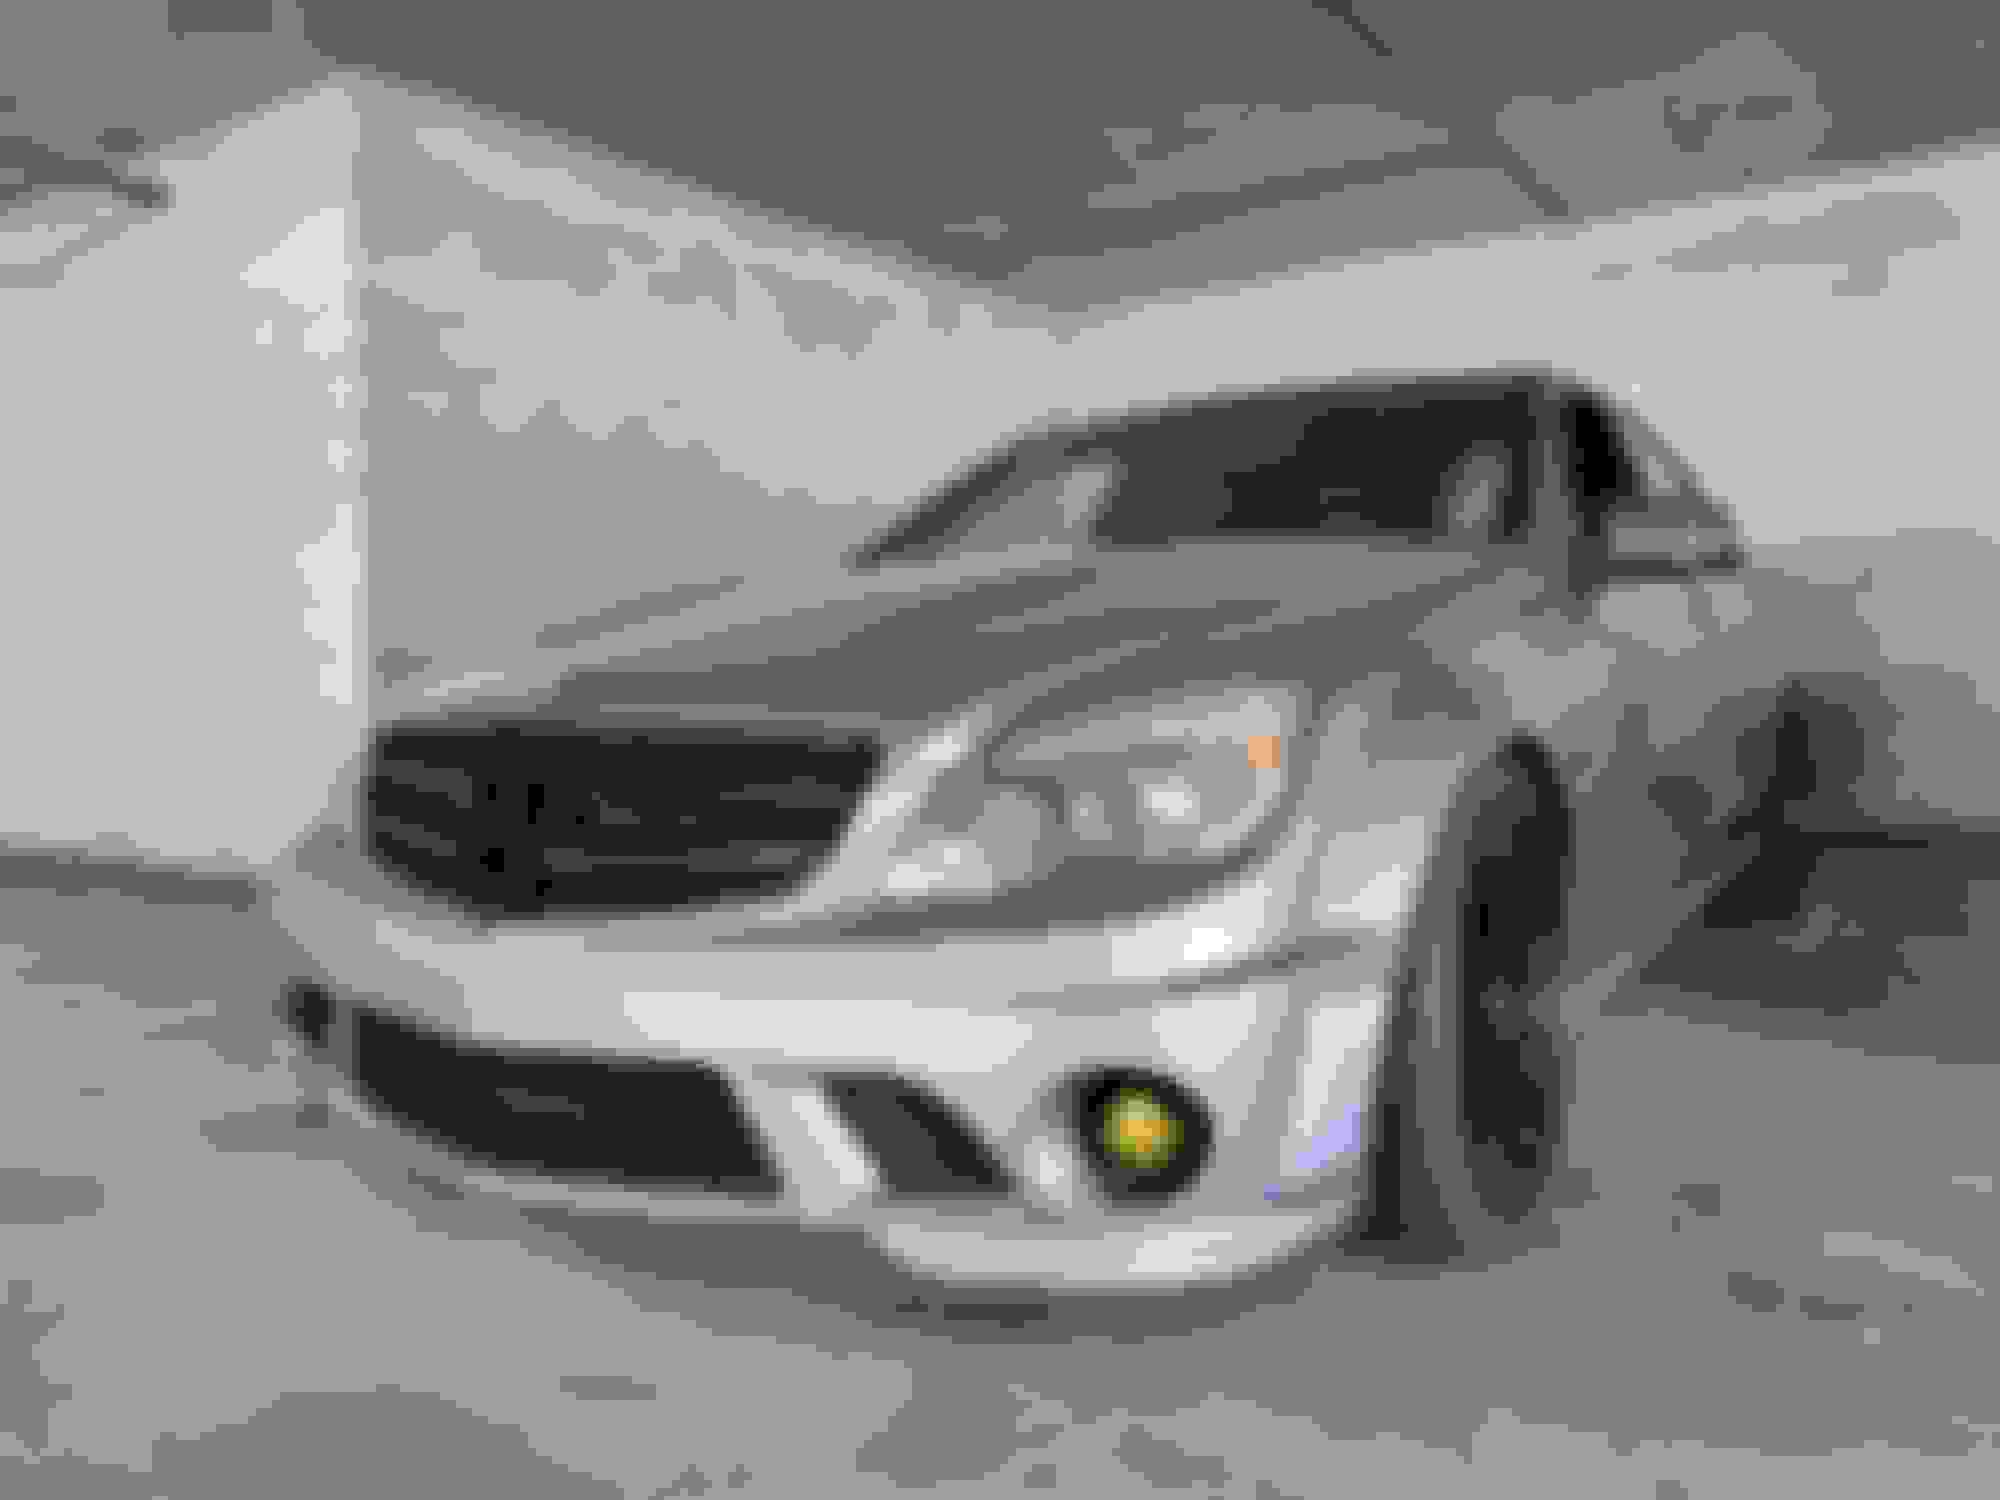
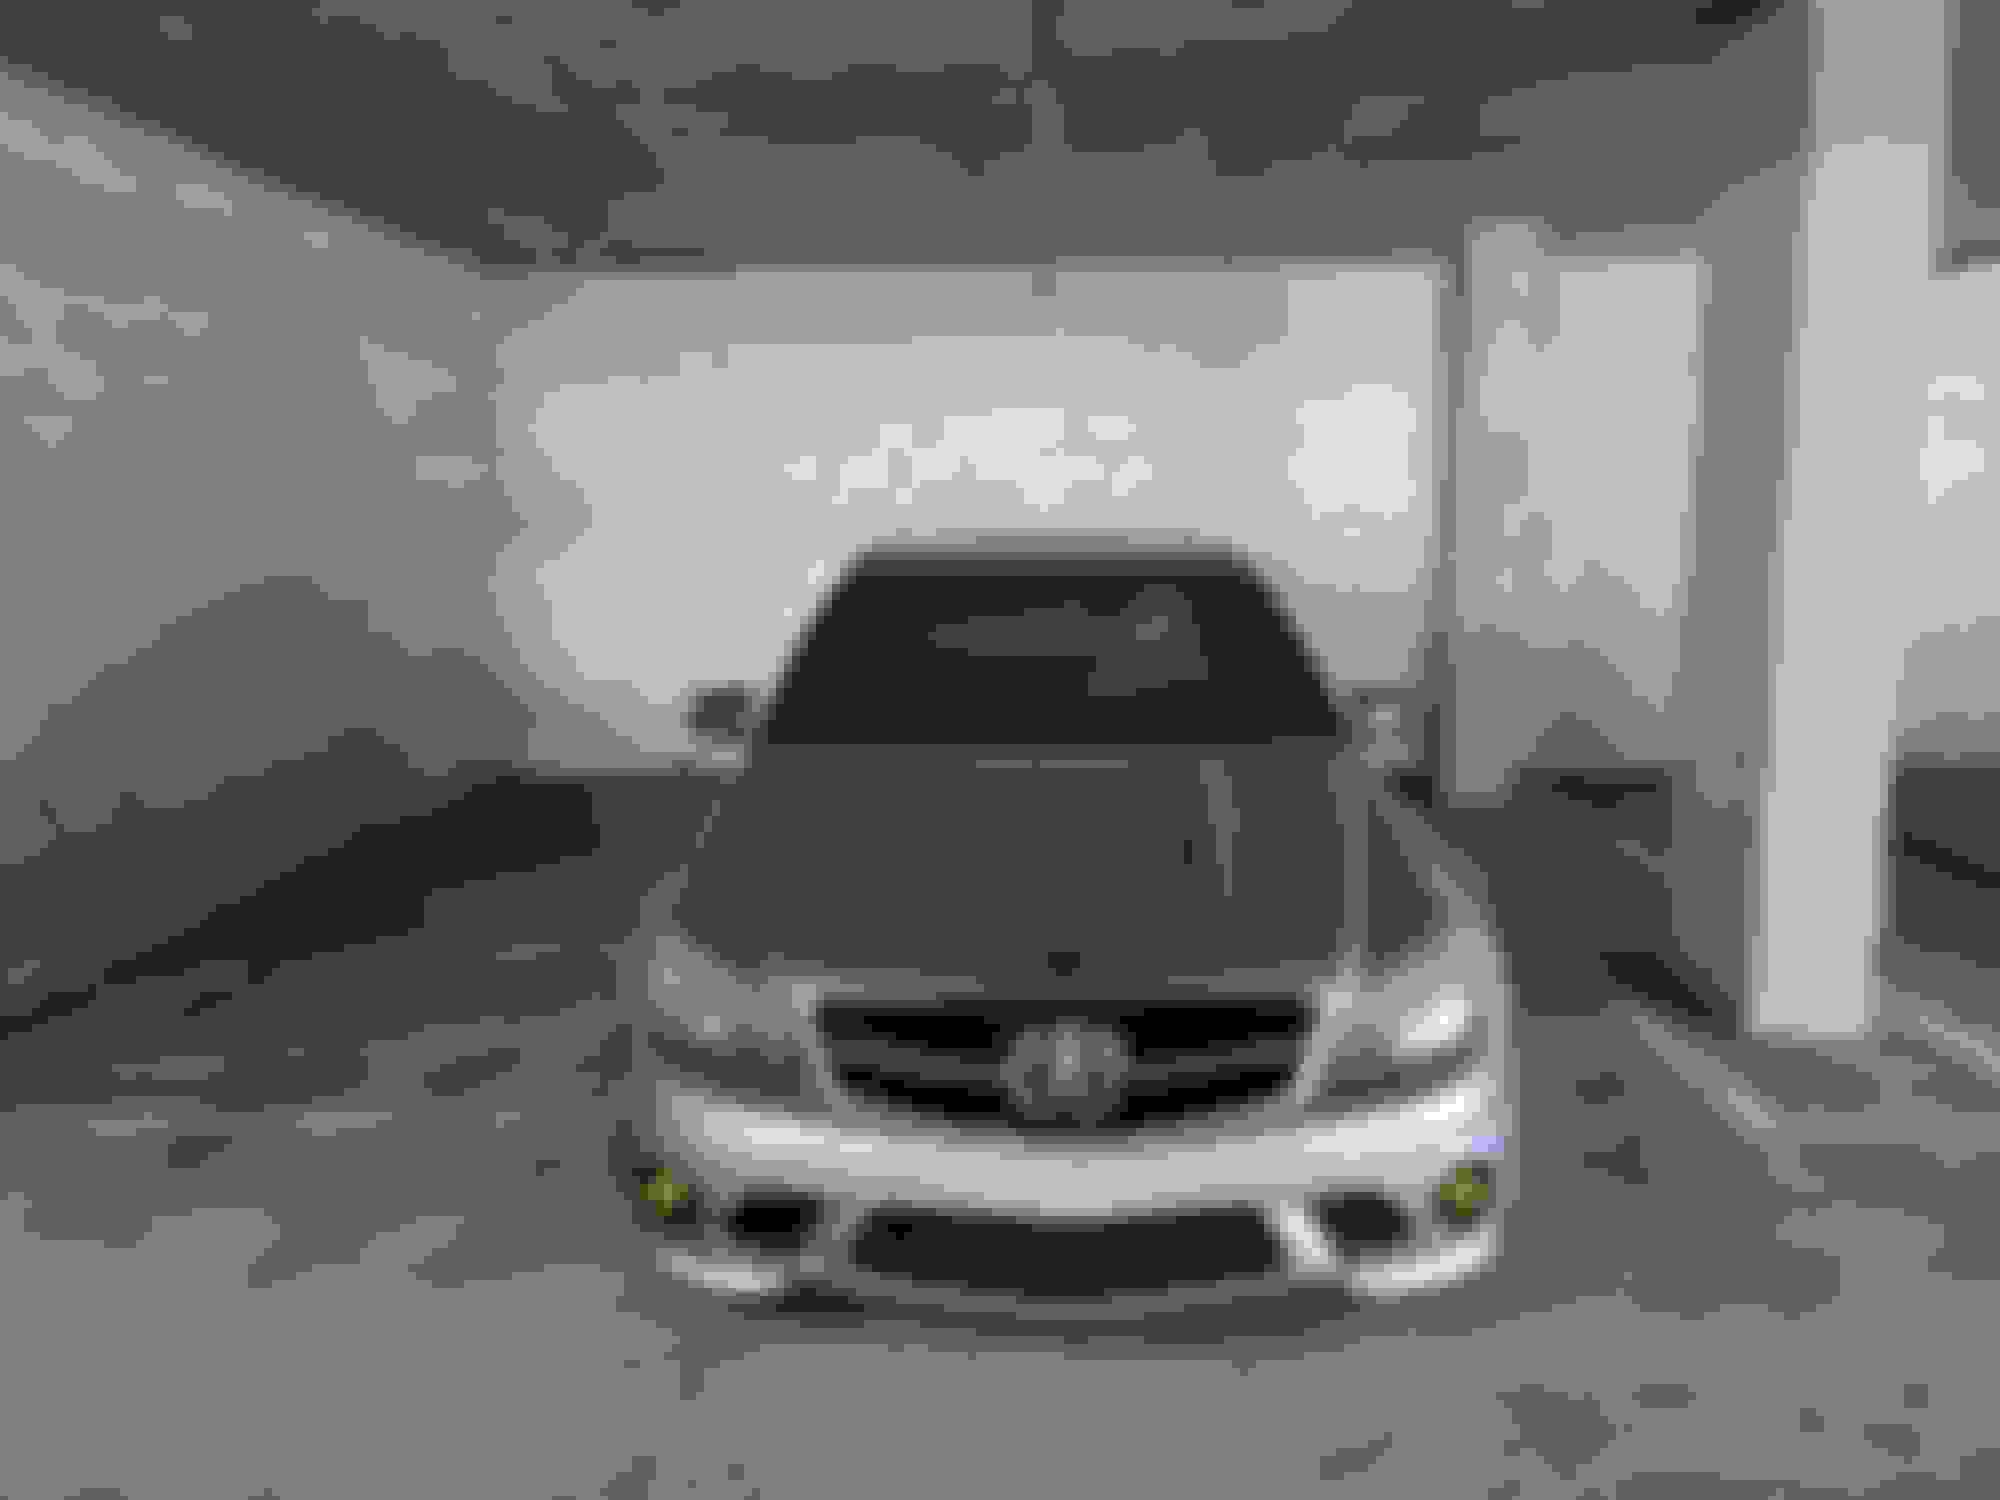
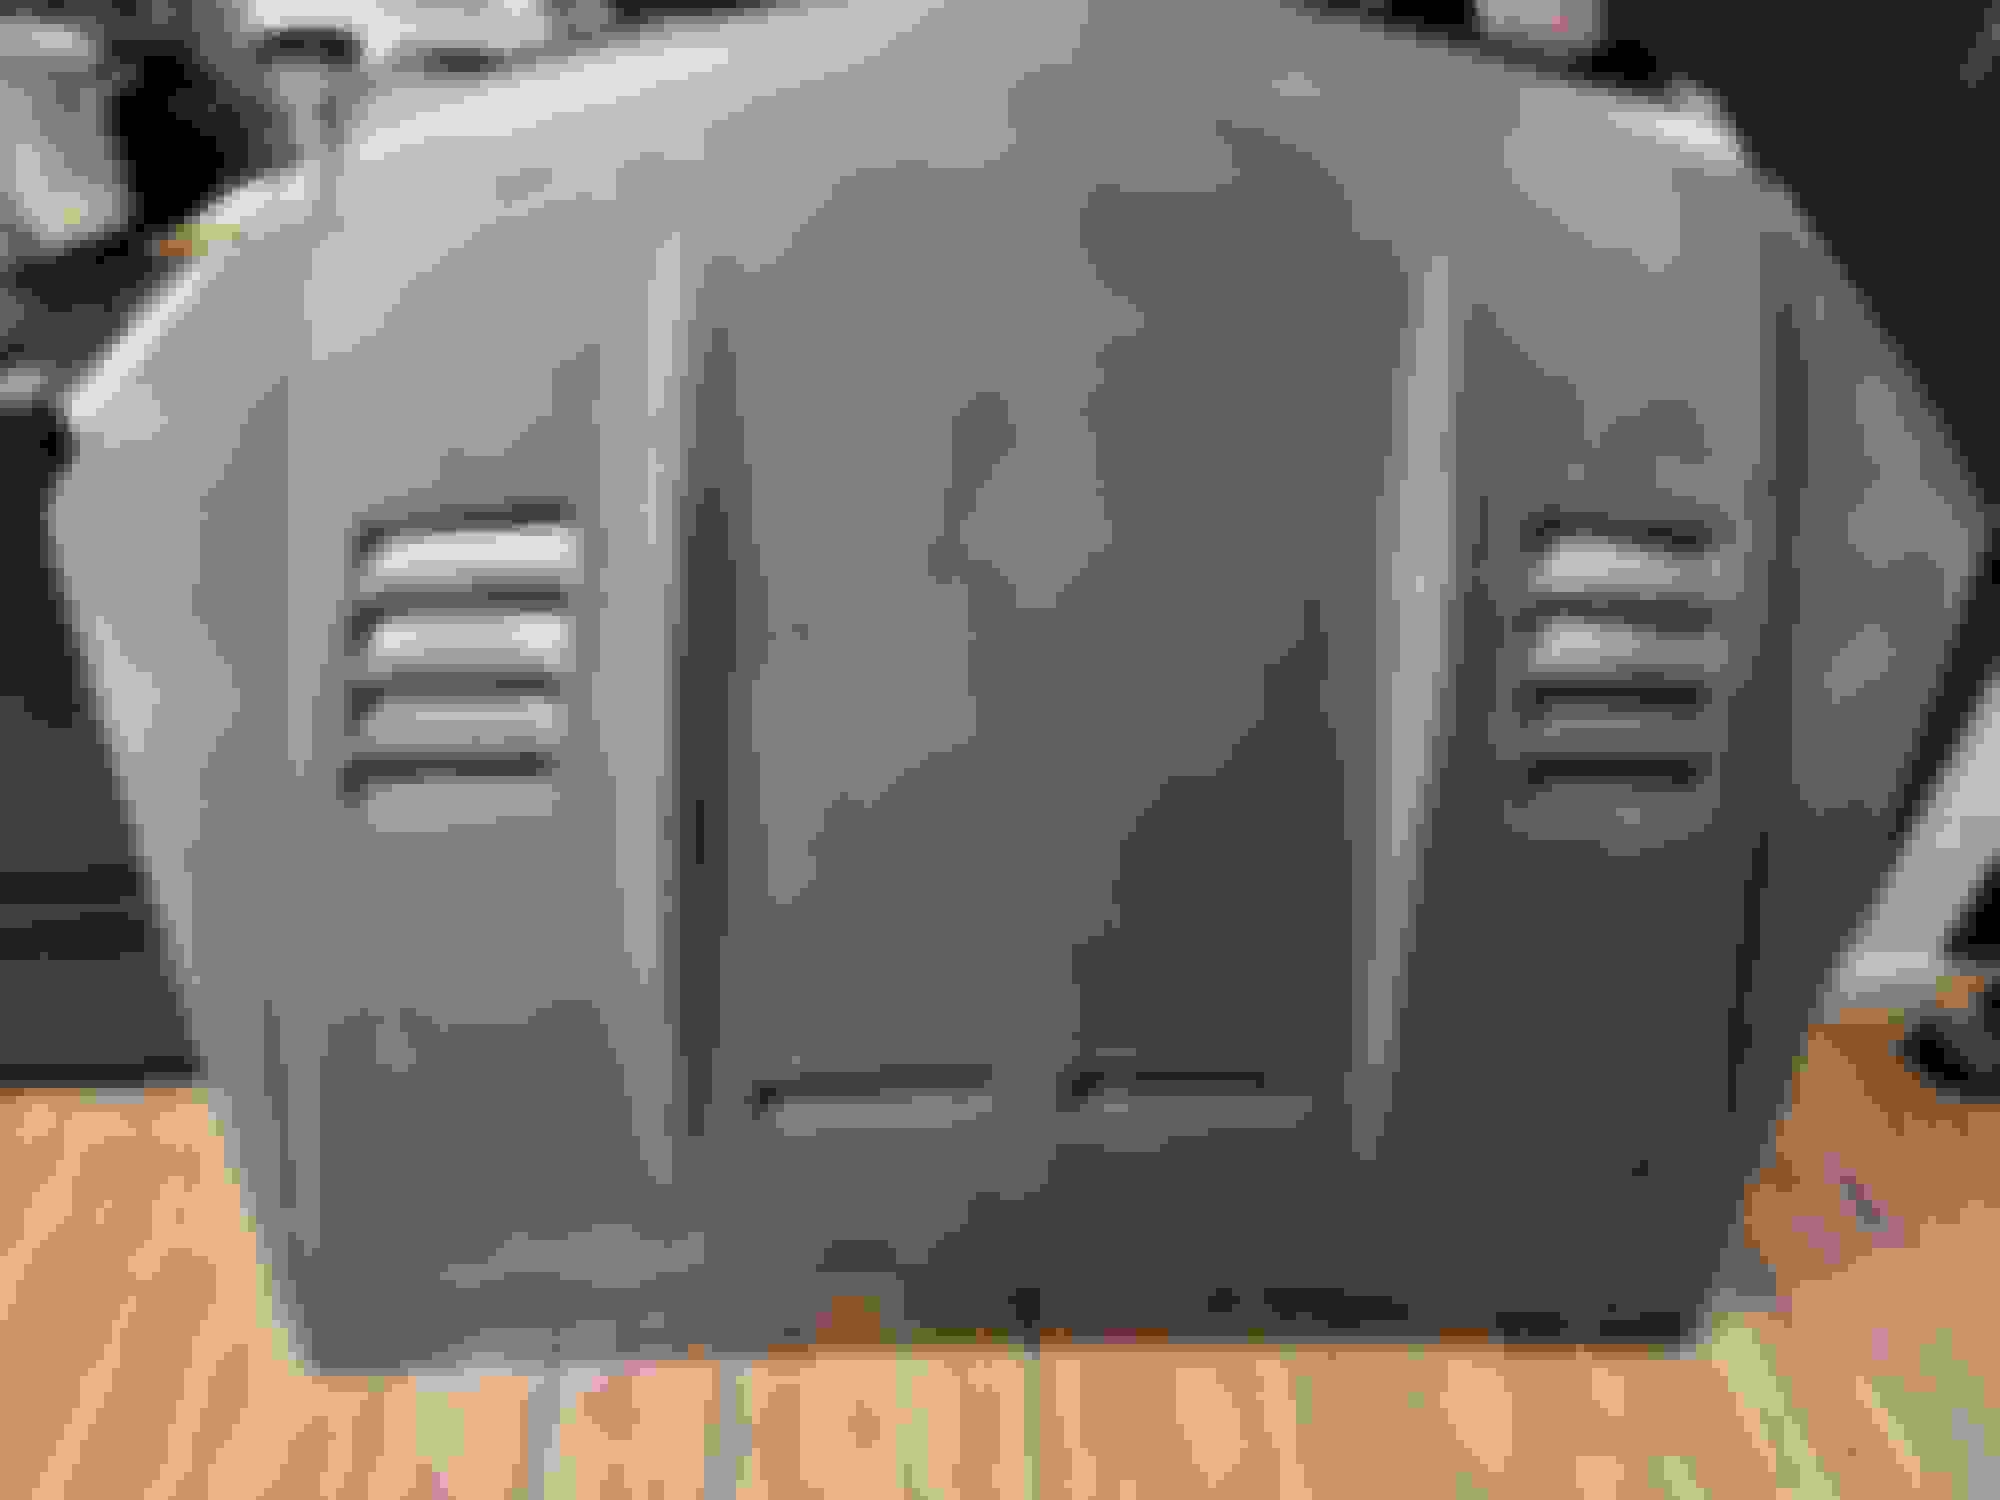
My love for chrome is nonexistent. However, I've cajoled myself to believe it will compliment/contrast better on the facelift grill with the current chrome delete theme and will serve as a prelude for what's in store. GTR and factory glossy black PFL grill was fun while it lasted. It was apparent after reaching out to several vendors to fulfill my 507-style request it didn't seem to spark anyone's interest. However, after chatting/conveying the 507 grill to Jason @55tech he was convinced. Without saying too much, Jason now can fulfill a 507-style face lift grill that will accommodate PFL 2008-11 models, should be listed as an option as soon as I send him decent photos for reference; email him for a much prompter response in the link below. For anyone wondering the factory 507 grill won't seat appropriately on PFL models for apparent reasons (2012-15). Not in my fashion to write full reviews. However, seeing my request fulfilled and that fitment was snug like glove with quality assembly it would be a crime If I didn't, DARE I say fit better than my factory PFL grill. Full review to come, I'll let the photos finish my sentence.
GRILL REMOVAL
*PRY/PULL OUT BOTH GRILL FASTENERS WITH PLASTIC PANEL POPPER OR SMALL FLAT HEAD*
*PUSH/POP OUT LOWER PORTION OF GRILL GENTLY TOWARDS ENGINE UNTIL ALL BUMPER FINGER TABS RELEASE FROM LOWER SUPPORT GRILL SLOTS*
*SLIDE UPPER PORTION OF GRILL BACK AND PULL OUT*
*REMOVE UPPER GRILL ATTACHED TO HOOD (6) TORX 20 FASTENERS (BE MINDFUL WHEN REINSTALLING THAT THESE FASTENERS ARE ANGLED, INSTALLING STRAIGHT WILL STRIP OTHERWISE)
*REINSTALL IN REVERSE ORDER AND ENSURE ALL GRILL SLOTS ARE ALIGNED WITH BUMPER FINGER TABS UPON REINSTALLING THE GRILL, ONCE ALIGNMENT IS VERIFIED APPLY FIRM PRESSURE BEHIND THE GRILL INTO BUMPER TABS SNAPPING INTO LOWER GRILL PRESSURE SLOTS*
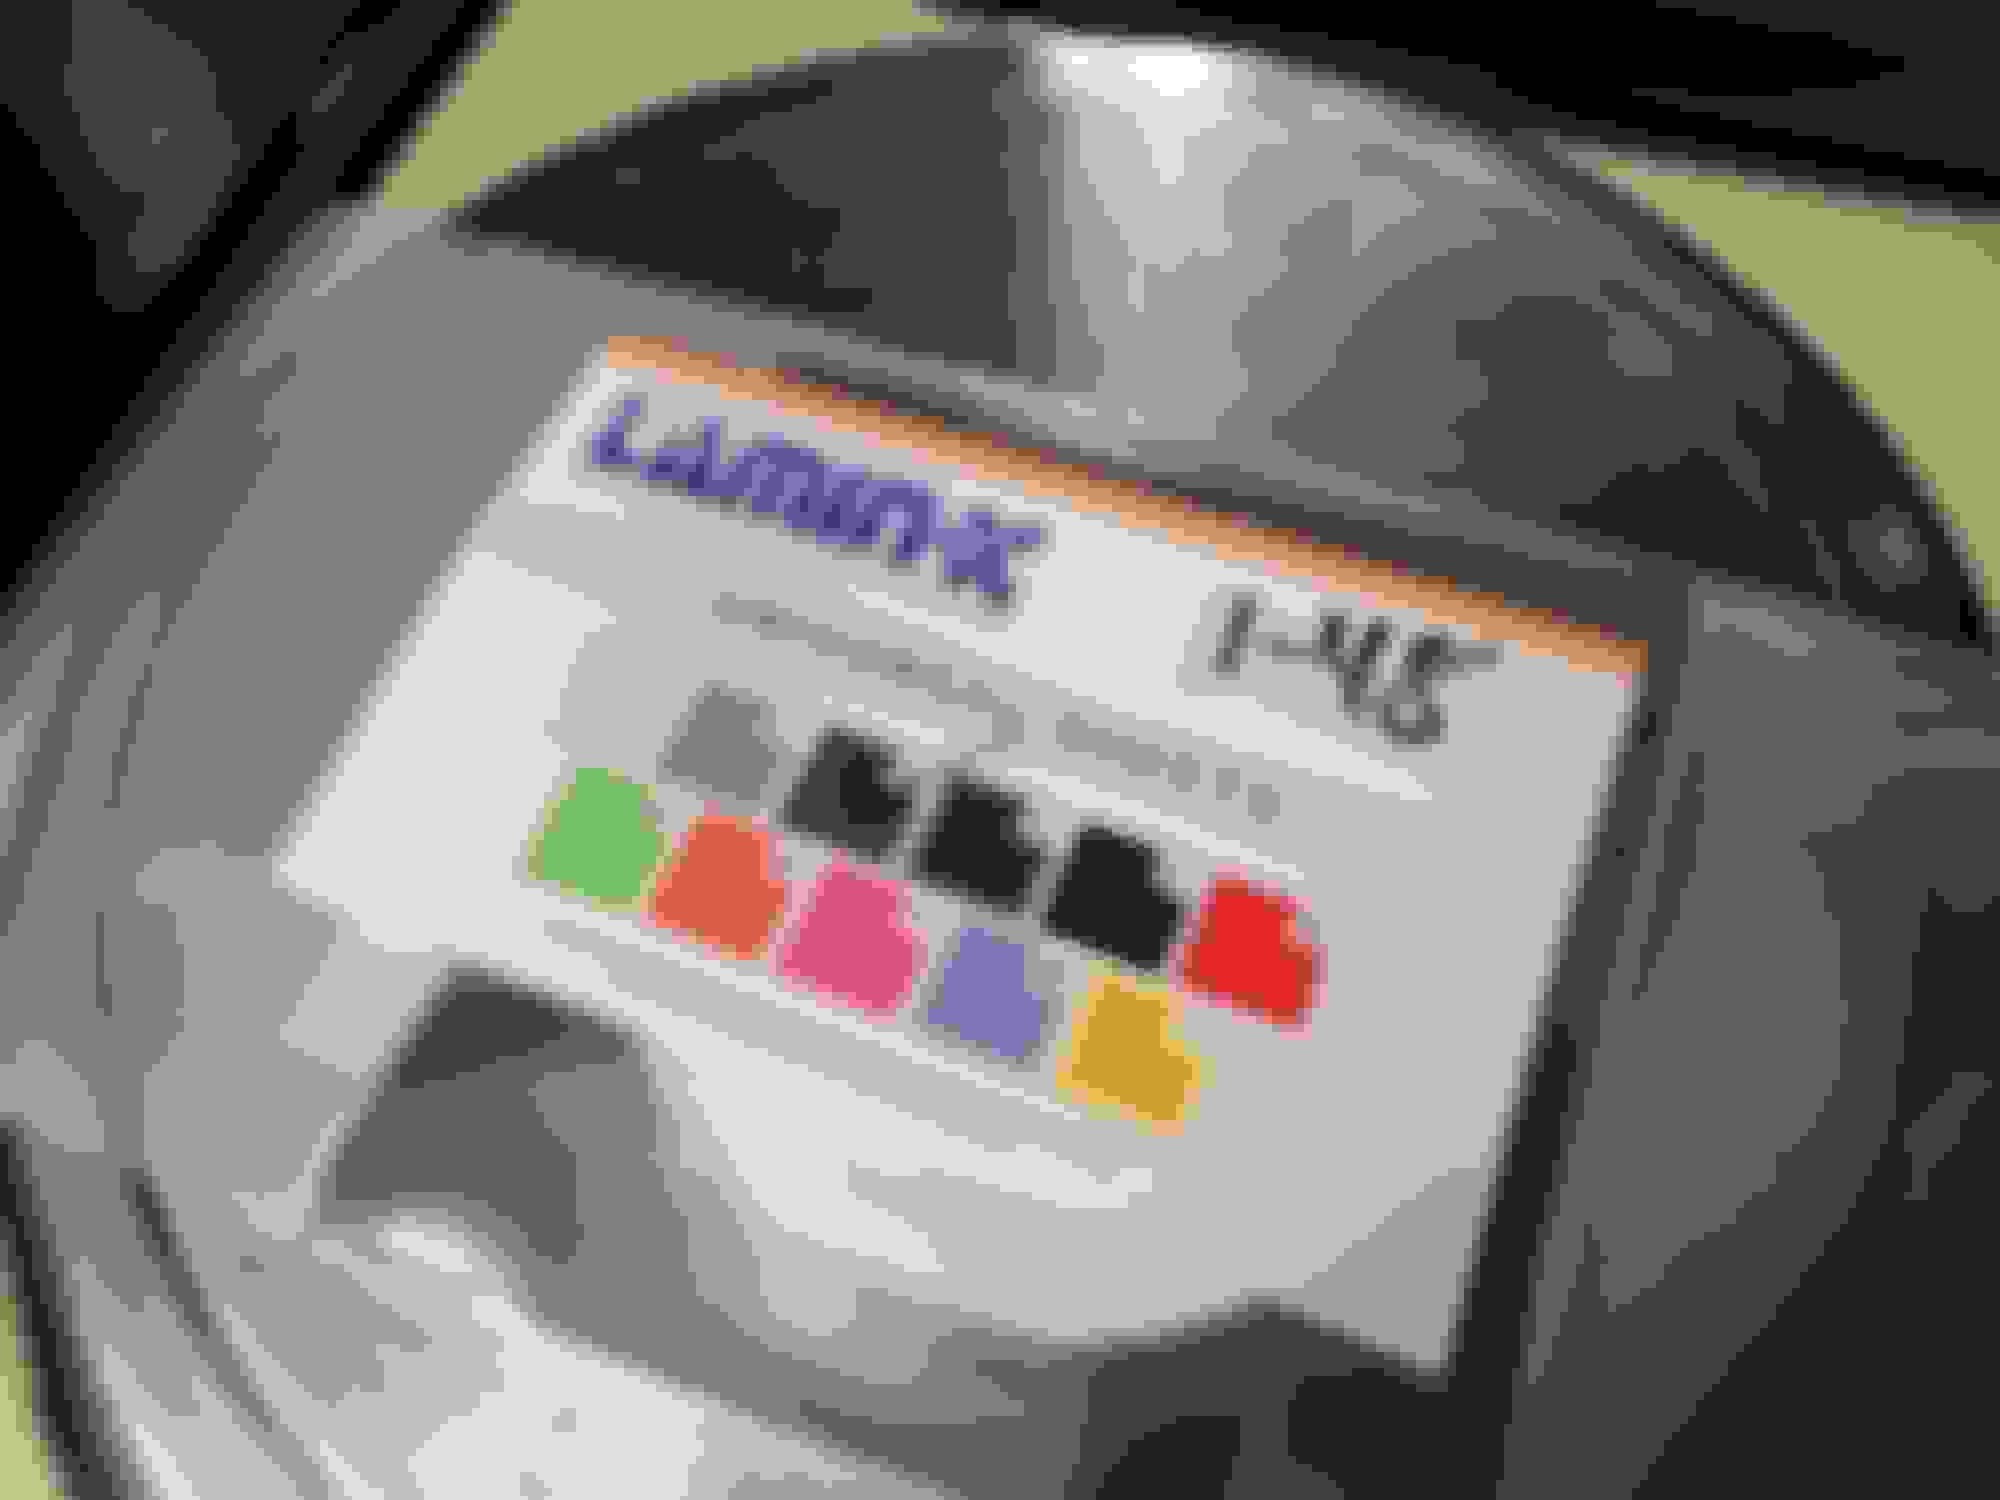
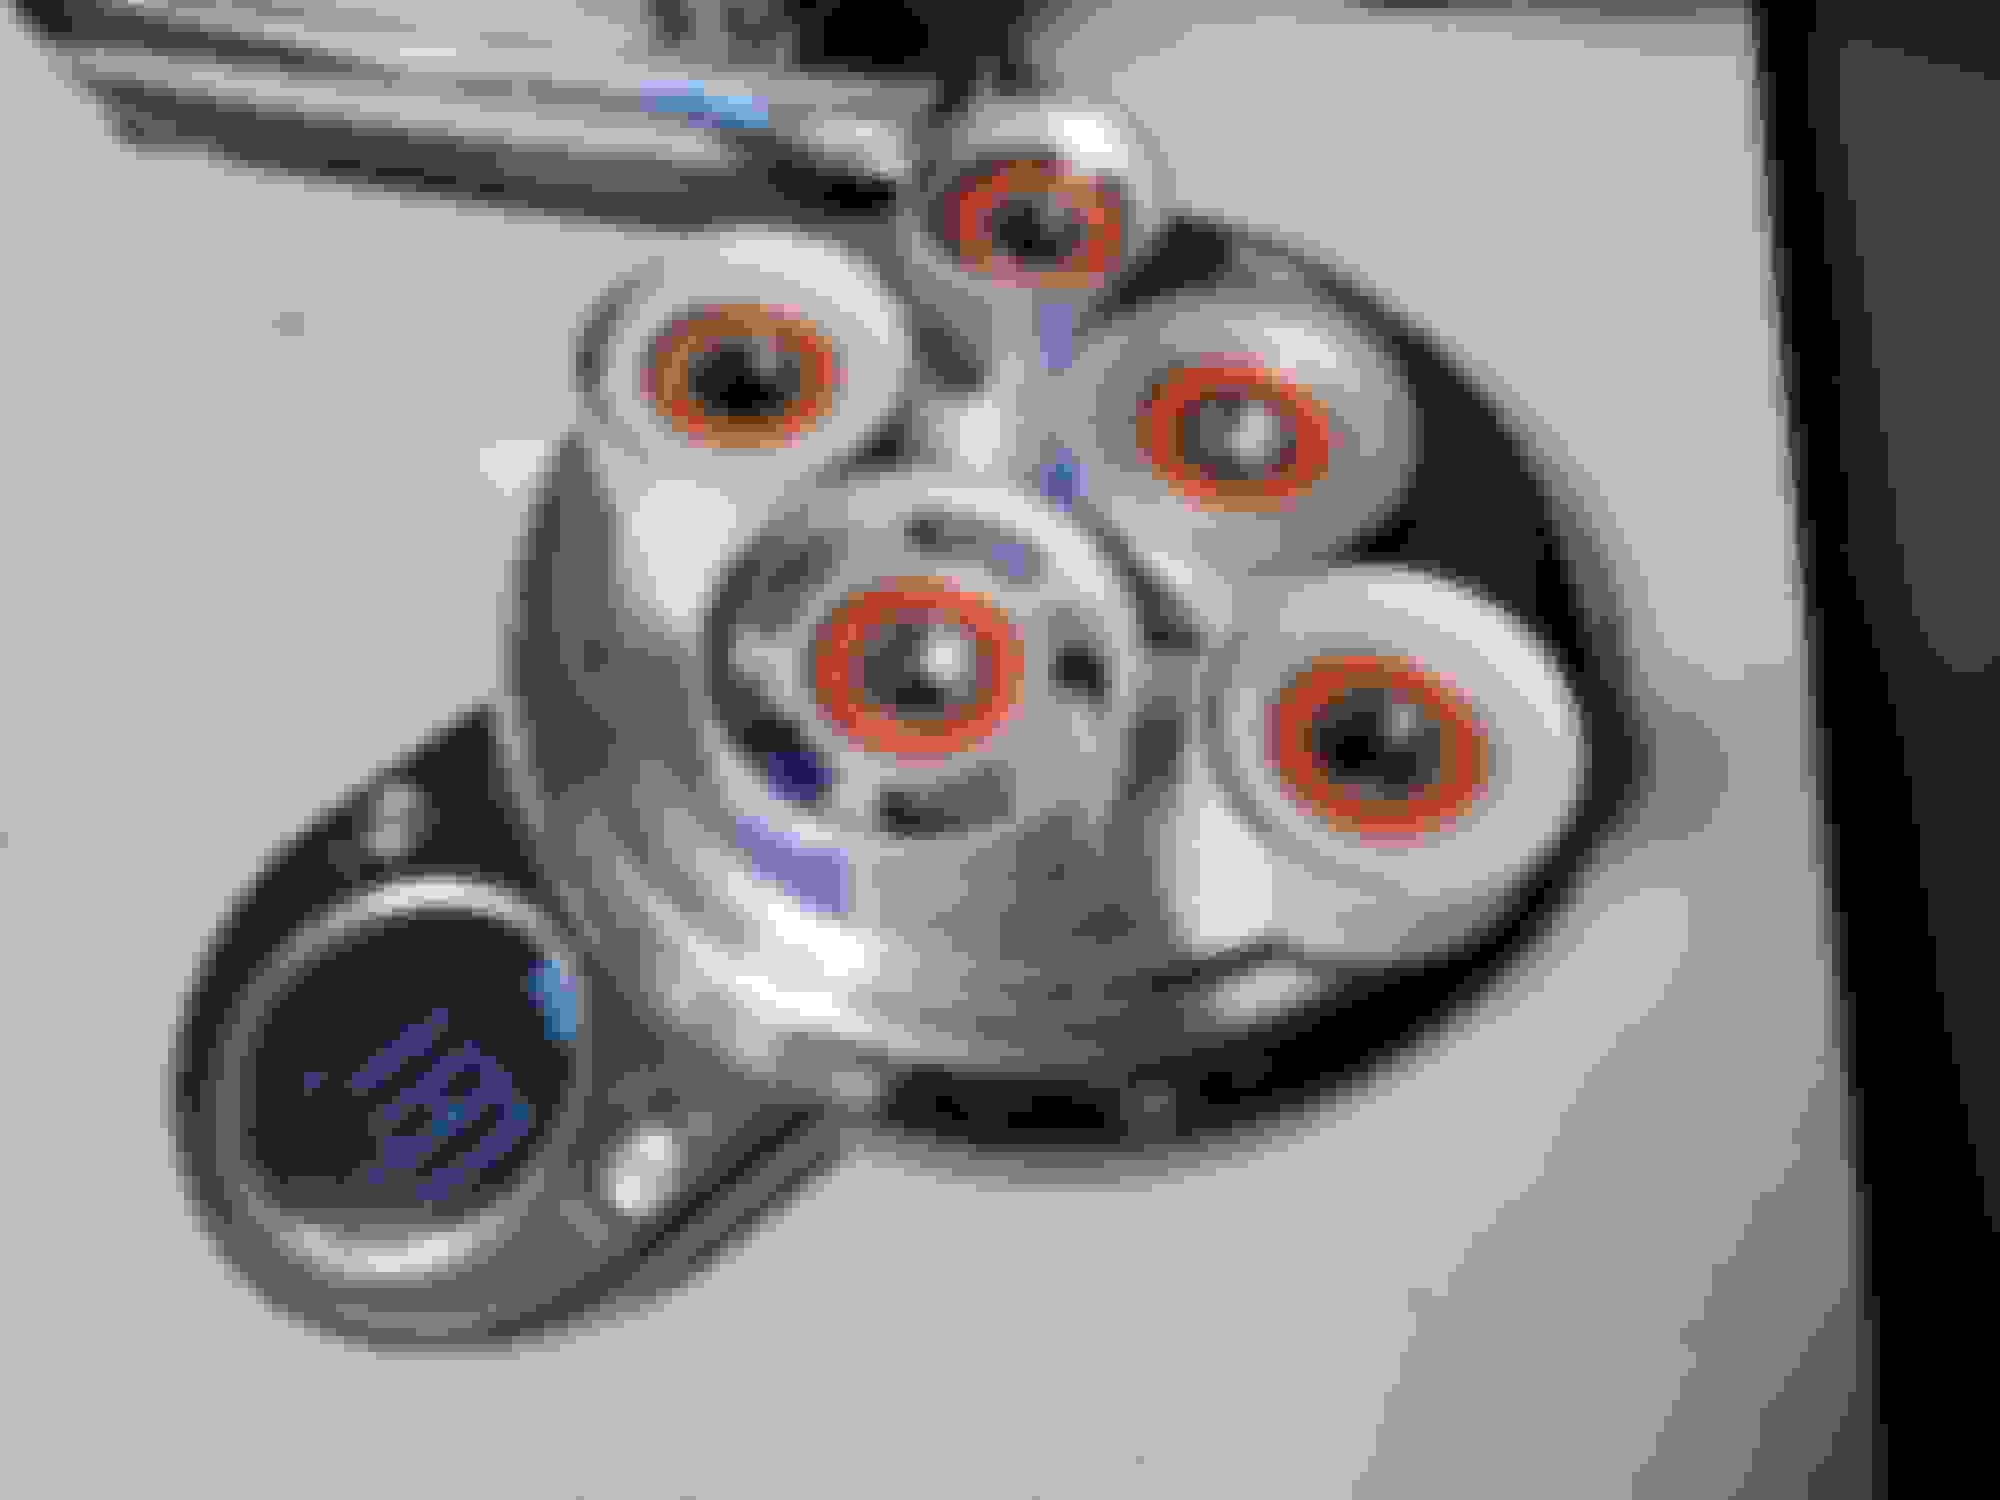
Had a change of heart and decided to rewrap the fog lamps in gun smoke to complete the mono chromatic theme. For anyone wondering these Lamin-X 12-millimeter impact resistance films are the definition of RESILIENT and have been preserving the fog lamps from further pitting not to mention can be installed without completely removing the foglamp assemblies. Although Gunsmoke offers a unique dark finish during broad daylight it doesn't impede nighttime visibility in any way shape or form. Lamin-X "tint" finish on the color chart is more along the lines of factory headlamp finish.
FOGLAMP FILM REMOVAL/INSTALL
*REMOVE FOG LAMP BEZELS (STUDY/LOCATE ALL 3 TAB LOCATIONS AND SCRUPULOUSLY RELEASE ALL TABS SIMULTANEOUSLY OTHERWISE YOU'LL BREAK A TAB)
*BUGSN'ALL TO REMOVE ANY GRIME OR RESIDUE FROM ANY PREVIOUS TINTS
*CLEAN SURFACE THOROUGHLY WITH MICROFIBER AND LIGHTLY MIST FOGLAMP WITH UNFILTERED WATER
*APPLY FILM EVENLY AND LIGHTLY MIST FILM TO ASSIST LAMIN-X SQUEEGEE PROCECSS TO ELIMINATE ANY EXCESS WATER/AIR BUBBLES (KEEP IN MIND THE BEZEL PROTECTS A GOOD PORTION OF THE FOGLAMP SO GAUGE/WRAP ACCORDINGLY PER SECTION EXPOSED
*ONCE FILM HAS CURED TO YOUR LIKING REINSTALL /SNAP IN FOG LAMP BEZELS (NOTE THAT BEZELS ARE LABELED INSIDE L=DRIVER & R=PASSENGER ADJUSTMENT SCREW HOLE 6 O'CLOCK POSTION BOTH SIDES
Jump Starting 2010 with one of few and far between confirmed Dad's C63 hood. This gold dust weighing in at 19lbs has seen better days and was silently crying out for help; definitely needed some TLC. Extracting broken bolts despite how it fractures in fiberglass can be a slippery slope and should ONLY be done with dexterous hands, 50/50 extracting chance and more often than not needs to be drilled out with a good quality 1/4 drill bit which is ever so slightly oversized to the factory W204 C63 M6-1.0 factory hood fasteners and then rethreaded to an M7-1.0 to accommodate the oversize hole along with new oversized M7-1.0 fastener, utilize factory hood fastener length for reference for new oversized bolt. Once the deed has been done chase all threads throughout the entire hood and blow out any metal shavings while ensuring all fasteners can be fully secured HAND TIGHT. Despite the fact that weak hood struts or even one factory strut could levitate the hood it would be in your best interest to eliminate them to prevent any unexpected stress cracks that could lead to split seams and very well could potentially implode if they catch enough air. Factory hood latches and hood springs MUST be utilized for security's sake despite hood pins.
For anyone in the bay area looking for quality body and paint your search ends here. Whoever is familiar with 5/5 star Almaden Collision AKA Spoolin Phil already knows he needs no introduction since his work always speaks for itself. Much obliged to Phil for resurrecting 2010 and grateful for STEK Certified Brennan Winters @ Luxury Vehicle Wraps for front end PPF to preserve everything in between. It would be a crime if you didn't check out the paint protection film "PPF" link below.
Afterthoughts: Like most human's carbon fiber is never perfect, 95% fitment, 100% restoring/preserving effort. 40lbs stactic weight savings. Christmas came early.
AMGSPY (09-25-2022),blay127 (09-26-2022),GRP (09-25-2022),Kriston (10-17-2022),lo-fi (09-25-2022),WidowrRacing (09-27-2022) and 1 others liked this post. (Show less...)
I have ignored the question of how fast and simply enjoyed the incredibly detailed and well shot story of restoration and modification.
if you were to ever get a chance to see it in person. very unassuming, but as you inspect, every little attention to detail to support the best the market has to offer has been applied. very fine example of a W204 PFL C63.
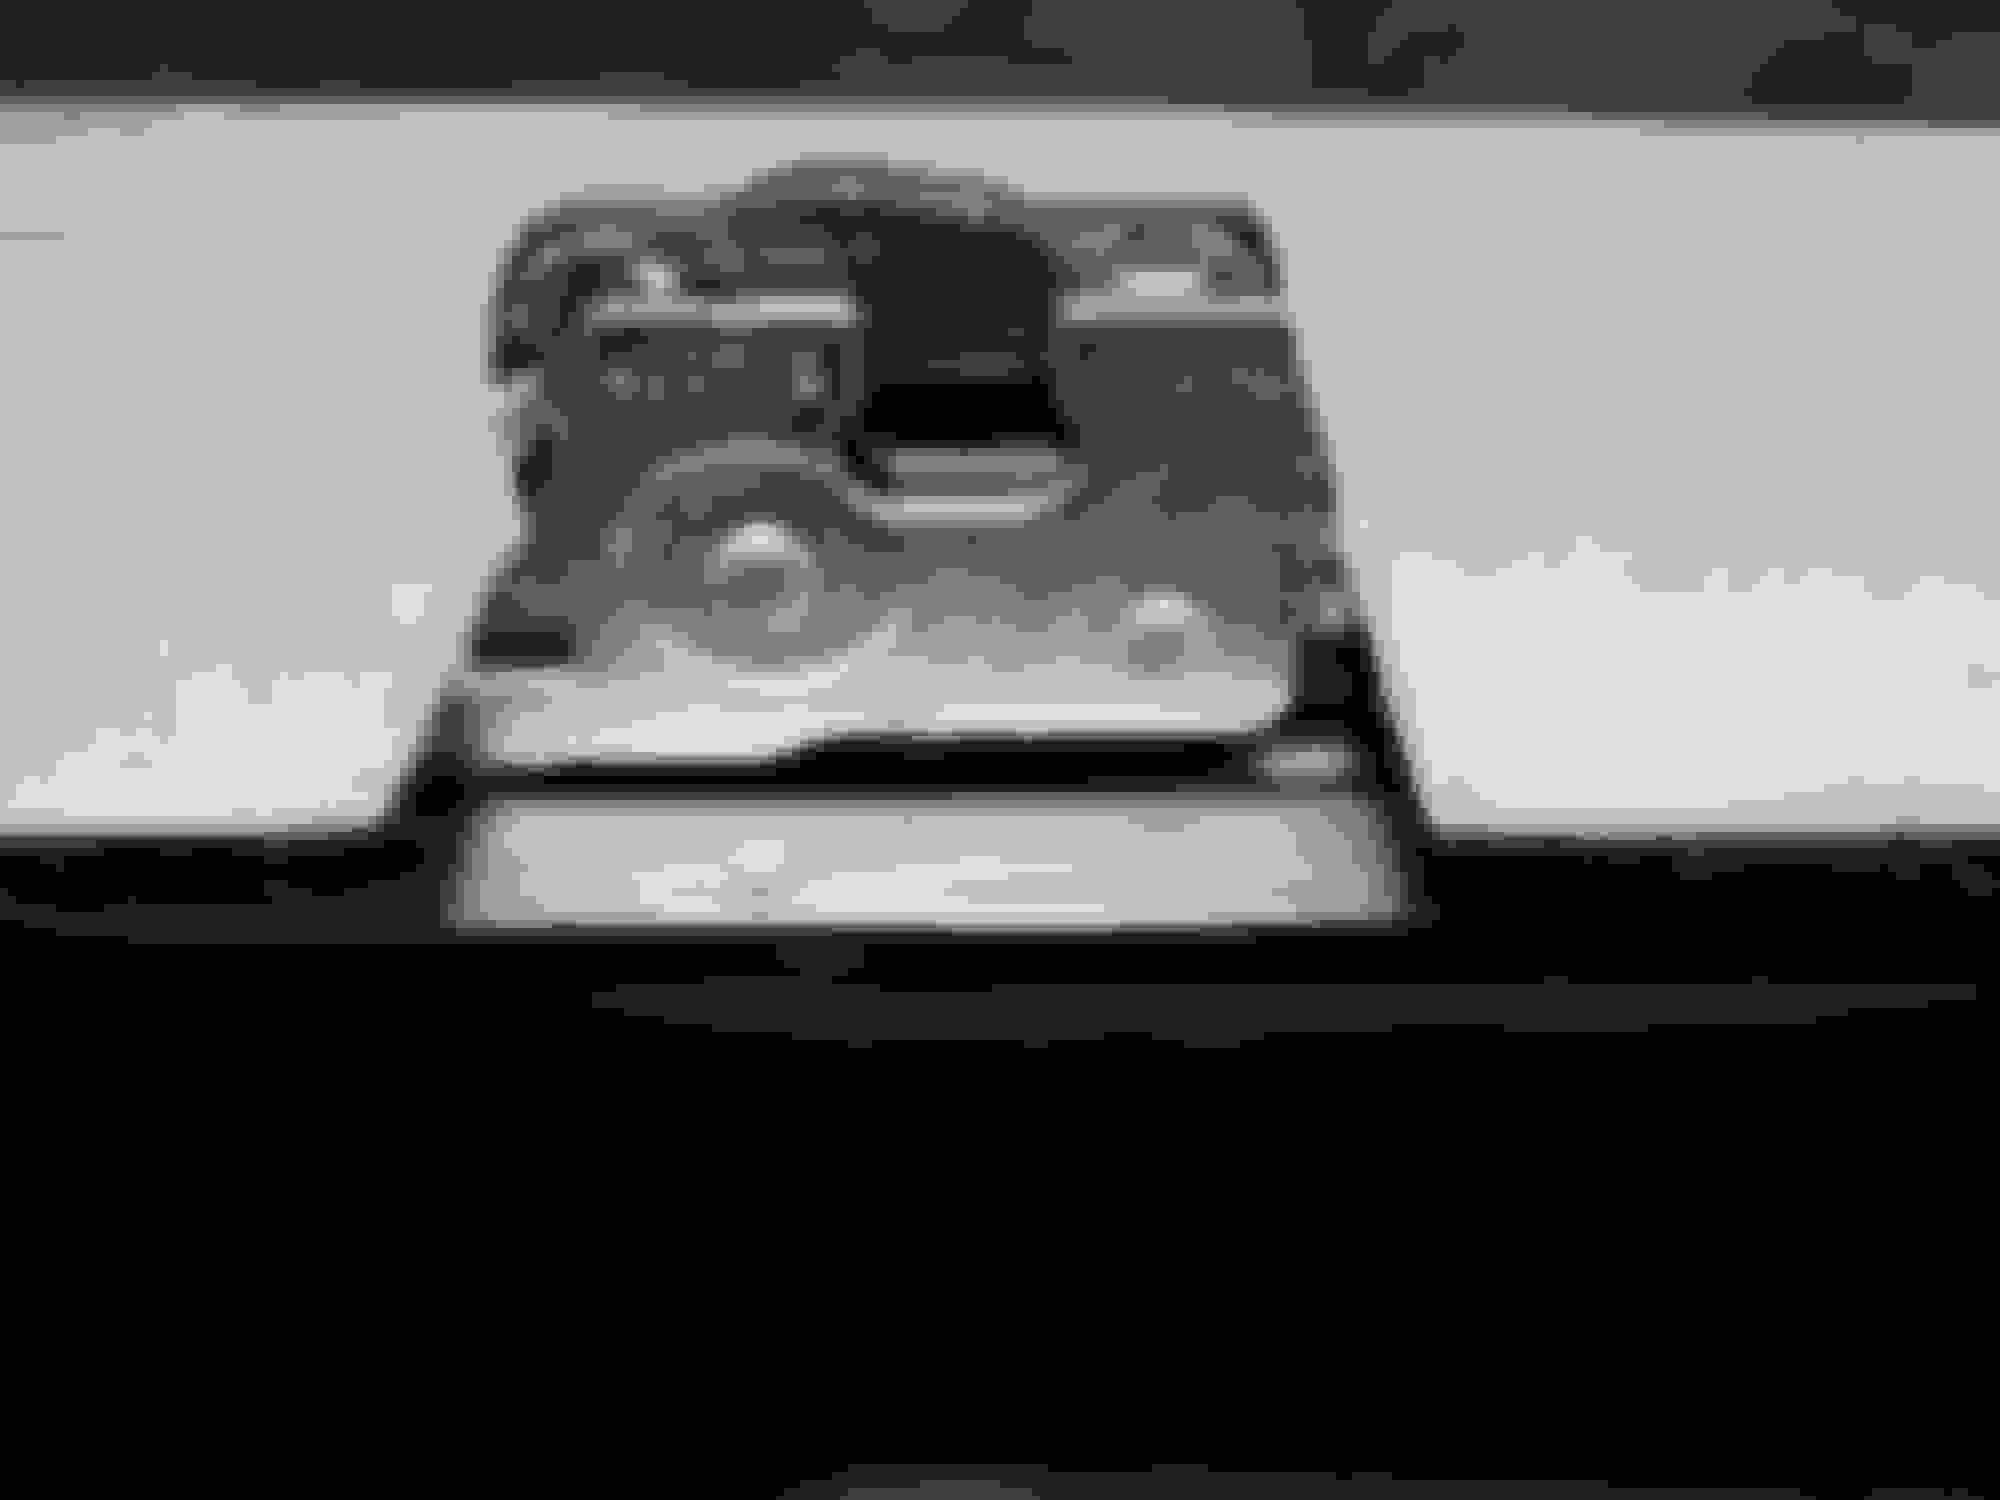
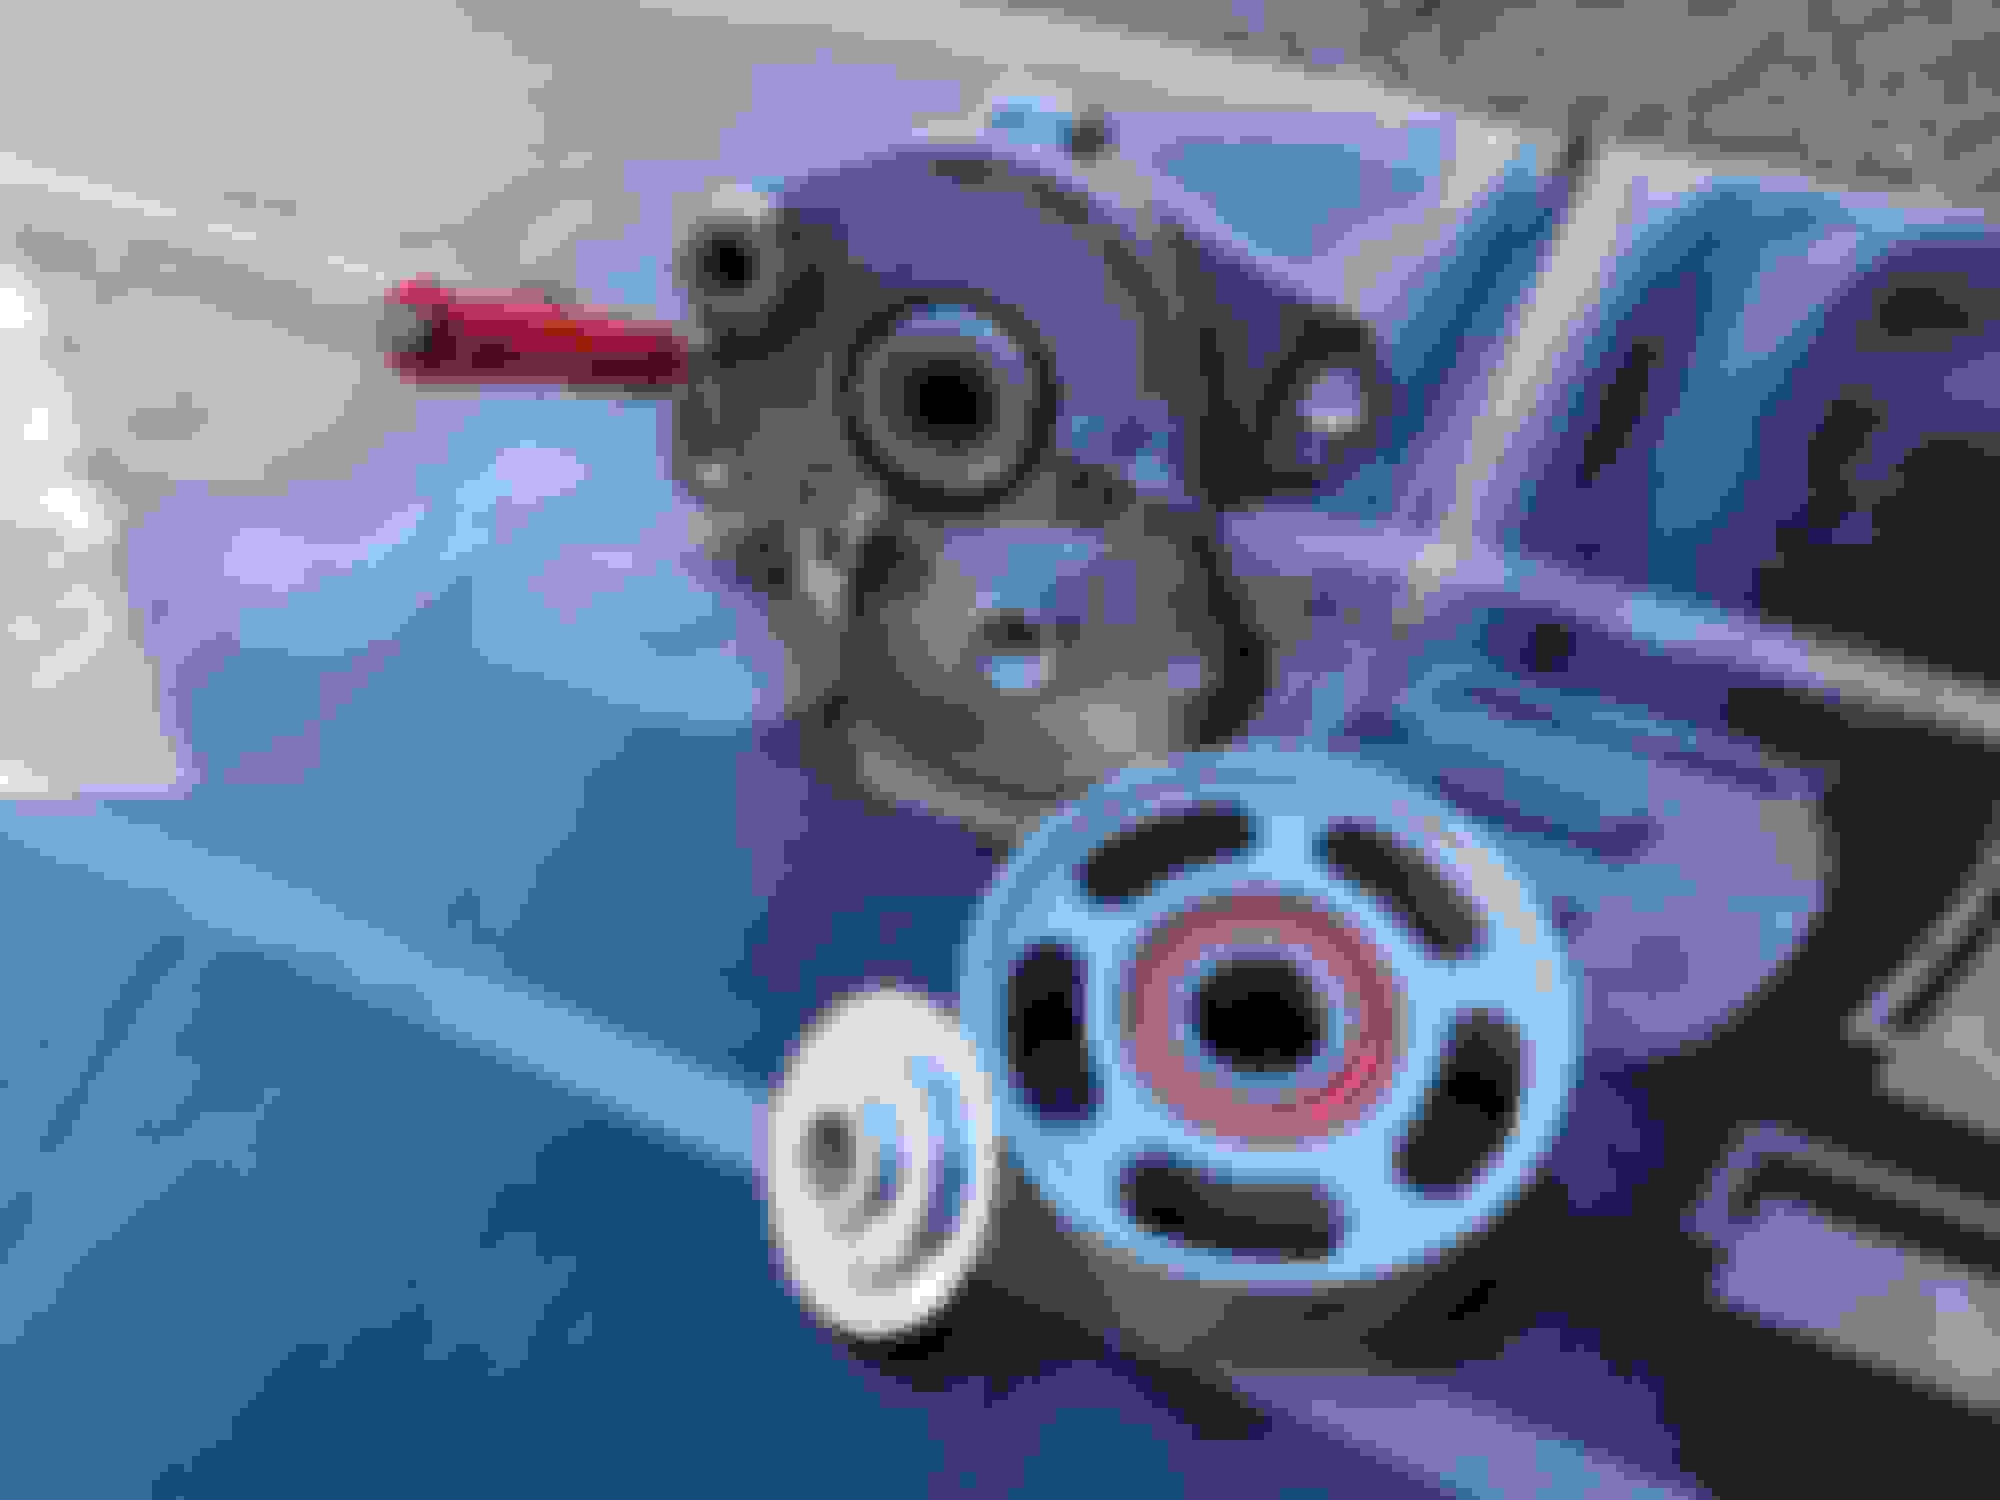
How many times can 70K factory pulleys continue to generate 8K revs is beyond me, another preventative maintenance stone turned to dodge any unexpected pulleys that decide to grenade (Youtube link below for reference) Good move on behalf of UPD for utilizing Nachi bearings that have been around since the day of the dawn and served me well on another platform since 2010; STOUT bearings that will surpass the cars lifetime. For anyone who is preparing to install or has installed these per UPD instructions I'd encourage you to look over installation once more as instructions aren't clear and have personally confirmed with the horse's mouth that the Tensioner pulley AND Ribbed pulley snap ring must be facing the radiator and not the engine as instructed"MAKE SURE ALL SNAP RINGS ON THE IDLERS ARE FACING TOWARDS THE RADIATOR OR AWAY FROM THE ENGINE, EXCEPT THE TENSIONER AND RIBBED IDLER WITH SUPPLIED BEARING COVER. THOSE TWO PULLEYS SHOULD HAVE THE SNAP RINGS FACING THE ENGINE"Tensioner pulley installed per these instructions will result in contacting the tensioner. Ribbed Pulley installed per these instructions will result in 3mm positive offset. IN SHORT ALL-SNAP RINGS MUST FACE RADIATOR.
Fun fact - according to the EPC, the bottom right ribbed pulley PN# 1562020619 used until engine number 60057841 AKA 11/02/2009. After engine number 60057841 it is a smooth pulley PN: 1562020819. On some applications no pulley at all in this location Between Crankshaft and AC pulley. Scratching my head at first since my early 2008 model came with two matching factory ribbed pulleys while the UPD kit only consist of one ribbed pulley but doesn't specify location. UPD ribbed pulley proper location on all M156 applications directly above water pump
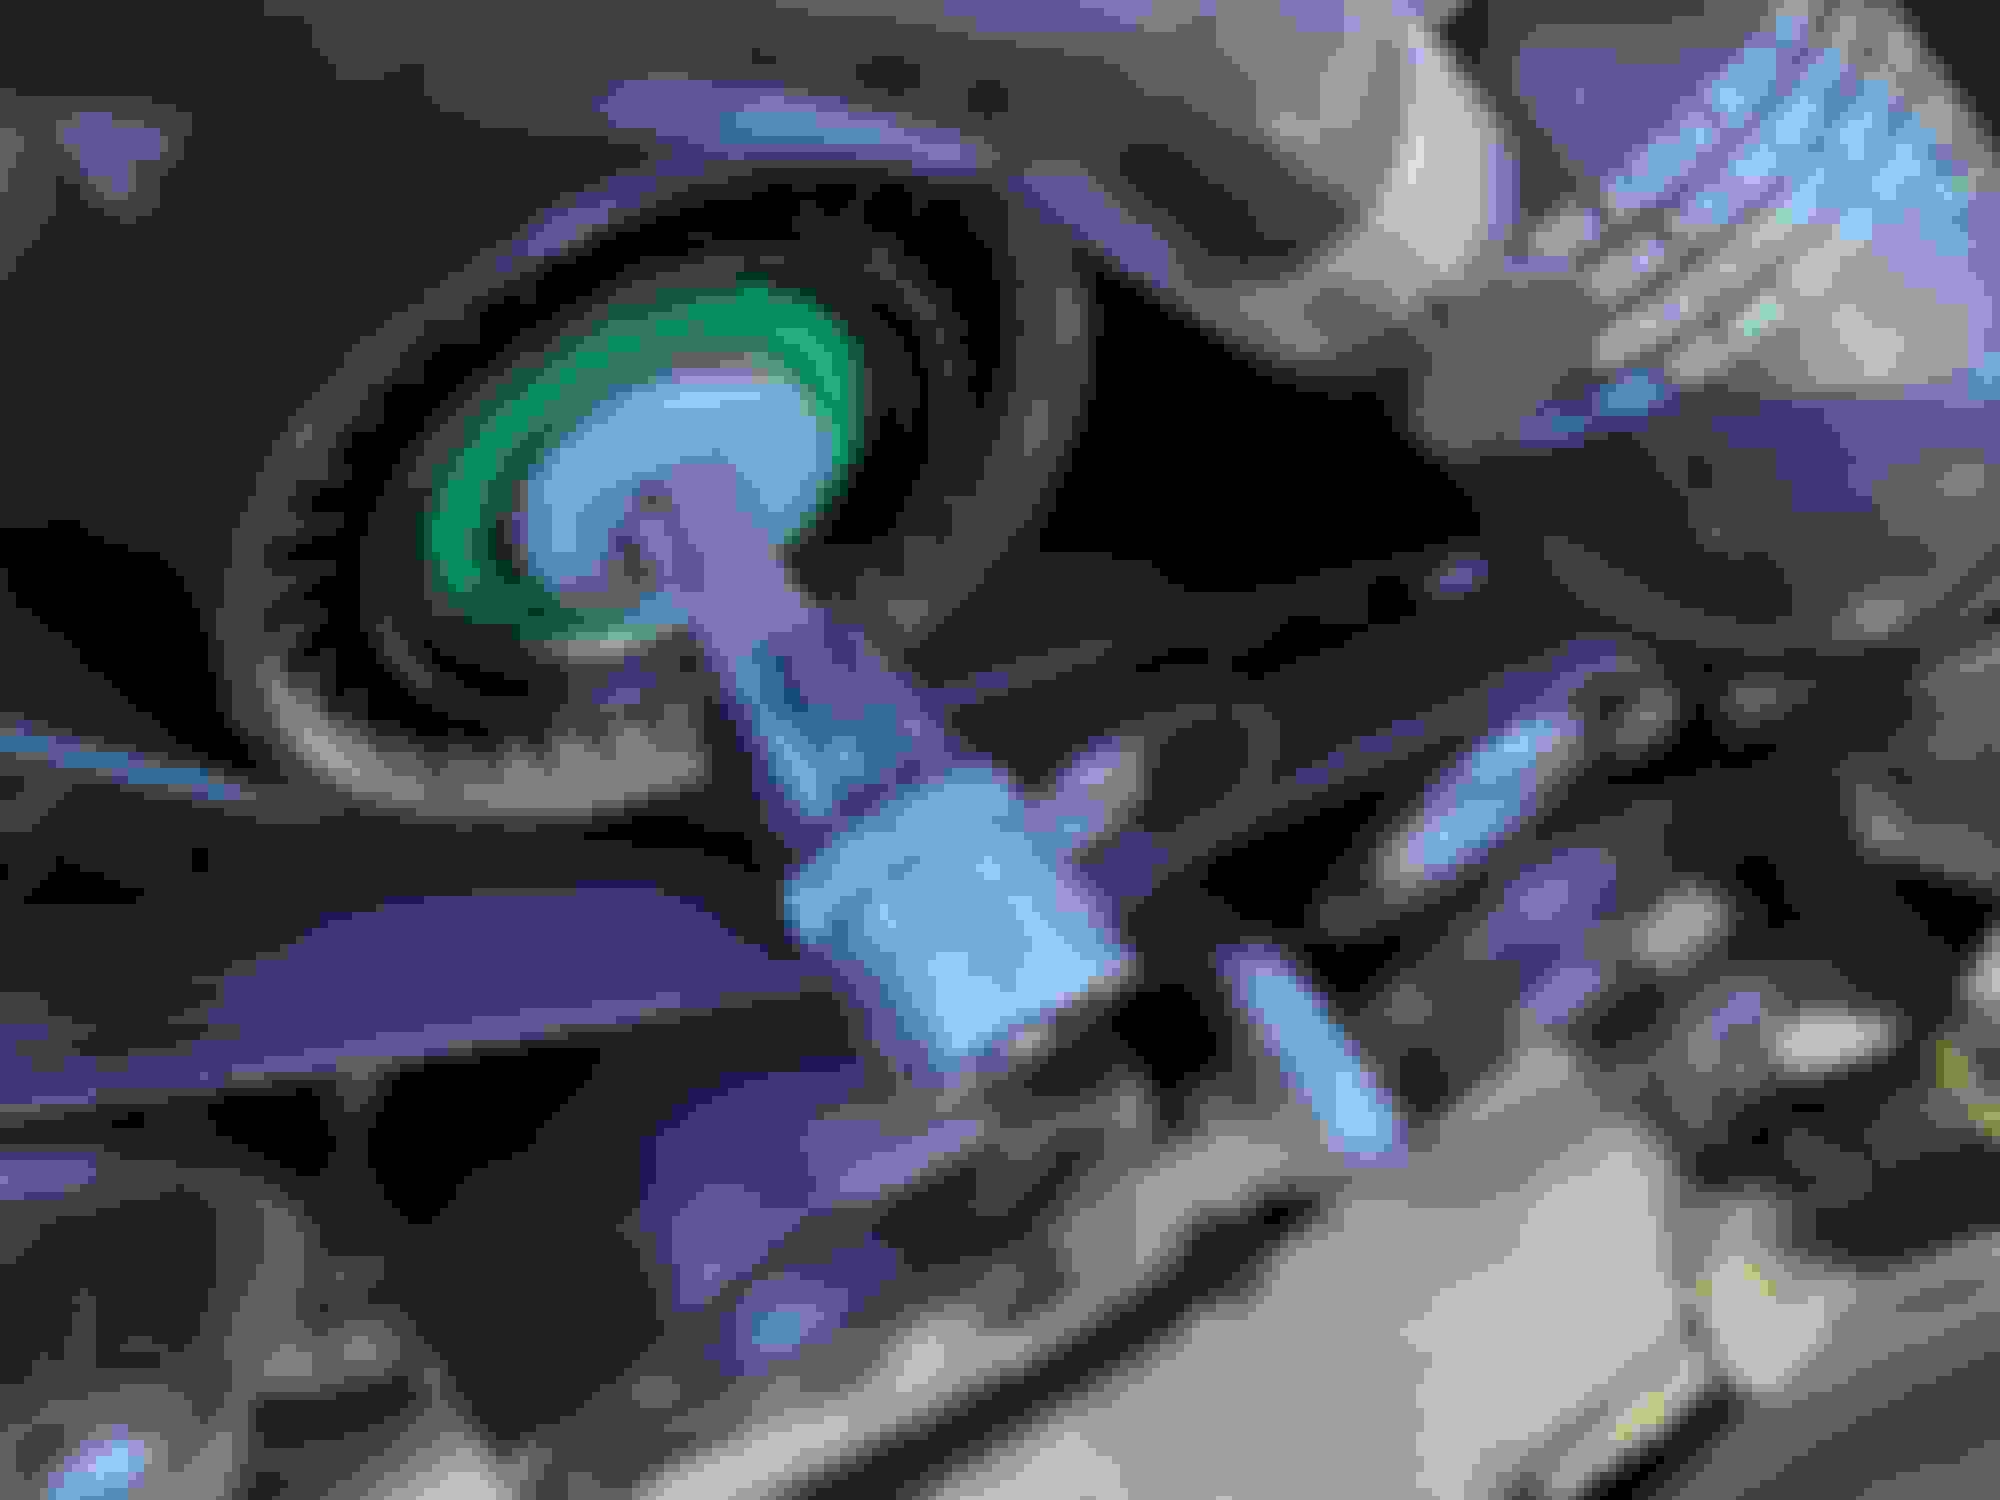
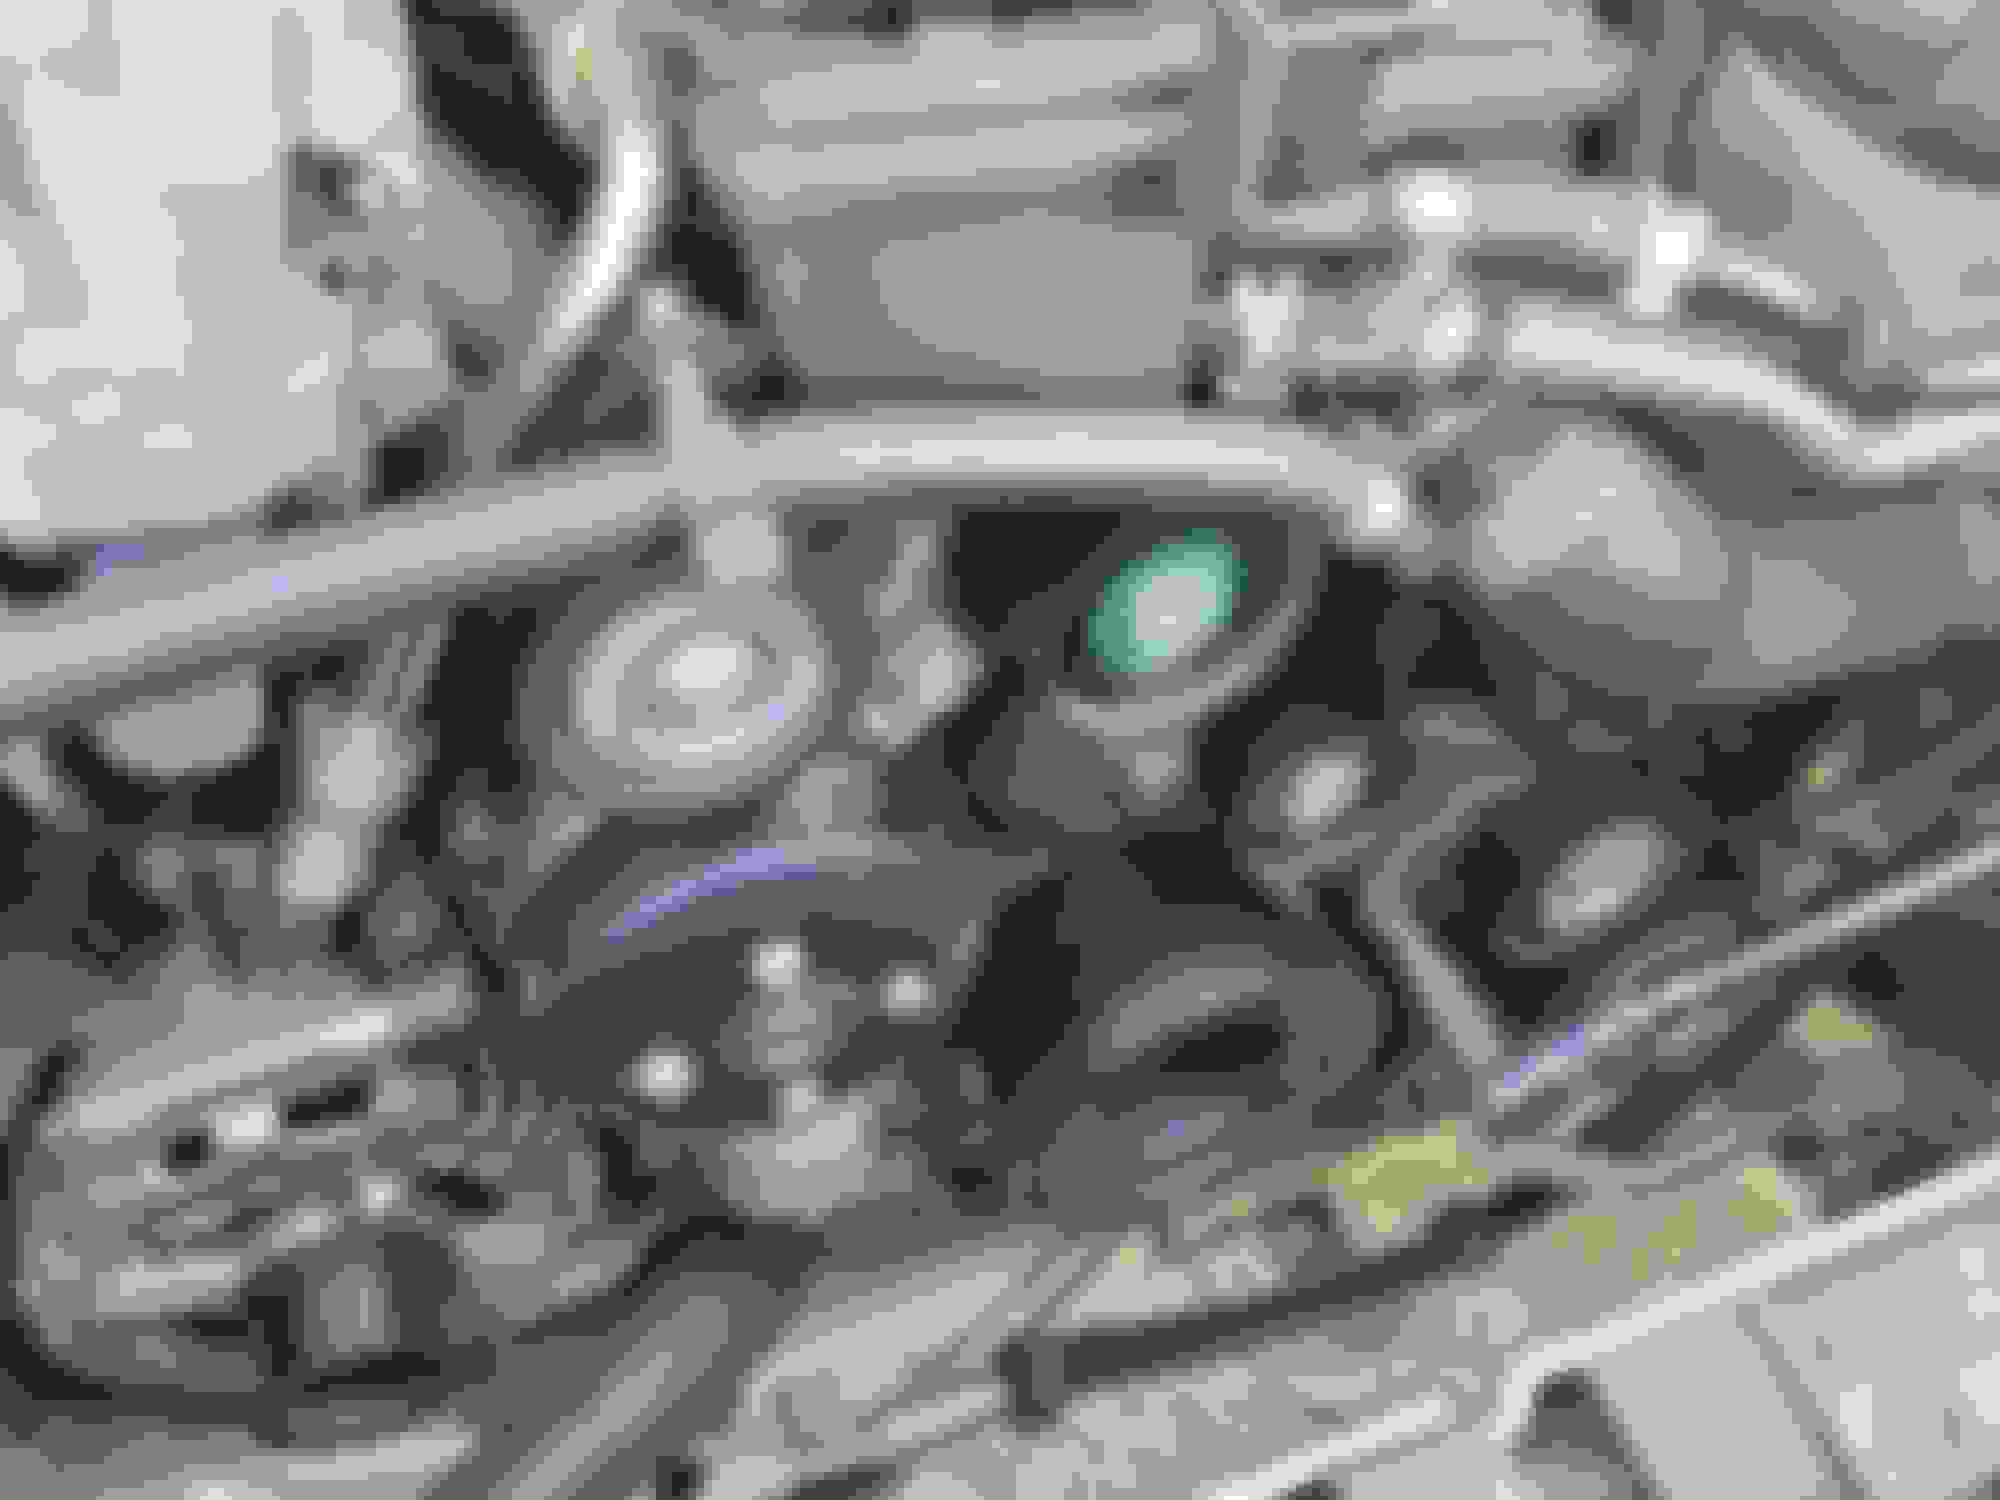
With all that being said now would be a good opportunity to inspect your tensioner and even remove it to inspect the front crank case hose for any potential weeps/seeps or in rare cases has become collapsed
*REMOVE FACTORY AIR INTAKES *UNCLIP/ TUCK HOOD RELEASE CABLE TOWARDS THE ENGINE
*UNCLIP/REMOVE UPPER PLASTIC RADIATOR FAN SHROUD SUPPORT TRIM, TURN FRONT CENTER TAB 90 DEGREES TO RELEASE FROM GRILL SUPPORT, ANALYZE WHERE HOOD SPRINGS SEAT ONCE HOOD IS CLOSED AND PULL VICINITY TOWARDS YOU WHILE LIFTING OUT THE REAR SIMULTANEOUSLY AND SET ASIDE *REMOVE UPPER/ LOWER RADIATOR SUPPORT FASTENERS 10MM *REMOVE UNDERTRAYS 8MM *REMOVE A/C LINE BRACKET (TORX-20) BENEATH PASSENGER SIDE ATTACHED TO FAN SHROUD AND SET ASIDE (UNCLIP BOTH BOTTOM RADIATOR SHROUD TABS FROM FAN) *UNPLUG FAN CONTROL HARNESS FROM BENEATH DRIVER SIDE *RELEASE BOTH UPPER RADIATOR FAN TABS AND VERY CAREFULLY GUIDE THE FAN UP AND OUT (BE VERY MINDFUL NOT TO LEAN ON THE COOLANT RESERVOIR LINE) *I REPEAT DO NO LEAN OR PUT PRESSURE ON THE COOLANT RESERVOIR LINE, EXTREMELY BRITTLE ESPECIALLY IF ORIGINAL (CAREFULLY REMOVE IT IF YOU DONT TRUST YOURSELF) *SWING TENSIONER 17MM COUNTERCLOCKWISE AND JAM A SMALL FLATHEAD IN THE HOLE RIGHT BENEATH THE TENSIONER PULLEY (SLOWLY RELEASE TENSION AND REMOVE RATCHET TO ALLOW THE SCREWDRIVER TO HOLD THE TENSION *REMOVE SERPENTINE BELT
*REMOVE FACTORY PULLEY DUST SHIELDS
*REMOVE FACTORY IDLER/TENSIONER PULLEYS ONE BY ONE KEEPING HARDWARE/ORIENTATION IN COPACETIC ORDER
*MEASURE/MATCH UP PULLEYS TO CORRESPONDING LOCATIONS
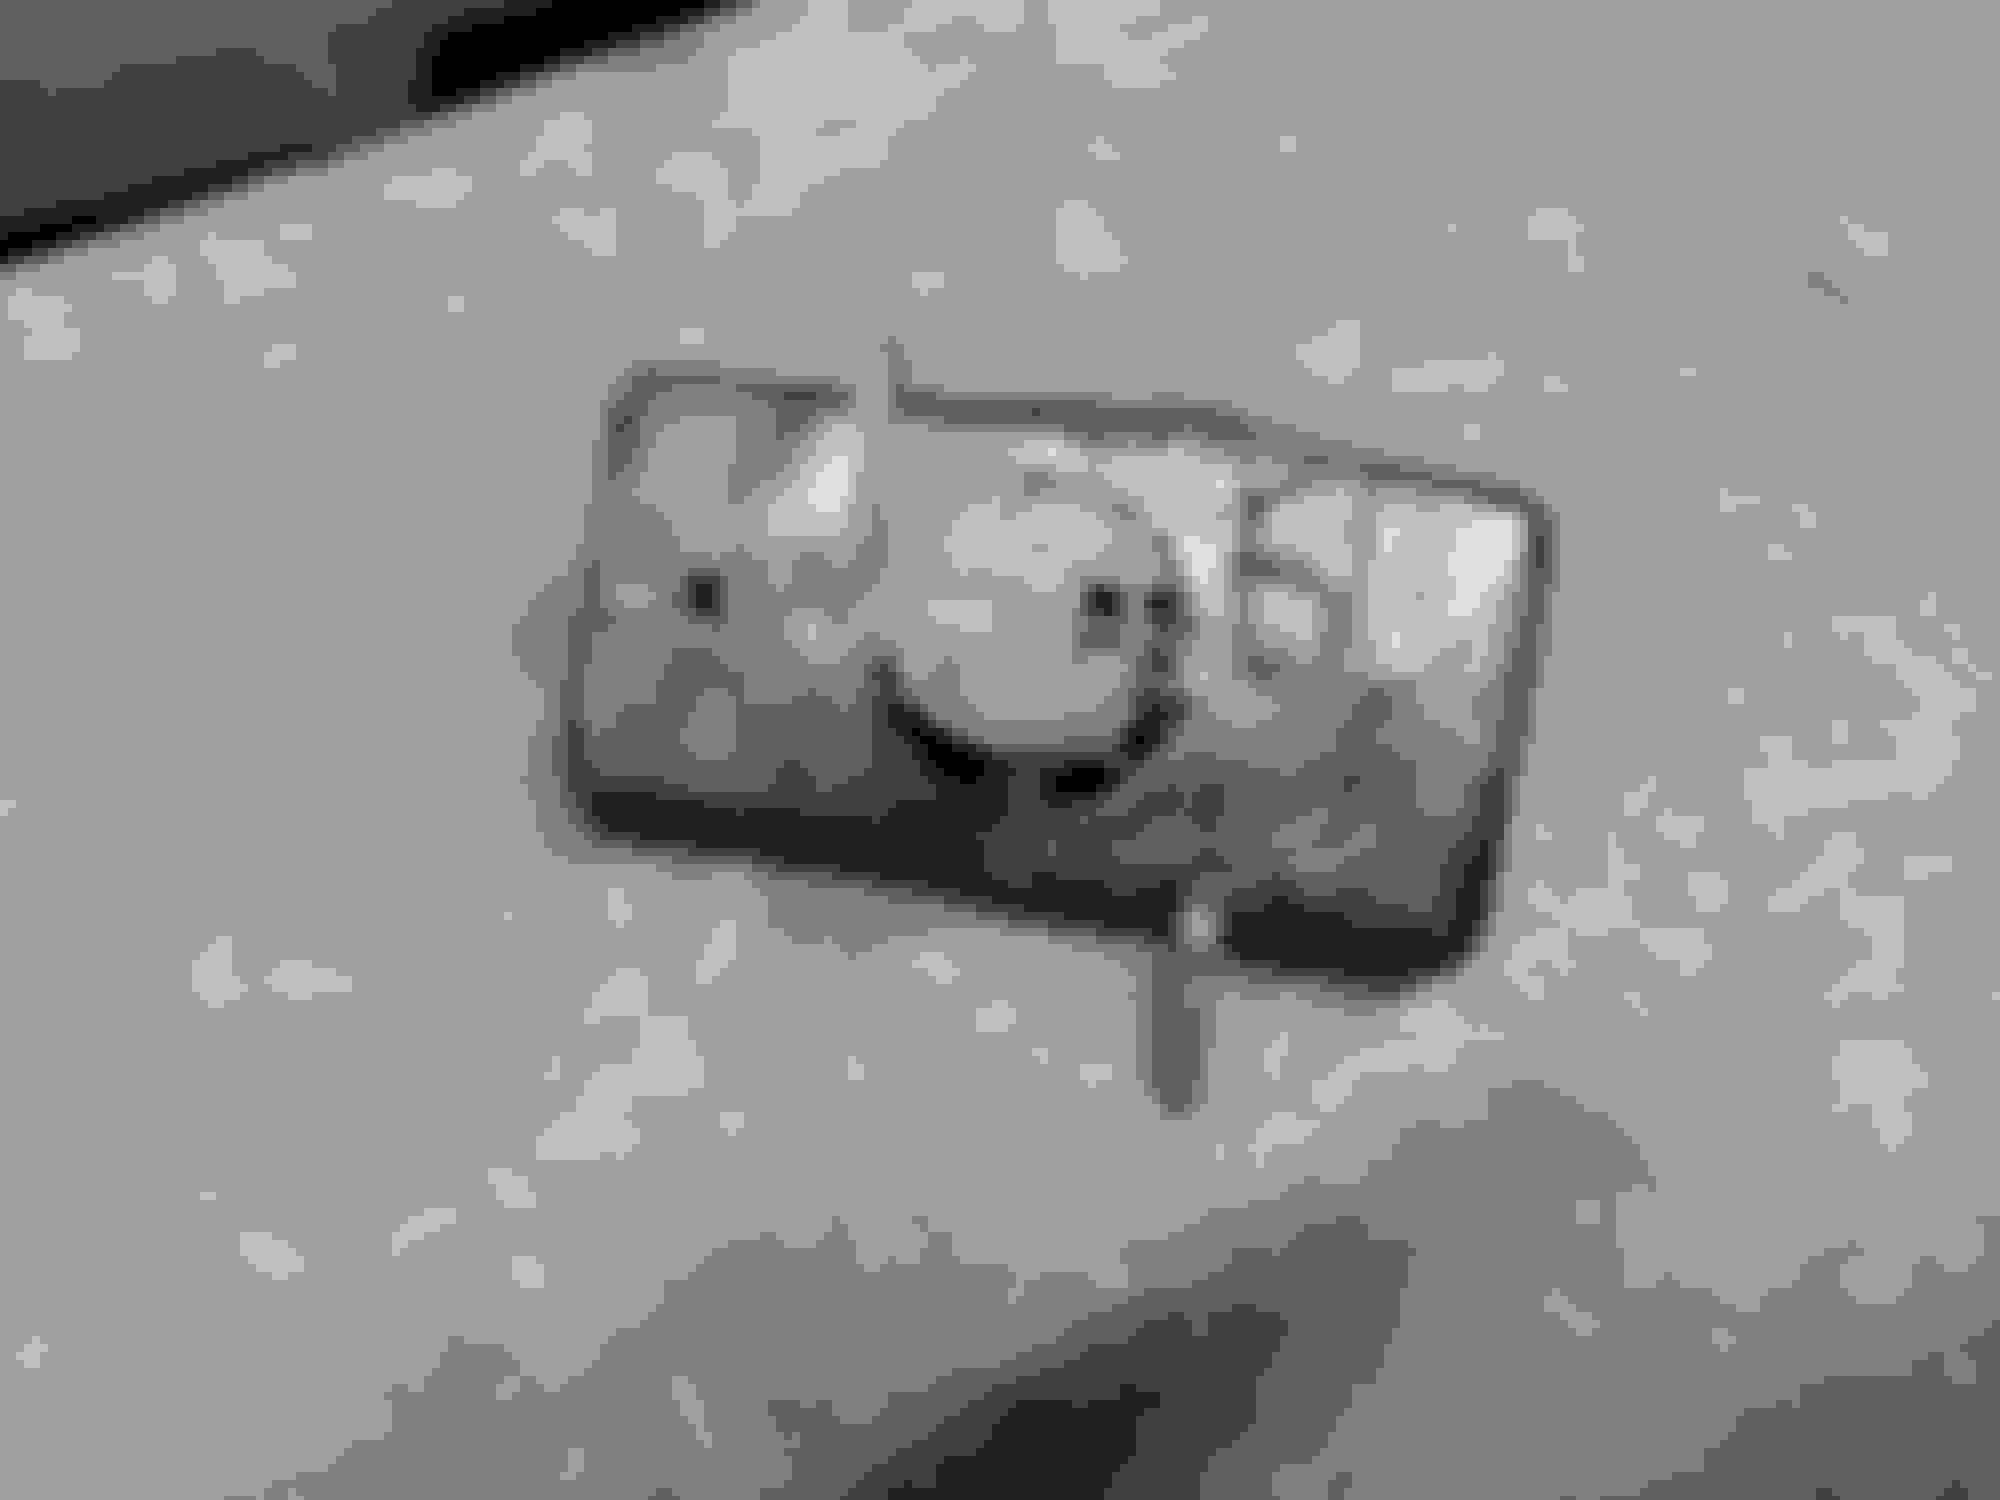
*REMOVE BOTH TENSIONER FASTENERS TO INSPECT FRONT CRANK CASE HOSE (TORX-45)
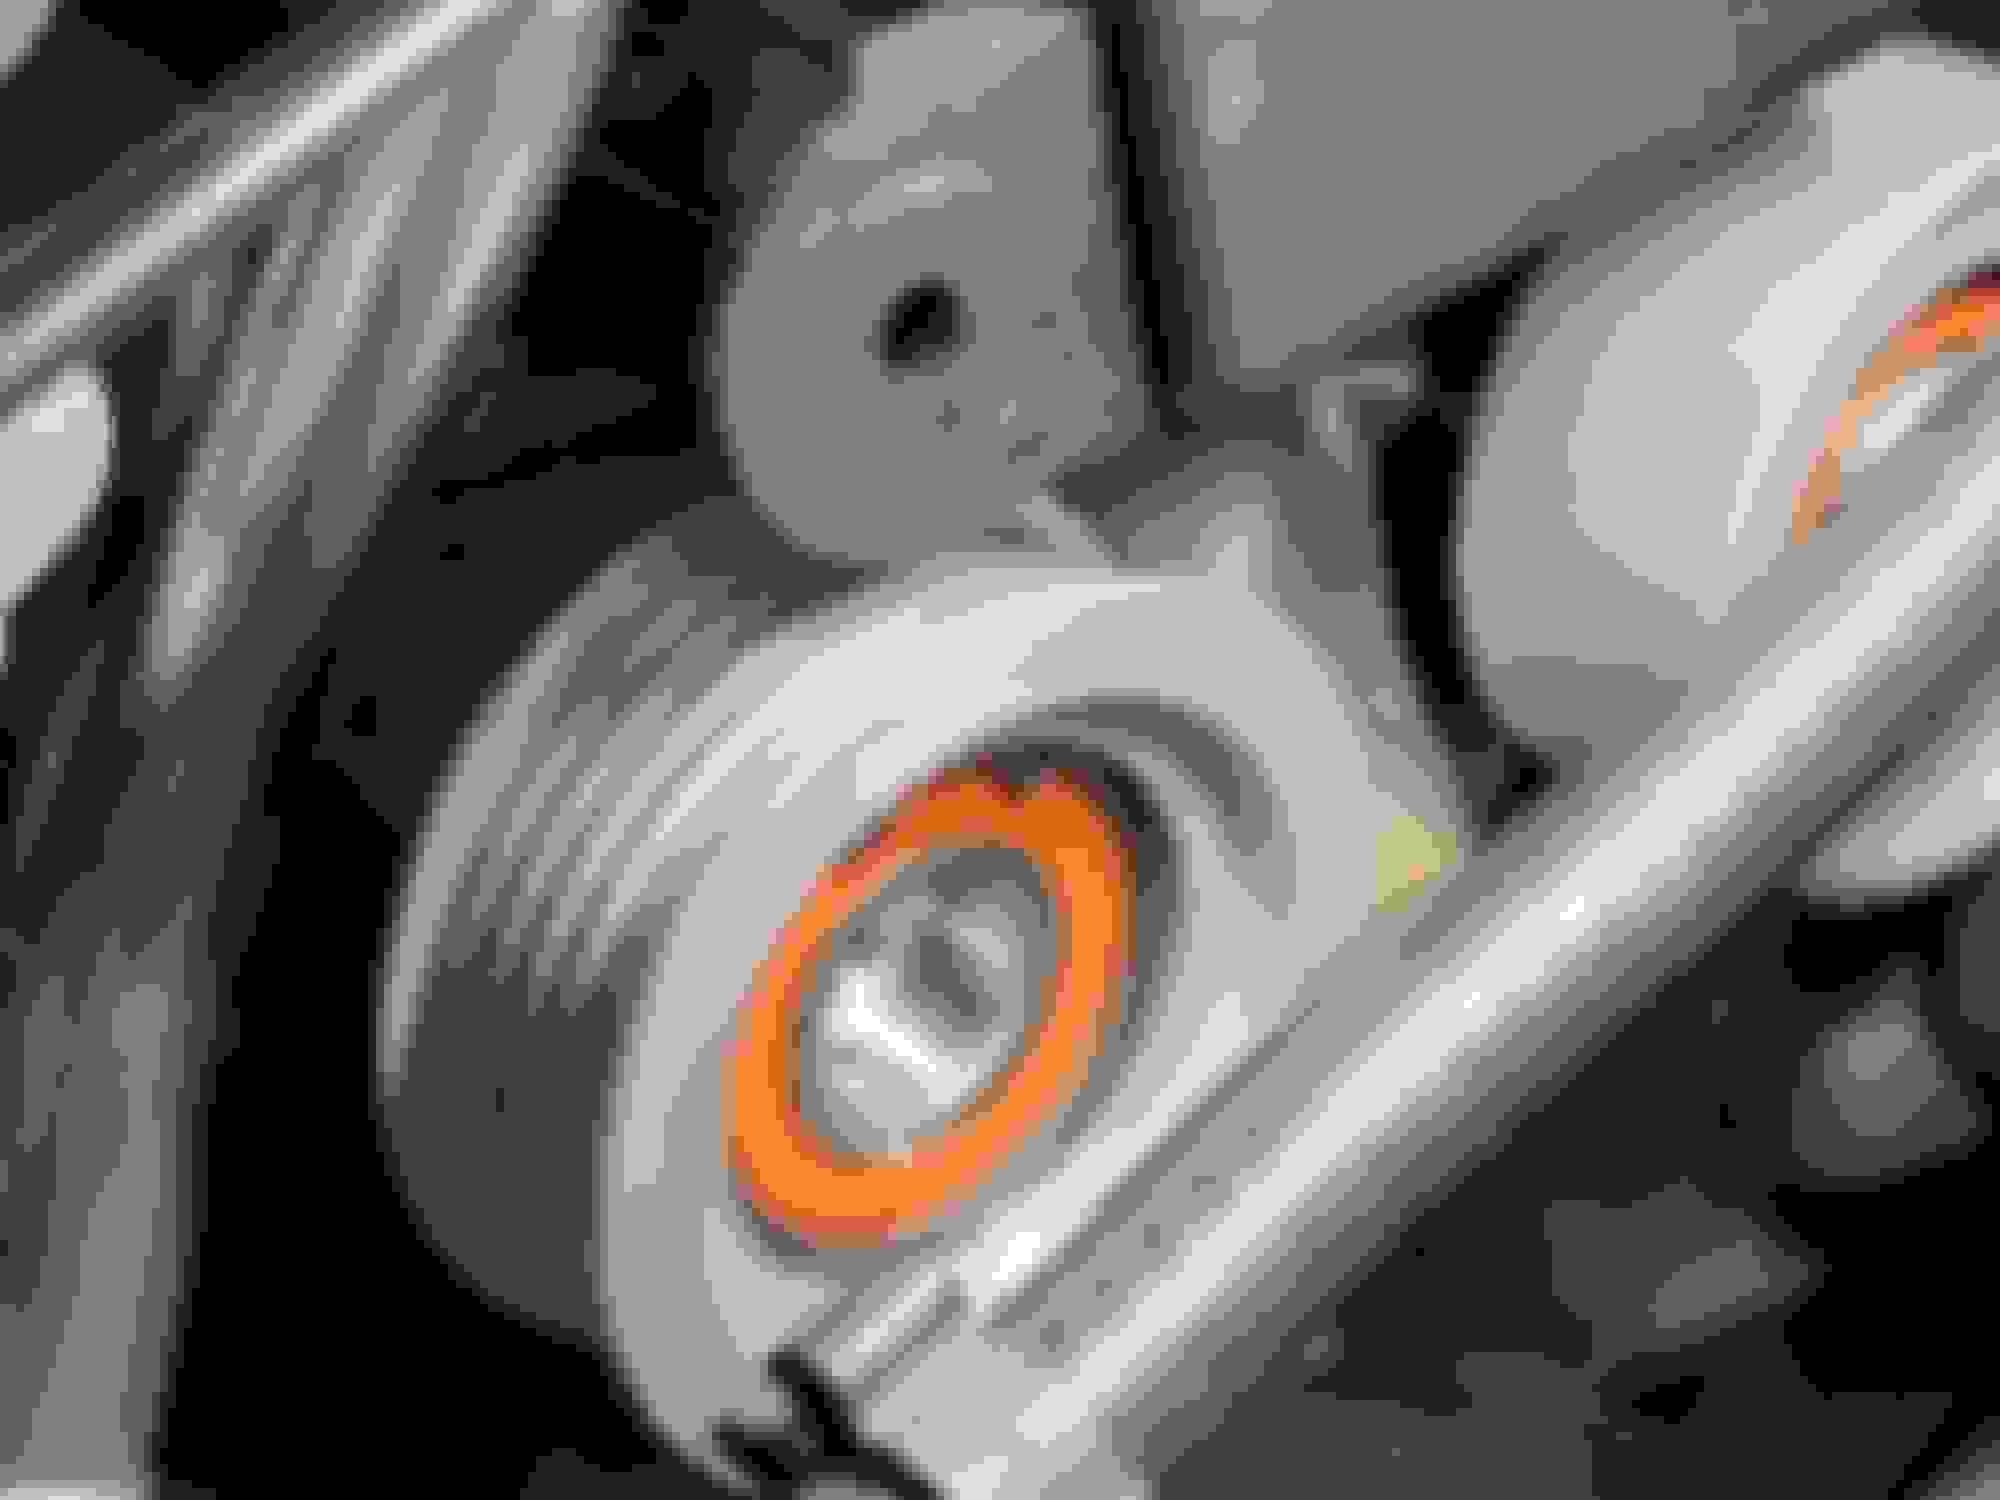
*INSTALL ALL UPD PULLEYS WITH SNAP RINGS FACING RADIATOR DESPITE INSTRUCTIONS (TENSIONER SNAP RING FACING RADIATOR OTHERWISE WILL CONTACT TENSIONER) (RIBBED SNAP RING FACING RADIATOR OTHERWISE 3MM POSITIVE OFFSET)
*ONCE UPD PULLEYS HAVE BEEN CENTERED/SEATED TORQUE TO SPEC WITH A DAB OF BLUE LOC TITE IN APPROPRIATE LOCATIONS & SPIN EACH PULLEY FREELY BY HAND TO ENSURE FREE OPERATION *ONCE BELT IS ROUTED/ALIGNED PROPERLY ON ALL RIBS/PULLEYS HOLD TENSIONER COMPLETELY COUNTERCLOCKWISE WHILE REMOVING SCREWDRIVER TO RELEASE TENSION
*REINSTALL IN REVERSE ORDER
Apparently one too many photos @Cwagon
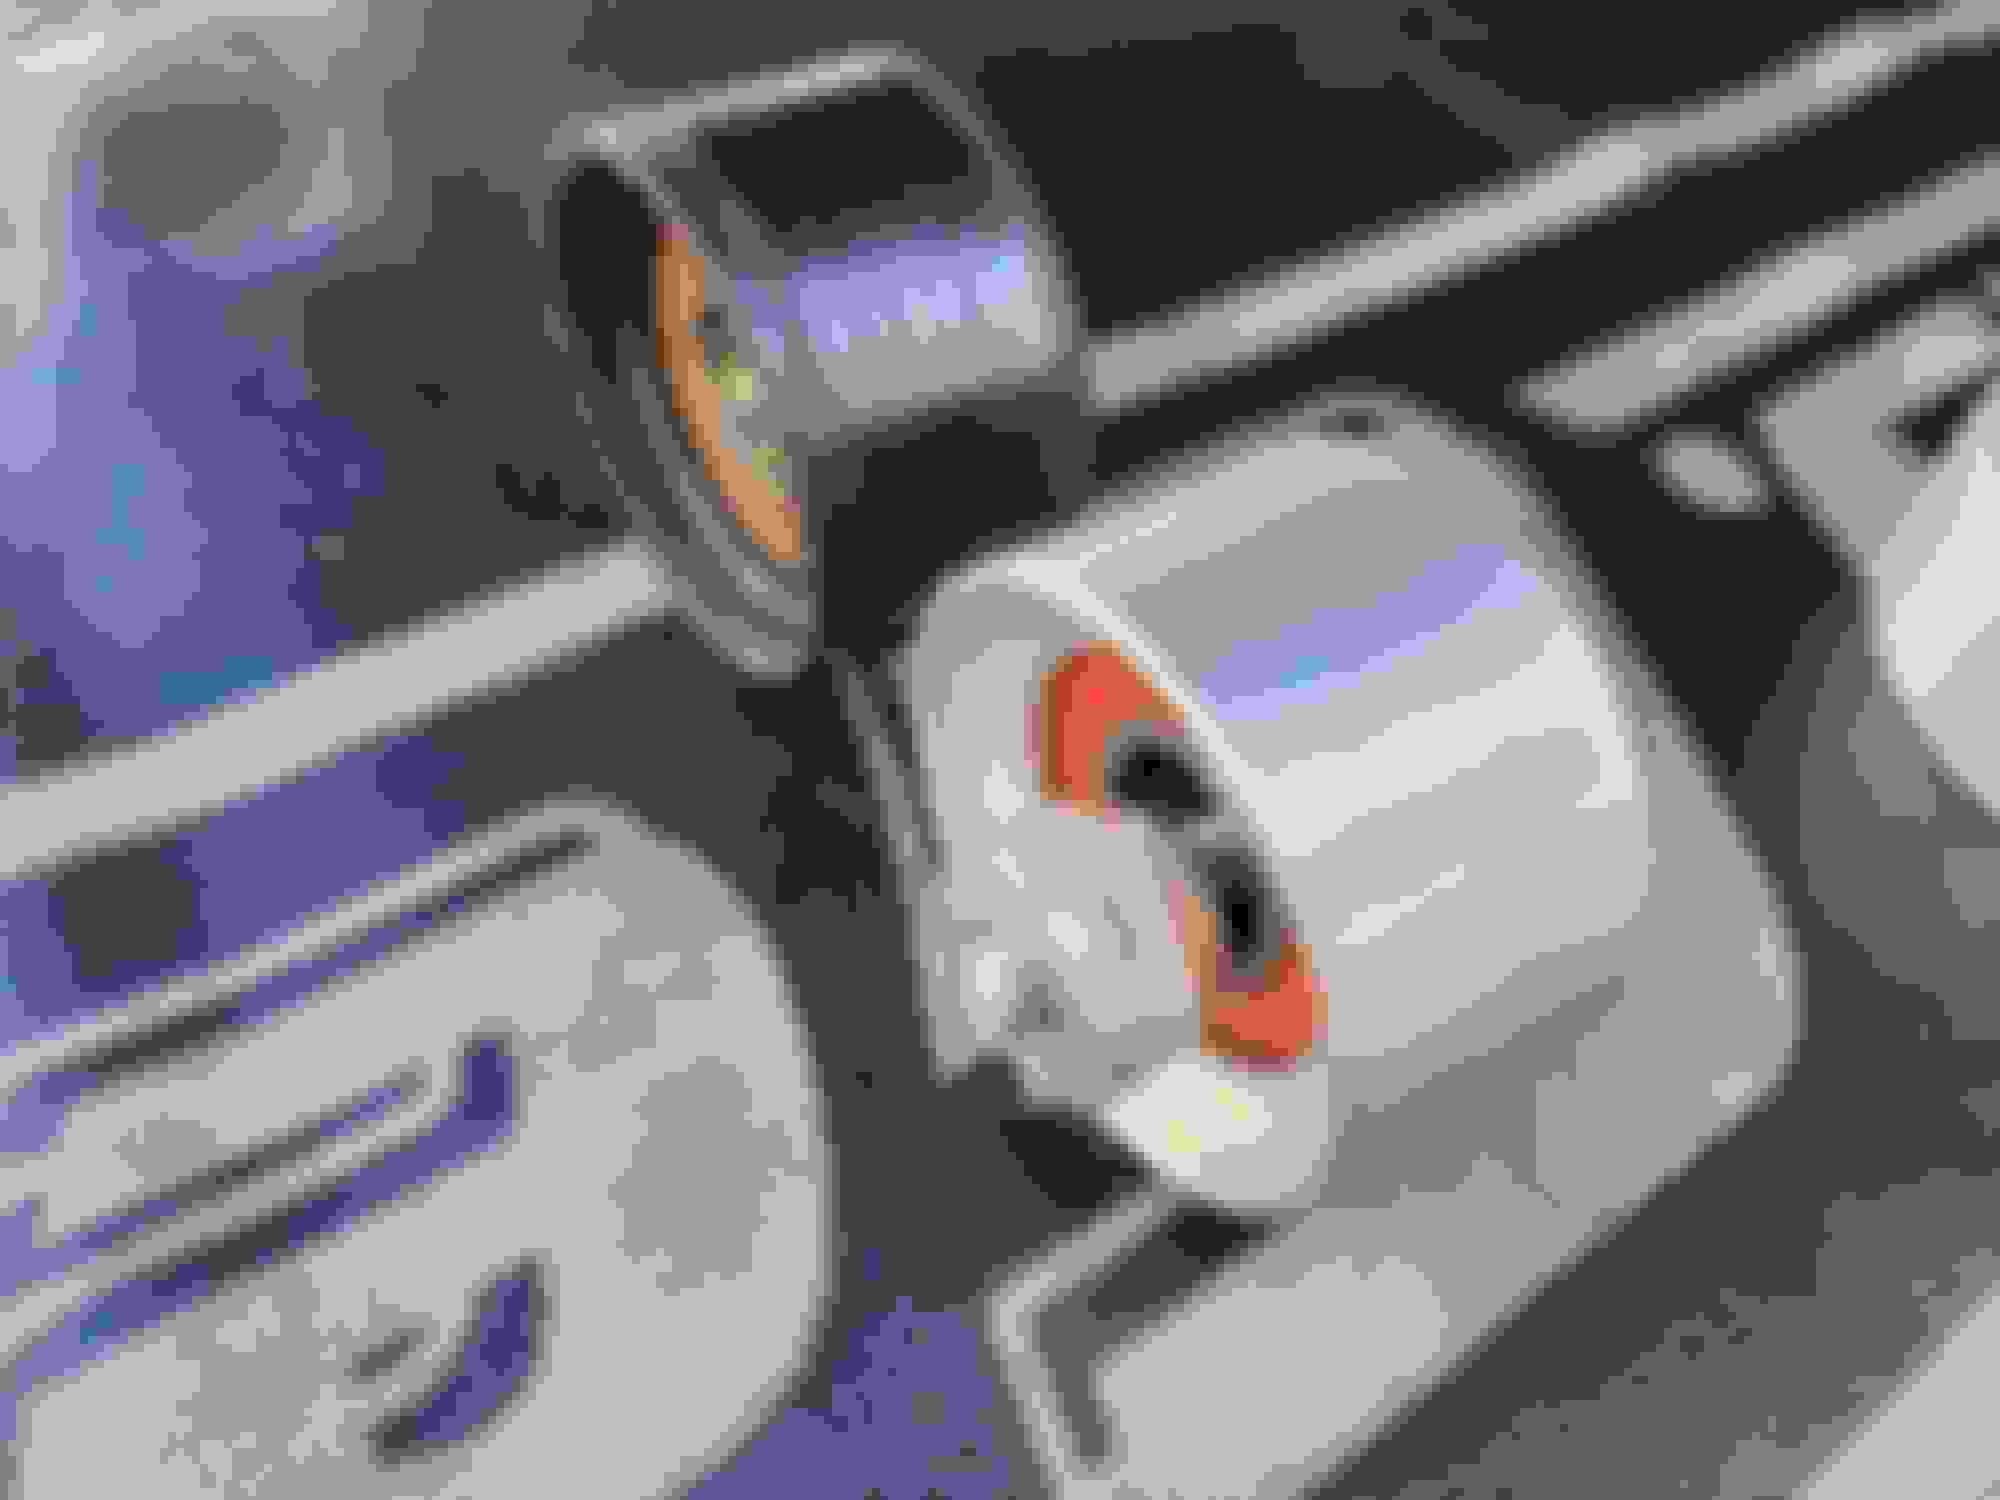
Continuation from post #120 due to exceeded image cap (40 photos). Proper VS improper tensioner and ribbed pulley installation offsets/consequences below for reference.
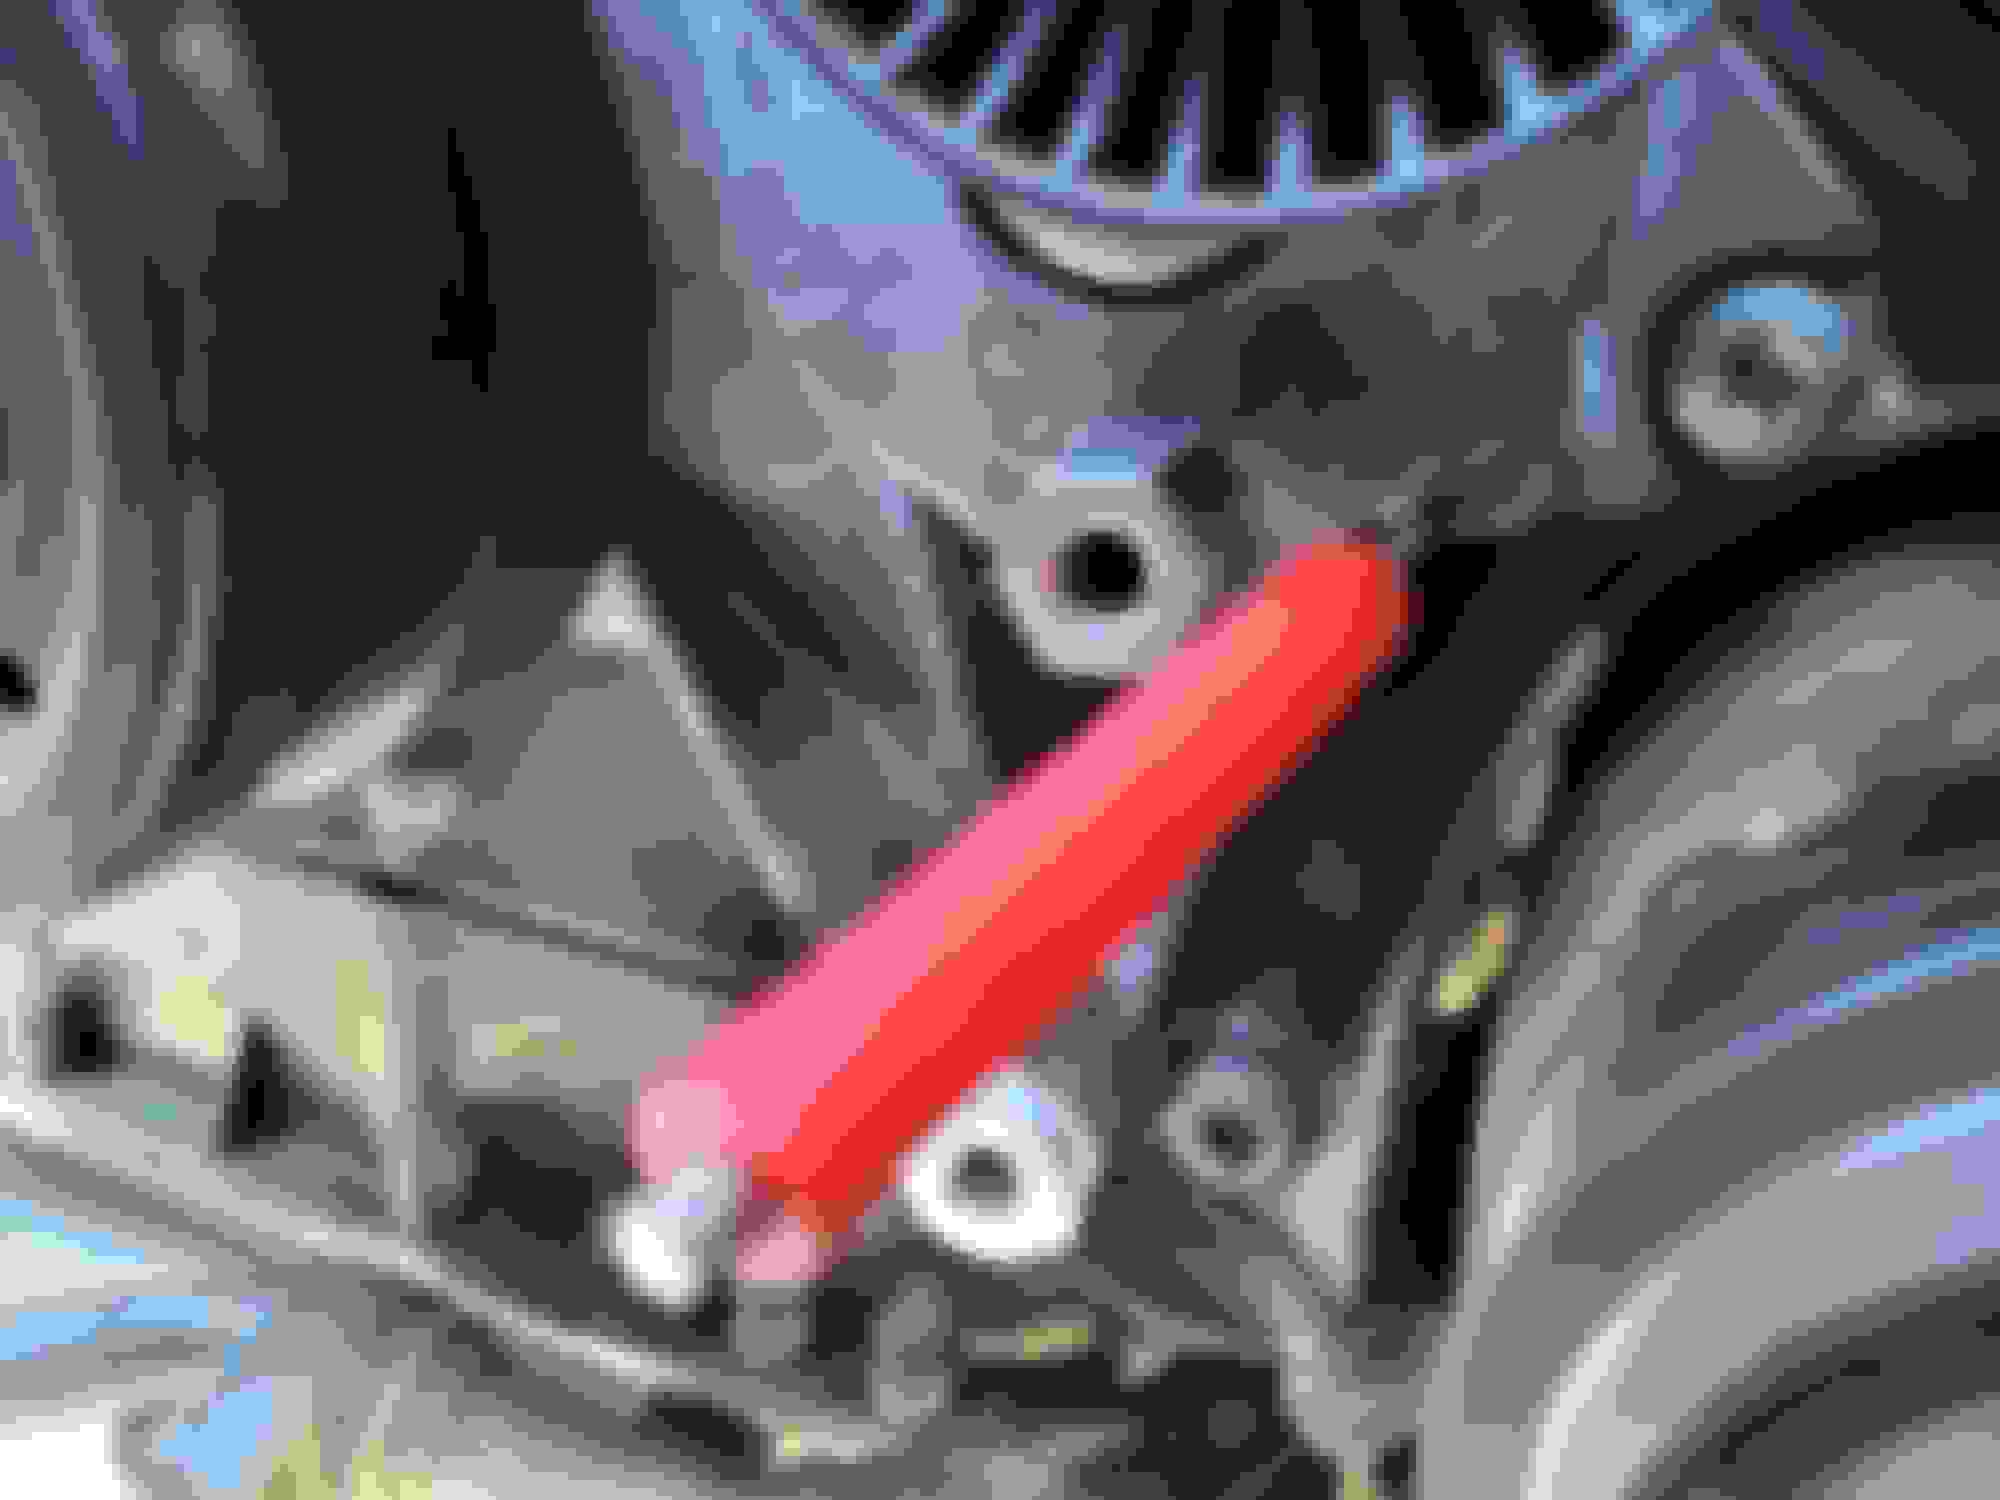
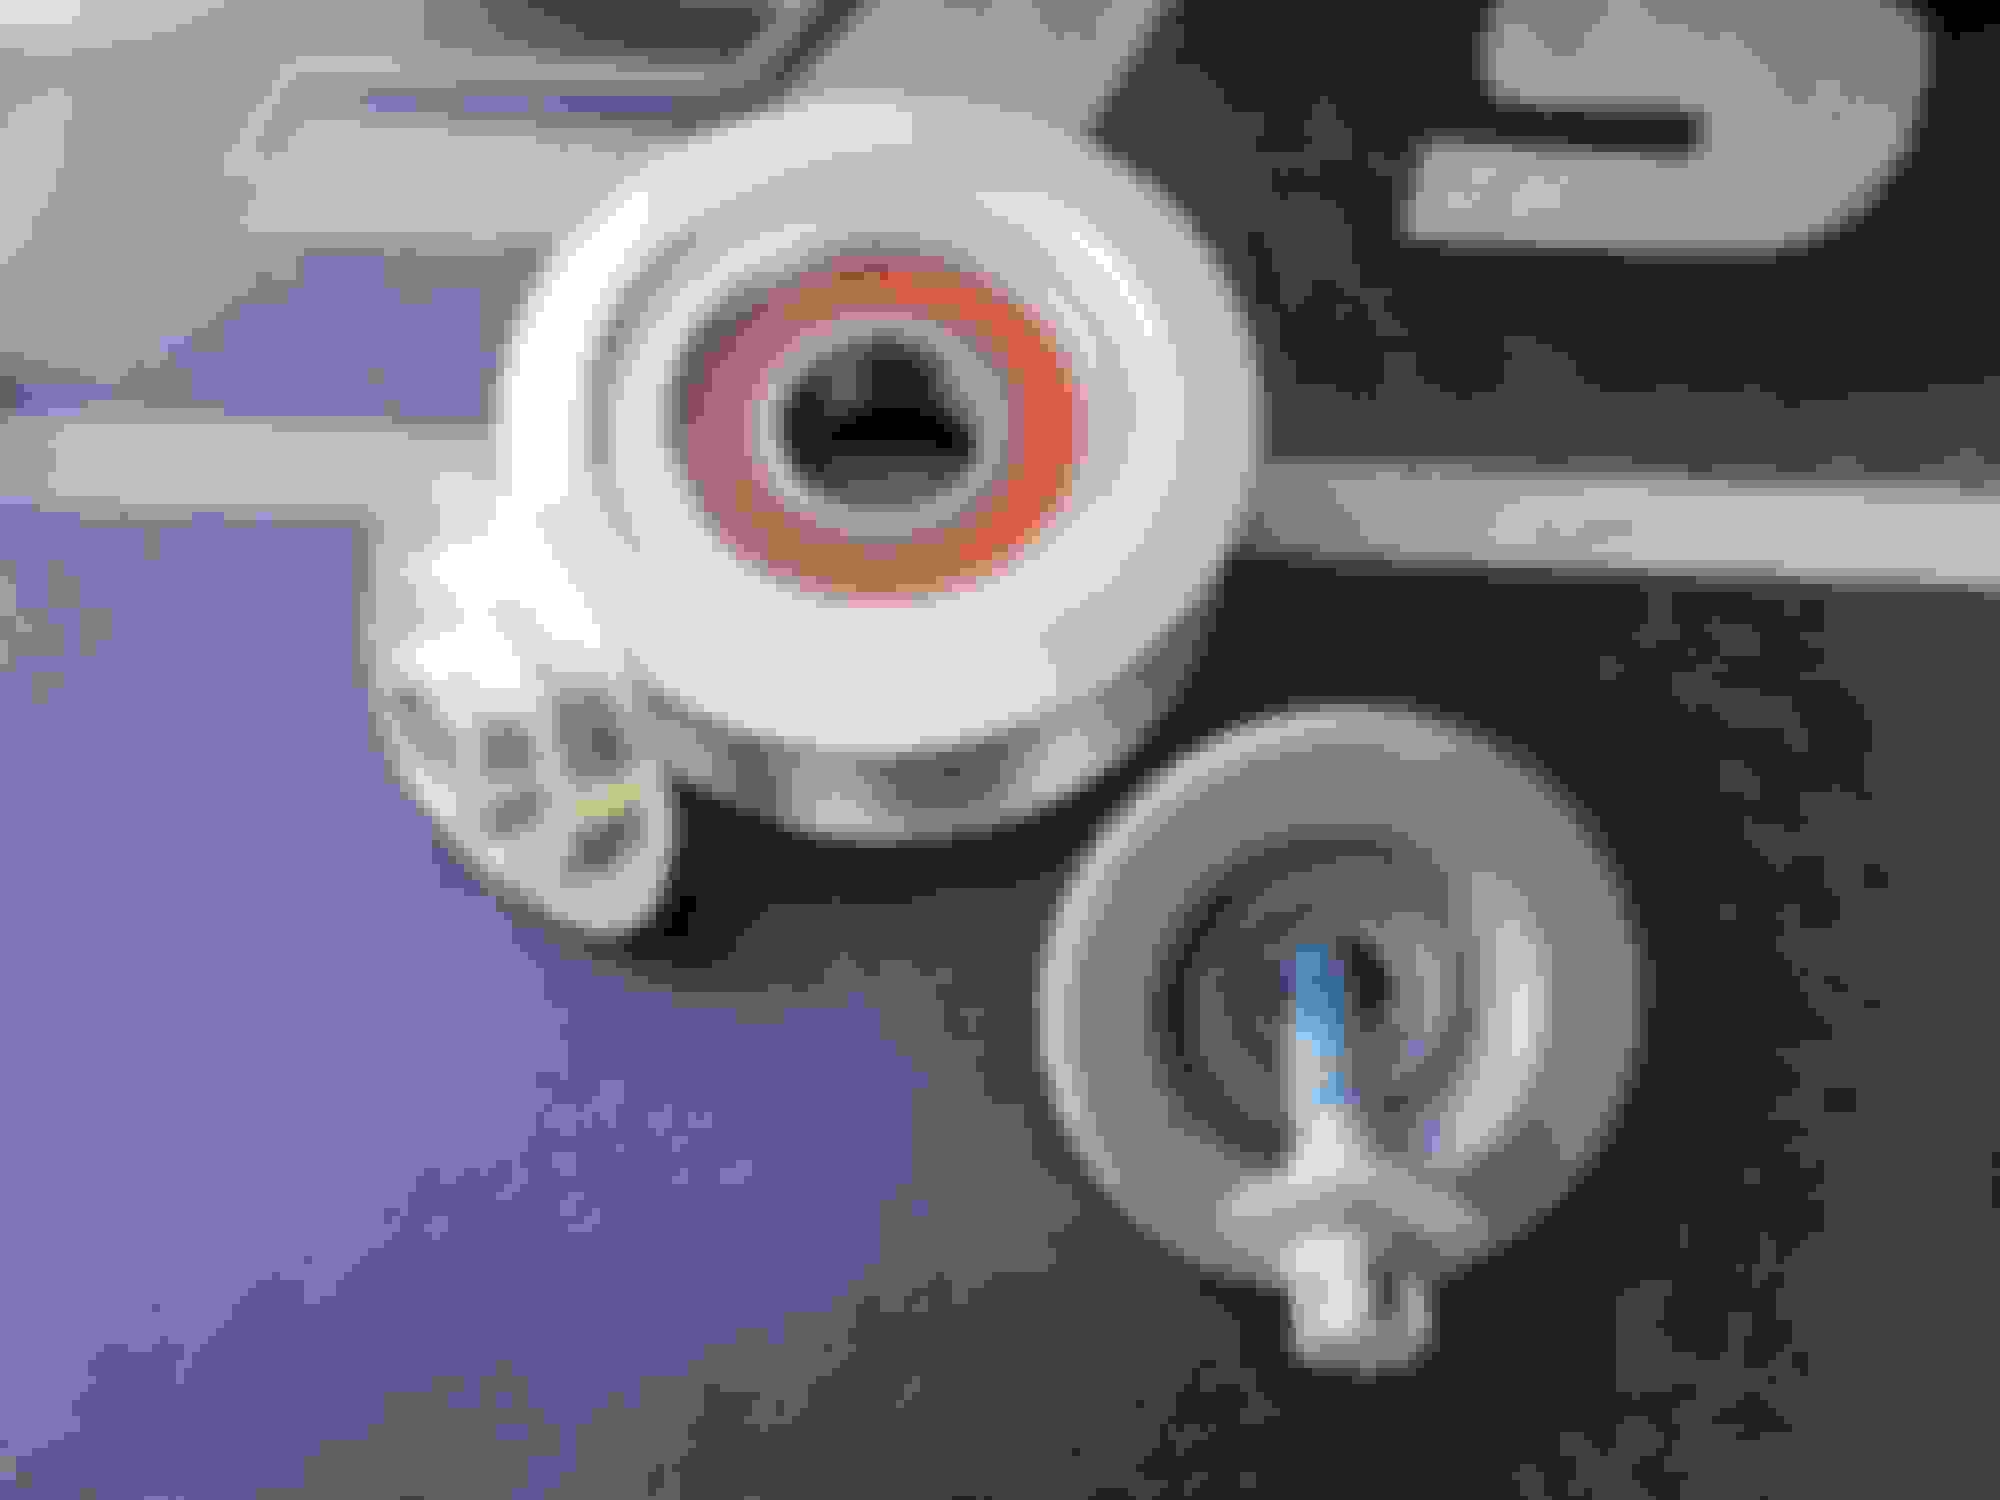
Ribbed pulley snap ring facing engine per instructions (+3 offset) VS Ribbed pulley snap ring facing radiator (0 offset)
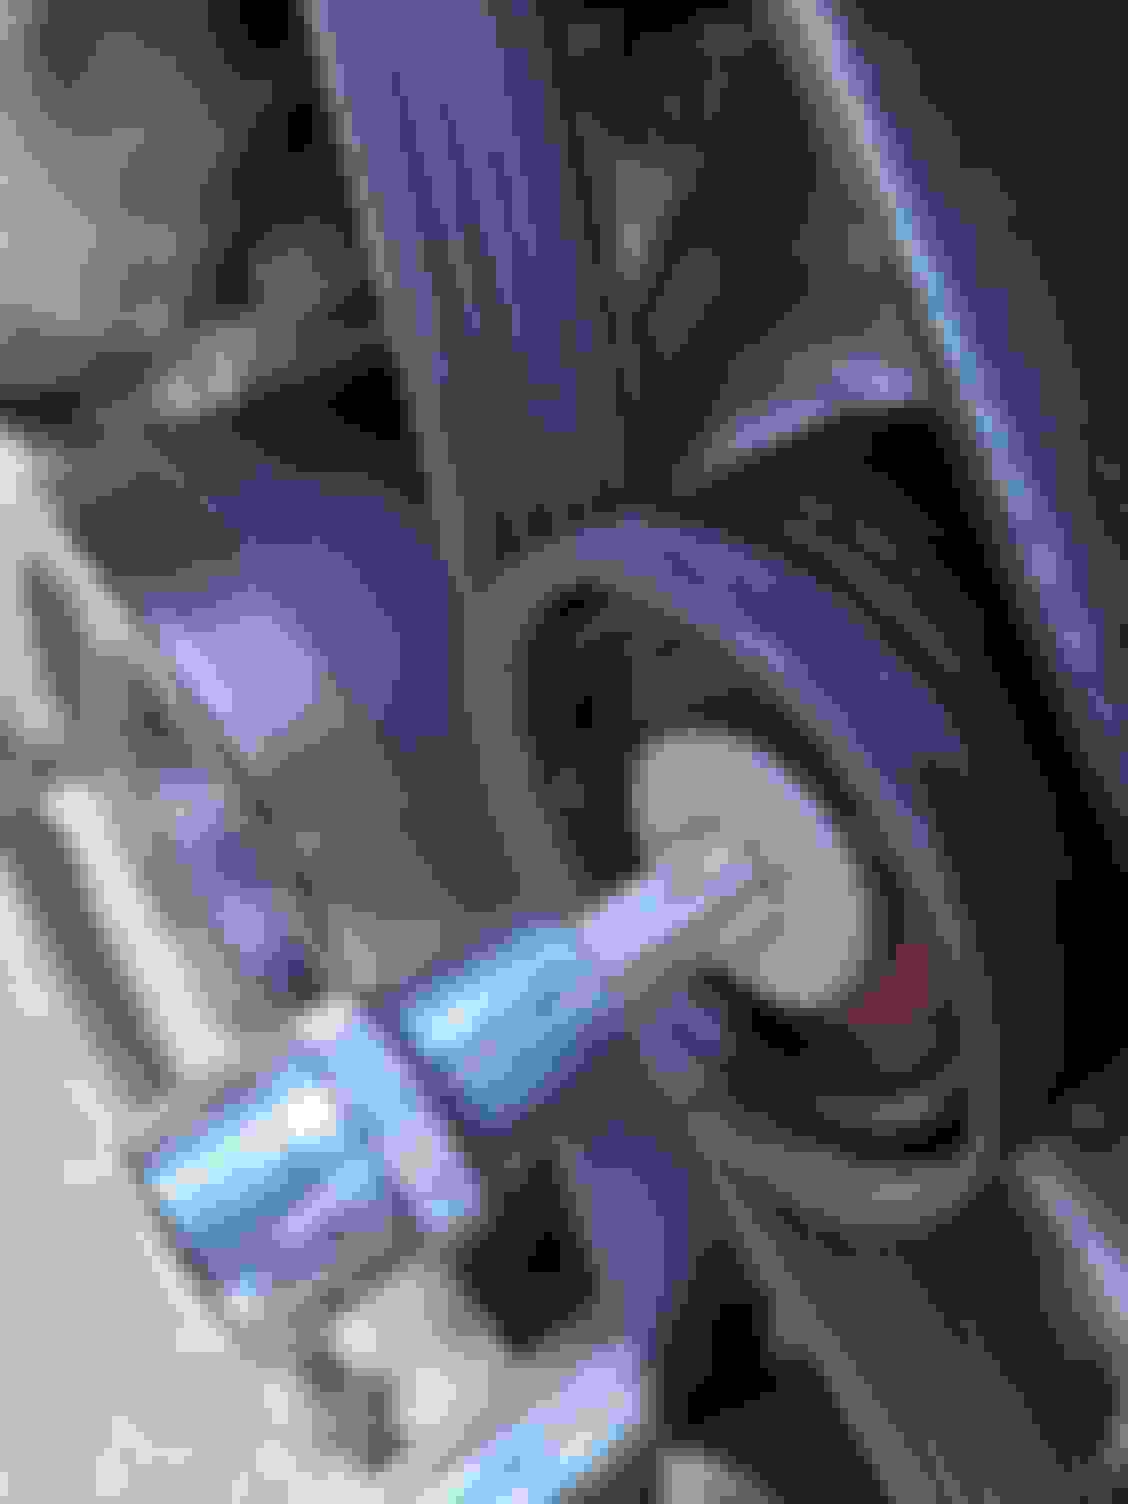
Tensioner pulley installed with snap ring facing engine per instructions will result in contacting the tensioner (lip between vents for contact reference)
I have a set of OE MB replacements awaiting install but am considering alternatives if the upgrade is worth it.
bearings like all aftermarket pulley bearings are trash. they're incorrectly spec'd for the RPM range the M156 will see. they spec'd for an engine that revs to 6,500rpm max. in time they'll seize due to having to work in a higher operating range than designed for. the bearings are a solid brand but wrong specification. pulleys themselves are solid.


 04-14-2022, 04:06 AM