When you click on links to various merchants on this site and make a purchase, this can result in this site earning a commission. Affiliate programs and affiliations include, but are not limited to, the eBay Partner Network.
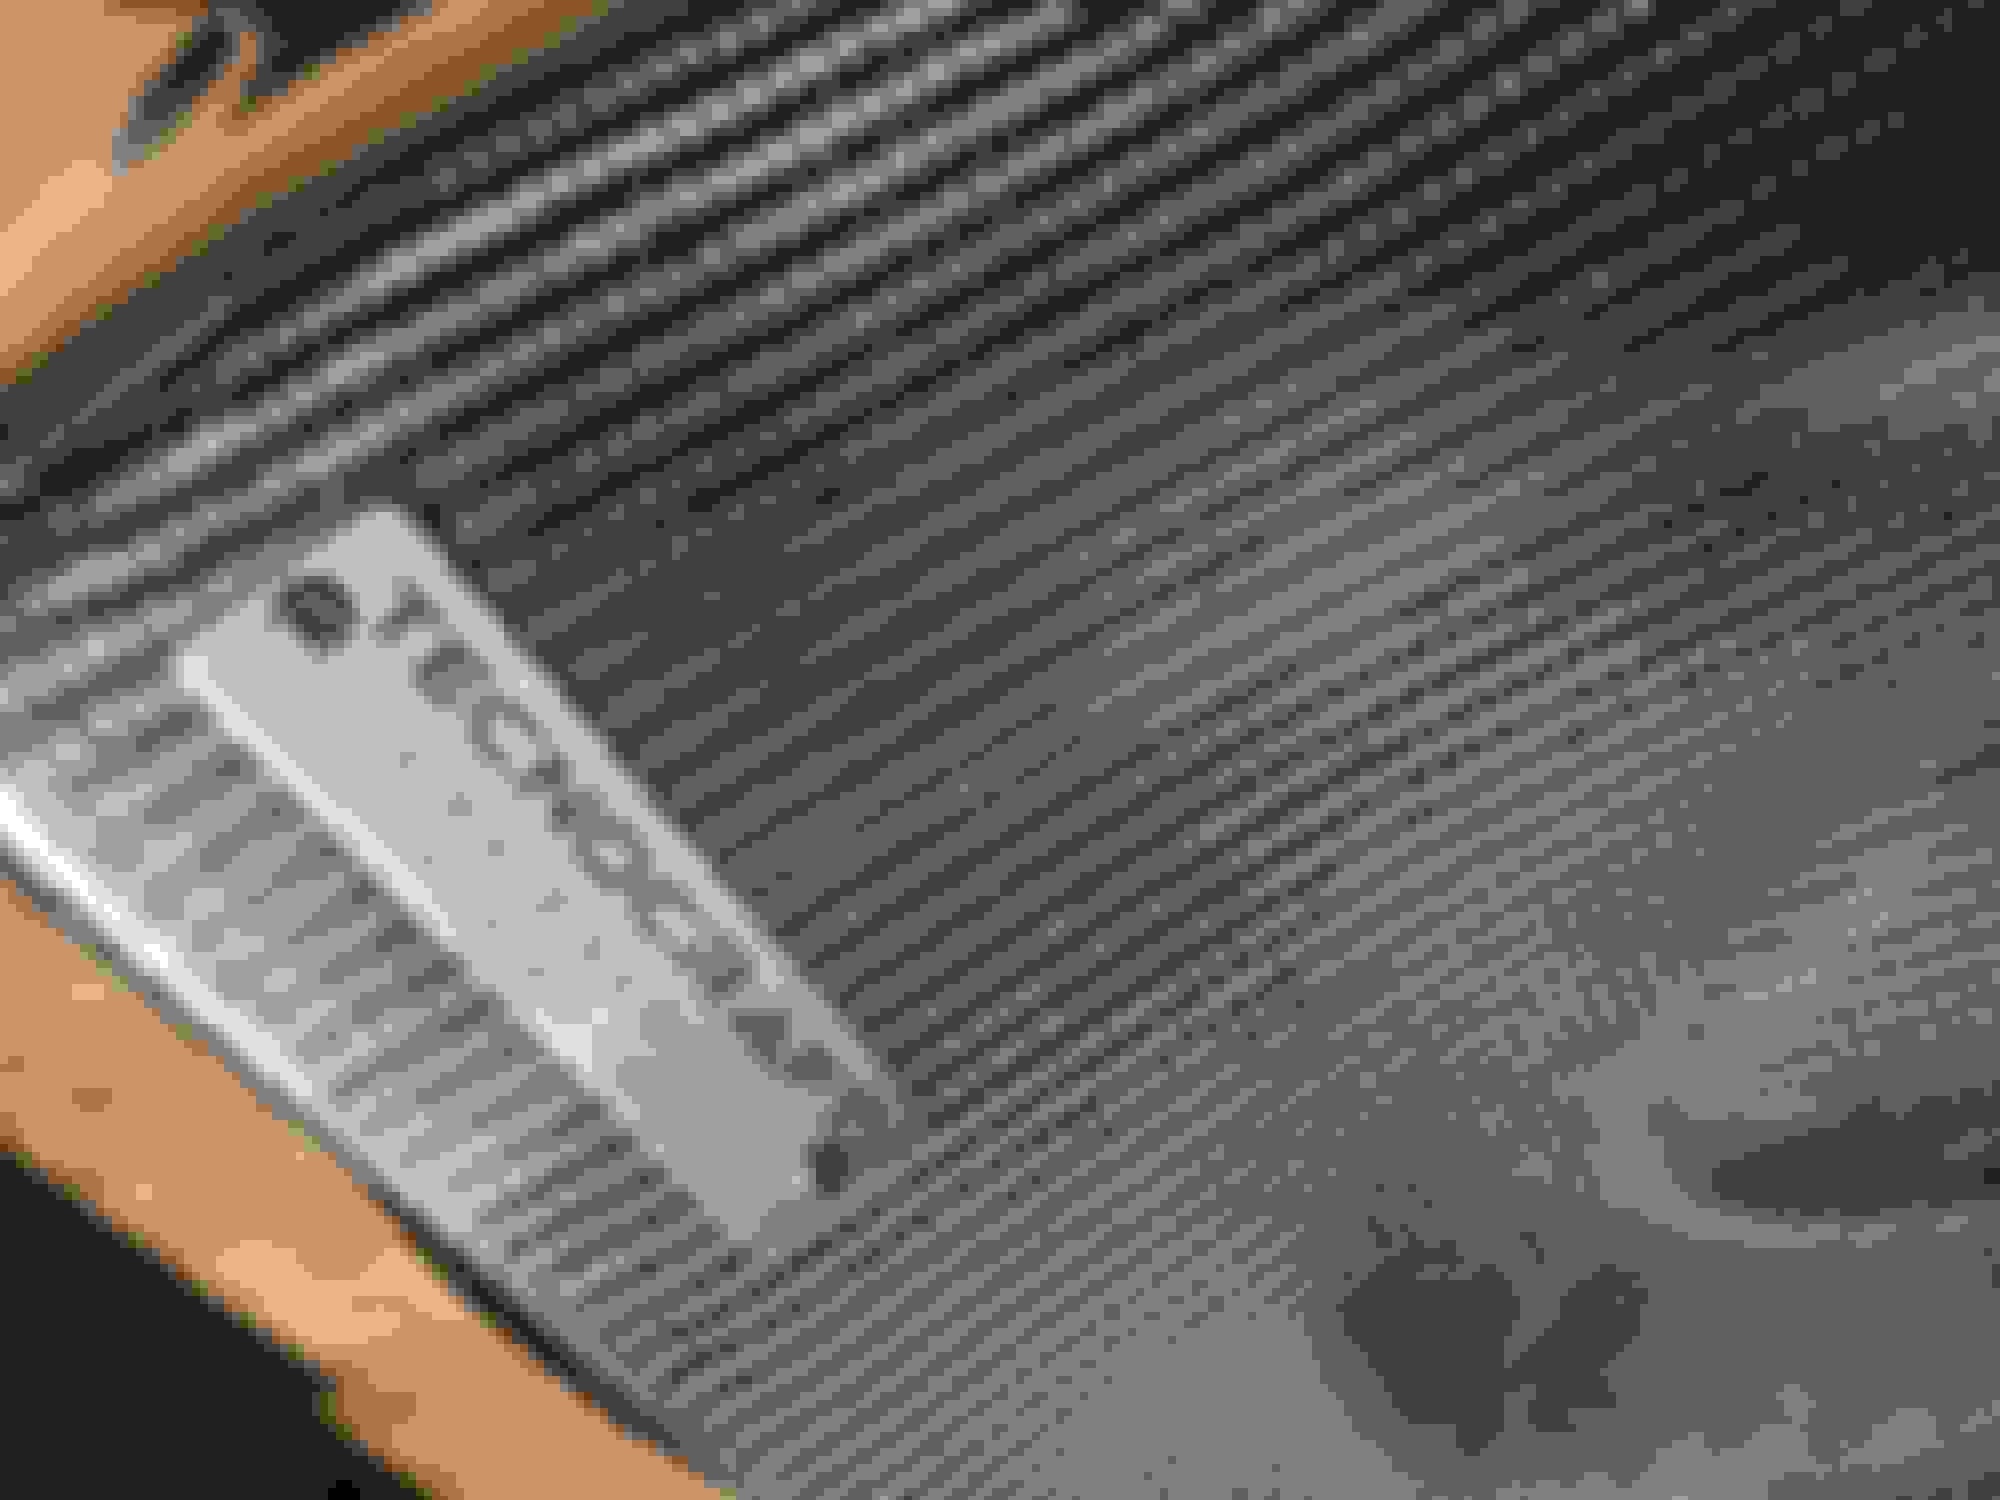
Yet another 3lbs of rotational mass chipped off. As mentioned early on for every rotationallb eliminated is equivalent to 7lbs give or take of static AKA dead weight. Titanium R14 ball seat lugs to accommodate factory style drag pack.
There's no such thing as too much fuel until your cars on fire. With all jokes aside and in spite of my initial thoughts that race gas would need to be introduced at some point to go full tilt that apparently isn't the case with 86 Tune capabilities and glad that the entire VP pallet found a better home. With @hachiroku latest and greatest ethanol map revisions pump E85 will allow us to run more than enough ignition timing and she'll find her place in the sun this winter come December. Although its beyond me shifting gears in ethanol now have gone from 100 MS to 75MS~ take this from someone who shifts @50MS on a WOT box on another application, dare I say anything below 50MS is near pneumatic. Without saying too much they're no strings on Barry. Stayed tuned, 86 tuned.
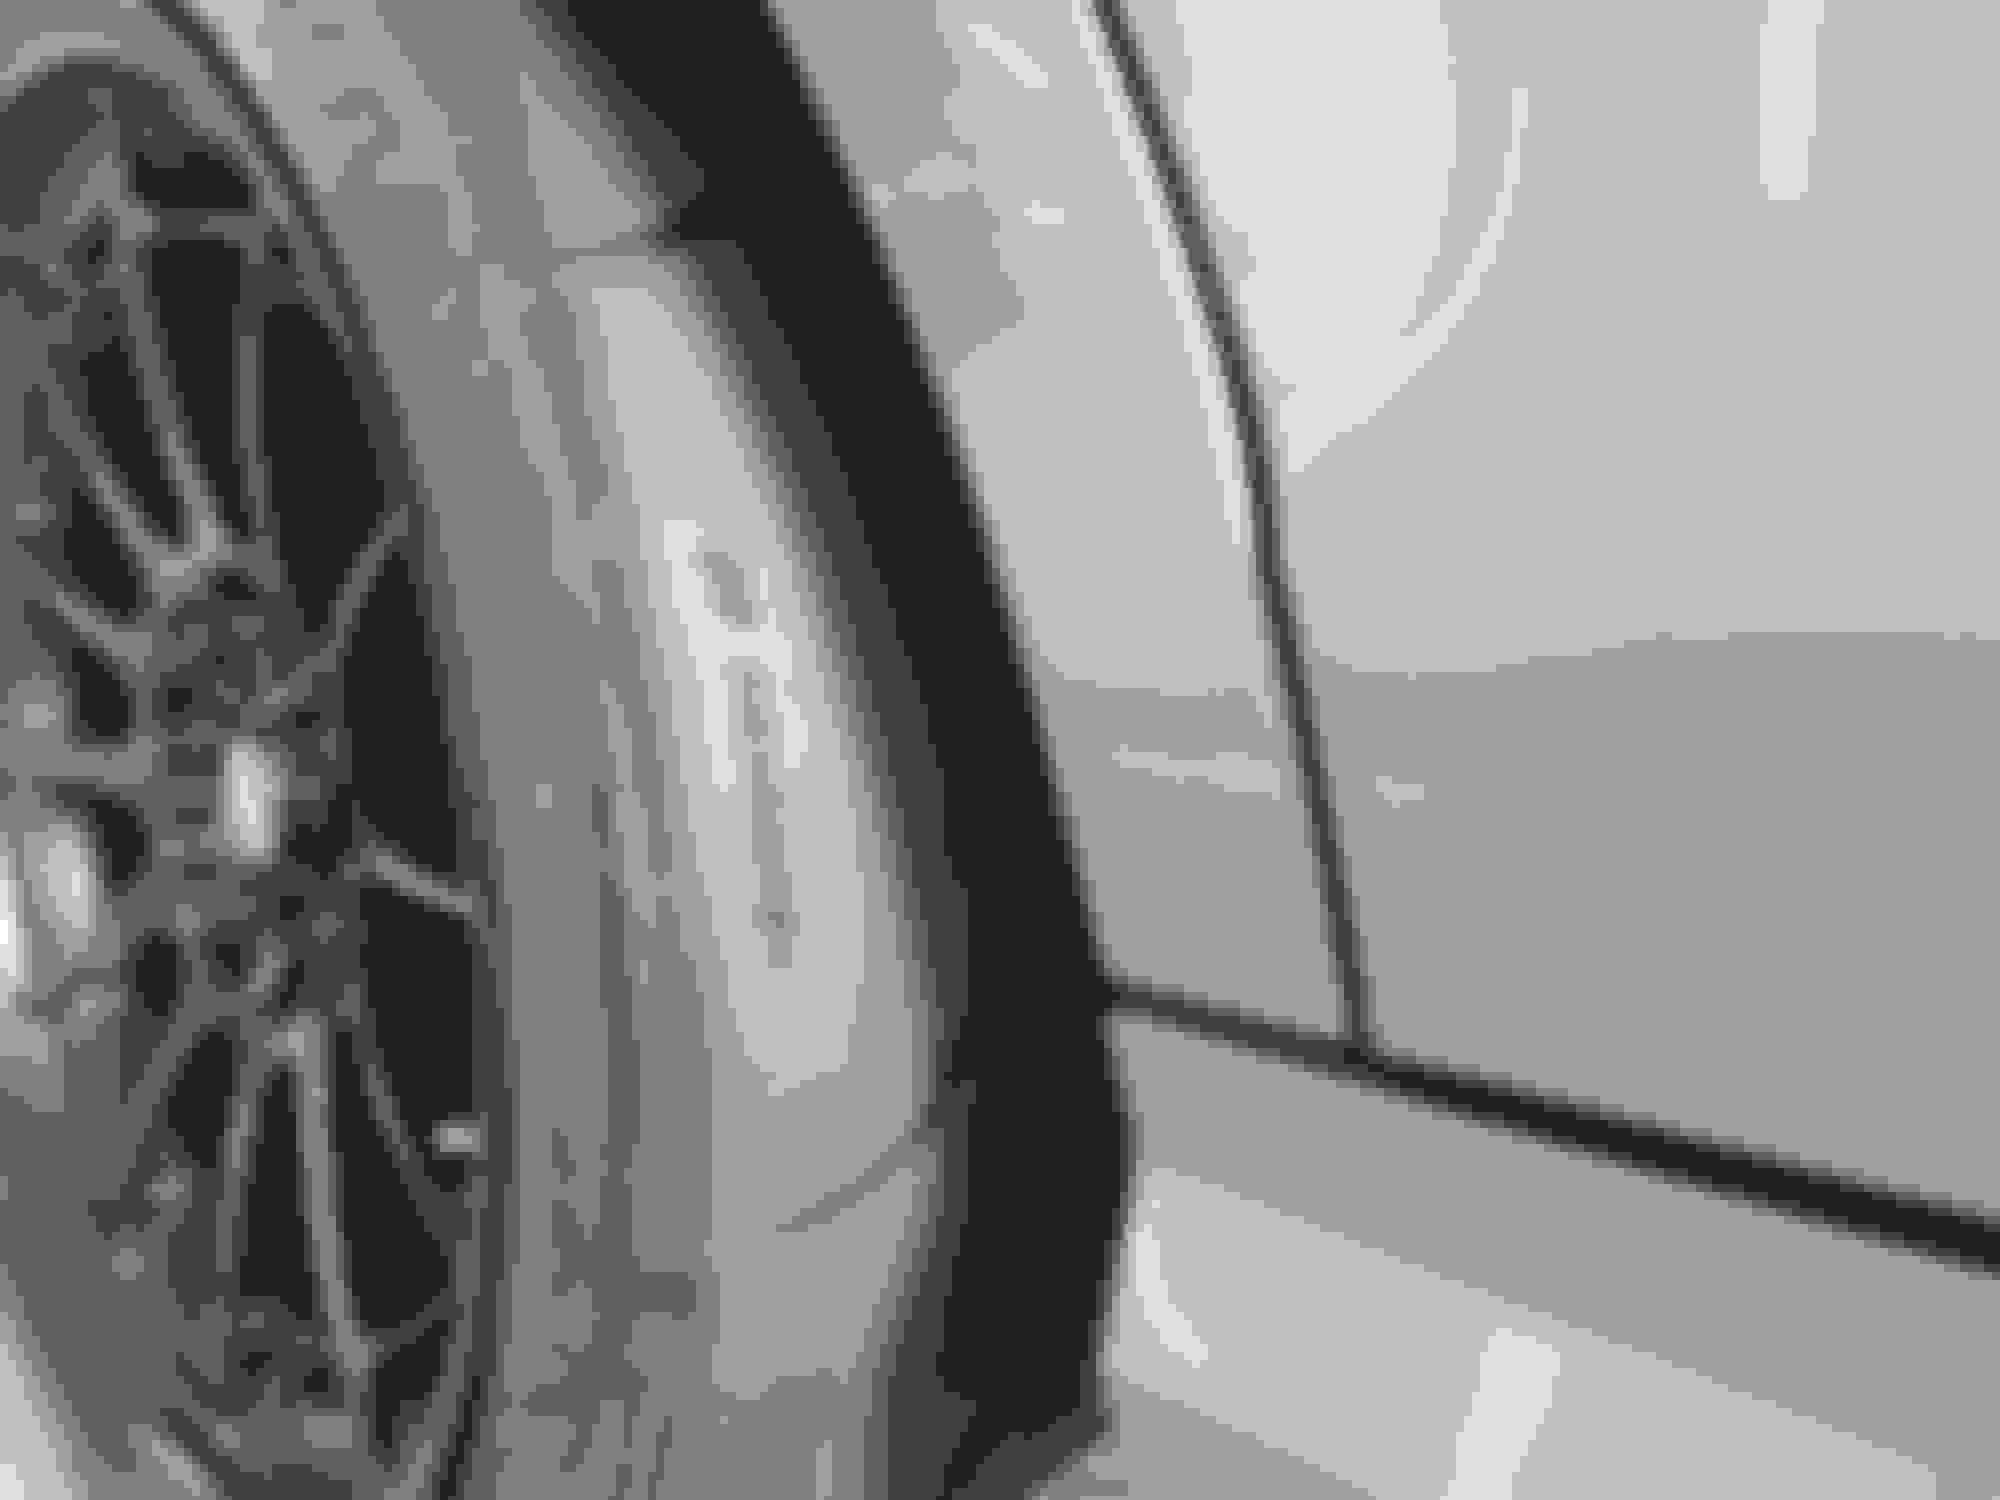
@mega_rad Redrilled, custom back spacing/offsets. Off the shelf 5x112 no M face
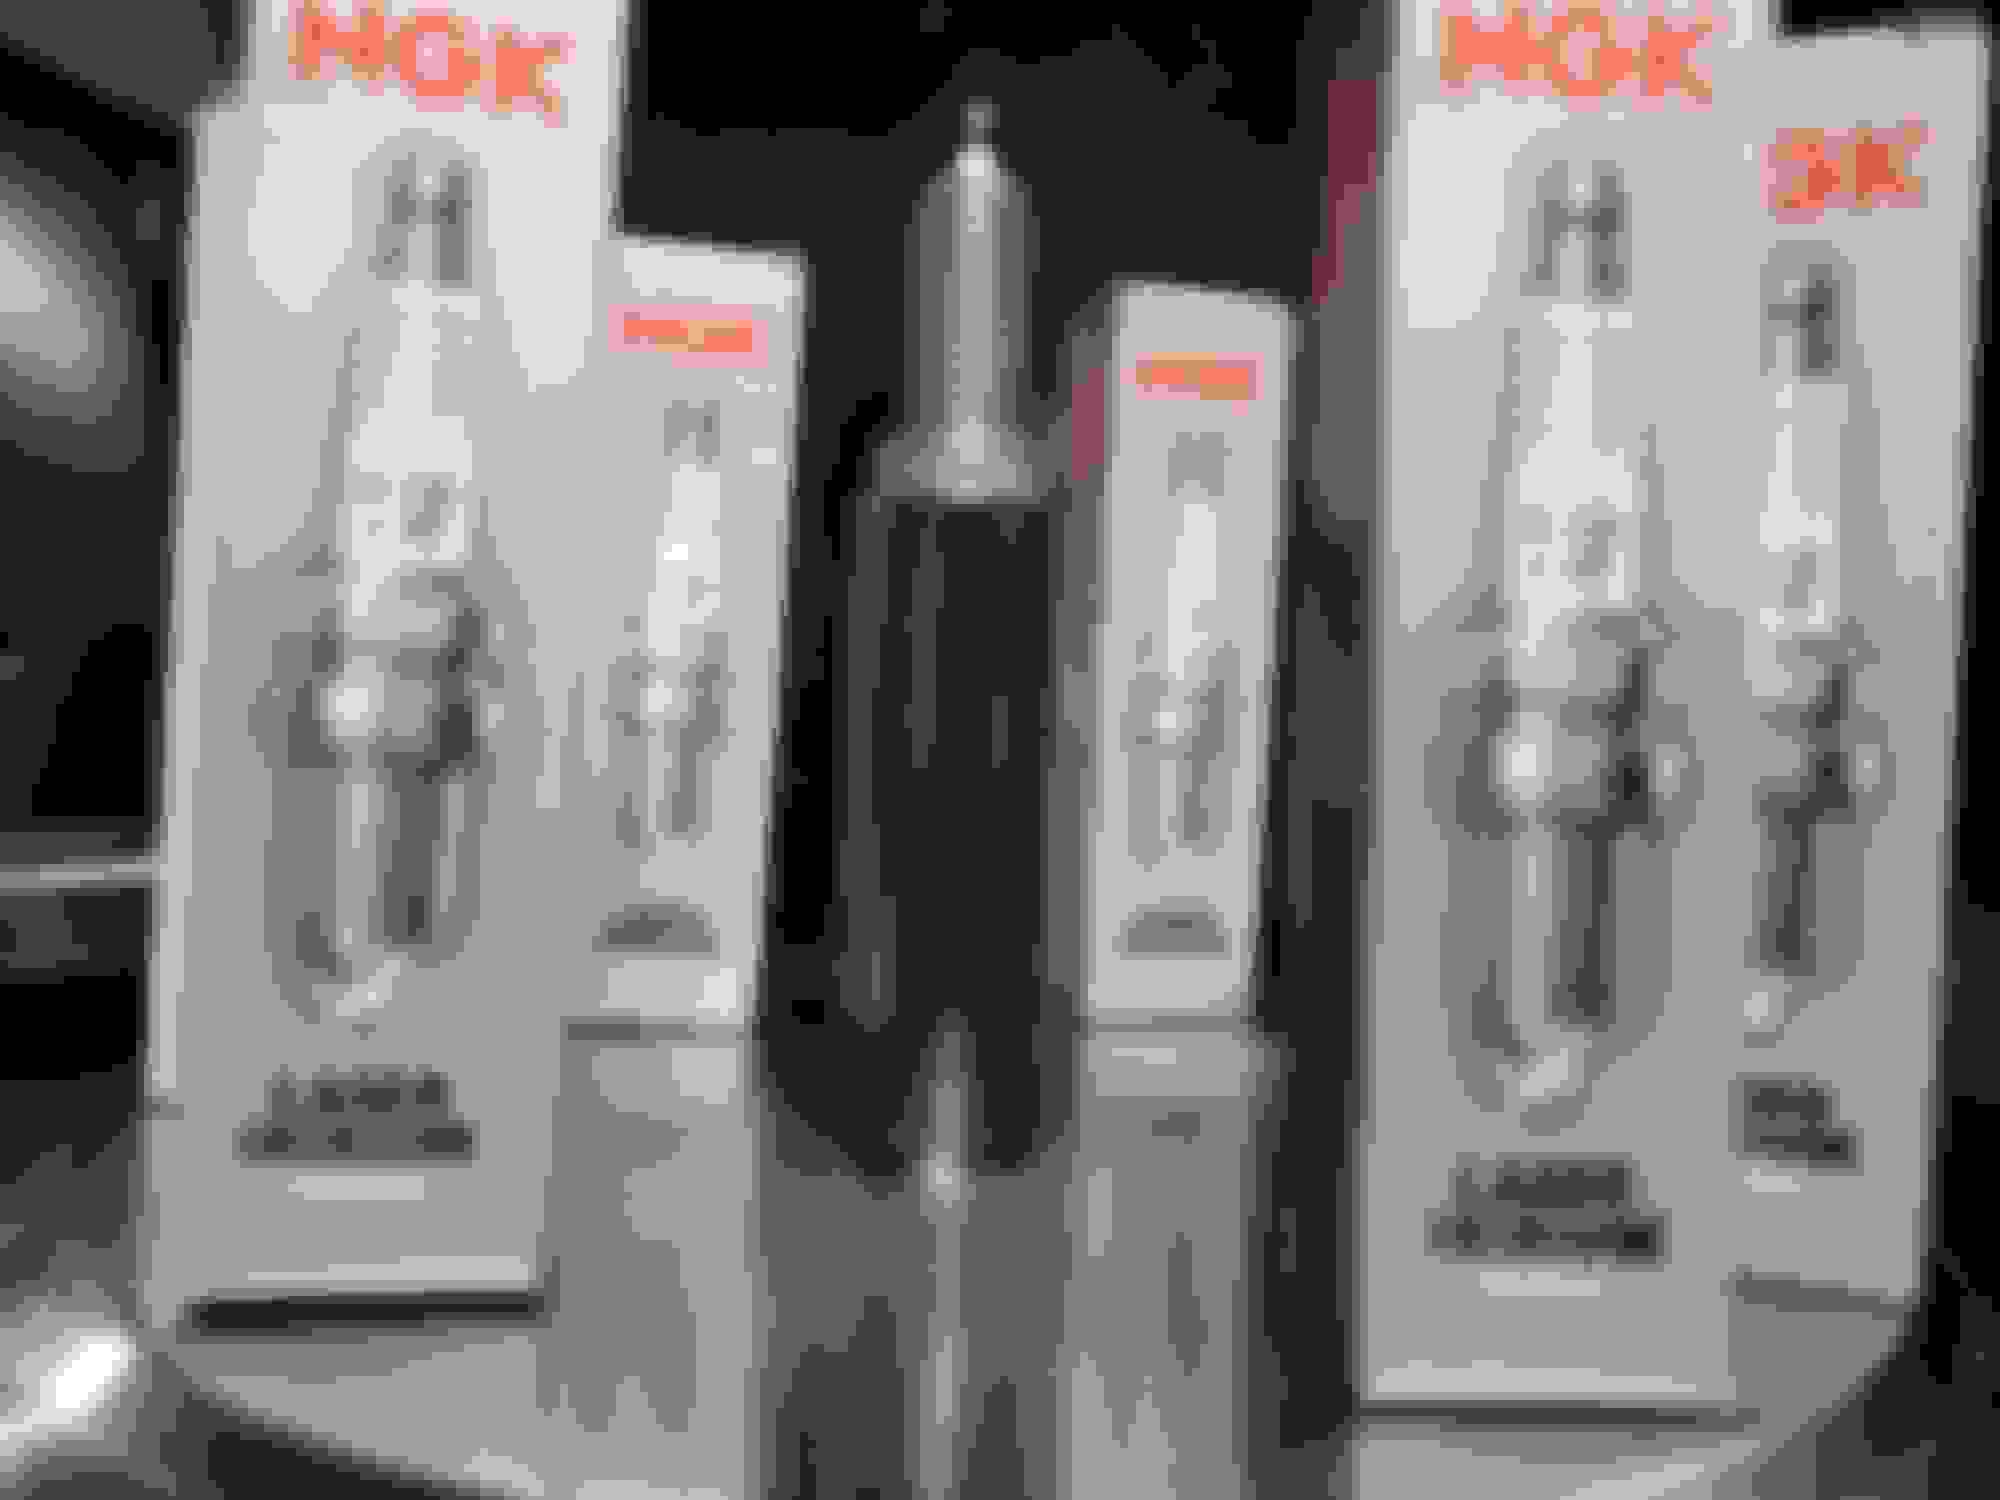
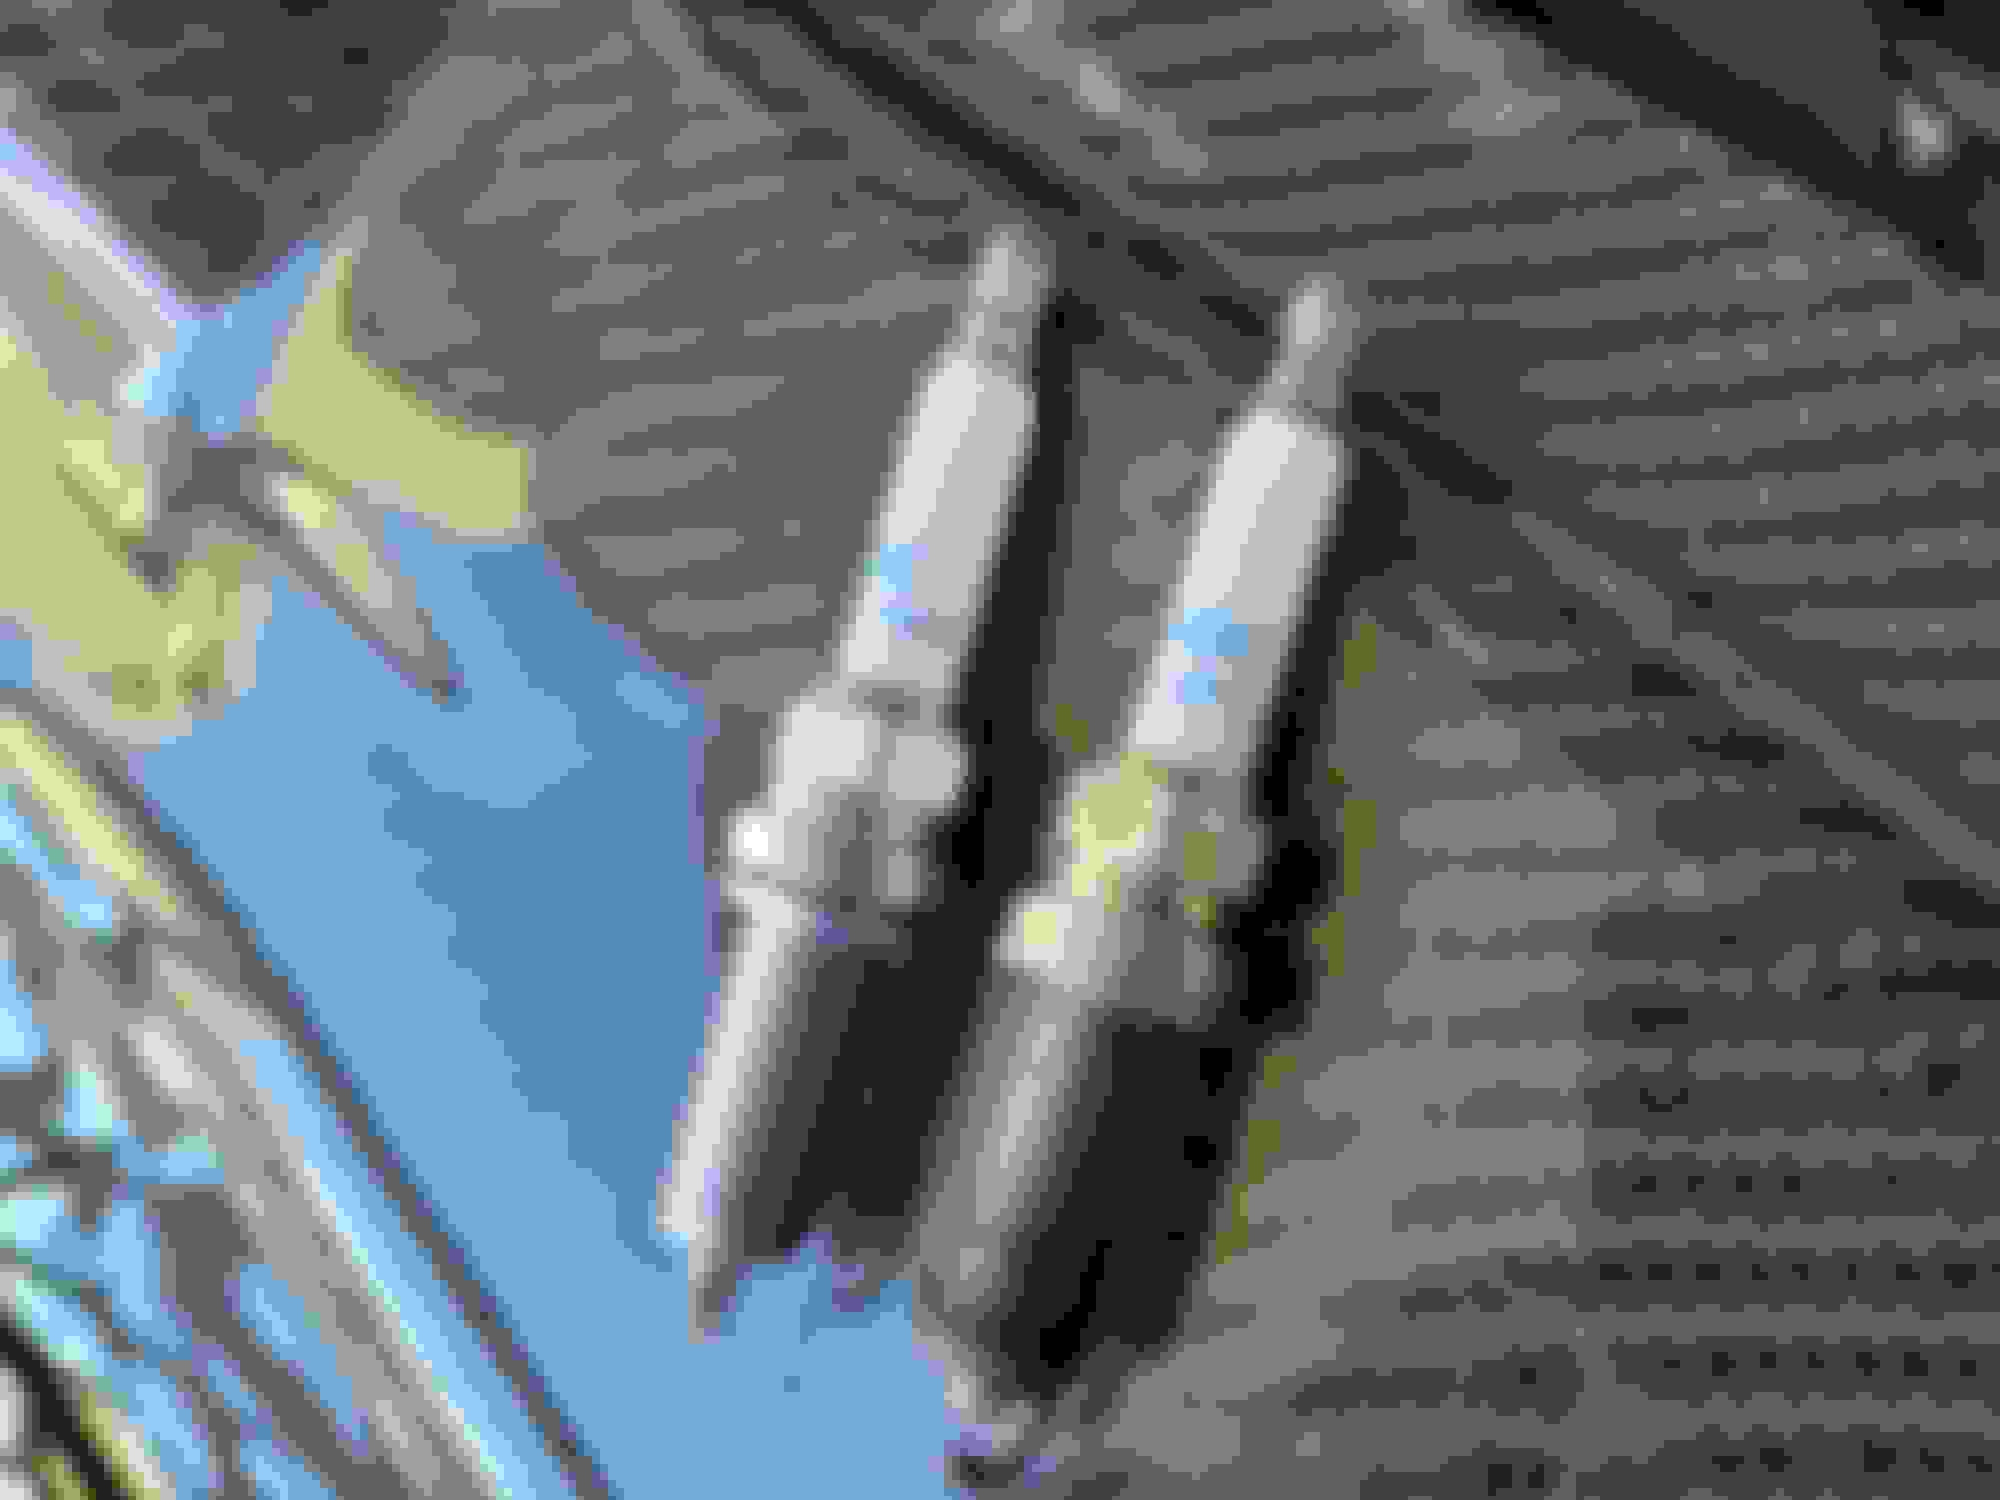
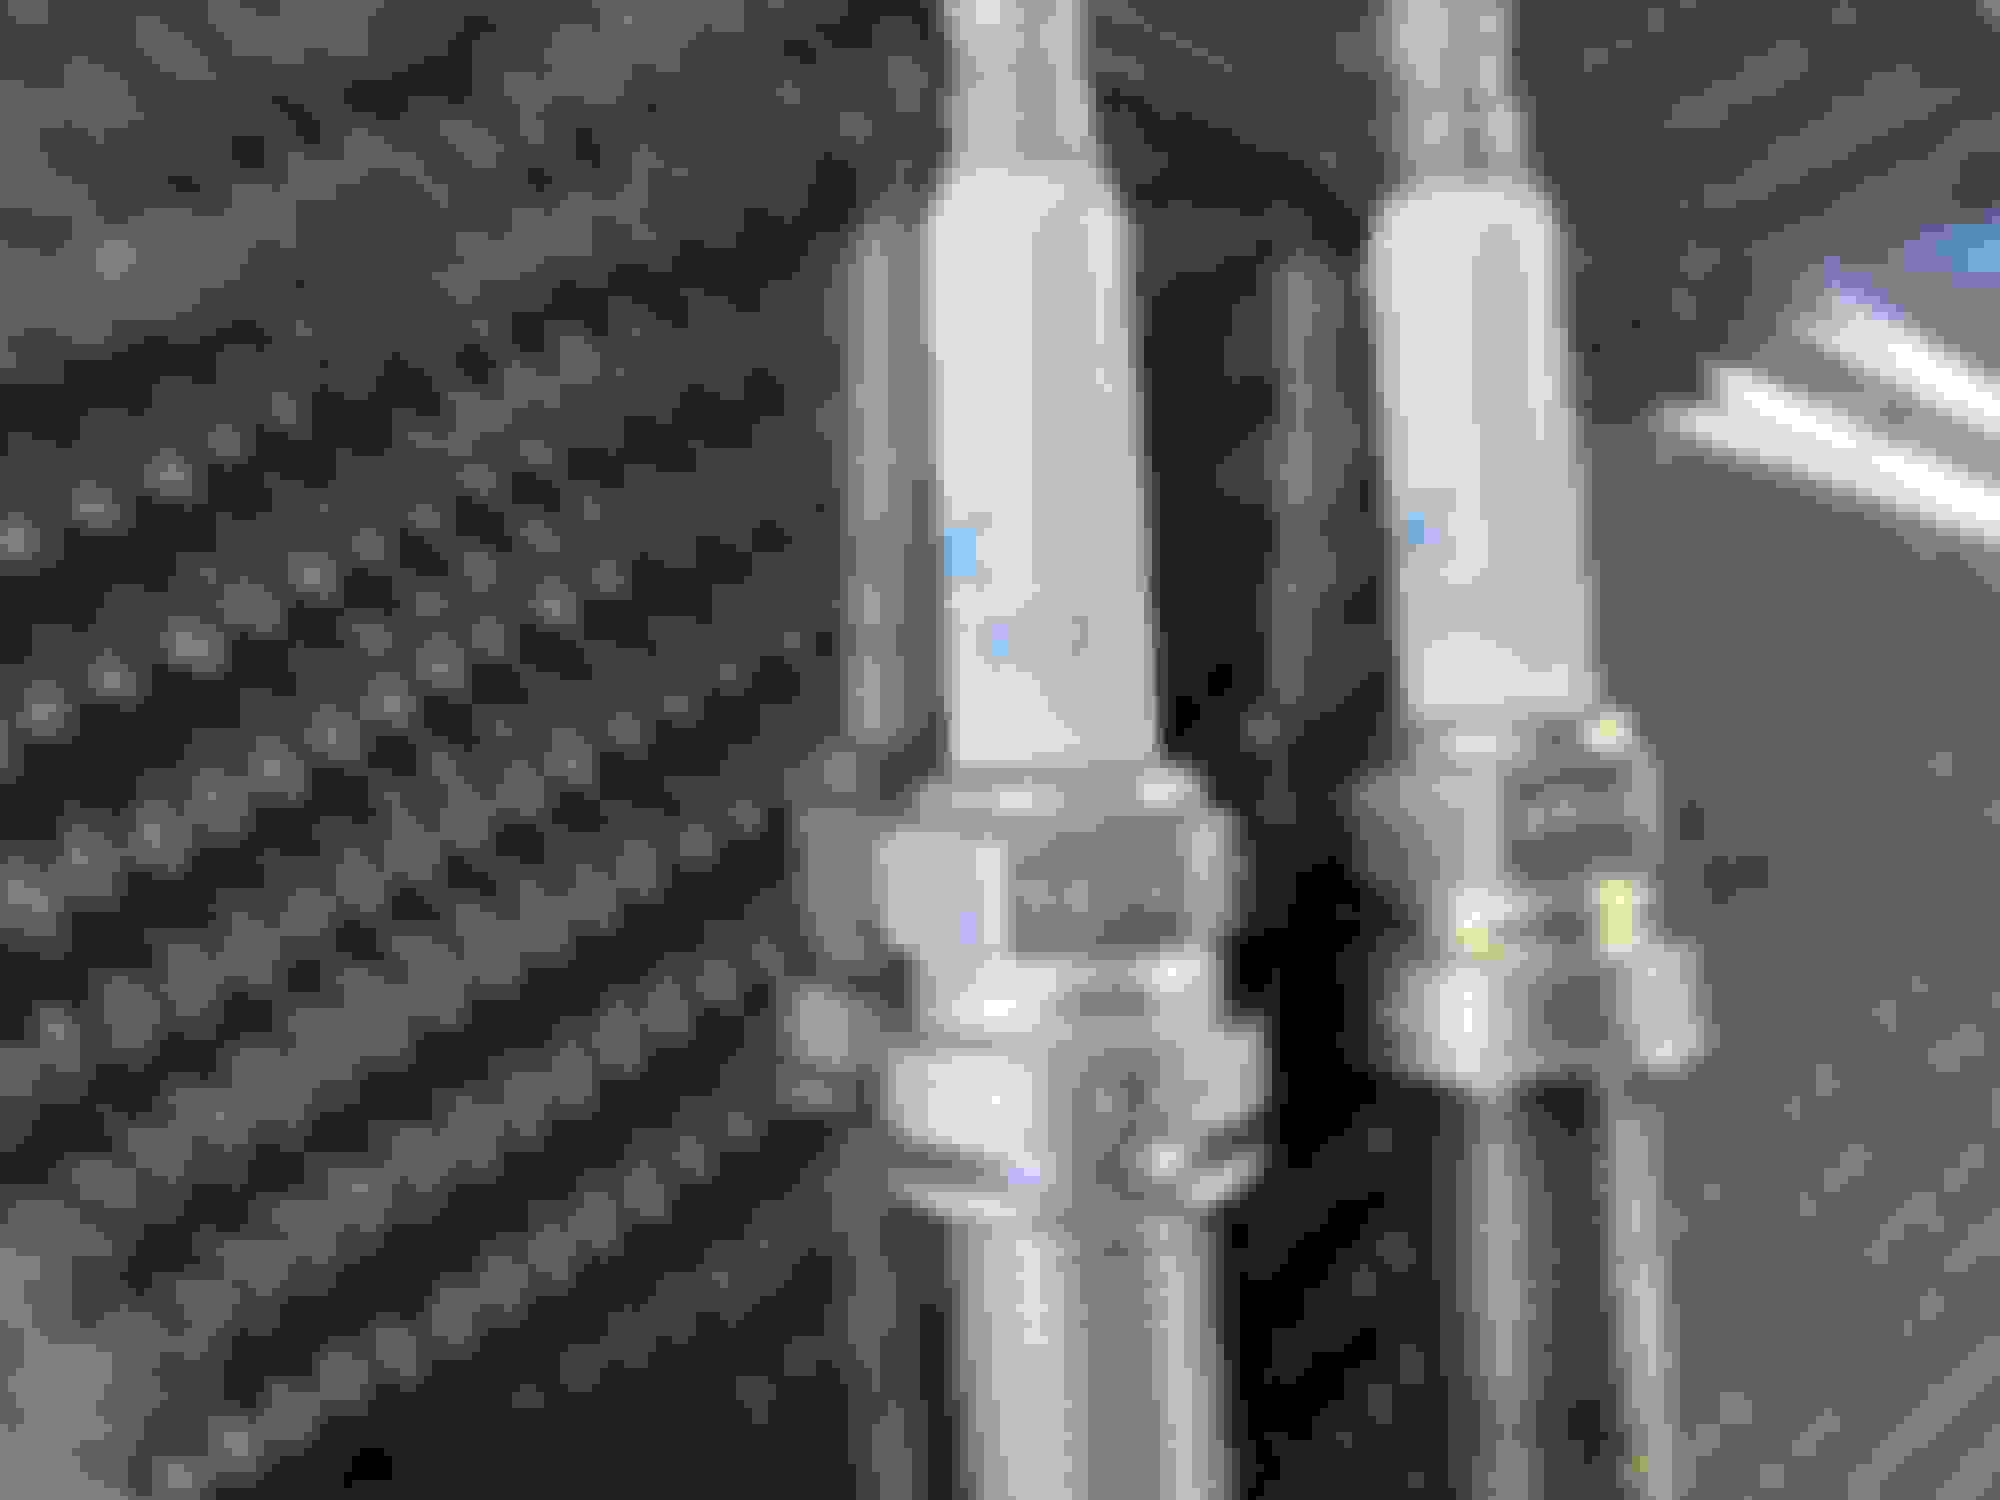
In with factory replacement plugs NGK 6043 and out with the OE beru plugs. ALWAYS spare a few moments and crosscheck plug gaps whether they're aftermarket or OE before haphazardly dropping them in (Original and new plugs were gapped all over the map) 6043 plugs typically come gapped @ .044, factory M156 .040 gap. Have seen two different variants of NGK 6043 plugs; view below for discrepancies. Without saying too much from the horse's mouth if your plugs begin with a "U" along with an NGK shell with boxes "ASSEMBLED IN THAILAND" they're from the NGK's legitimate Thailand plant; in addition, the PN# on the shell will be missing the last two digits "10". Original variant will begin with an "M" and display a JAPAN shell instead of NGK along with boxes "MADE IN JAPAN" the entire PN# ILZKAR7A10 will be displayed on the shell of the plug; both variants will have the entire PN# displayed on the insulator. ANY OTHER VARIANT IS FAKE. Although they're more subtle telltale signs to distinguish an authentic NGK plug these are the dead giveaways.
*REMOVE/DISCONNECT MAF SENSOR COVERS & HARNESS* *REMOVE AIRBOXES/DUCTS* *DISCONNECT/REMOVE COIL HARNESS & COILS (TORX-30) *
*REMOVE PLUGS (OE BERU 12 POINT 14MM DEEP SOCKET, NGK STANDARD 14MM DEEP SOCKET) *
*GAP/INSTALL NEW PLUGS @.040 (IN THE EVENT IF PLUG ACCIDENTALLY DROPS AND INSULATOR DISPLAYS IMPERFECTIONS REPLACE OTHERWISE MISFIRE) *
*REINSTALL IN REVERSE ORDER*
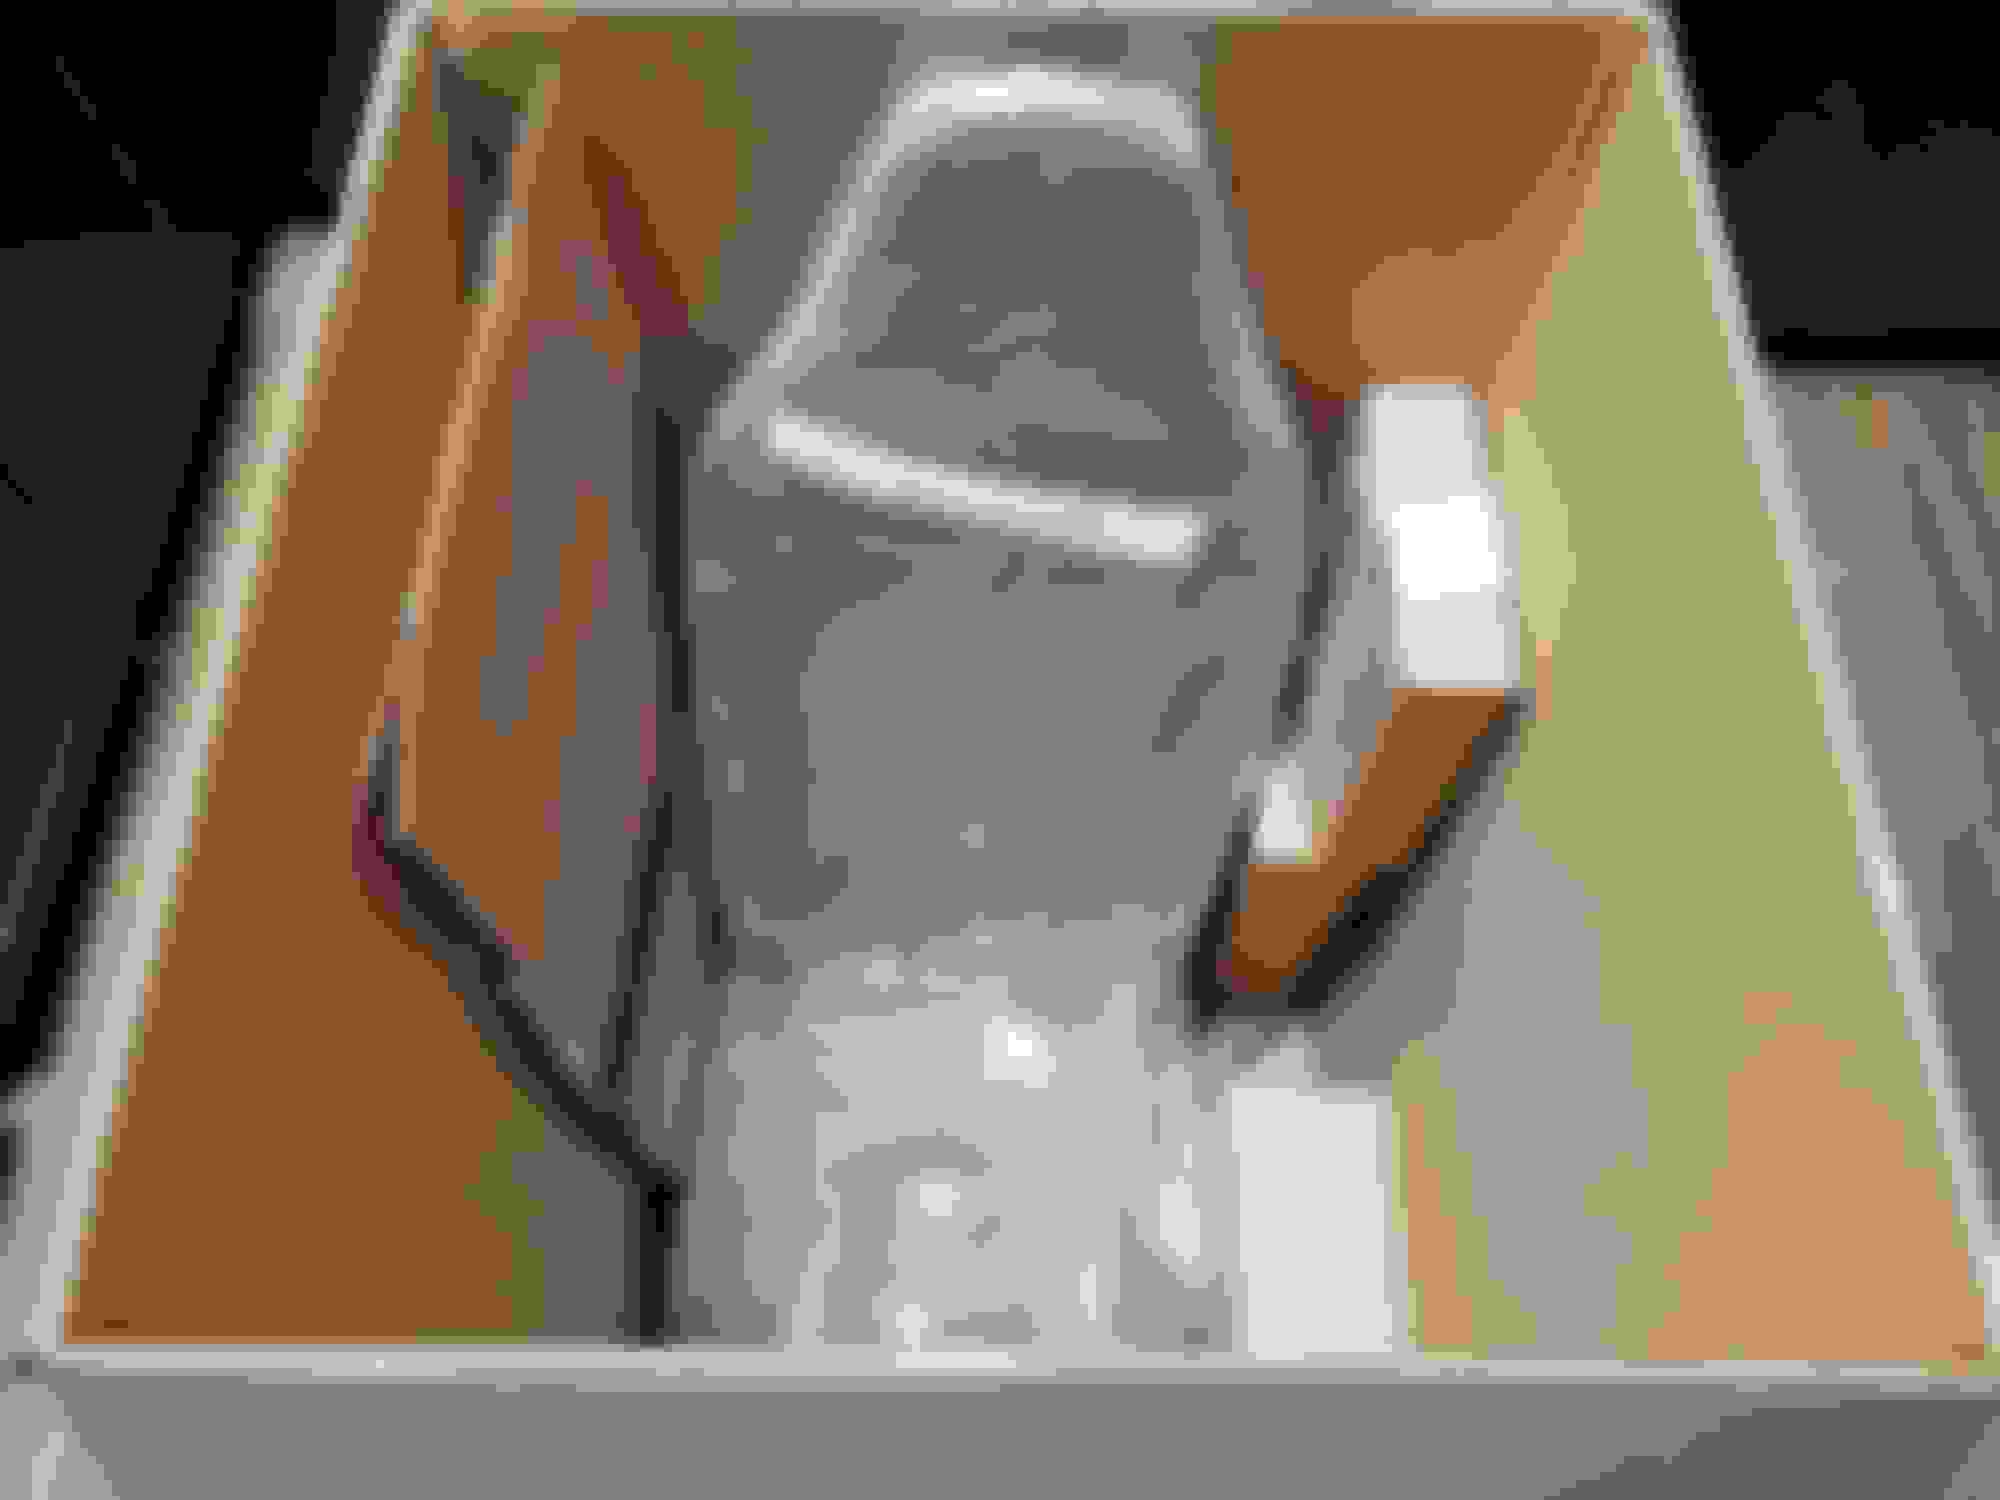
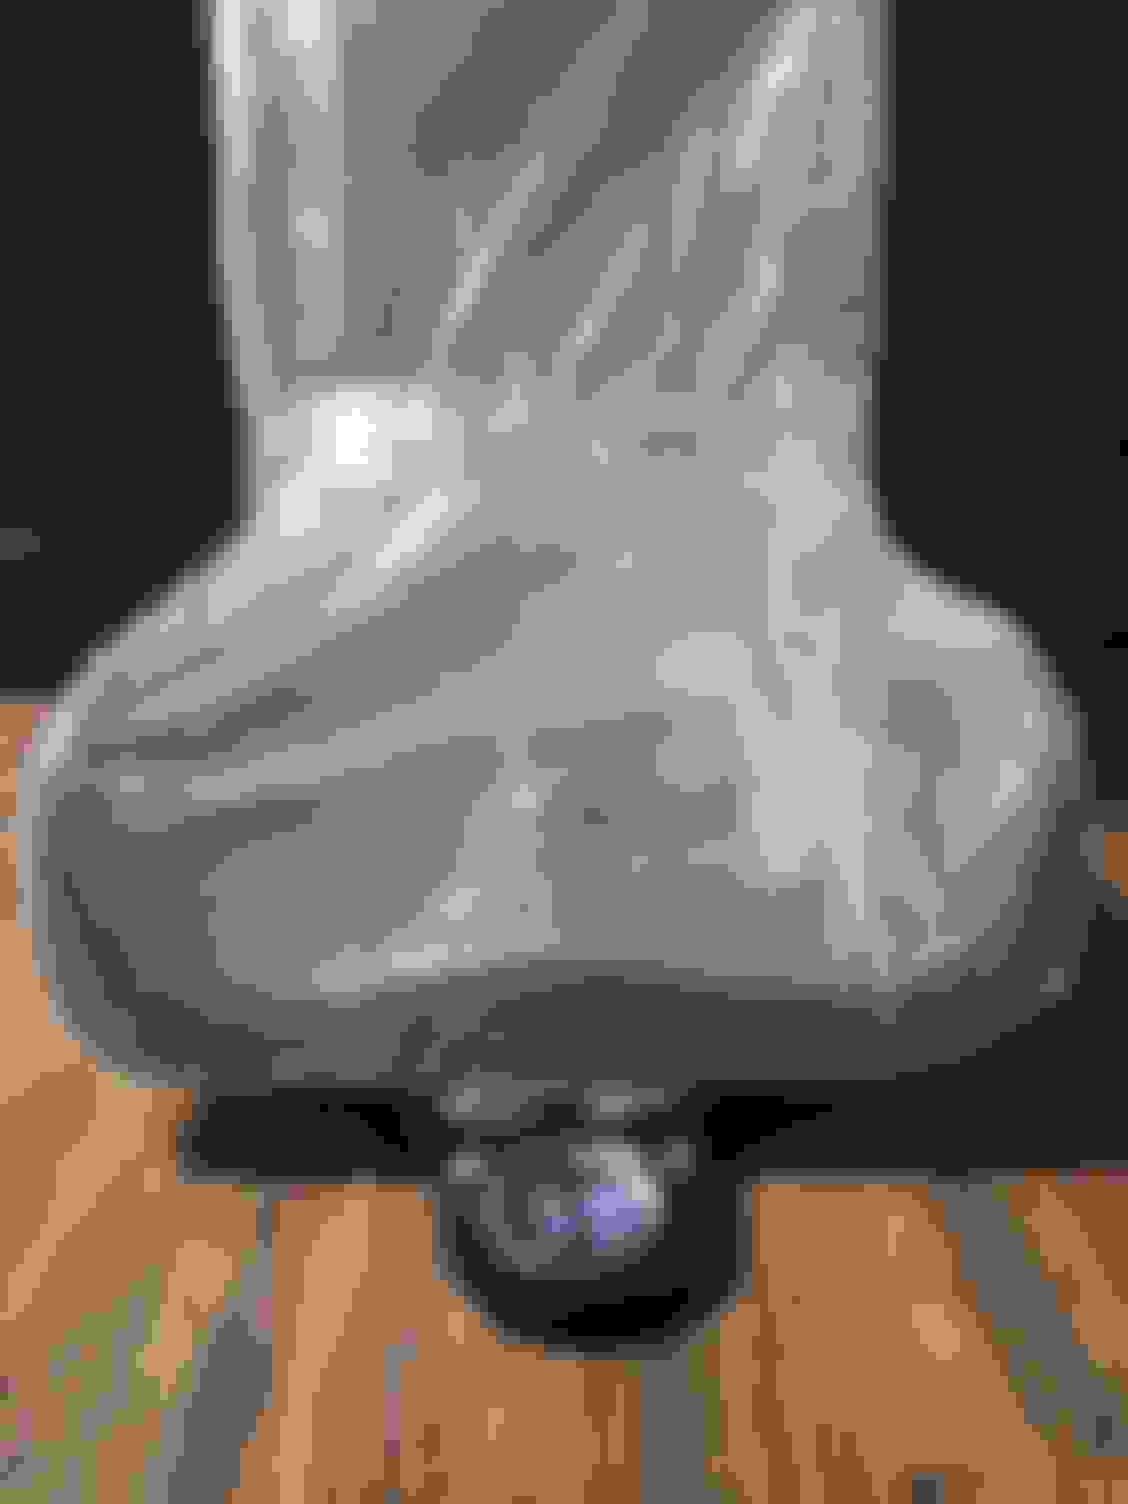
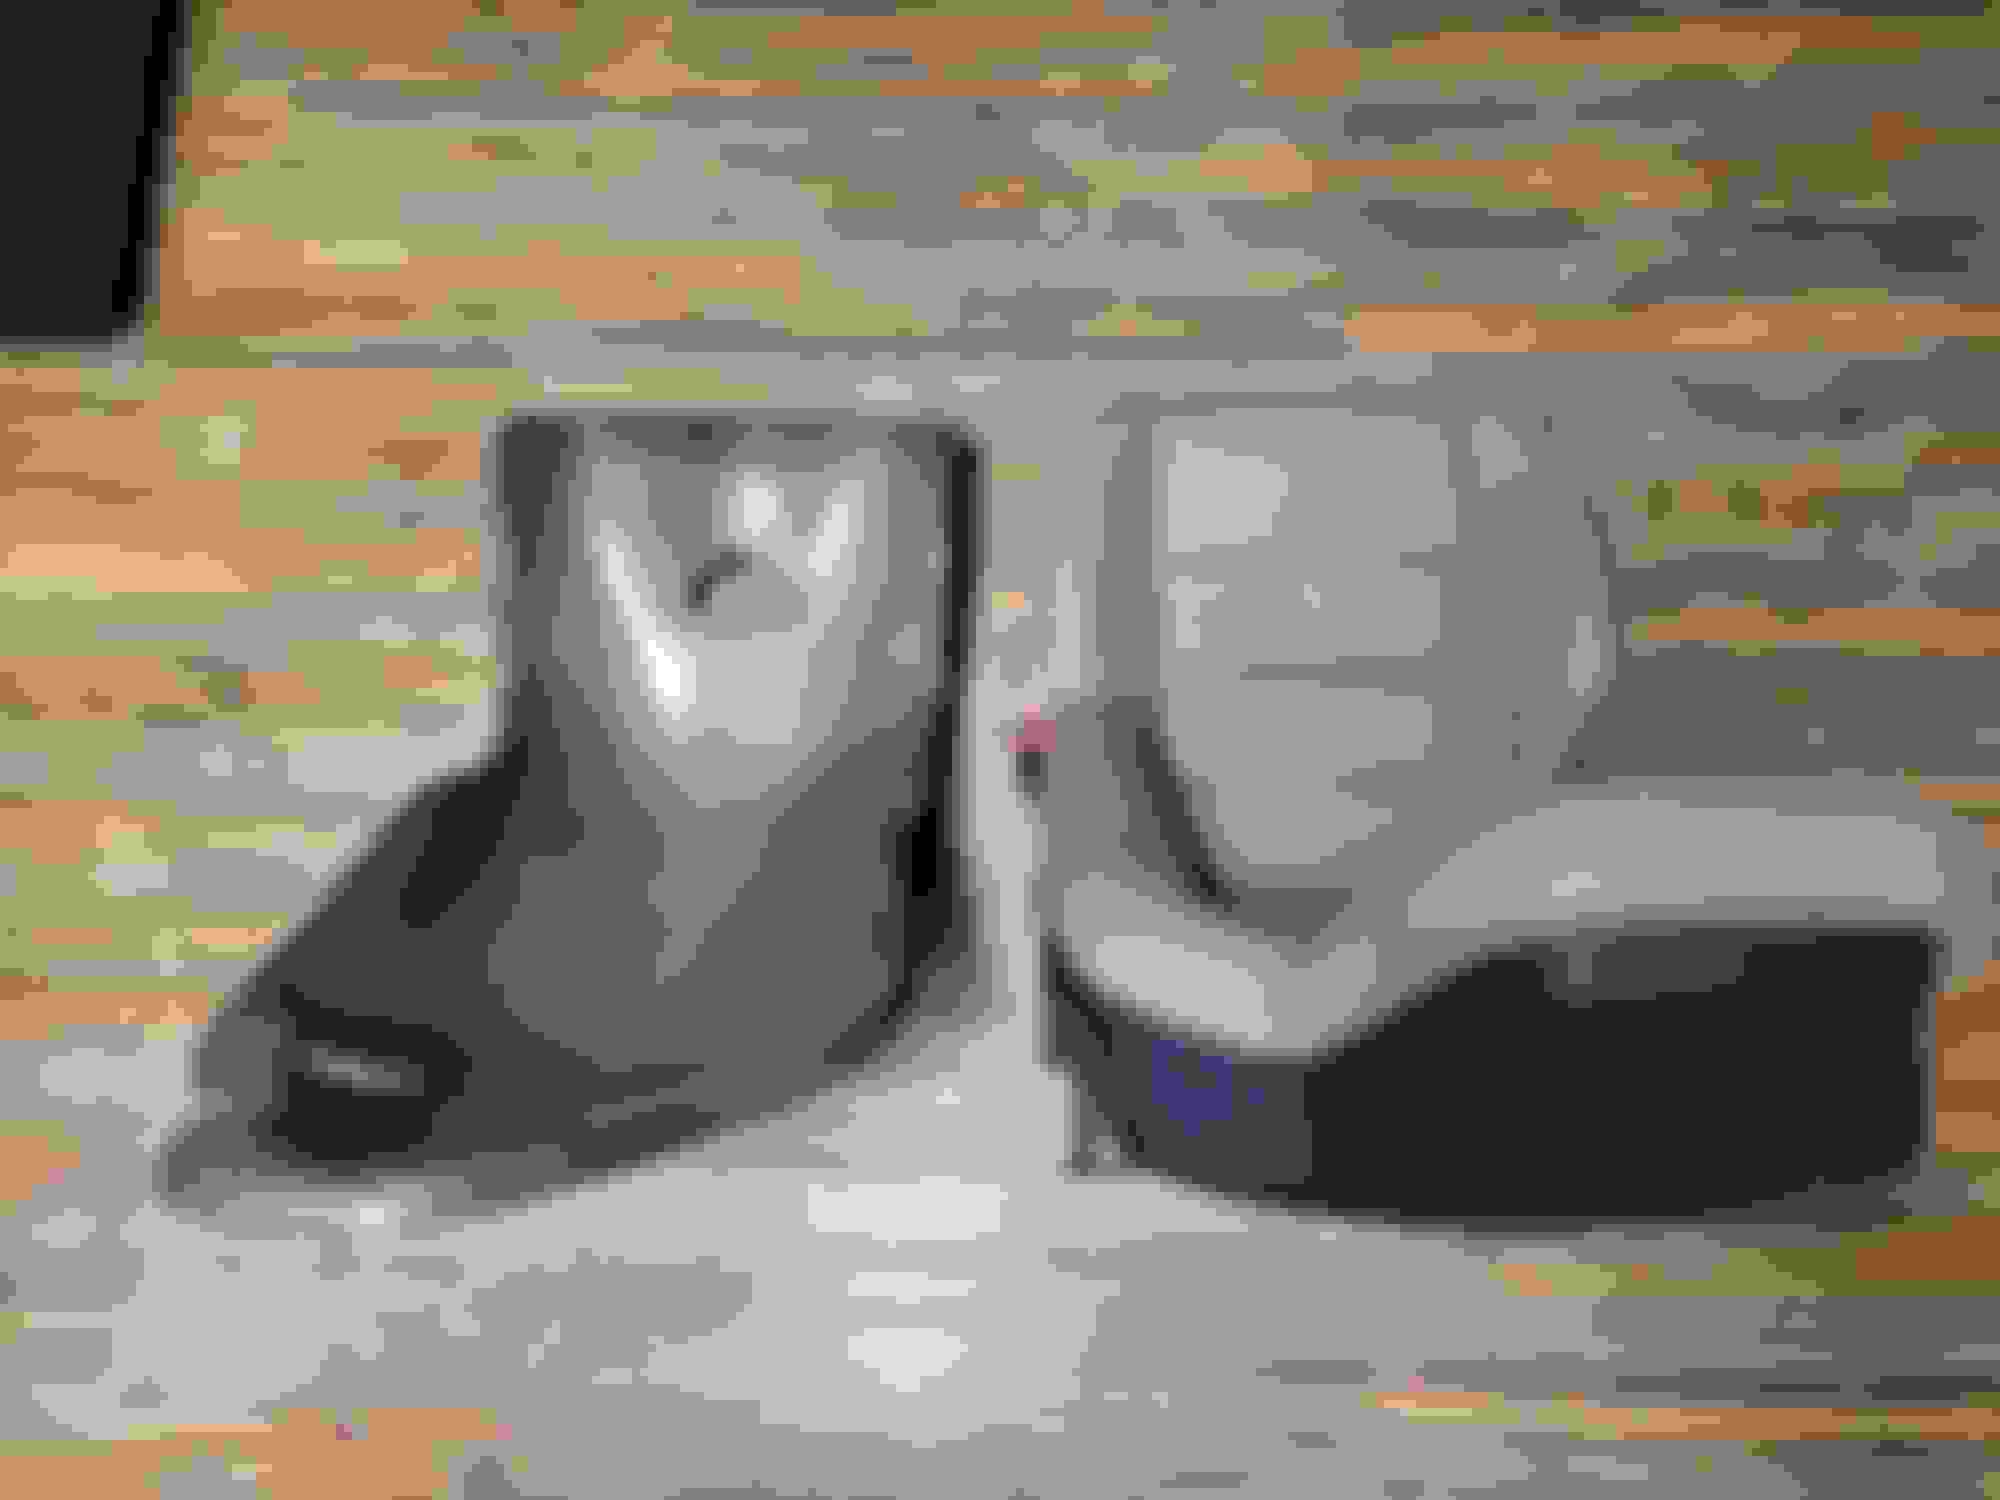
Jump starting 2011 with none other than Tecnocraft's T2 dry carbon seat weighing in @5~lbs. Thanks to Dana @Tecnocraft for dirt shipping VIA greyhound before ultimately ceasing shipping operations since 1914. Full custom seat assembly weighing in @ 12~lbs. 54~lbs saving vs factory AMG seat assembly.
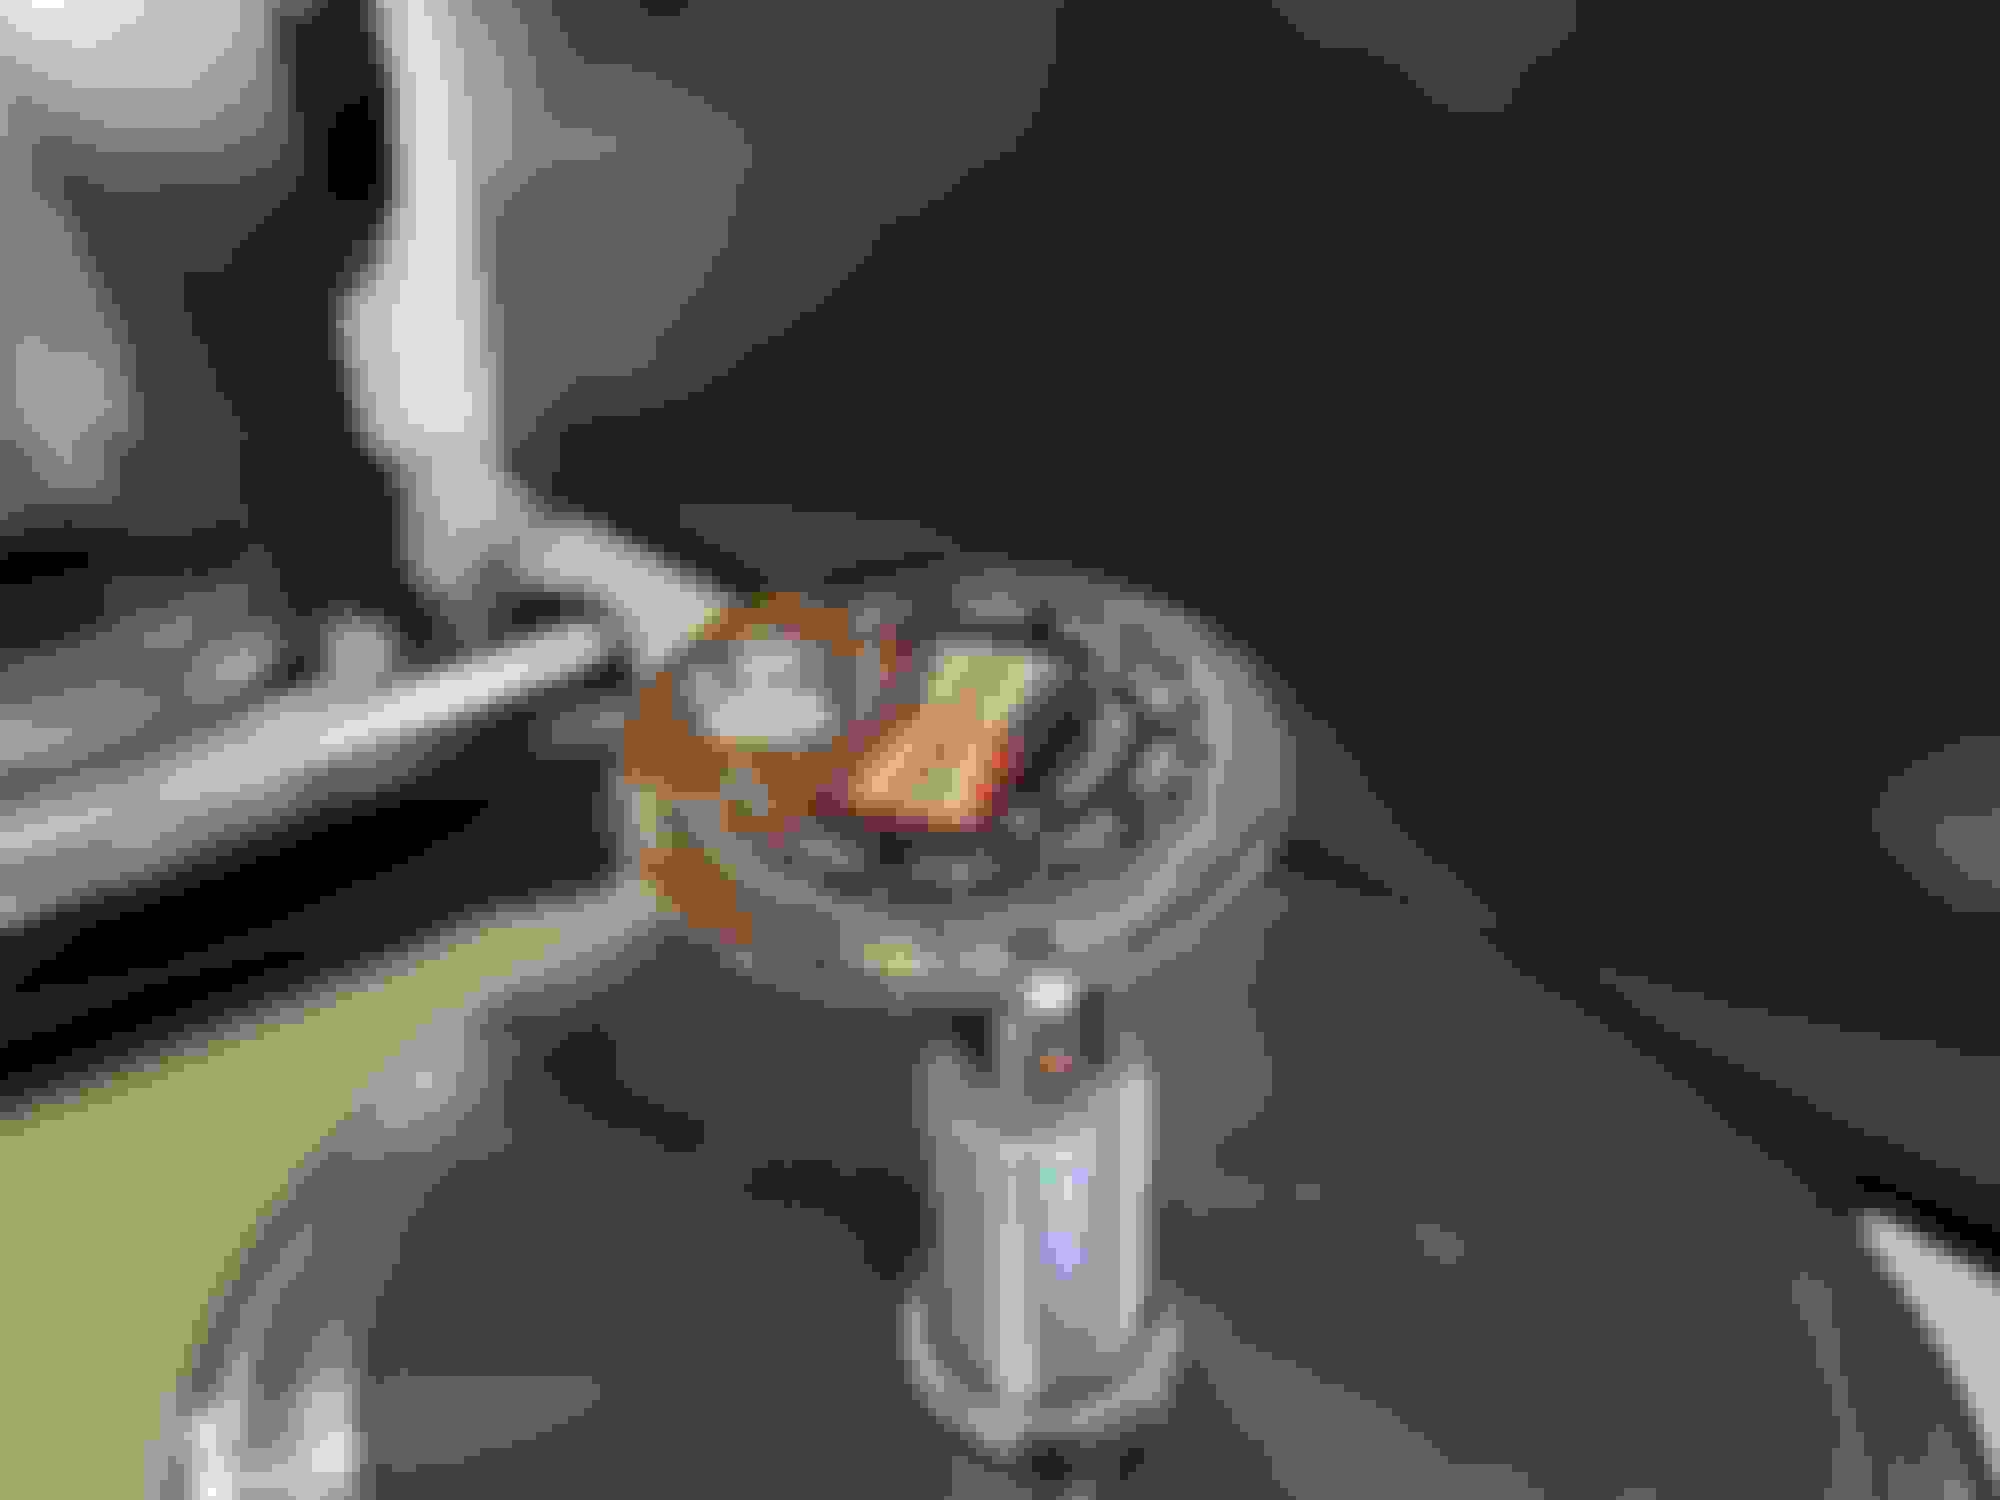
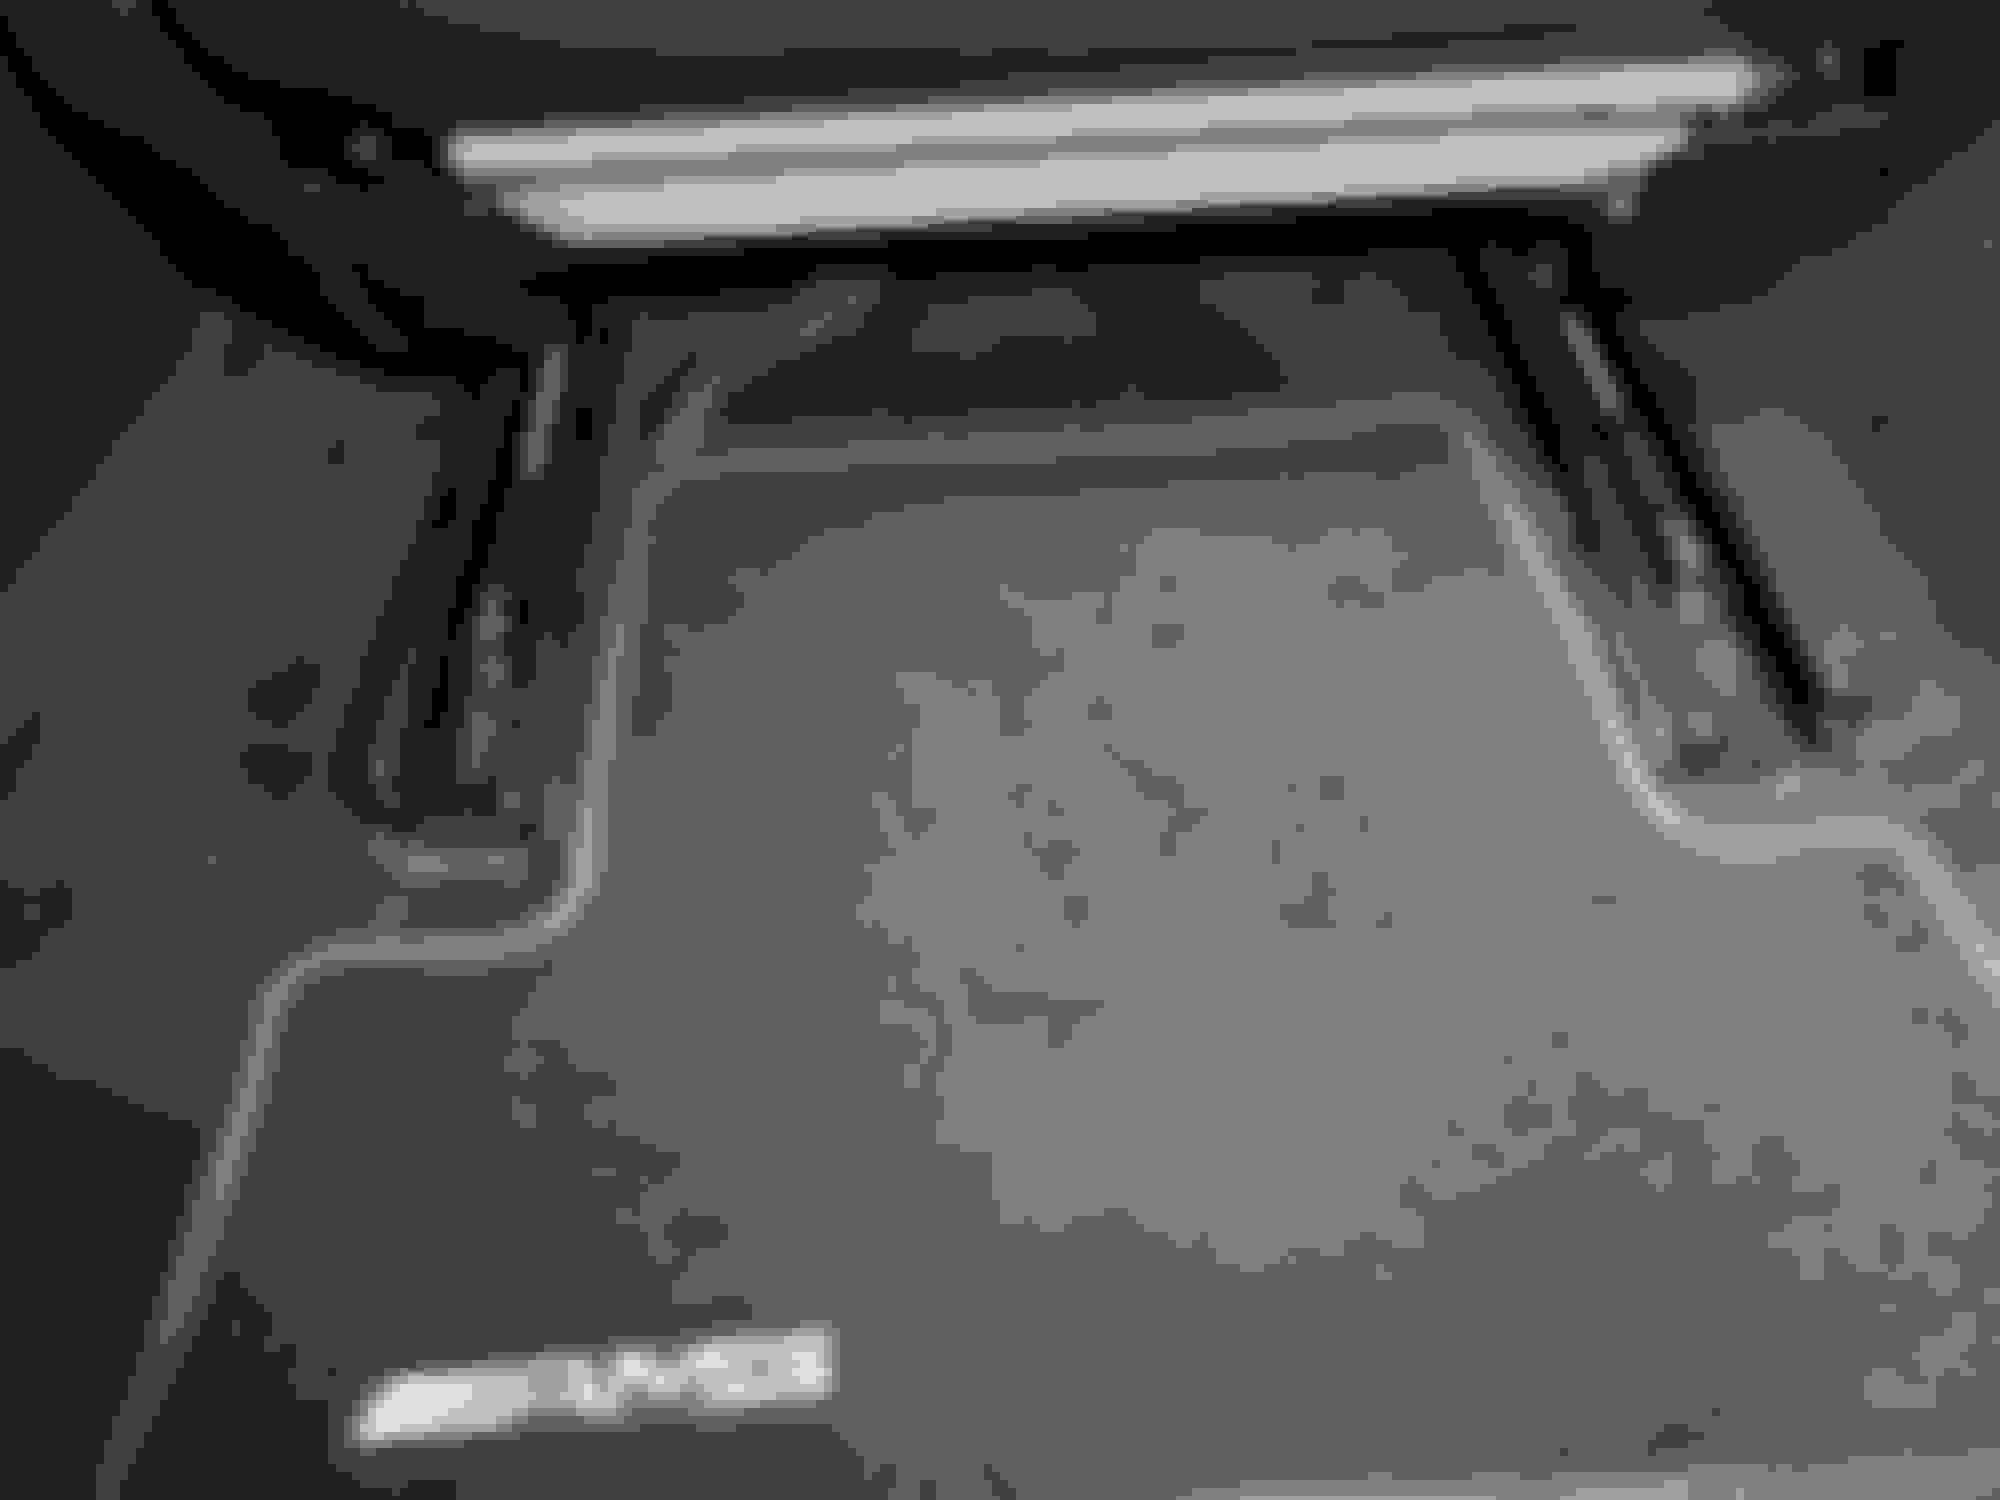
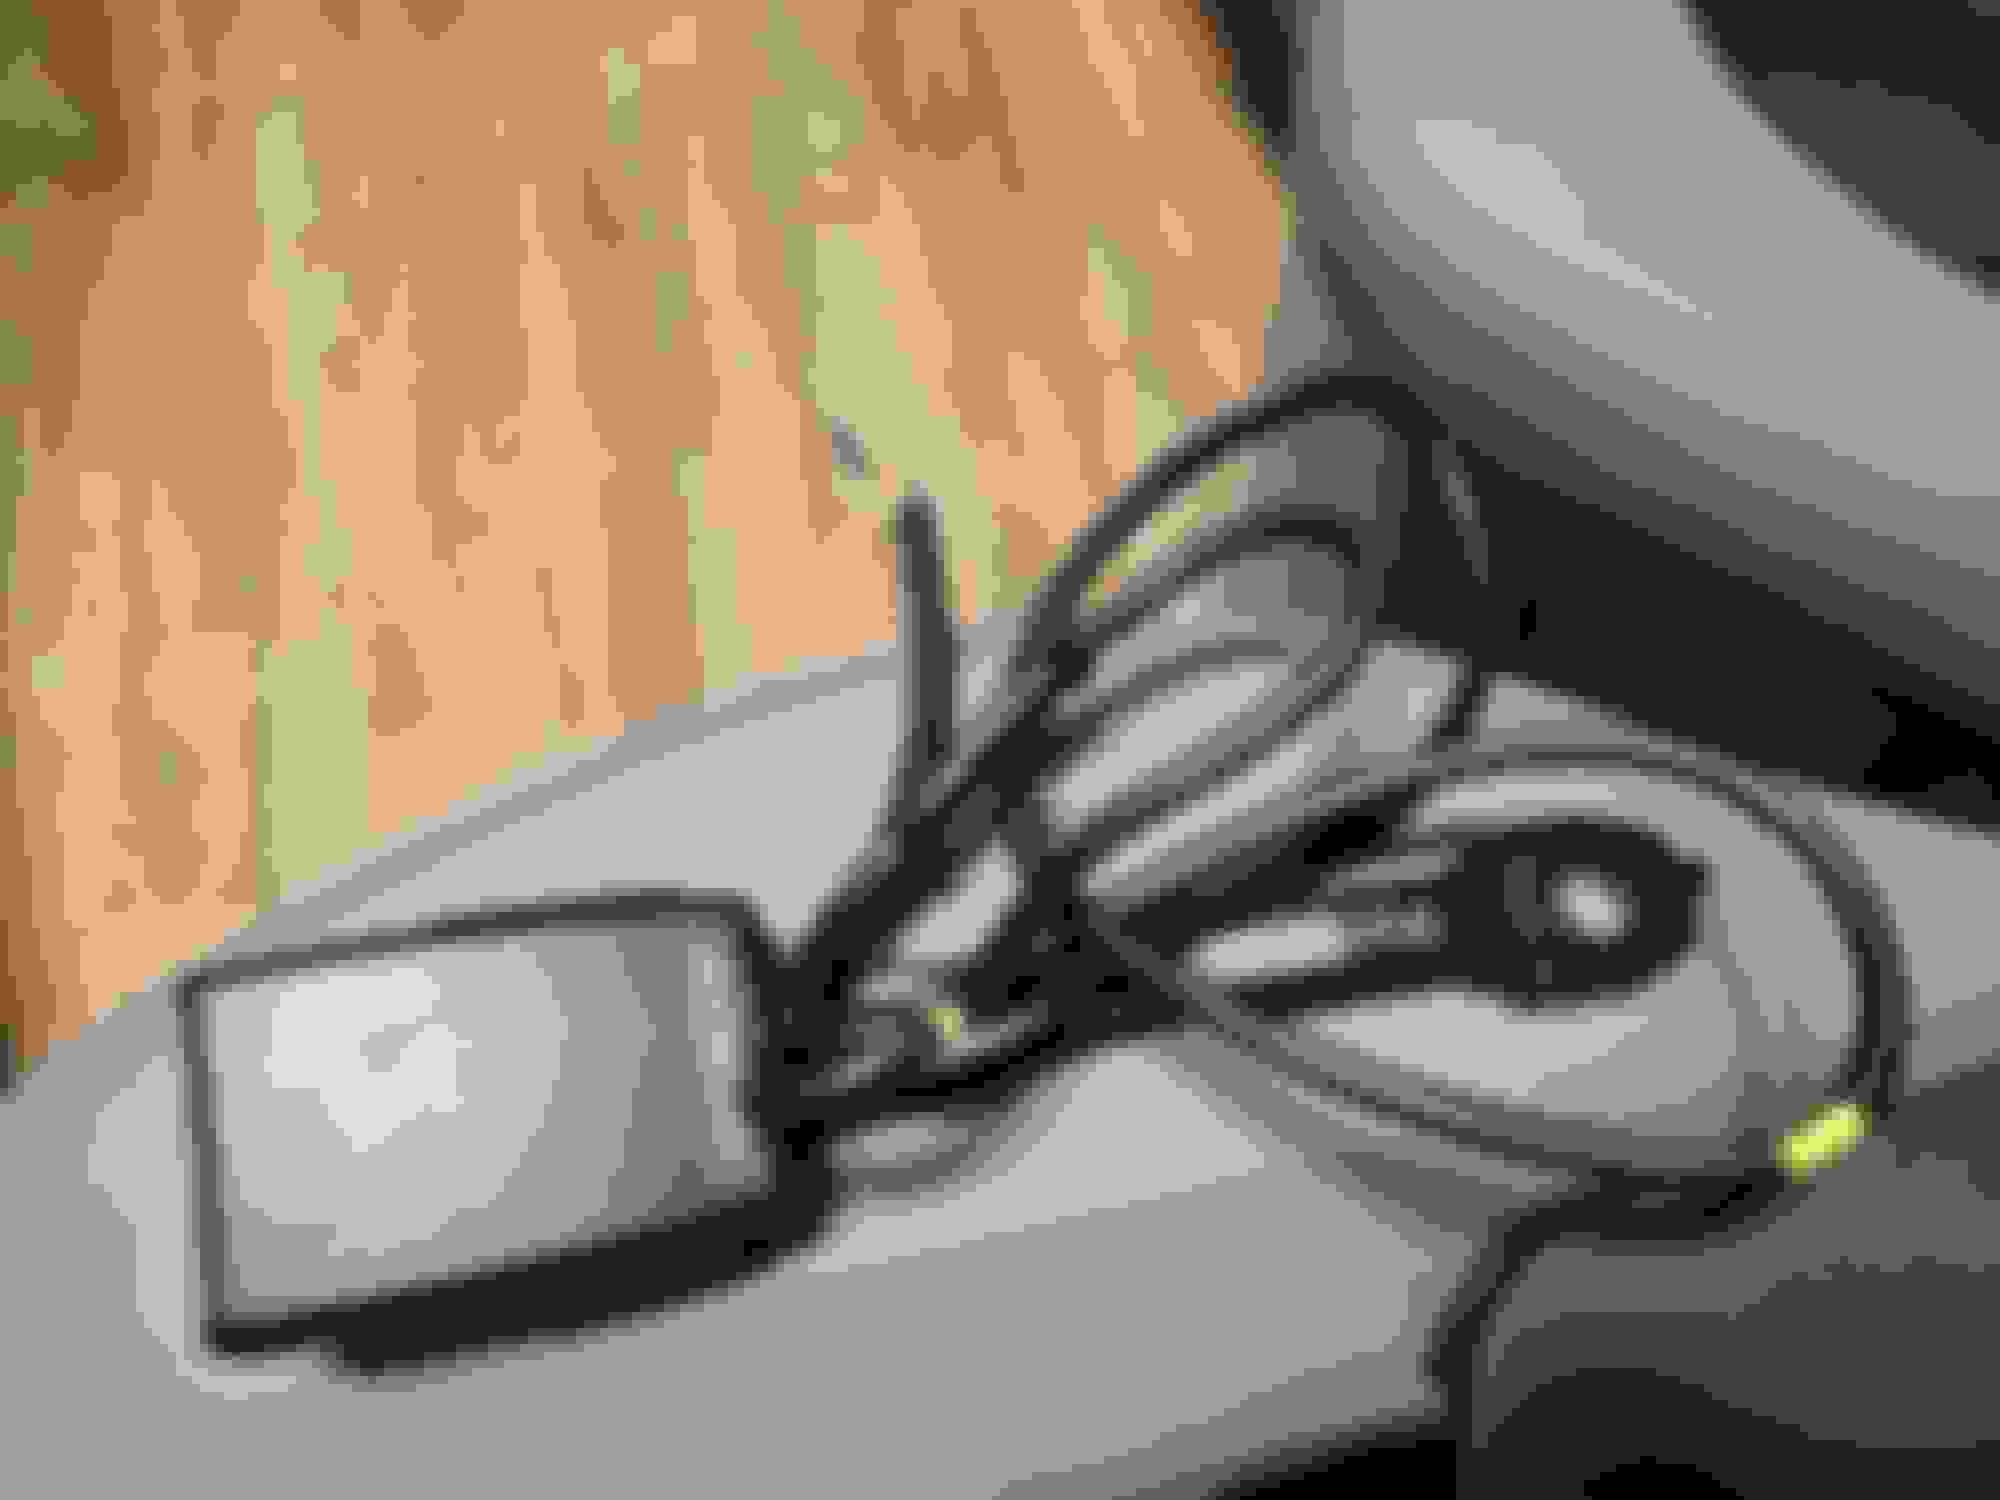
SEAT REMOVAL *RETRACT SEAT COMPLETELY FORWARD & REMOVE BOTH REAR E12 FASTENERS* *RETRACT SEAT COMPLETELY REARWARD & REMOVE BOTH FRONT E12 FASTENERS* *SET STEERING WHEEL TO DESIRED SETTINGS, UNABLE TO ADJUST AFTER DISCONNECTING CONNECTORS IN THE FOLLOWING STEP *TILT SEAT UPWARDS AND REMOVE ALL 4 CONNECTORS PER PHOTOS*
*REMOVE SEATBELT BOLT COVER & REMOVE TORX-45 FASTENER* *PROTECT DOOR SILL WITH TOWEL/BLANKET TO PREVENT CHICKEN SCRATCHES & SCRUPULOUSLY REMOVE SEAT (4 HANDS ARE BETTER THAN 2) * *TUCK FACTORY HARNESS INTO AIR DUCT TUNNEL* *XENTRY TO REMOVE SRS CODES OTHERWISE CONTACT BENZ NINJA TO HAVE THEM REMOTELY REMOVED*
Jump starting 2011 with none other than Tecnocraft's T2 dry carbon seat weighing in @5~lbs. Thanks to Dana @Tecnocraft for dirt shipping VIA greyhound before ultimately ceasing shipping operations since 1914. Full custom seat assembly weighing in @ 12~lbs. 54~lbs saving vs factory AMG seat assembly.
SEAT REMOVAL *RETRACT SEAT COMPLETELY FORWARD & REMOVE BOTH REAR E12 FASTENERS* *RETRACT SEAT COMPLETELY REARWARD & REMOVE BOTH FRONT E12 FASTENERS* *SET STEERING WHEEL TO DESIRED SETTINGS, UNABLE TO ADJUST AFTER DISCONNECTING CONNECTORS IN THE FOLLOWING STEP *TILT SEAT UPWARDS AND REMOVE ALL 4 CONNECTORS PER PHOTOS*
*REMOVE SEATBELT BOLT COVER & REMOVE TORX-45 FASTENER* *PROTECT DOOR SILL WITH TOWEL/BLANKET TO PREVENT CHICKEN SCRATCHES & SCRUPULOUSLY REMOVE SEAT (4 HANDS ARE BETTER THAN 2) * *TUCK FACTORY HARNESS INTO AIR DUCT TUNNEL* *XENTRY TO REMOVE SRS CODES OTHERWISE CONTACT BENZ NINJA TO HAVE THEM REMOTELY REMOVED*
What did they charge you.if you don't mind me asking
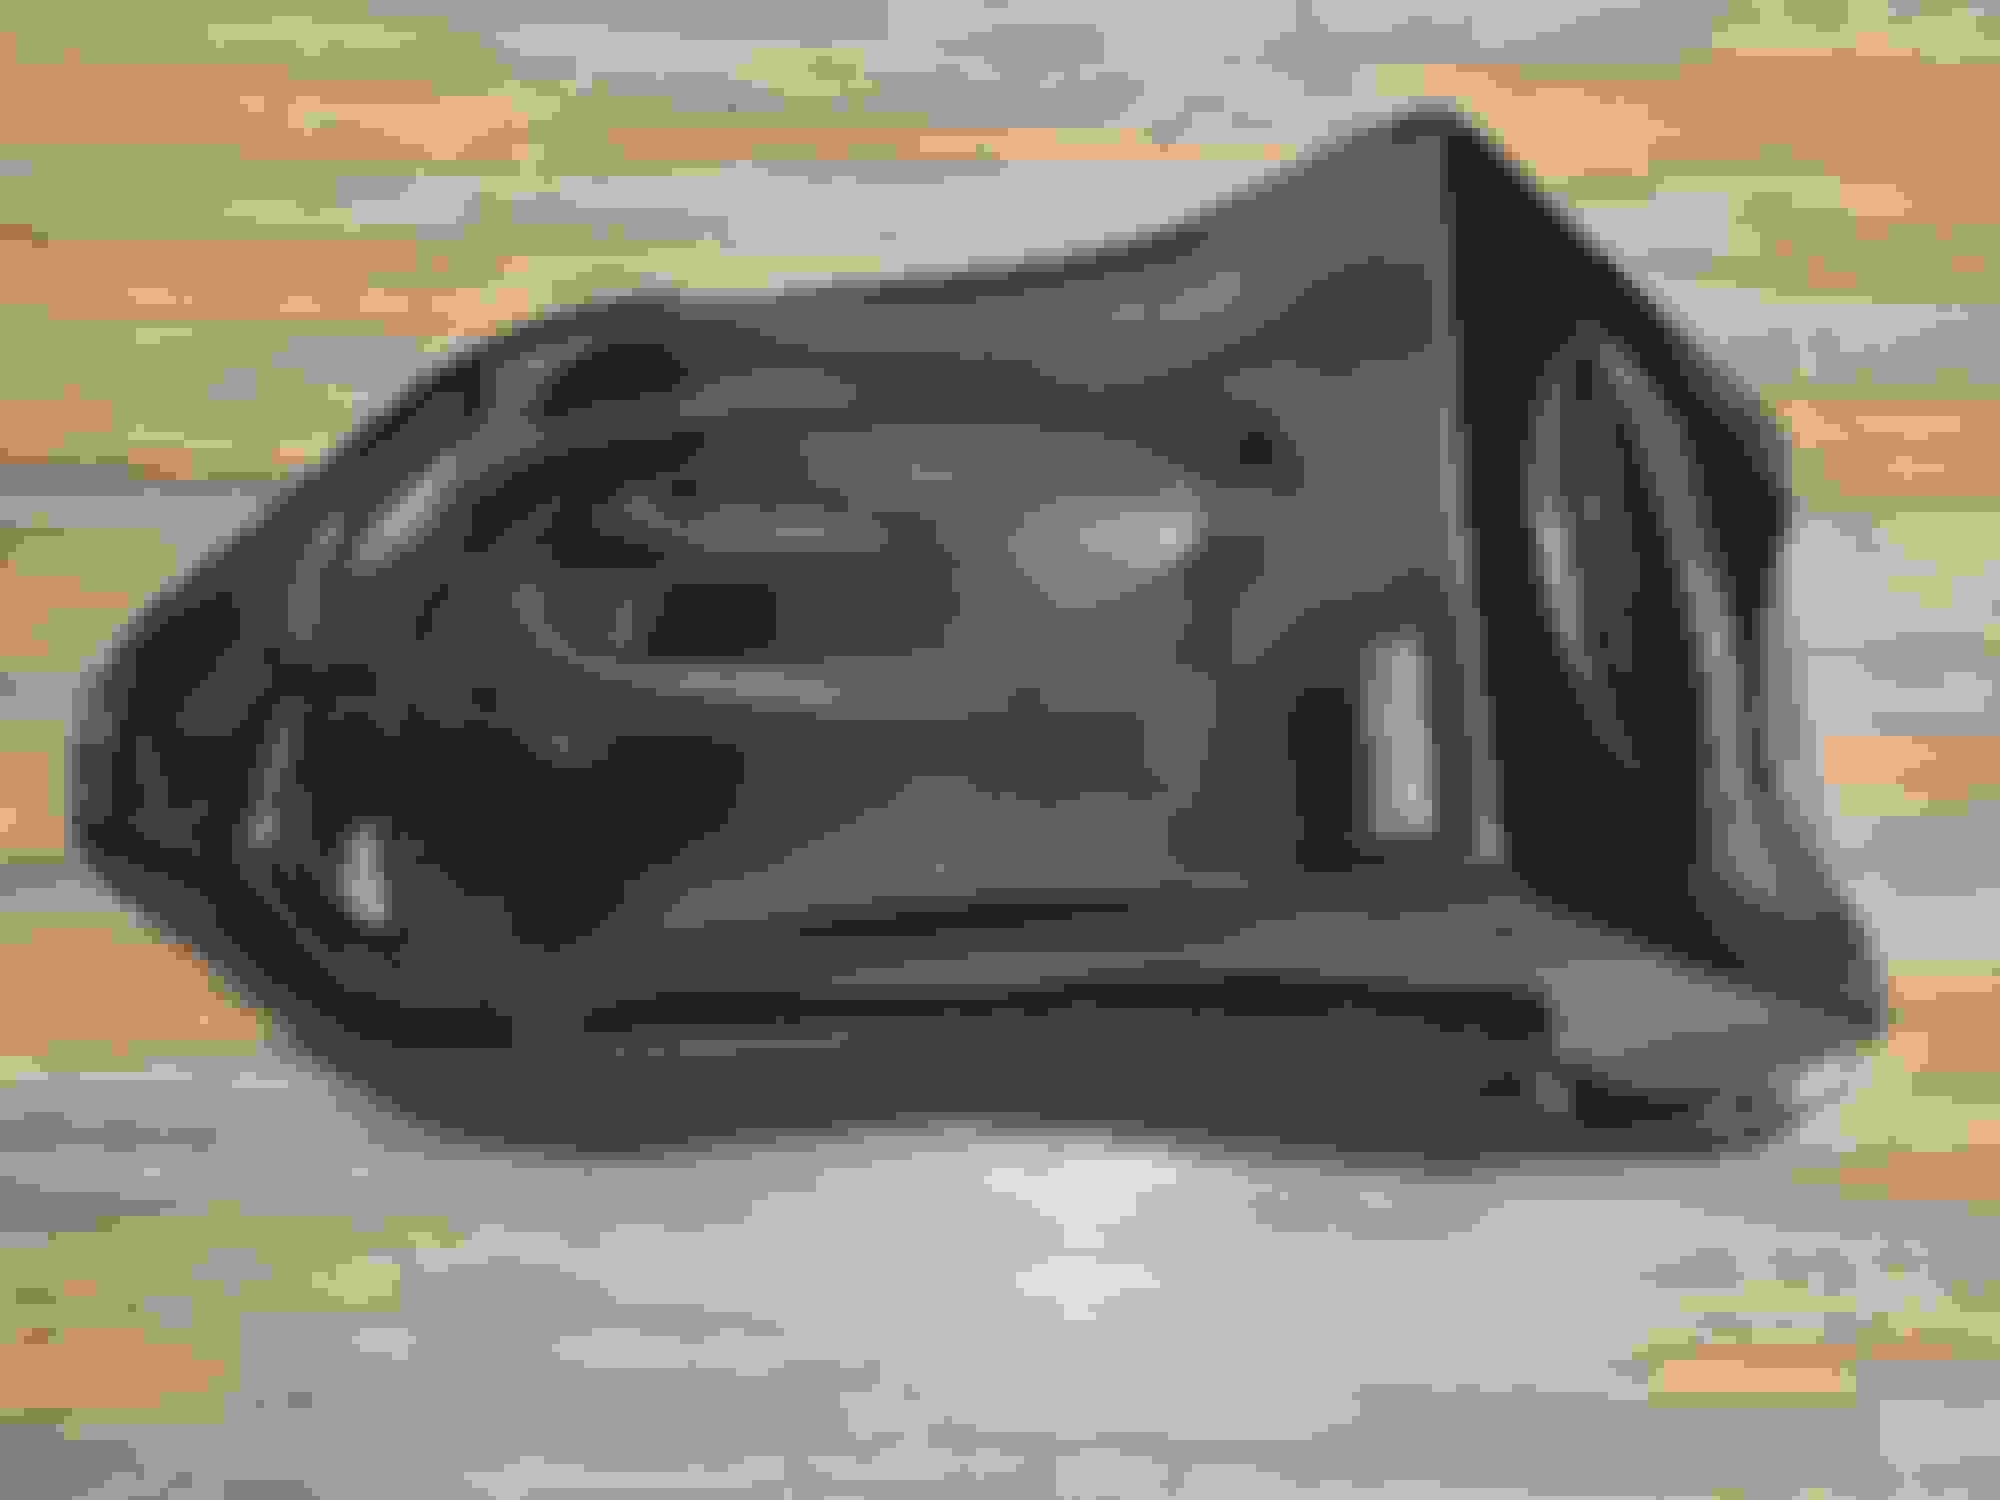
Factory Buckle was a match made in heaven for my custom aluminum seat assembly. Highly suggest anyone purchasing a tecnocraft seat to slip in the tecnocraft side mount seat brackets since they're specifically designed for their seats; seat washer/spacer kit is the necessary hardware to mount the seat to side mount brackets. Their adjustable seat slider weighs roughly 5~lbs and have confirmed it'll work with the planted technology seat brackets. However, this setup will weigh twice as much as my current custom set up @12~lbs.
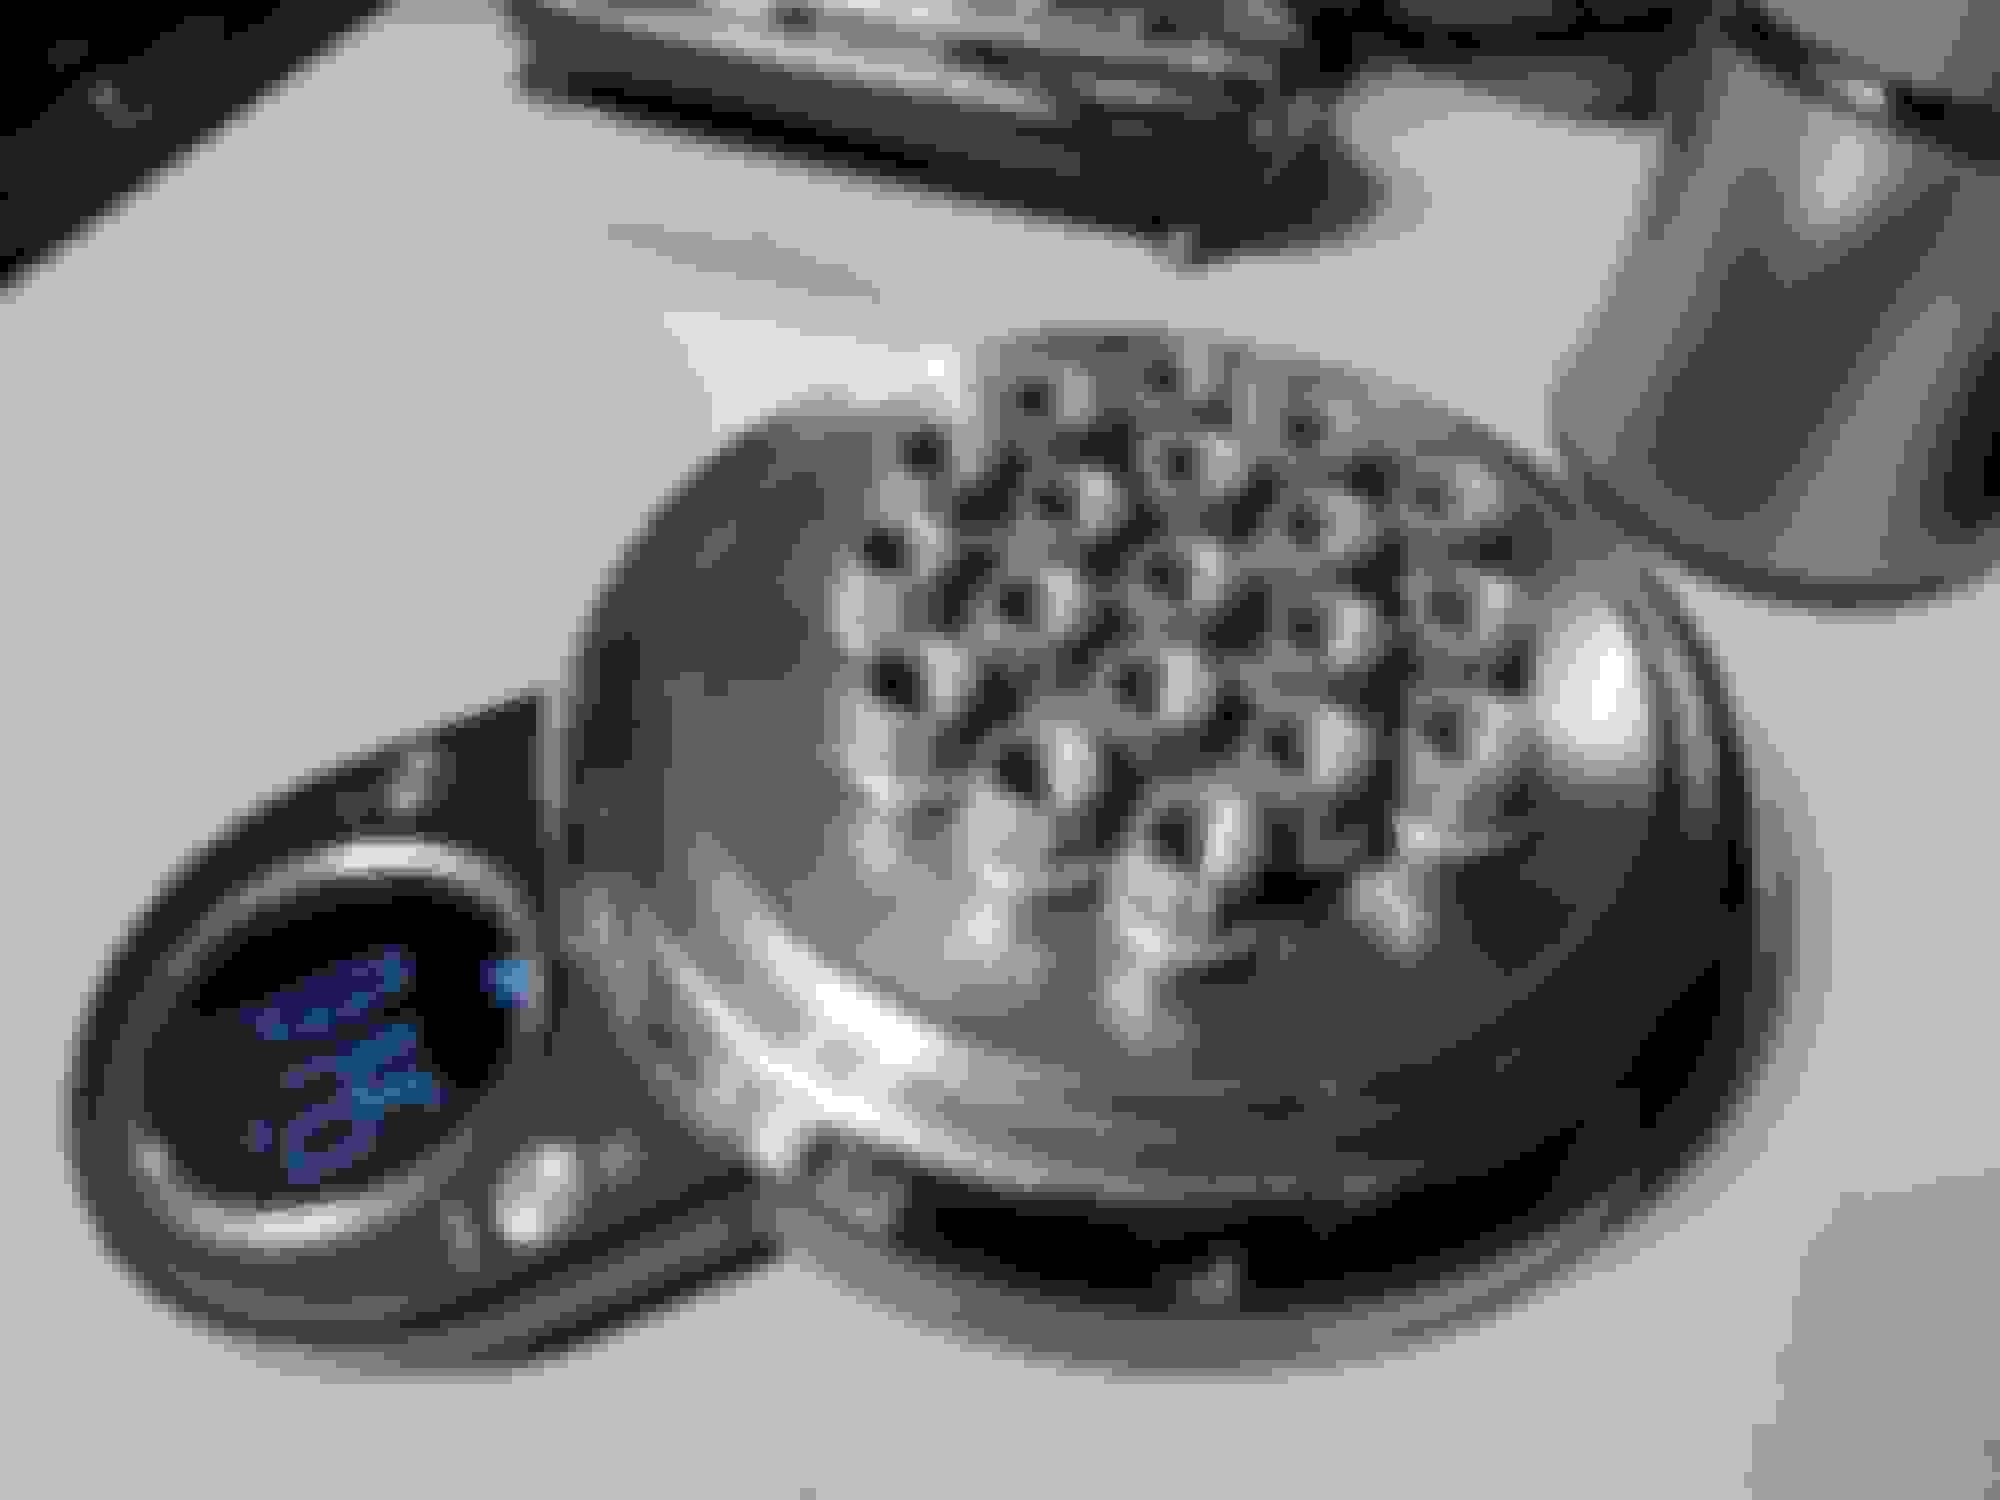
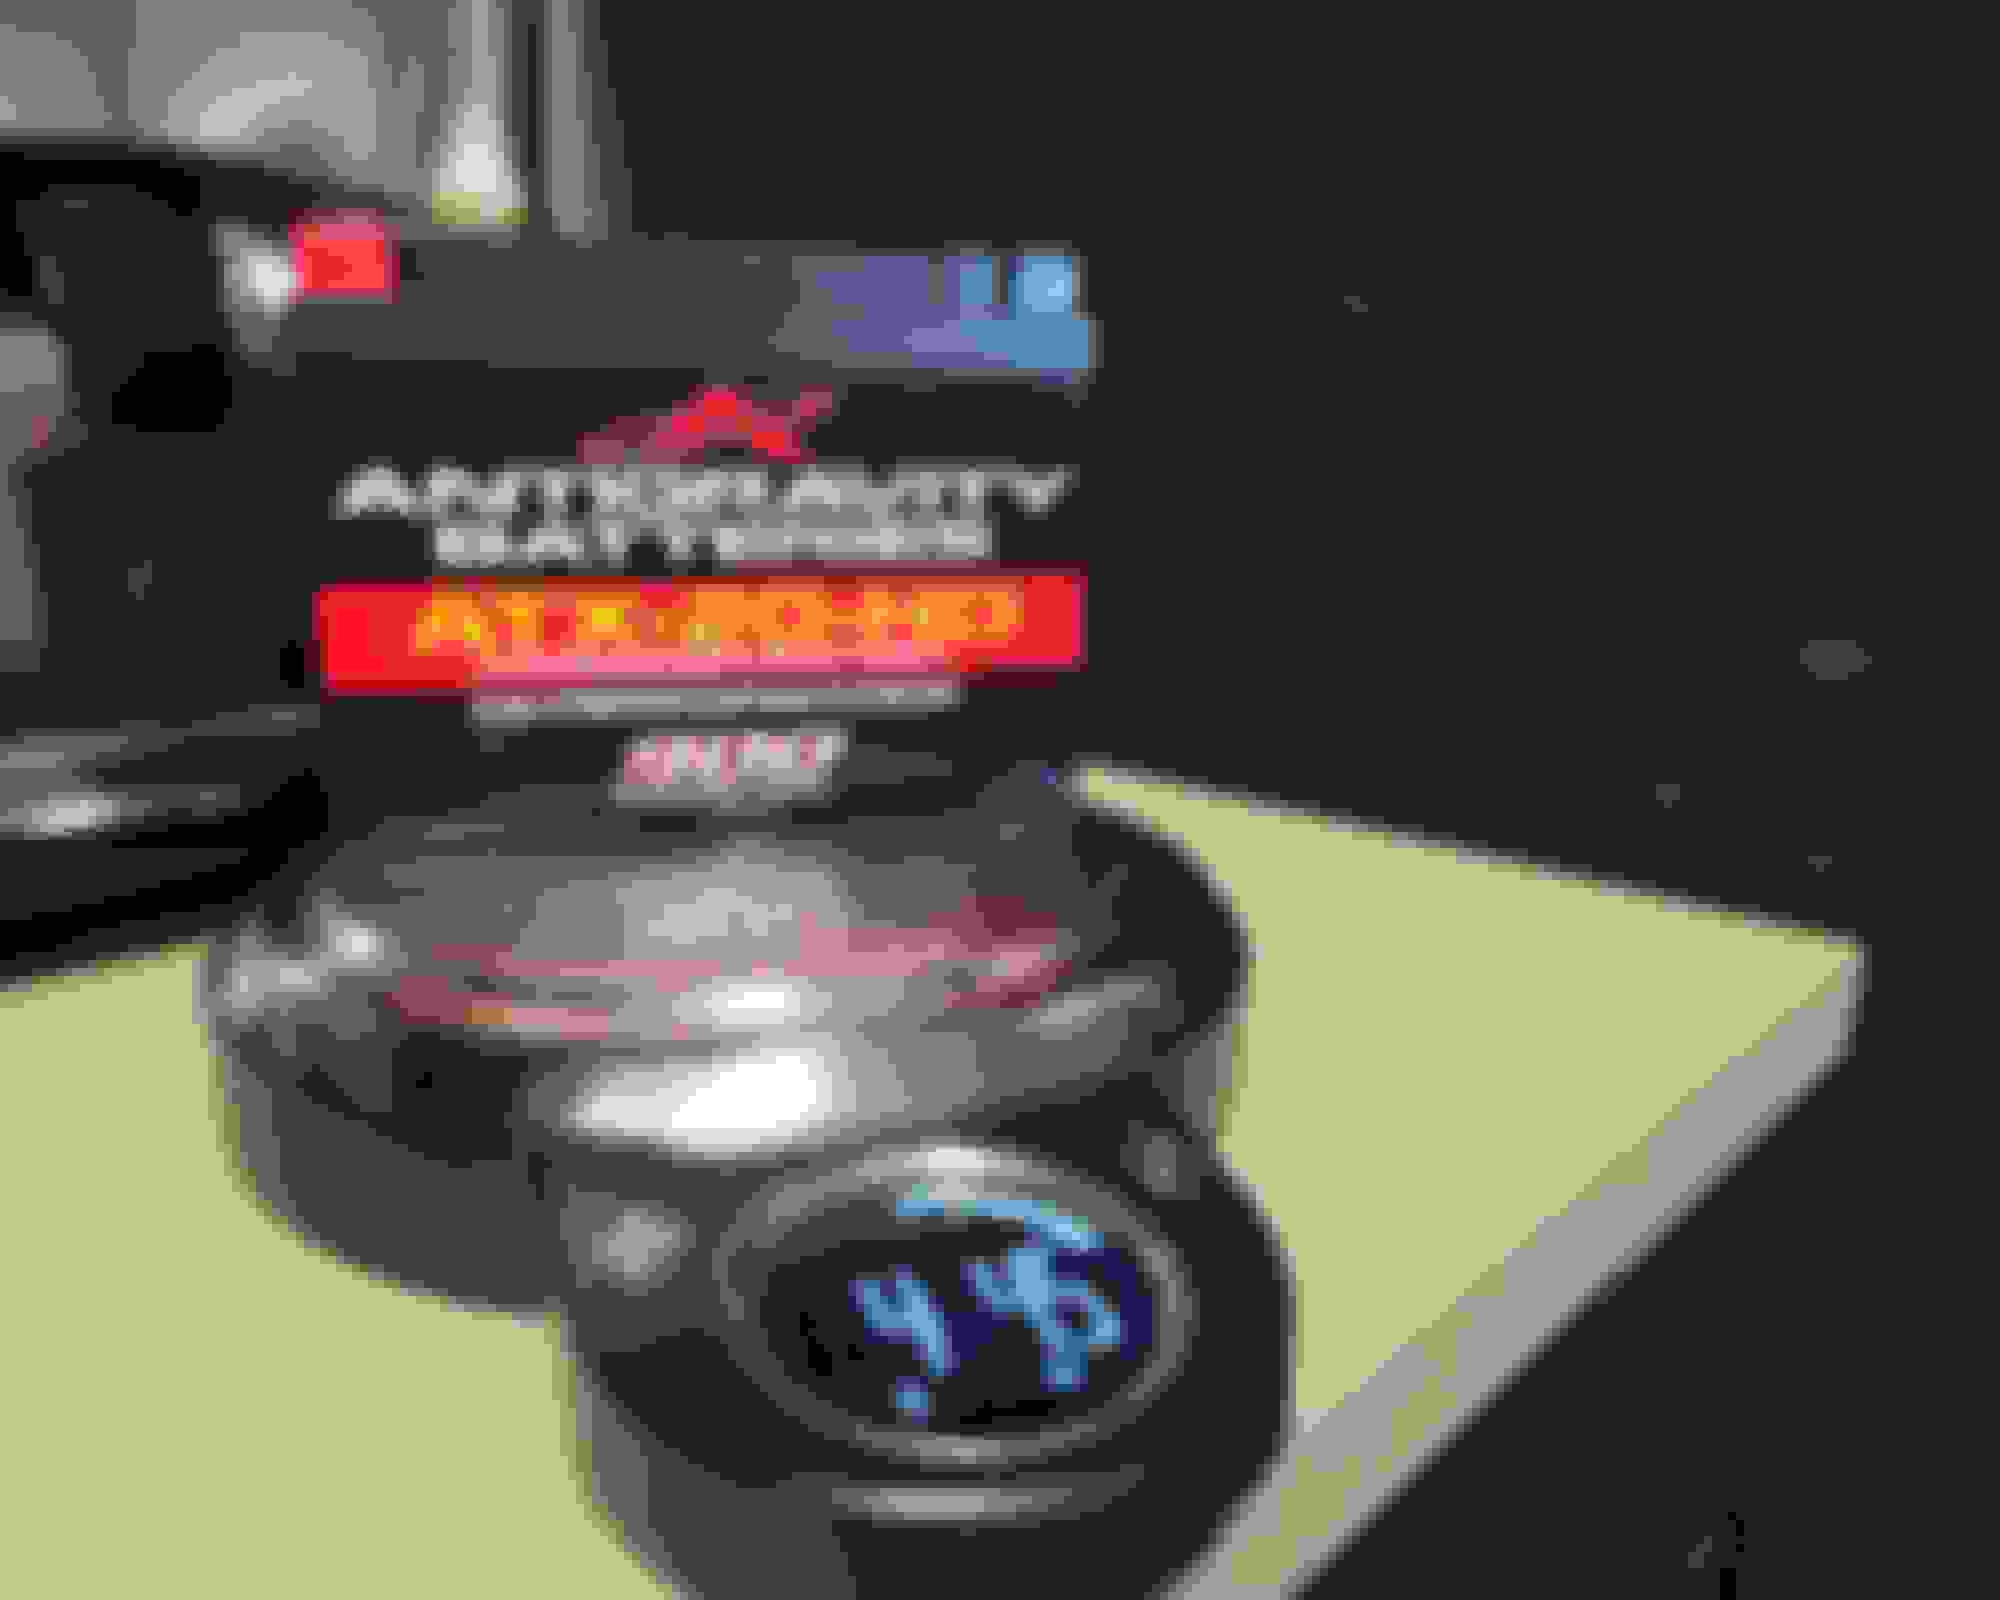
Deka ETX20L AGM lead acid battery served me well since 2017 and owes me absolutely nothing. Out with the old and in with the new lithium ion ANTIGRAVITY ATX-20-HD weighing in @ a whopping 4.5 lbs supporting 900 Cranking amps. While the 310CCA Deka ETX20L wasn't ideal for daily activities or loading maps it always fired up within a drop of a hat during winter on a battery tender and never experienced any electric gremlins during cruise/WOT. Had I known about the ANTIGRAVITY ATX-20-RS I would have opted for that as it has their latest Re-start technology (built in jump start) implemented and in addition nearly weighing half the ATX-HD while offering 680 cranking amps which should be more than suitable for track duty and moderate daily driving activities. Despite the fact that my base model doesn't consist of alternator management (option 909) voltage has been closely monitored within the last few months and pleased to say it's on par with the factory battery supporting 850 CA's. Uploading maps while enjoying the breeze with the doors open while spinning records casually once again.
Unfortunately, the battery mount I had fabricated for the Deka ETX-20L was a hair too small to accommodate the ATX-20HD. Without saying too much the aluminum MeLe cage is a work of art, ROBUST, keeps the heat where it belongs while weighing in at 700 grams and easily accessible simply pulling a pin; not to mention fits snug like a glove with a battery status window implemented into the lid. Lithium battery setup just shy of 6lbs.
Fabulous drop in alternative and feedback @Jasonoff@deadlyvt
Managed to get 2 base passes in early 2022 right when I signed on with Barry, slips/clips coming soon @AMGonFire
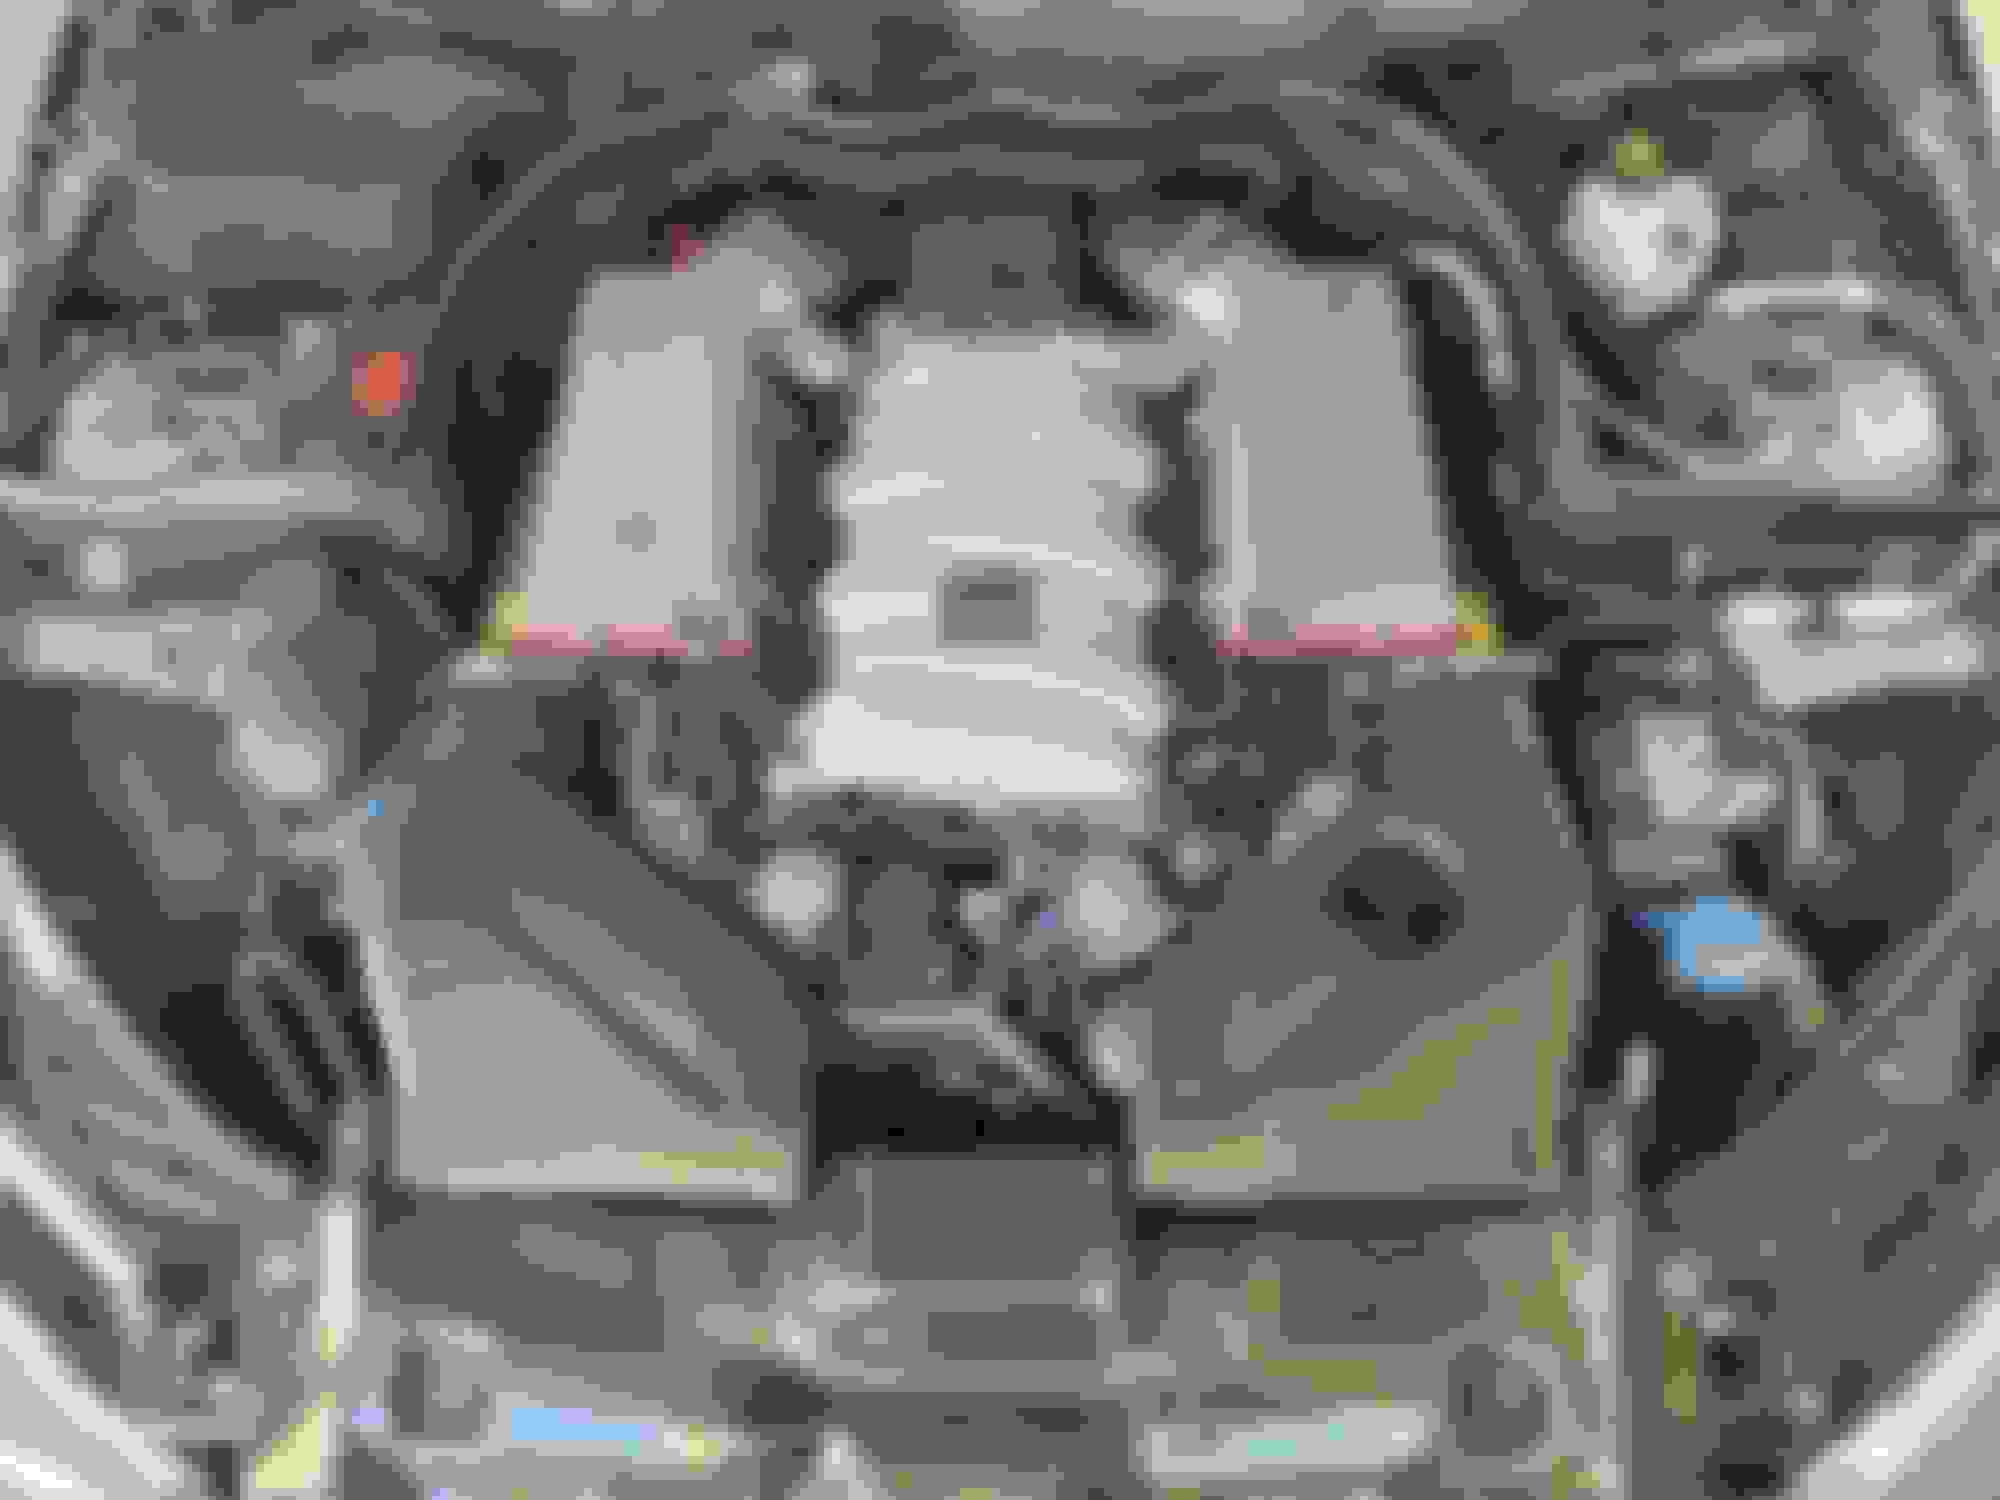
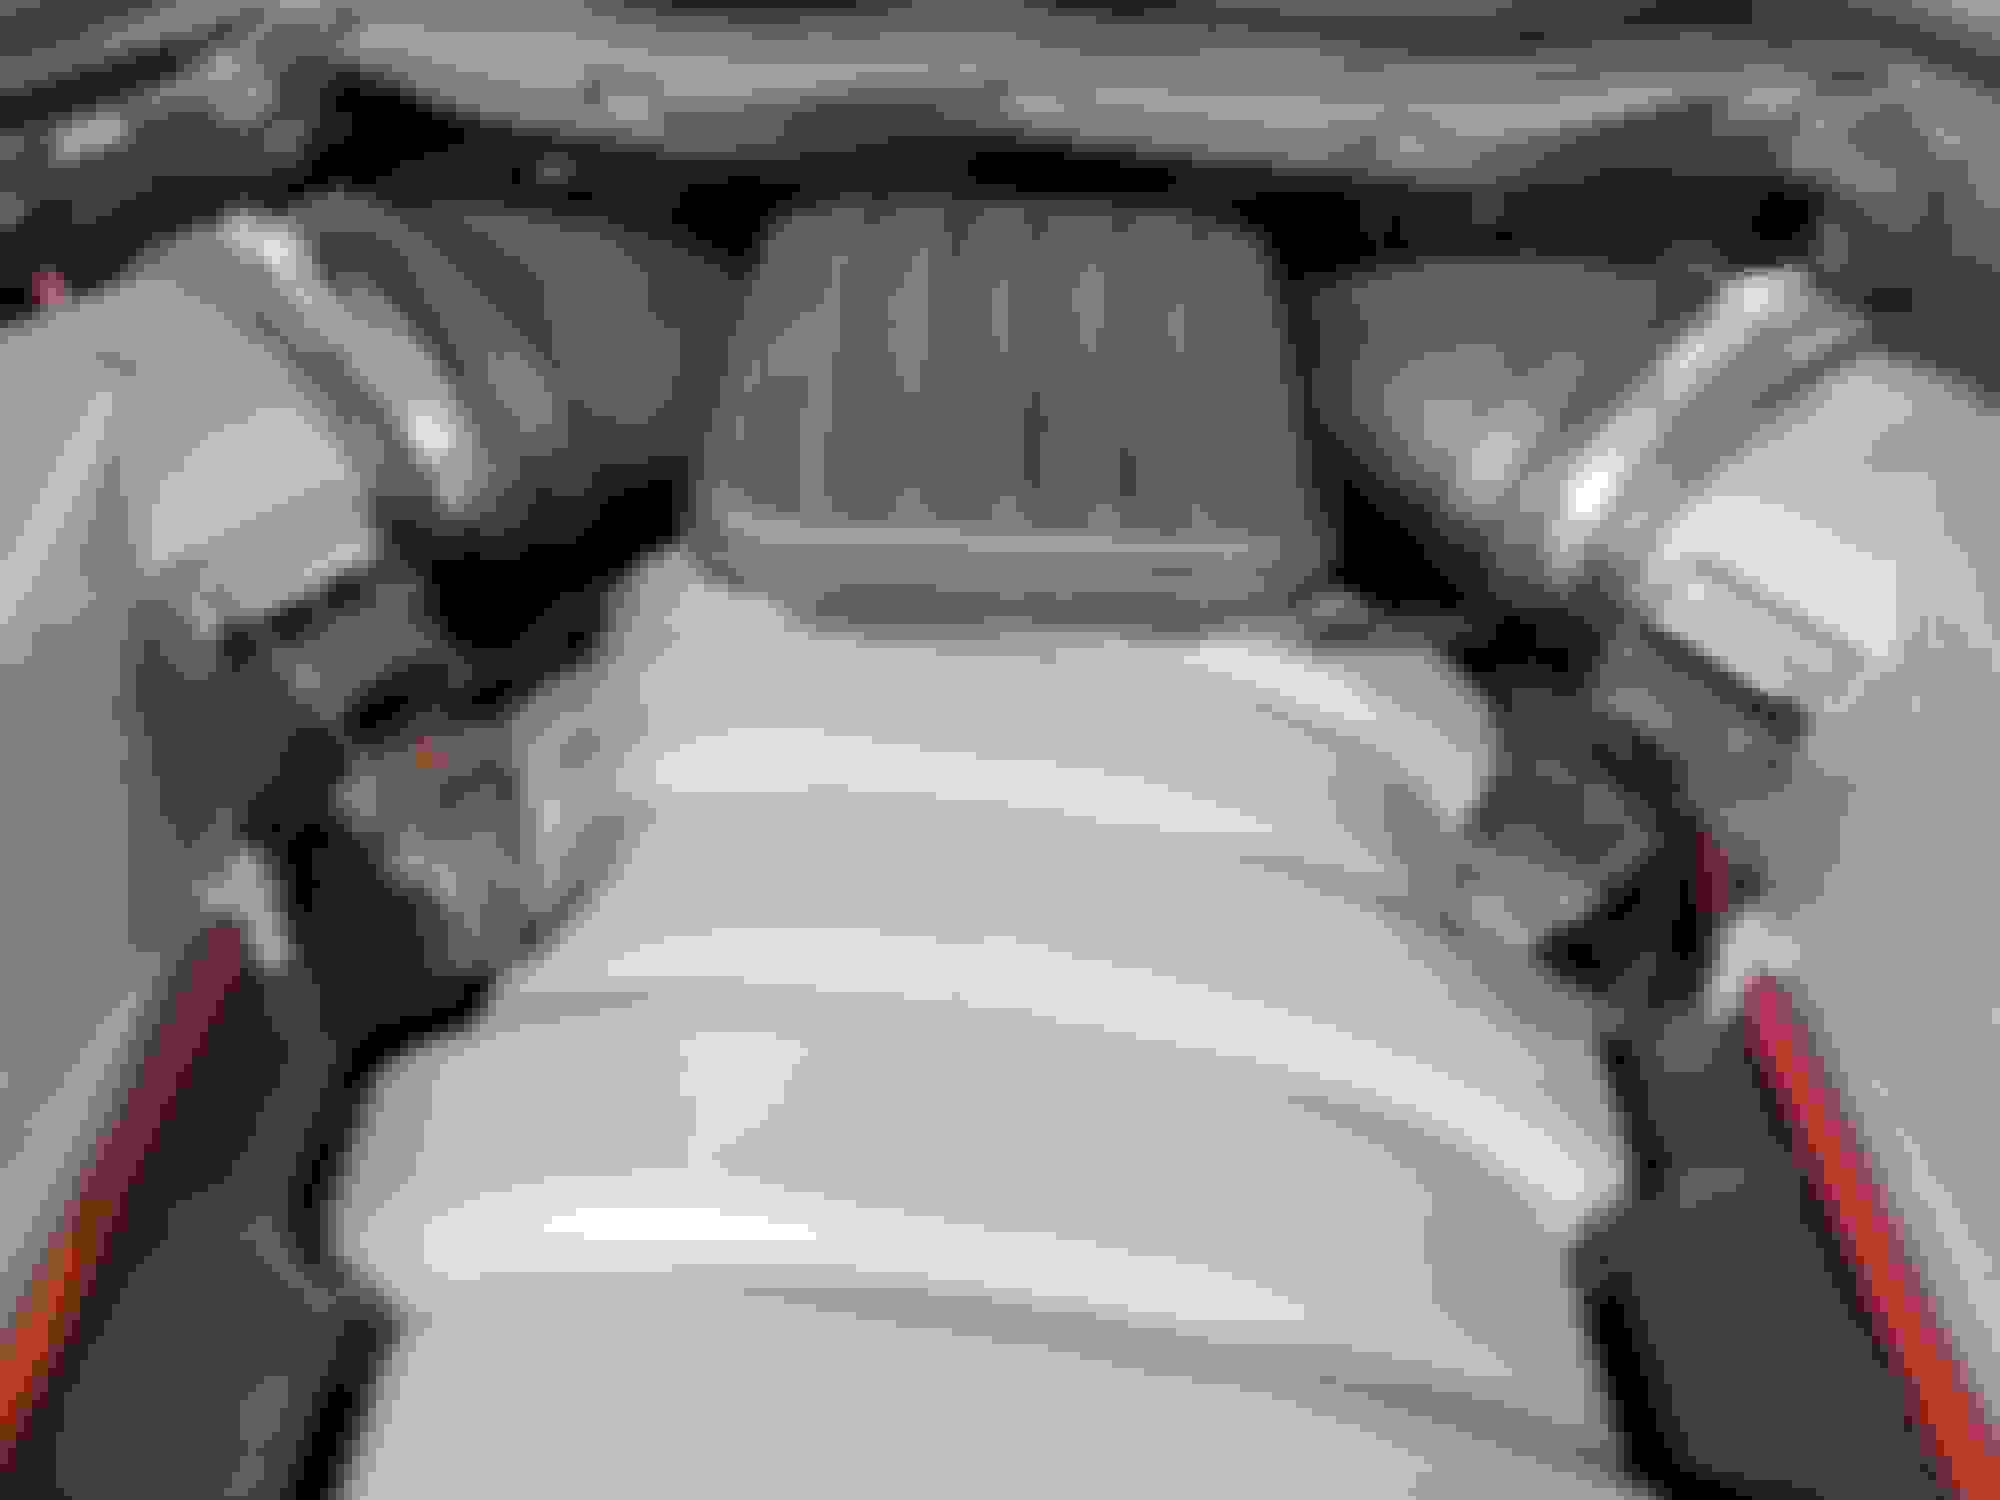
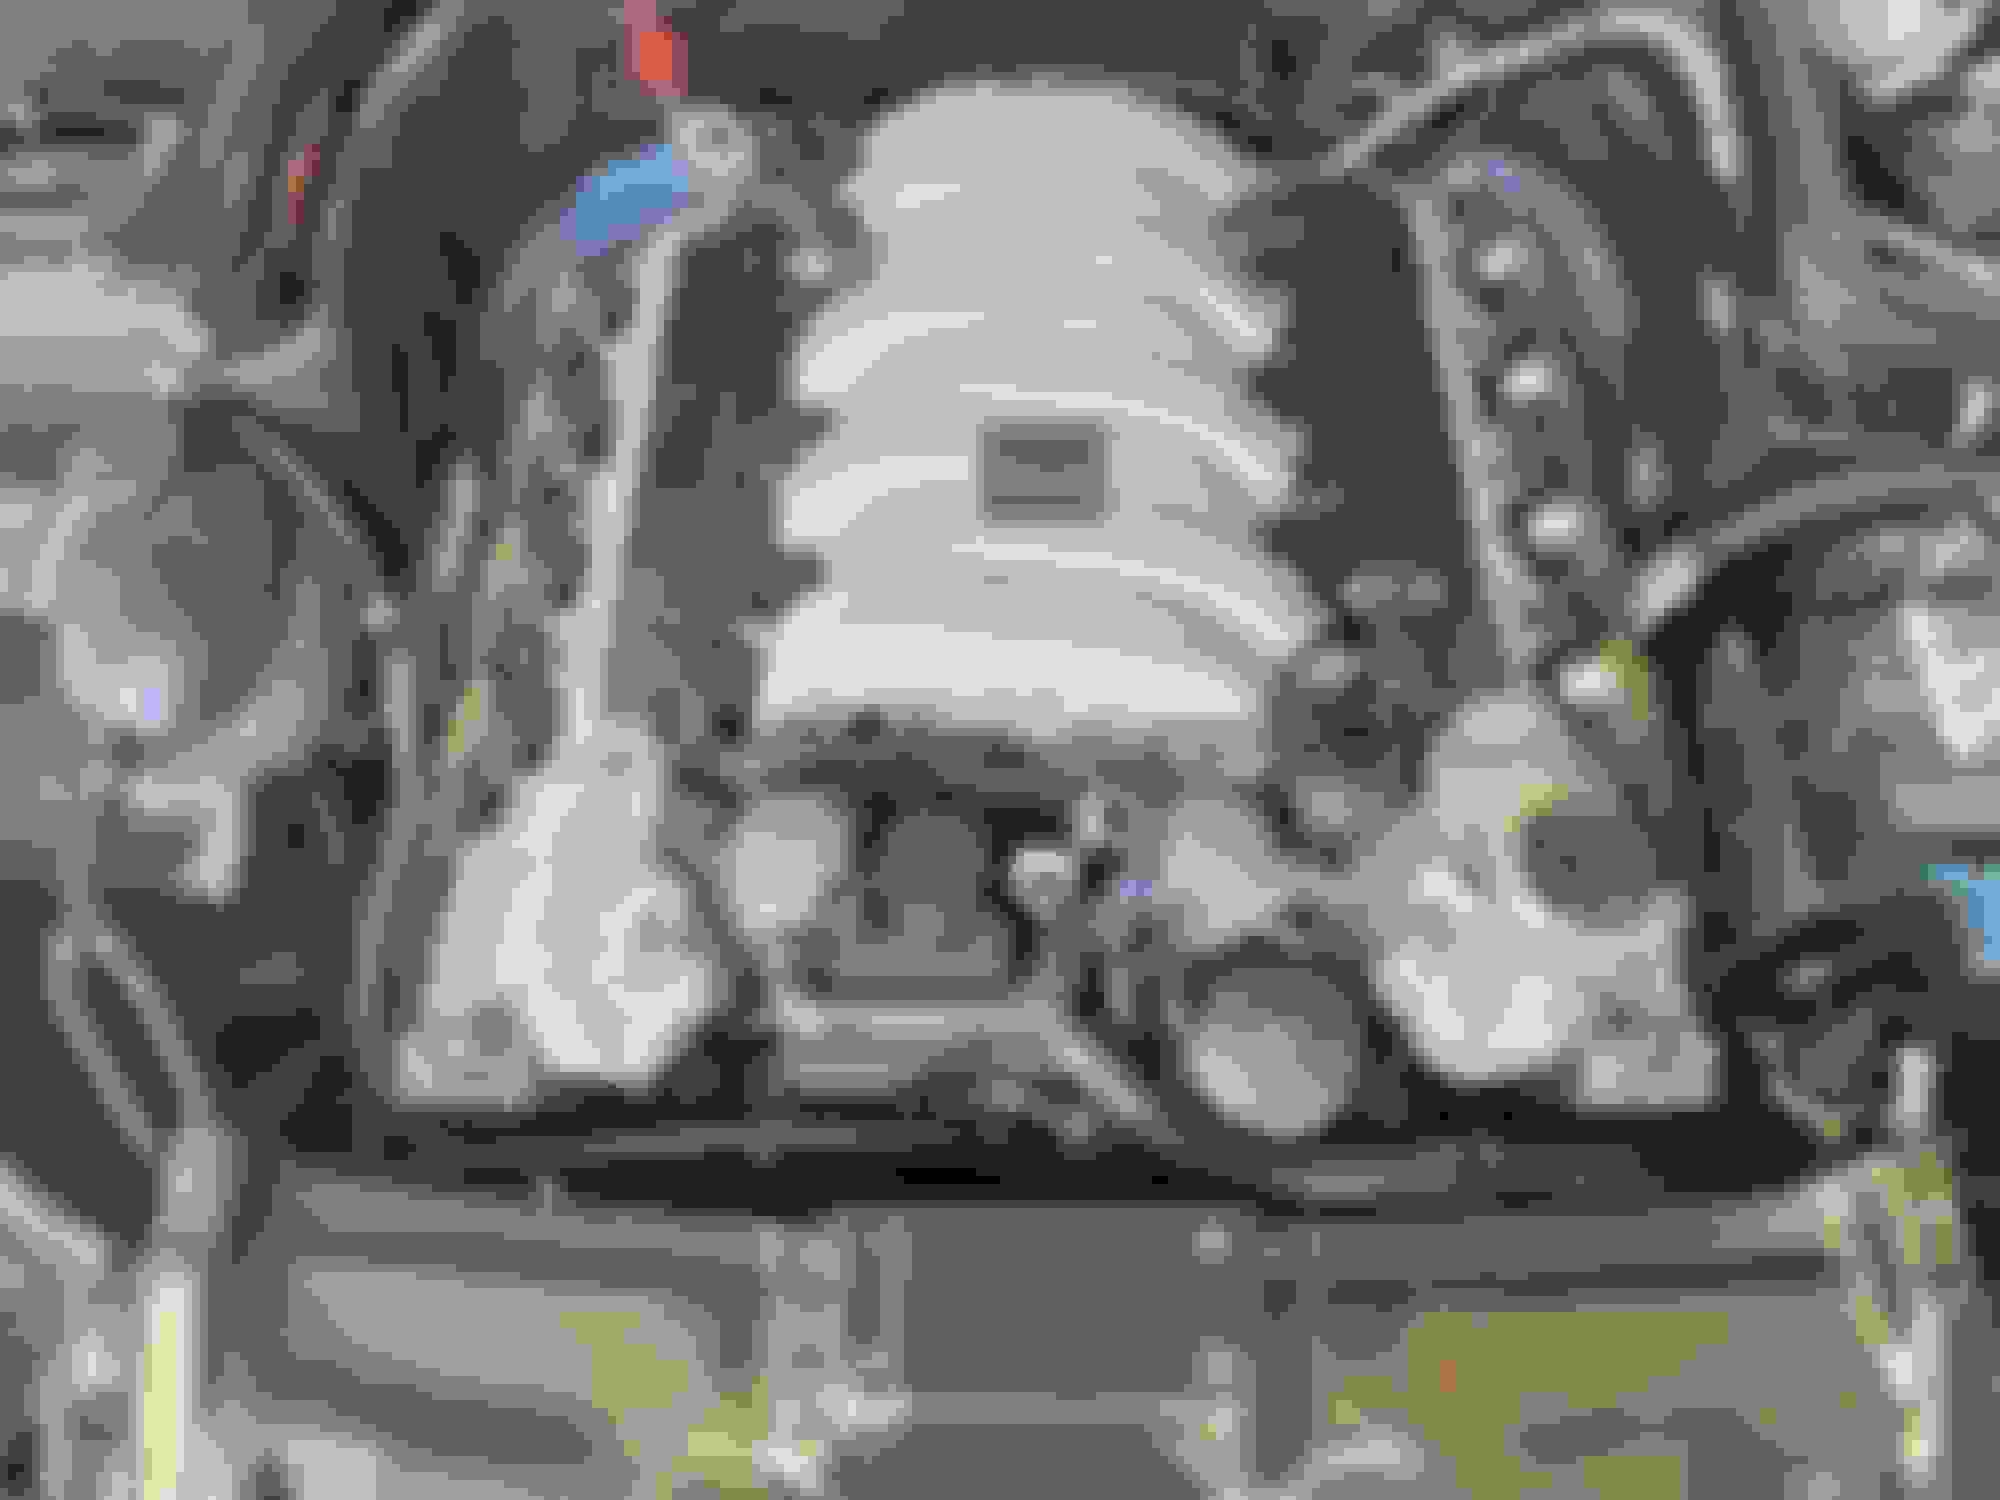
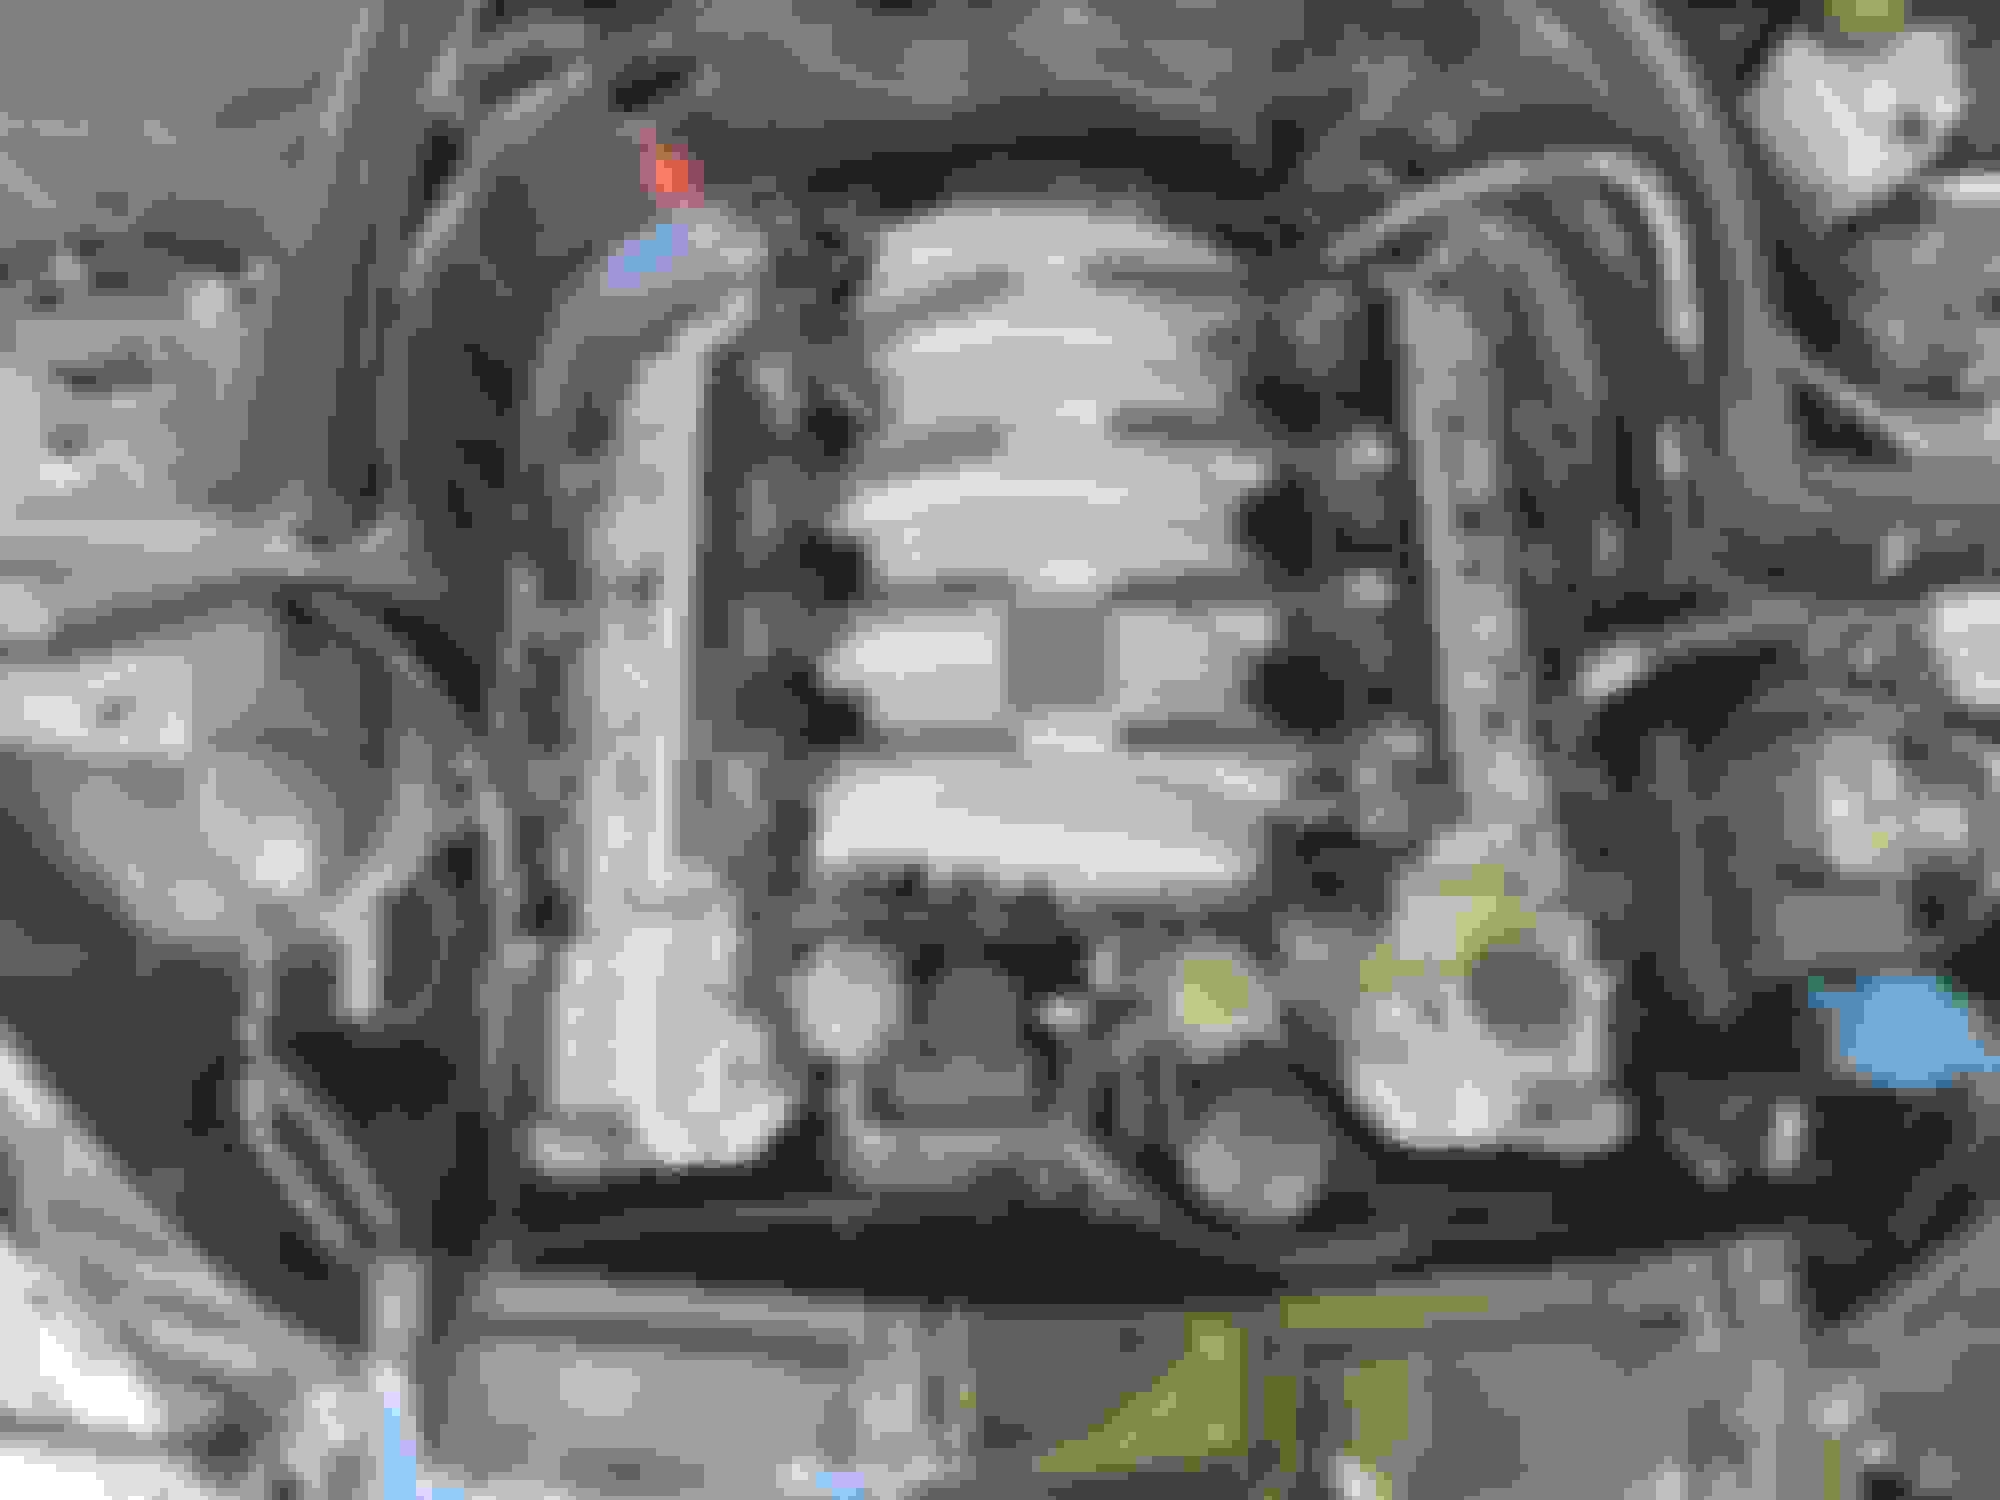
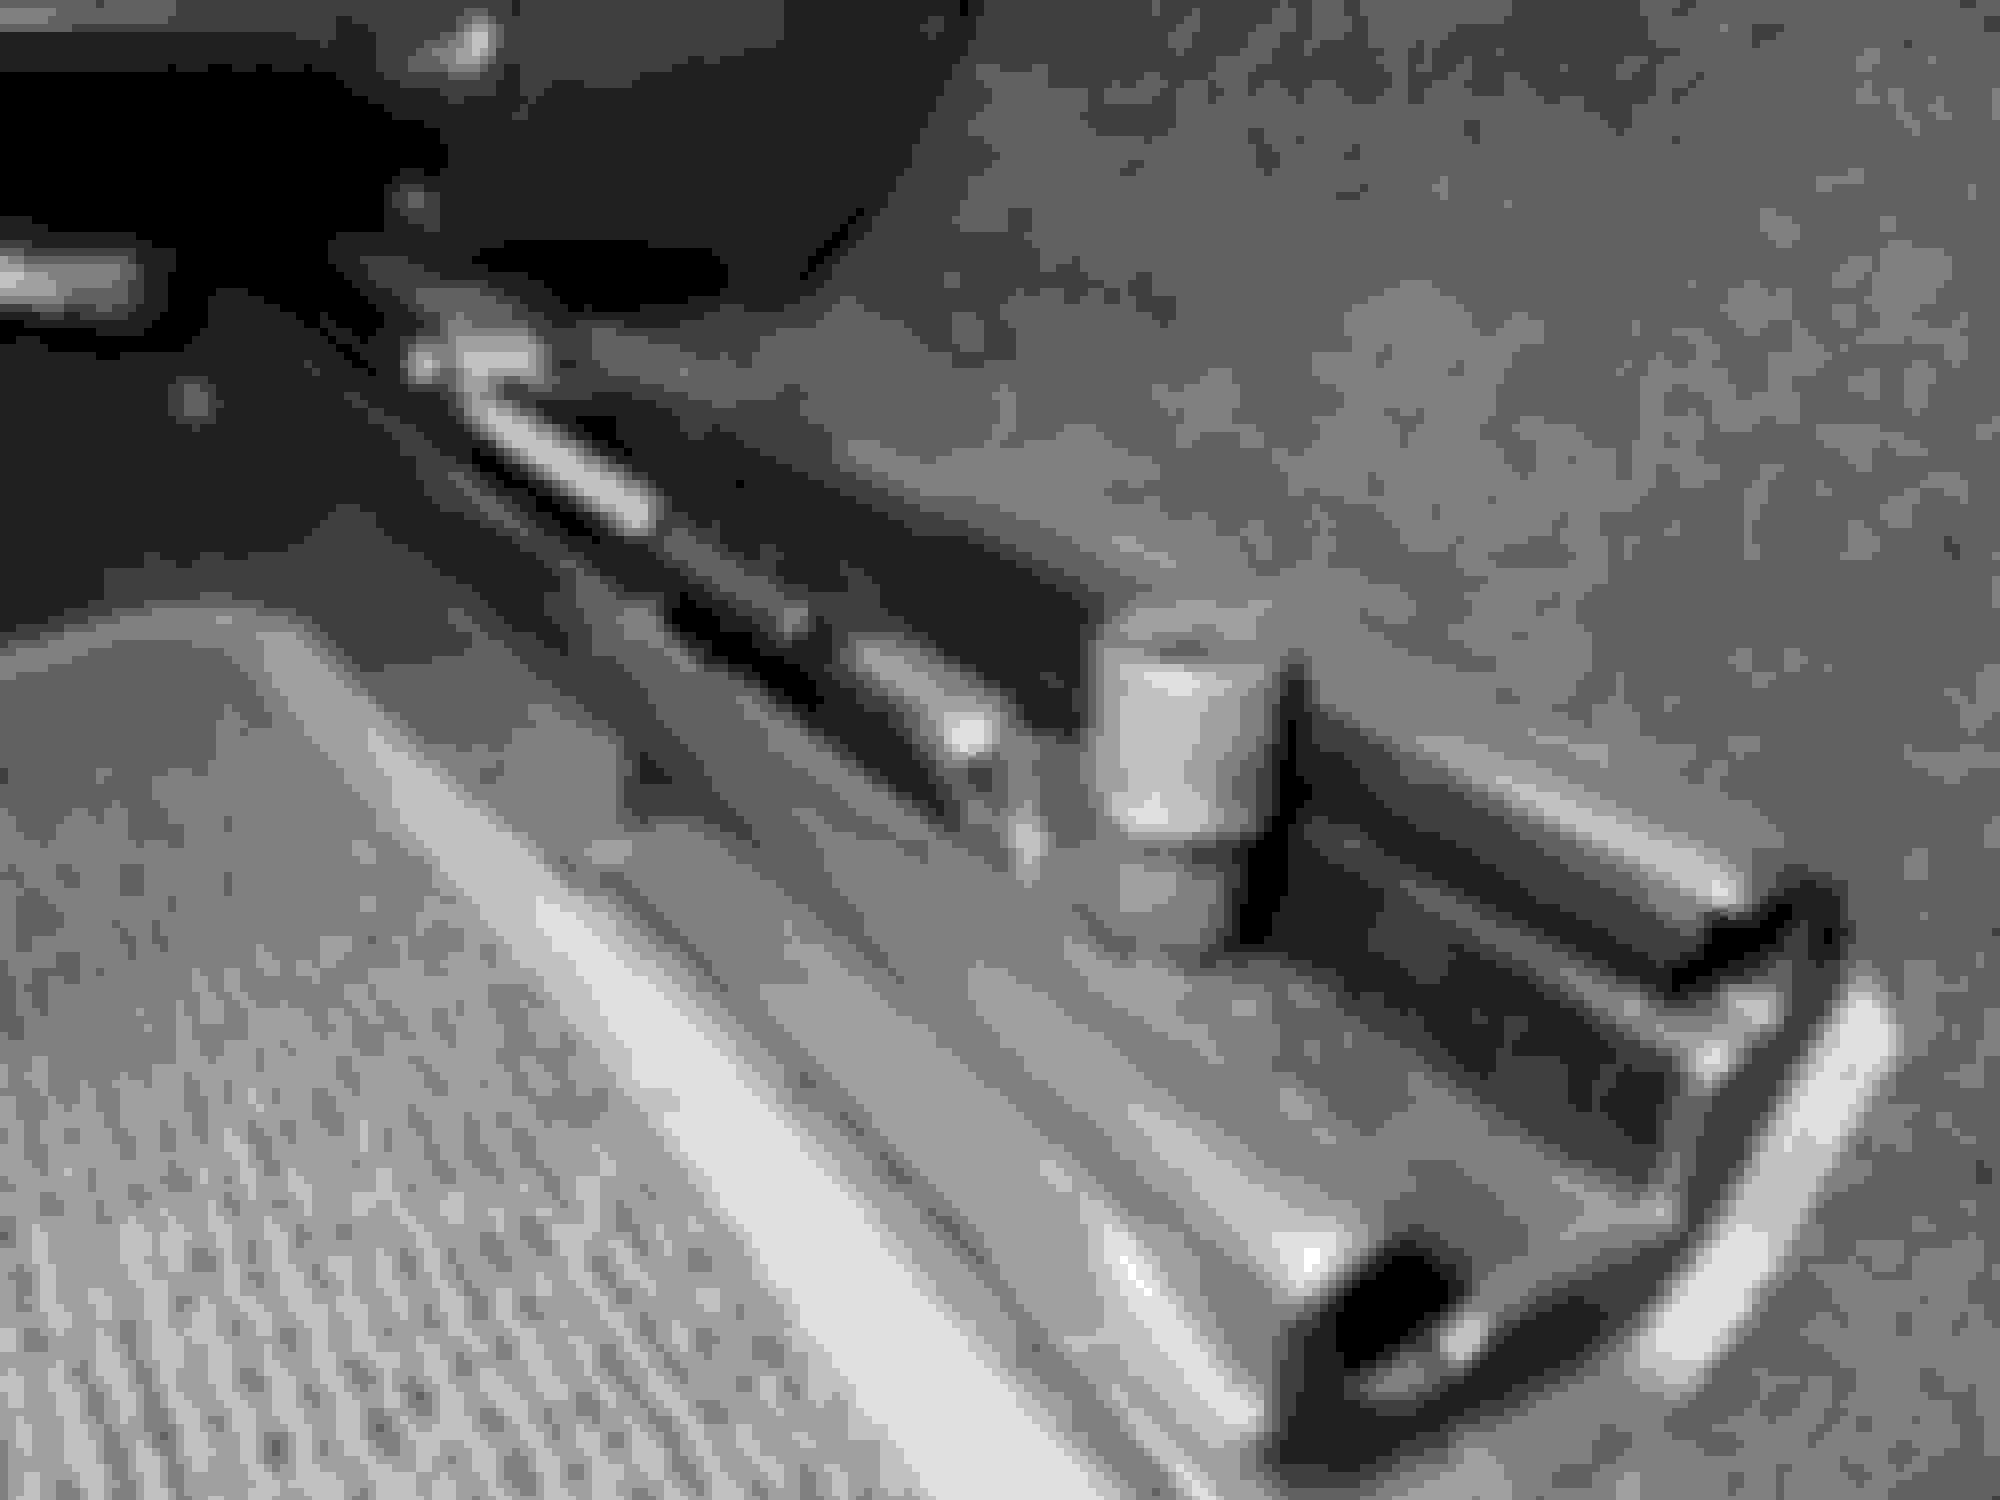
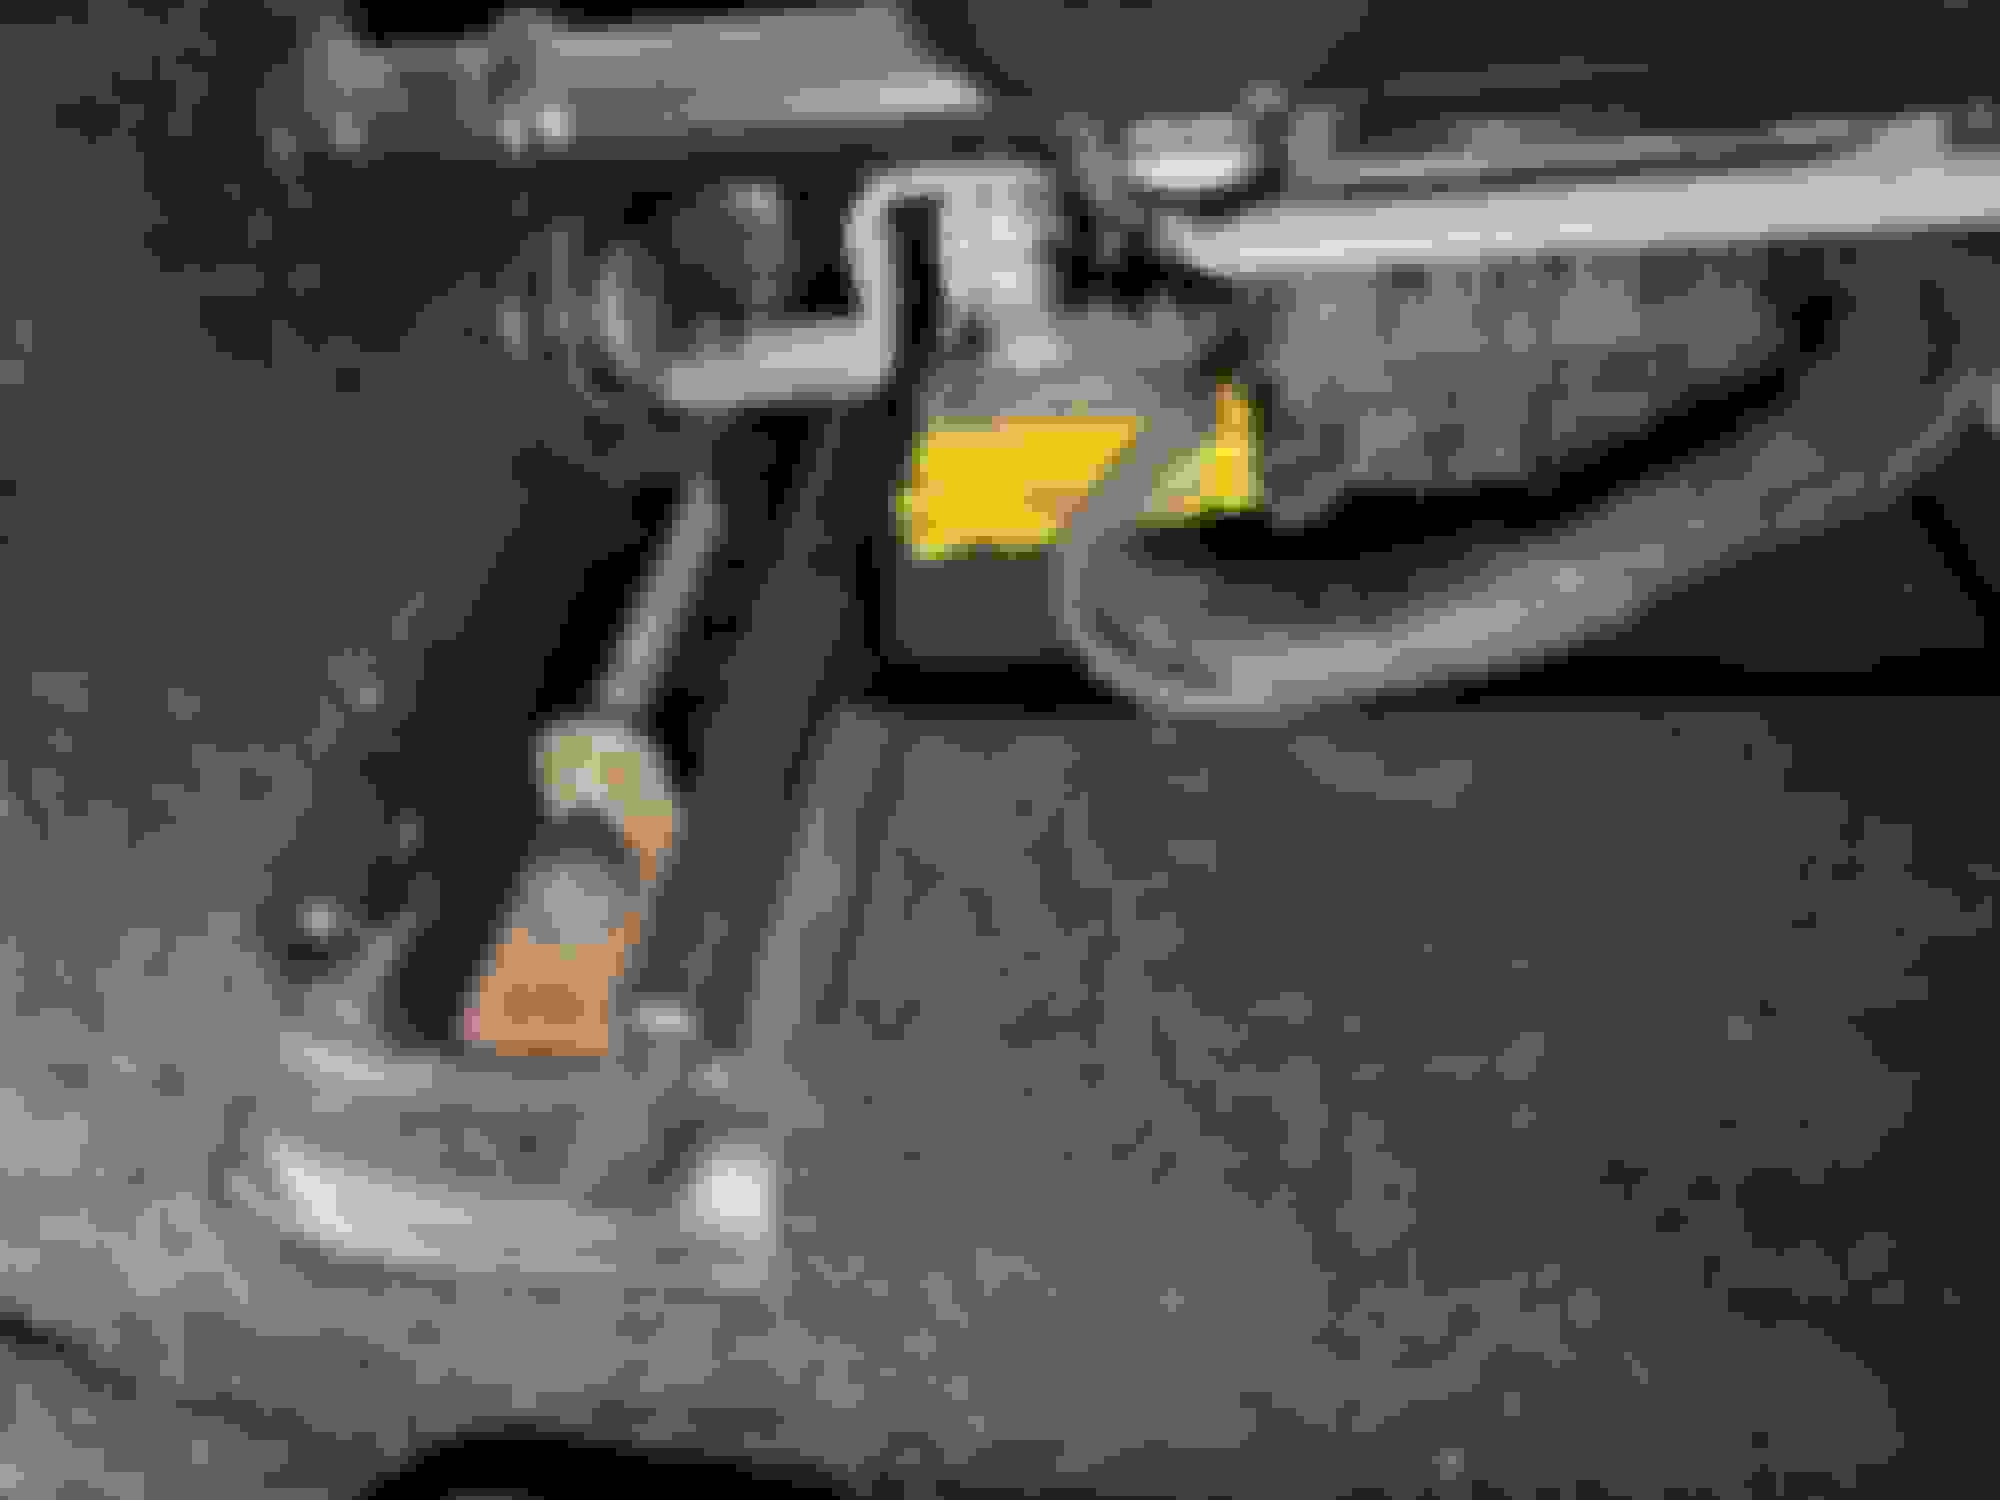
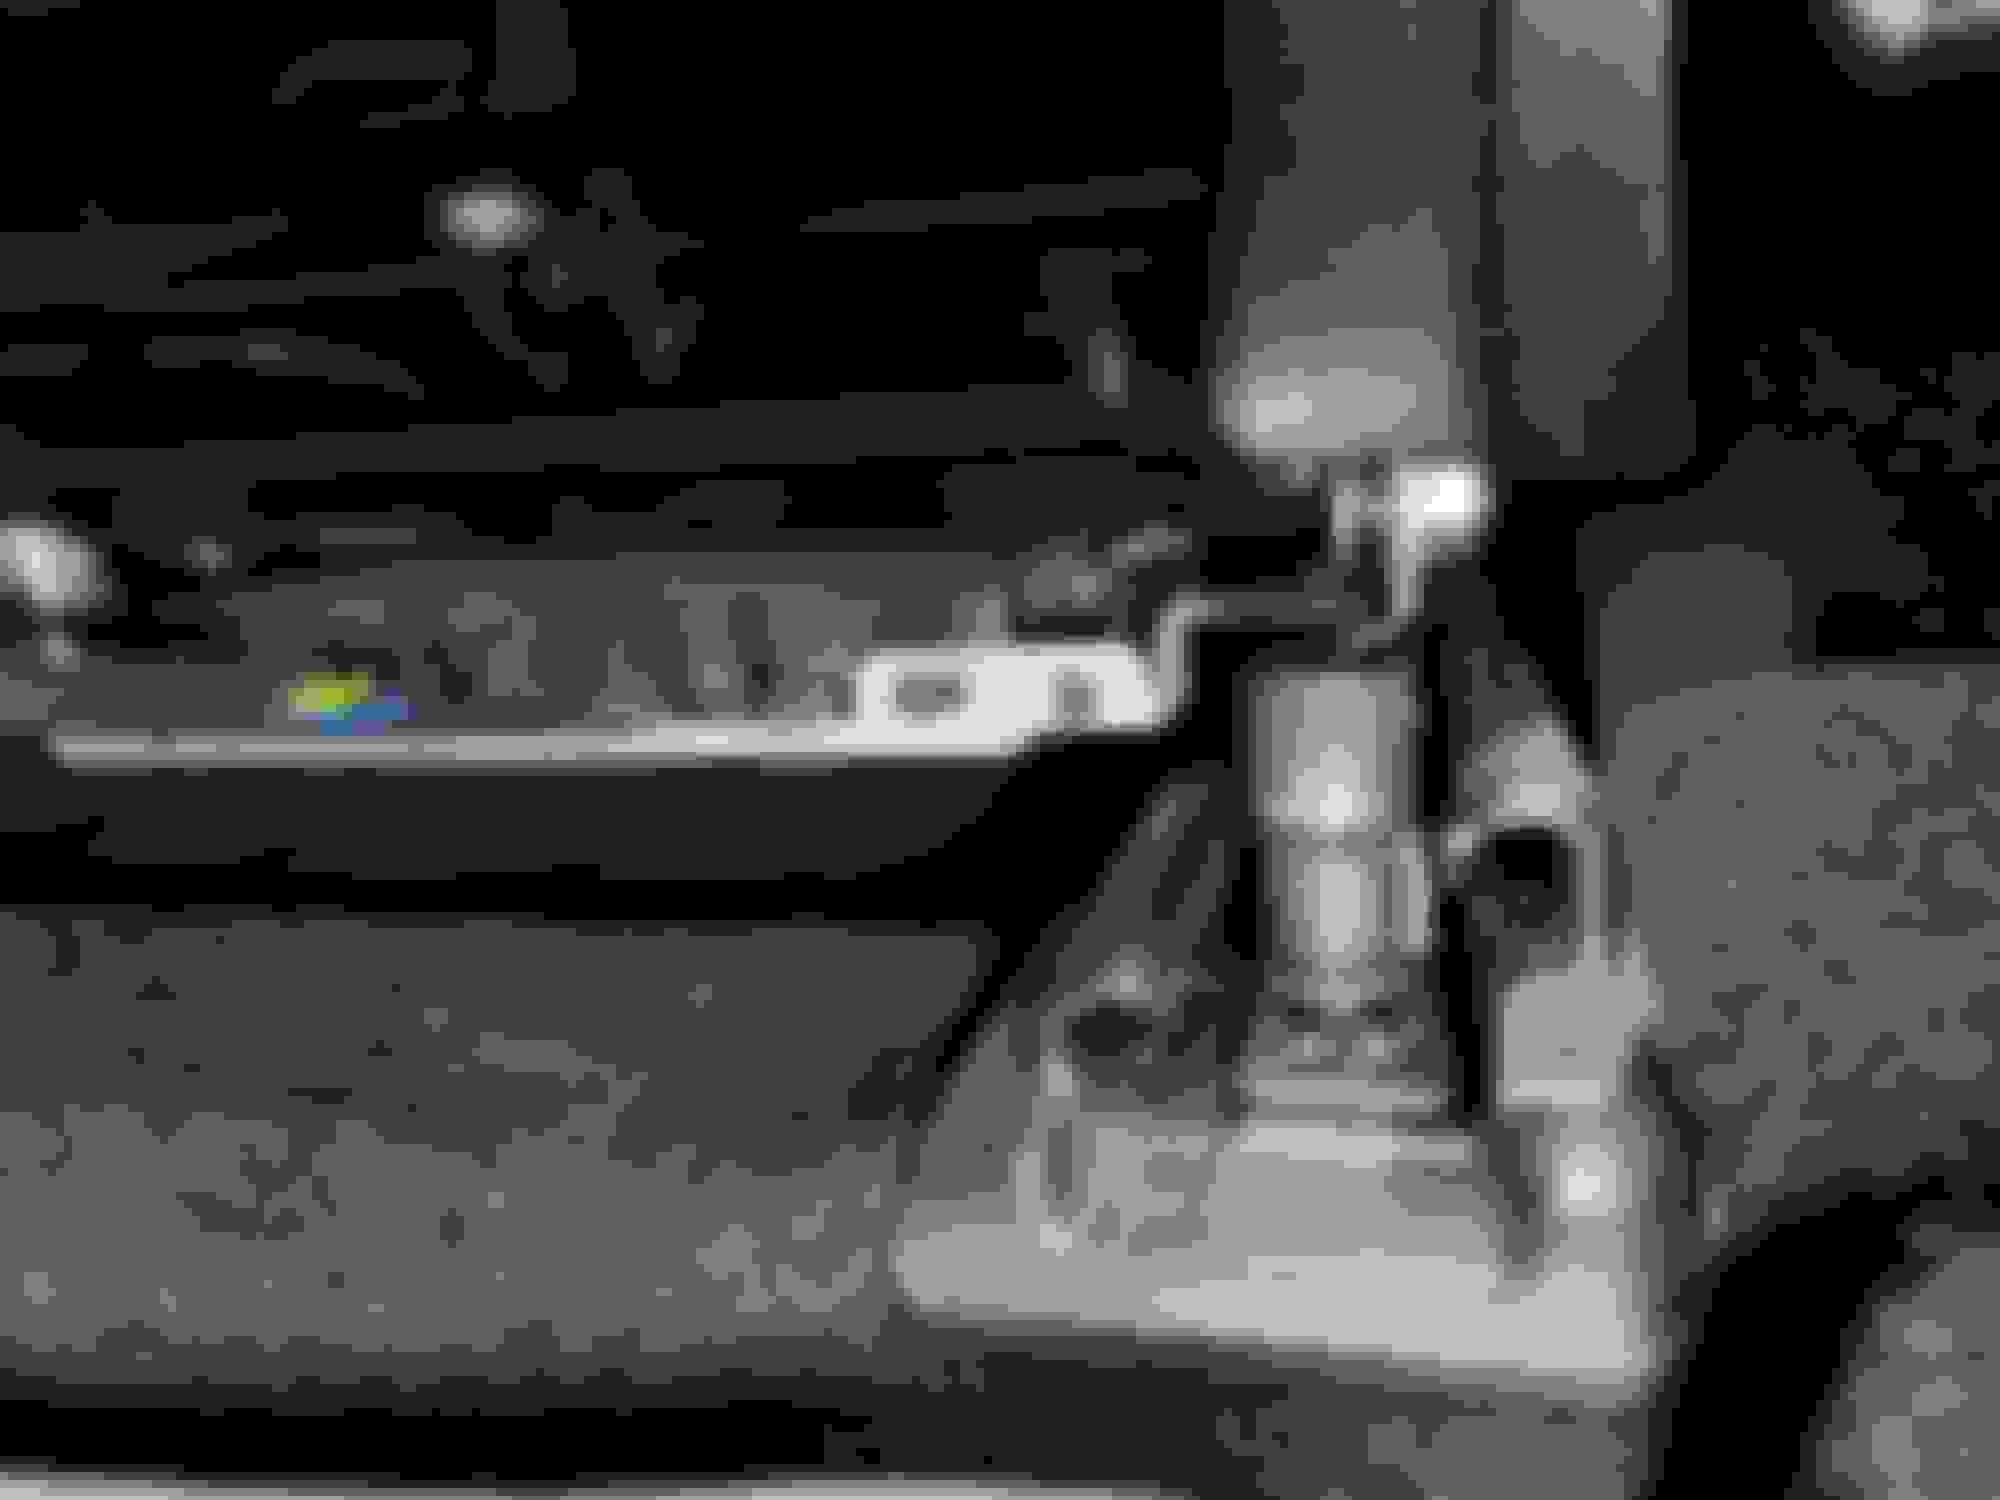
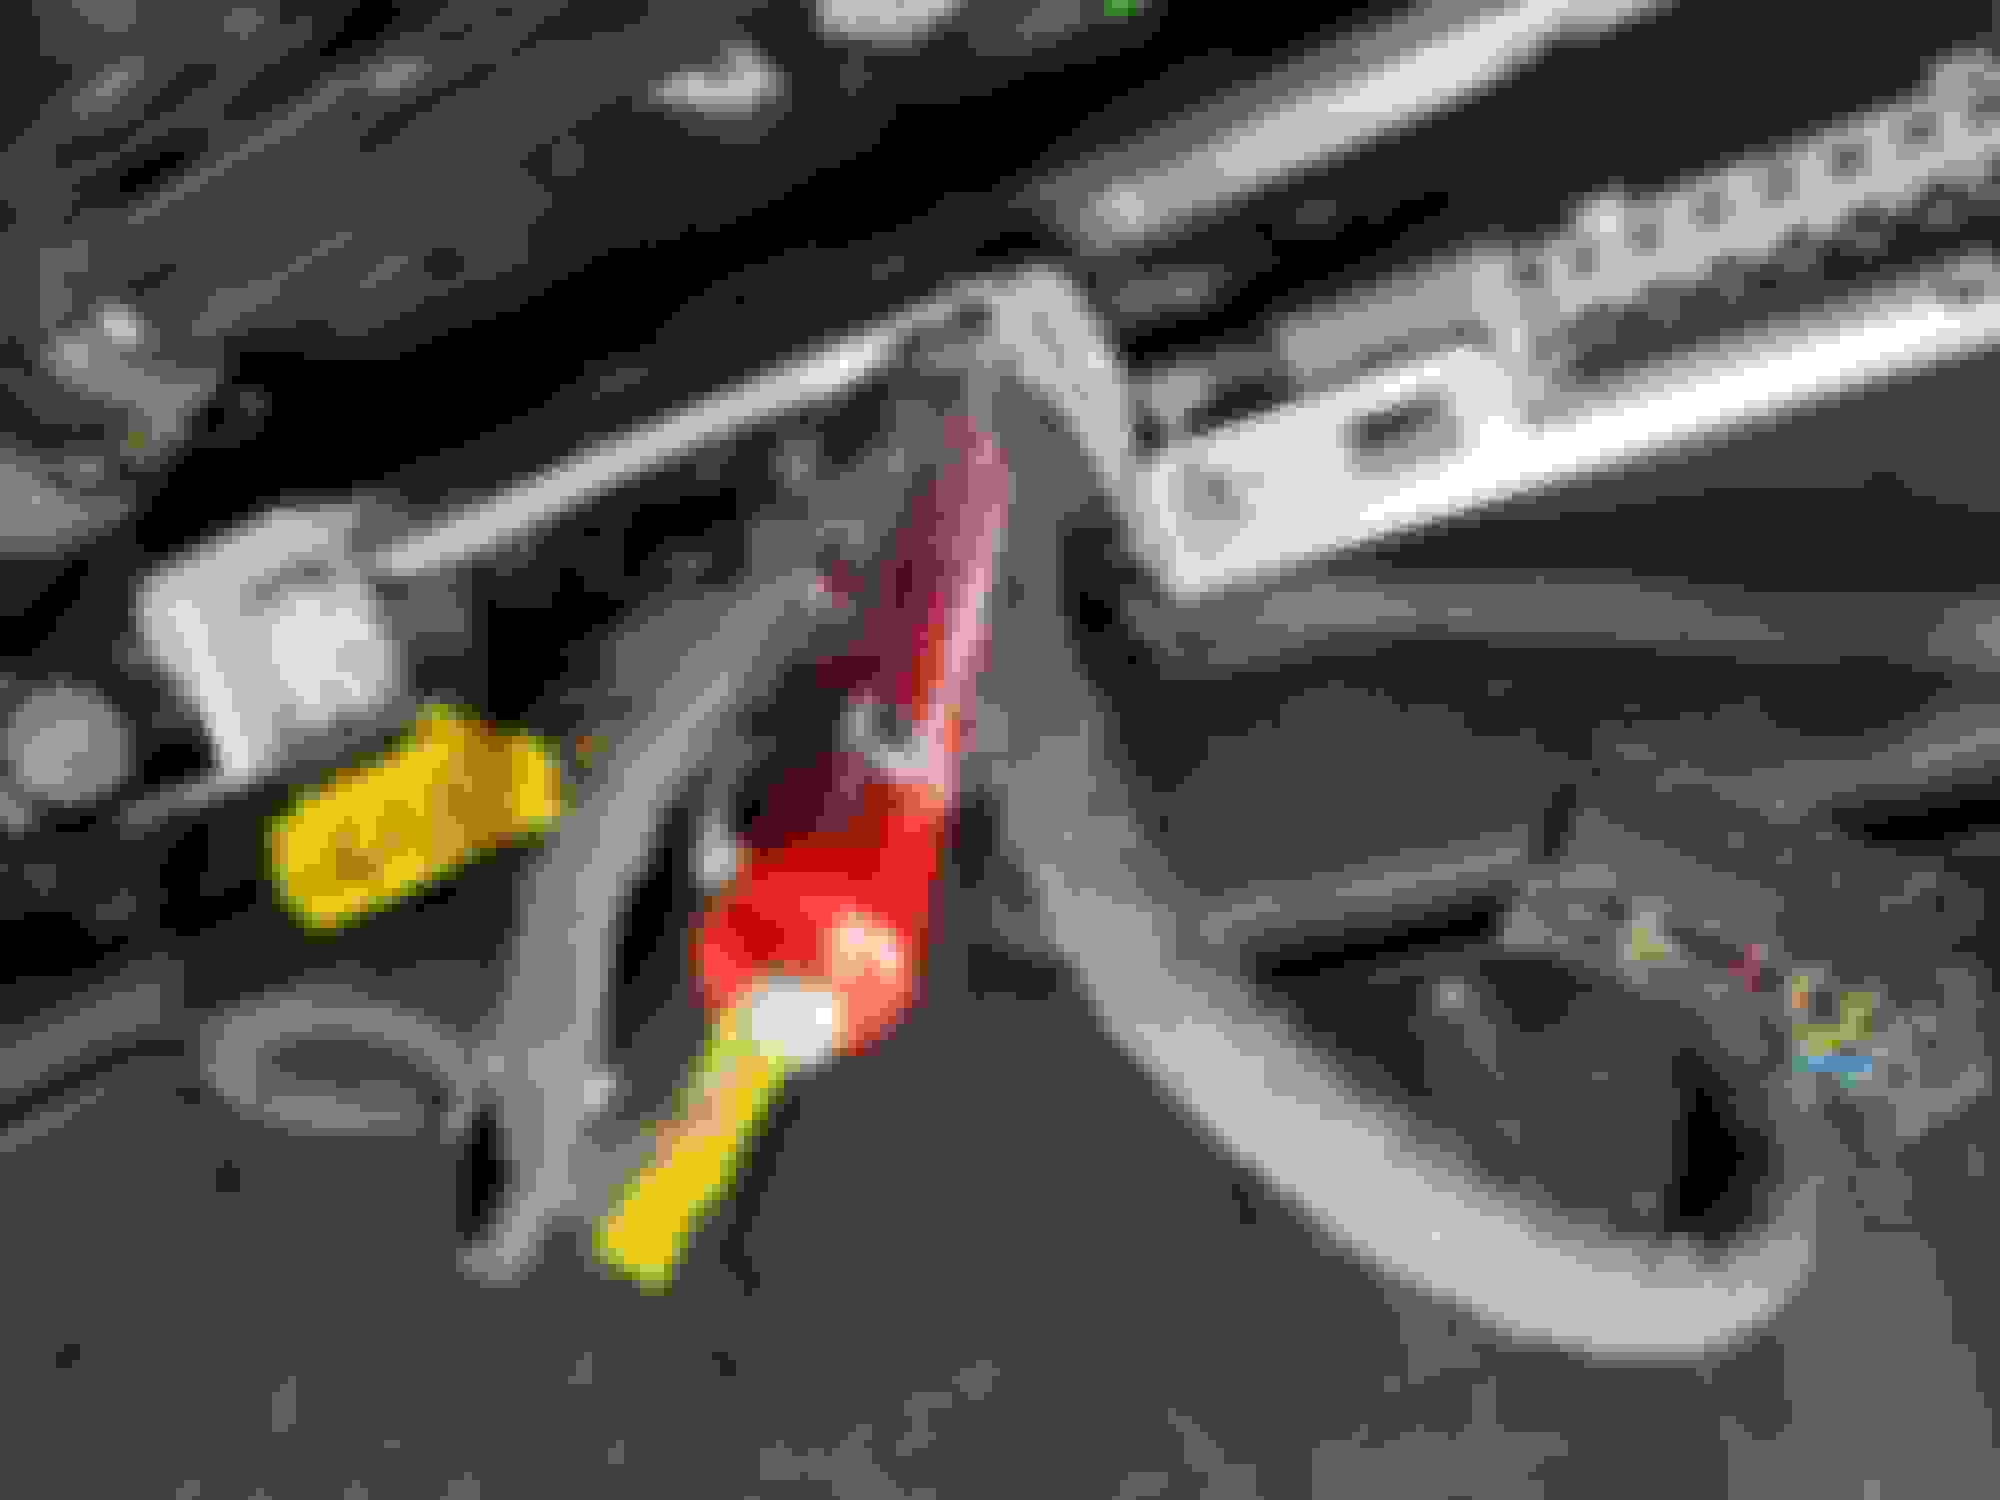
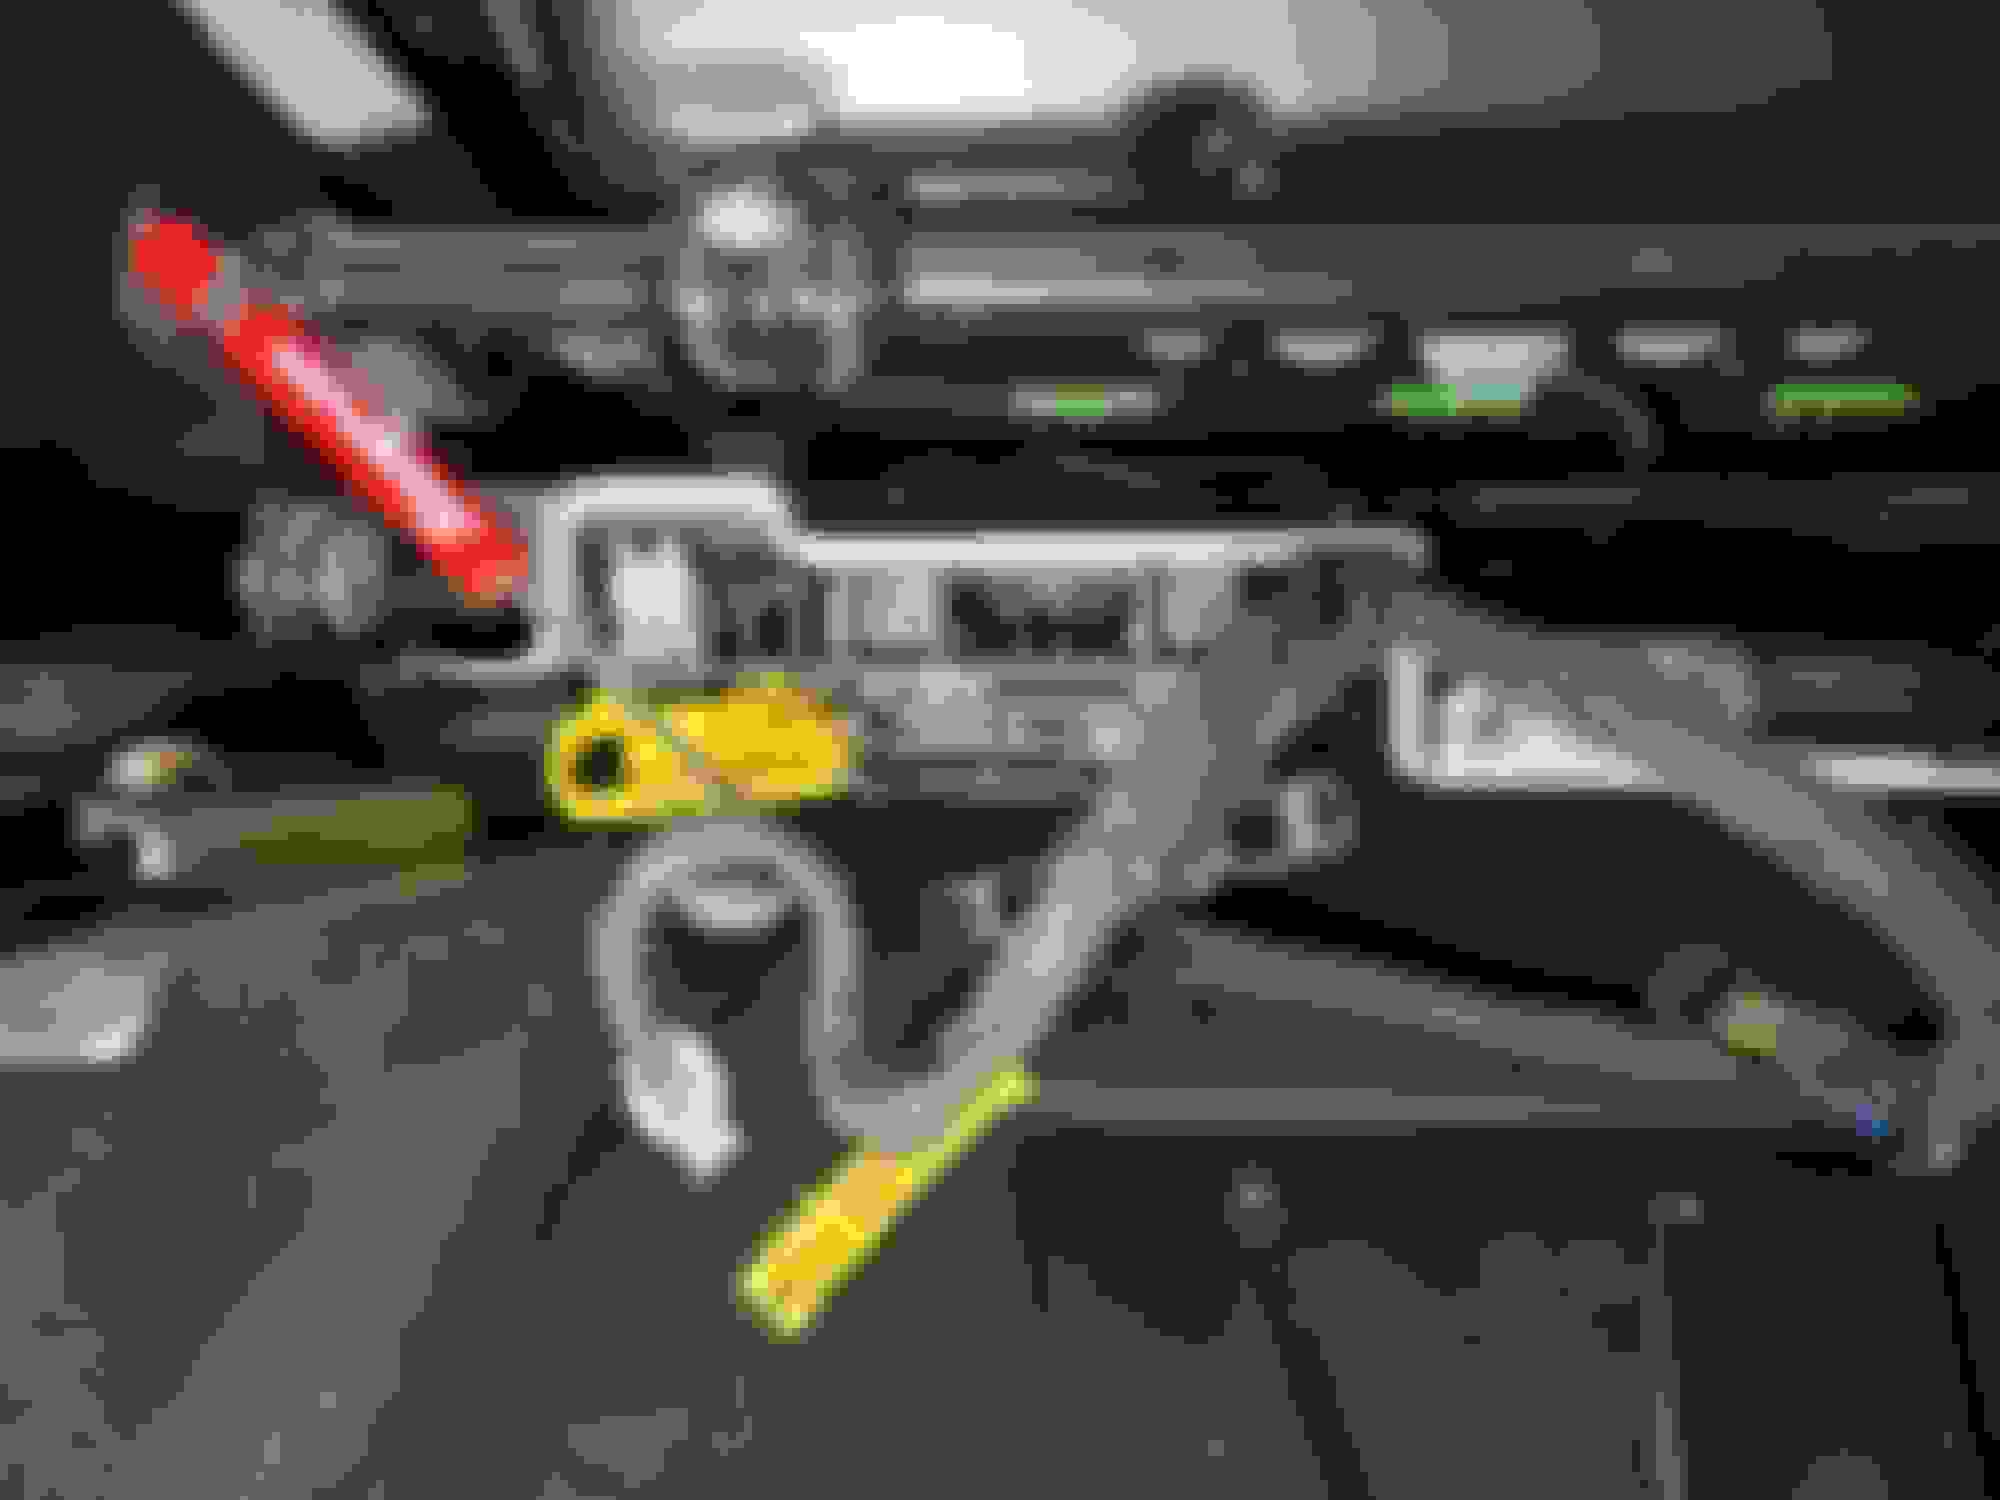
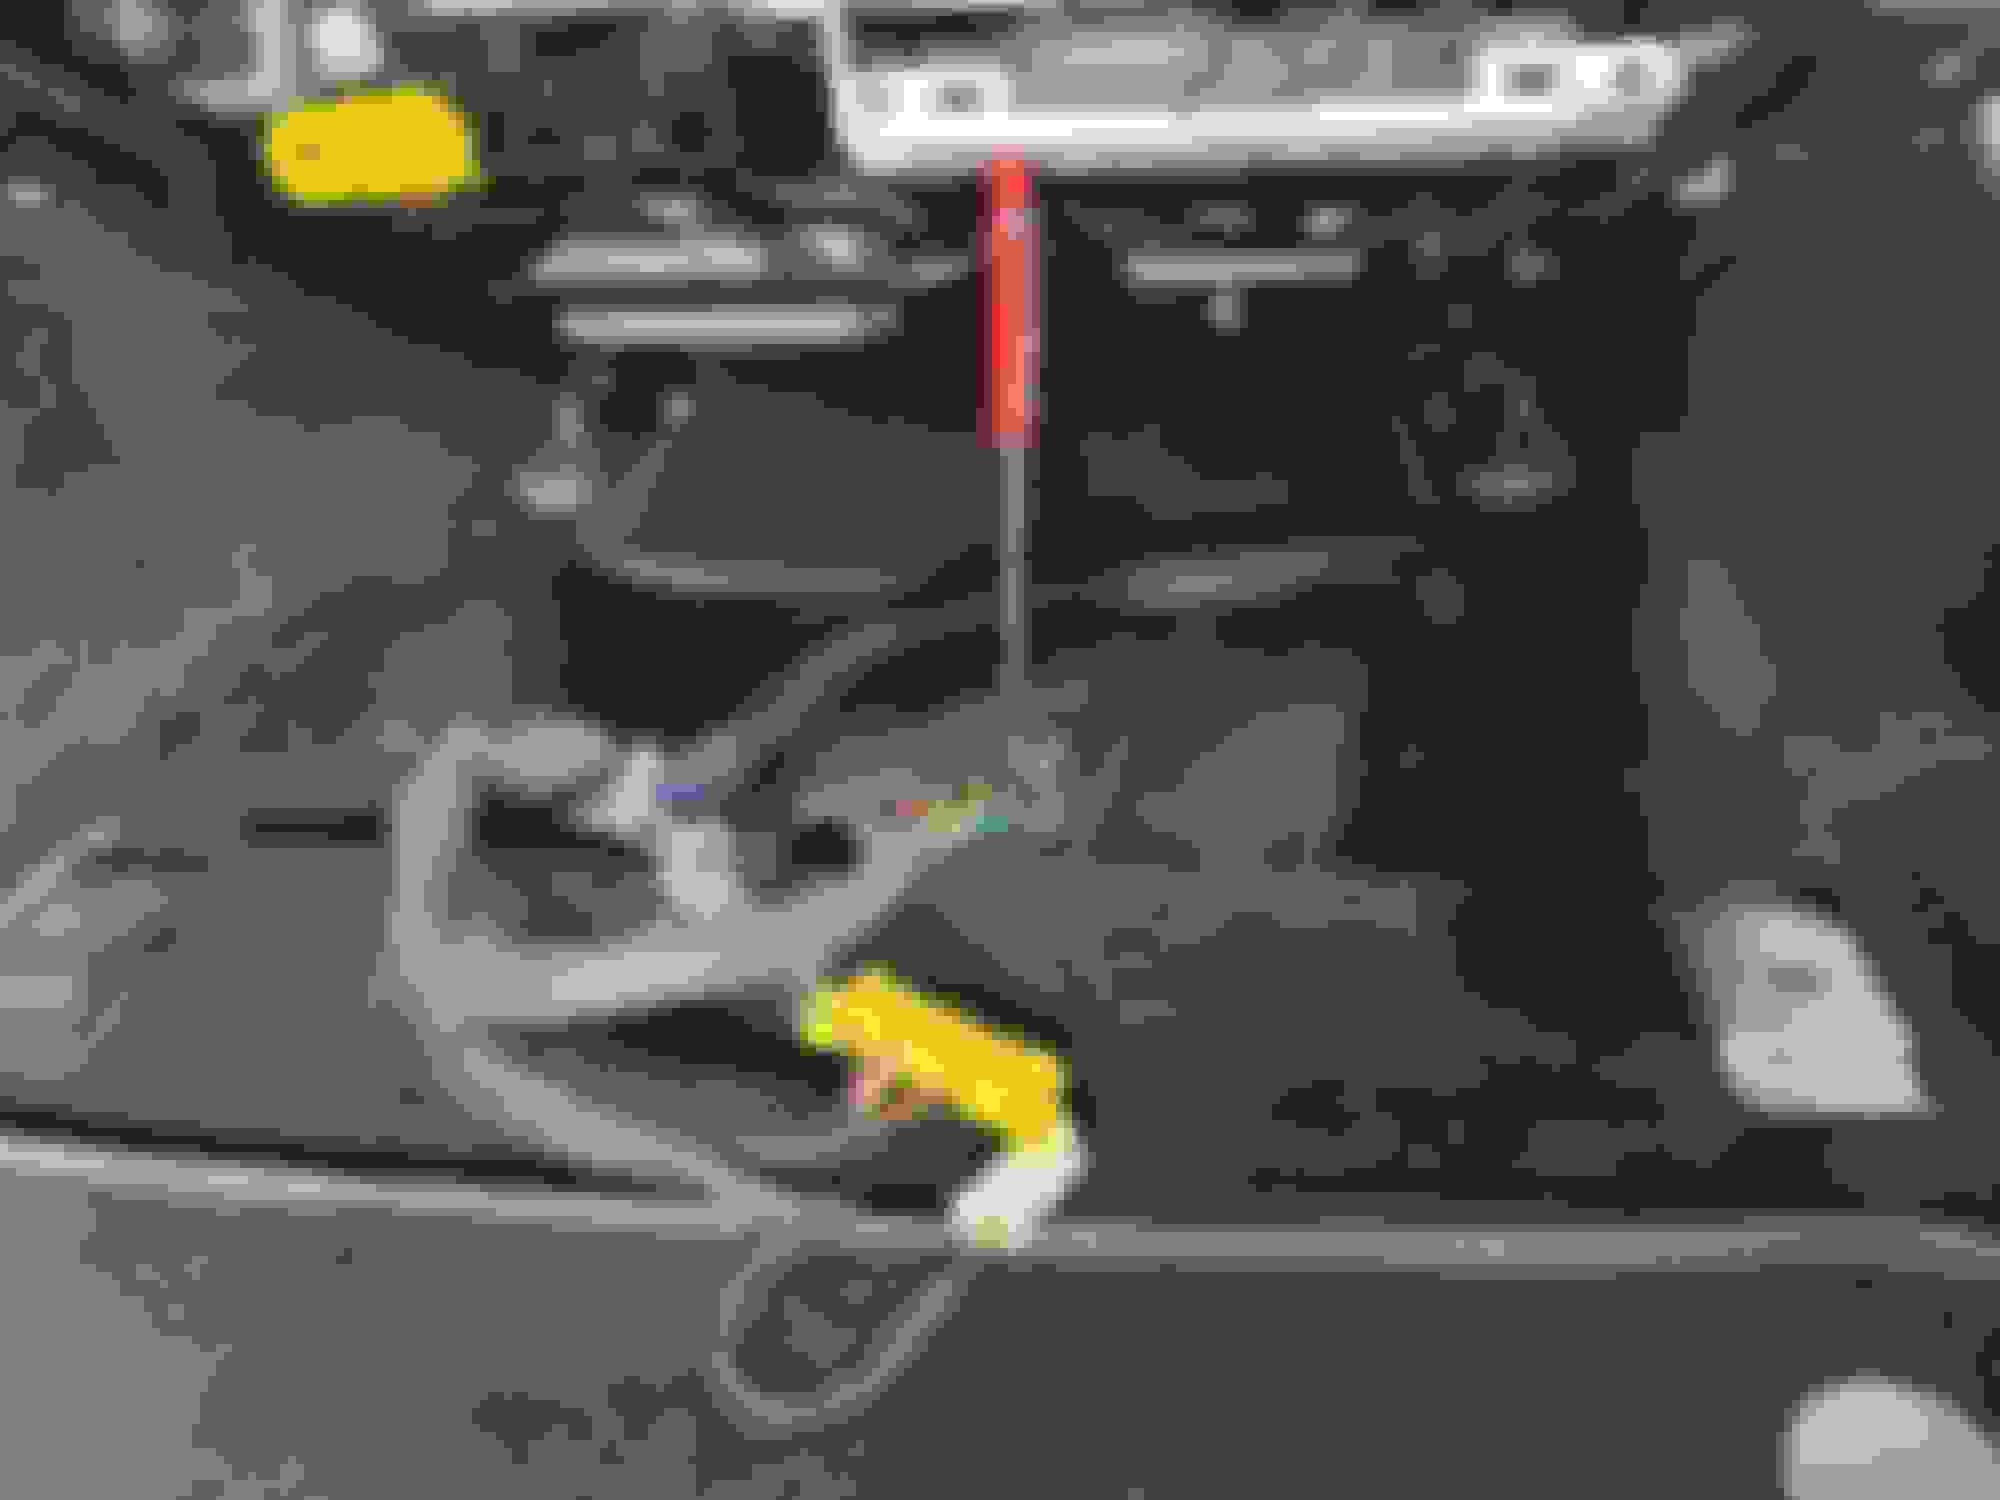
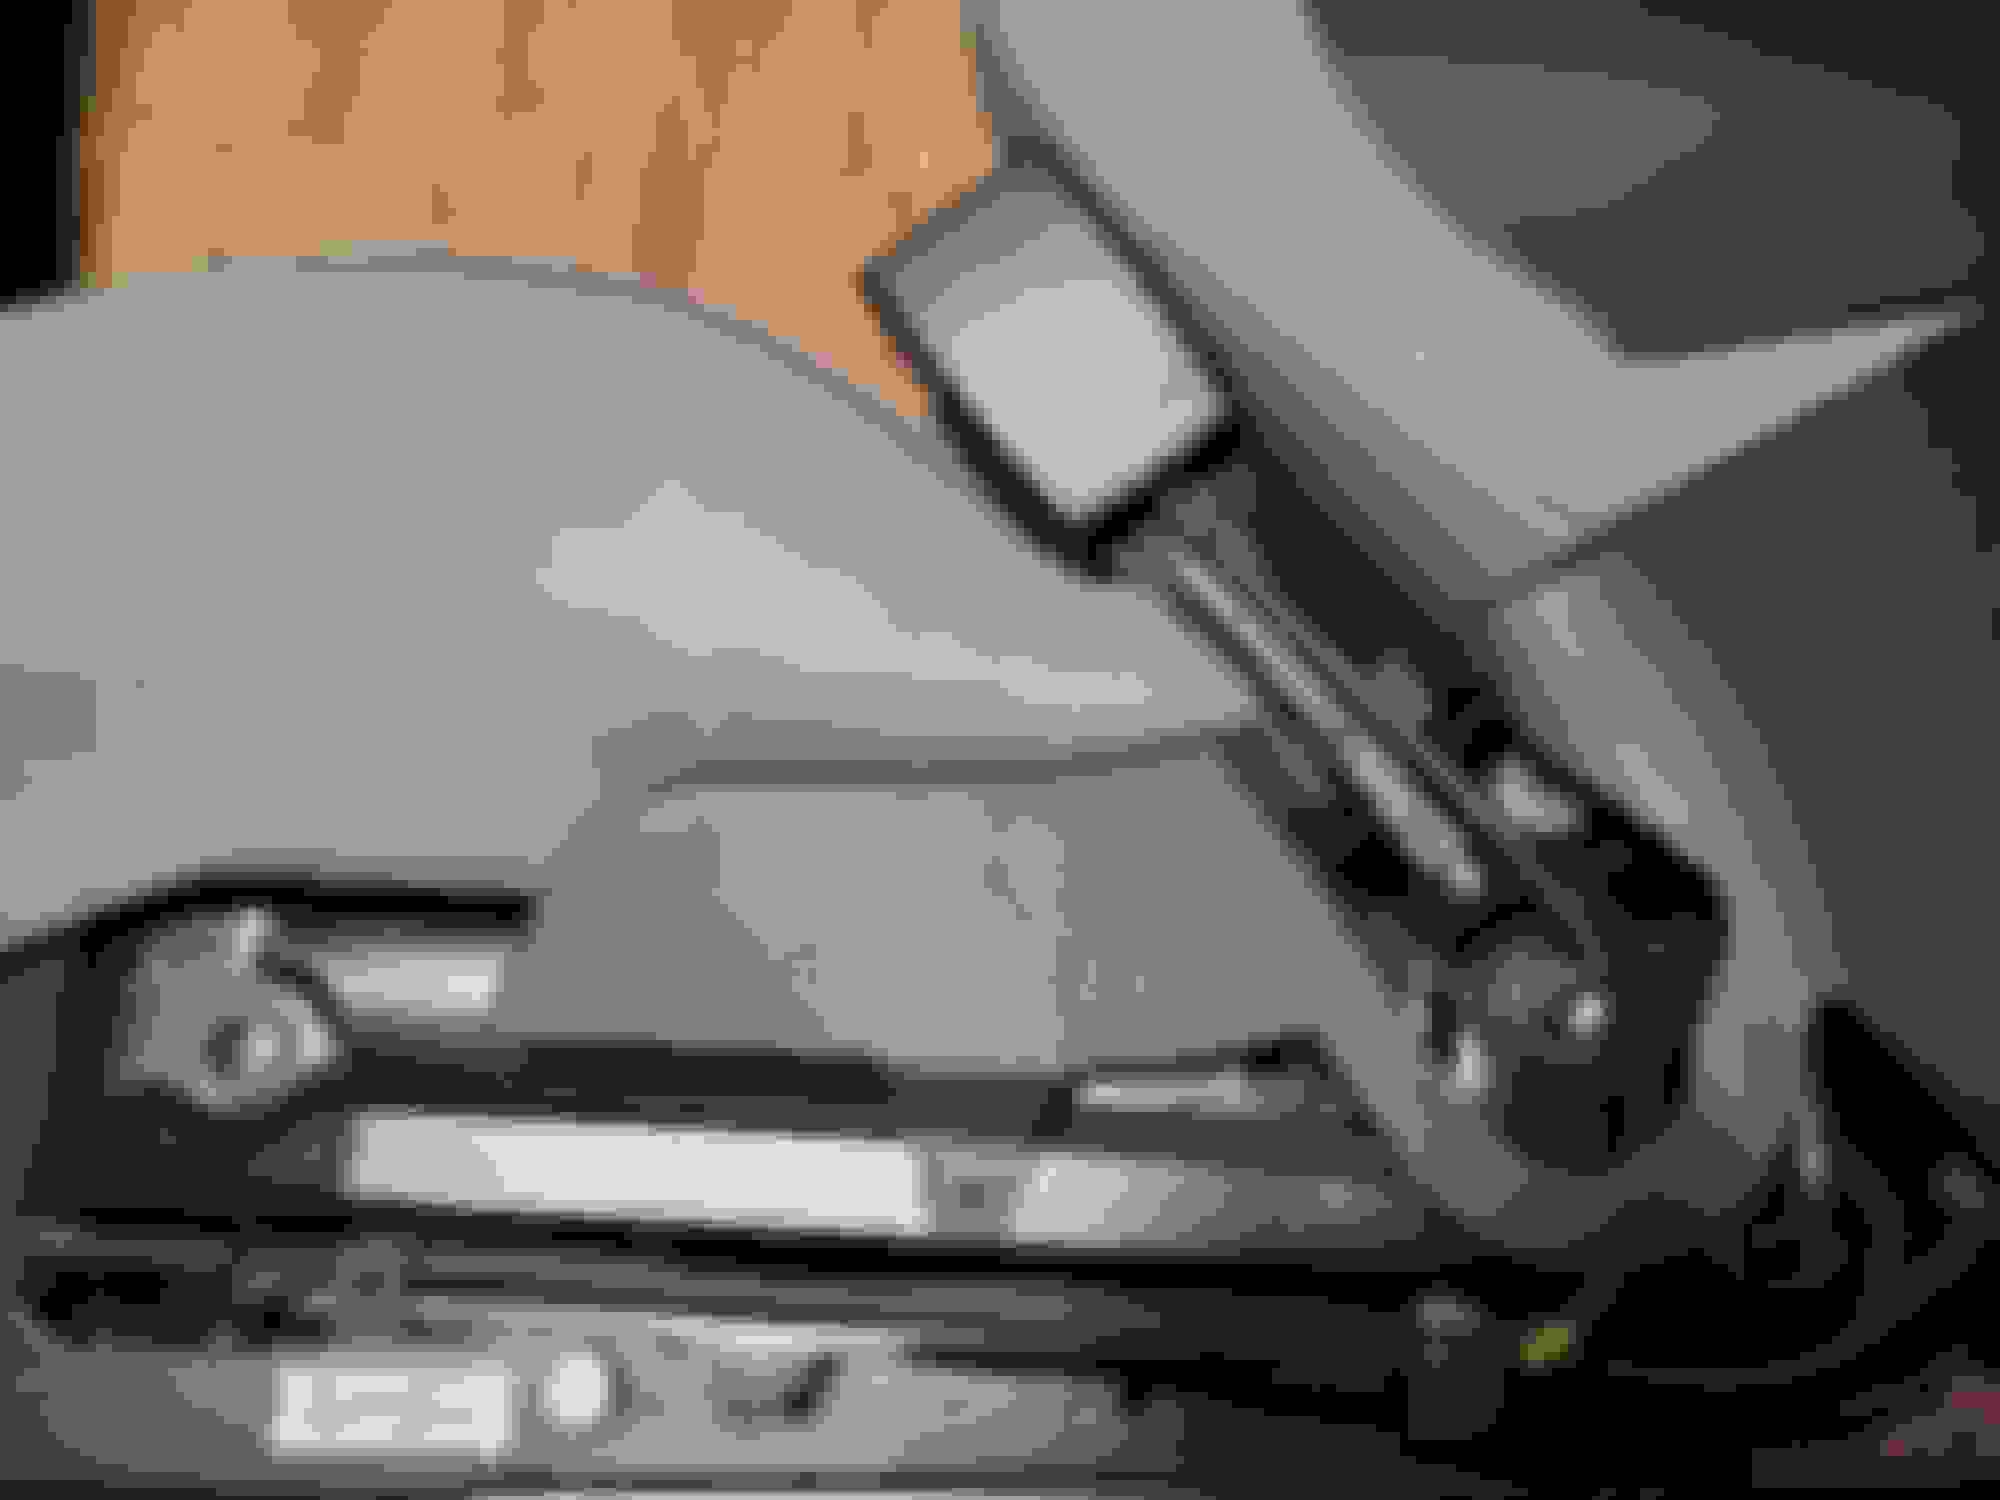
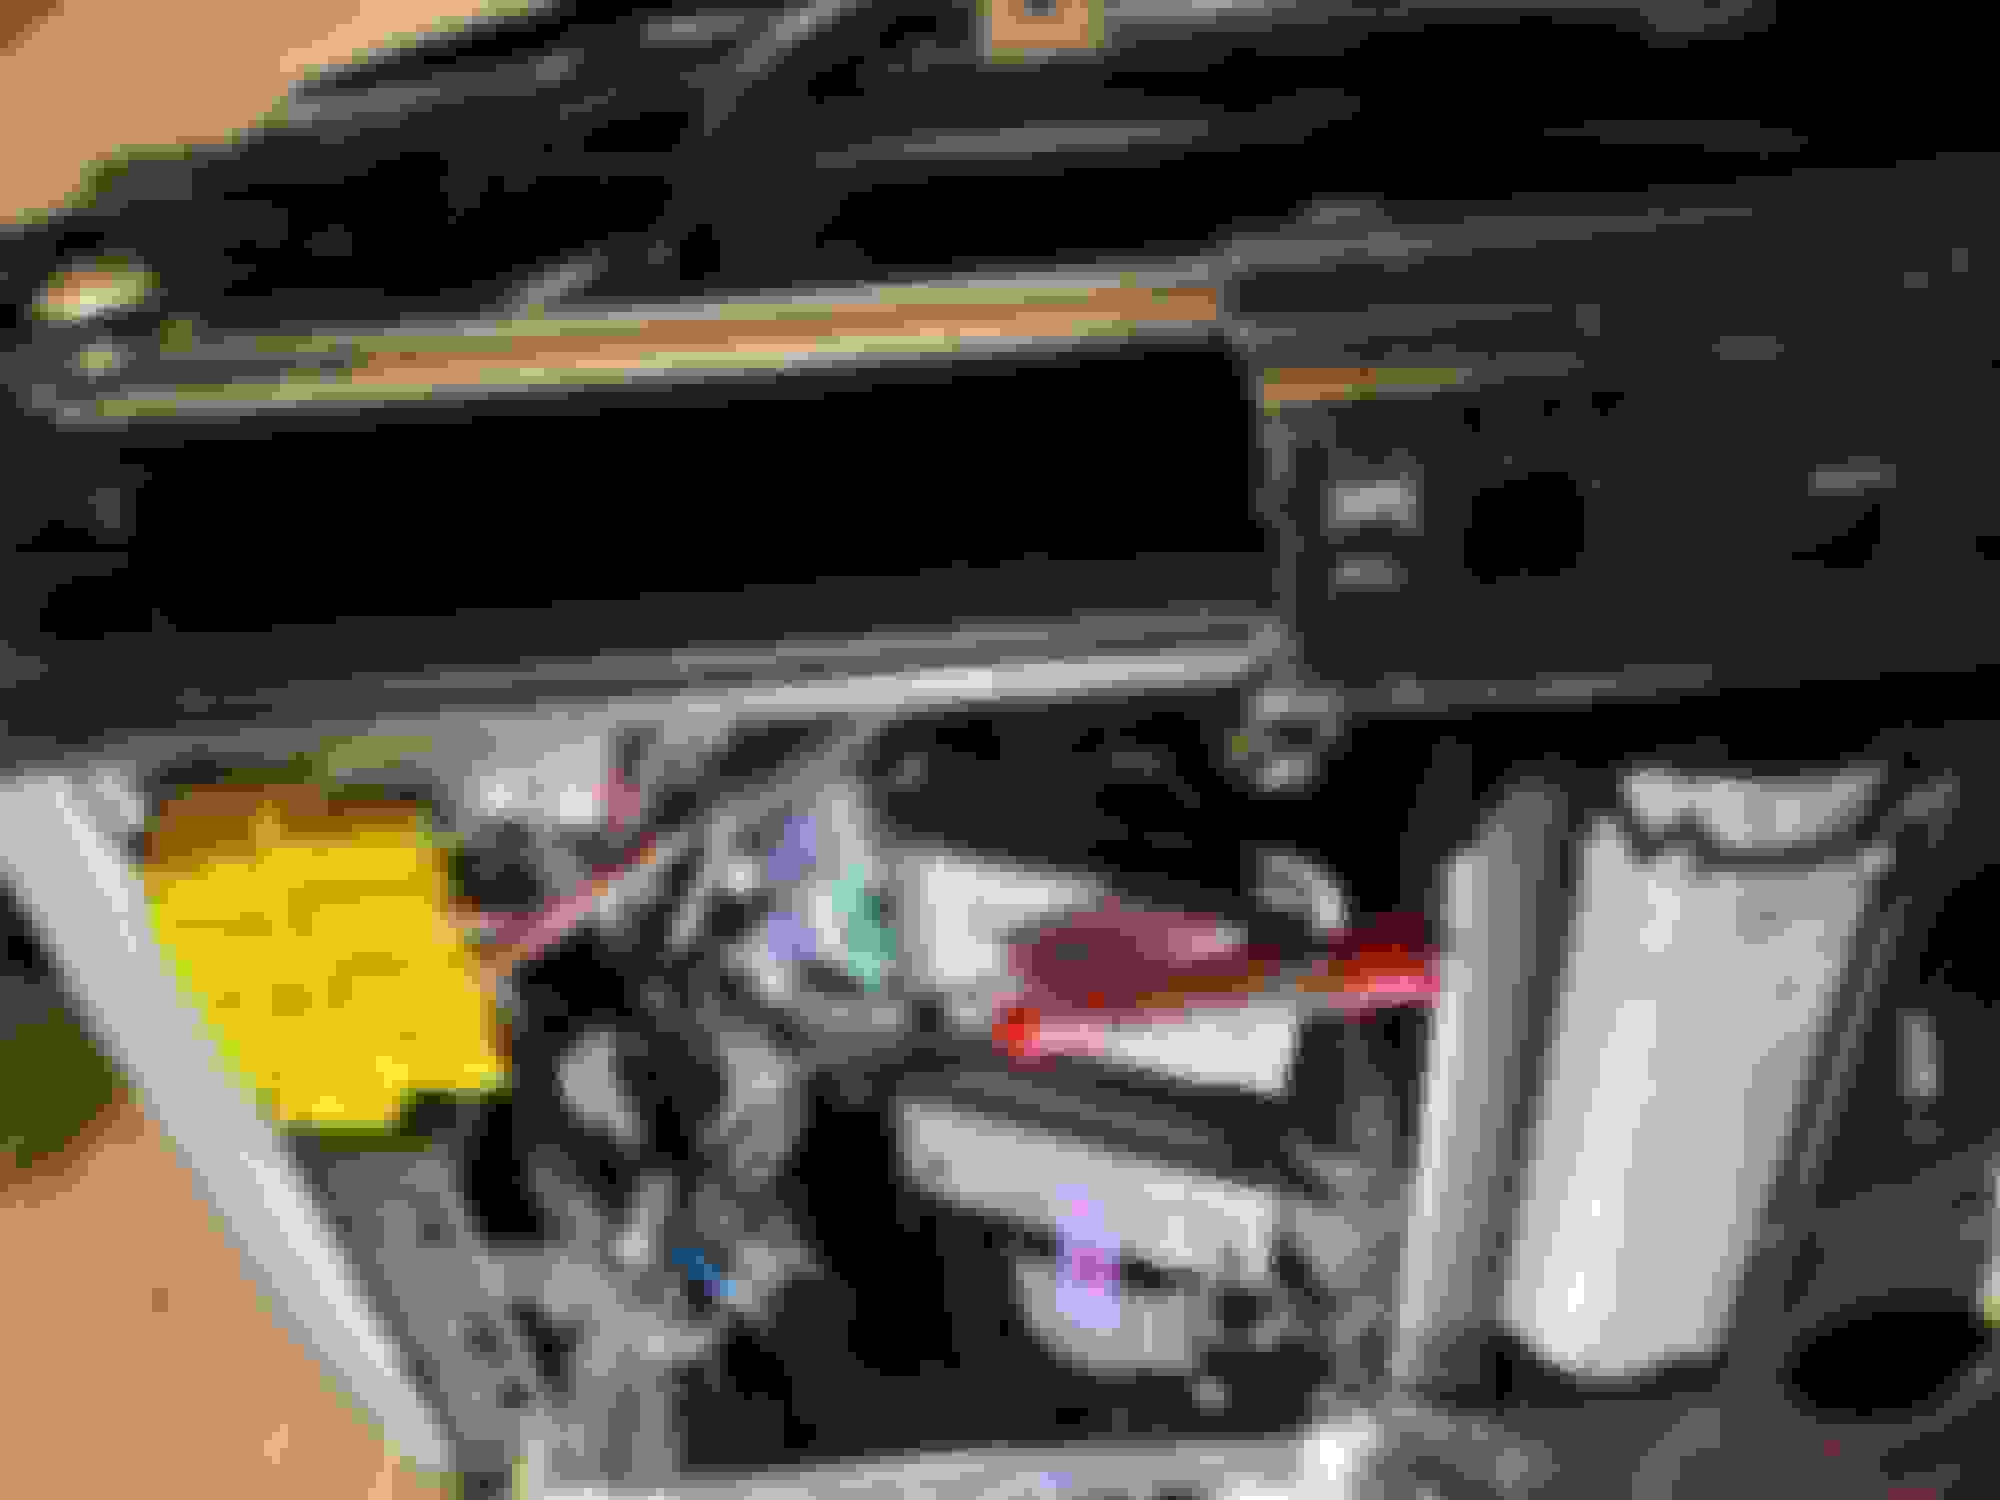
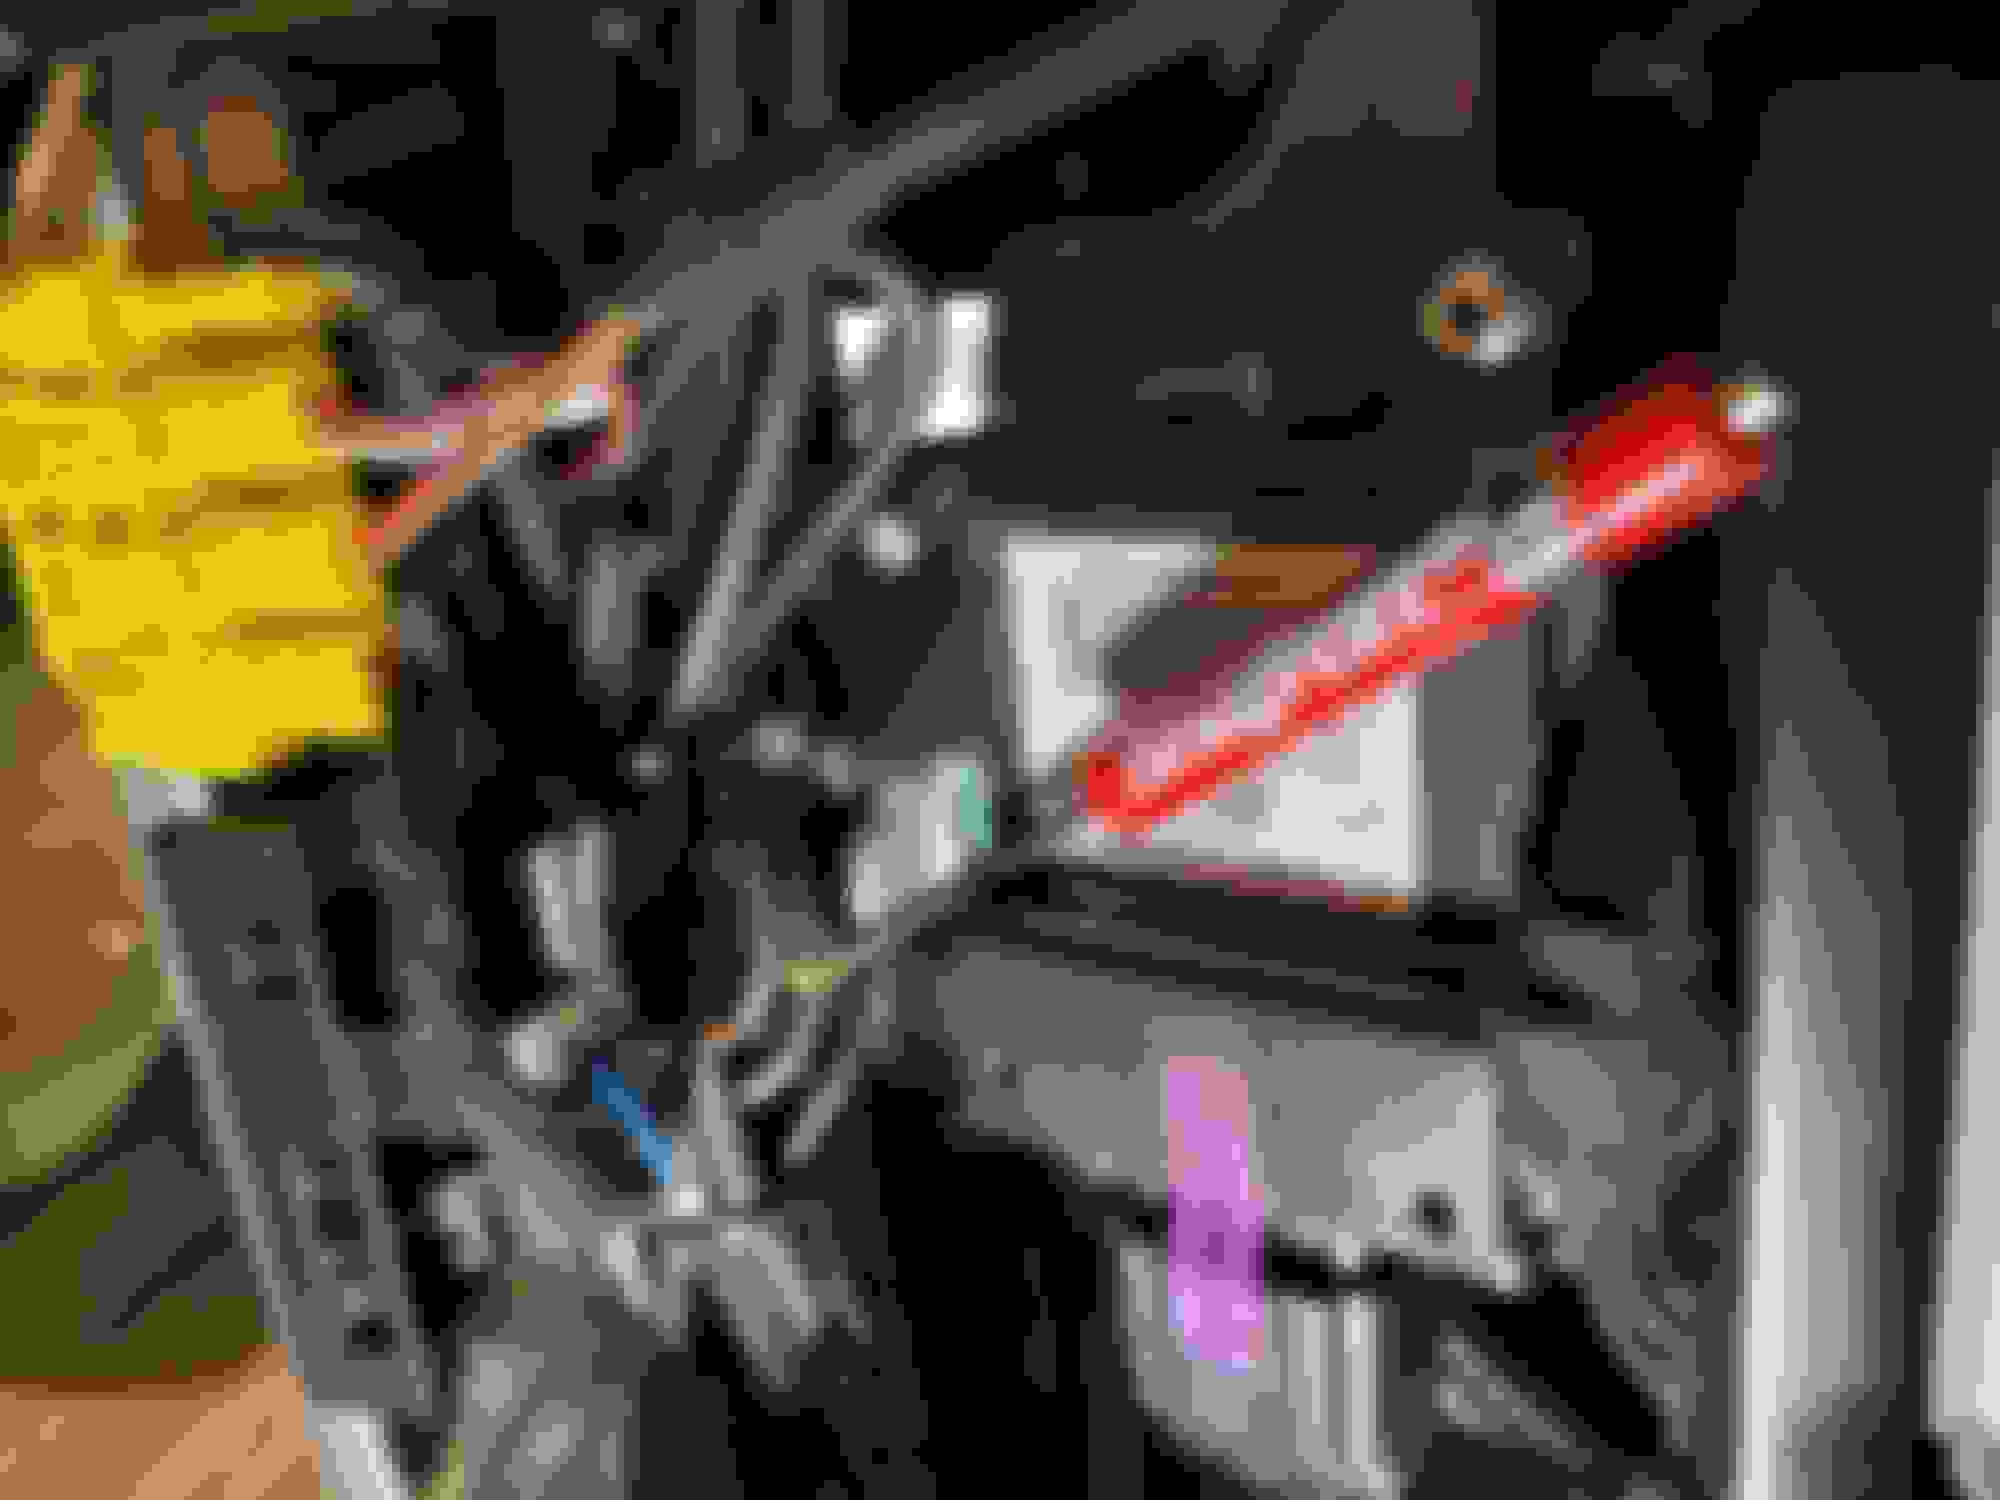
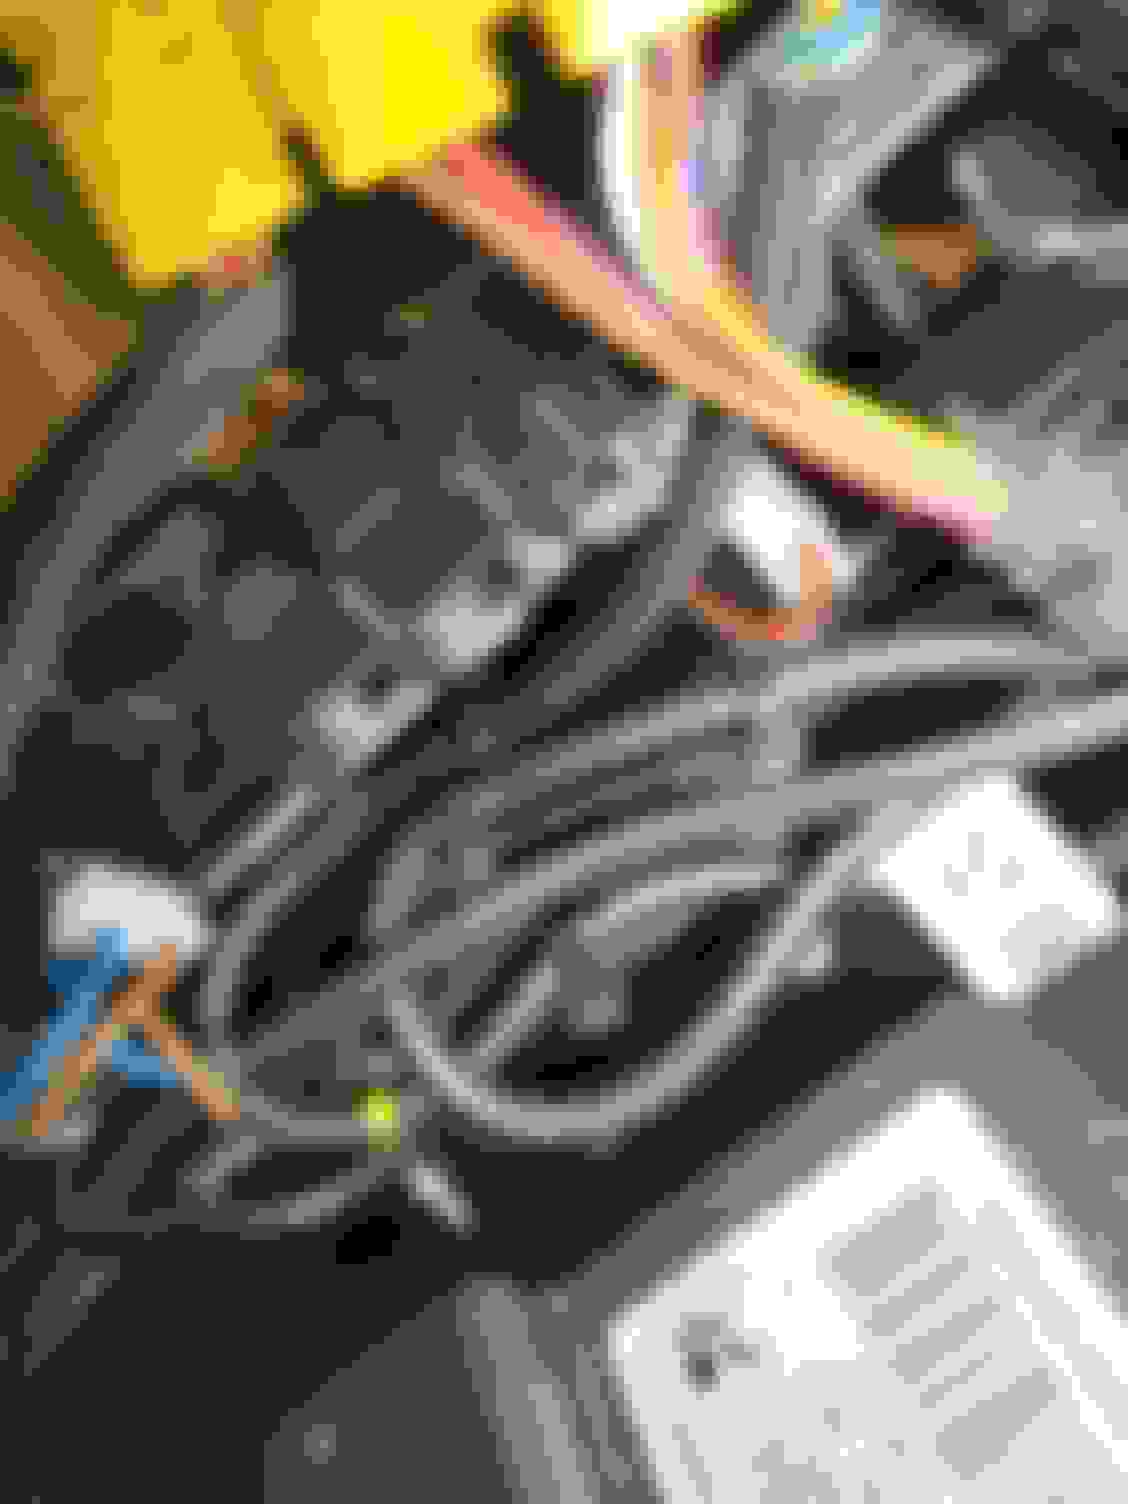
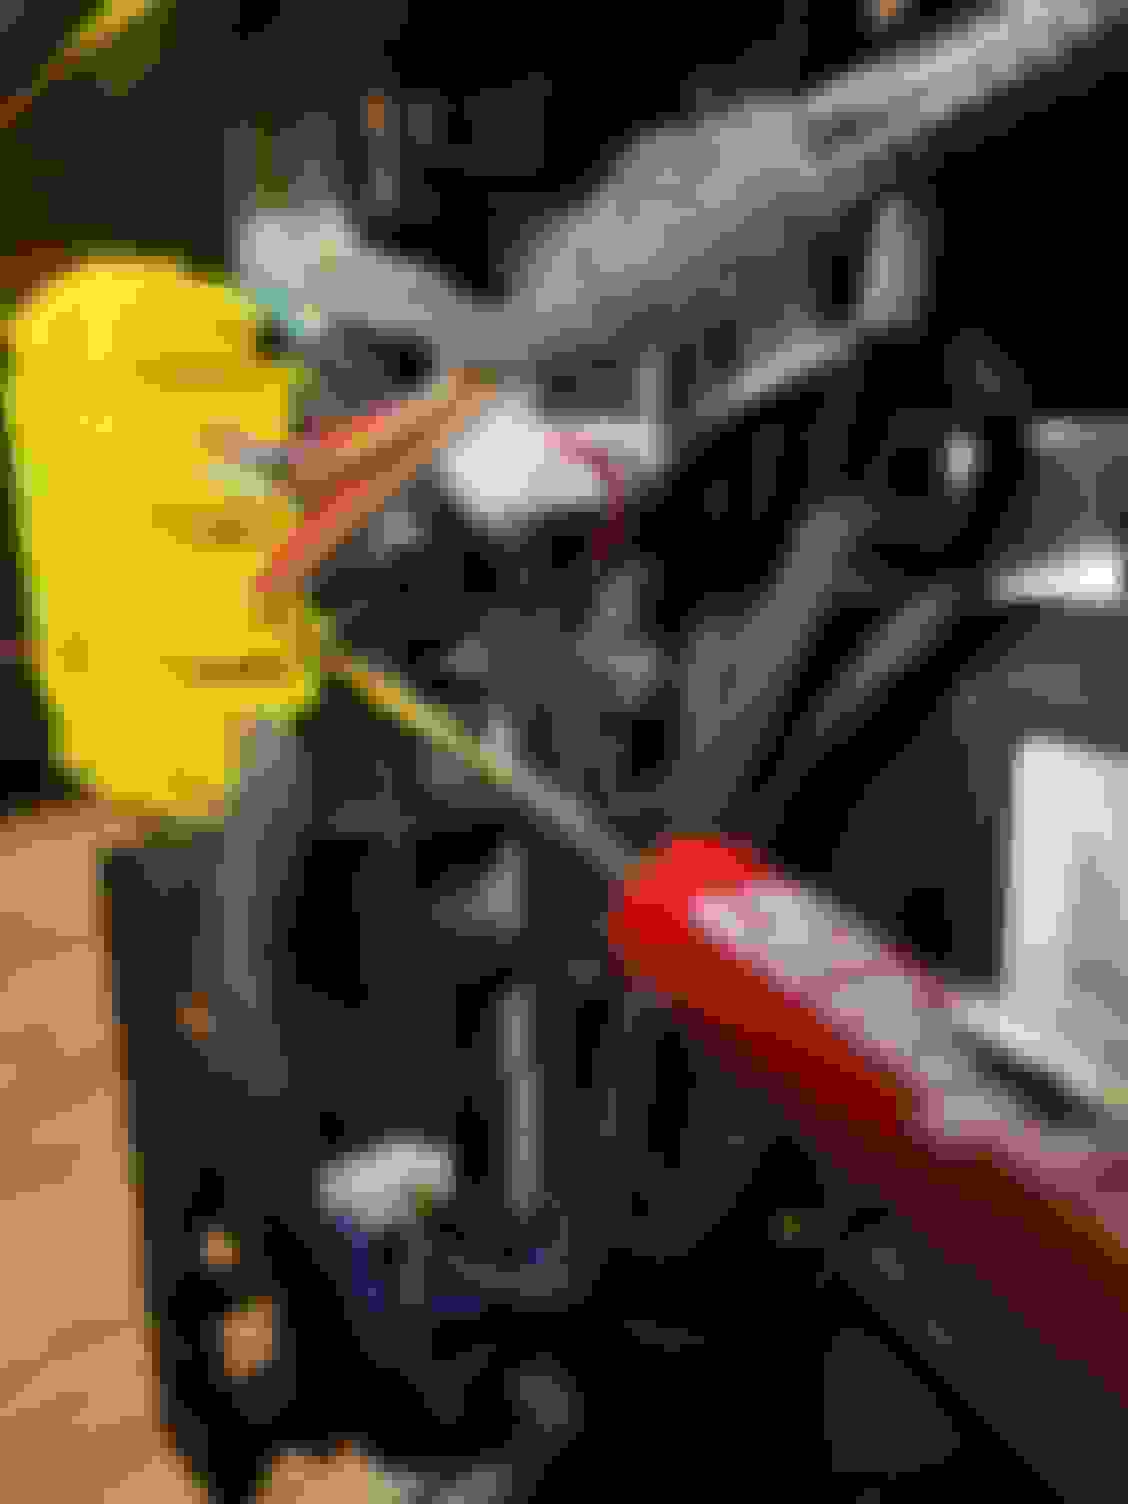
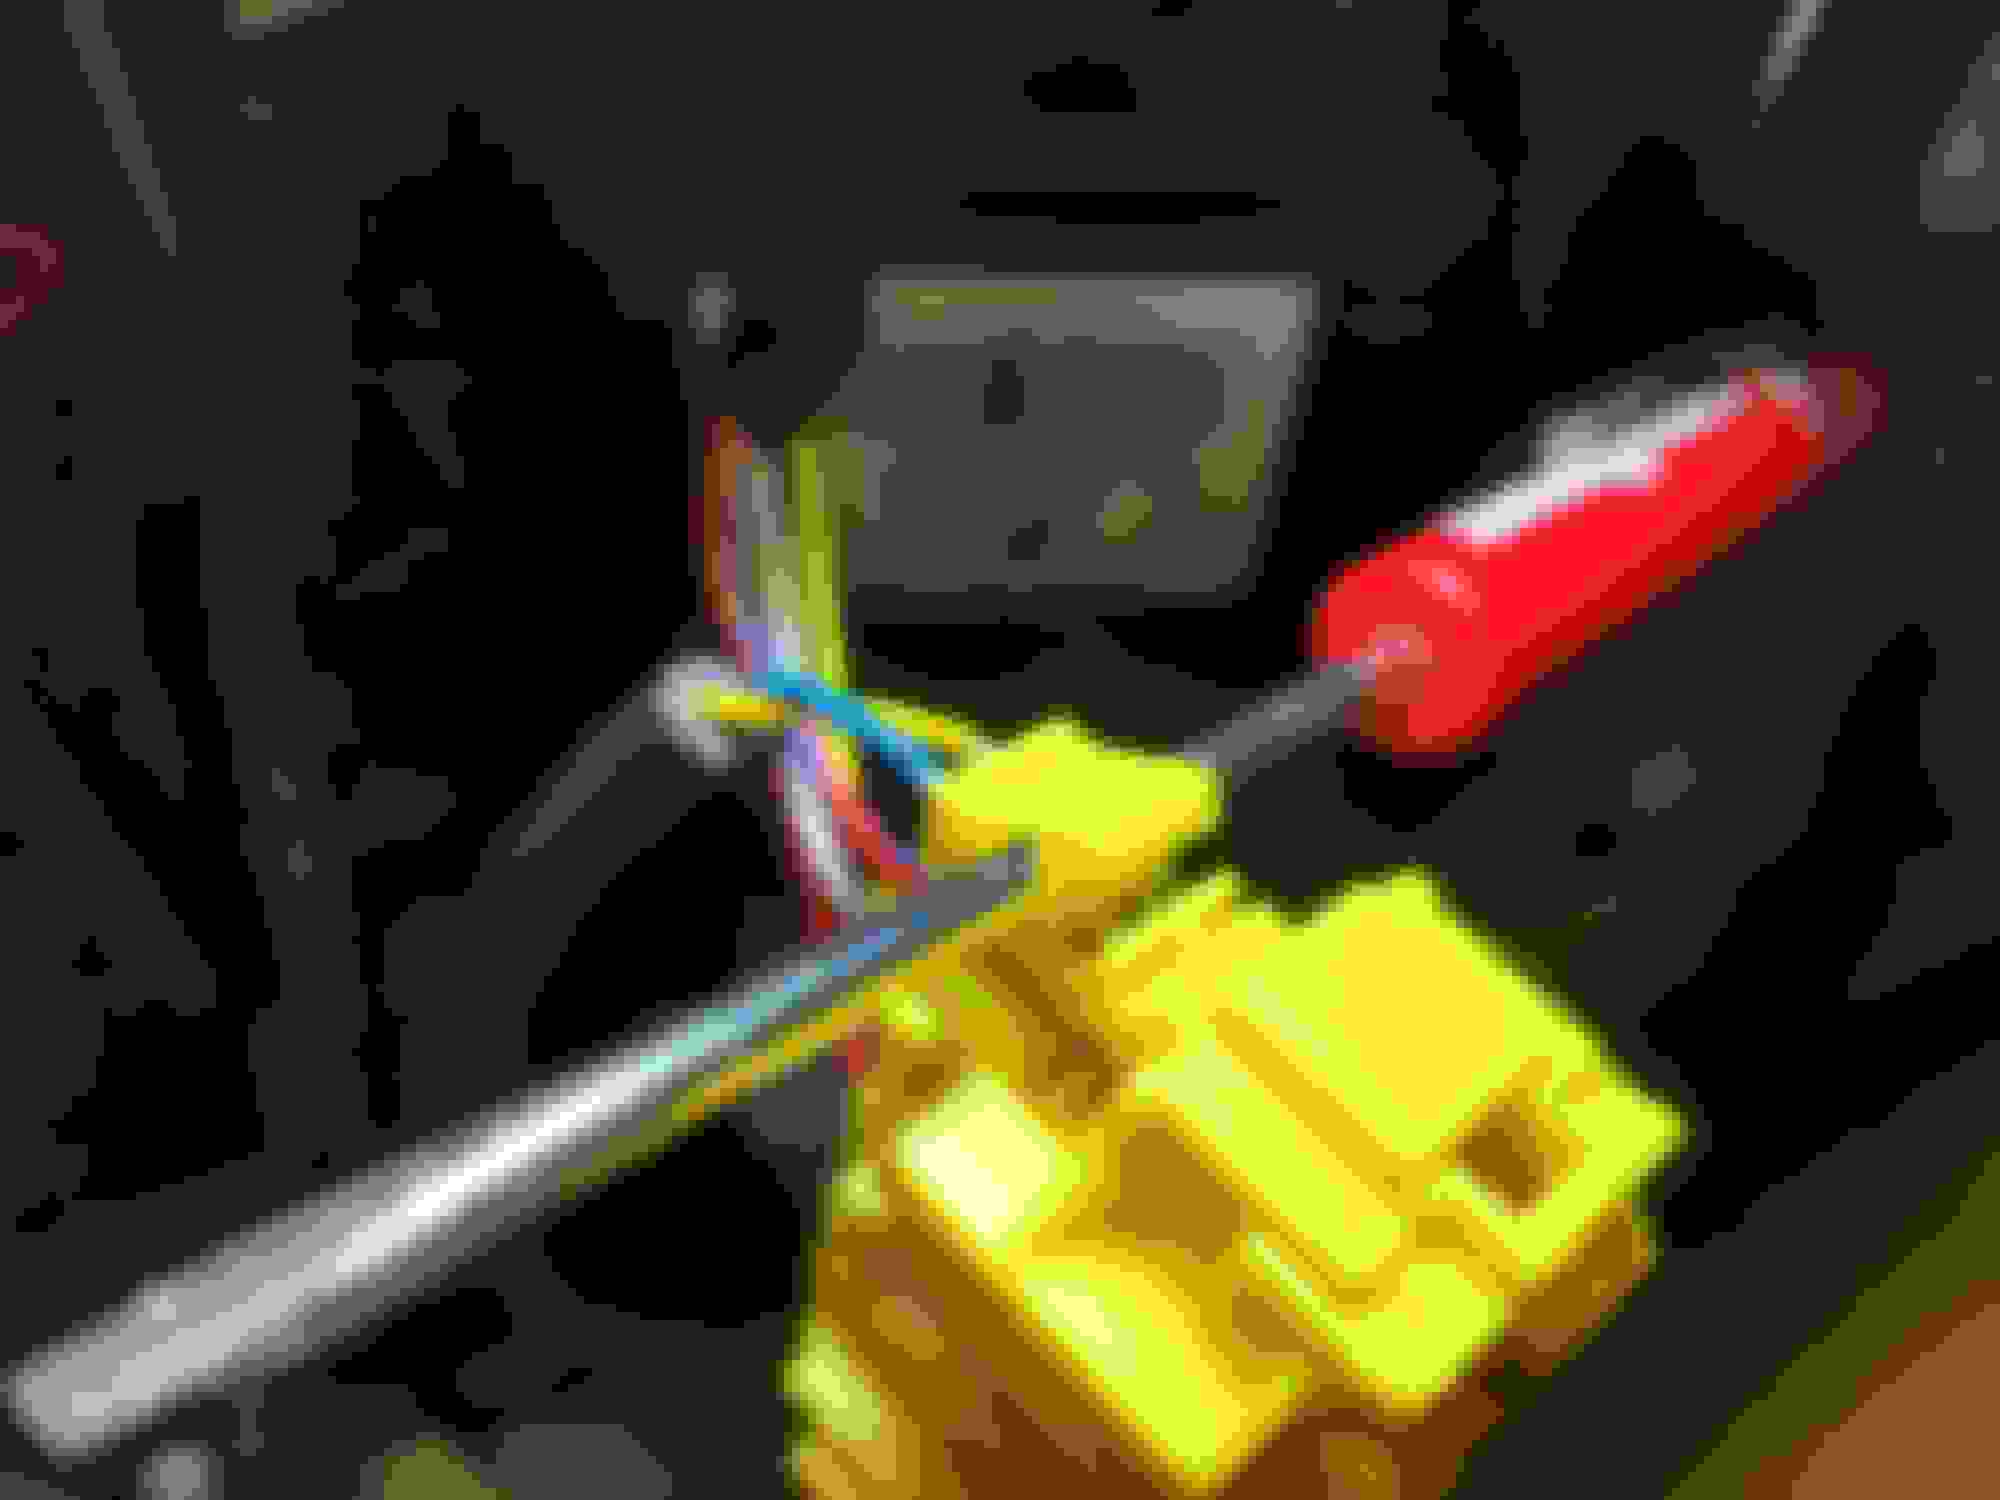
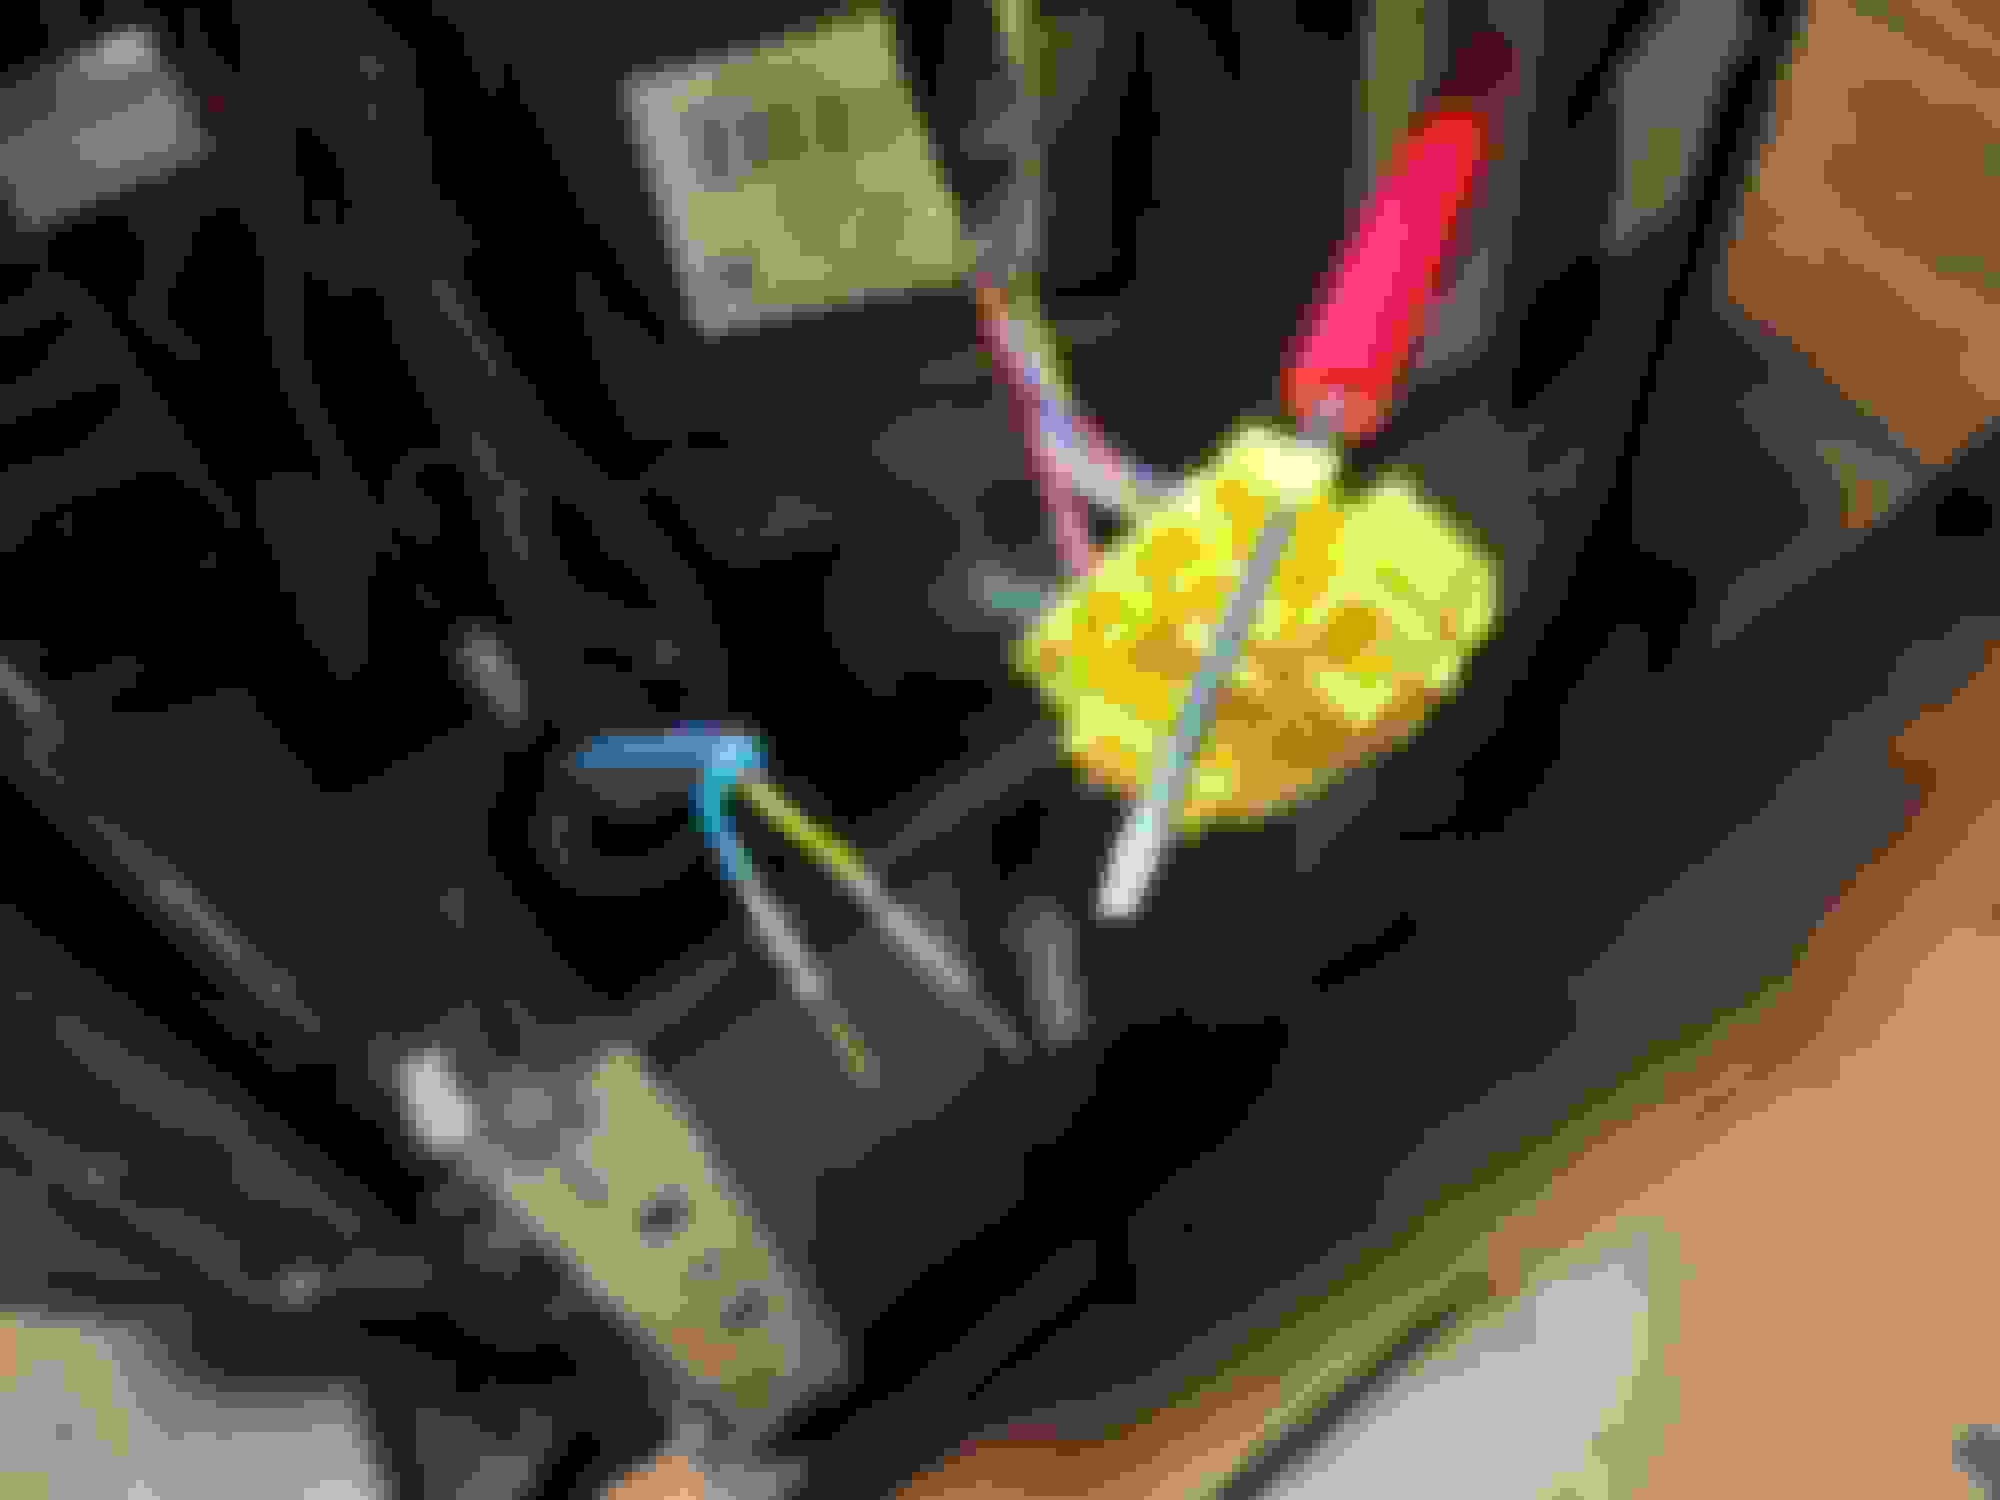
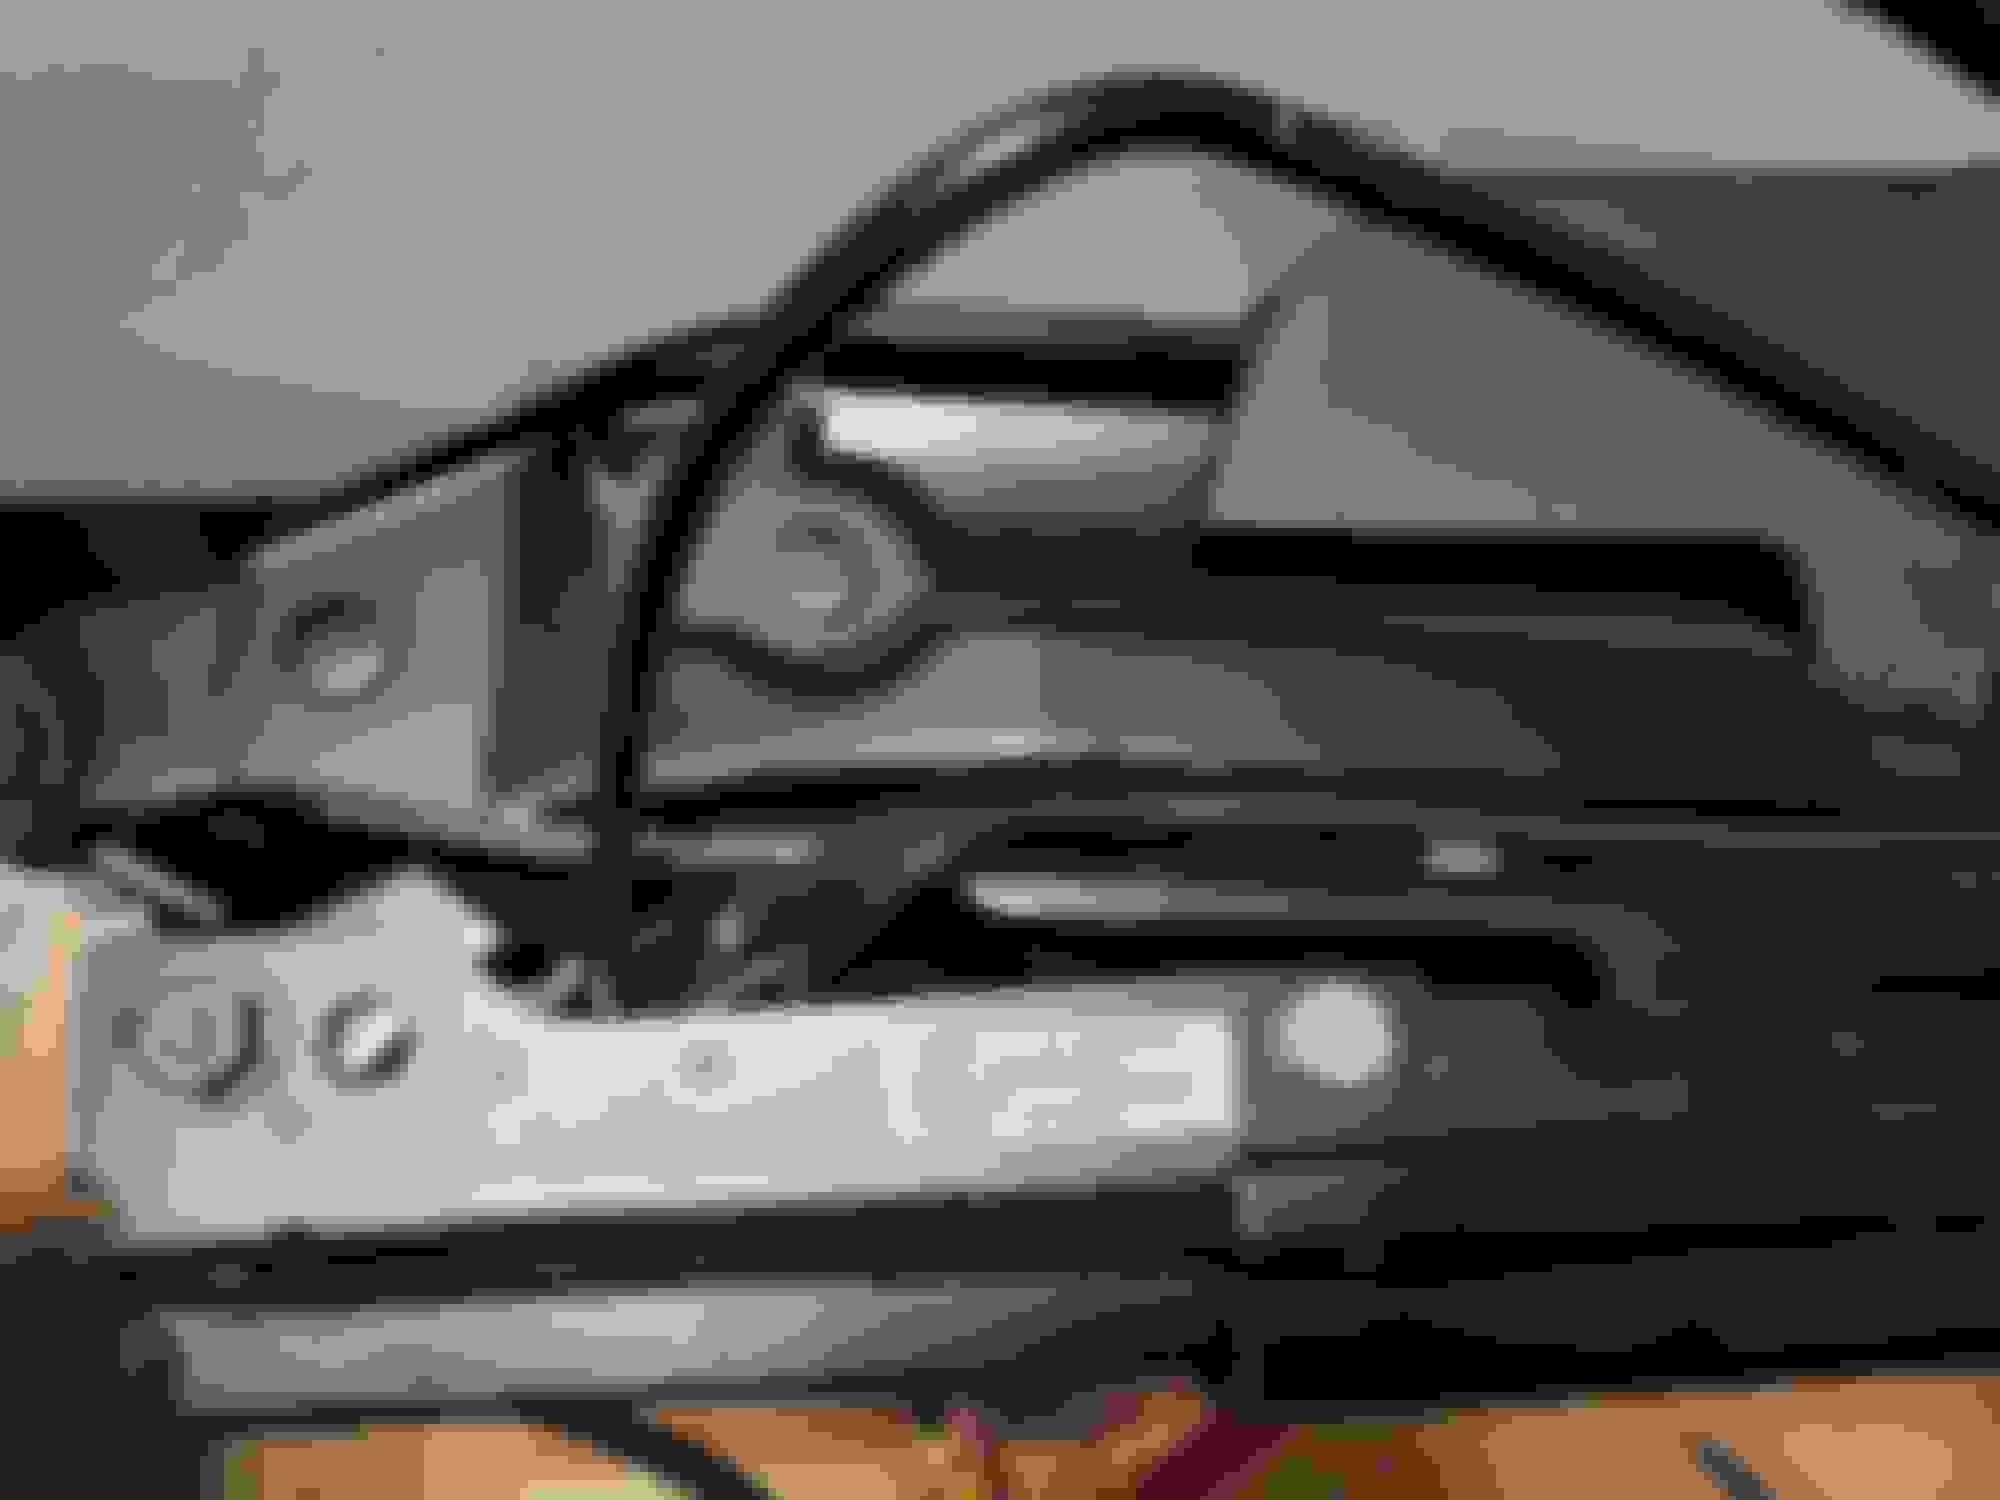
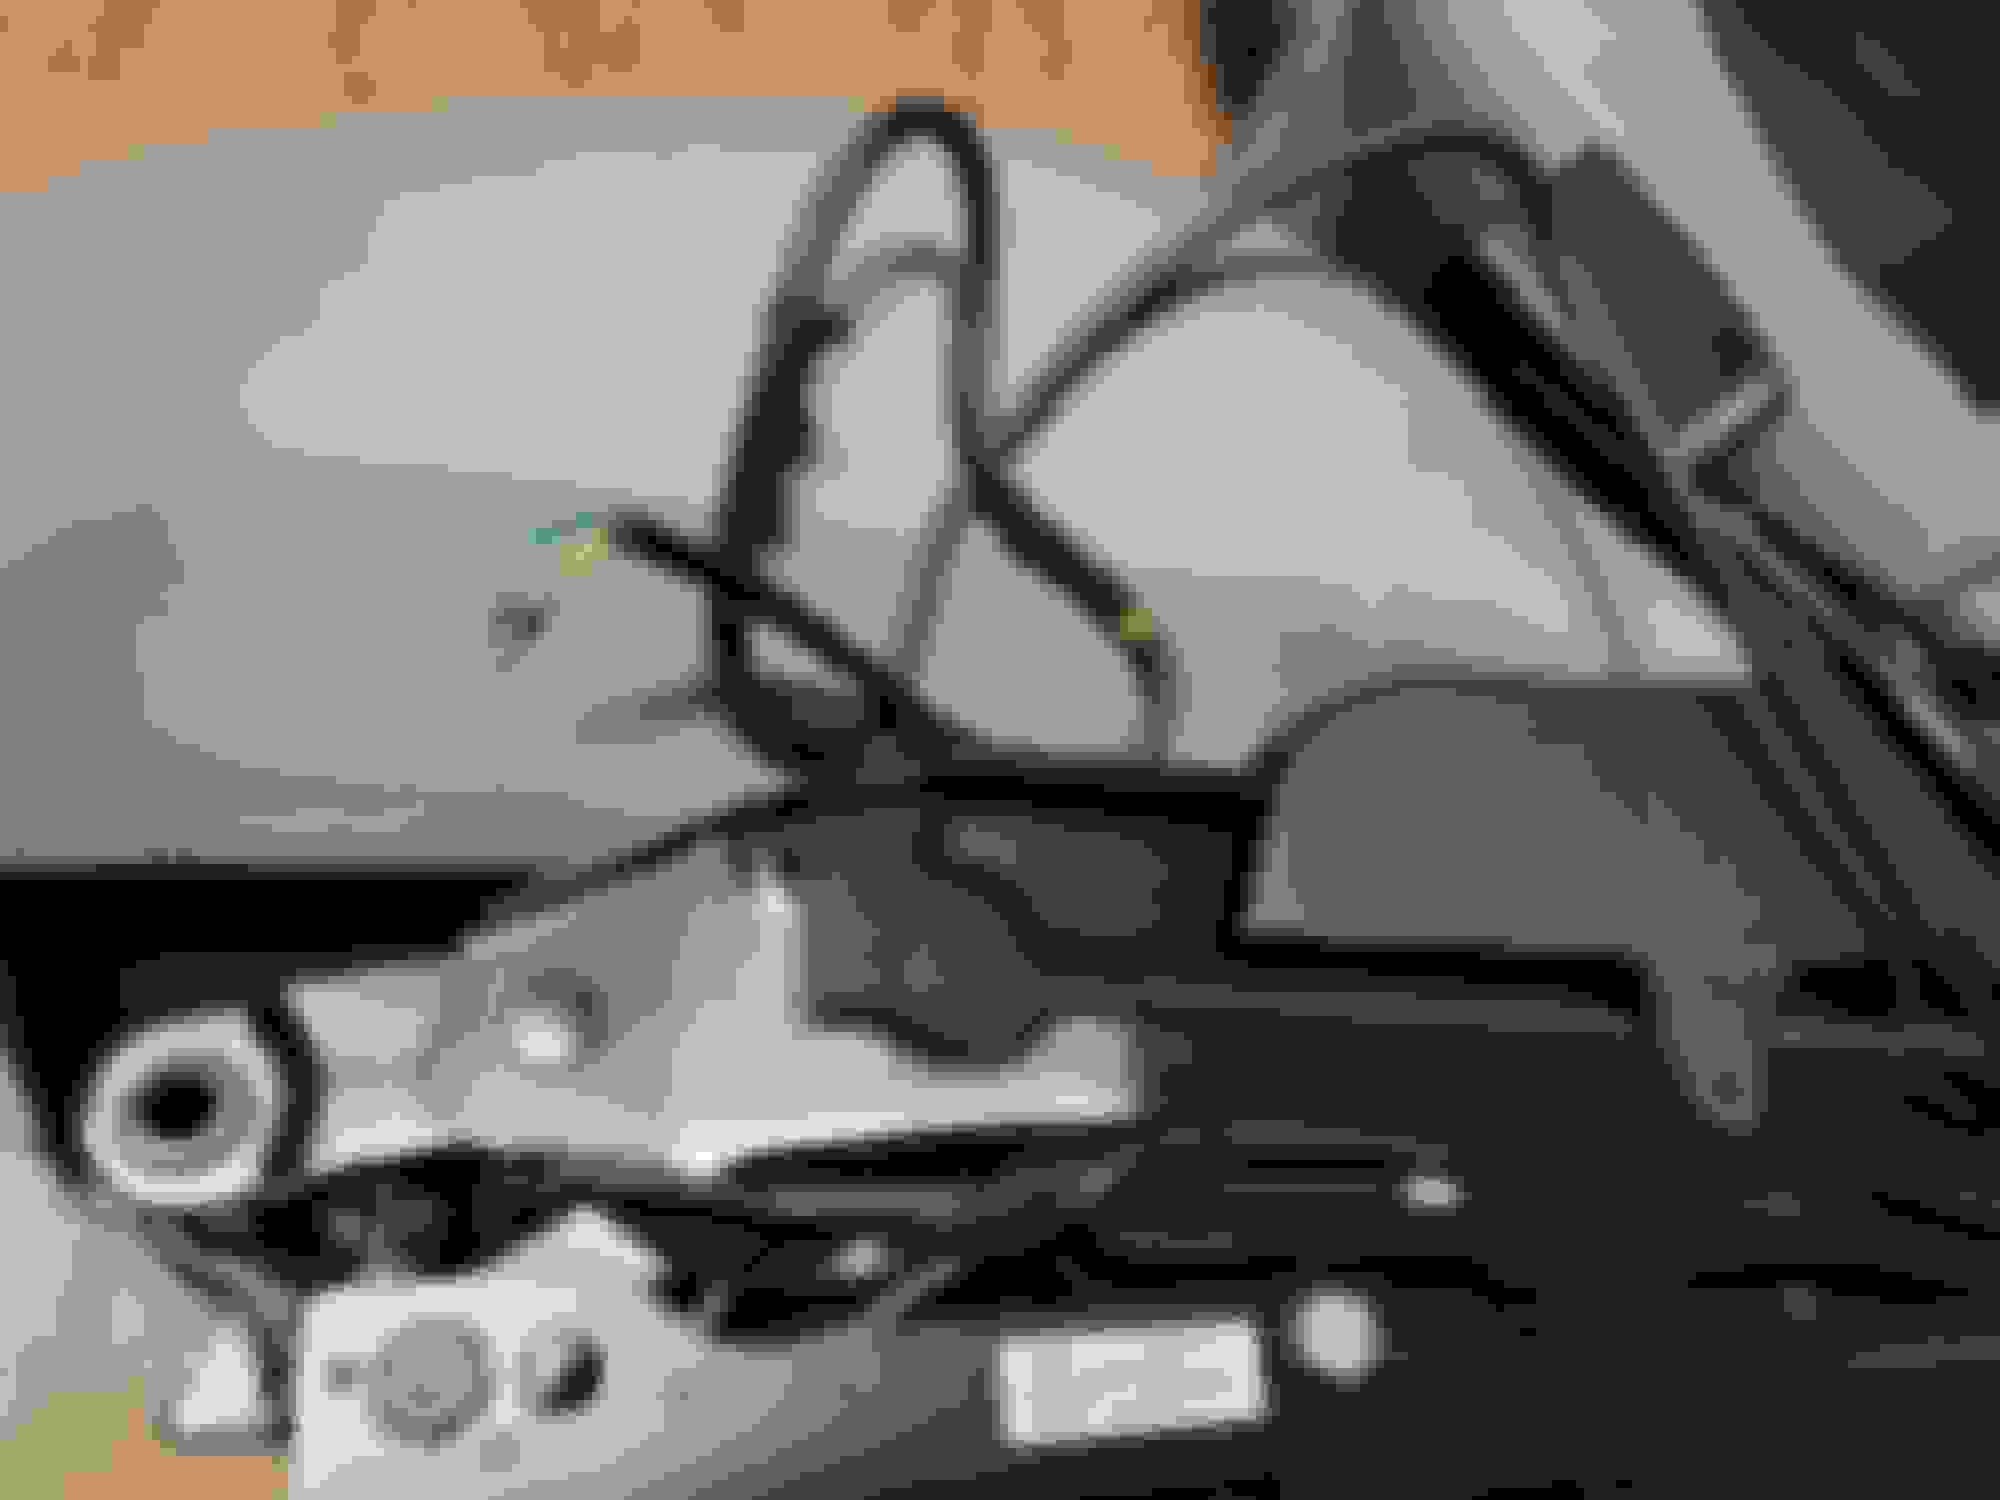
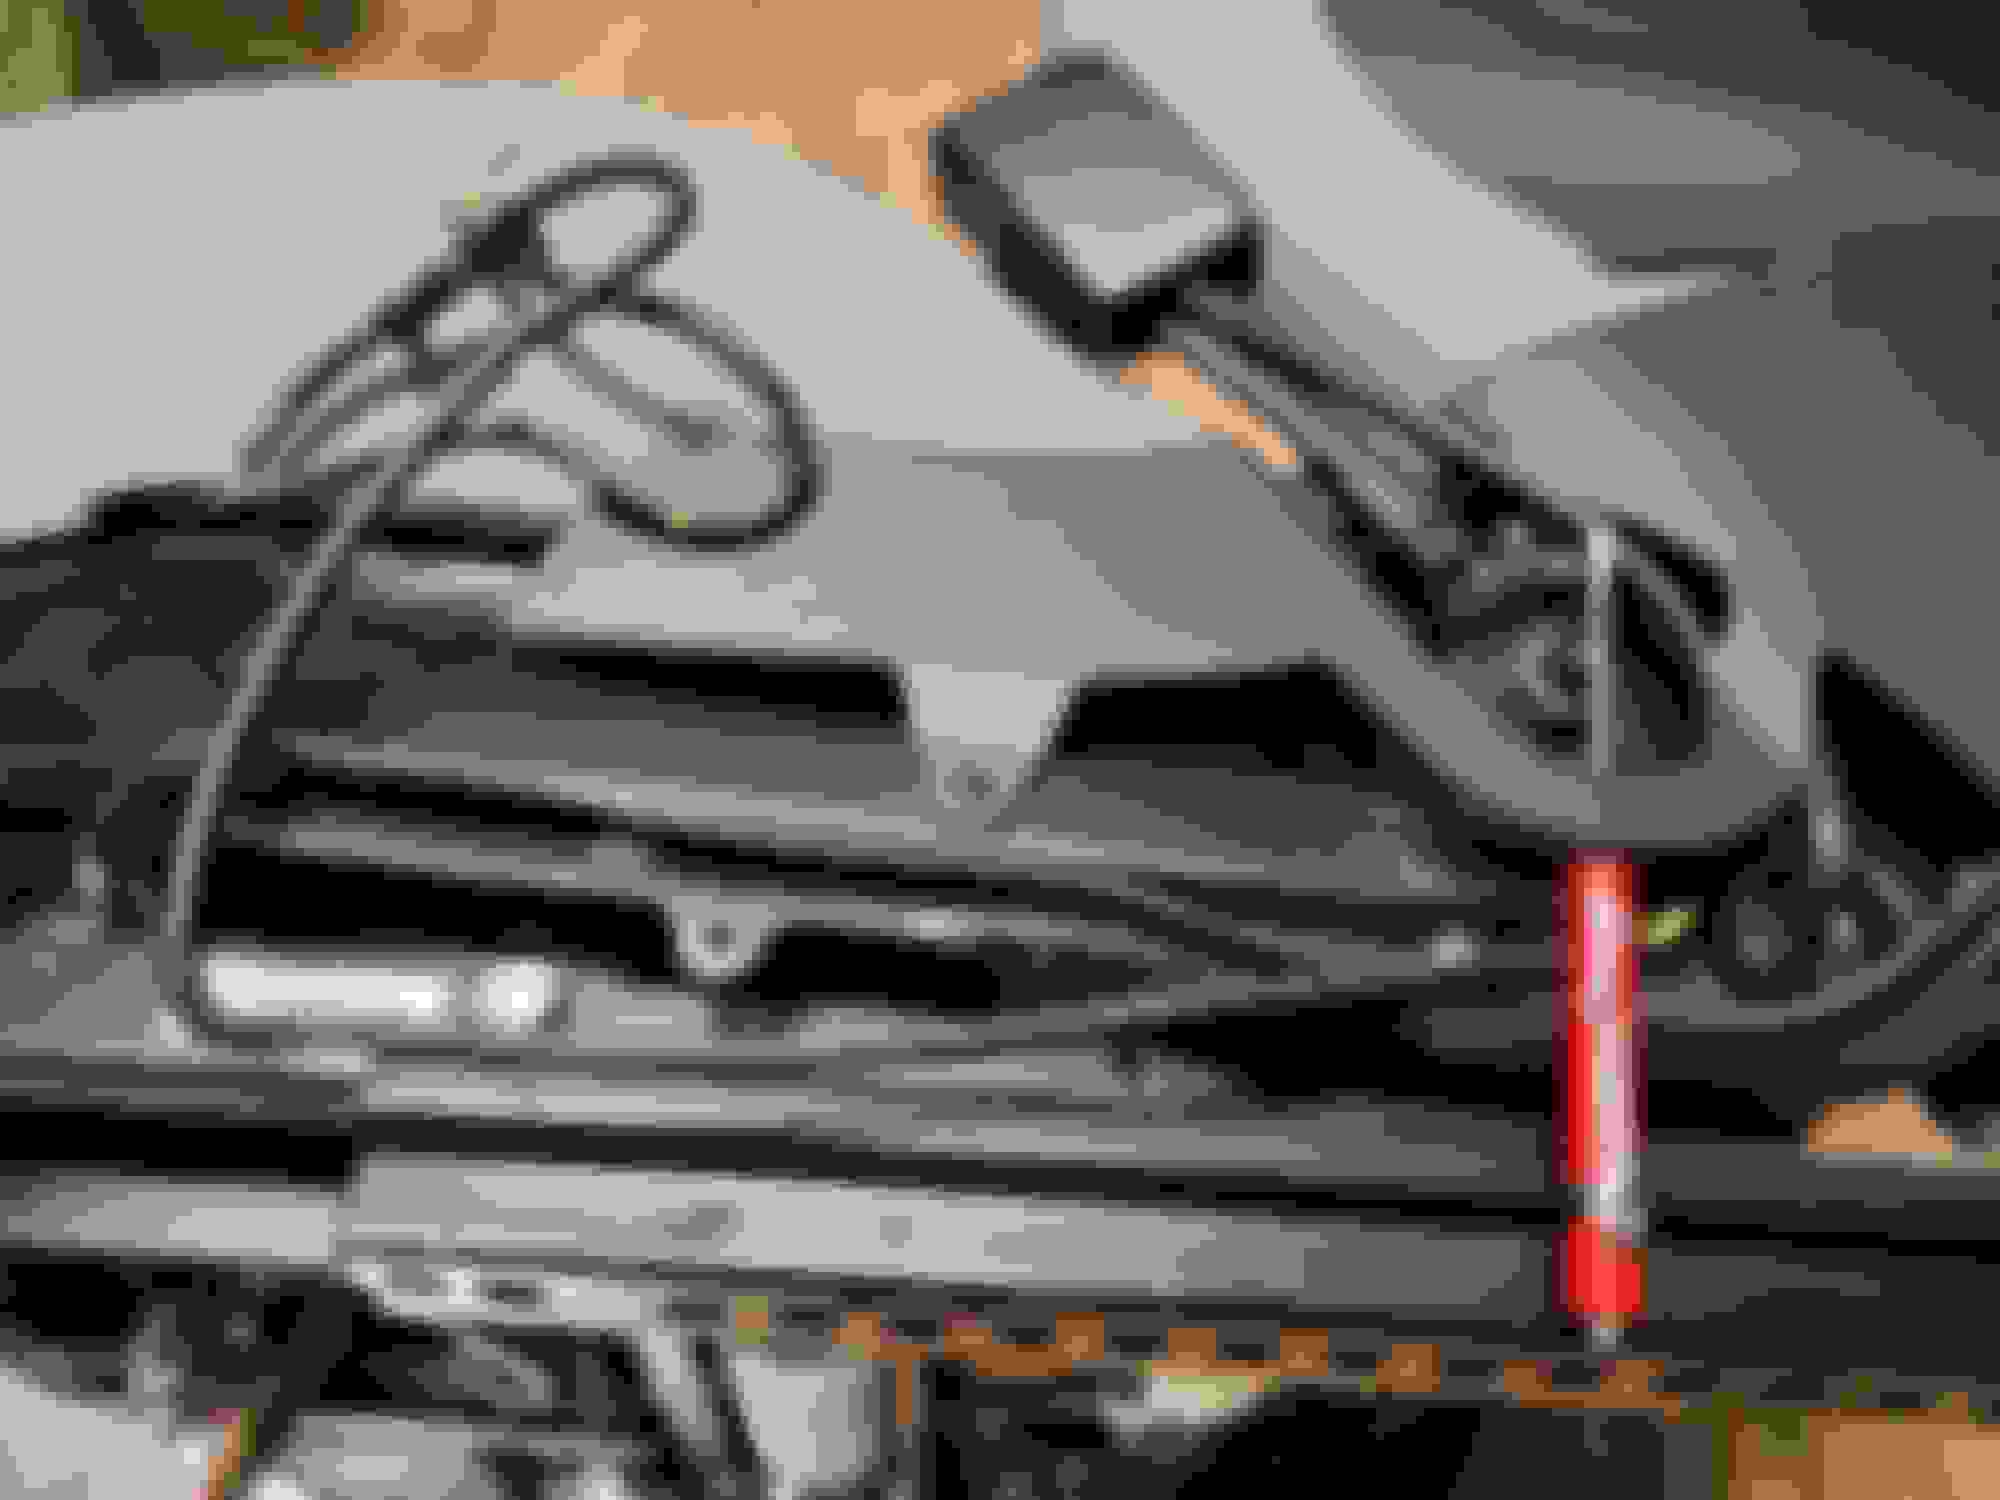
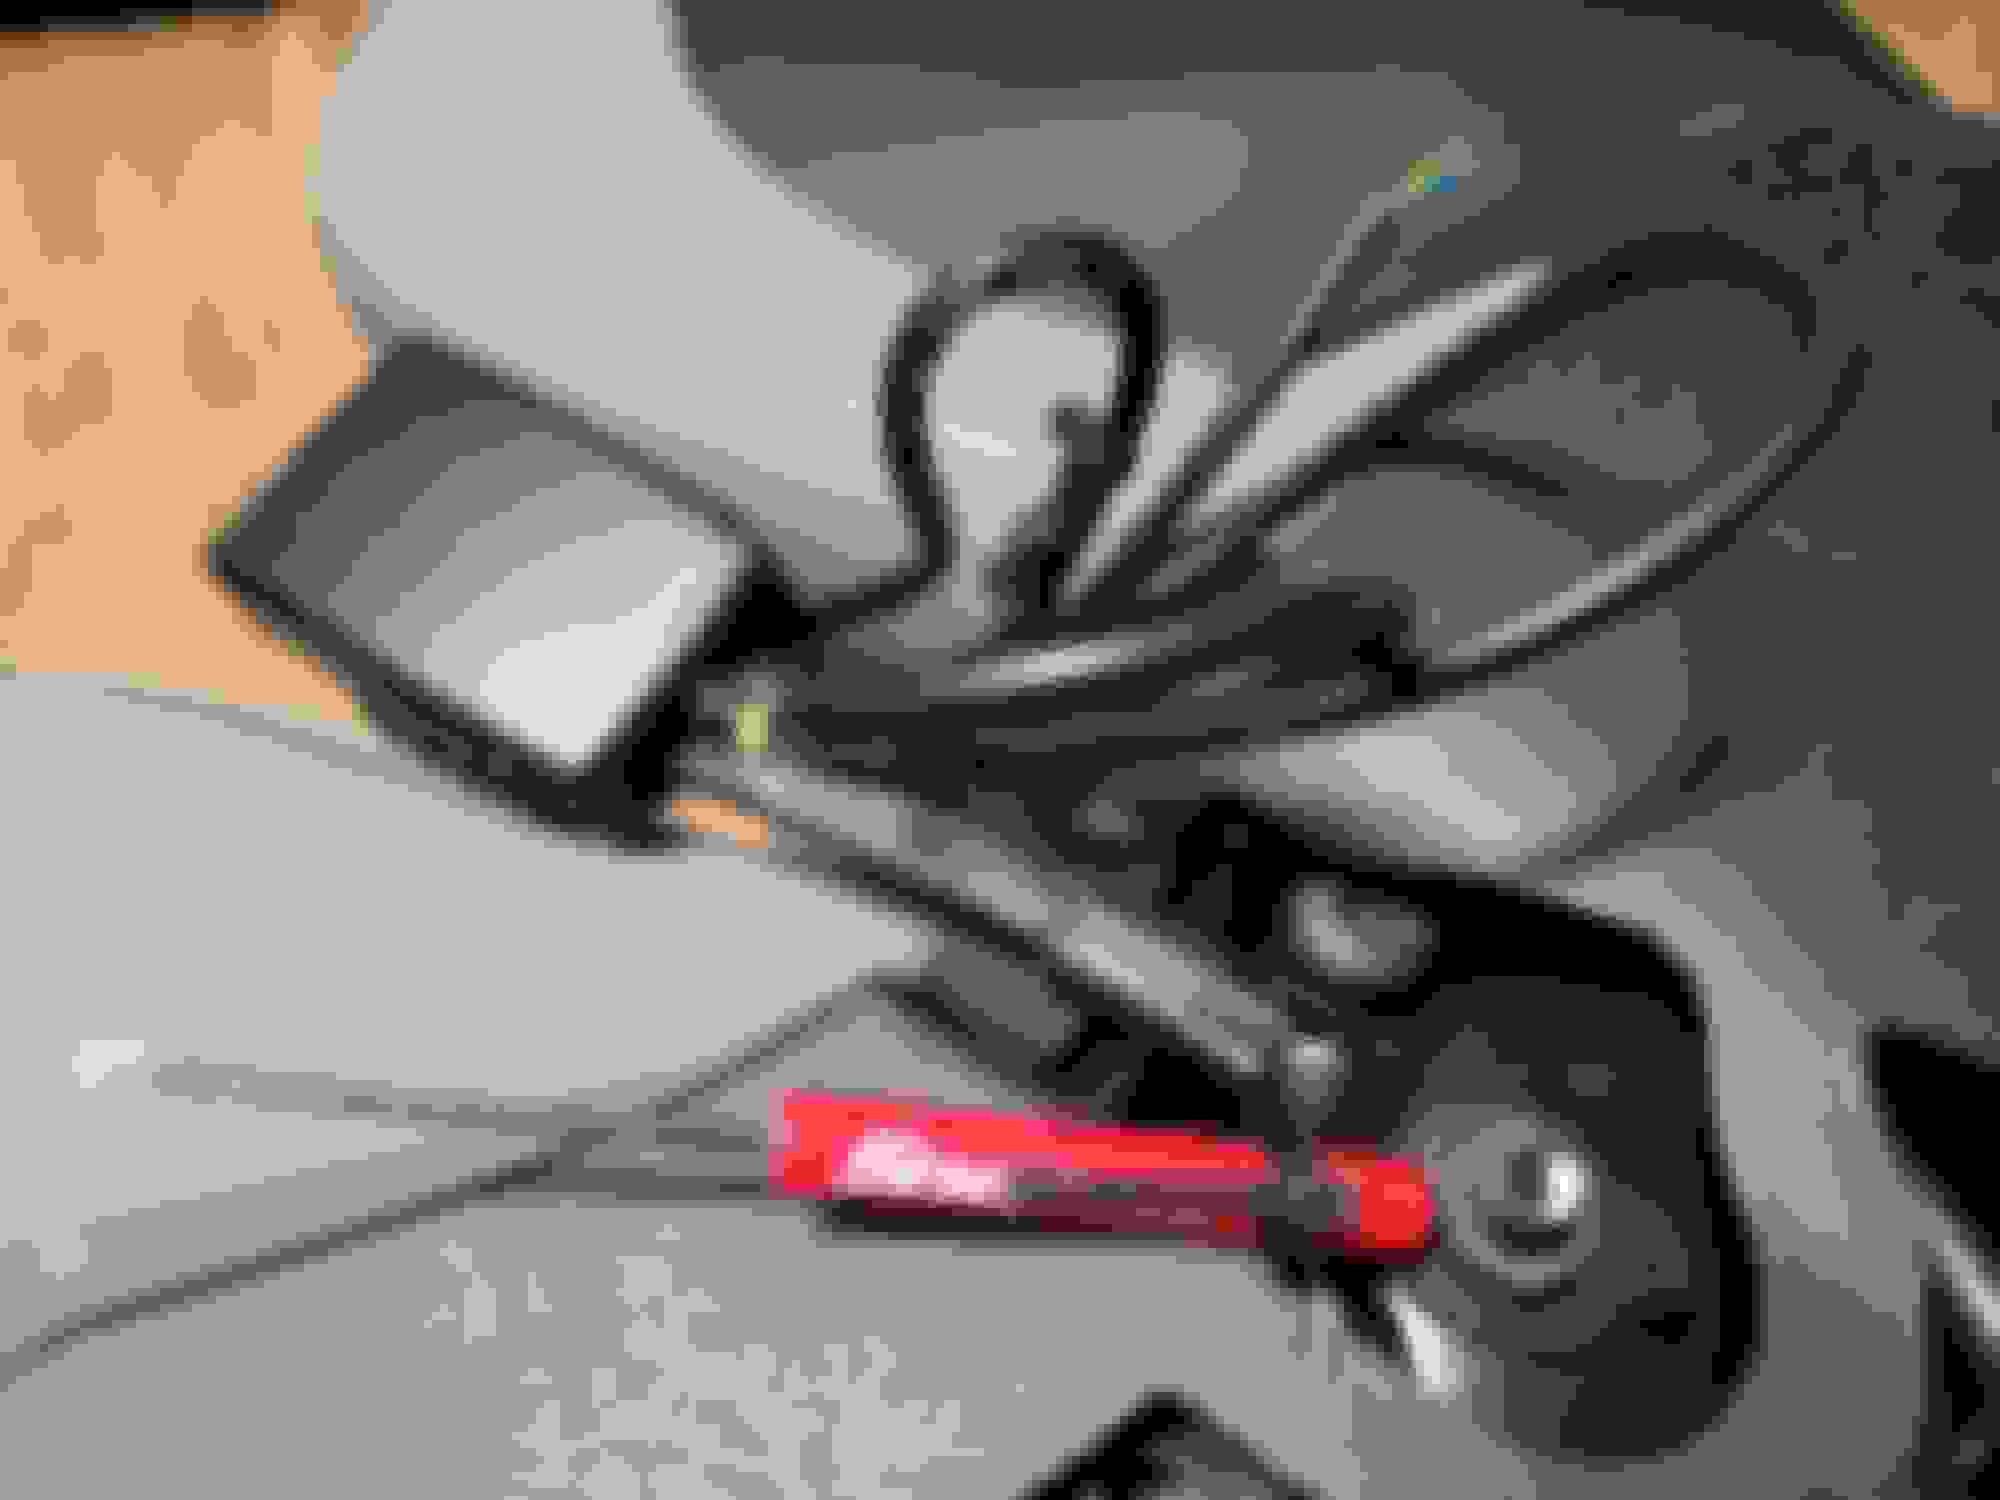
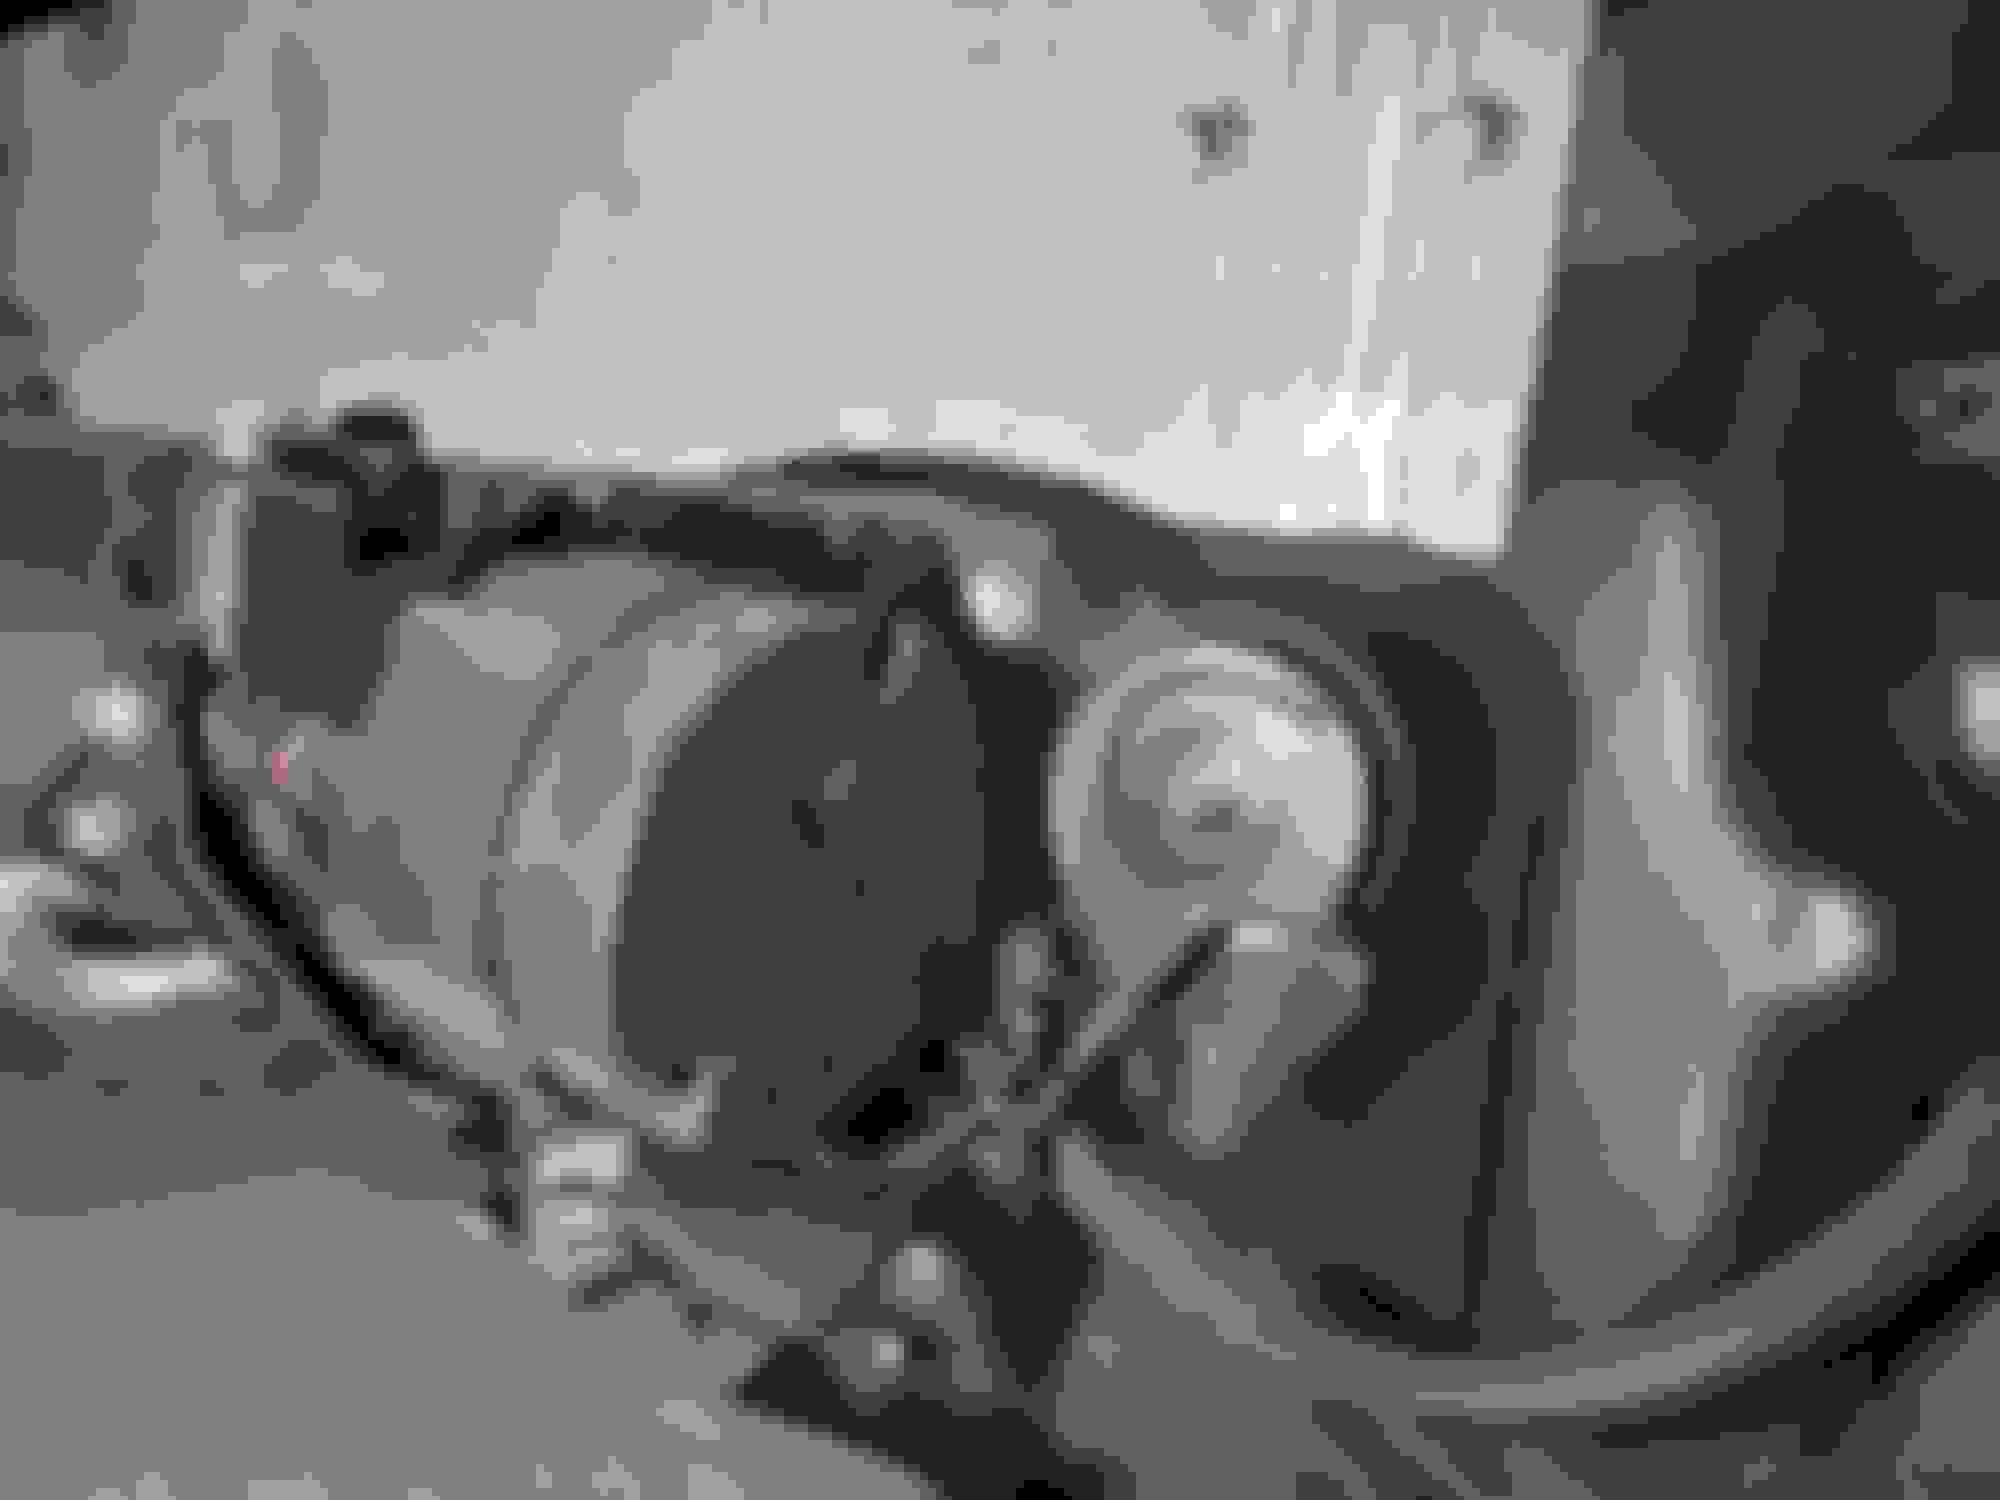
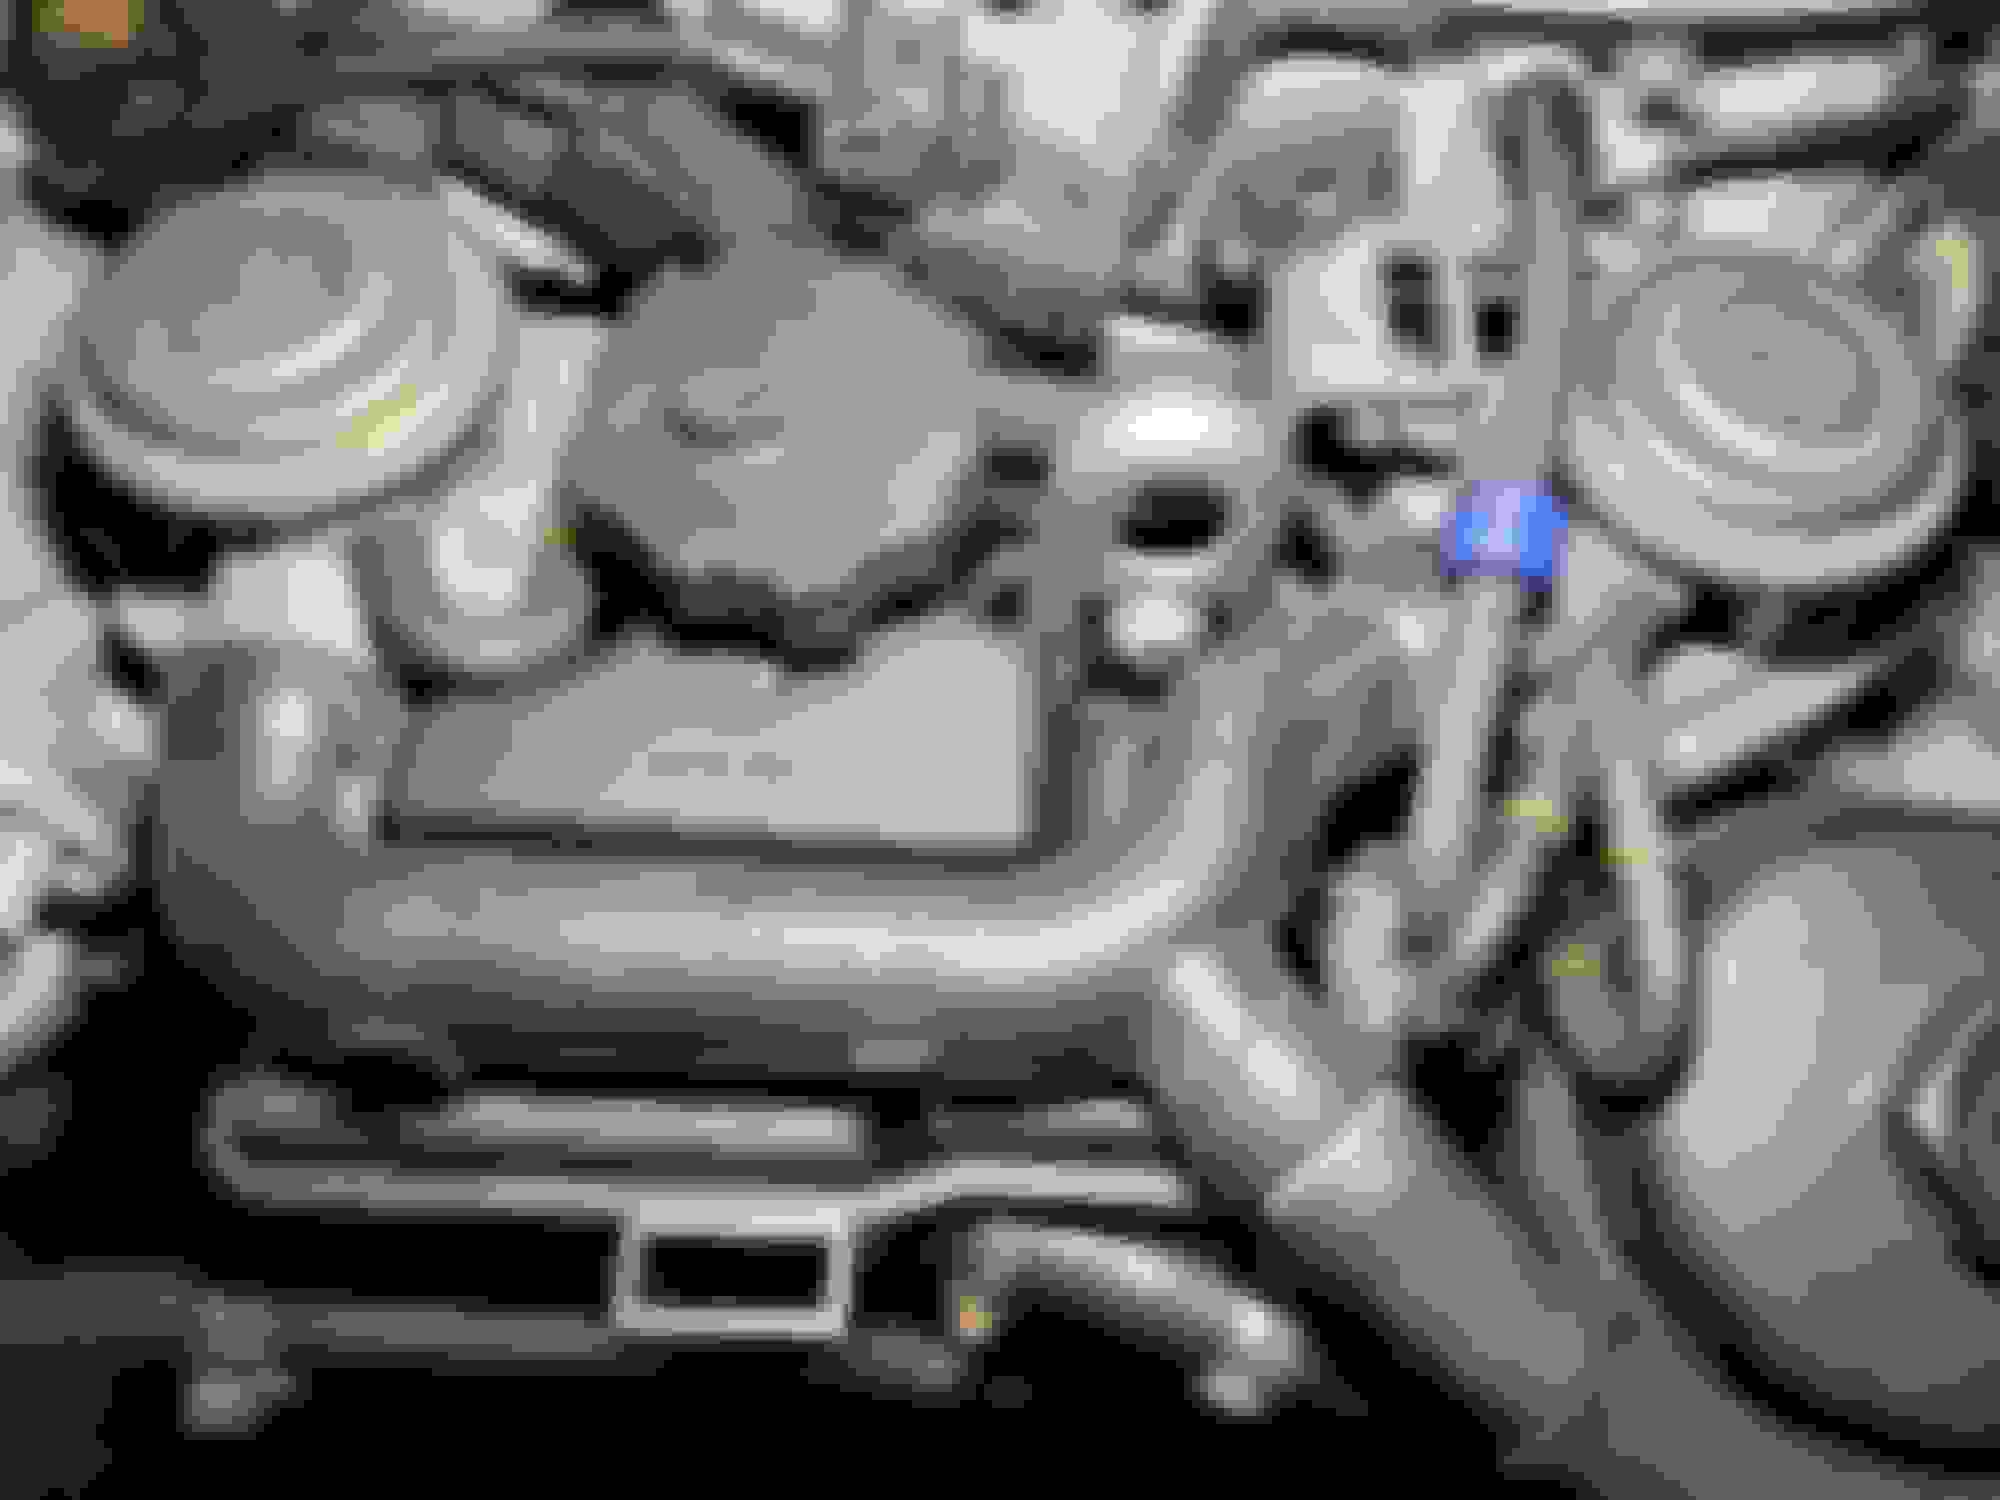
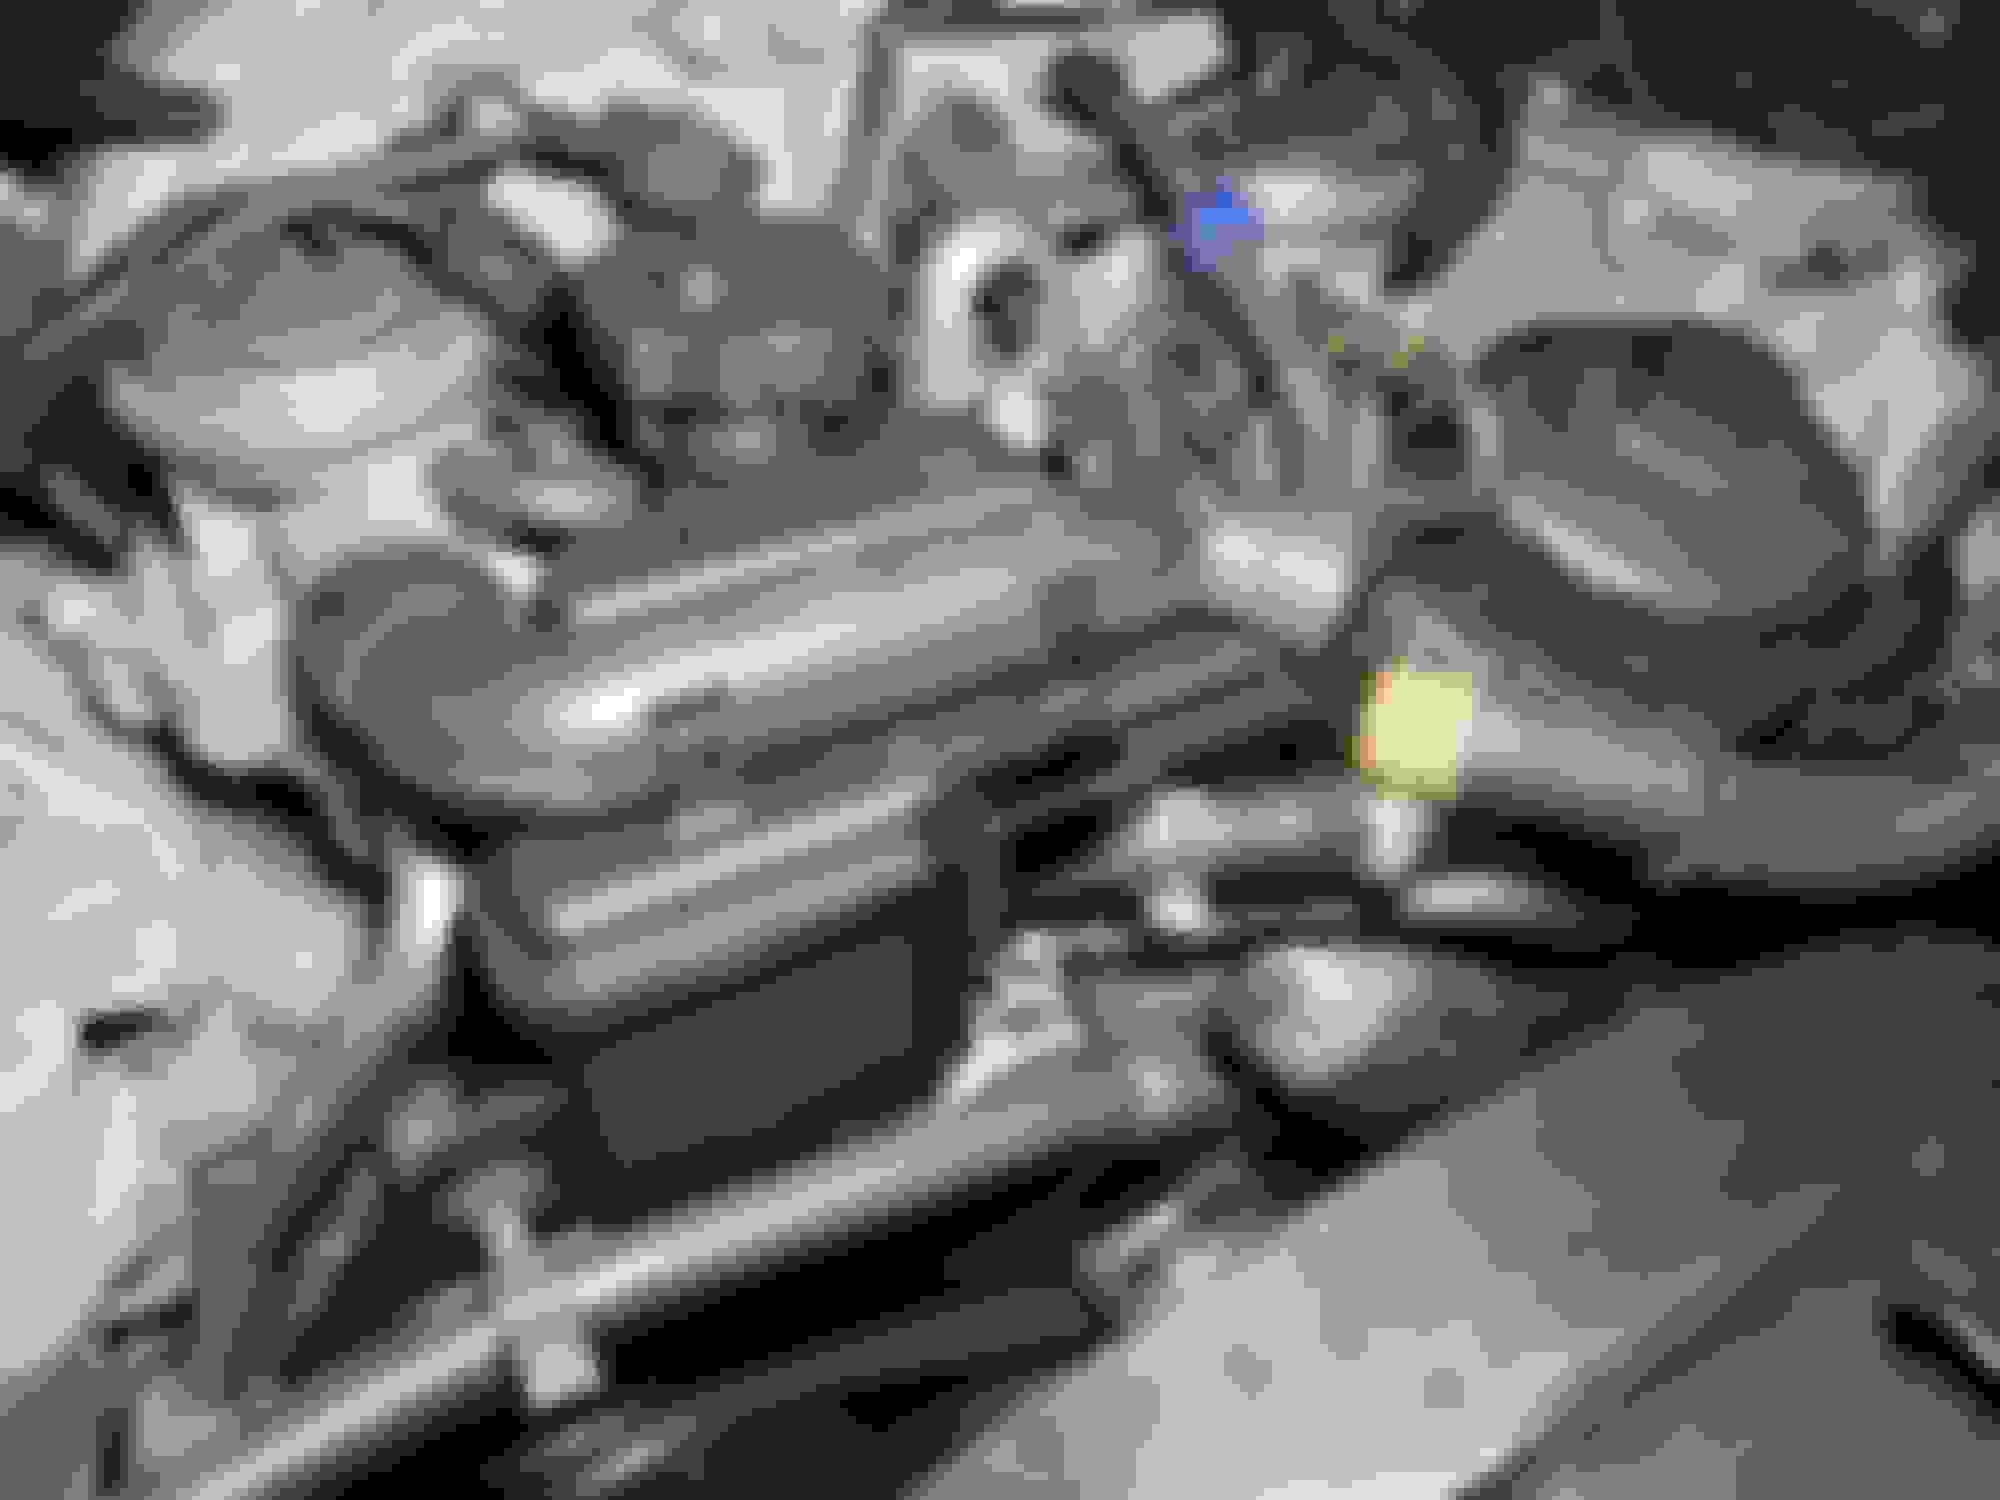
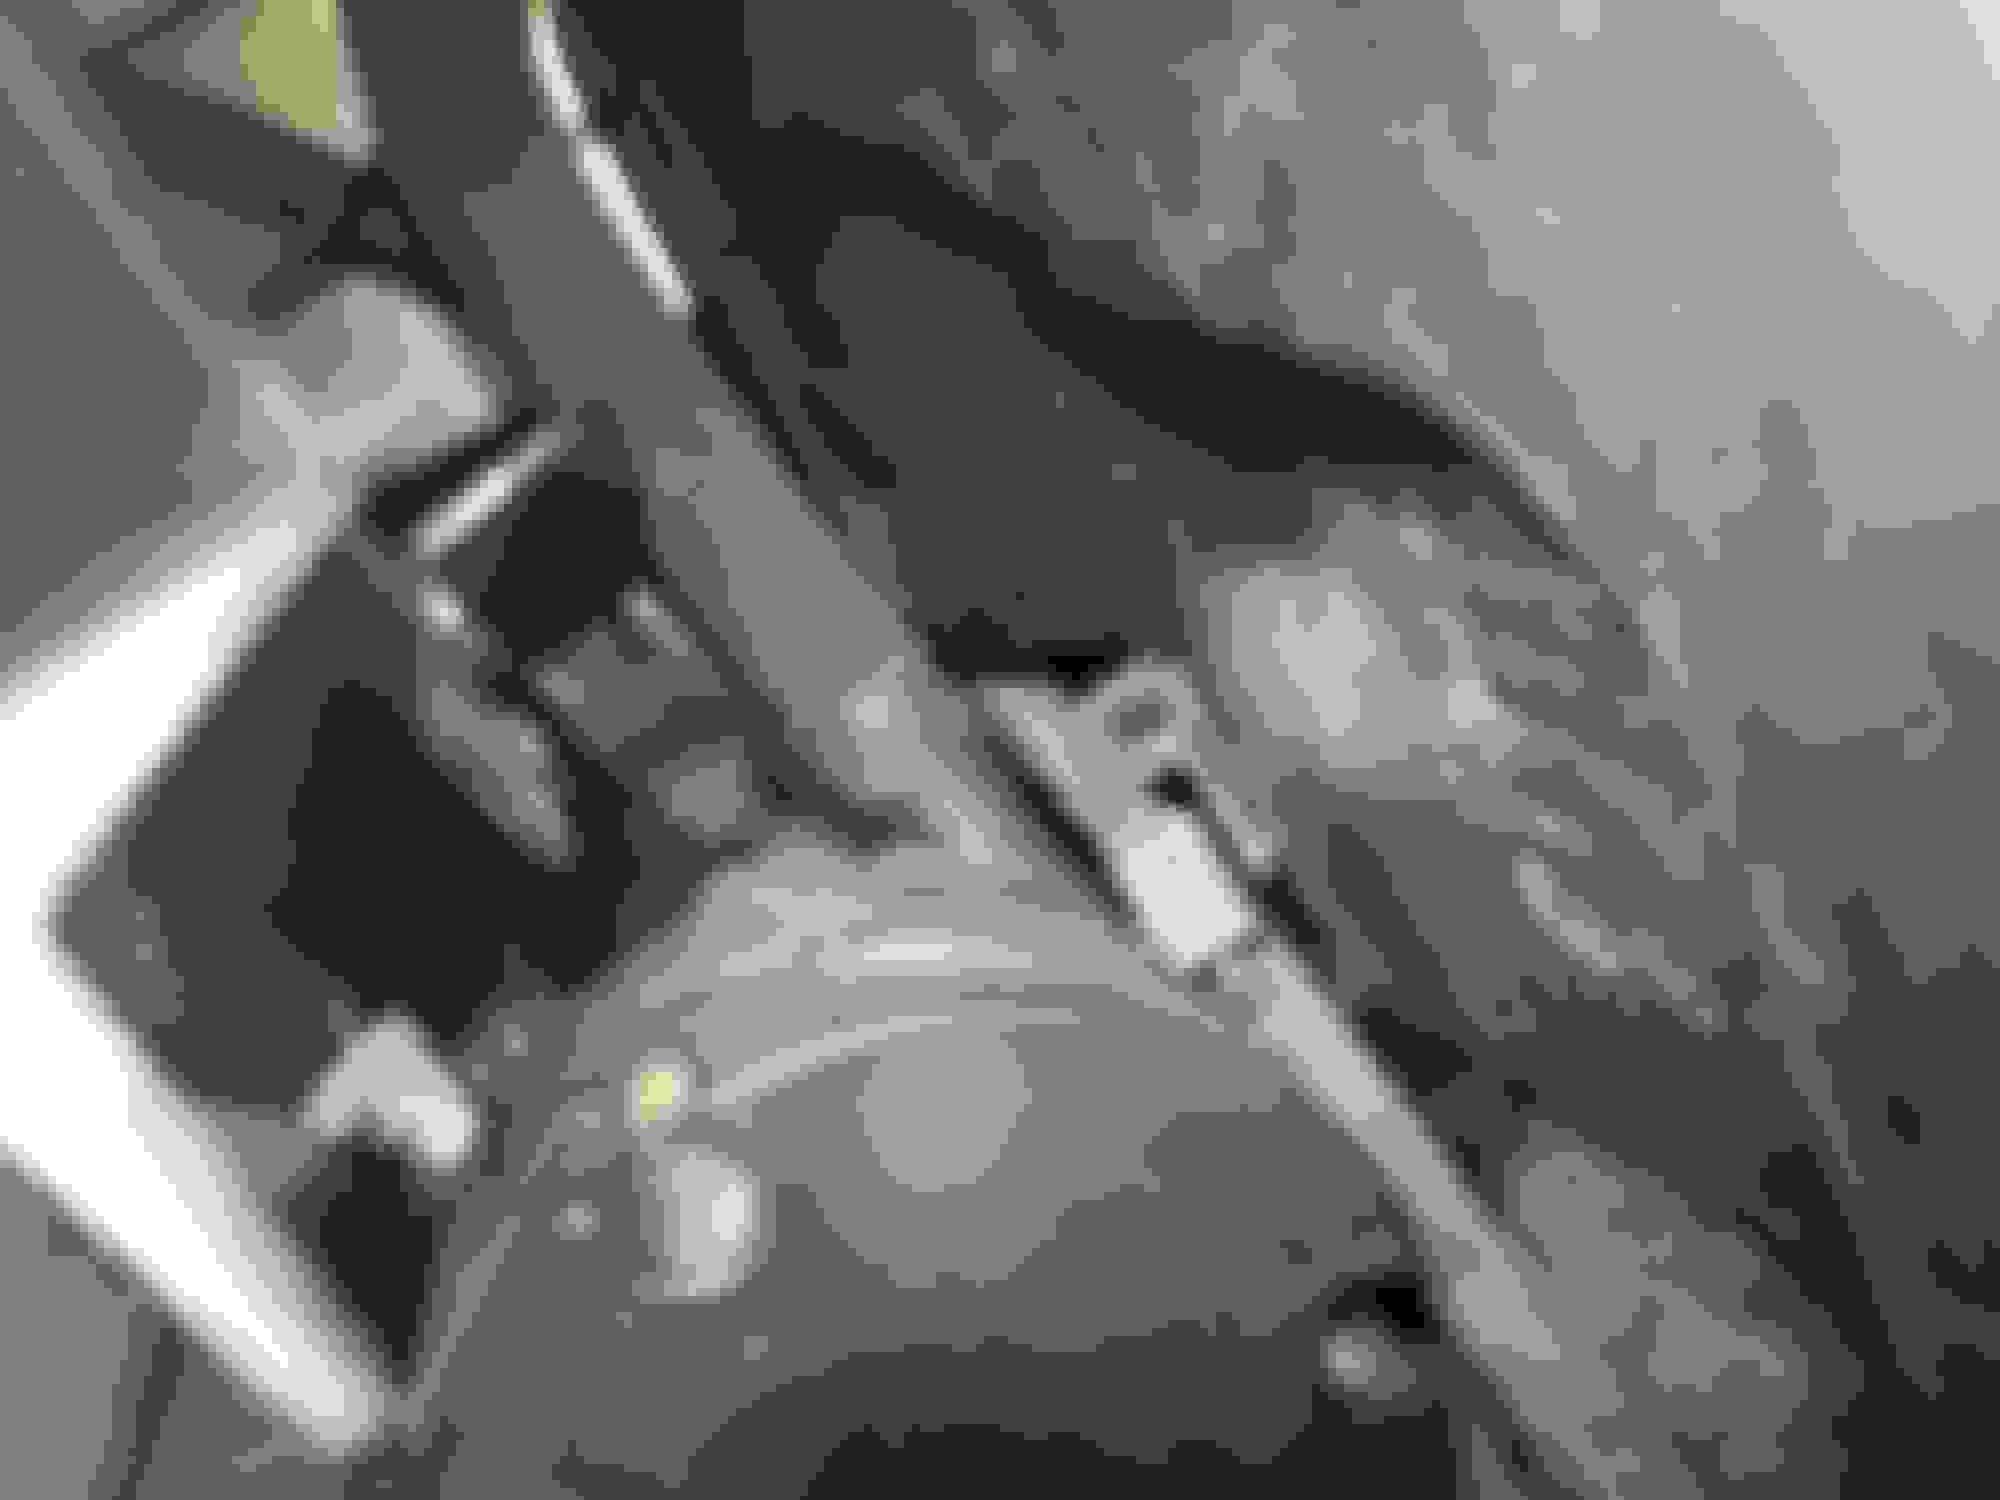
P0410 (Secondary Air Injection malfunction) had been emerging on HP tuners for the last few months so hooked up Xentry which spiraled me down a rabbit hole after discovering fault code 0810 / 0814 (Airflow of secondary air system bank 1 & 2 cylinders too low) After doing my due diligence by disassembling / inspecting the entire secondary air injection system including cylinder head ports and passing all the appropriate Xentry test procedures while observing actual values I was still scratching my head. Fortunately, after removing the front bumper, it became apparent that the main vacuum hose had unhitched itself from the air pump. For anyone who works on their steed frequently be MINDFUL of not to haphazardly remove the main vacuum hose up top leading to the diverter valves out of the following clip pictured nearby the upper radiator hose as there is very little resistance securing it to the air pump beneath the bumper and can simply slip off as easily as it does on. Strong suggestion to zip tie / worm drive clamp main vacuum line on the air injection pump port and probably in your best interest to simply leave the Y hose in the diverter valves and detach at the very tail end nearby the air switch valve per photos to potentially avoid abrupt removal. Post 2 months now and safe to say all the secondary air injection fault codes have CEASED. If these fault codes are persistent and consistent its worth investigating the cylinder head passages and diverter valves for excessive carbon build up.
I've had that SAI code for ages but now I think back I believe it started coming up just after I fitted my SRG_63 oil cooler.
Will be checking that hose very shortly.
2012 P31 C63 Coupe Trackrat, 2019 GLE63S Coupe Beast
Originally Posted by eightysixtuned
good point...the entire SAI system could be removed if weight reduction and cleaning up the engine bay was desired for a race car.
I took my entire SAI system out a few years ago to make room for brake ducts and aux trans cooler. Just need blockoff plates for the head, the pump and valves and assorted hoses and EGR lines can all be yanked out. The problem with removing it is that now you have an emissions monitor that will show as �not ready� and never will be. Don�t know if that can be coded out or not, doesn�t matter for me.
R888R's aren't exactly the cat's meow for road course tires by today's standards. However, after smoking through a few sets I'll say they're a decent daily street/strip tire that will hook and book out of the gate between 180-220F in 1st-3rd gear until roughly 3K miles is when I find performance starts to fall off on a unprepped street surface once they heat cycle out (R compound is no longer soft) They will still cut decent 1.6 60 FT's at the strip until they look like slicks (5-6K~ miles) at this point they'll be very audible to the point where you think your pinion bearing has wet the bed but tires are simply shot; long tubes or exhaust will drown all road noise out. Too early to extrapolate what the AR-1 has to offer on the strip except It should be known that they operate much quieter and hook/book at a lower operating temperature around 150F daily on the street over the R888R thus far. FWIW, AR-1 run a hair smaller than R888R in the same size.
UPDATE: W/O SAYING TOO MUCH AR-1 WERE GREAT OUT OF THE GATE. HOWEVER, STREET PERFORMANCE FELL OFF QUICK; R888R>AR-1
@eightysixtuned Shockingly Ethanol erratic cold start has been IRONED OUT @Cwagon Remove diverter valve tubes and inspect passages for excessive carbon build up or vacuum line stress cracks @BLKROKT@Jasonoff Take it for what it's worth but with the VRP SAI plates installed cold starts weren't as crisp, as we know the air pump/diverter valves shoot additional air directly into passages into cylinder 1&5 on the M156 upon cold start until cats warm up sufficiently (NA to me) and am led to believe the extra volume of air has exaggerated cold starts now after addressing my SAI leak. Aside my appreciation for race starts my erratic cold starts on ethanol have been ironed out ever since which was my key concern.
Although I was cutting 1.5' 60 FTs without LSD one tire fires were getting old. Now that I'm on the other side of the fence it's safe to say that any C63 w/o an LSD is a crime with the least to say. For anyone who's rebuilding their own unit take the time to check your pinion bearing, mine had a bit more resistance than I would like at 70K. 60 FT improvements to be determined.
REAR DIFF REMOVAL
*Remove Cat back/ Mufflers & ONLY ONE REAR TIRE OF PREFERENCE *Remove/Reinstall 14mm Allen drain plug; Reinstall/Torque plug once completely drained *Remove (8) T-60 Torx/ 18MM Drive shaft fasteners (Do Not Slide Out Yet) *Remove Lower control arm plastic dust shield *Remove all control arms on HUB SIDE ONLY & Support Hub Assembly UP *Remove Emergency brake 8MM fastener (Do Not Remove Cable) *Release Axles from Axle seals (Do Not Pry Completely OUT YET) *While still supporting the free-floating hub Slide the entire hub assembly away from Rear Diff far enough just to let the axle slide OUT of the rear DIFF (ONE SIDE ONLY; OTHER AXLE STAYS IN FOR NOW) *Support Rear Diff *Remove Rear Diff Mount (1) E12 OR E14 Torx Fastener *Remove Rear Diff Subframe Fasteners/ Dust Boots accessed through Boot/Trunk (2) Triple Square's *Scrupulously Lower Rear Diff JUST ENOUGH to slide out drive shaft (Support Drive Shaft with Bungee Cord)
*Scrupulously Resume to descend Lower Diff accordingly while simultaneously drifting the rear diff away from axle that remains in the rear diff (Away from the Side with wheel still intact)
*Support Axles/ Driveshaft/ Hub Assembly Side W/O TIRE
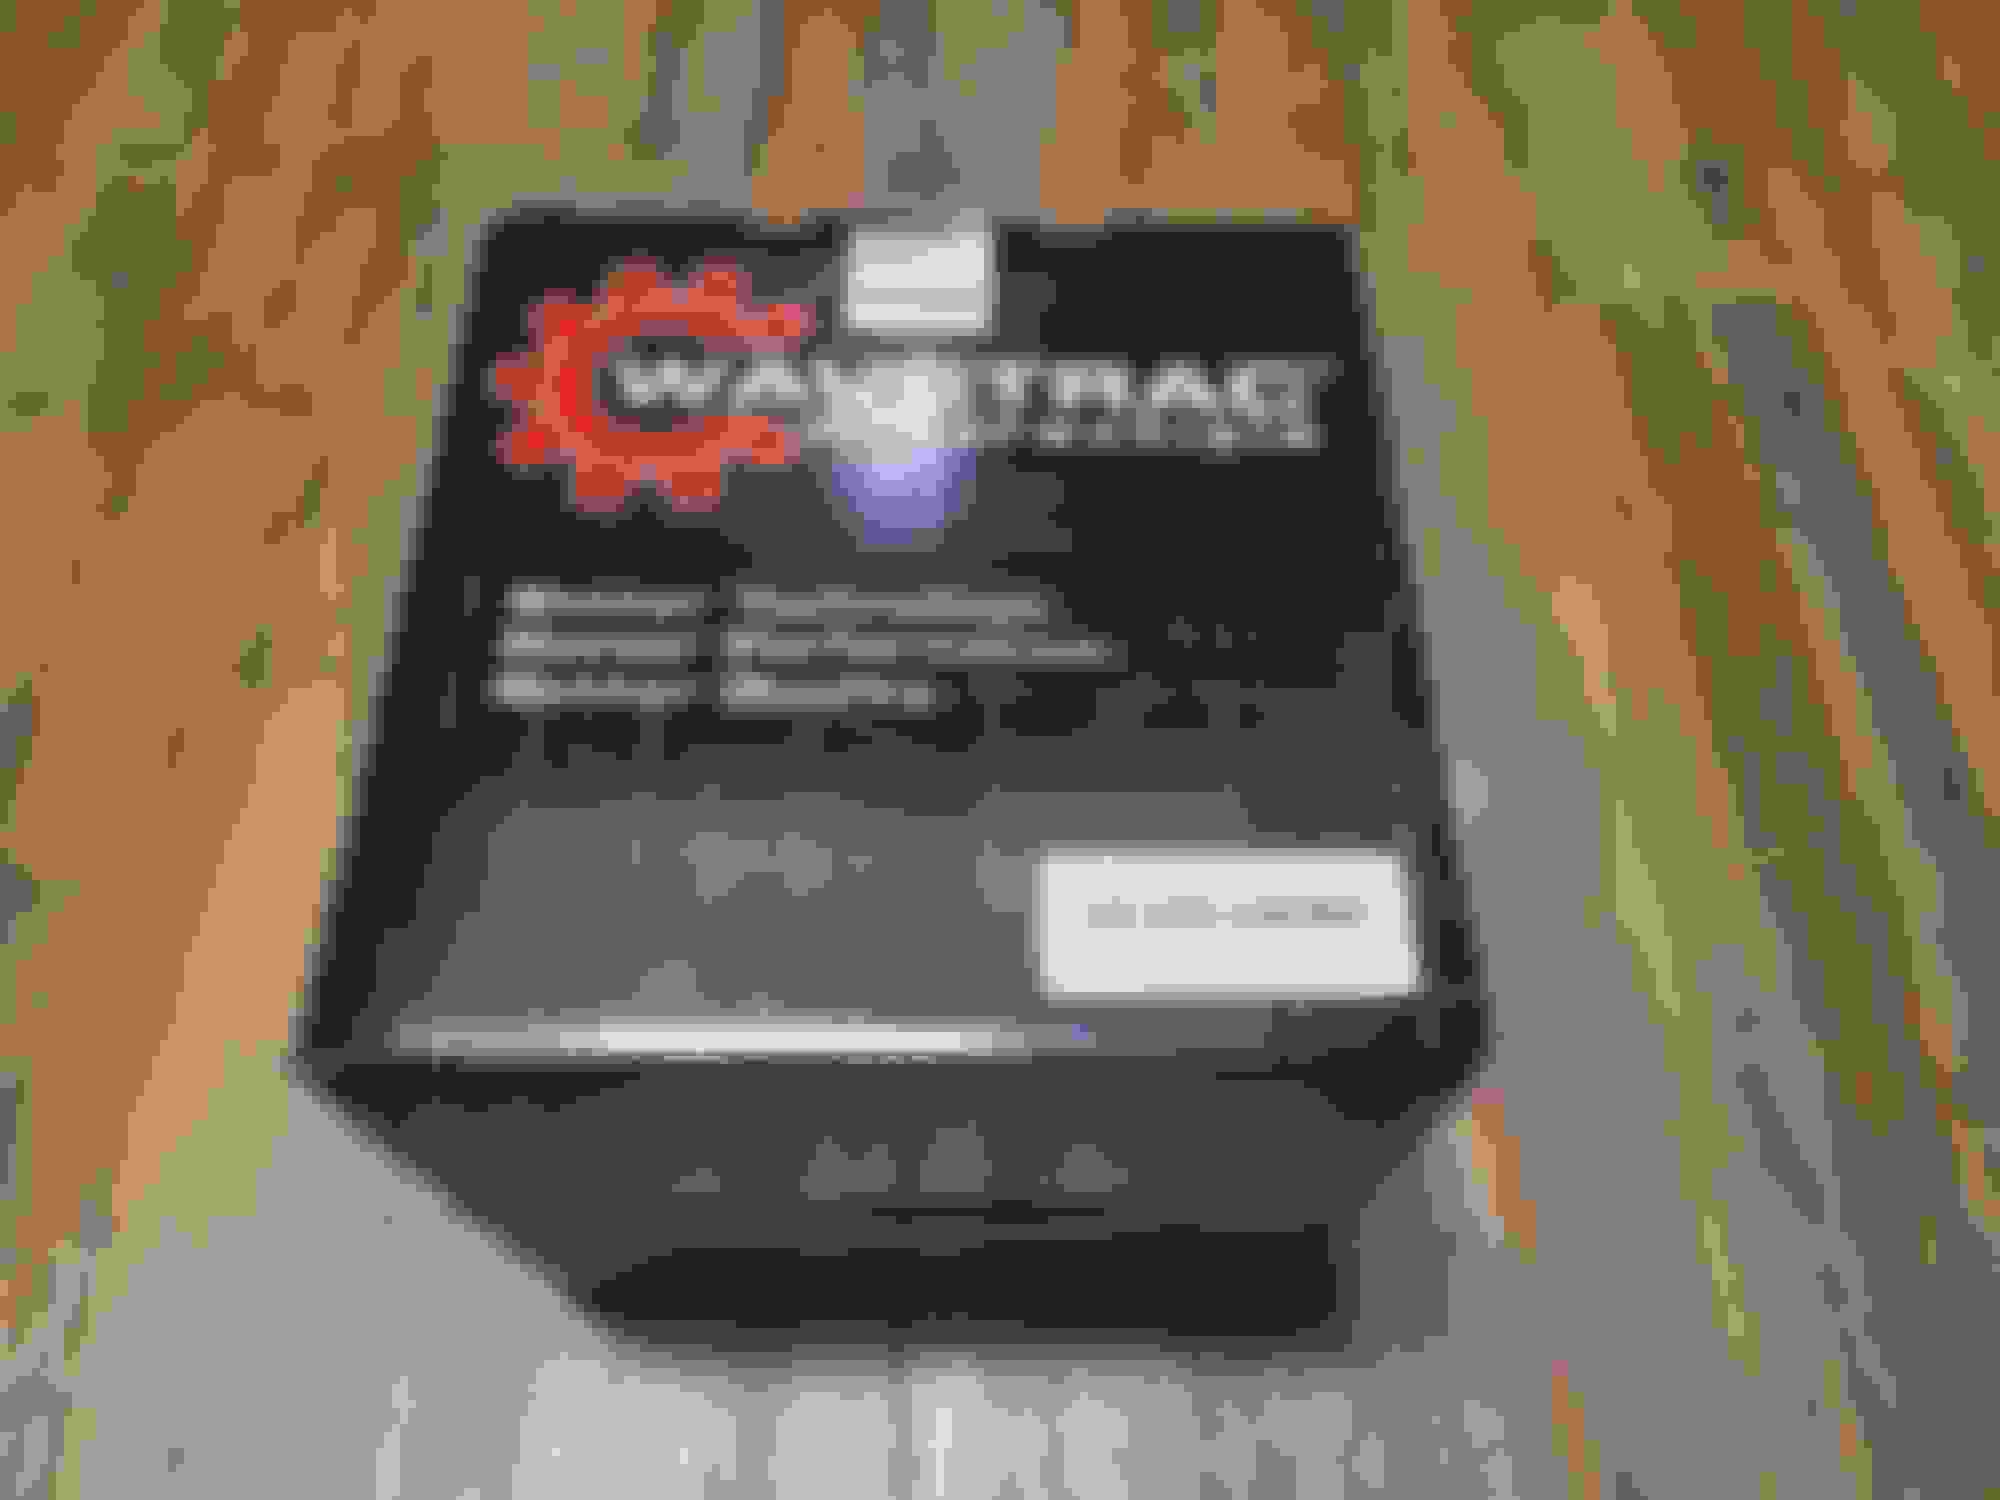
WAVE TRAC PERFORMANCE GEAR OIL RECOMMENDATIONS
(2) MOTUL GEAR 300 75W90 FOR DAILY APPLICATIONS
(2) MOTUL GEAR COMPETITION 75W140 FOR TRACK USE ONLY
NO FRICTION MODIFIERS


 10-21-2022, 03:25 AM