When you click on links to various merchants on this site and make a purchase, this can result in this site earning a commission. Affiliate programs and affiliations include, but are not limited to, the eBay Partner Network.
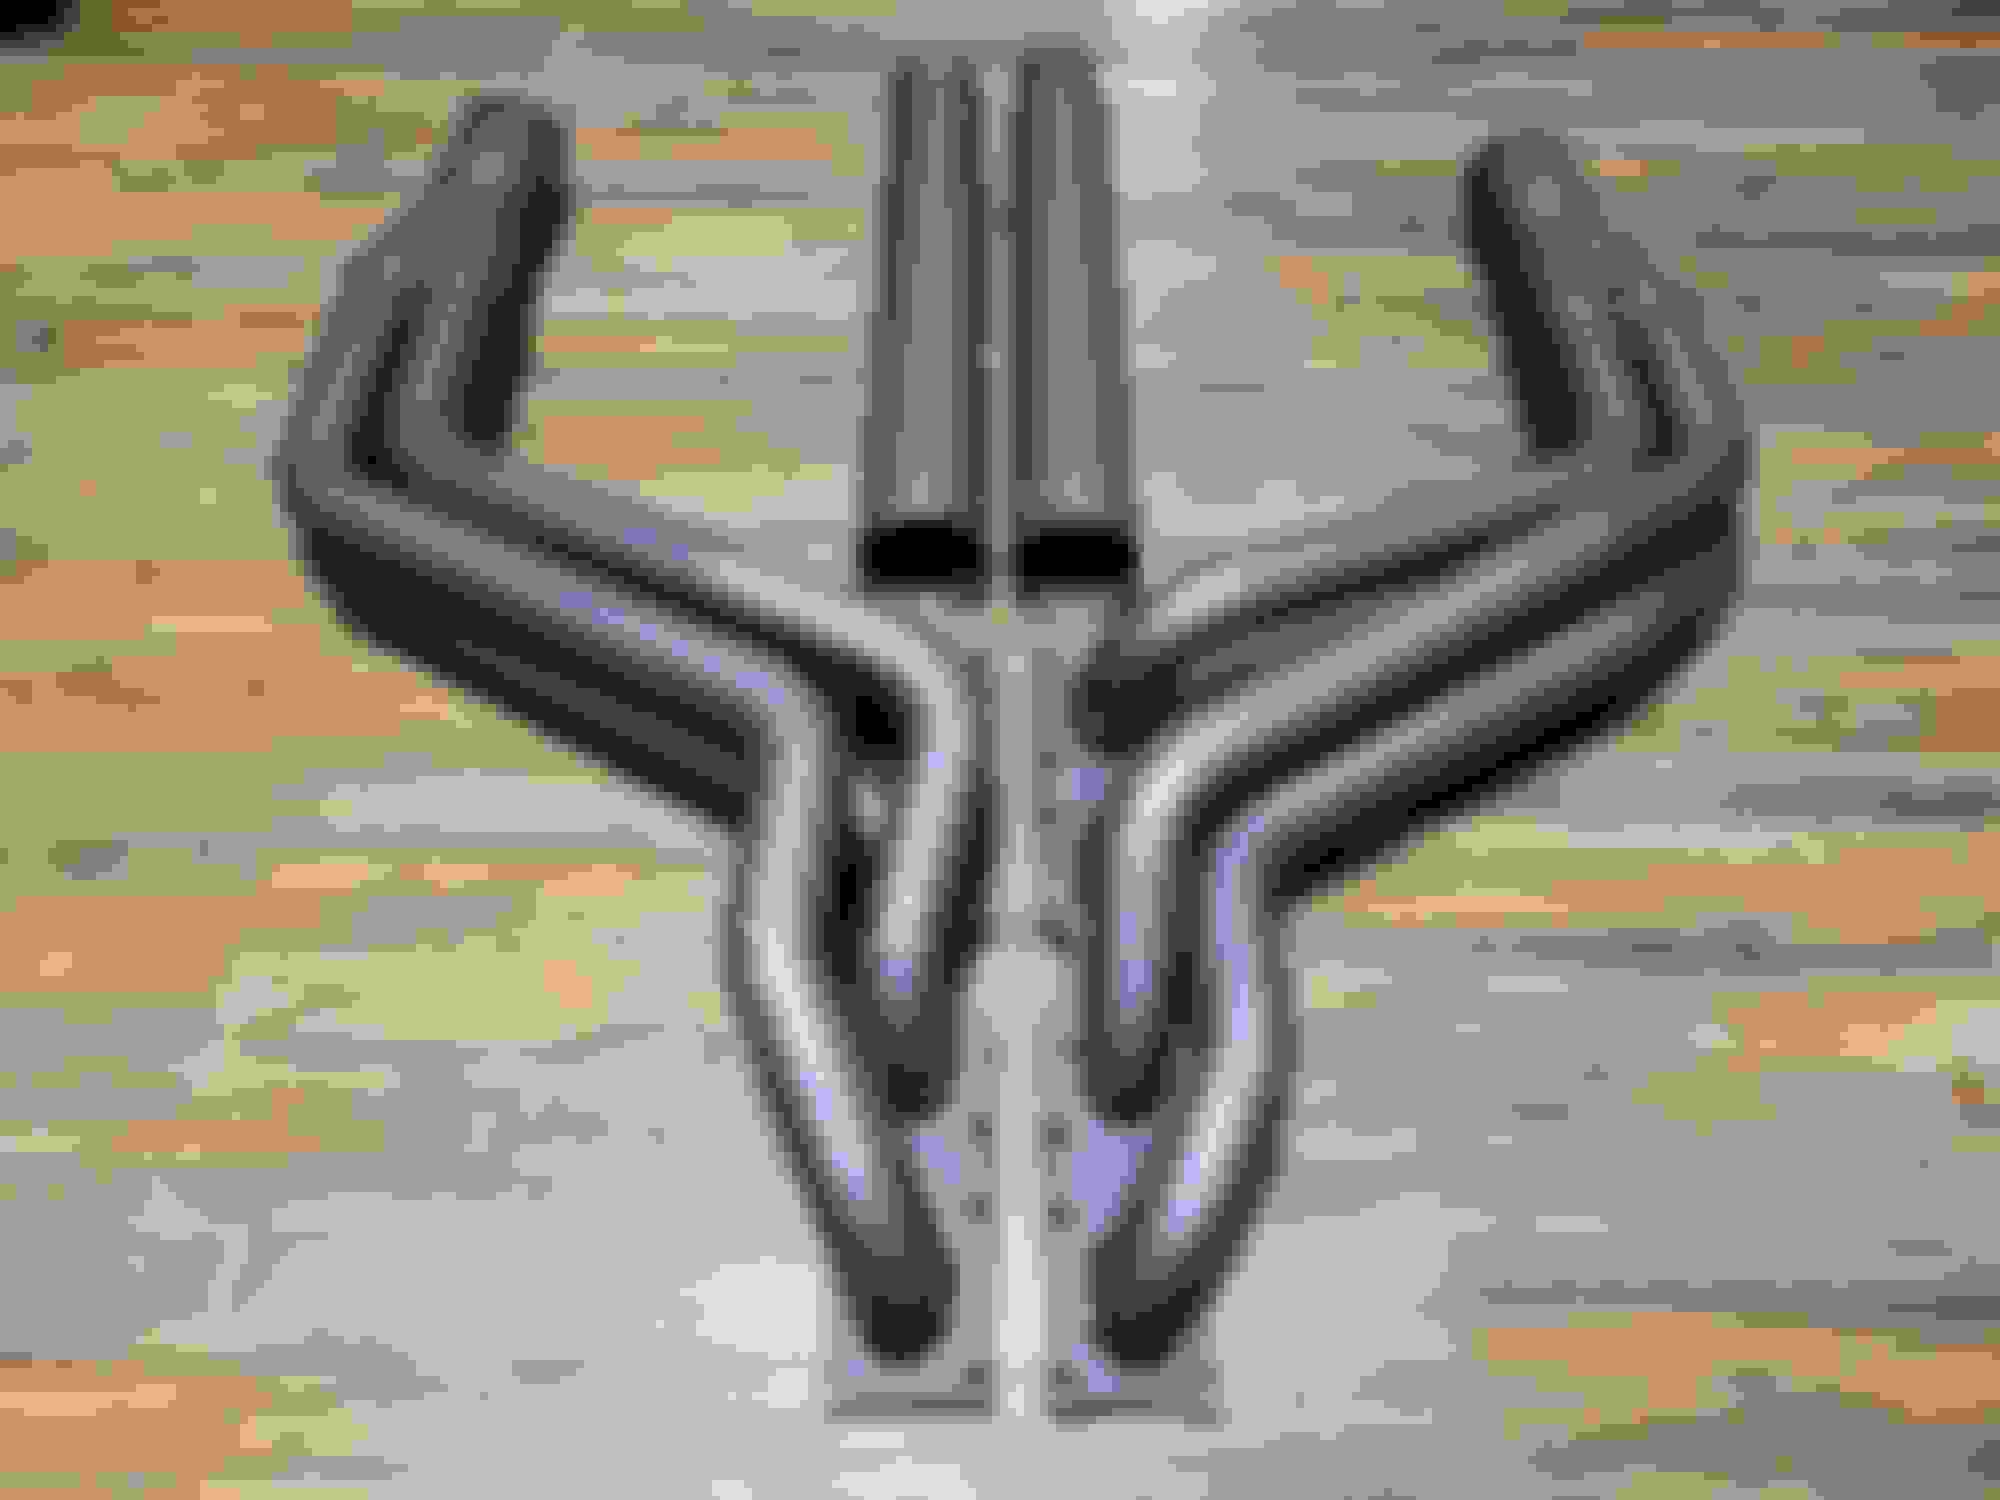
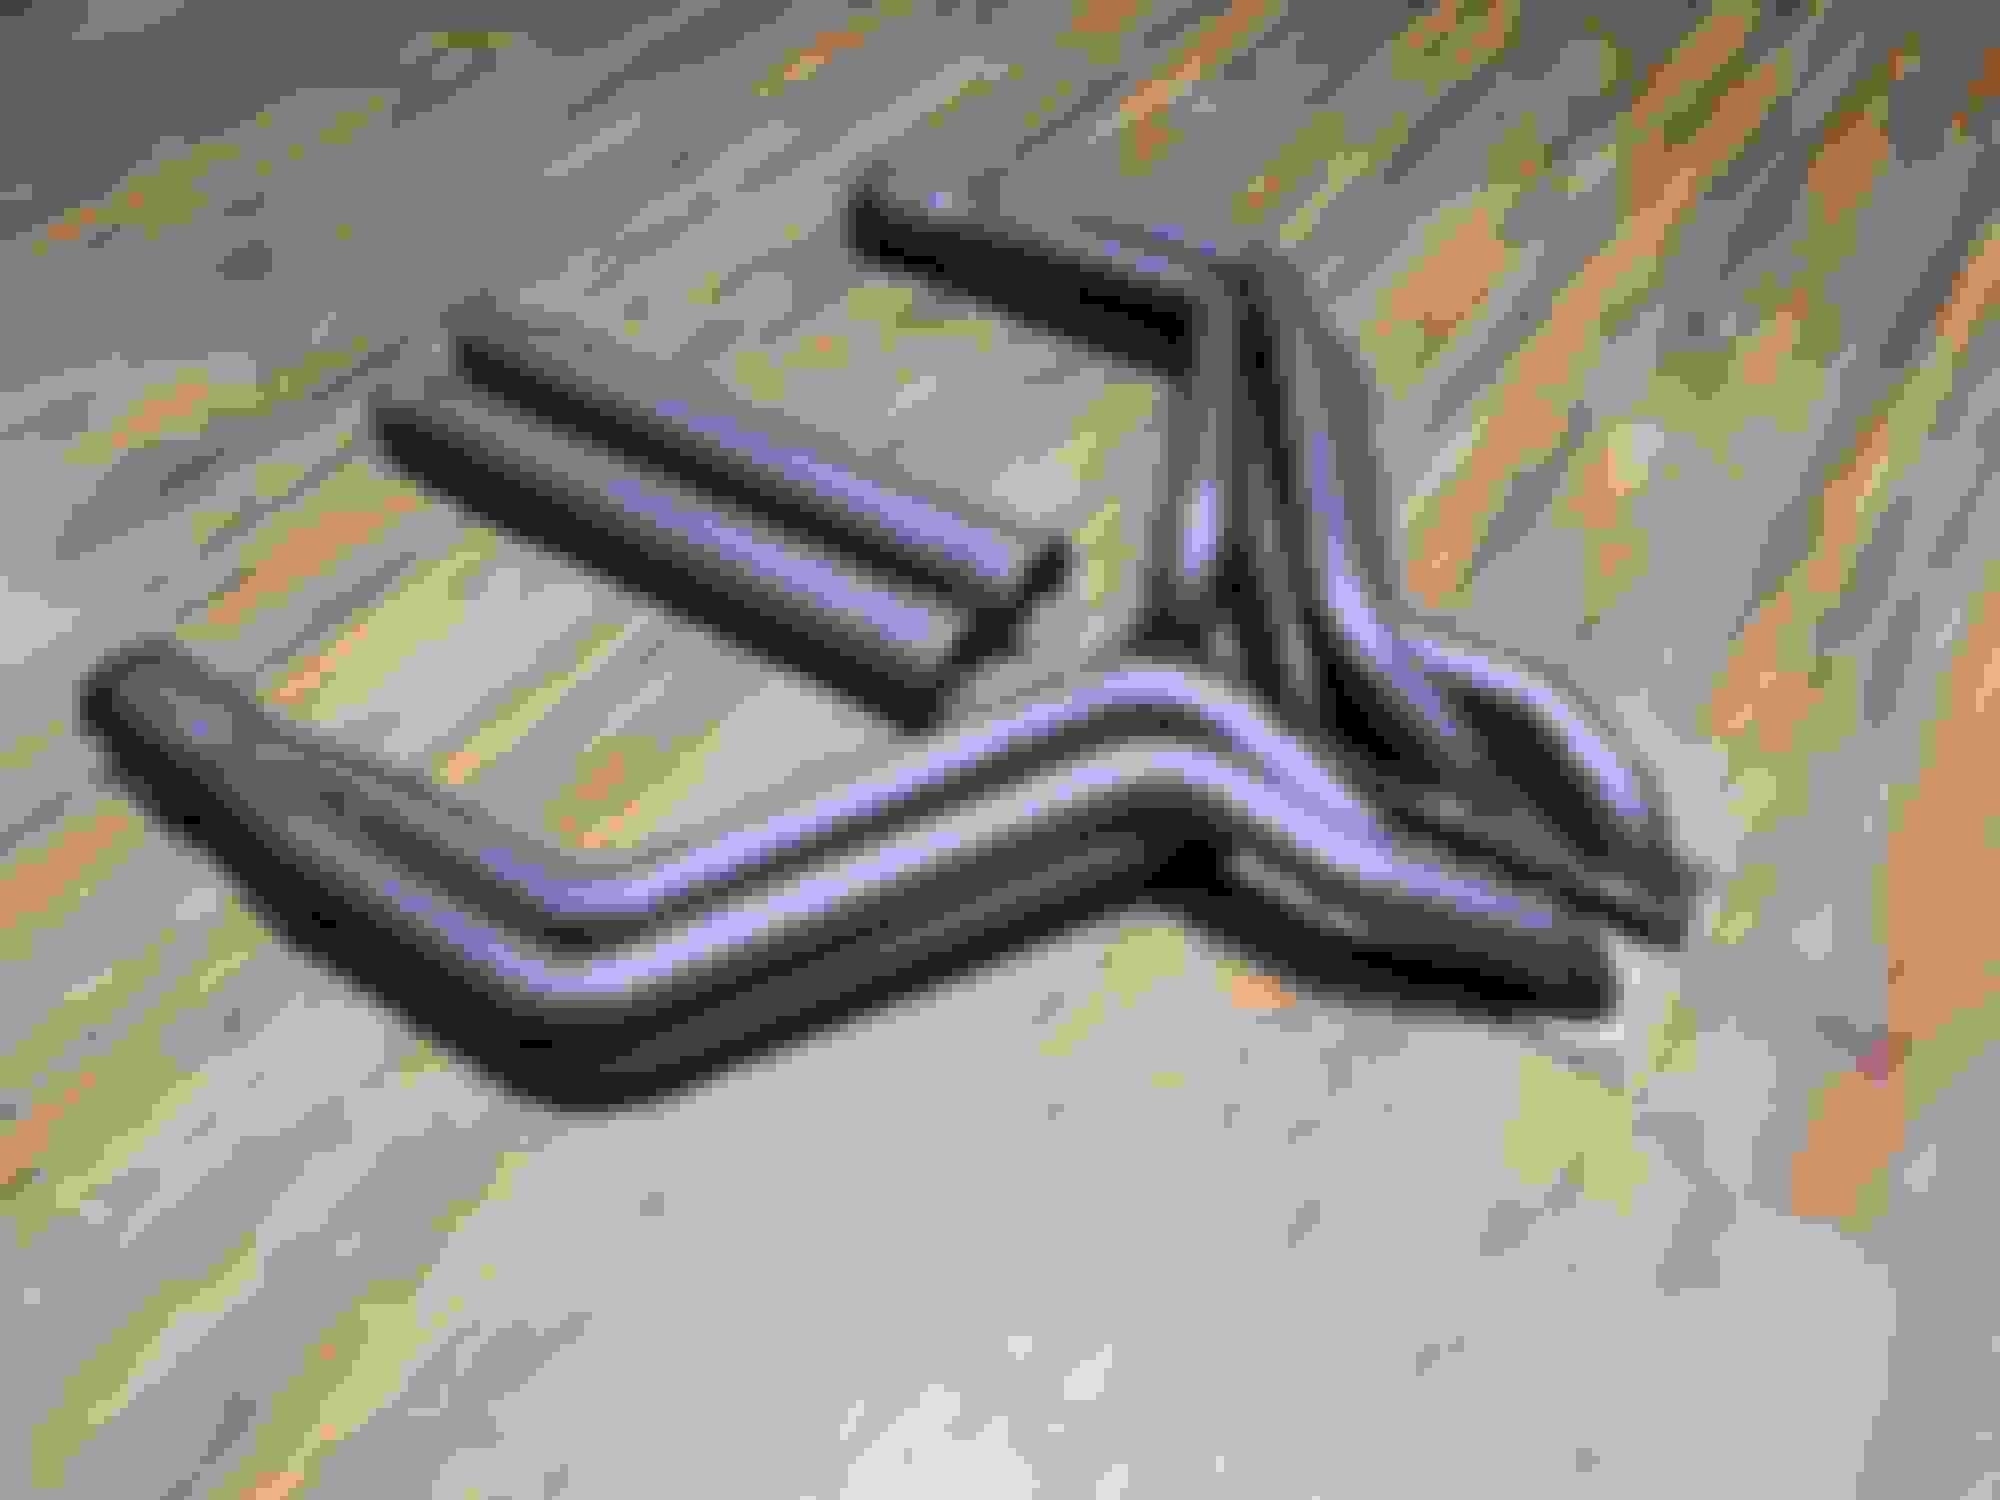
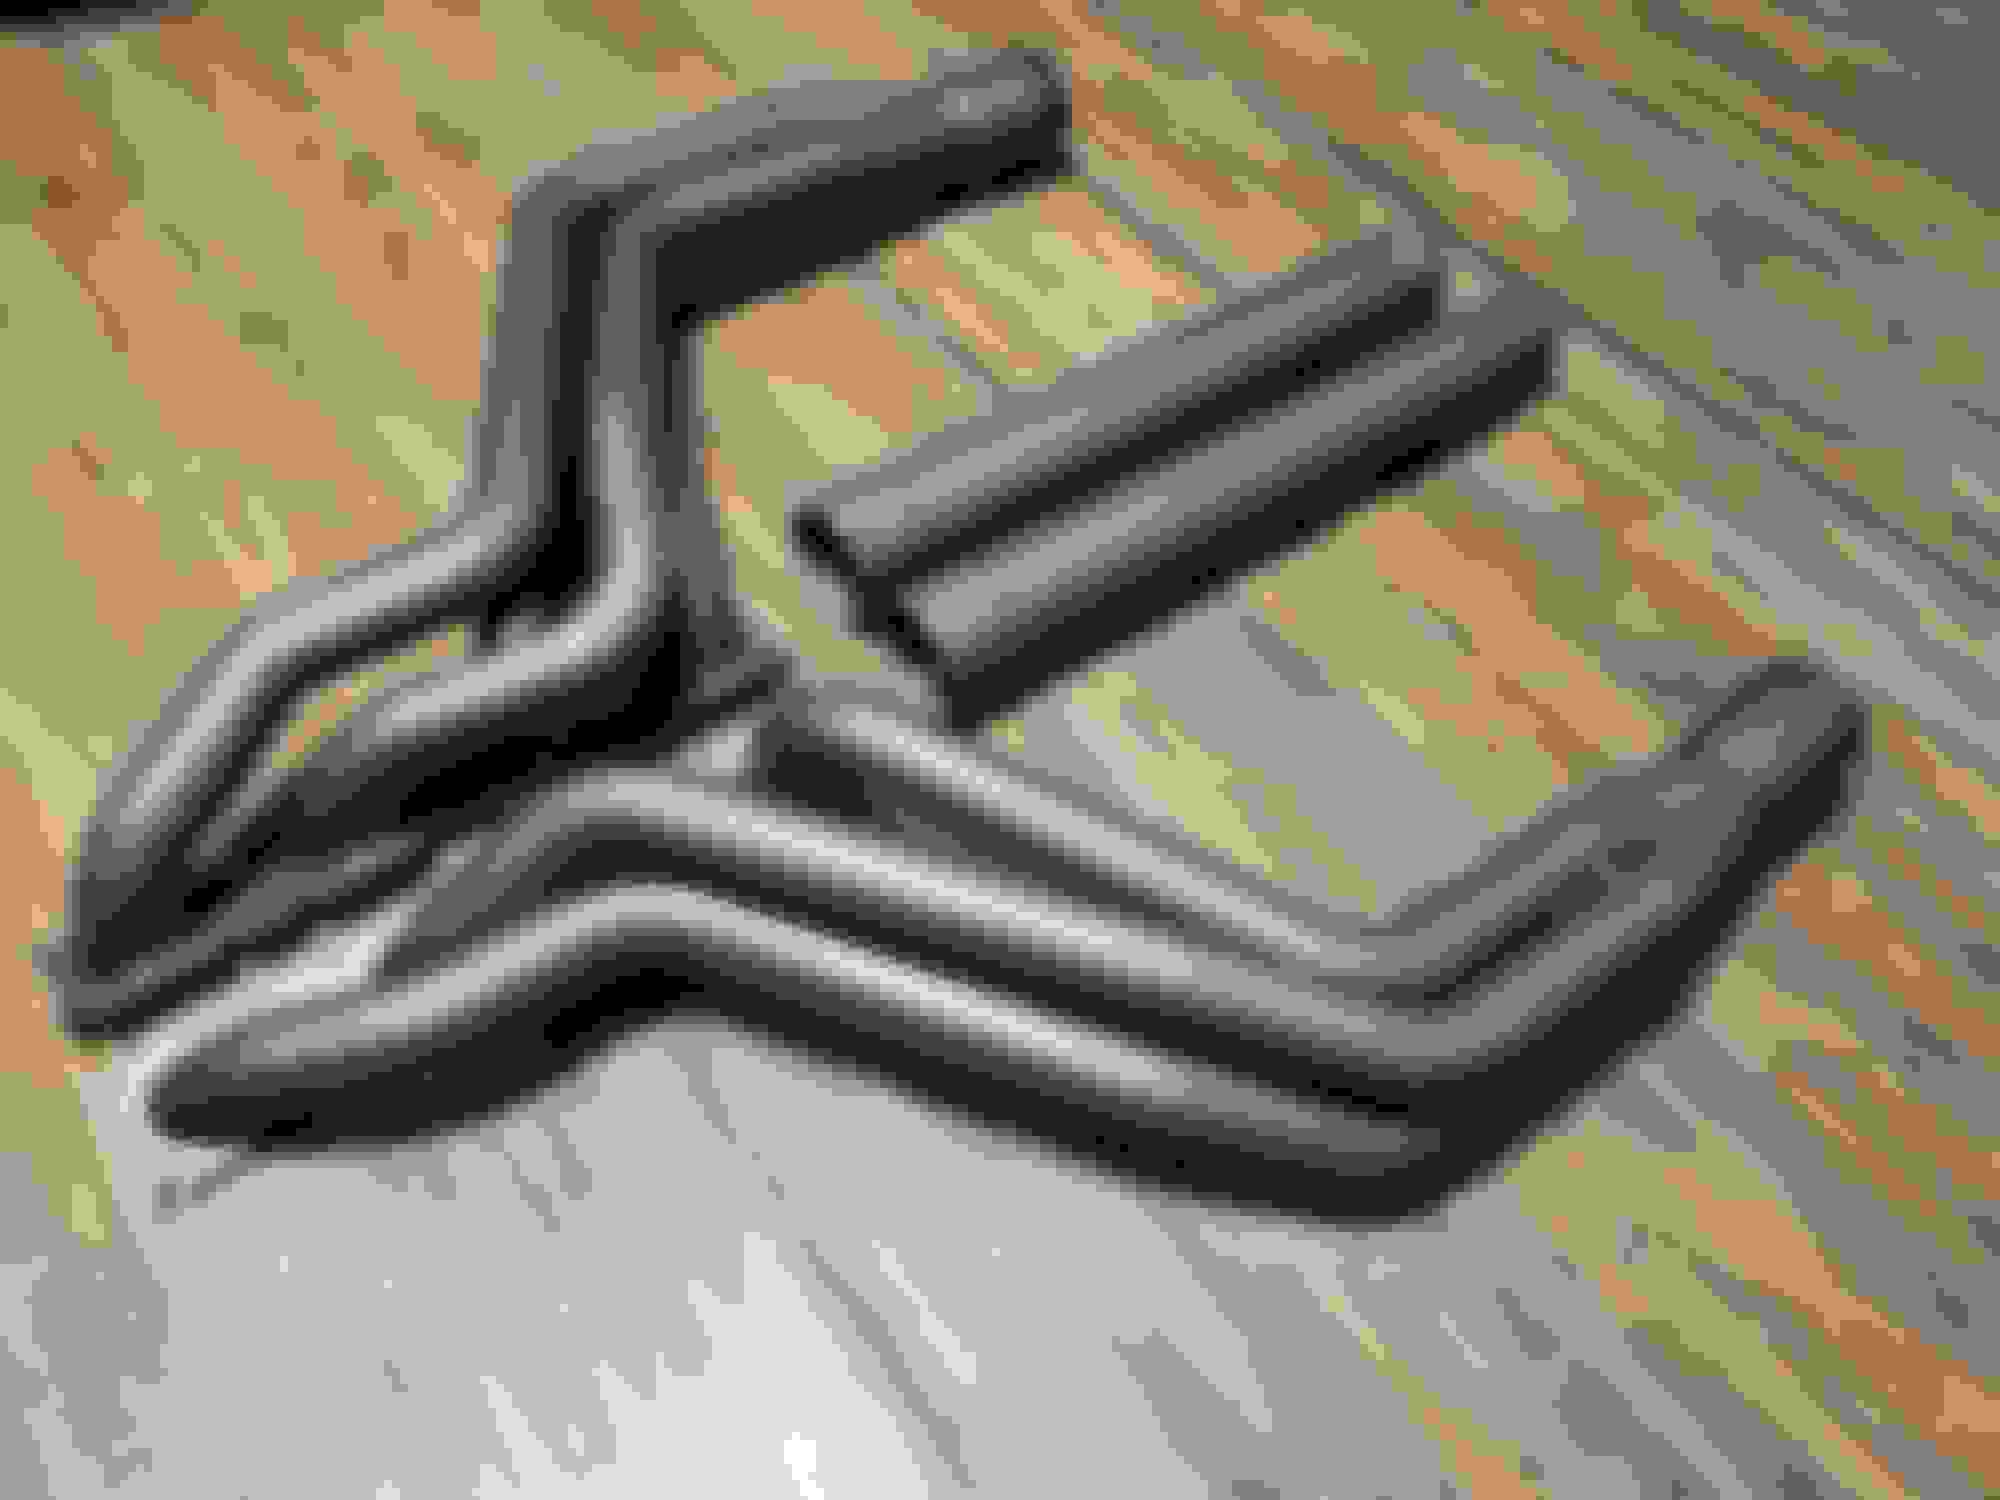
Unexpected monkey wrench thrown into the works has put this thread on the shelf. However, the show must go on. Without letting the cat out of the bag the VRP Tri Y (4-2-1) design long tubes served their purpose and very well could be a grave mistake shifting to a 4-1 long tube design. On the other hand, convinced that my steed's new custom exhaust coupled with the tried & true ARH 4-1 design will net faster trap speeds up top on the back half pulling like a bat out of hell taking full advantage of Barry's Hammer Redline on my N/A application; VRP & ARH dyno results will be released later this year.
I think you made the right call on swapping headers and will end up with a higher trap speed what is the new plan for the rear part of the exhaust just full 3inch? also whats your rev limiter set too now?
Before anything else for anyone who is considering long tubes it's probably in your best interest to coat your headers (Swain Tech/ Cerakote) to increase motor mount longevity due to excessive heat; especially ARH headers since factory heat shields aren't able to accommodate factory or aftermarket mounts due to the tight long tube design which ultimately lead to my decision. Without saying too much these CS engine/trans mounts have lived up to their name and is as advertised so far (3K miles) engine/shifting feedback sensitivity has slightly increased without any unusual noises and as a matter of fact commands a sportier dynamic; exceptional craftsmanship/ zero fitment concerns/ OEM plus replacement IMO.
Manifold Removal/Long tubes Install: *Refer to post #3 on page 1*
Engine Mount Removal/Install:
.REMOVE UNDER TRAYS & SUPPORT ENGINE
.REMOVE INTERMEDIATE STEERING SHAFT HEAT SHIELD 8MM FASTENERS AND E12 SHAFT FASTENER THEN SLIDE/DISCONNECT STEERING SHAFT DOWN AND OUT SO IT DOESN'T CATCH/STRETCH WHILE HOISTING ENGINE
.REMOVE BOTH DRIVER/PASSENGER SIDE TOP ENGINE MOUNT 16MM FASTENER (CROWS FOOT OR SHALLOW SOCKET)
.REMOVE BOTH DRIVER/PASSENGER SIDE (2) 13MM PER SIDE BOTTOM ENGINE MOUNT FASTENERS (DEEP SOCKET)
.HOIST ENGINE EVENLY UNTIL ENGINE MOUNTS CAN BE REMOVED (BE PREPARED TO CATCH MOUNTS)
(ARH Long Tube Applications must remove/assemble driver side engine bracket and engine mount as one entire assembly before reinstalling, otherwise snowballs chance in hell you will fit ANY tool at any angle to secure the top motor mount bolt once installed (photos for reference below) due to tight clearances both factory heat shields must be discarded; engine bracket (4) E12 fasteners) .MOCK UP BOTH DRIVER/PASSENGER SIDE CS MOUNTS AND THREAD IN BOTH 13MM BOTTOM ENGINE MOUNT FASTENERS ONLY A FEW TURNS TO PREVENT MOUNTS FROM TUMBLING OUT
.LOWER ENGINE SCRUPOUSLY WHILE SIMULTANEOUSLY ENSURING BOTH DRIVER/PASSENGER ENGINE MOUNT ALIGNMENT DOWELS ALIGN INSIDE ENGINE BRACKET WINDOWS
.ONCE ENGINE MOUNT/BRACKET ALIGNMENT HAS BEEN CONFIRMED REINSTALL HEAT SHIELDS AND SECURE 16MM TOP ENGINE MOUNT FASTENERS
.SECURE DRIVER/PASSENGER BOTTON ENGINE MOUNT 13MM FASTENERS (HAND TIGHTENED; NO IMPACT)
TRANMISSION MOUNT REMOVAL/INSTALL
.SUPPORT TRANMISSION
.REMOVE (3) 13MM BOTTOM TRANMISSION MOUNT FASTENERS LOCATED INSIDE THE CENTER OF TRANMISSION TUNNEL SUPPORT MOUNT
.REMOVE BOTH TOP HORIZONTAL TRANMISSION MOUNT FASTENERS
.HOIST TRANMISSION JUST ENOUGH TO REMOVE/INSTALL CS TRANMISSION MOUNT
.LOWER TRANSMISSION SCRUPULOUSLY AND REINSTALL FASTENERS IN BY HAND IN REVERSE ORDER (HAND TIGHTENED, NO IMPACT)
MOD# 45 Black Boost Twin Flow Cold Air Intake System
If I had a dollar for every time I called John @ RT I'd be living on an island by now, so I decided to roll the dice on the recently developed Black Boost Cold Air Intake System. Right off the bat one can appreciate the feather weight aluminum housings finished in satin black and all the little intricate details weaved throughout it to seek/accommodate OEM like fitment. Even Helen Keller could make out that the one-piece Y pipe is substantially larger over the restrictive factory Y pipe. Tight clearances, no fitment issues worth mentioning and installation is straight forward. Managed to slip in one track session with these and airflow data log displayed 4-5+lbs over factory row boxes, slight variation in induction note. Housings remain slightly cooler vs factory assembly. Hard to picture another intake outshining this one at this time due to the enormous, revamped one-piece Y pipe and as most of us know at least from anecdotal experience the factory ram ducts aren't as much as a bottle neck as they appear to be. On top of all this majority of factory Y pipes tend to weep/leak at the center seam whereas the black boost Y pipe is seamless. Sometimes when we roll the dice, we get unlucky and hate to admit but it's a shame these don't clear the Dad's hood; confirmed they fit the hefty factory PFL hood. If anyone is interested in sporting these PM me, the only problem with them is that they need a new home.
Intake System Removal/Install *DISCONNECT DRIVER/PASSENGER MAF SENSOR CONNECTORS & VACUUM HOSE THEN REMOVE FACTORY AIRBOXES ASSEMBLIES INCLUDING Y PIPE*
*TRANSFER ORIGNAL MAF SENSORS & GASKETS OVER TO BLACK BOOST Y PIPE CAUTIOUSLY (HAND TIGHT EVENLY)
*REMOVE FACTORY AIRBOX ALIGNMENT STUDS (CAUTIOUSLY REMOVE THESE OR ELSE YOU'LL BE CURSING AT THE WIND; PB BLASTER AND HAND TOOLS INCLUDING DEEP 10 MM SOCKET ARE YOUR FRIEND)
*INSTALL/SECURE (4) BLACK BOOST AIRBOX SPACERS THAT REPLACE THE FACTORY AIRBOX ALIGNMENT STUDS*
*INSTALL/ ALIGN INTAKE HOUSINGS (NOTE THAT THE HOUSINGS ARE SLOTTED ALLOWING FOR ADJUSTMENT) ENSURE BOTTOM HOUSING BRACKET CONTACTS RUBBER VALVE COVER BUSHING*
*SECURE (4) INTAKE HOUSING FASTENERS 90% (HOUSINGS MAY NEED TO BE REALIGNED ACCORDING TO FILTER PLACEMENT ETC) *
*INSTALL/SECURE Y PIPE (PLACE CLAMP IN THE FOLLOWING CONFIGURATION BELOW FOR MOST FEASIBLE ACCESS; 7MM) *
*SLIDE ON/SECURE TWIN FLOW AIR FILTERS (TIGHT FIT) & ALIGN/SECURE HOUSINGS 100% ACCORDINGLY (7MM, HAND TIGHT ONLY)
*INSTALL/SECURE FILTER HOUSING LIDS (APPLY LIGHT PRESSURE TO THE LID TO ENSURE ALL (3) FASTENERS ARE 100% ACCESSIBLE (FINGER TIGHT FIRST, HAND TOOL ONLY)
*SLIDE ON/SECURE FACTORY COLD AIR INTAKE TUBES ONTO THE RADIATOR SUPPORT FIRST THEN ONTO BLACK BOOST HOUSINGS*
MOD# 45 Black Boost Twin Flow Cold Air Intake System *Continuation*
Image overload placed a piece of foam on the passenger side lid where my Dad's hood contacts. Unfortunately, still vibrates after several hood/housing adjustments.
Overnight parts from Japan. Had a Japanese performance company High Spark handcraft coils specifically tailored to my application. To keep it short initial low end/ mid-range torque response has picked up in the city and during WOT pulls and idles like an angel. Thanks to Barry he was able to clean up AFR's a wee bit more allowing us to achieve the perfect burn which can take innumerable data logs. Time to fill in the gap if you guys catch my drift =]
FWIW Although dwell settings can be adjusted it is in your best interest to retain factory dwell settings for longevity's sake not just for the coils but for the sake of the ECU
@sunnys14BB Intake snorkel inlets slightly off from factory airbox inlet location shifting the Gruppe M intakes out of line within the Gruppe M radiator shroud which in short not only rids the CF lids but contacts the bonnet when shut
Overnight parts from Japan. Had a Japanese performance company High Spark handcraft coils specifically tailored to my application. To keep it short initial low end/ mid-range torque response has picked up in the city and during WOT pulls and idles like an angel.
Very interesting. I observed similar improvements with my Ignition Projects coils.
What application-specific changes did you request?
Great work NIL, This is a incredible build thread to read through.
Just picking up an '09 Myself, I'm looking forward to tackling some of the same reliability and performance upgrades. The write up's will definitely come in handy, so a Thank You for that as well.
Fuel, spark, and compression must all be in sync to be firing on all cylinders in copacetic order. Cold dry compression test for raw results (wet warm compression test will yield better results since the rings will be expanded/sealed) However, it could very well mask any leaking rings/valves. Xentry rpm style compression test is a great way to validate compression at the same time there is no two ways about it that the classic compression test is always bang on when performed properly. Key take away point here is as long as all the cylinder values are within 5-10% of each other across the board and compression pressure values are within 12-16 bar (174-232 psi) you're in the clear; maximum wear limit value is 10 bar (145 psi) Jumper/boost box on factory battery strongly suggested to stabilize voltage drop (excessive cranking) including cranking out consecutive consistent compression pressure values without a shadow of a doubt. Replace compression test gauge or check valve if compression pressure values taper off. If you have two neighboring cylinders within question the head gasket could potentially be compromised between those cylinders
Built around a spark plug that has not been introduced to this platform (factory plugs no longer suffice my application) might reveal and update that post if it all pans out, hopefully not a flash in the pan @HLG600
Bring that Mars Red back to life @PHILLYCLSJOE
*Remove Intakes/Airboxes 7MM or flathead screw driver
*Remove Coil pack T30 fasteners & disconnect coil electrical connectors
*Remove/Inspect ALL Coils & Spark Plugs (Remove all 8 plugs prior to test to allow engine to turn over freely)
*Remove 40 AMP Red Fuel pump trunk fuse (prevent cylinders from flooding)
*Install Fully charged Jumper boost box (Release 4 tabs to remove junction box plastic cover for full access to positive terminal, utilize factory ground post adjacent to junction box)
*Turn ignition on into accessory mode and depress/hold accelerator pedal while simultaneously cranking the engine over for 5 seconds, record results and repeat for all remaining cylinders
*Inspect/Crosscheck all spark plugs are gapped properly and components for any stress cracks, refer to chart below for spark plug health
*Reinstall everything in reverse order (HAND TOOLS ONLY)
Hot lapping unquestionably can begin to cook the fluids, cooked fluids = limp mode and potentially a myriad of other issues if it slips your attention. Without saying too much a cooler machine is a more efficient machine. Fluid capacity is now 7.5 quarts instead of 5 and doesn't require the pan to be dropped to service. In addition to that, stronger neodymium magnets and internal baffles/external fins to keep the heat/debris out where it belongs and not to mention two -8 ports for additional cooling for extensive modified applications. Factory hardware/overfill tube/pan gasket can be discarded as Weistec incorporated the overfill tube into their design and have superseded factory hardware and pan gasket, factory transmission filter and fluid type still utilized; fluid type per VIN#
*TRANSMISSION SERVICE KIT PROCESS* *HOIST/JACK UP VECHICLE LEVELED
*REMOVE ALL 3 UNDER BELLY TRAYS (8MM) *LOOSEN E12 FASTENER 02 SUPPORT BRACKET LOCATED ON DRIVER SIDE BY A FEW THREADS, REMOVE TORX 30 FASTENER 02 SUPPORT BRACKET LOCATED ON PASSENGER SIDE SECURING CONDUCTOR SHIELD (MEMORIZE ORIENTATION PRIOR TO REMOVAL) SWING 02 SUPPORT BRACKET TOWARDS OIL PAN TO GAIN CLEARANCE/ACCESS TO ALL 6 TRANSMISSION PAN FASTENERS *REMOVE/DRAIN TRANMISSION PLUG (6MM ALLEN) INSERT/ANGLE LONG FLAT HEAD OR CHISEL THROUGH DRAIN AND PUNCH OUT OIL FILL TUBE INSIDE PAN TO DRAIN AN ADDITIONAL QUART. REINSTALL ORIGINAL DRAIN PLUG BY HAND *REMOVE ALL 6 (E10) PAN FASTENERS (FRONT PASSENGER PAN FASTENER SPACER HEXAGON LIKE SHAPE) SECURE/STABILIZE PAN WITH ONE HAND PRIOR TO REMOVING FINAL FASTENER (1-2 QUARTS STILL REMAIN IN PAN) LOWER/DRAIN PAN SCRUPULOUSLY AND INSPECT/DETERMINE OIL CONDITION *CLEAN PAN TRANMISSION PAN MATING SURFACE THOROUGHLY ENSURING THEY'RE NO PARTICLES/DEBRIS (MICROFIBER OR SHOP TOWELS FOR FINAL TOUCHES) *INSTALL/CLIP IN NEW TRANSMISSION FILTER *INSTALL/SITUATE PAN GASKET IN PROPER ORIENTATION ON WEISTEC TRANMISSION PAN *INSTALL ASSEMBLED PAN TORQUE ALL NEW 6 FASTENERS (4NM + 180�) *REINSTALL 02 SUPPORT BRACKET/ CONDUCTOR SHIELD IN REVERSE ORDER *REMOVE PAN DRAIN PLUG AND FILL/PUMP 5 QUARTS WITH OEMTOOLS MANUAL ATF FILLER SYSTEM 24441 PRIOR TO STARTING SO TORQUE CONVERTER DOESNT MOMENTAIRLY RUN DRY, START UP AND RESUME PUMPING ADDITIONAL 2.5 QUARTS ONCE TRANSMISSION TEMPS REACH 45 C OR 114F (COLD START 20 MINUTES FROM 18C-46C) EXCESS FLUID SHOULD DRAIN OUT, ONCE STREAM BEGINS DRIBBLING INSTALL NEW DRAIN PLUG/WASHER HAND TIGHT ONLY *ENSURE ALL DRAIN/FILL/ADDTIONAL PORTS ARE TORQUED SO THEY'RE NO LEAKS *MOMENTAIRLY SHIFT THROUGH EACH SETTING (P,R,N,D,L) AND PUT THROUGH ITS PACES A FEW CYCLES
Hot lapping unquestionably can begin to cook the fluids, cooked fluids = limp mode and potentially a myriad of other issues if it slips your attention. Without saying too much a cooler machine is a more efficient machine. Fluid capacity is now 7.5 quarts instead of 5 and doesn't require the pan to be dropped to service. In addition to that, stronger neodymium magnets and internal baffles/external fins to keep the heat/debris out where it belongs and not to mention two -8 ports for additional cooling for extensive modified applications. Factory hardware/overfill tube/pan gasket can be discarded as Weistec incorporated the overfill tube into their design and have superseded factory hardware and pan gasket, factory transmission filter and fluid type still utilized; fluid type per VIN#
For the road course, this pan wasn't overly useful for lower temps. It did help prevent the tmps from climbing as fast.
The largest benefit is the ease of fluid changes.
New to having Xentry. How did you get to those screens? It looks like "Diagnostics --> Control Unit -->" Then find fully integrated transmission control in the list?
Bye bye 2008. Originally considered the W205 wheel until it dawned on me that there were simply too many buttons, the W206 wheel is much more refined with touch control multifunction buttons that detects where the finger is at any given moment that seamlessly integrates flush into the spokes. For anyone who's looking to revamp their steering wheel Maksim aka username lthlc63 can carryout plug and play full retrofits specifically tailored/chipped to your liking/application per VIN; no more hardwiring, updated clock springs, or additional coding necessary to make it fully functional. Without saying too much I'm more than pleased there is no button delay, everything is fully functional and plug and play to my application; zero errors. Smiling ear to ear that i can finally register every shift banging into each gear now in wake of the carbon fiber magnetic shifter paddles. Overall senses and driving experience has heightened to another level and is nothing but pure bliss of joy to drive. Chopped tops gift a full glimpse of the instrumental cluster that completely lights up your face like the 4th of July for every 8K redline and at times the F1 design reminds me of an aircraft yoke, adopting the belief that I'm really not fast, I'm just flying low.
Steering Wheel Removal
*Extend steering wheel completely towards you*
*Disconnect Battery*
*Locate/Remove both (torx-30) fasteners*
*Tilt airbag and locate/disconnect (4) following electrical connectors and remove airbag*
*Remove center 10mm allen fastener (hand tool only; breaker bar is your best friend)
*Observe/Mark center spline on steering column before removing wheel*
*Install/center wheel with new center countersunk fastener PN# 000-900-62-39 (Red Loctite instead of blue now) torque to 60 ft lbs
*Finish install in reverse order*
@dattorob ARH & VRP provide their in house exhaust clamps when purchased new. VRP exhaust clamps sealed better than ARH clamps.
Mercedes SLR McLaren 722 S Is Extremely Rare Example Modified by McLaren
Slideshow: A one-of-one U.S.-spec Mercedes-Benz SLR McLaren Roadster became even rarer after a factory-backed transformation at McLaren's headquarters.