When you click on links to various merchants on this site and make a purchase, this can result in this site earning a commission. Affiliate programs and affiliations include, but are not limited to, the eBay Partner Network.
Months later, still no M177 dyno results. Why bother posting data to support these claims when you can just keep selling it as unproven snake oil? Seems really shady that the UPD won't even test, how long would that take? An hour or two at most on a dyno? And not a single independent M177 customer dyno to speak of either.
*20 to 25 hp gains are attainable by adding the UPD Cold Air Induction kit.
*Dyno test show 23-25 rear wheel hp gains on stock tuned motors over a stock car.
*Tuned and moded cars will see higher gains.
*Customers have seen 18 hp plus over a K&N filter with the UPD cold air induction kit.
Prove it.
Last edited by AlexZTuned; 03-29-2018 at 06:29 PM.
We have had a lot of satisfied customers, some of them choose not to post their results. If this item was not selling I would not do a 3rd production run.
All orders from yesterday, tracking has been added to Paypal transaction.
Thank you
Months later, still no M177 dyno results. Why bother posting data to support these claims when you can just keep selling it as unproven snake oil? Seems really shady that the UPD won't even test, how long would that take? An hour or two at most on a dyno? And not a single independent M177 customer dyno to speak of either.
*20 to 25 hp gains are attainable by adding the UPD Cold Air Induction kit.
*Dyno test show 23-25 rear wheel hp gains on stock tuned motors over a stock car.
*Tuned and moded cars will see higher gains.
*Customers have seen 18 hp plus over a K&N filter with the UPD cold air induction kit.
Prove it.
Unfortunately people are buying them, so from their perspective they don't need to prove anything.
Plus, I honestly doubt these would make any difference in power. If you had a product that didn't make any power, why would you go and spend the time and money to test it when people are buying it anyways. They have only to lose by running a dyno.
That said, they look cool and PROBABLY don't hurt your current hp production... So if you have money itching to be spent, why not haha
We have had a lot of satisfied customers, some of them choose not to post their results. If this item was not selling I would not do a 3rd production run.
All orders from yesterday, tracking has been added to Paypal transaction.
Thank you
So because you make outrageous power gain claims for marketing this product, and in turn have lots of sales from said claims, there is no need to back up or prove those claims?
I have no problem with people wasting their money on parts that do nothing (see any exterior/appearance mod), but if I buy a CF hood that�s advertised to be half the weight of the stock, and that turns out to be just half a pound less than stock, that�s something we refer to as false advertising (and if you�re challenged legally, you will have some major issues with the consumer laws here in the US).
Also, just some advice, if you�re going to make BS power gain claims, perhaps you shouldn�t copy and paste word-for-word those gains from a W204 C63 product page. At least make up some different numbers so it smells less like BS. Or maybe it�s just coincidental that the gains are literally identical on the NA M156 and the FI M177?
Glad you have enough buyers to do another run, since they all seem to believe whatever they�re told! Hey, if you claim and prove 25 HP TO THE WHEELS then I�ll ditch my BMC�s and buy a set today! Carry on...
Last edited by AlexZTuned; 03-30-2018 at 01:48 PM.
Plus, I honestly doubt these would make any difference in power. If you had a product that didn't make any power, why would you go and spend the time and money to test it when people are buying it anyways. They have only to lose by running a dyno.
That said, they look cool and PROBABLY don't hurt your current hp production... So if you have money itching to be spent, why not haha
The point is that they�re lying about their claims in order to sell more units. Can I come out with a new special super-duper special intake tomorrow, claim it makes 50 wheel HP, and see them fly off the shelf? I guess so since there�s a sucker born every minute.
I have this installed and I was planning to get some dyno results, however, the guys who work at the dyno place told me doing a dyno is a waste of money if I'm just going there to test the induction kit without using their tuning service, which makes me feel like an idiot. I have this kit for several months, all I can say is I don't feel obvious performance boost, but my gas mileage is definitely worse, I went from 13.4L/100km to somewhere around 14.6L/100km, I had similar results when I was using K&N filter on my C300, my guess is the MAF sensor detects more air and thus increases the oil injection to keep the Air/Fuel ratio, I'm not sure if this is the case, but honestly speaking, the only obvious change after using this kit is the increased fuel consumption. So I do need to get my car tuned to benefit from this kit.
I have this installed and I was planning to get some dyno results, however, the guys who work at the dyno place told me doing a dyno is a waste of money if I'm just going there to test the induction kit without using their tuning service, which makes me feel like an idiot. I have this kit for several months, all I can say is I don't feel obvious performance boost, but my gas mileage is definitely worse, I went from 13.4L/100km to somewhere around 14.6L/100km, I had similar results when I was using K&N filter on my C300, my guess is the MAF sensor detects more air and thus increases the oil injection to keep the Air/Fuel ratio, I'm not sure if this is the case, but honestly speaking, the only obvious change after using this kit is the increased fuel consumption. So I do need to get my car tuned to benefit from this kit.
Increases oil injection? You mean fuel? I highly doubt high flow air filters would alter the air/fuel ratio in any significant way. If your gas mileage is worse, you might want to check for vac leaks in the airbox (not sealed completely) or it's leaking at the turbo inlet since those pieces need to come off when removing the airbox for install... it's very possible that could cause gas mileage to suffer. Basically any air that's getting sucked into the intake side pre-MAF/MAP can cause poor gas mileage.
Increases oil injection? You mean fuel? I highly doubt high flow air filters would alter the air/fuel ratio in any significant way. If your gas mileage is worse, you might want to check for vac leaks in the airbox (not sealed completely) or it's leaking at the turbo inlet since those pieces need to come off when removing the airbox for install... it's very possible that could cause gas mileage to suffer. Basically any air that's getting sucked into the intake side pre-MAF/MAP can cause poor gas mileage.
I mean the MAF sensor might increase fuel injection to maintain Air/Fuel ratio since more air comes in.
And I guess I didn't install the kit in the right way, because their instructions are desgined very poorly that there's no video footage instruction at all, I figured it out by myself without having to remove the airbox (Inserted my fingures to hold the spacers and tried so hard to make sure they don't fall), I only needed to loosen up the turbo inlet so the upper part of the airbox can rotate, in this way, I didn't have to remove the airbox completely. And I did make sure they are tighten up afterwards, but anyway, thanks for your suggestion, I will do a filter clean tomorrow and try to find if there's any vac leaks in the airbox.
I do believe that there are gains with this over a stock setup. I do believe that the gains are from the upgraded filters being introduced into the system. I do not believe that the spacer adds any performance gain.
The reason why I believe this is because there claimed gains are similar to claimed gains from filters.
Increases oil injection? You mean fuel? I highly doubt high flow air filters would alter the air/fuel ratio in any significant way. If your gas mileage is worse, you might want to check for vac leaks in the airbox (not sealed completely) or it's leaking at the turbo inlet since those pieces need to come off when removing the airbox for install... it's very possible that could cause gas mileage to suffer. Basically any air that's getting sucked into the intake side pre-MAF/MAP can cause poor gas mileage.
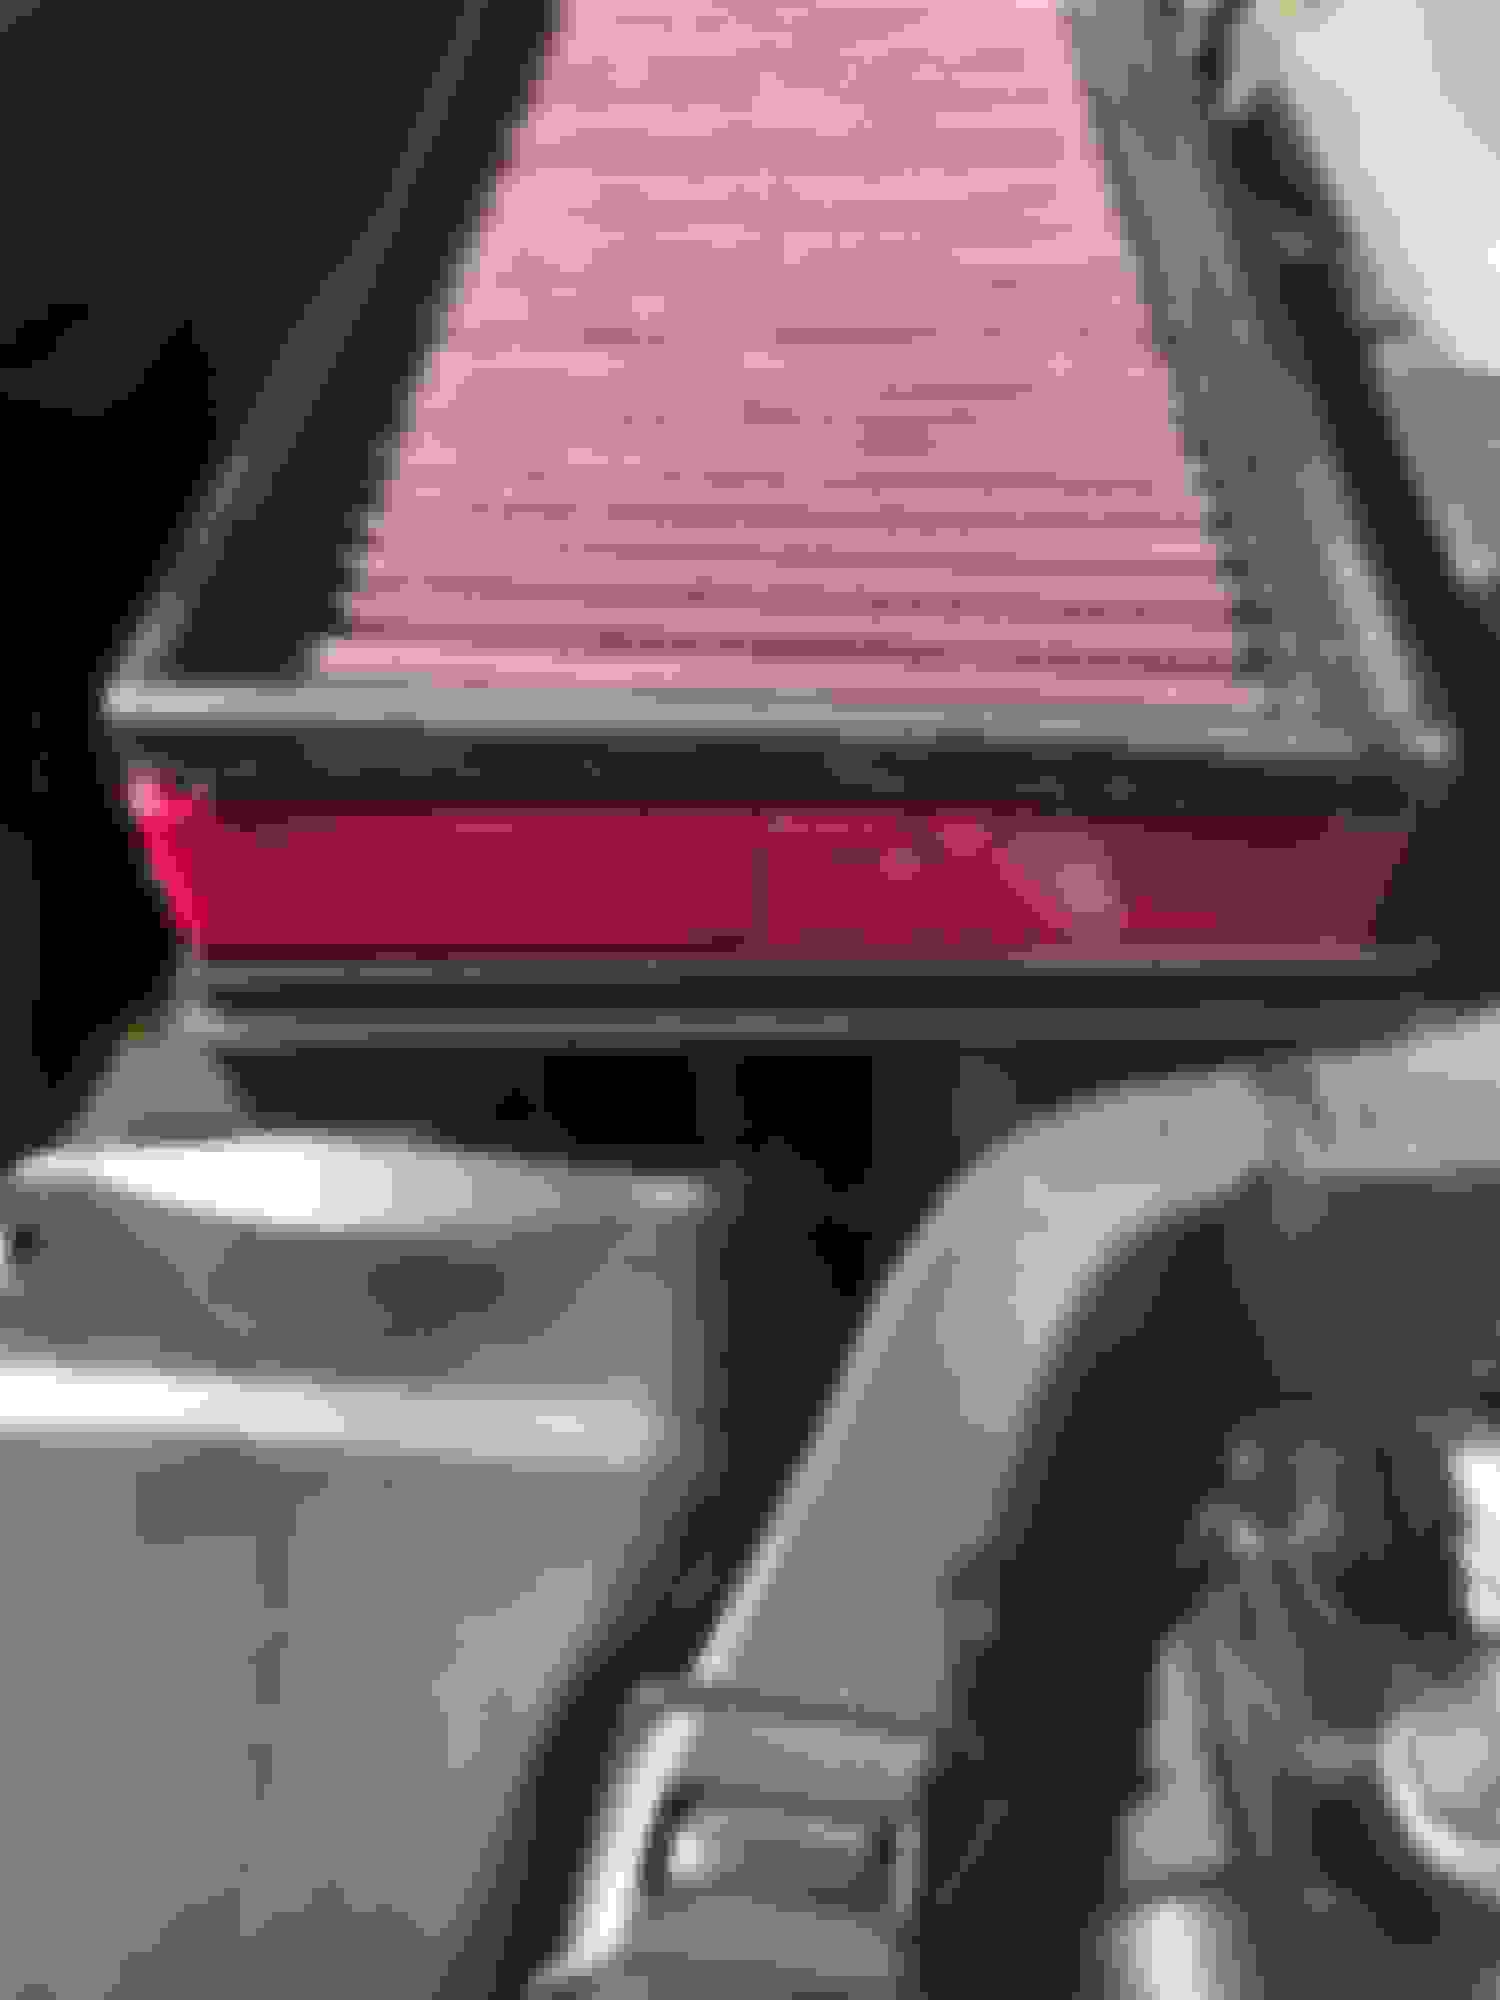
The installation looks like this:
Note it's not a perfect fit, the kit didn't get pushed in (I tried but it just won't fit in, you need some brutal force to get a snug fit)
While the idea of bolting a plastic spacer onto the car equaling horses and foot lbs of torque is a nice thought I am willing to bet the silence here is indicitive of the actual difference this makes.
Increasing the volume of the box will increase the amount of air going in?
So I just checked the installation, and found out they were indeed inproperly installed, see photos below, I pushed the filter inside the airbox, now it's a very tight fit
Below are the photos of the correct installation
I had to use this glue to fix the positions of those spacers, so I can then screw the bolts in an easier way
And I still need to point out that, I don't know if this intake makes a huge difference with a tune, but you definitely won't notice any difference without a tune, at least this is my user review after 5 months of usage. Not 100% sure if the increased fuel consumption is caused by this cold air intake though
Wow. The condition of the rubber/silicon gasket around the filter looks sketchy AF. A piece of that is just waiting to disintegrate and get sucked into the turbo compressor wheel... is FOD (foreign object damage) included in the price on the kit?
For all the trouble and potential issues, I don't know why you wouldn't just throw in a set of high flow filters and call it a day. Especially if you can't tell any difference in power over other drop-ins, and the manufacturer can't even (or won't) even validate their own claims. The risk/reward just doesn't make sense, and these things cost more than 2x-3x the cost of BMC filters.
Last edited by AlexZTuned; 04-02-2018 at 02:11 PM.
Wow. The condition of the rubber/silicon gasket around the filter looks sketchy AF. A piece of that is just waiting to disintegrate and get sucked into the turbo compressor wheel... is FOD (foreign object damage) included in the price on the kit?
For all the trouble and potential issues, I don't know why you wouldn't just throw in a set of high flow filters and call it a day. Especially if you can't tell any difference in power over other drop-ins, and the manufacturer can't even (or won't) even validate their own claims. The risk/reward just doesn't make sense, and these things cost more than 2x-3x the cost of BMC filters.
I say, it�s small price to pay considering the spin the earth beneath your feet torque you will gain from the plastic spacer. I say, grab your gorilla glue, and get to work installing this bad boy. Times a wasting...
I got my kit and installed it this morning after a slight shipping snafu (got sent the wrong kit, but Shardul sent me the right one without waiting for me to return the first one like many companies would have done). Wanted to post some thoughts and install tips. I just hit 30k on my car, and am stock. Dealer wanted $180 to replace the stock air filters as part of the 30k service, so I opted instead to spend $350 for this kit in the hopes of making a few more HP.
Install steps (the steps are virtually identical for each side):
1) Loosen four Torx screws from the airbox cover
2) Loosen screw-style hose clamp from airbox side of hose connector feeding turbo
3) Use a set of large pliers to loosen and then slide down the ~1.5" spring-style hose clamp holding hose to the front of the airbox
4) Remove one smaller cover attached to the back of the main airbox lid that covers the MAF and connector. It's held down with a simple plastic latch
5) Remove the MAF by rotating it 90 degrees and then slowly pulling it from the airbox
6) Remove the airbox cover by tilting it from the back, then prying off the two hoses on the front. The driver-side cover has an extra cover that runs front-to-back around the oil fill cap. It's just pressure-fit on. Give it a gentle tug and it will come off. Remove the four screws from the boxes completely
7) REMOVE THE LOWER AIRBOX HALF! I repeat, REMOVE THE LOWER AIRBOX HALF! I see a bunch of people in this thread that struggled getting the new screws and screw spacers lined up while trying to keep the lower airbox half in place. I too tried to save ten seconds by not removing the lower boxes, then wasted a good 20 minutes trying to line up the screws before dropping one of the screw spacers, requiring another half hour to remove the passenger side back coilpack to get it back (the spacer is aluminum, so a magnetic pickup tool won't work). The lower airbox halves are just held in with three pressure-fit rubber grommets. Super easy to remove, no tools needed. Give them a good pull upwards, and they will pop off. You can then work them free of the intake pipe. I REPEAT: REMOVE THE LOWER AIRBOX HALF! This eliminates any need to mess around with silicone or anything else to hold the screw spacers on.
8) At this point, I opted to take a few minutes to clean the airboxes. If you do this, BE SMART: make sure there's no water left in them. I used an air compressor to blow them out and dried them thoroughly
9) On your workbench, drop the anodized lid spacer into the lower half of the airbox. They fit VERY tightly. They will likely take a little persuasion/pressure to seat the fourth corner. GO SLOWLY, they WILL fit.
10) Drop in the filters. Wanted to mention here that I know there was a picture someone posted of their kit that showed some rubber "flash" from the molding process on the filters. I had no such flash on my filters; they looked fine. Not sure if it was just a different production run or what. Either way, that flash would be pre-filter, so I wouldn't be too concerned
11) Put the top covers on using the new longer screws and screw spacers. Torque them down GENTLY, a little at each corner. You don't want to over-tighten and crack the airboxes
12) Put the airboxes back in the car. Installation is mostly the same, except now you're installing the boxes as one piece. I found that getting the hose between the airbox and the turbo going first was the best way; if you don't tighten the clamp you'll have enough play to work the airbox into place and get the seated on the press-fit grommets. Make sure the smaller hose at the front of the airbox and the MAF sensors at the back aren't under the boxes as you work them into place.
Impressions:
1) MUCH more induction noise at 75-100% open throttle. Sounds cool, but yet is not noticeably louder at part throttle.
2) I wish the installation instructions were a bit better, ESPECIALLY stressing about removing the lower airbox half.
3) I wish the hardware (at least the screws) were black anodized like the OEM screws. While it's obvious something is going on if you start poking around the engine bay from the bright red spacers, in the event someone just takes a quick glance, it would be a bit more "stealth" with black screws
4) Does this kit make more power? The butt dyno and the increase in induction noise say yes. How much is from the filters alone and how much is from the spacer? Can't say, though intuition says all else being equal, supplying more air can't be a bad thing (though obviously, if the engine can't "use" any more, the extra air isn't going to do anything). The turbos do seem to spool JUST a bit quicker. Overall, for $350 I'm more than happy with this purchase.


 03-29-2018 | 06:27 PM


")