Do you know what model year they went full LED? Do you know for sure that the reverse lights are not LED?
I'm not too sure. My build sheet said Full LED lighting, yet, didn't have the "LED reverse lights" i saw on other build sheets.
I am sure mine aren't, and if they are, then they do not show well through the lighting's housing lol..
well does anyone know if i install them, that i will be okay? i feel that's one aesthetic touch this car is missing.. but i also dont want to trip an error code or mess up any wiring with a weird bulb that isnt stock..
The facelift tailights 2015+ that have a darker tint are full led. Taillights prior have a regular reverse light otherwise everything else led. Also euro lights have amber turn signals and usa is red, just a note if someone decides to retrofit.
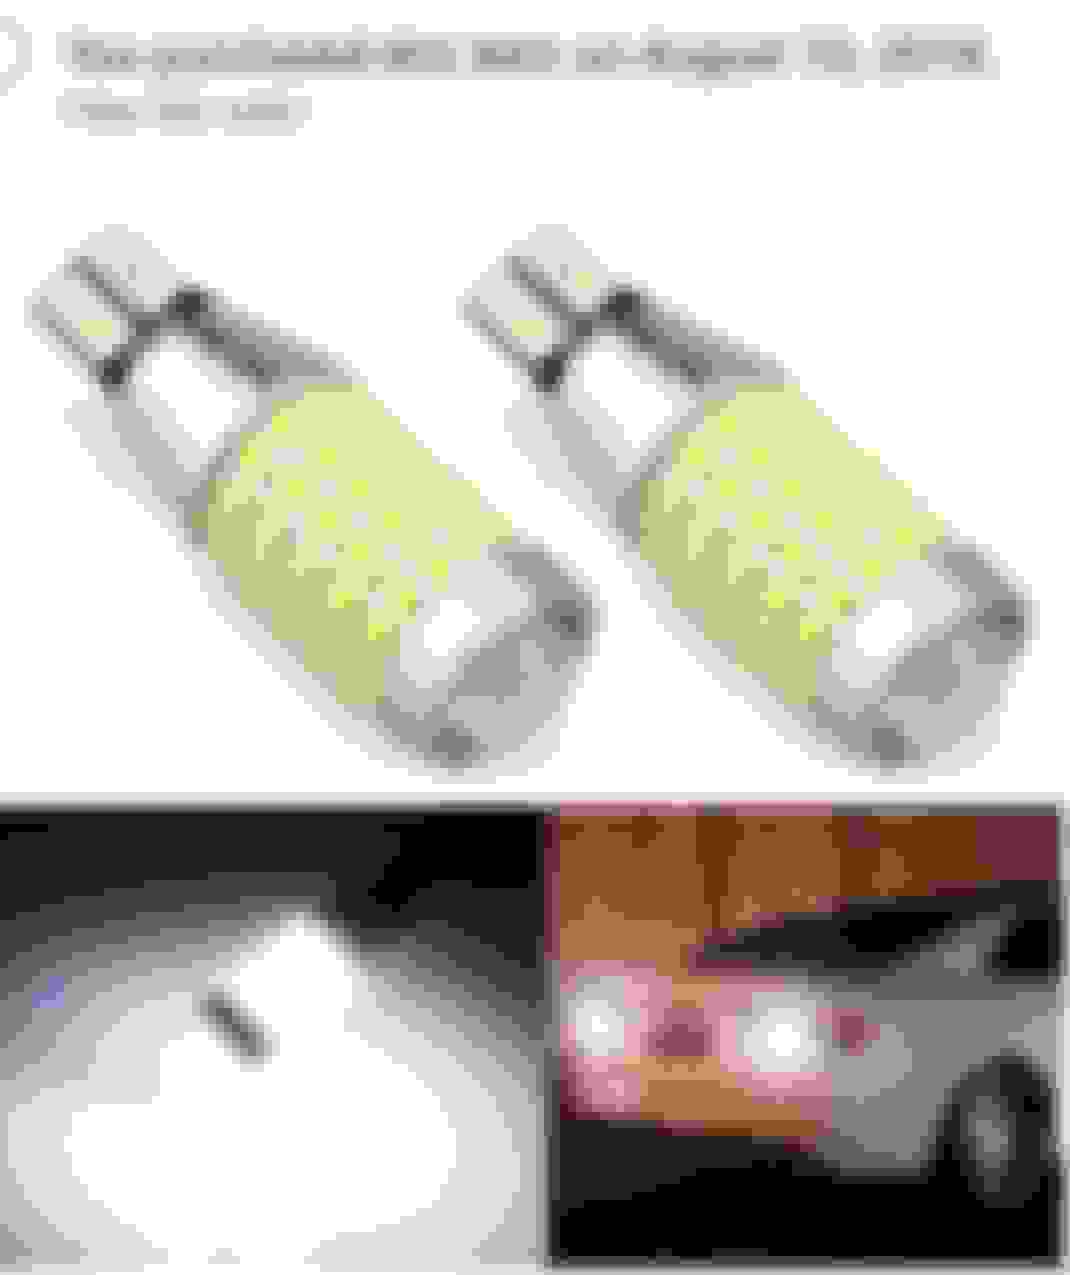
Just swapped out the reverse lights on my 2014 CLS550, I can confirm that they come with standard halogen 921 bulbs. It took me about 15 minutes total to swap both bulbs out. I bought the bulbs from a seller on Amazon who I have bought from in the past. Keep in mind that when you remove the rear light assembly that the reverse lights mount from the bottom and are vertical when installed, not horizontal like so many other cars. So get a bulb that has multiple LED's on the sides as buying a bulb that just has one led focused out the end will work but will just shine up in the housing not straight back.
Also, mine were plug and play, no need for resistors. It's a major improvement over stock. I'll try and post some pics later.
man I�m glad someone did it. Are you supposed to just pull the lining back to reveal the lamp cluster? What about the plastic sill the the trunk latches to? I didn�t want to break anything so I stopped ! Pics please!!!
Process and Pictures
This should take you around 30 minutes. Novice level difficulty.
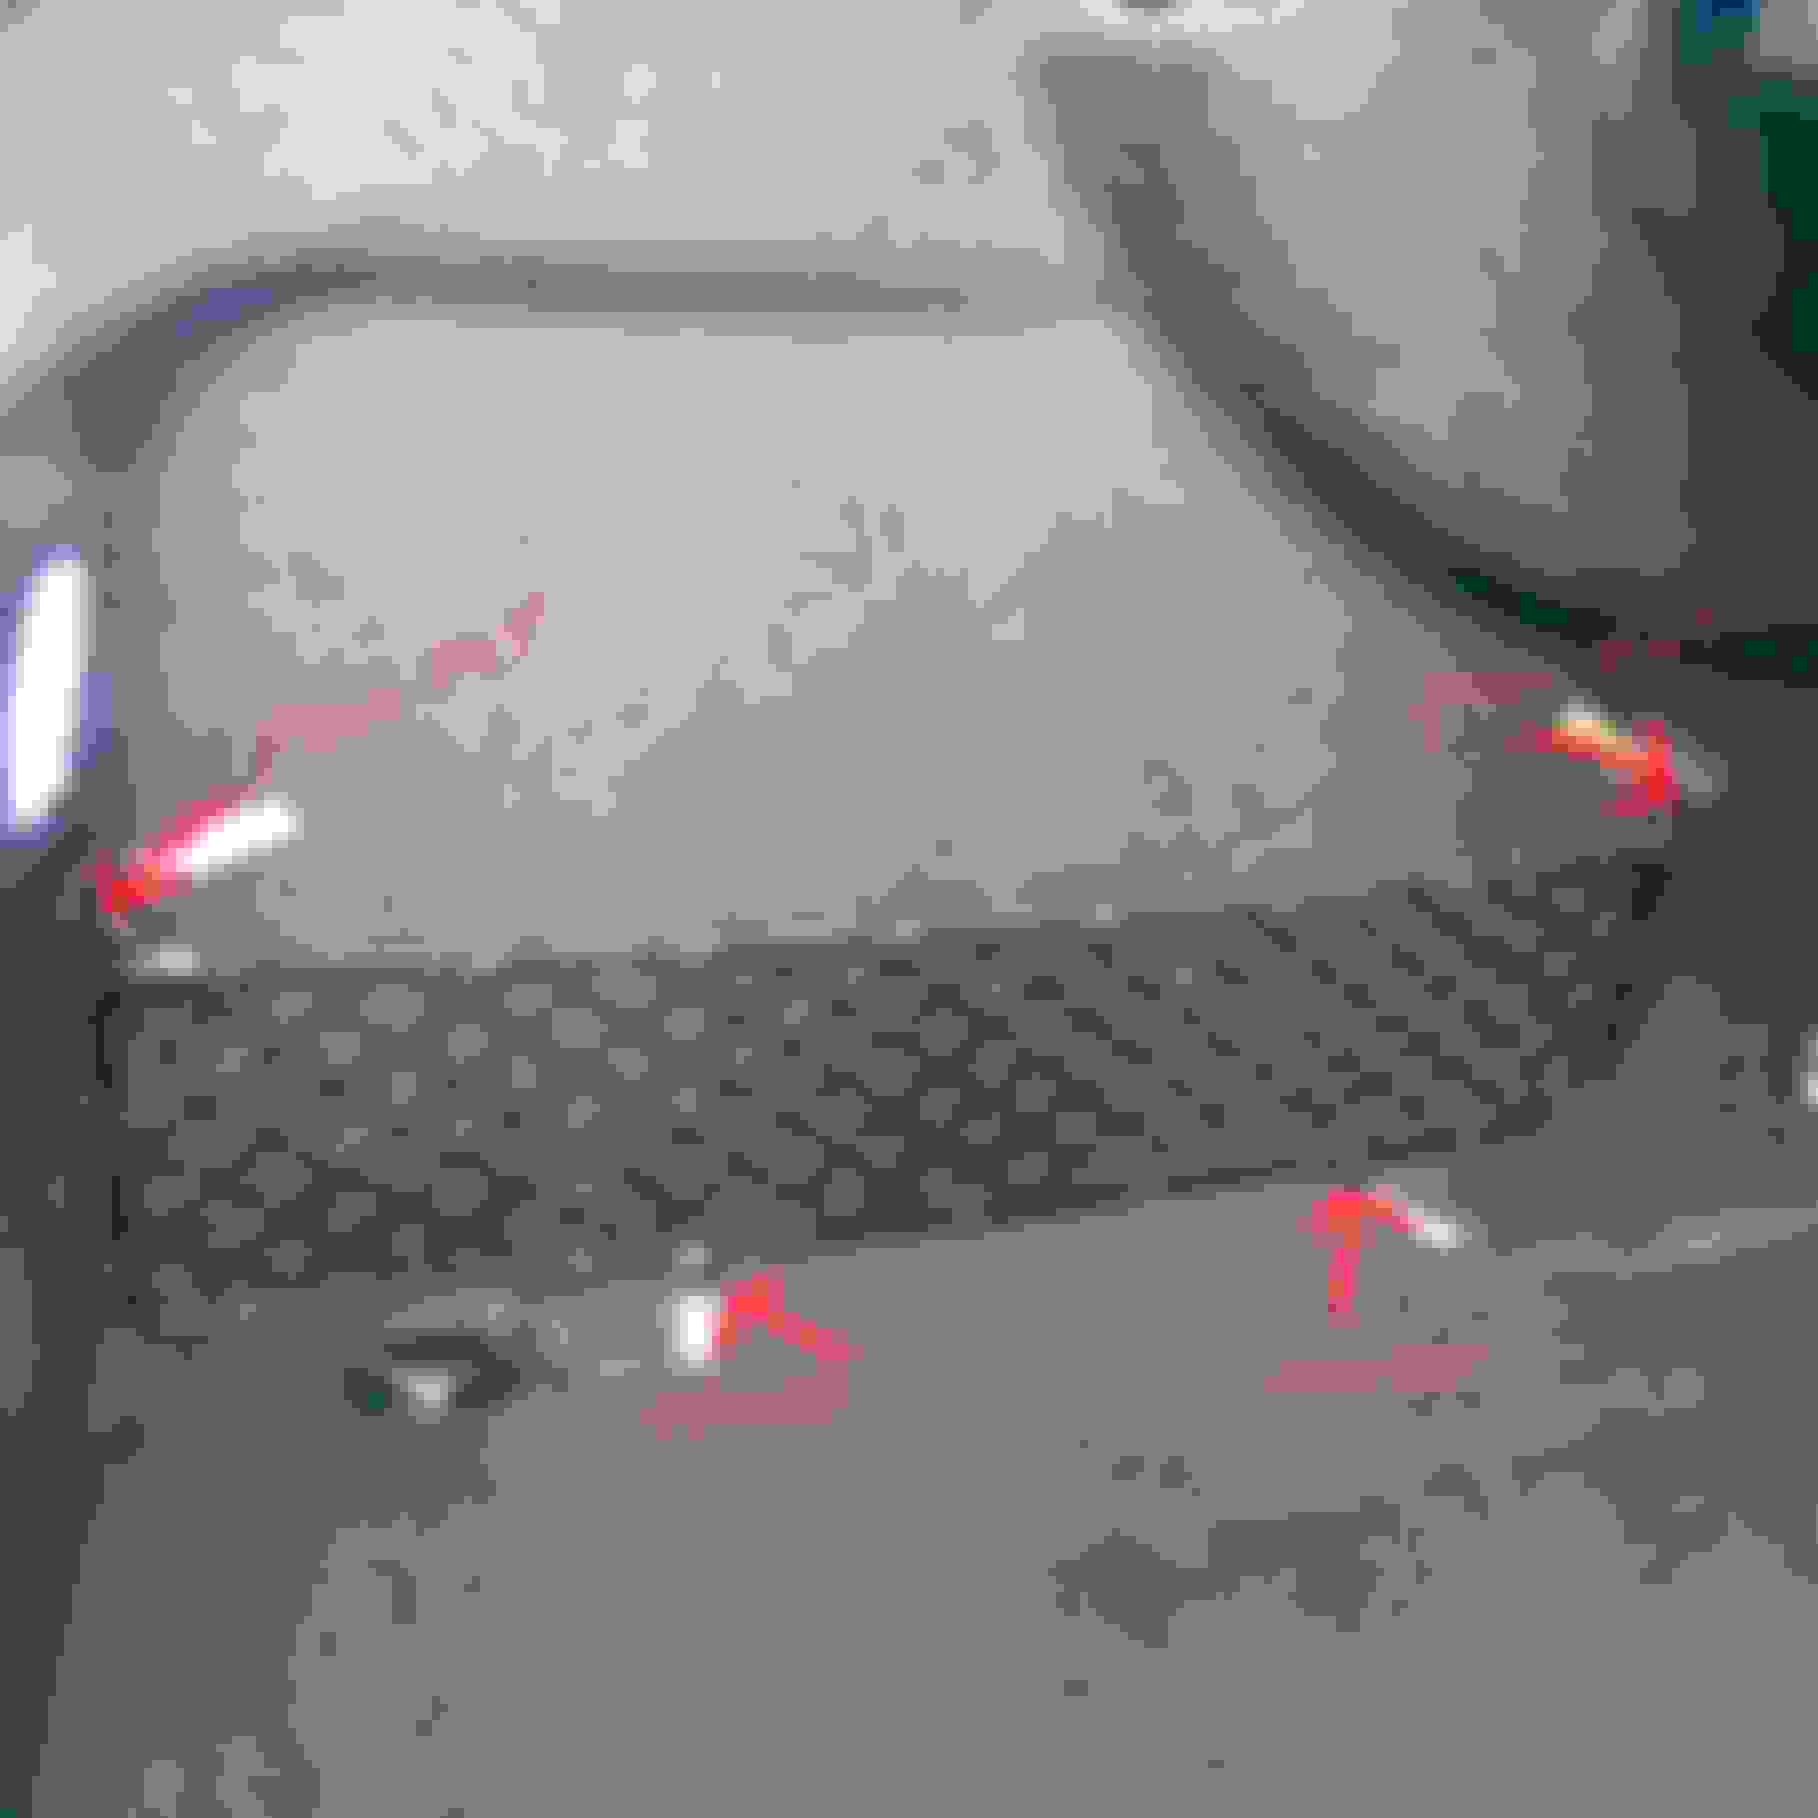
Remove the two plastic trim fasteners.
Remove both side cargo nets, unsnap and pull out. Remove this cargo tie down with T-40 Torx
Loosen 10 mm nut, remove the plastic trim fastener, pry up at these locations.
Loosen 10 mm nut, remove the plastic trim fastener.
Pry straight up, four fasteners so move wedge close to each fastener.
Showing the four trim fasteners that hold the back molded trim piece in place, pry straight up.
Bungee cords or similar to hold carpet trim panel back.
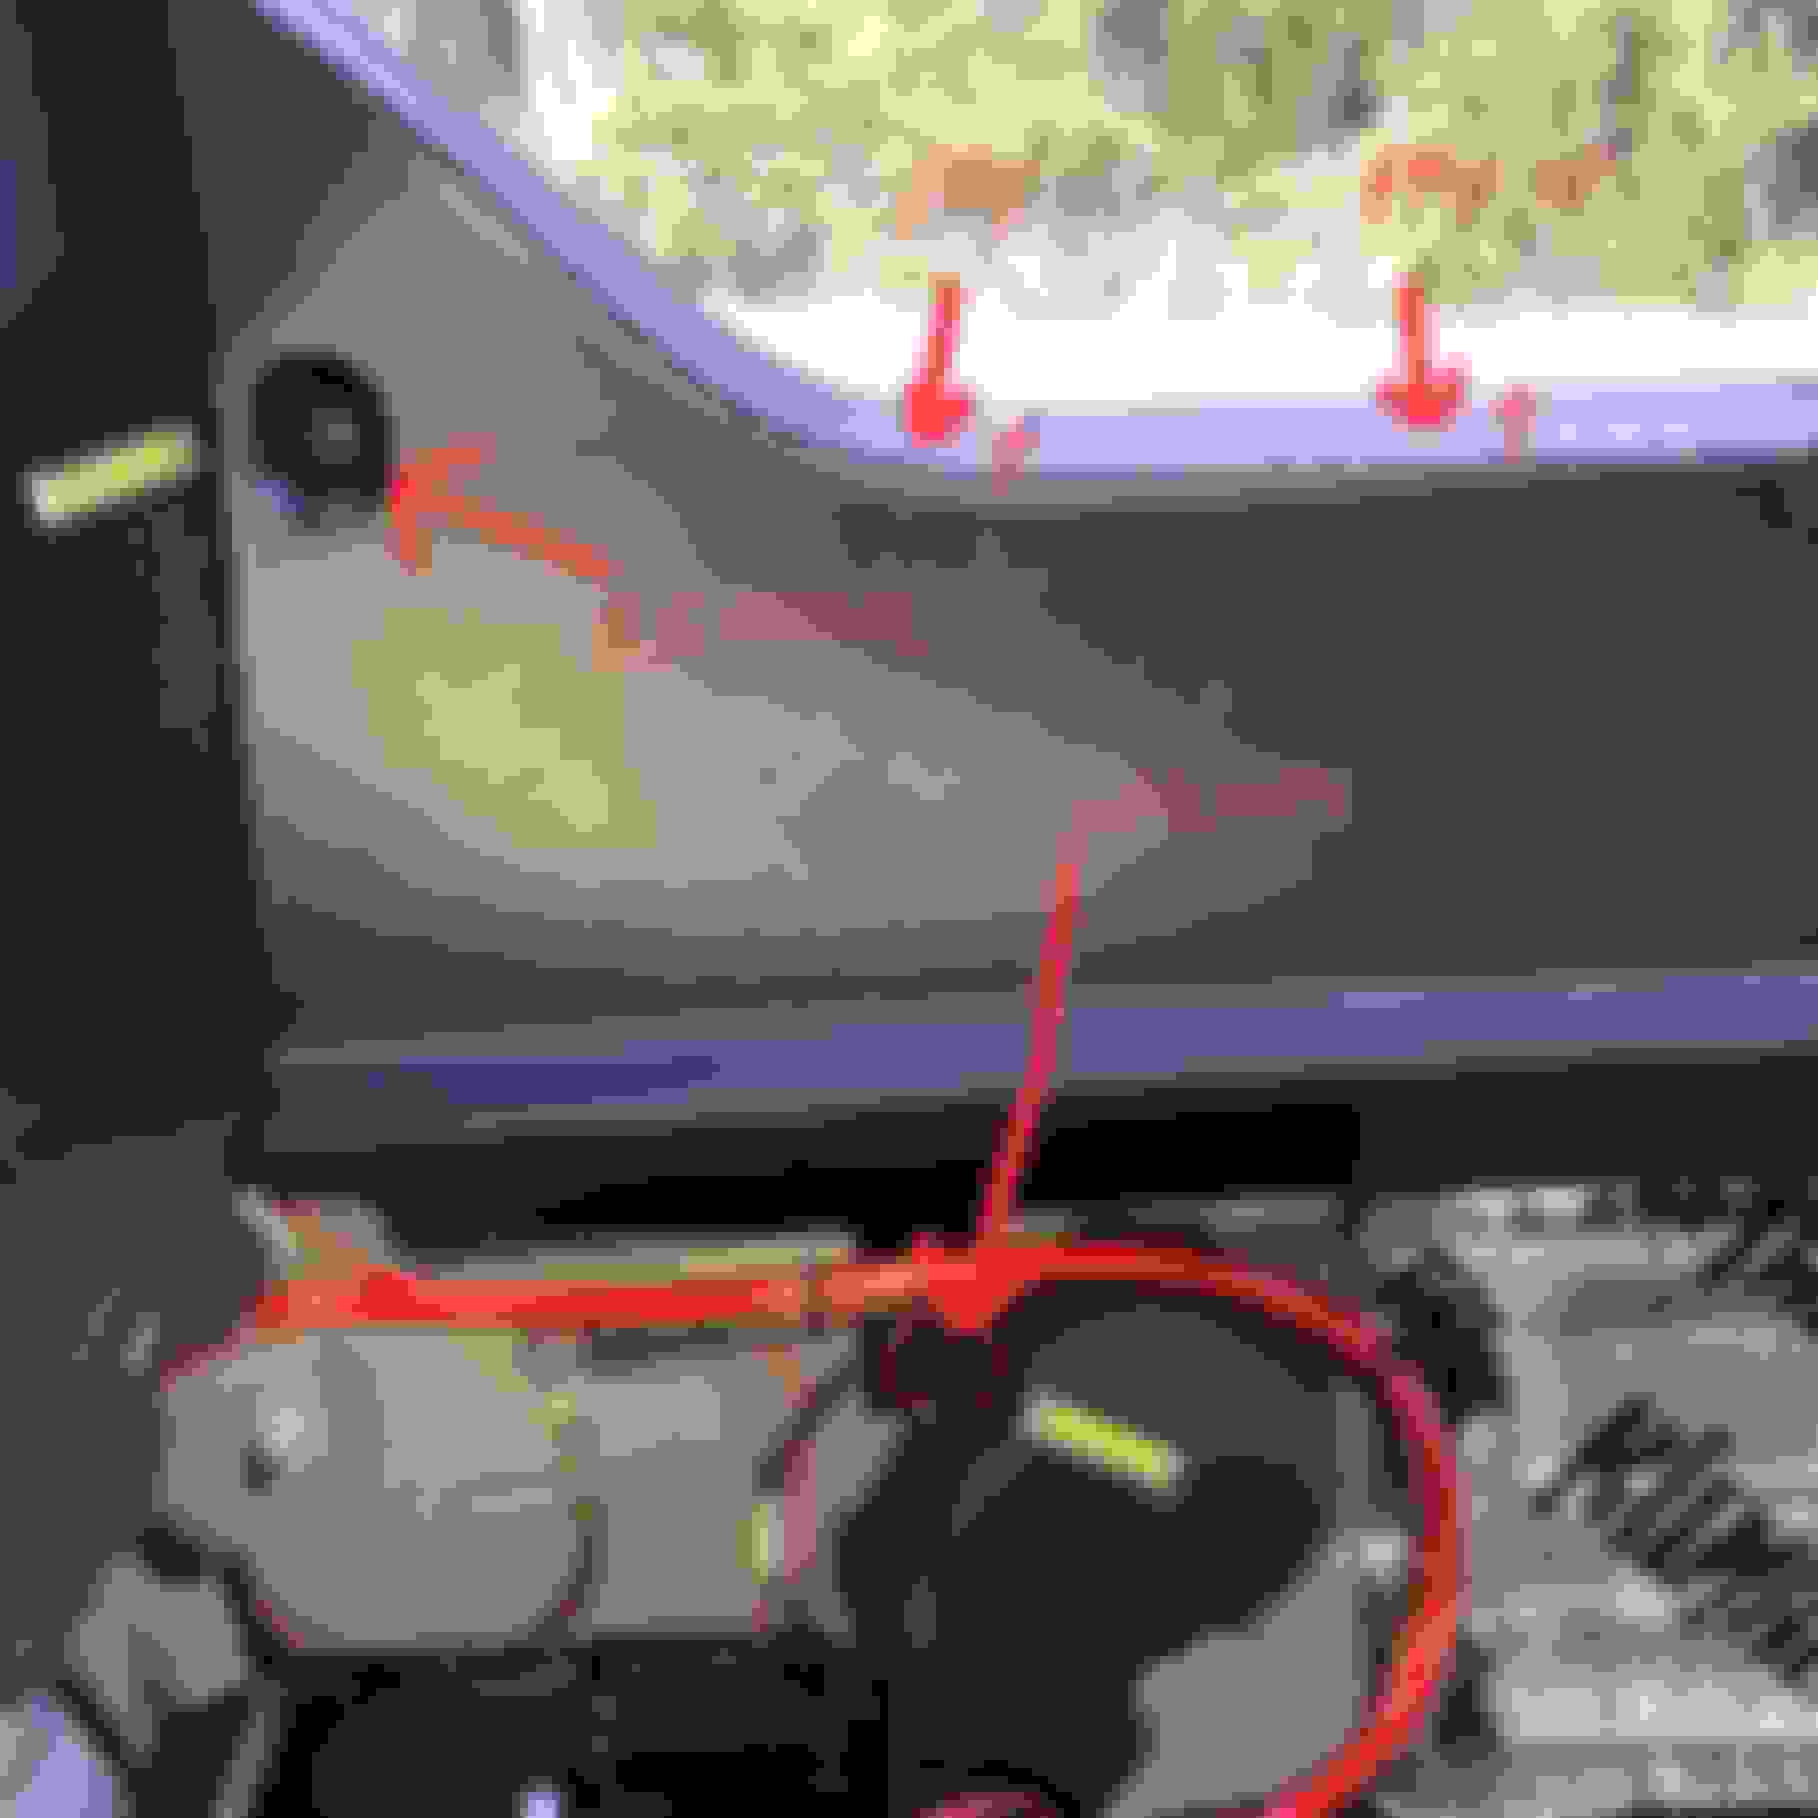
Drivers side, remove four 8 mm nuts.
Need socket extension.
Passenger side, remove four 8 mm nuts.
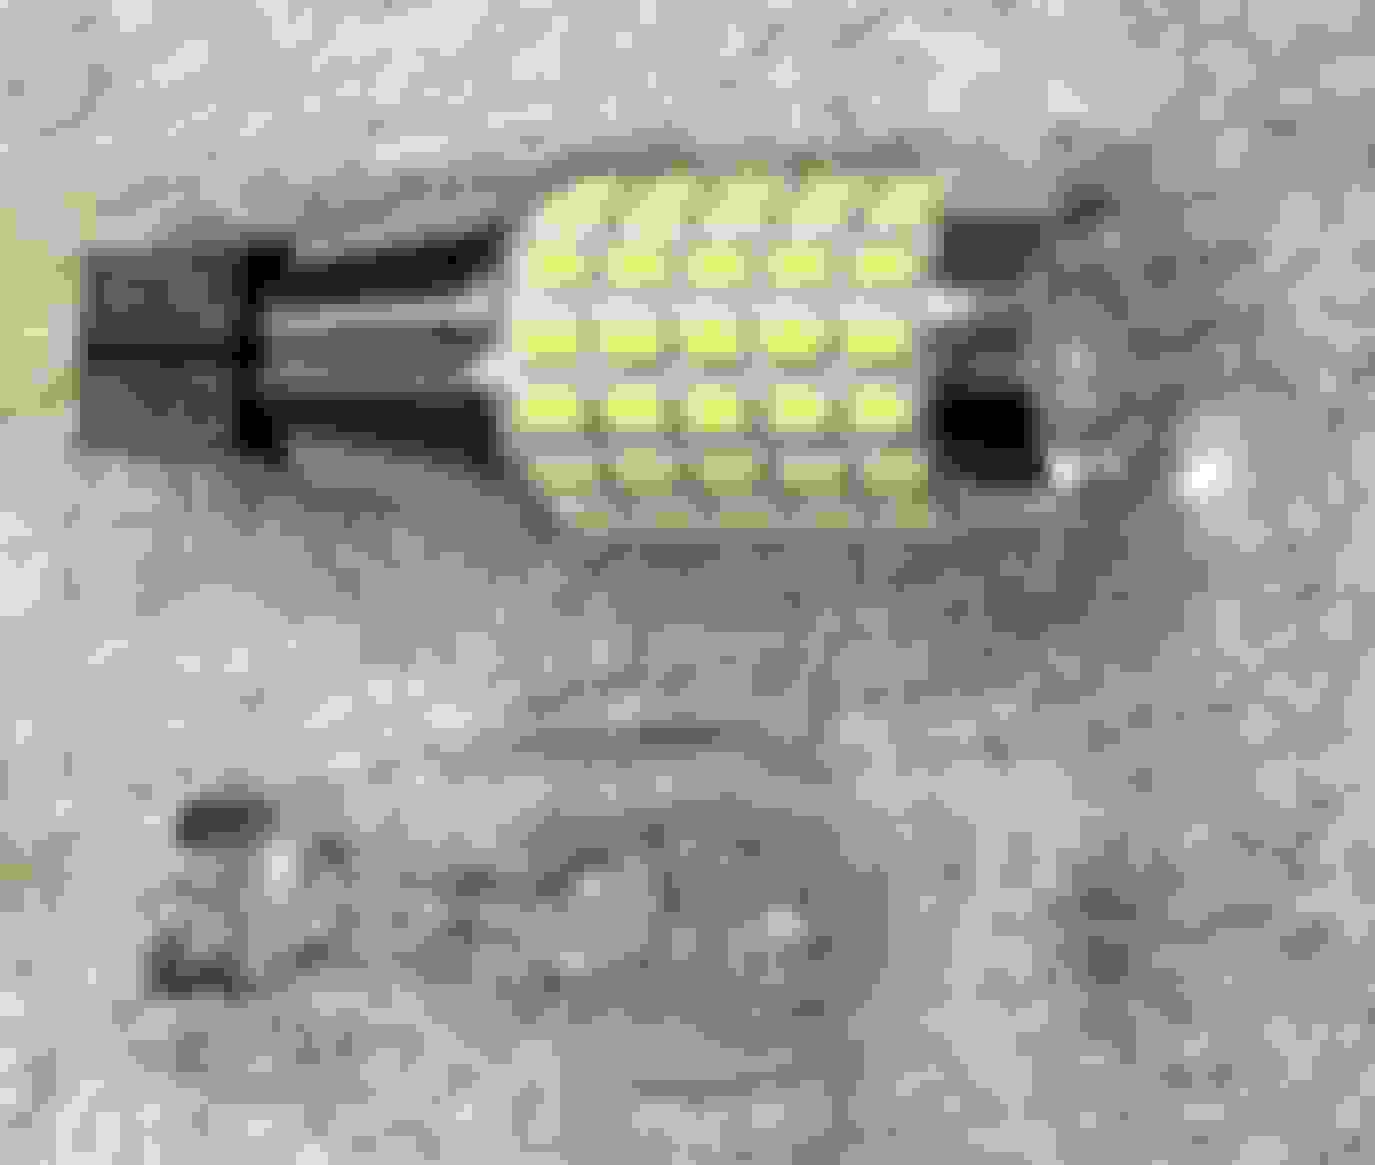
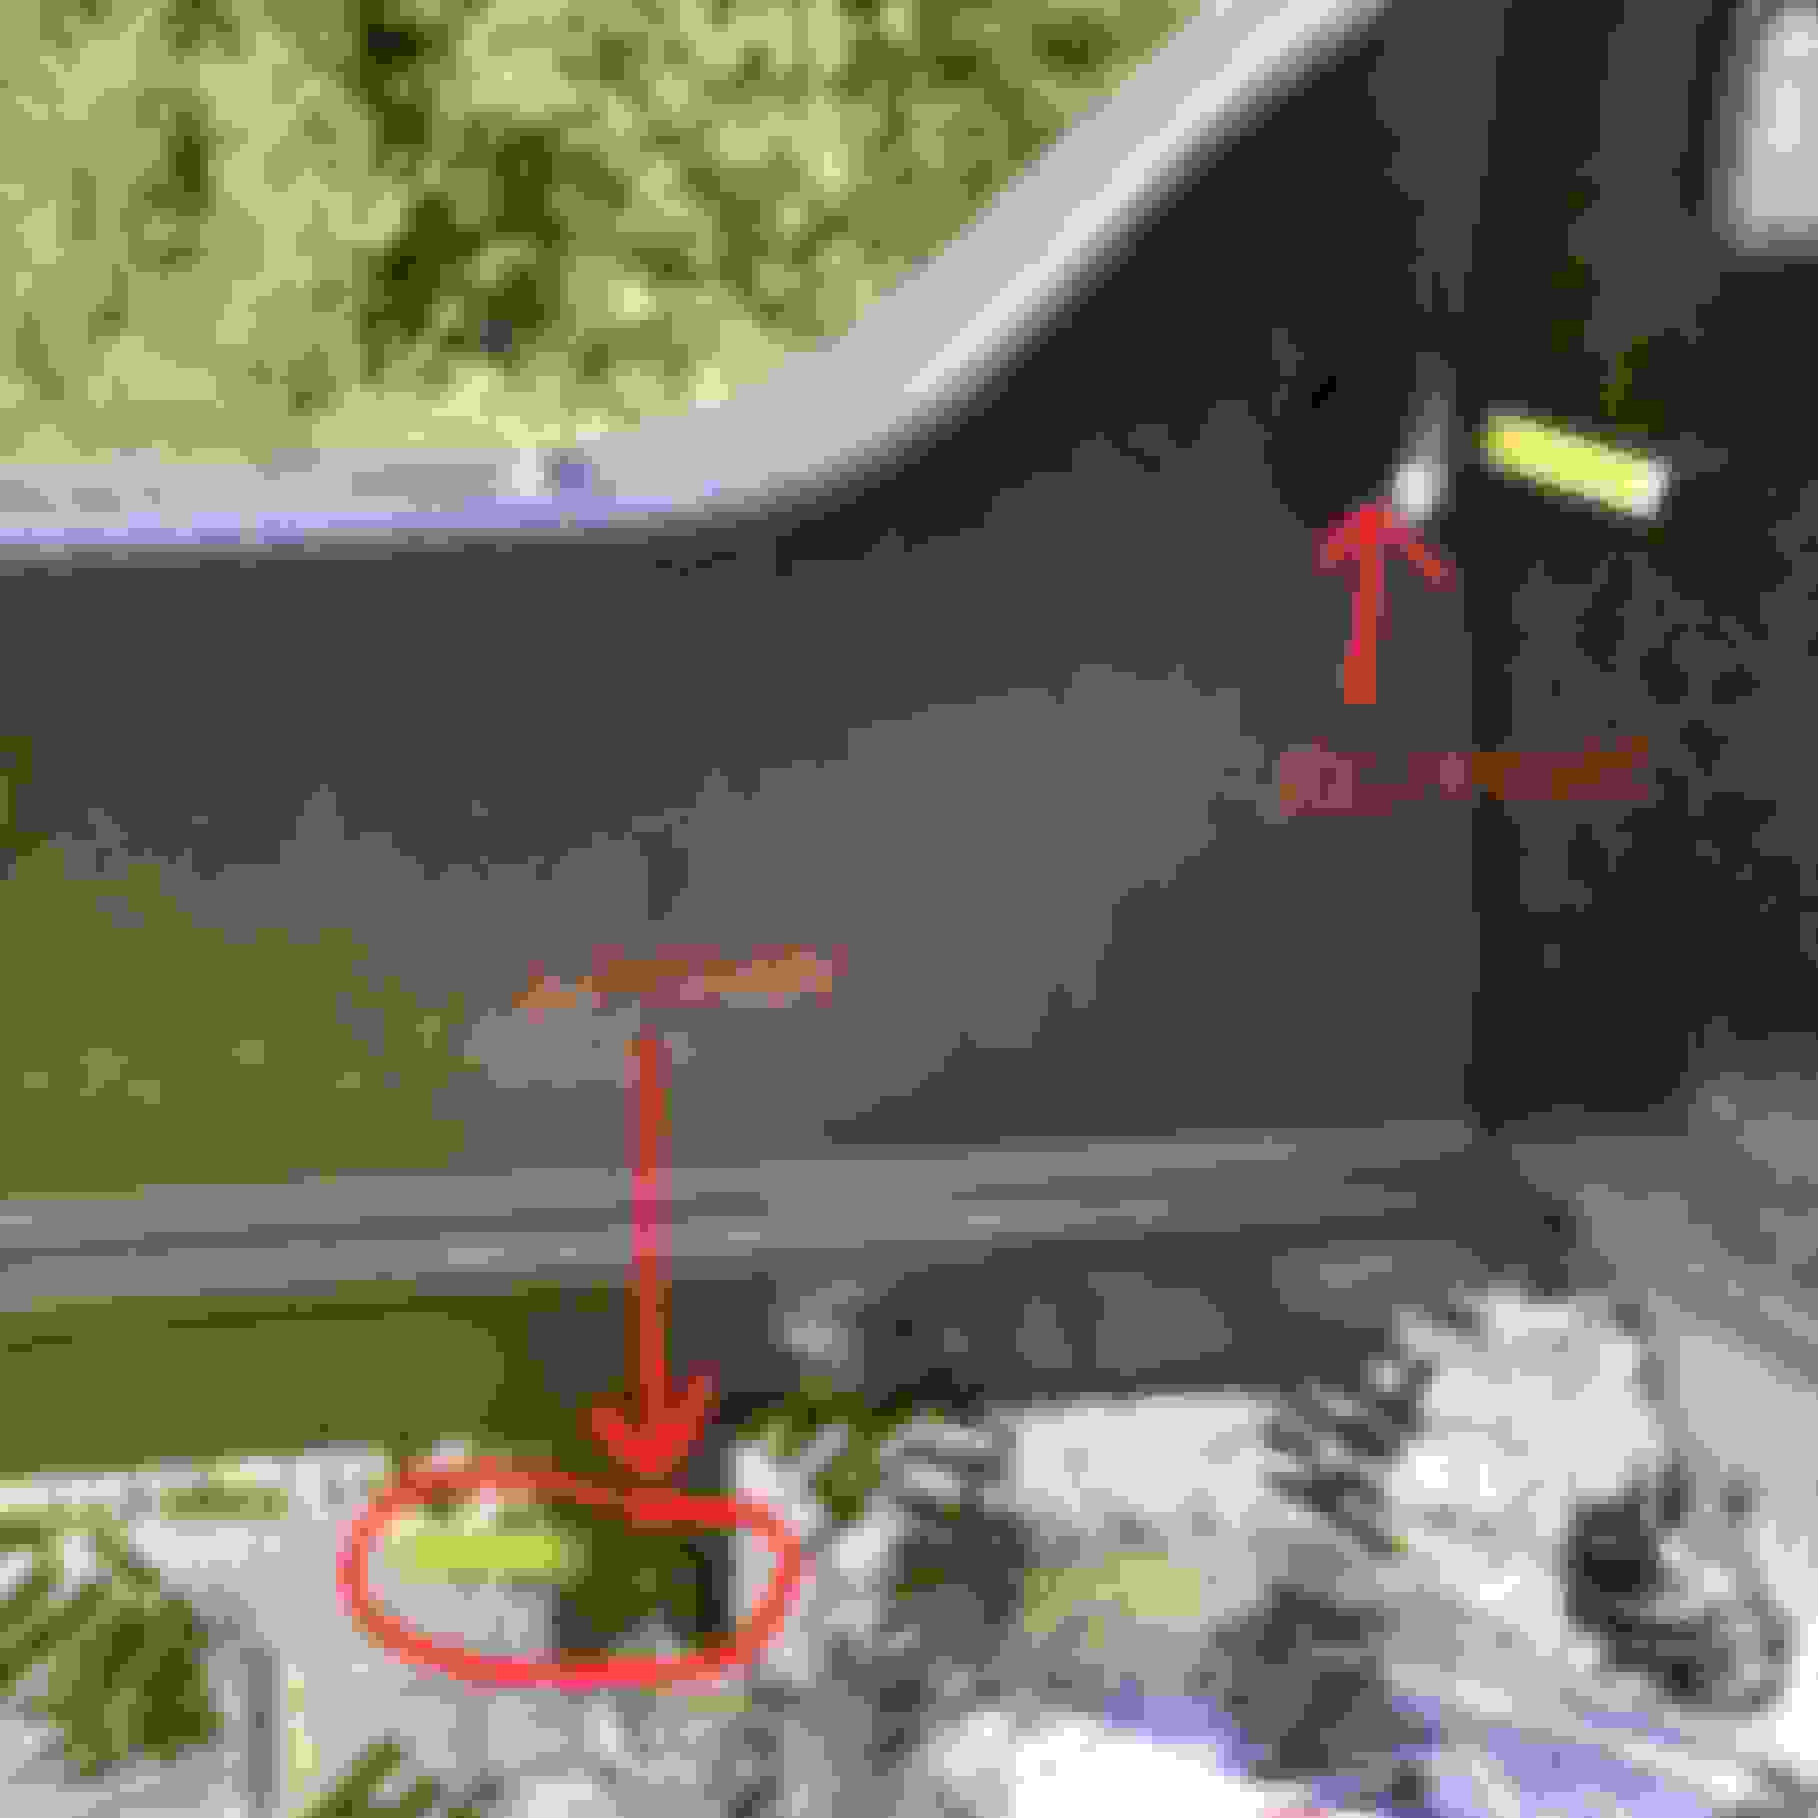
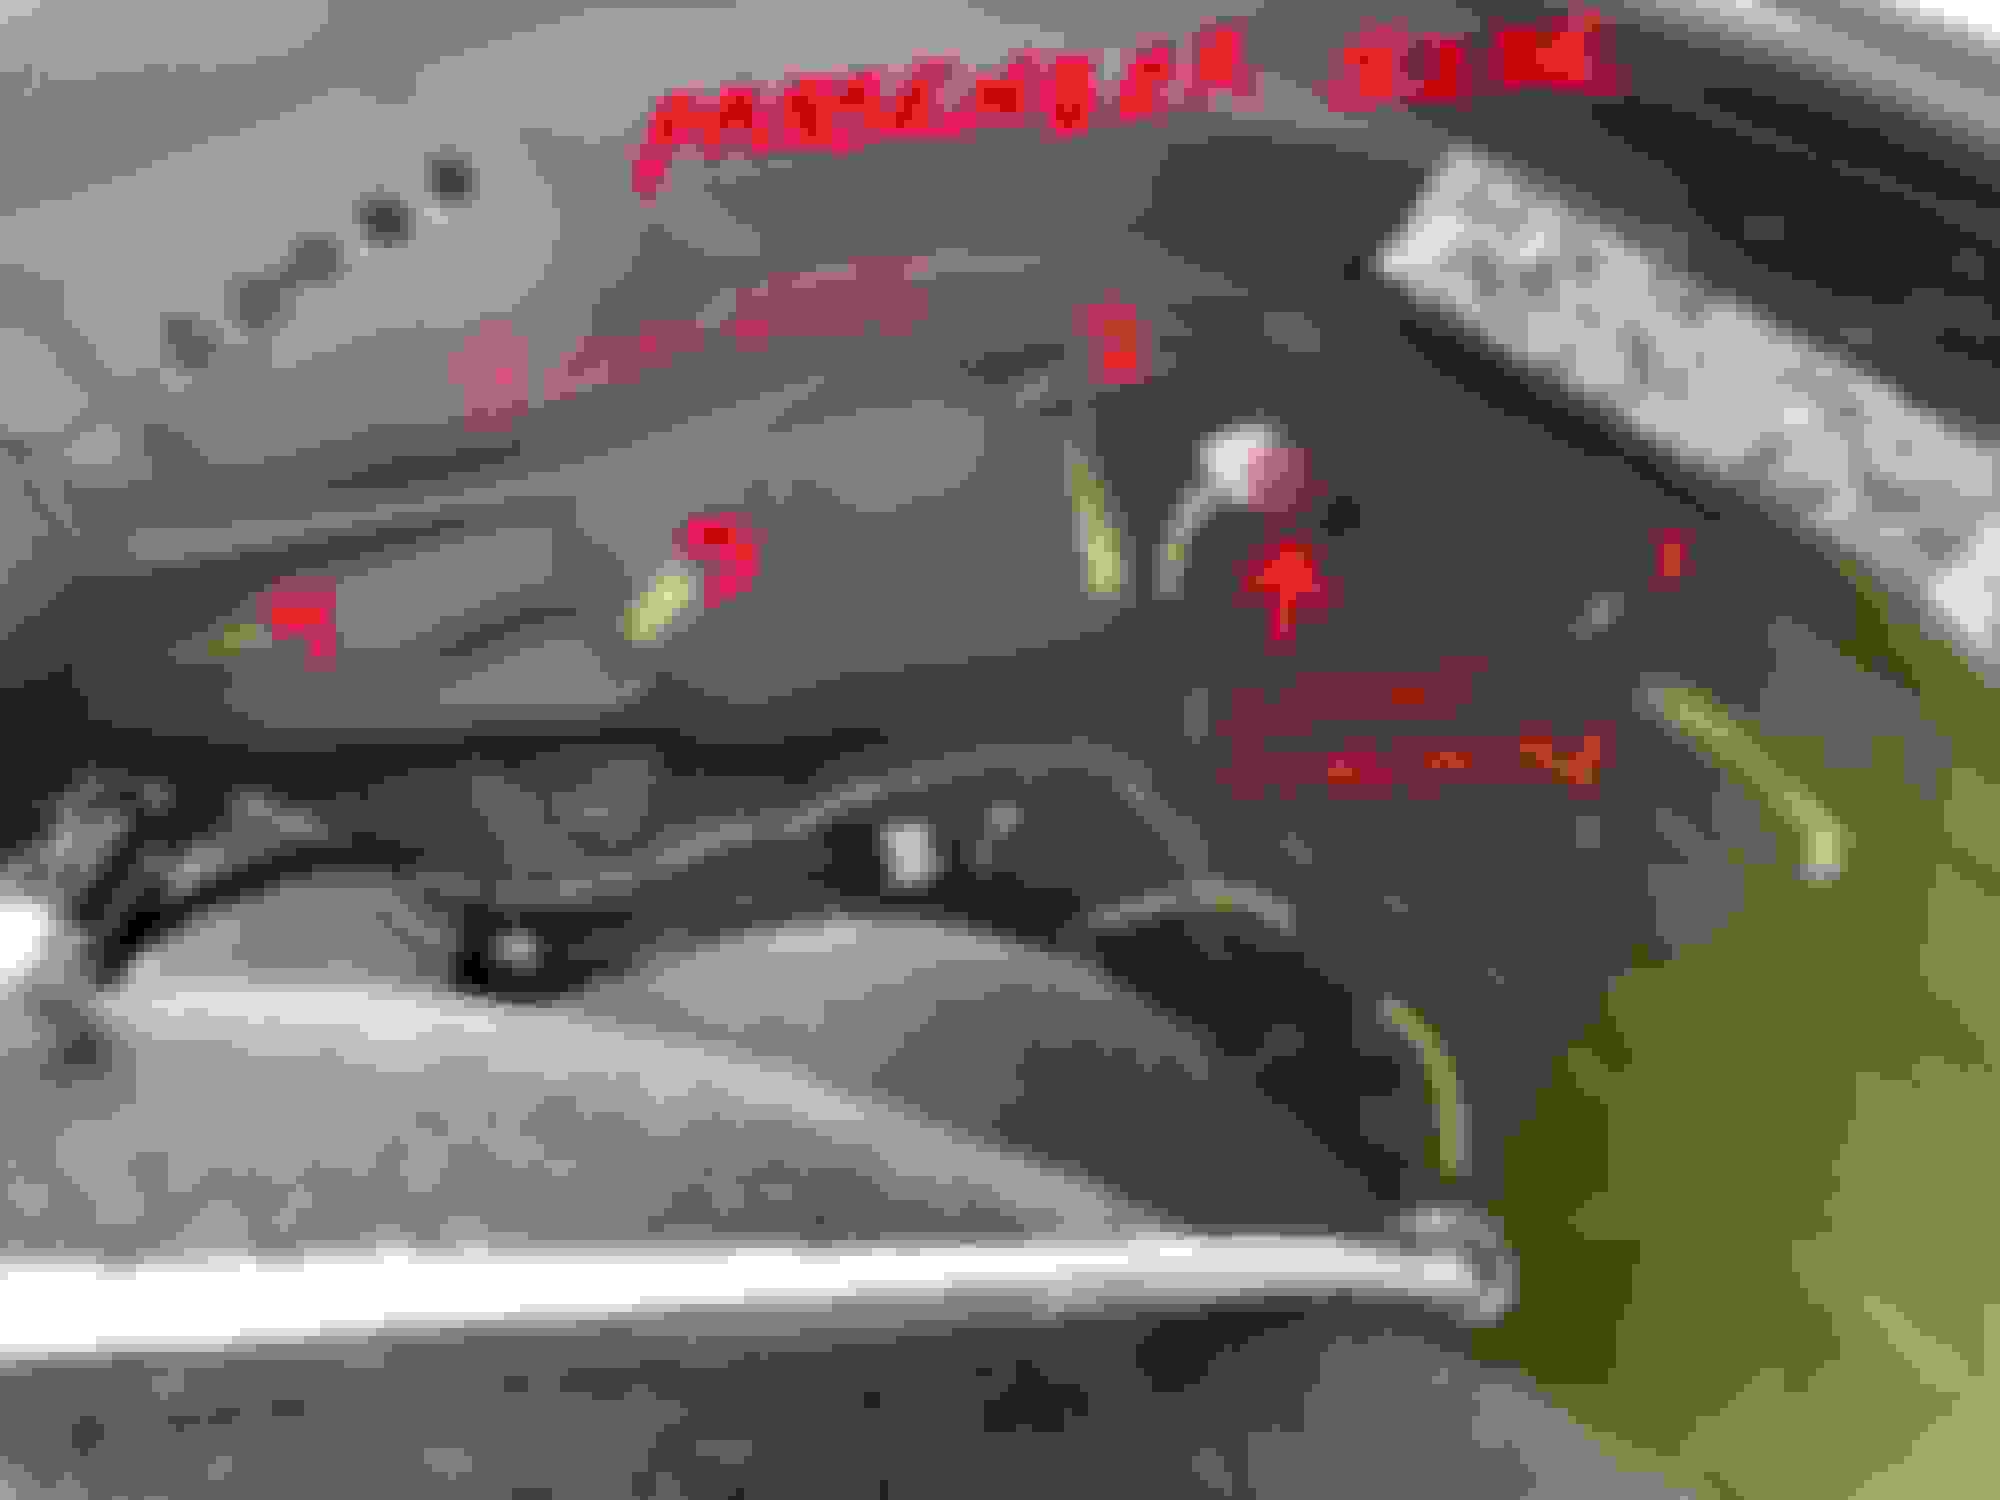
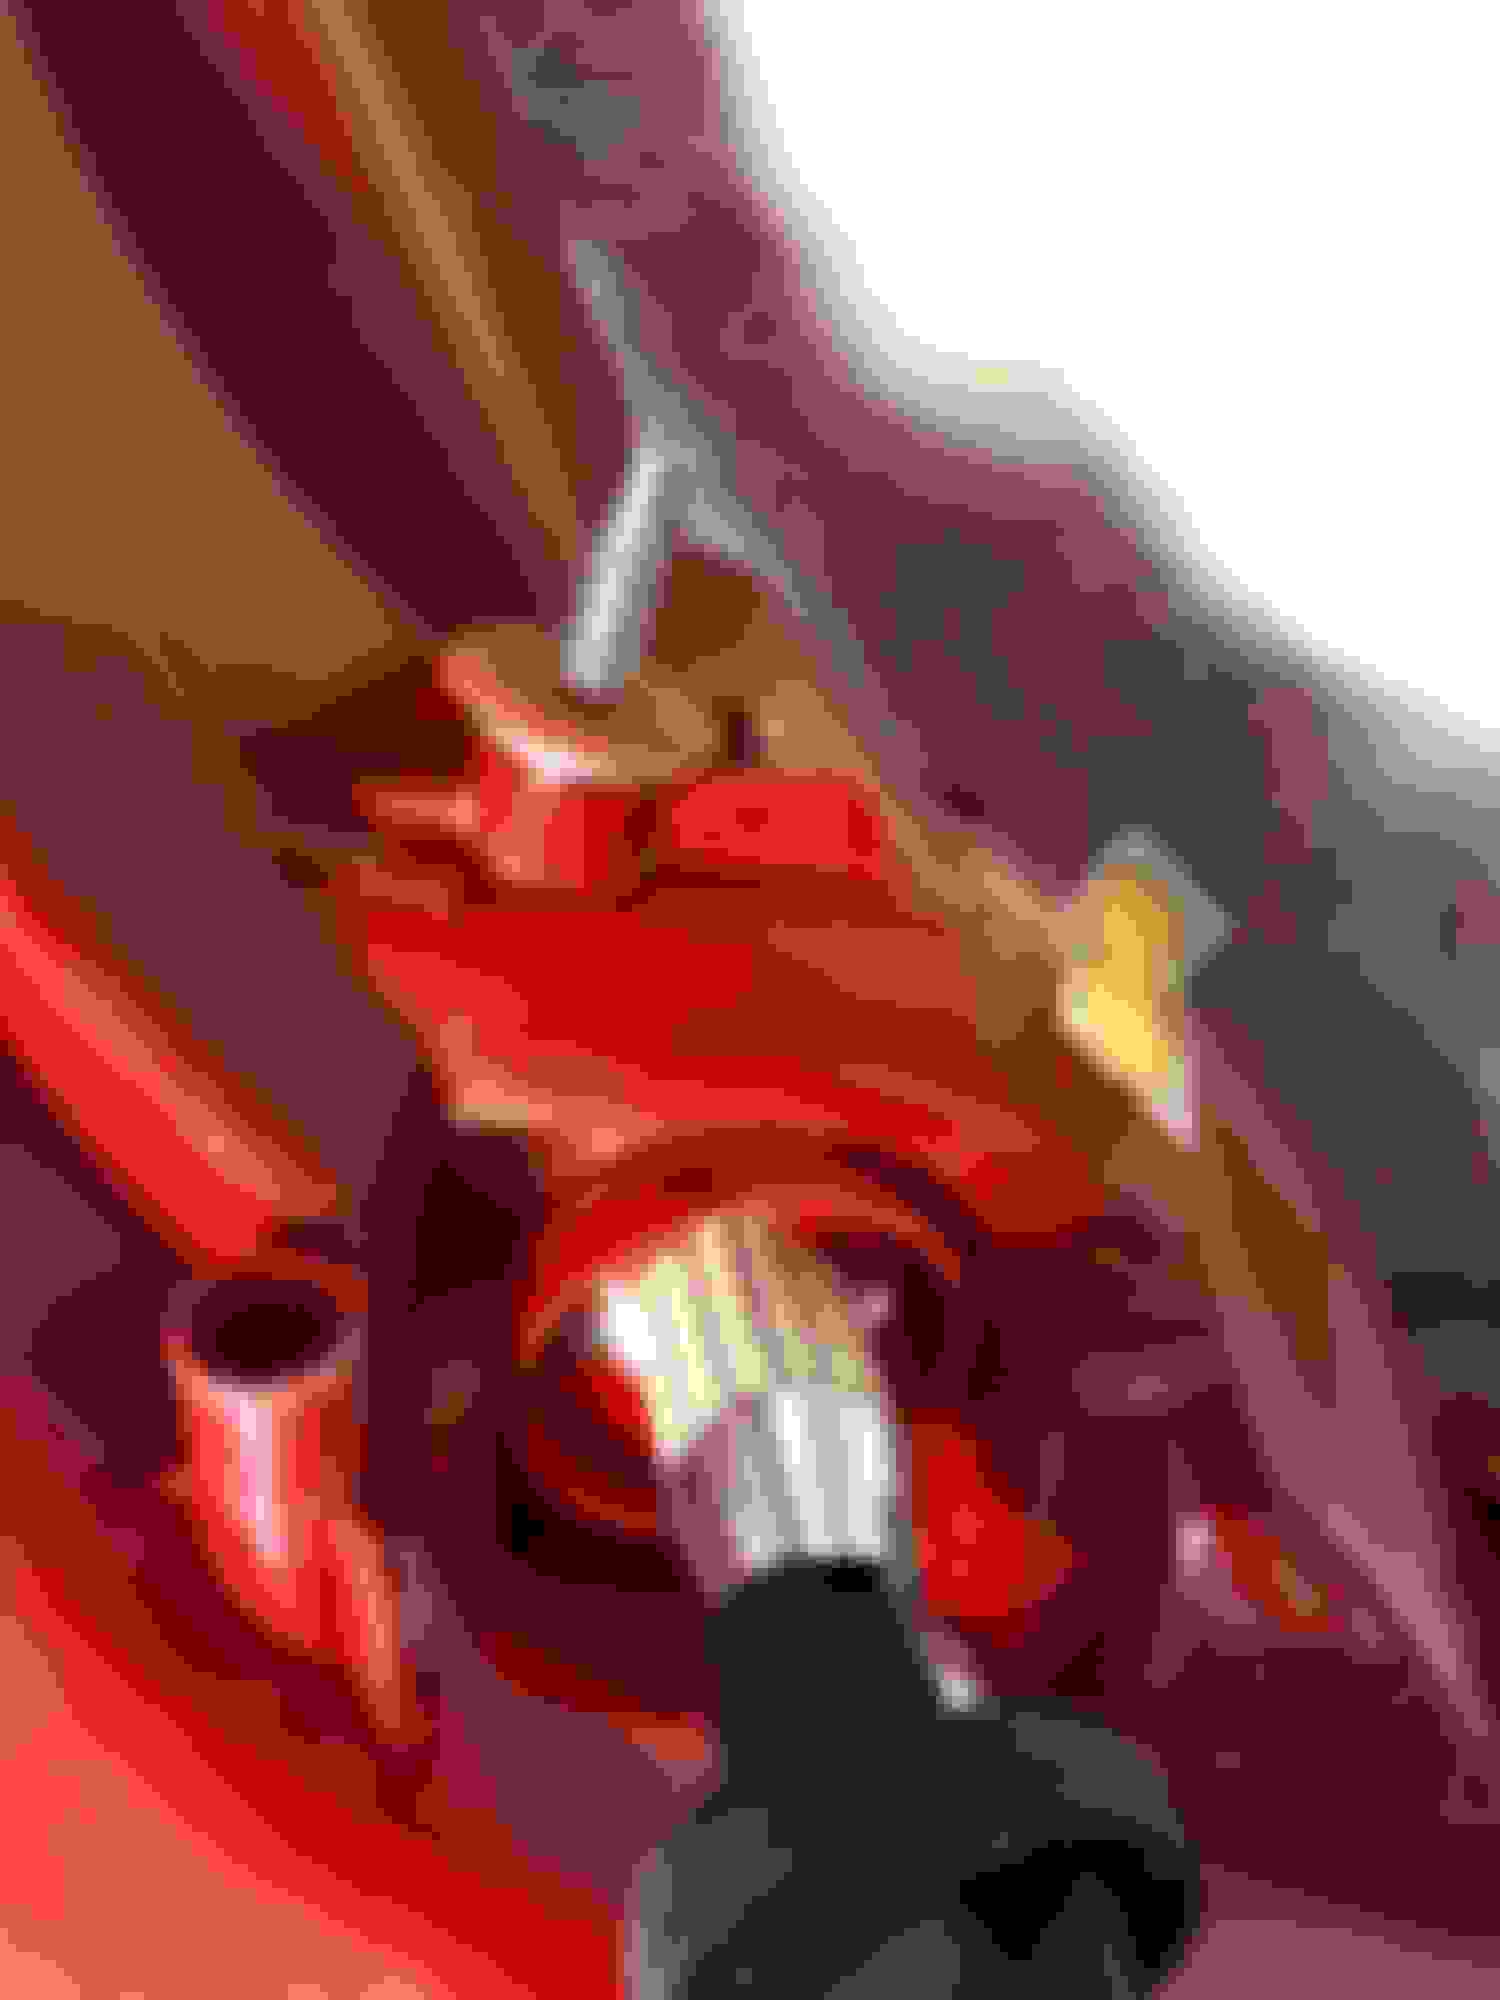
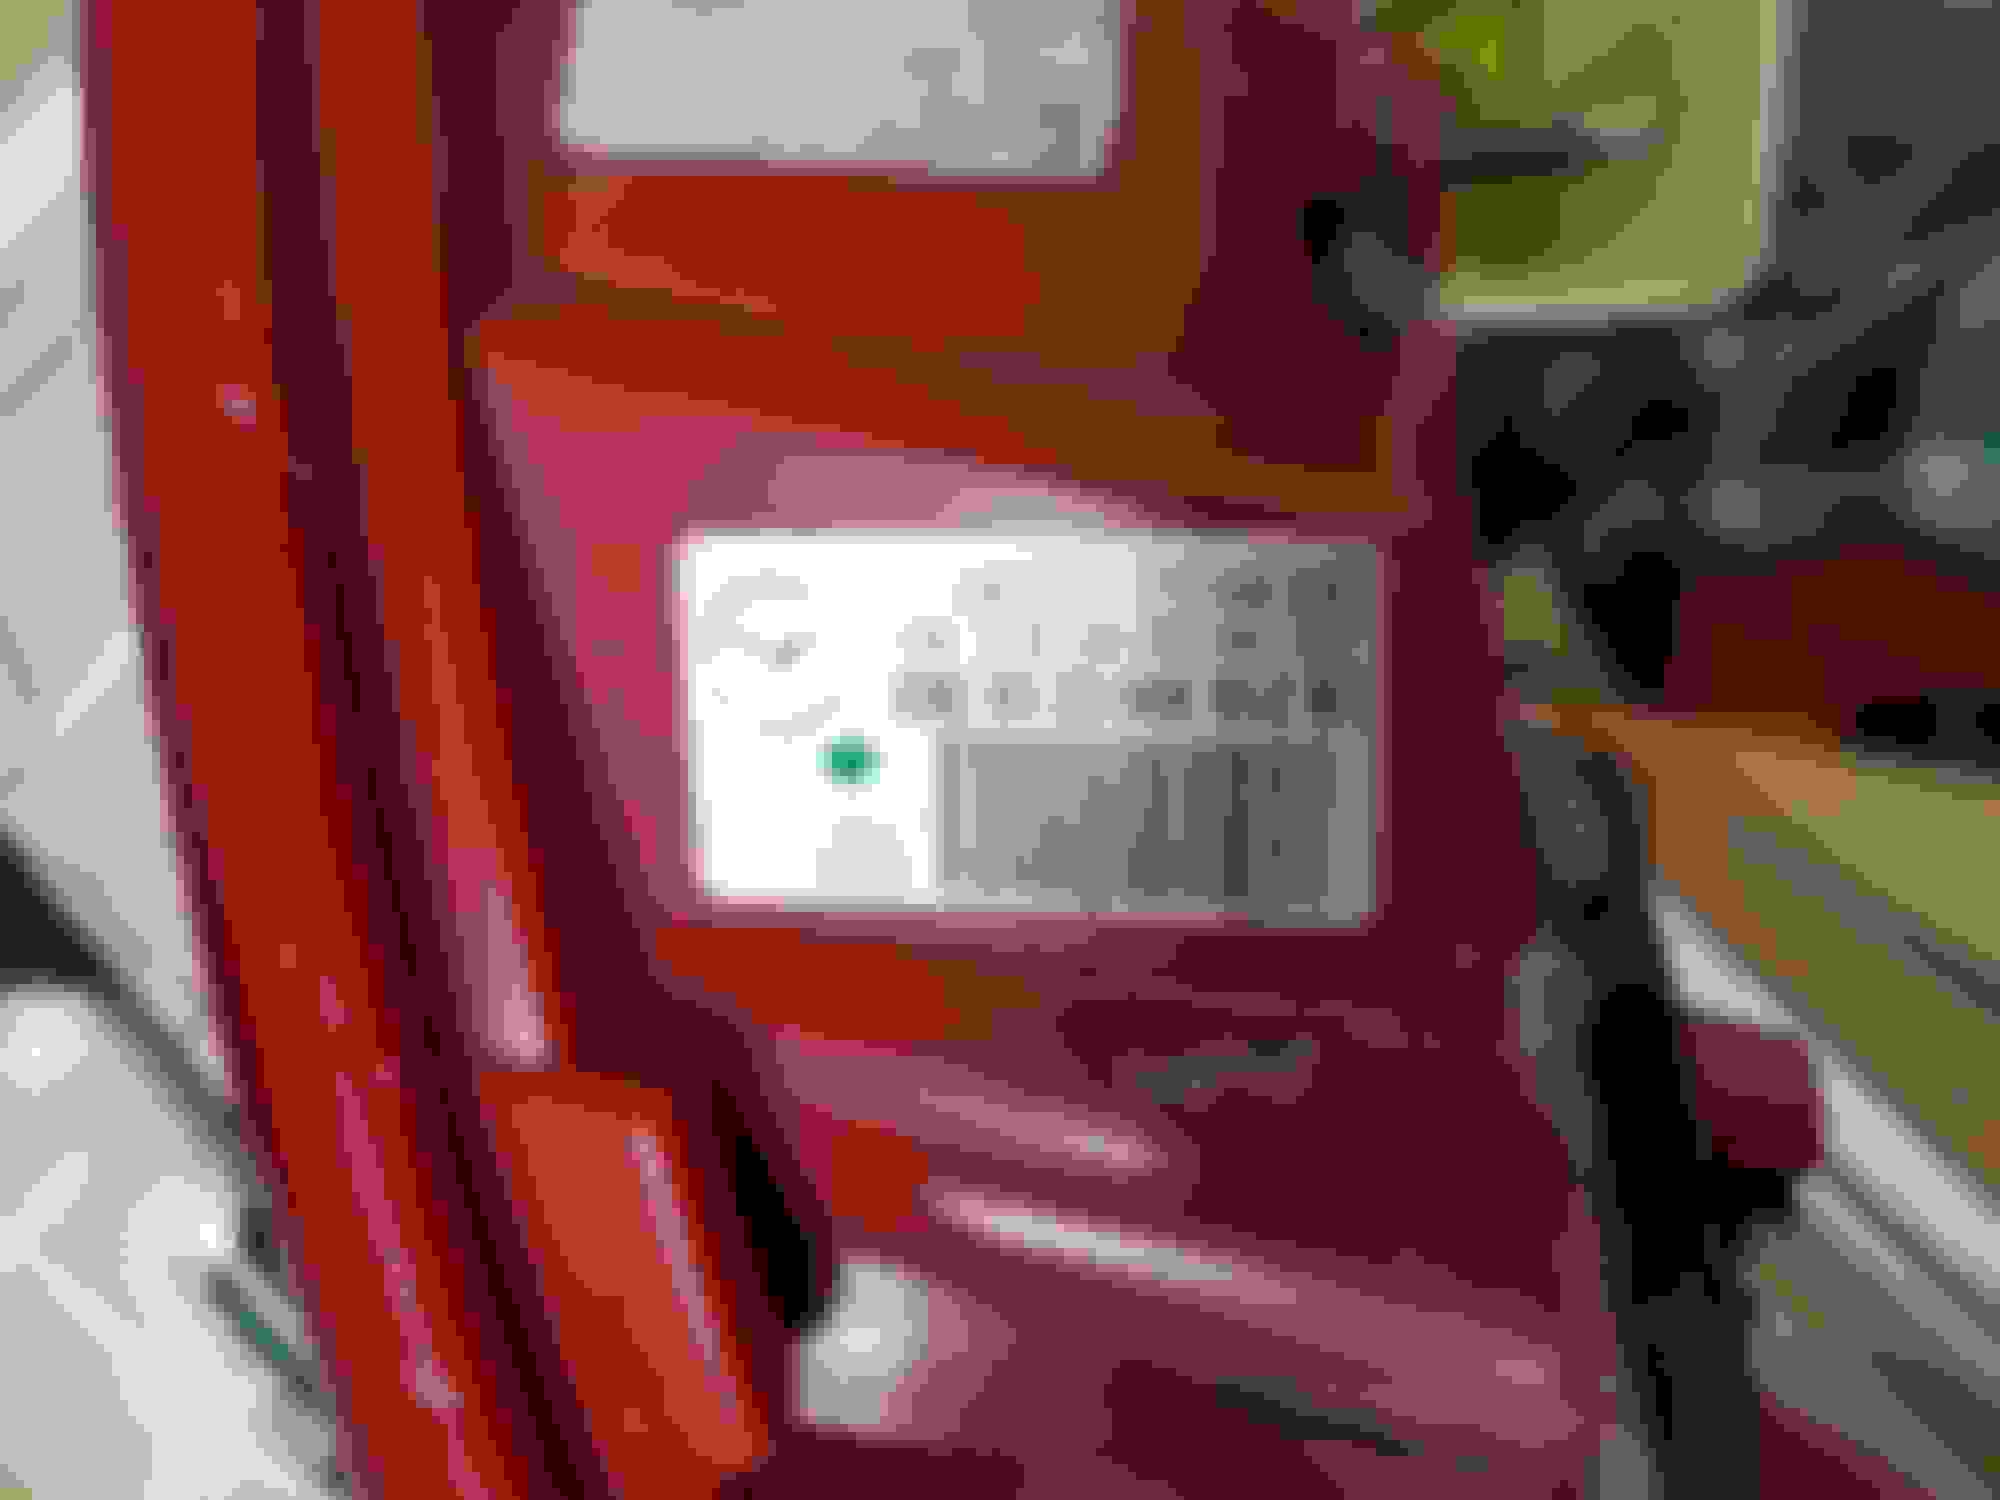
Bulb installs vertically.
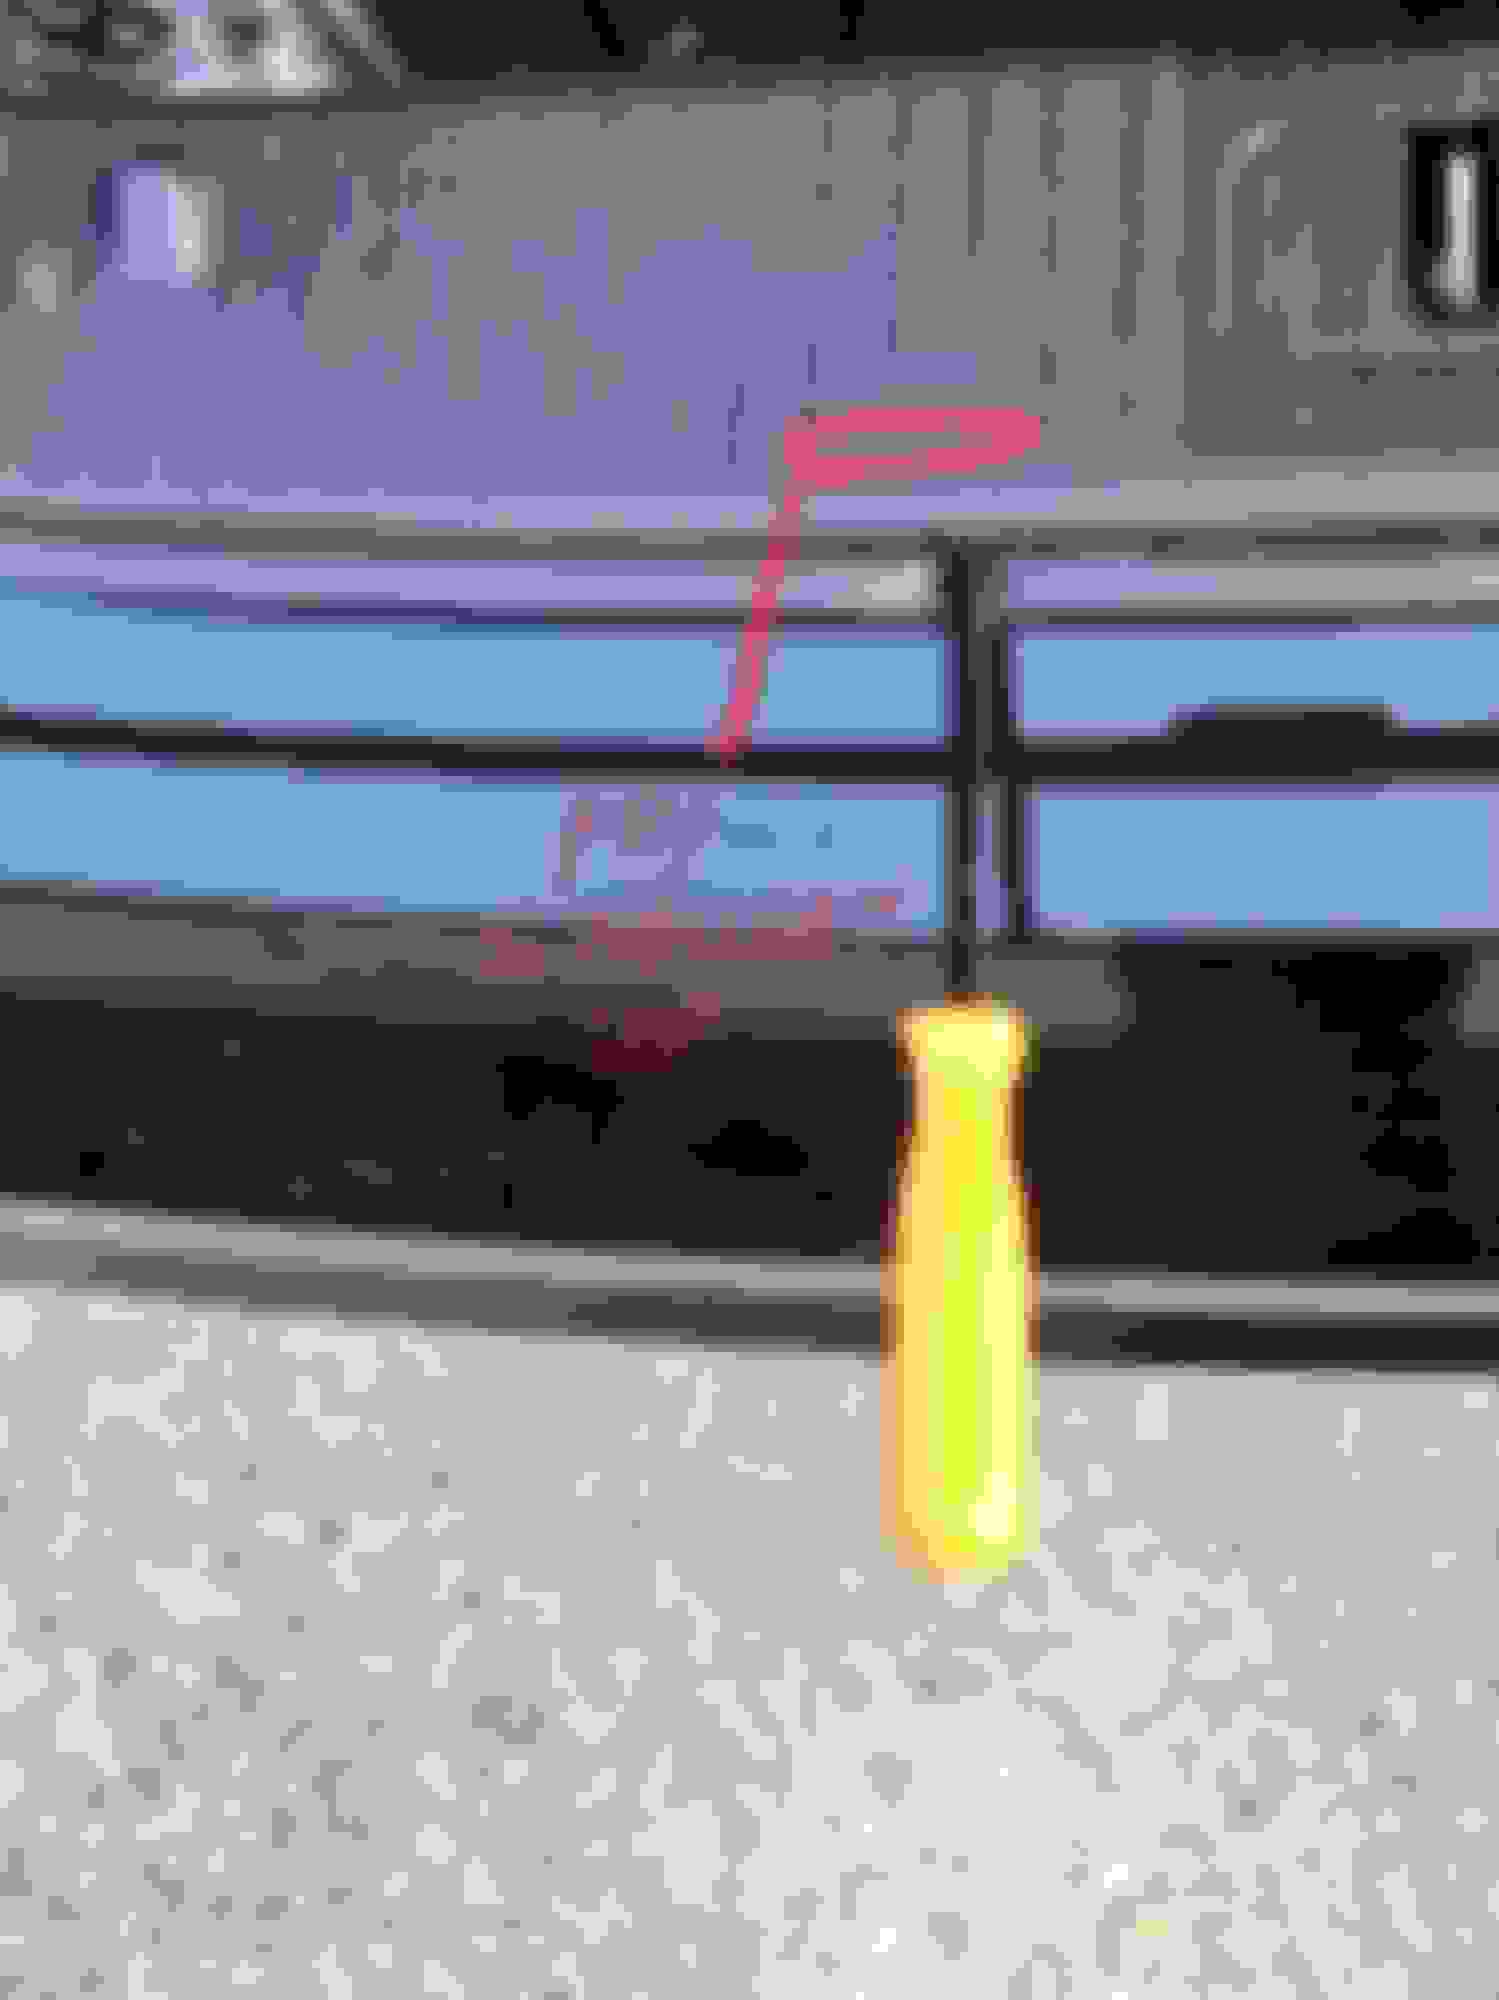
Stock 921 halogen.
New LED
The picture does not do justice to the difference.
Less than 10 tools needed. (see picture)
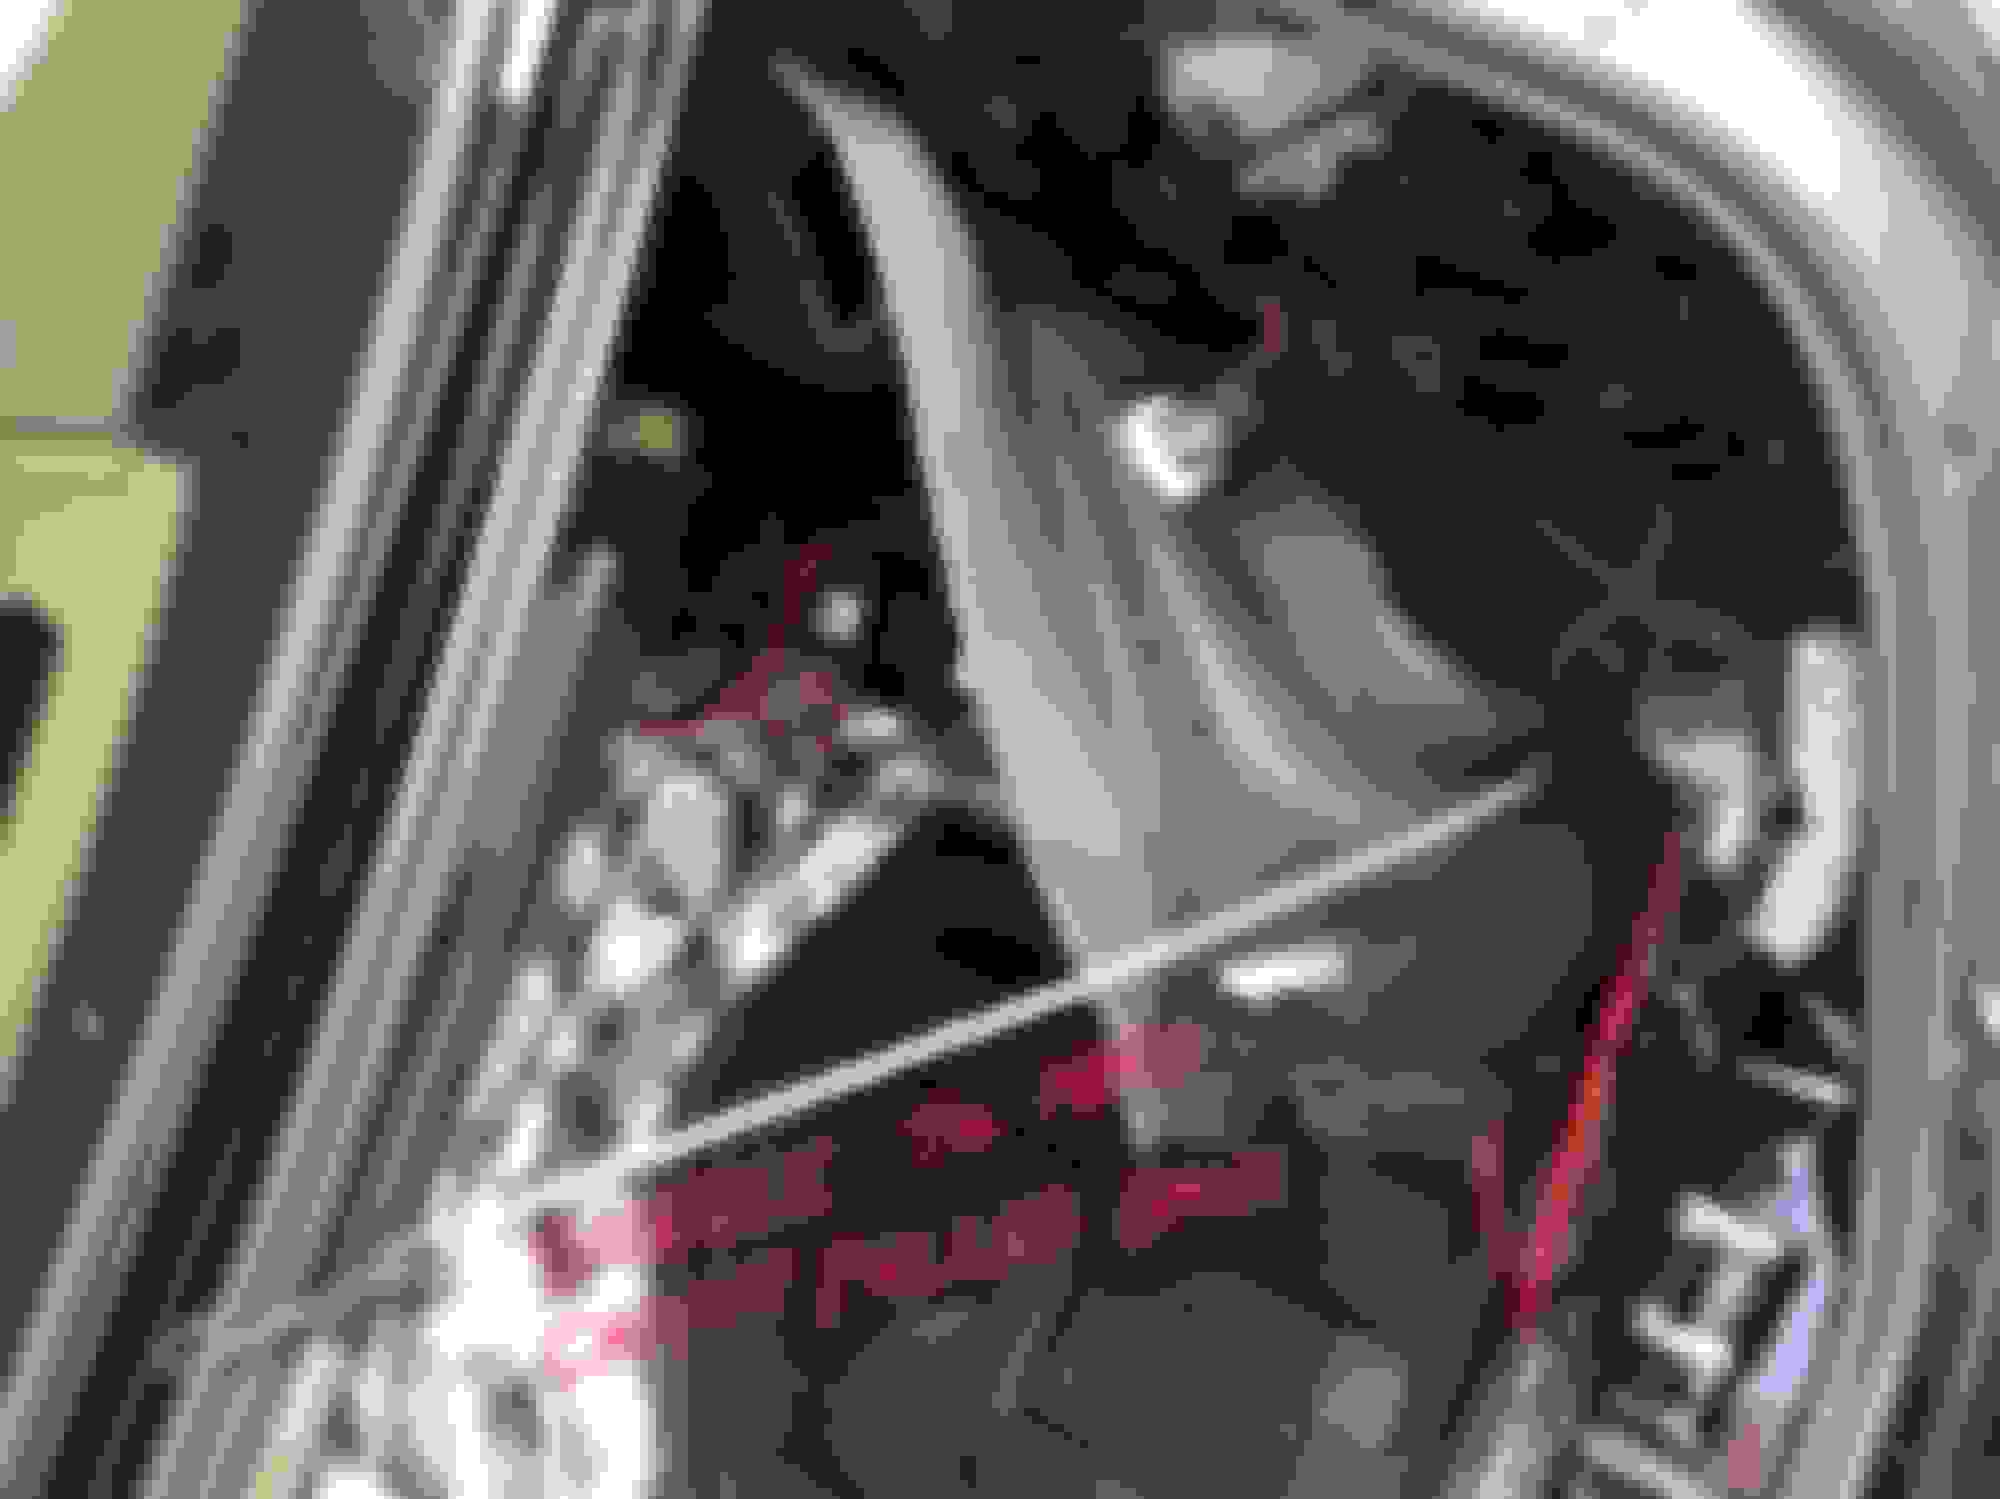
Remove trunk carpet.
Remove both side cargo net's (unsnap pull out)
Remove (2) cargo tiedown on both sides (just the closest to the rear of the car) Remove with Torx T-40
Remove black molded plastic trunk pane. Loosen (no need to remove) the two 10 mm plastic nuts, remove the twp plastic trim fasteners, pry straight up to pop the 4 fasteners that hold the trim piece from underneath.
Carefully peel back carpeted side panels from rubber butyl and use a bungee cord to keep trim piece pulled back.
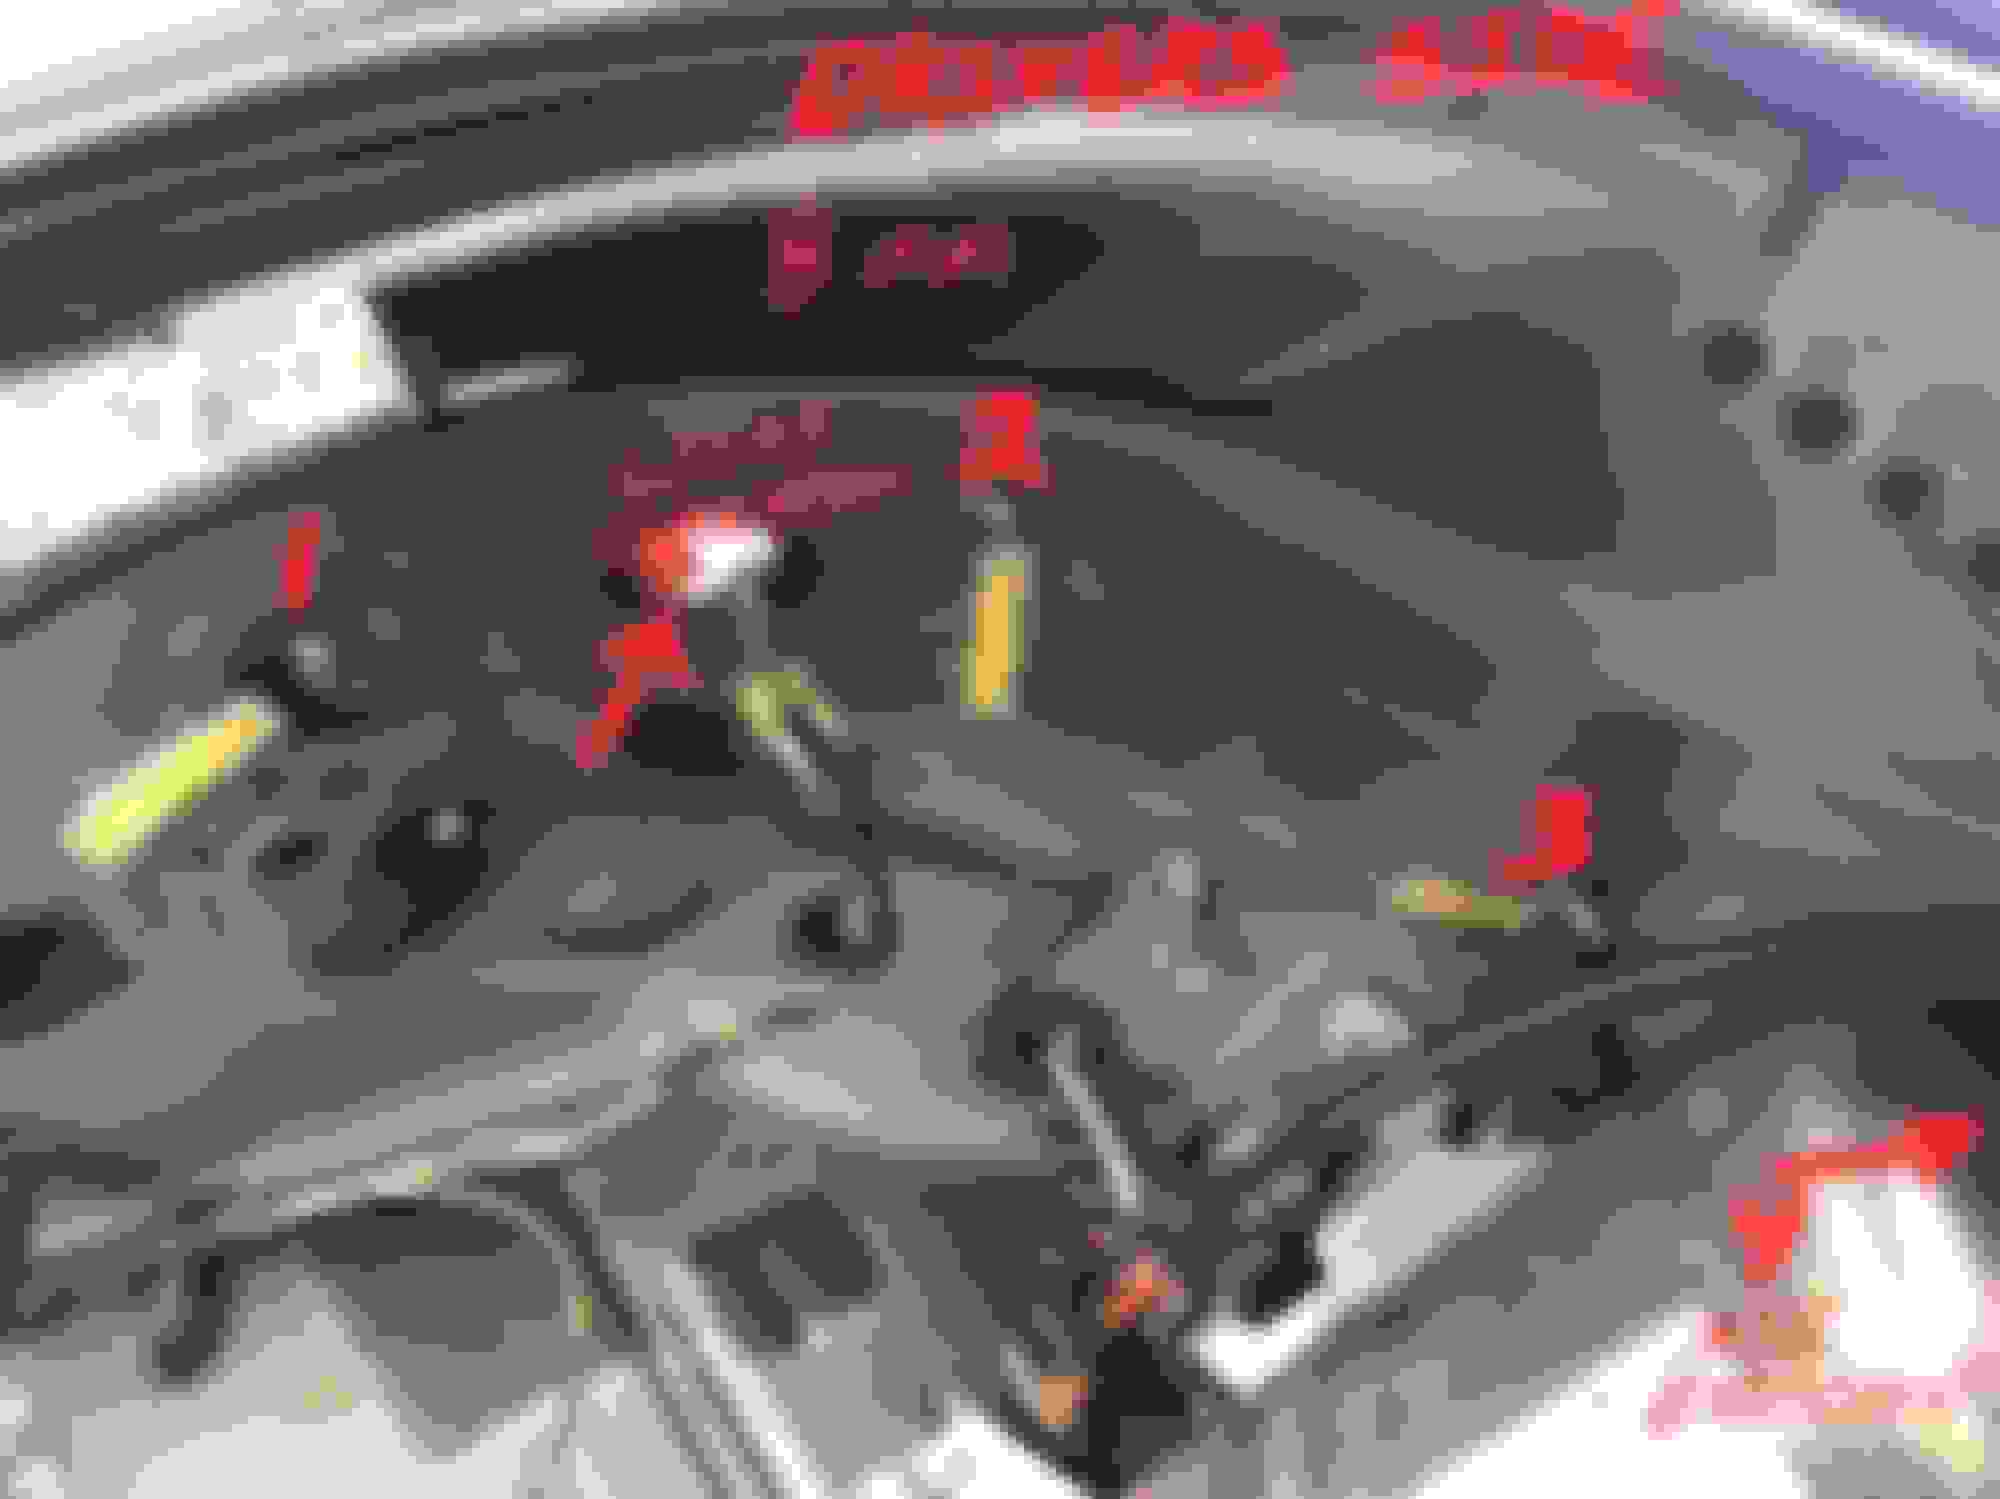
Unplug trunk courtesy lights using a small flat bladed screwdriver.
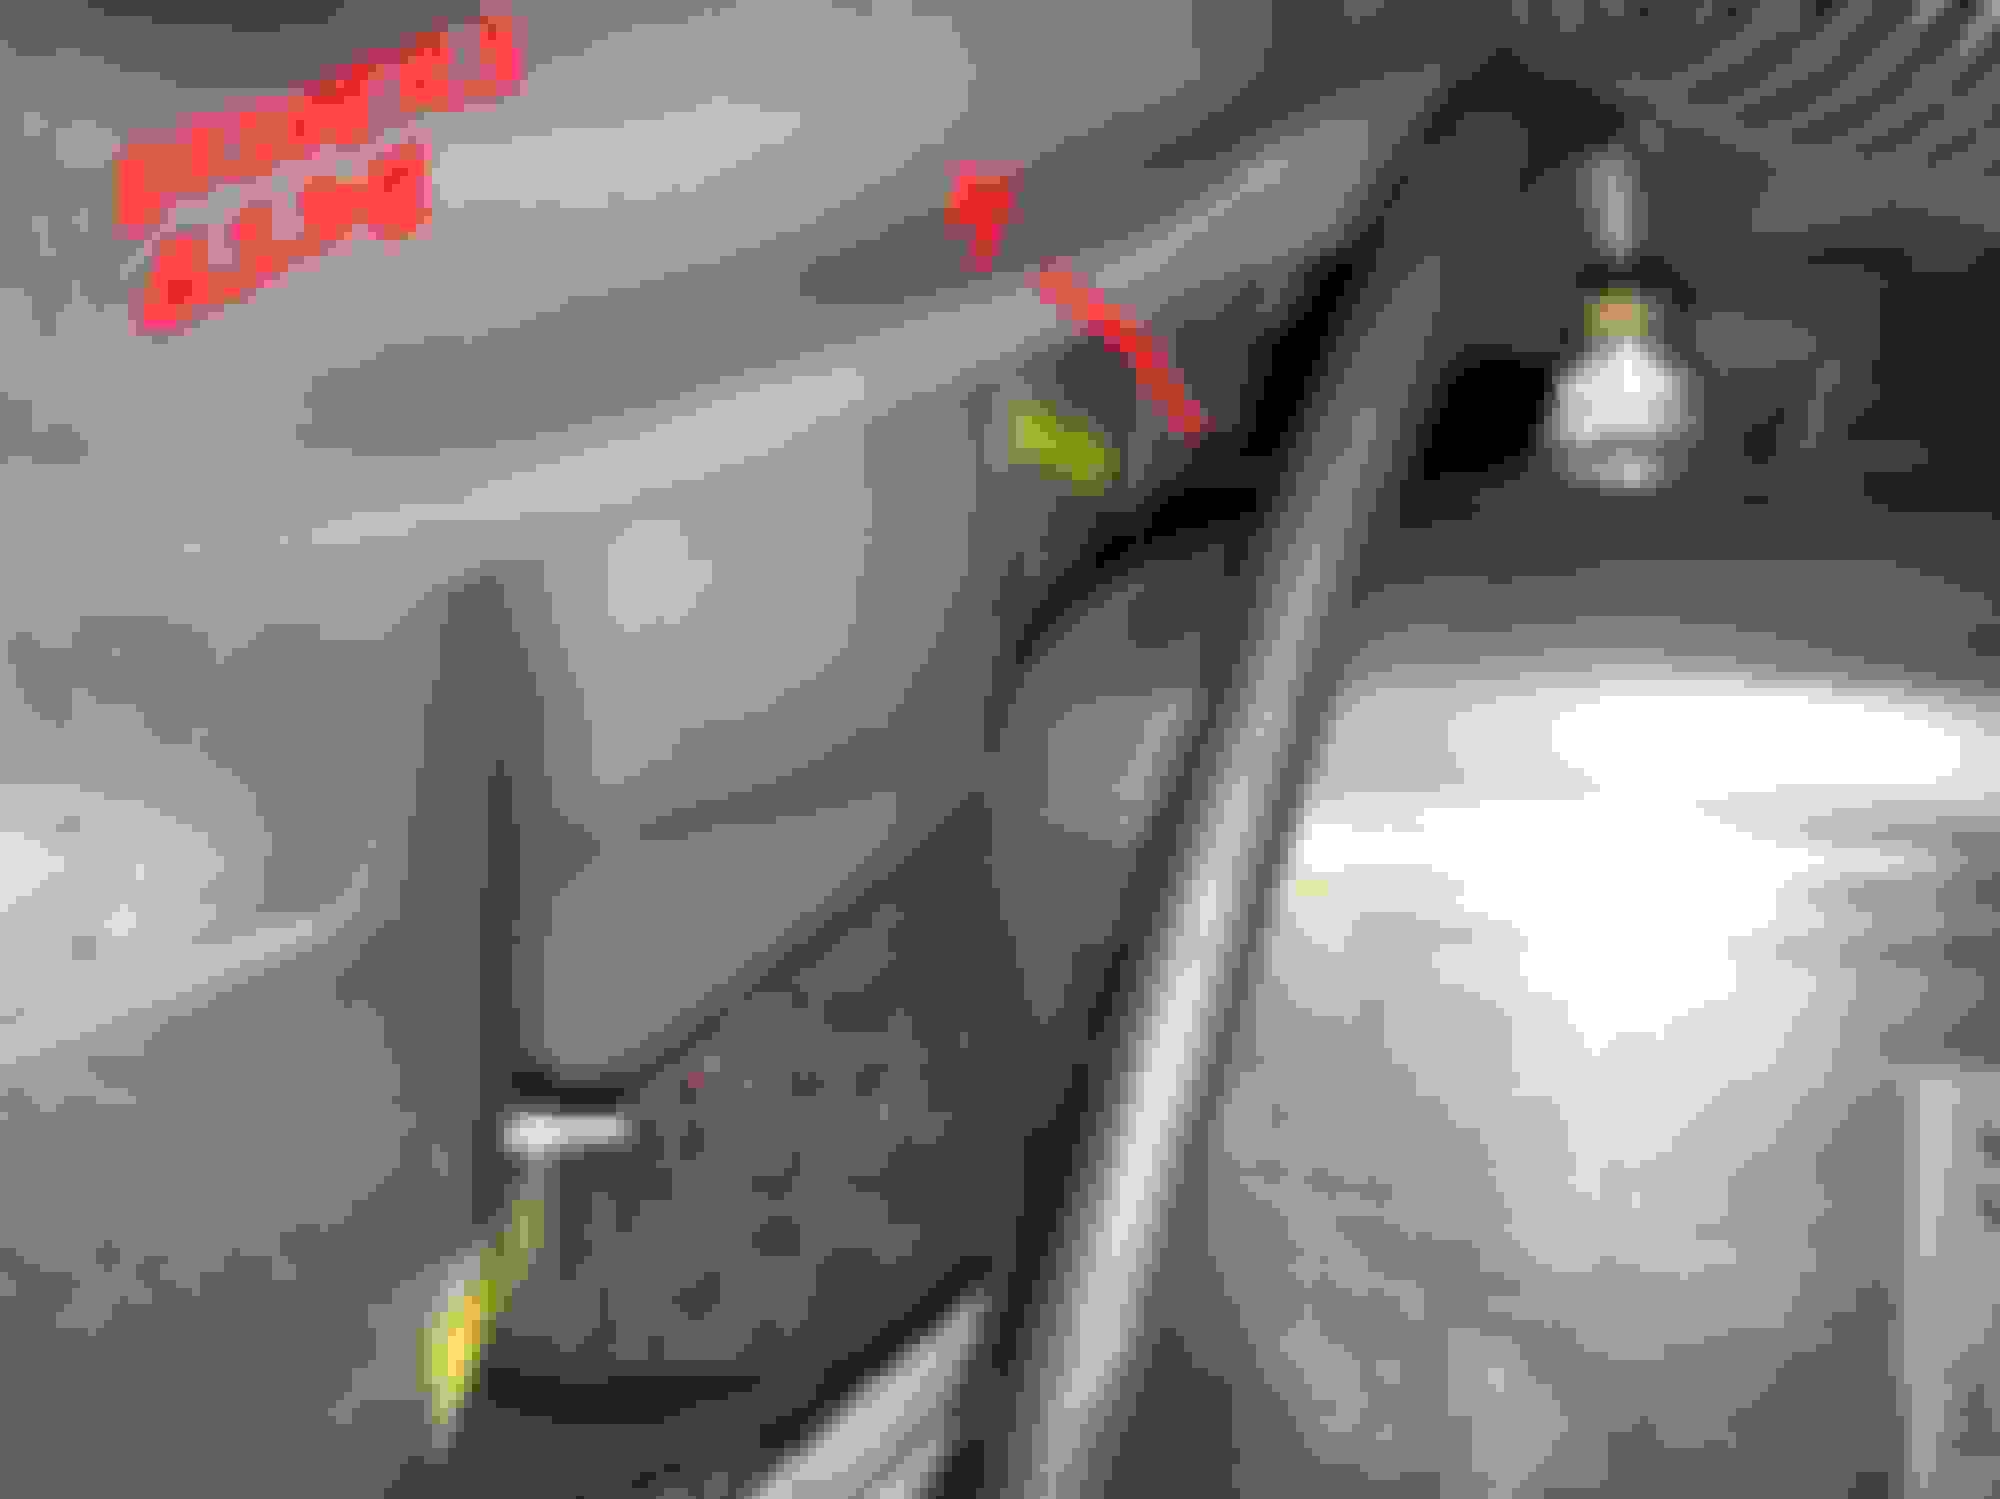
Remove the four 8 mm nuts on each side to slide rear light assembly housing out. The forwardmost nut on the driver's side you will need a socket extension to reach, I suggest using museum putty or similar to keep the nut seated in the 8 mm socket. Or good luck finding it when it drops out.
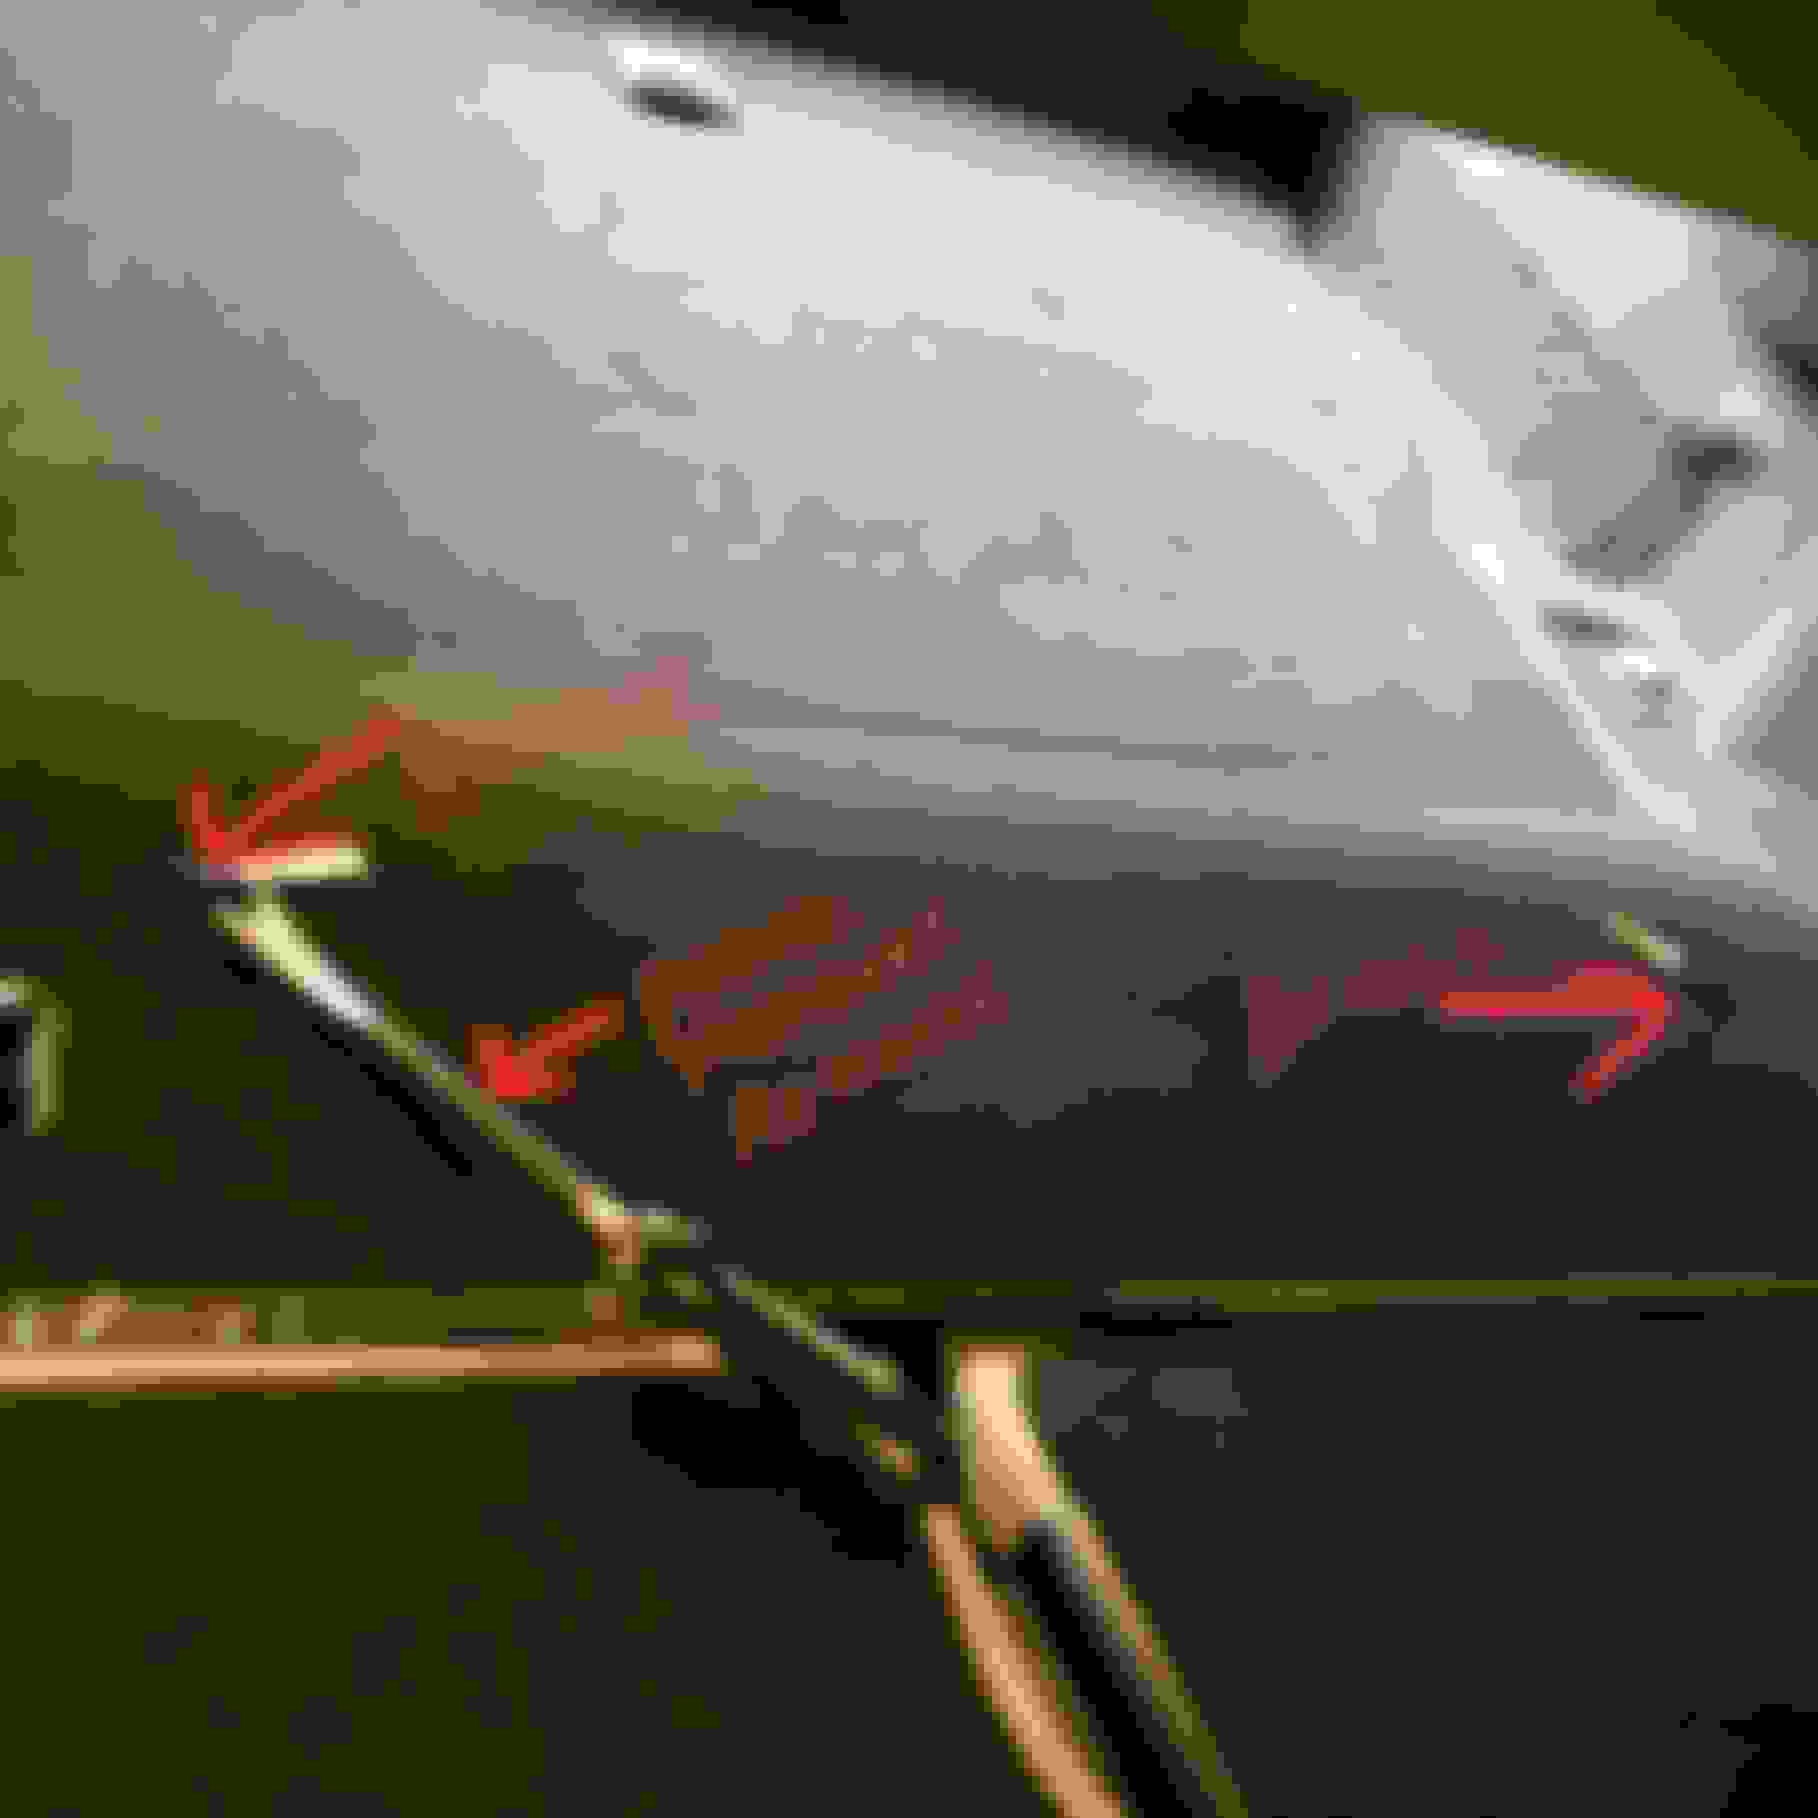
Unclip rear light electrical connector using a small flat bladed screwdriver.
Remove 921 halogen bulb and replace with LED bulb.
Process and Pictures
This should take you around 30 minutes. Novice level difficulty.
Remove the two plastic trim fasteners.
Remove both side cargo nets, unsnap and pull out. Remove this cargo tie down with T-40 Torx
Loosen 10 mm nut, remove the plastic trim fastener, pry up at these locations.
Loosen 10 mm nut, remove the plastic trim fastener.
Pry straight up, four fasteners so move wedge close to each fastener.
Showing the four trim fasteners that hold the back molded trim piece in place, pry straight up.
Bungee cords or similar to hold carpet trim panel back.
Drivers side, remove four 8 mm nuts.
Need socket extension.
Passenger side, remove four 8 mm nuts.
Bulb installs vertically.
Stock 921 halogen.
New LED
The picture does not do justice to the difference.
Less than 10 tools needed. (see picture)
Remove trunk carpet.
Remove both side cargo net's (unsnap pull out)
Remove (2) cargo tiedown on both sides (just the closest to the rear of the car) Remove with Torx T-40
Remove black molded plastic trunk pane. Loosen (no need to remove) the two 10 mm plastic nuts, remove the twp plastic trim fasteners, pry straight up to pop the 4 fasteners that hold the trim piece from underneath.
Carefully peel back carpeted side panels from rubber butyl and use a bungee cord to keep trim piece pulled back.
Unplug trunk courtesy lights using a small flat bladed screwdriver.
Remove the four 8 mm nuts on each side to slide rear light assembly housing out. The forwardmost nut on the driver's side you will need a socket extension to reach, I suggest using museum putty or similar to keep the nut seated in the 8 mm socket. Or good luck finding it when it drops out.
Unclip rear light electrical connector using a small flat bladed screwdriver.
Remove 921 halogen bulb and replace with LED bulb.
Reverse steps to finish up.
Message me with questions etc.
Todd
now, while this is the most comprehensive and totally helpful post -- it seems so daunting lol... i do not want to take all of that out or off and have it not potentially go back on properly or misaligned.. WOW!
Process and Pictures
This should take you around 30 minutes. Novice level difficulty.
Remove the two plastic trim fasteners.
Remove both side cargo nets, unsnap and pull out. Remove this cargo tie down with T-40 Torx
Loosen 10 mm nut, remove the plastic trim fastener, pry up at these locations.
Loosen 10 mm nut, remove the plastic trim fastener.
Pry straight up, four fasteners so move wedge close to each fastener.
Showing the four trim fasteners that hold the back molded trim piece in place, pry straight up.
Bungee cords or similar to hold carpet trim panel back.
Drivers side, remove four 8 mm nuts.
Need socket extension.
Passenger side, remove four 8 mm nuts.
Bulb installs vertically.
Stock 921 halogen.
New LED
The picture does not do justice to the difference.
Less than 10 tools needed. (see picture)
Remove trunk carpet.
Remove both side cargo net's (unsnap pull out)
Remove (2) cargo tiedown on both sides (just the closest to the rear of the car) Remove with Torx T-40
Remove black molded plastic trunk pane. Loosen (no need to remove) the two 10 mm plastic nuts, remove the twp plastic trim fasteners, pry straight up to pop the 4 fasteners that hold the trim piece from underneath.
Carefully peel back carpeted side panels from rubber butyl and use a bungee cord to keep trim piece pulled back.
Unplug trunk courtesy lights using a small flat bladed screwdriver.
Remove the four 8 mm nuts on each side to slide rear light assembly housing out. The forwardmost nut on the driver's side you will need a socket extension to reach, I suggest using museum putty or similar to keep the nut seated in the 8 mm socket. Or good luck finding it when it drops out.
Unclip rear light electrical connector using a small flat bladed screwdriver.
Remove 921 halogen bulb and replace with LED bulb.
Process and Pictures
This should take you around 30 minutes. Novice level difficulty.
...
Message me with questions etc.
Todd
Really wish someone had put that reply and bumped this post earlier as I did this change a week or so back not seeing this. I used a set from Amazon also, no resistor needed, no CANBUS errors.
Great how to guide, thanks. Would be good if others replying didn't include the entire guide when they quote and add comments. Saves scrolling through it three times.
Just swapped out the reverse lights on my 2014 CLS550, I can confirm that they come with standard halogen 921 bulbs. It took me about 15 minutes total to swap both bulbs out. I bought the bulbs from a seller on Amazon who I have bought from in the past. Keep in mind that when you remove the rear light assembly that the reverse lights mount from the bottom and are vertical when installed, not horizontal like so many other cars. So get a bulb that has multiple LED's on the sides as buying a bulb that just has one led focused out the end will work but will just shine up in the housing not straight back.
Also, mine were plug and play, no need for resistors. It's a major improvement over stock. I'll try and post some pics later.
Can anyone confirm that this specific led bulb is in fact error free without having to add any resistors, etc? I�ve tried a few led reverse bulbs from amazon, however I keep getting an error for my reverse lights!
Can anyone confirm that this specific led bulb is in fact error free without having to add any resistors, etc? I�ve tried a few led reverse bulbs from amazon, however I keep getting an error for my reverse lights!
It is absolutely error free. I installed them several months ago and have no issues whatsoever.
The facelift tailights 2015+ that have a darker tint are full led. Taillights prior have a regular reverse light otherwise everything else led. Also euro lights have amber turn signals and usa is red, just a note if someone decides to retrofit.
hi, do you know if the 2015+ tail lights can be retrofitted into a 2013. I.e. are they the exact same size and have they the same connections? Thanks
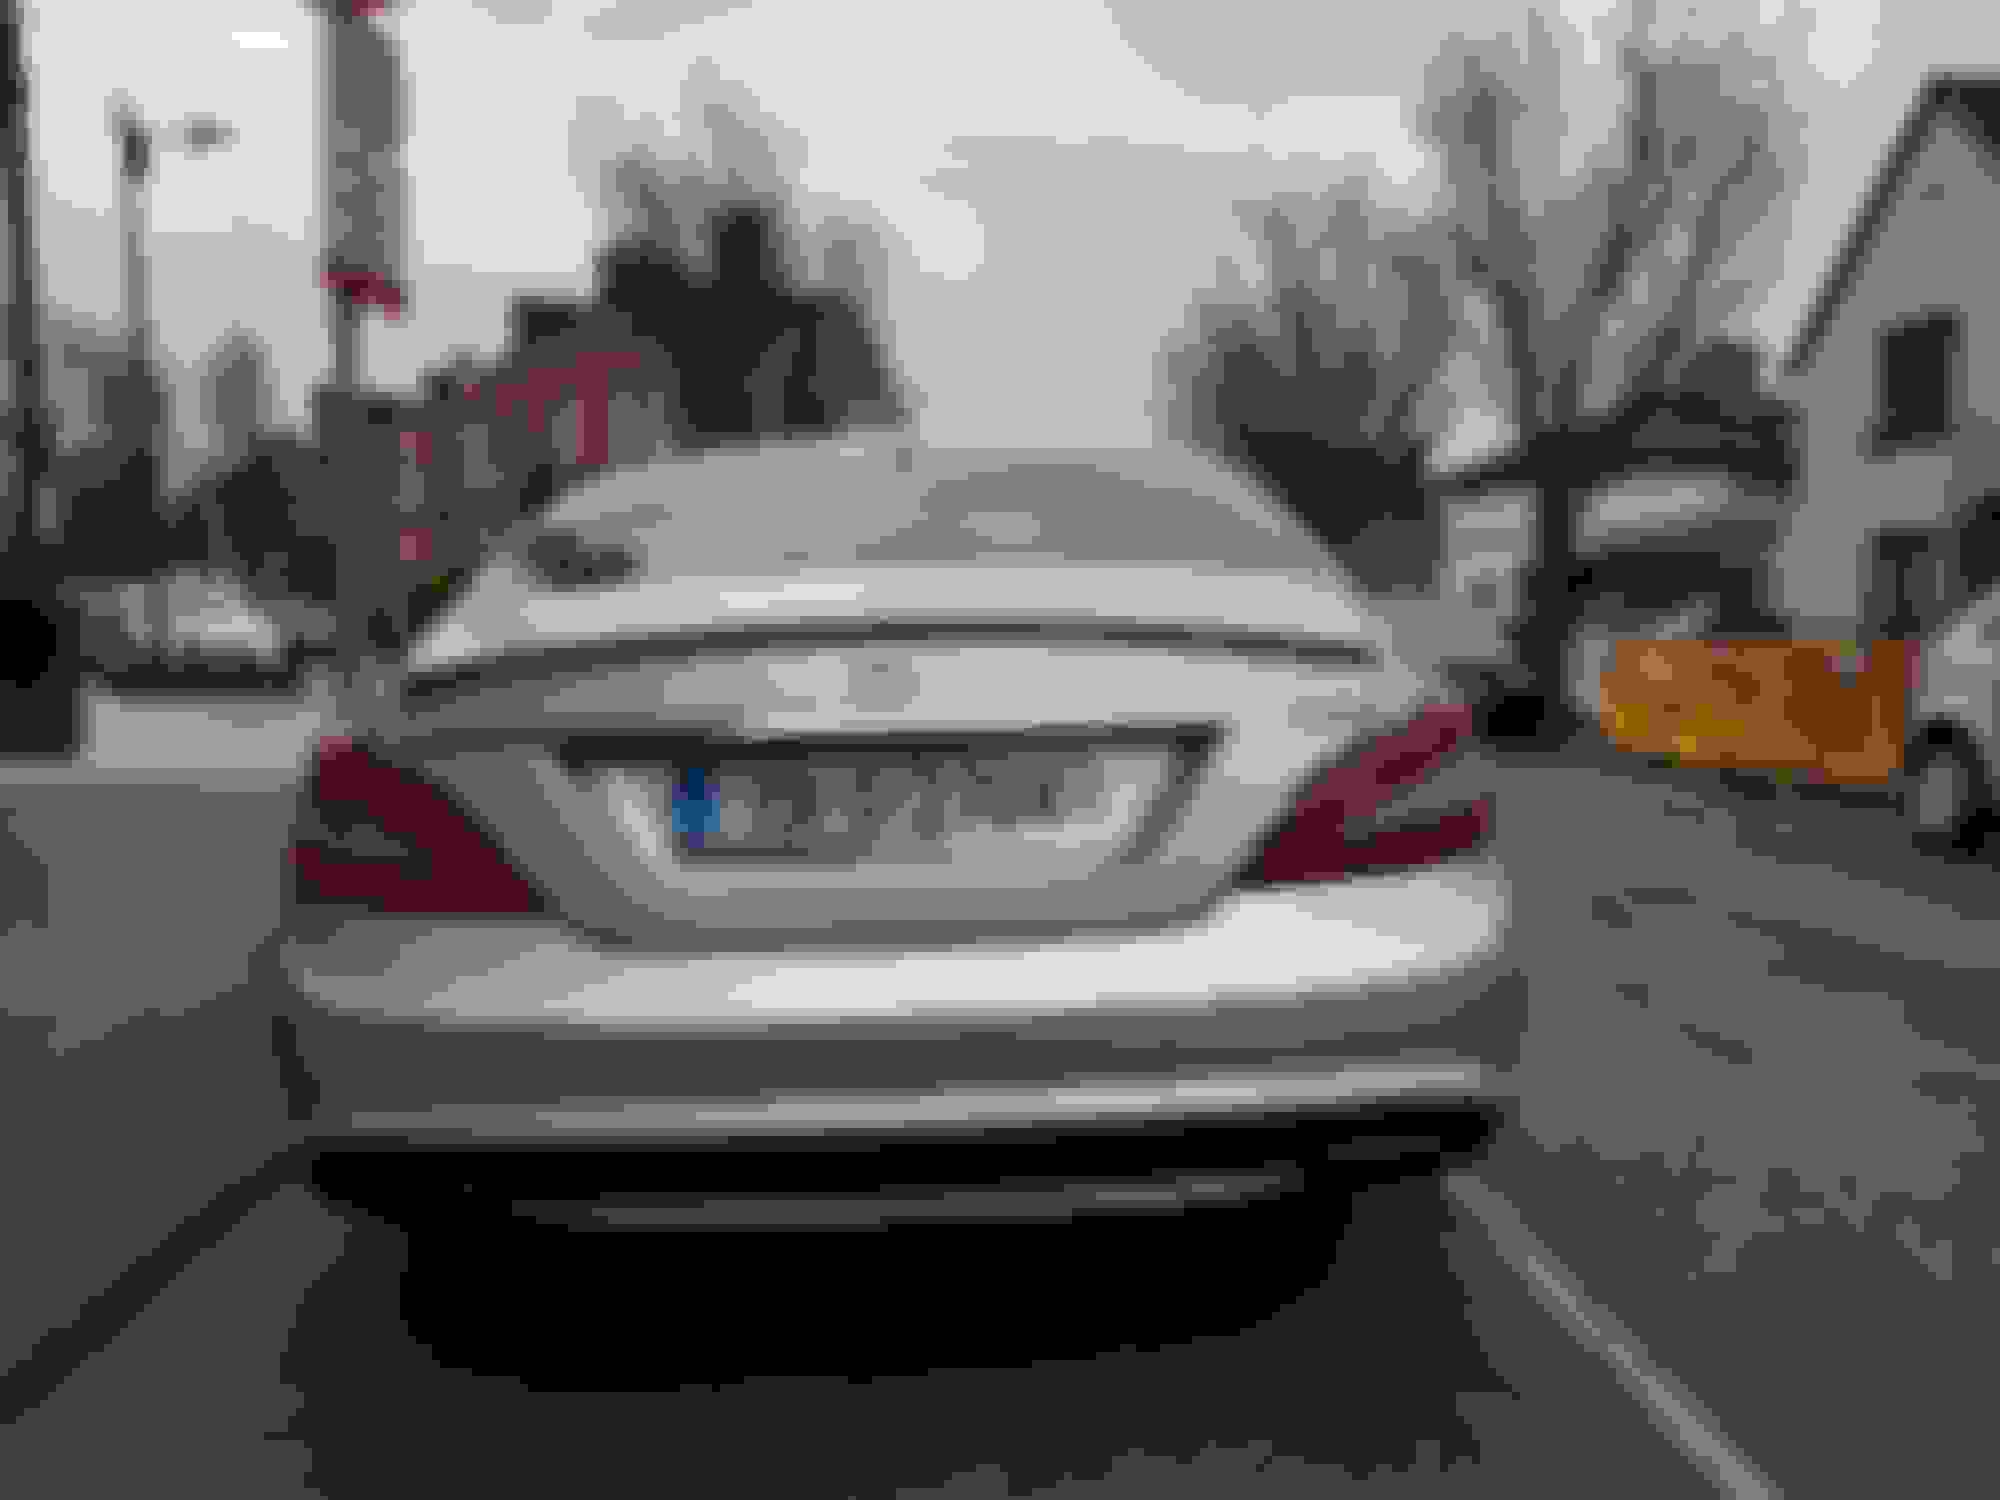
Hello all, one of mine was letting water in so I took the plunge and bought the newer model lights. Mine are 2013 the replacement (used) is 2016. The part numbers are different and the back (plastic inside) is red on old black on new. Both have standard reversing bulbs (I tried to upgrade and got an error message on the dash and was told I needed to buy resostors which I am not doing as i don't want to mess with wiring). The new ones are darker and look nicer in my opinion, see photos below. The one on the right is the new one. If you zoom in you will see it's darker on the red part. The clear part is not tinted in either as far as I can see.
New in hand Left is old right is new in all photos Old New
Just swapped out the reverse lights on my 2014 CLS550, I can confirm that they come with standard halogen 921 bulbs. It took me about 15 minutes total to swap both bulbs out. I bought the bulbs from a seller on Amazon who I have bought from in the past. Keep in mind that when you remove the rear light assembly that the reverse lights mount from the bottom and are vertical when installed, not horizontal like so many other cars. So get a bulb that has multiple LED's on the sides as buying a bulb that just has one led focused out the end will work but will just shine up in the housing not straight back.
Also, mine were plug and play, no need for resistors. It's a major improvement over stock. I'll try and post some pics later.
I couldn't find these lights on Amazon, can you send me a link?
I couldn't find these lights on Amazon, can you send me a link?
I bought mine off eBay, they were used. Just type in Mercedes CLS W218 tail lights. It is difficult to find a set. The ones with the red plastic back are the prefacelift model the ones with black are the newer type.
Slideshow: A one-of-one U.S.-spec Mercedes-Benz SLR McLaren Roadster became even rarer after a factory-backed transformation at McLaren's headquarters.


 am assuming the above applies to you lucky peeps with the petrol variants


