When you click on links to various merchants on this site and make a purchase, this can result in this site earning a commission. Affiliate programs and affiliations include, but are not limited to, the eBay Partner Network.
Just bought a 2013 CLS550. It’s a 1 owner car and looks inside and out like it has never been parked in the sun a day in its life. 64k miles and runs and drives as new. It’s optioned pretty heavy, the only thing of consequence it is missing is distronic. My only gripe was road noise from the back. Today I pulled the spare and lined the well with 66 Mat and Noico Red. HUGE difference. I will likely start pulling door panels and doing the same there. Overall an amazing car.
Yes, same here. Mine is also, nearly, fully optioned, but missing the Distronic haha. I couldn't find one with a Distronic plus. So when I saw the best deal on the internet, I went ahead and bought it. My only complaint about W218 is its ride can be a bit too stiff. Or is that just me?
The ride is definitely more firm than an S class but since it’s supposed to be a sporty sedan, coupe thing, it feels about right to my uncalibrated behind. I wasn’t really looking for a particular car. I was really just seeing what was at the local dealer and it had just come in on trade. There was only 1 photo online and I asked the wife if she wanted to go drive a car. I saw the condition and bought it on the spot.
I’ve got some door pins and LEDs coming and will be pulling door panels and lining them next week some time in my quest to make it as quiet as I expect a Benz to be. I’ve also got to get it into the dealer service Dept for some software upgrades. Can’t activate MBrace until that is done.
Just bought a 2013 CLS550. It’s a 1 owner car and looks inside and out like it has never been parked in the sun a day in its life. 64k miles and runs and drives as new. It’s optioned pretty heavy, the only thing of consequence it is missing is distronic. My only gripe was road noise from the back. Today I pulled the spare and lined the well with 66 Mat and Noico Red. HUGE difference. I will likely start pulling door panels and doing the same there. Overall an amazing car.
No pictures unfortunately. You are correct, put the mat down first. Make sure you get the plastic panel that the spare sits on but leave the drain hole located at the top open. I covered all the bare metal that I could reach without disassembly beyond removing the spare. Cover the mat with the noico closed cell foam.
i plan on pulling the rest of the trim in the trunk, all 4 door panels and the carpet/ trim around the rear seat and doing those areas as well. I may pull the carpet back off the firewall if I am feeling especially energetic and do that as well. My goal is to have a very quiet cabin all the way around.
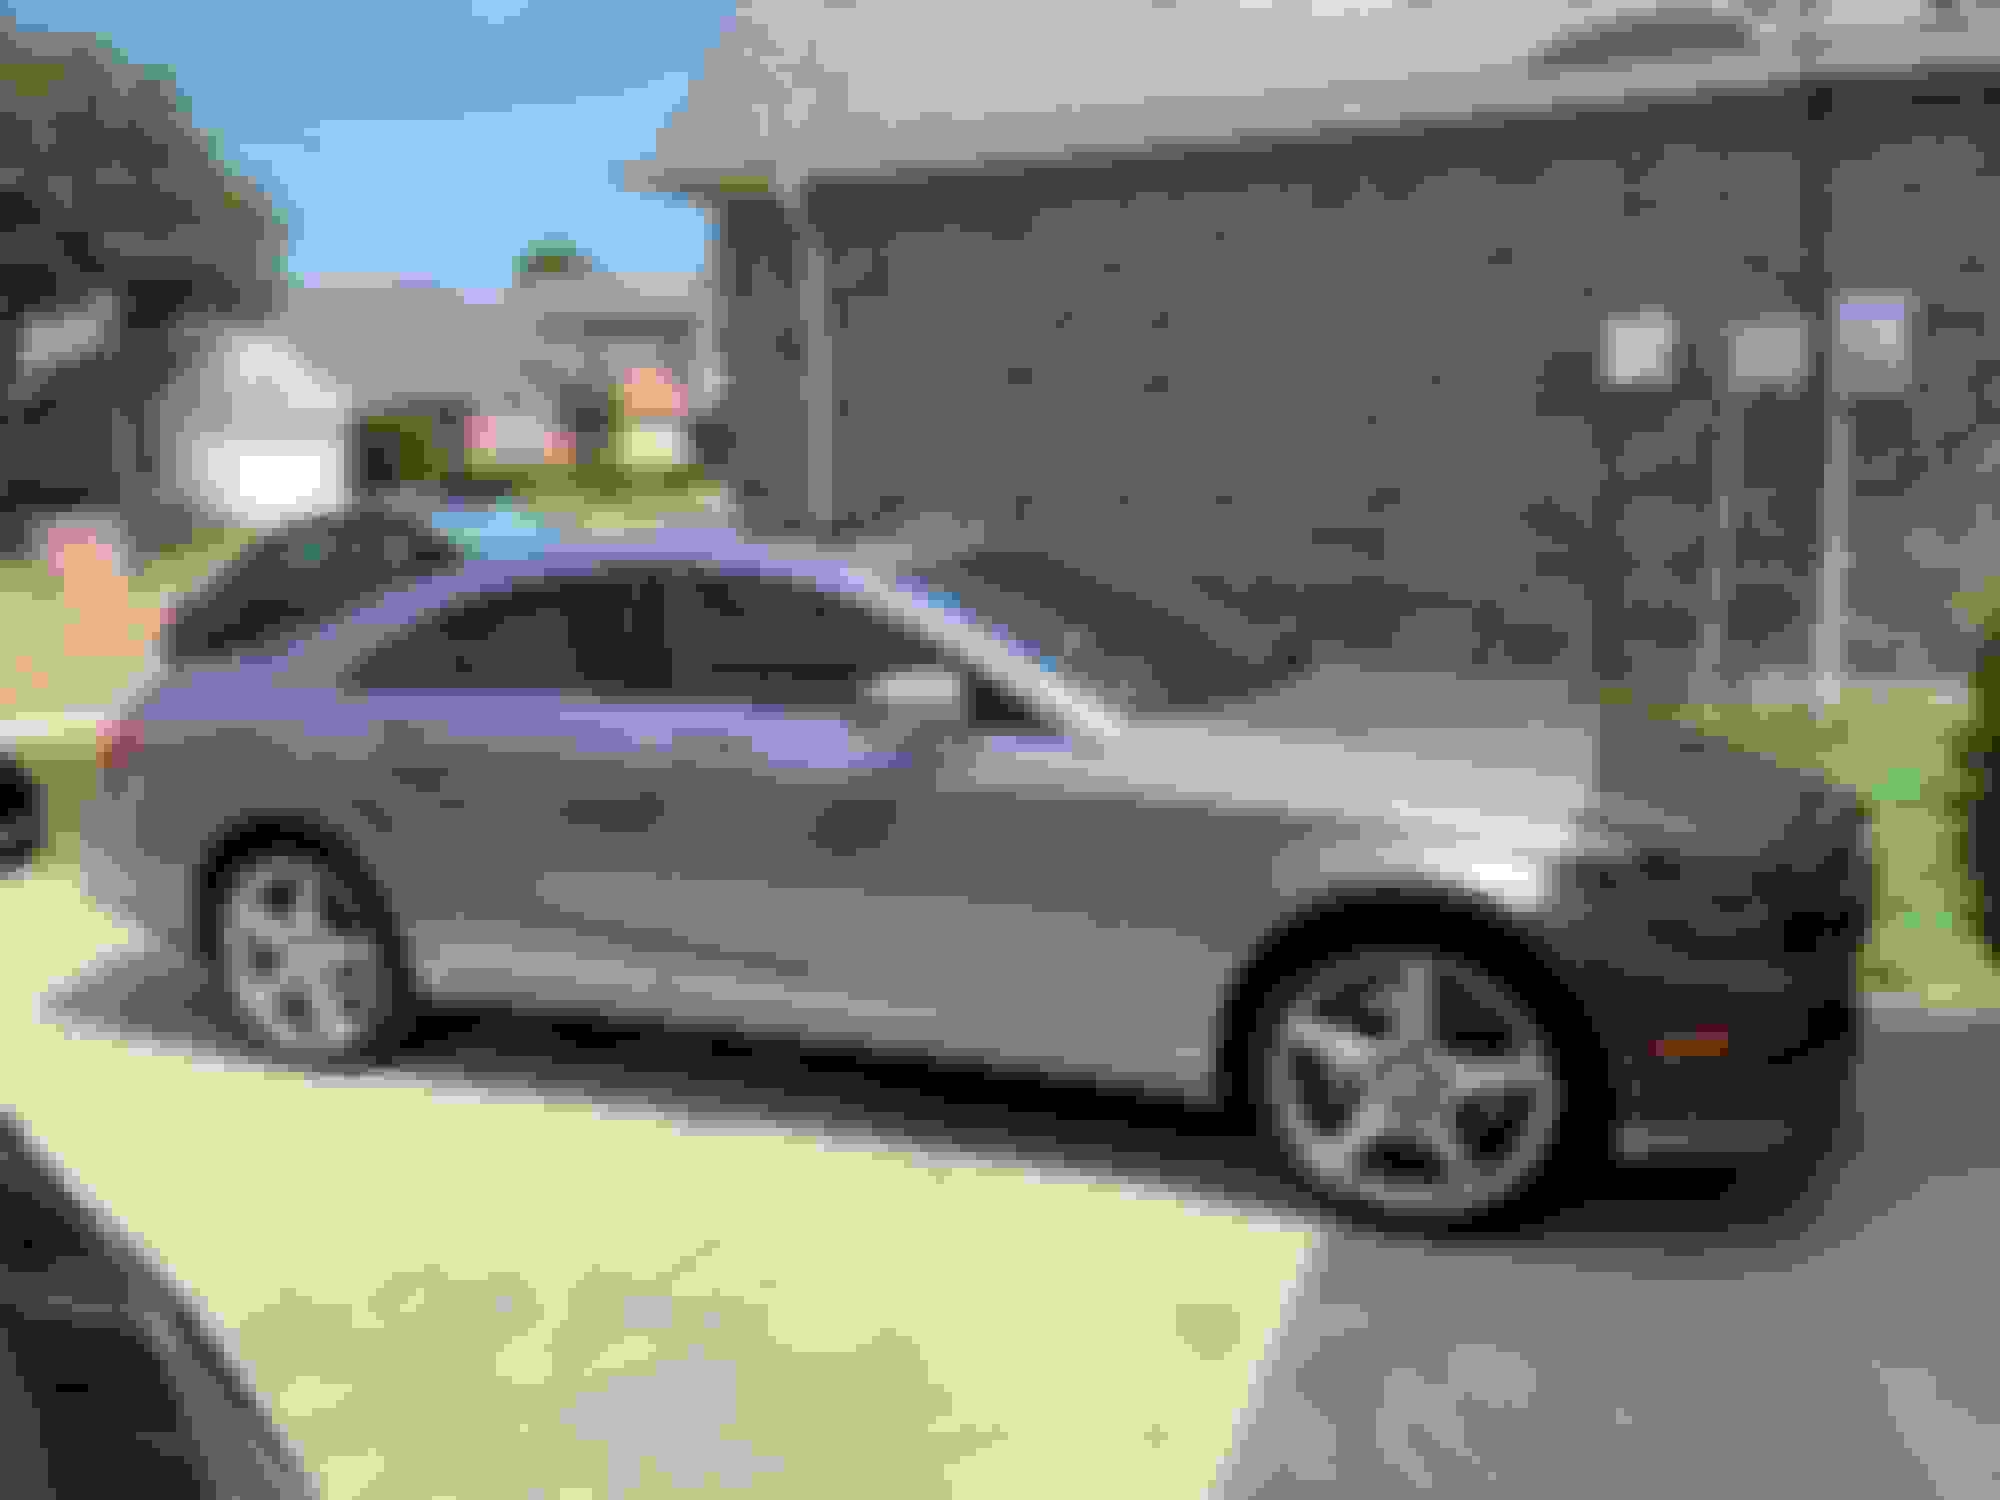
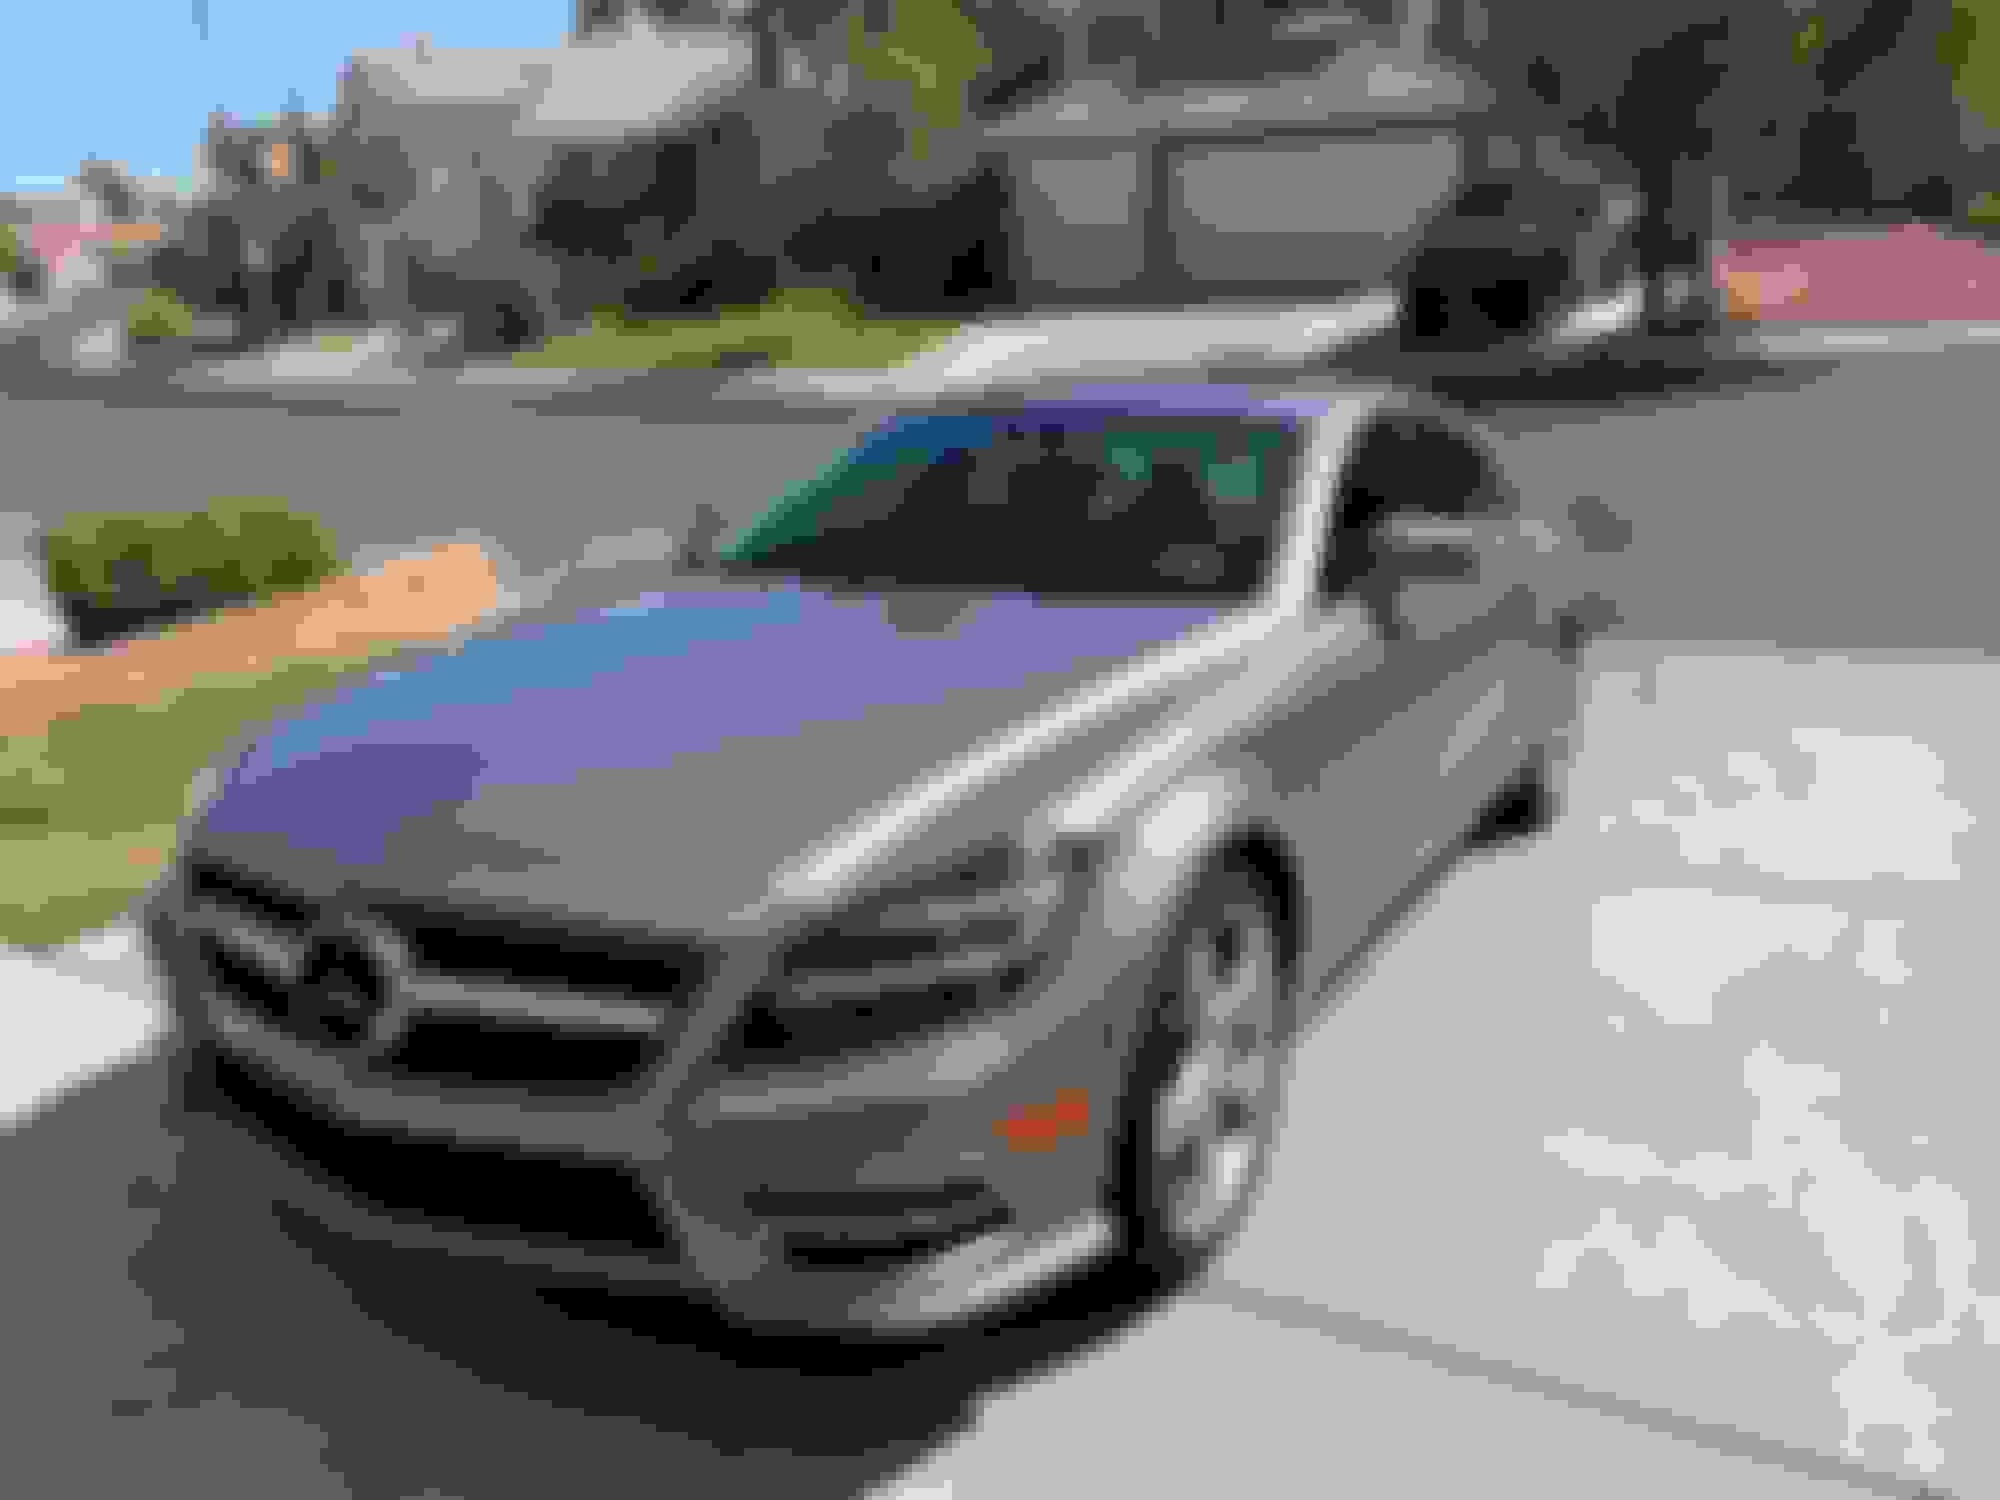
Just joined thought i would show my 2012 cls550 i picked up last year as well from the Mercedes dealership. My friends works as a salesperson so he informed me as soon as this car was traded in. 1 owner 36k miles currently has 46k miles. The car is in pristine condition just got it ceramic coated as well. Did it myself and I am so satisfied with the results.
Thank you so much yours looks really good with those rims.Yes the process took all day to apply but the results were quite pleasing. Here is a video of the water sliding right off the hood. Hopefully you can play it
I live in Vegas its quite hot in here right now too i did it a few months back i would not dare try it with this heat. Total coast me less than 200 dollars and a full day of intensive washing buffing claying lol.
Thank you so much yours looks really good with those rims.Yes the process took all day to apply but the results were quite pleasing. Here is a video of the water sliding right off the hood. Hopefully you can play it
You mentioned you did the coating yourself. Which brand coating did you use? Could you provide the brand name or the link for that product?
I did mine too, a year ago, but it's not as quite hydrophobic as yours is in the video. I used cQuartz 3.0. So I'm intrigued to know more.
I used Armor Shield from Avalon King. Ended up using one whole kit plus a little bit from the second box. I ordered 2 just in case. The key is prepping the car before you do apply the ceramic coating. I saw the video from pan the organizer on youtube. I followed all his steps one by one and one thing I am going to add is that when you apply the ceramic coating and let it dry for 30 seconds then wipe it make sure to wipe very lightly, kind of just slide the cloth on the panel without putting any strong pressure.
Link for the how to video:
Yeah, I did follow the entire prep process of decontamination and all that...but where I may have gone wrong is on the buffing it off after the application. You said just a very gentle wipe-off after 30 sec time. I MIGHT have buffed it with some pressure lol
I still have some left. I applied it to 2 of my friends' cars as well. So I still have about half of the CQ bottle left. I was thinking to re-polish some areas again and apply the remaining coating.
I will re-apply and wipe it off with little to no pressure this time. Thanks for that tip.
Question: Did you time the applied area for 30 secs before wiping it off? One thing I'm not too sure about is that for how long should I be applying or swiping the applicator pad in one area for? Like how many passes in one area so I don't under/over-do it.
Ok so i split the hood in 4 parts that kind of gives you an idea how big of an area i tackled. I soaked the cloth with about 16 drops or so. The process of applying took like 30seconds then the product flashes you can notice it you can wipe it. In Vegas its kind of hot so by the time i was done applying it i only had to wait about 40 sec to a minute and then i wiped. I didn't really time it to be exact. the way i applied it was horizontal then vertical then horizontal then vertical again sometimes i would re soak the cloth when i felt like it needed some more. Then after the time was done I wiped very gentle just enough pressure so you could drag the cloth and wipe you know, nothing crazy like your trying to clean something off. After i let it dry for 24 hours i had to go back in a few areas where it had dried kind of rough and clean it up, you could tell when the sun would hit. Very easy to do a microfiber towel and some pressure would make it like the rest of the panel no problem. I don't know if this is the right way to do it was my first time applying it too. Where i feel like i really did a good job was at the prep I washed the car, then i sprayed with a bug and tar remover then i rinsed again with pressure washer then i used the iron x remover let it soak then pressure washed again then i clay bar the whole car with a kit i bought from Walmart, which i had to pressure wash the car again after that because of all the oil in the clay lubricator. Then i used Meguiars Ultimate Compound and a buffer i got from home depot, polished the whole car with that with the harsh cloth insert first, and then the soft wool insert then i washed it again. Dried it with isopropyl alcohol then it was time to apply. When you run your fingers through the paint it should feel like glass like you're touching a mirror. Hopefully this helps:
Ok so i split the hood in 4 parts that kind of gives you an idea how big of an area i tackled. I soaked the cloth with about 16 drops or so. The process of applying took like 30seconds then the product flashes you can notice it you can wipe it. In Vegas its kind of hot so by the time i was done applying it i only had to wait about 40 sec to a minute and then i wiped. I didn't really time it to be exact. the way i applied it was horizontal then vertical then horizontal then vertical again sometimes i would re soak the cloth when i felt like it needed some more. Then after the time was done I wiped very gentle just enough pressure so you could drag the cloth and wipe you know, nothing crazy like your trying to clean something off. After i let it dry for 24 hours i had to go back in a few areas where it had dried kind of rough and clean it up, you could tell when the sun would hit. Very easy to do a microfiber towel and some pressure would make it like the rest of the panel no problem. I don't know if this is the right way to do it was my first time applying it too. Where i feel like i really did a good job was at the prep I washed the car, then i sprayed with a bug and tar remover then i rinsed again with pressure washer then i used the iron x remover let it soak then pressure washed again then i clay bar the whole car with a kit i bought from Walmart, which i had to pressure wash the car again after that because of all the oil in the clay lubricator. Then i used Meguiars Ultimate Compound and a buffer i got from home depot, polished the whole car with that with the harsh cloth insert first, and then the soft wool insert then i washed it again. Dried it with isopropyl alcohol then it was time to apply. When you run your fingers through the paint it should feel like glass like you're touching a mirror. Hopefully this helps:
Very detailed, thank you, sir. But yes, I followed exactly how you just mentioned. I watched numerous videos on how to prep and apply the coating. I was prepping the car little by little and parked in the garage and took my time with it. And, I also used the exact same products as you posted haha, besides the polisher.
I think I just applied a little too much pressure when buffing it off afterward. I still have like 35-40ml coating left in the bottle. I should re-apply and finish the bottle before it goes bad sitting haha. I will give it another try. Though, I do need to polish the paint a bit first.
I was also looking for Clear Bra for the hood and front bumper...the item itself is low-key expensive lol. Because I have quite a few rock chips on the front bumper. It kinda breaks my heart to see those.
Also, you guys think it's safe to use the same coating on the wheels? I painted the brake calipers yellow and I used it there...calipers stay clean. No dust stick to them. I was thinking to remove all 4 wheels and clean them thoroughly and apply the coating to them as well. So I can avoid the brake dust and other build-ups on the inside of the wheel?
Also, you guys think it's safe to use the same coating on the wheels? I painted the brake calipers yellow and I used it there...calipers stay clean. No dust stick to them. I was thinking to remove all 4 wheels and clean them thoroughly and apply the coating to them as well. So I can avoid the brake dust and other build-ups on the inside of the wheel?
 05-31-2020, 07:07 PM