When you click on links to various merchants on this site and make a purchase, this can result in this site earning a commission. Affiliate programs and affiliations include, but are not limited to, the eBay Partner Network.
This is probably an odd experience, but if it happened to me, it can happen to you. The backlighting of the clock, speedo and tach stopped working. Sounds simple to fix, just replace the light bulbs. Wrong, there are no light bulbs. I started my search over the forum with others that have had this problem and what they did to fix it. My search did not provide any good answers, buy a new instrument cluster for $2,000 or find a place to rebuild the old unit. Note, replacing an instrument cluster new or used will require MB to do programing on the new unit, ie: odometer.
So I decided to take the instrument cluster out and have a look around. To remove the IC take the beauty ring off 1st. Just lightly squeeze the top and bottom near the chrome toward the center and it will pull straight out. Next remove the reset/light dimmer button. This pulls straight off, but where it penetrates the dash opening hole there is a tab that has to be depressed, it is hard to see. Now you only have 4 screws to loosen, they require a torx. Now you have to remove the wire harness, rotate the gray clip which is parallel to the IC to a perpendicular position. Now the harness will easily come out. To remove the IC I lowered the steering wheel as it is a tight fit. You should now have the IC in hand. It has a shell around it that has to be removed by lifting little clips around the perimeter, the top one is hidden within a hole. This only gets the front off. Now there are little clips that are part of the circuit board that allow removal of the back shell.
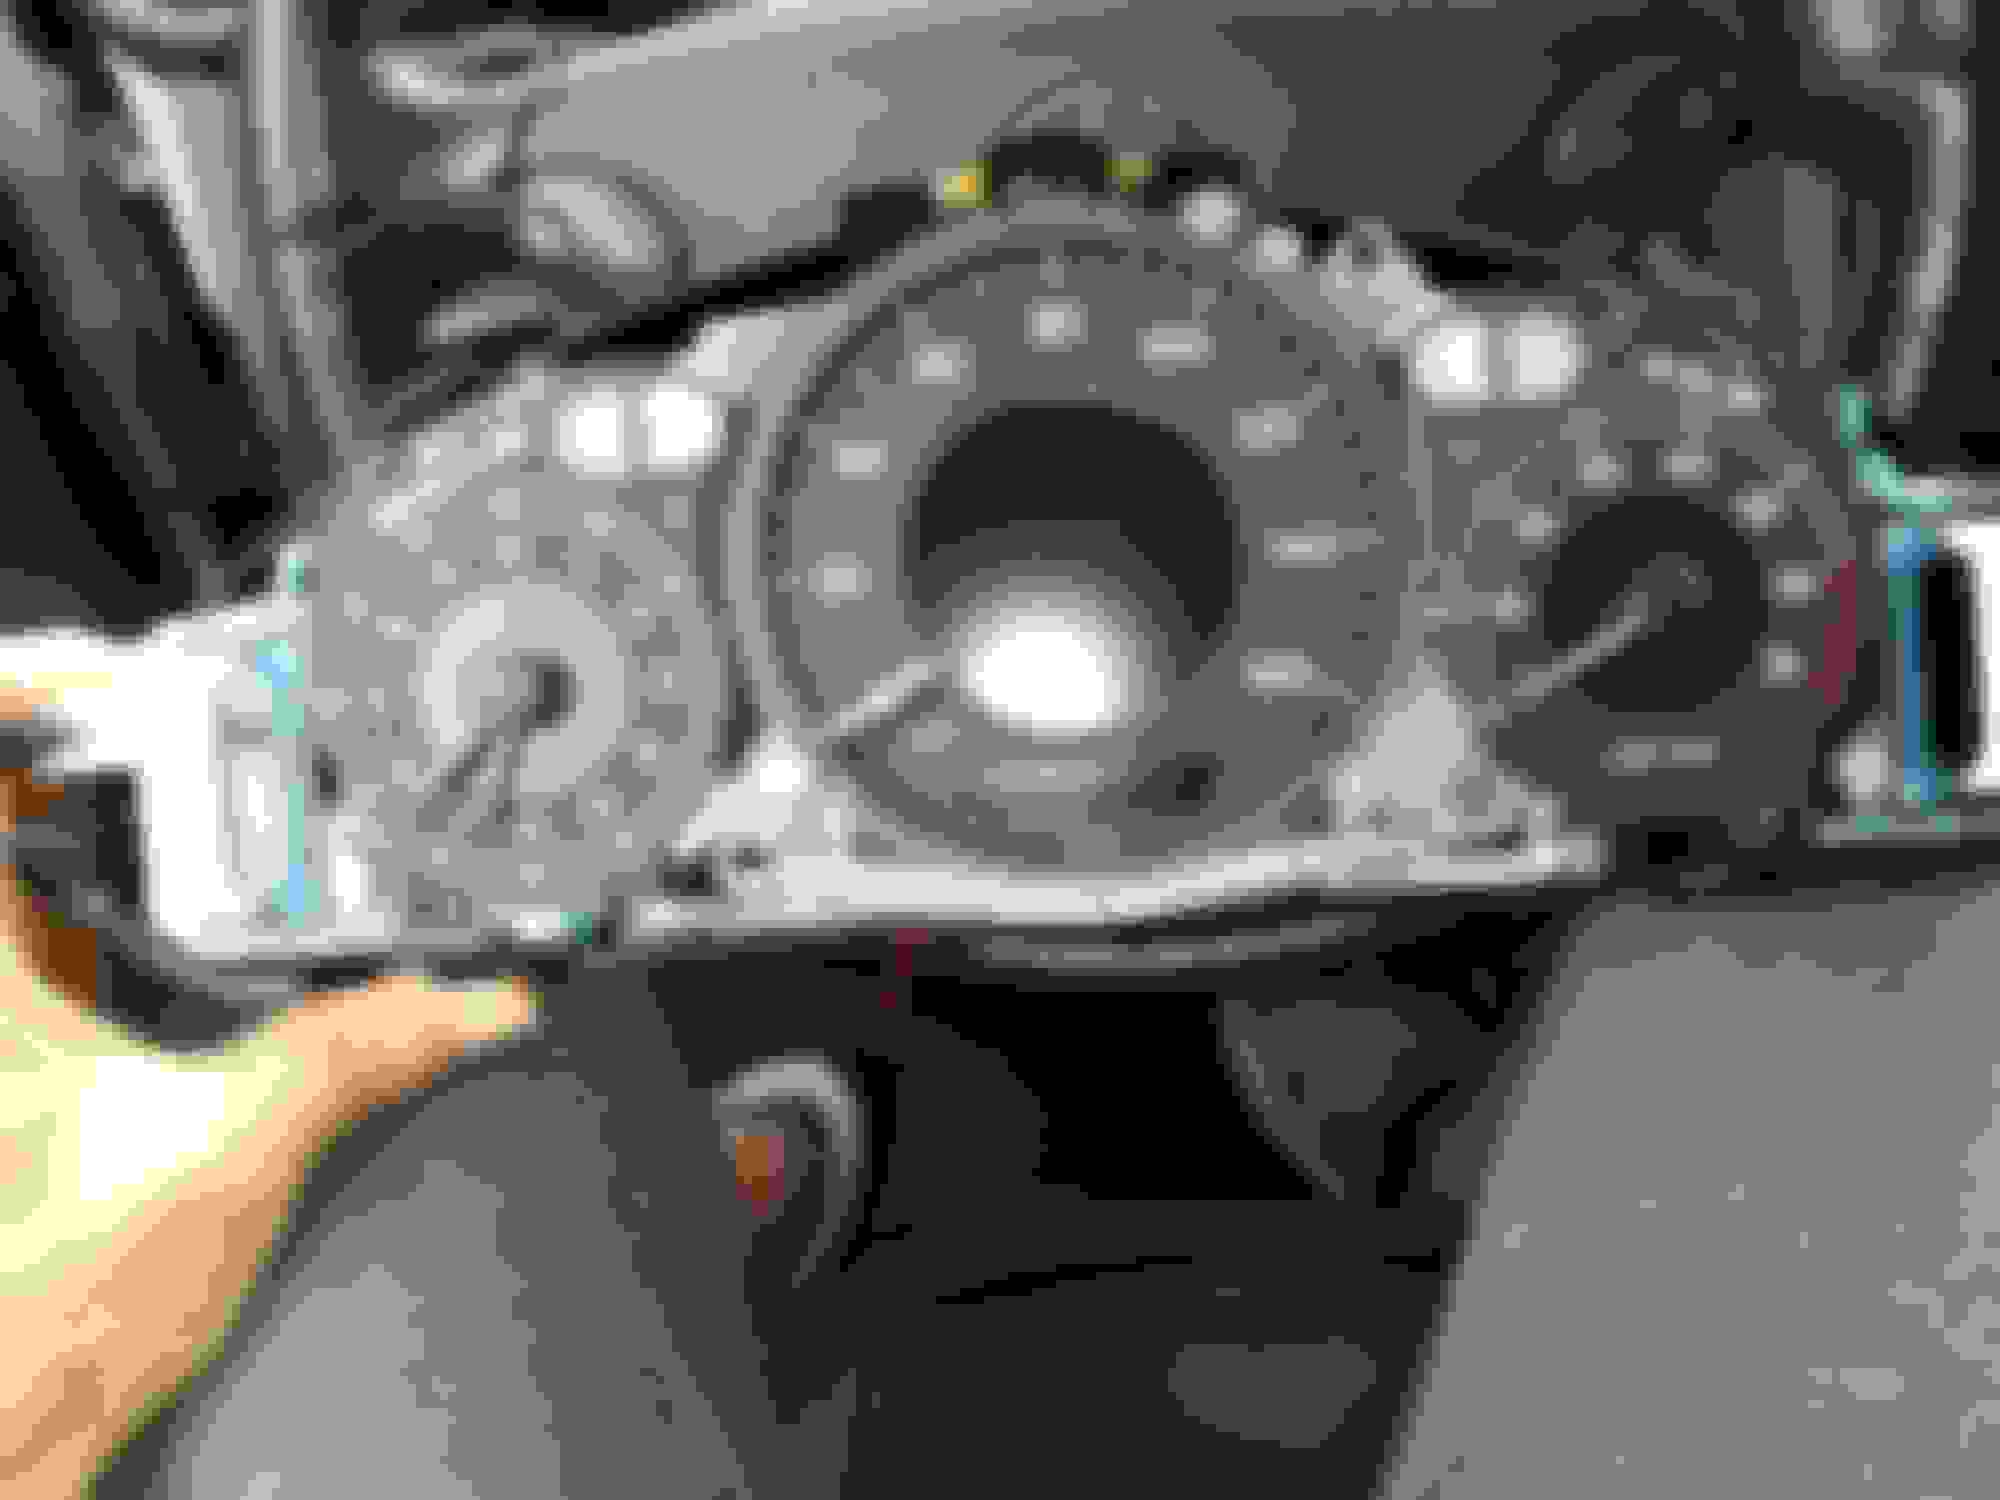
1st pic is IC with back side still attached
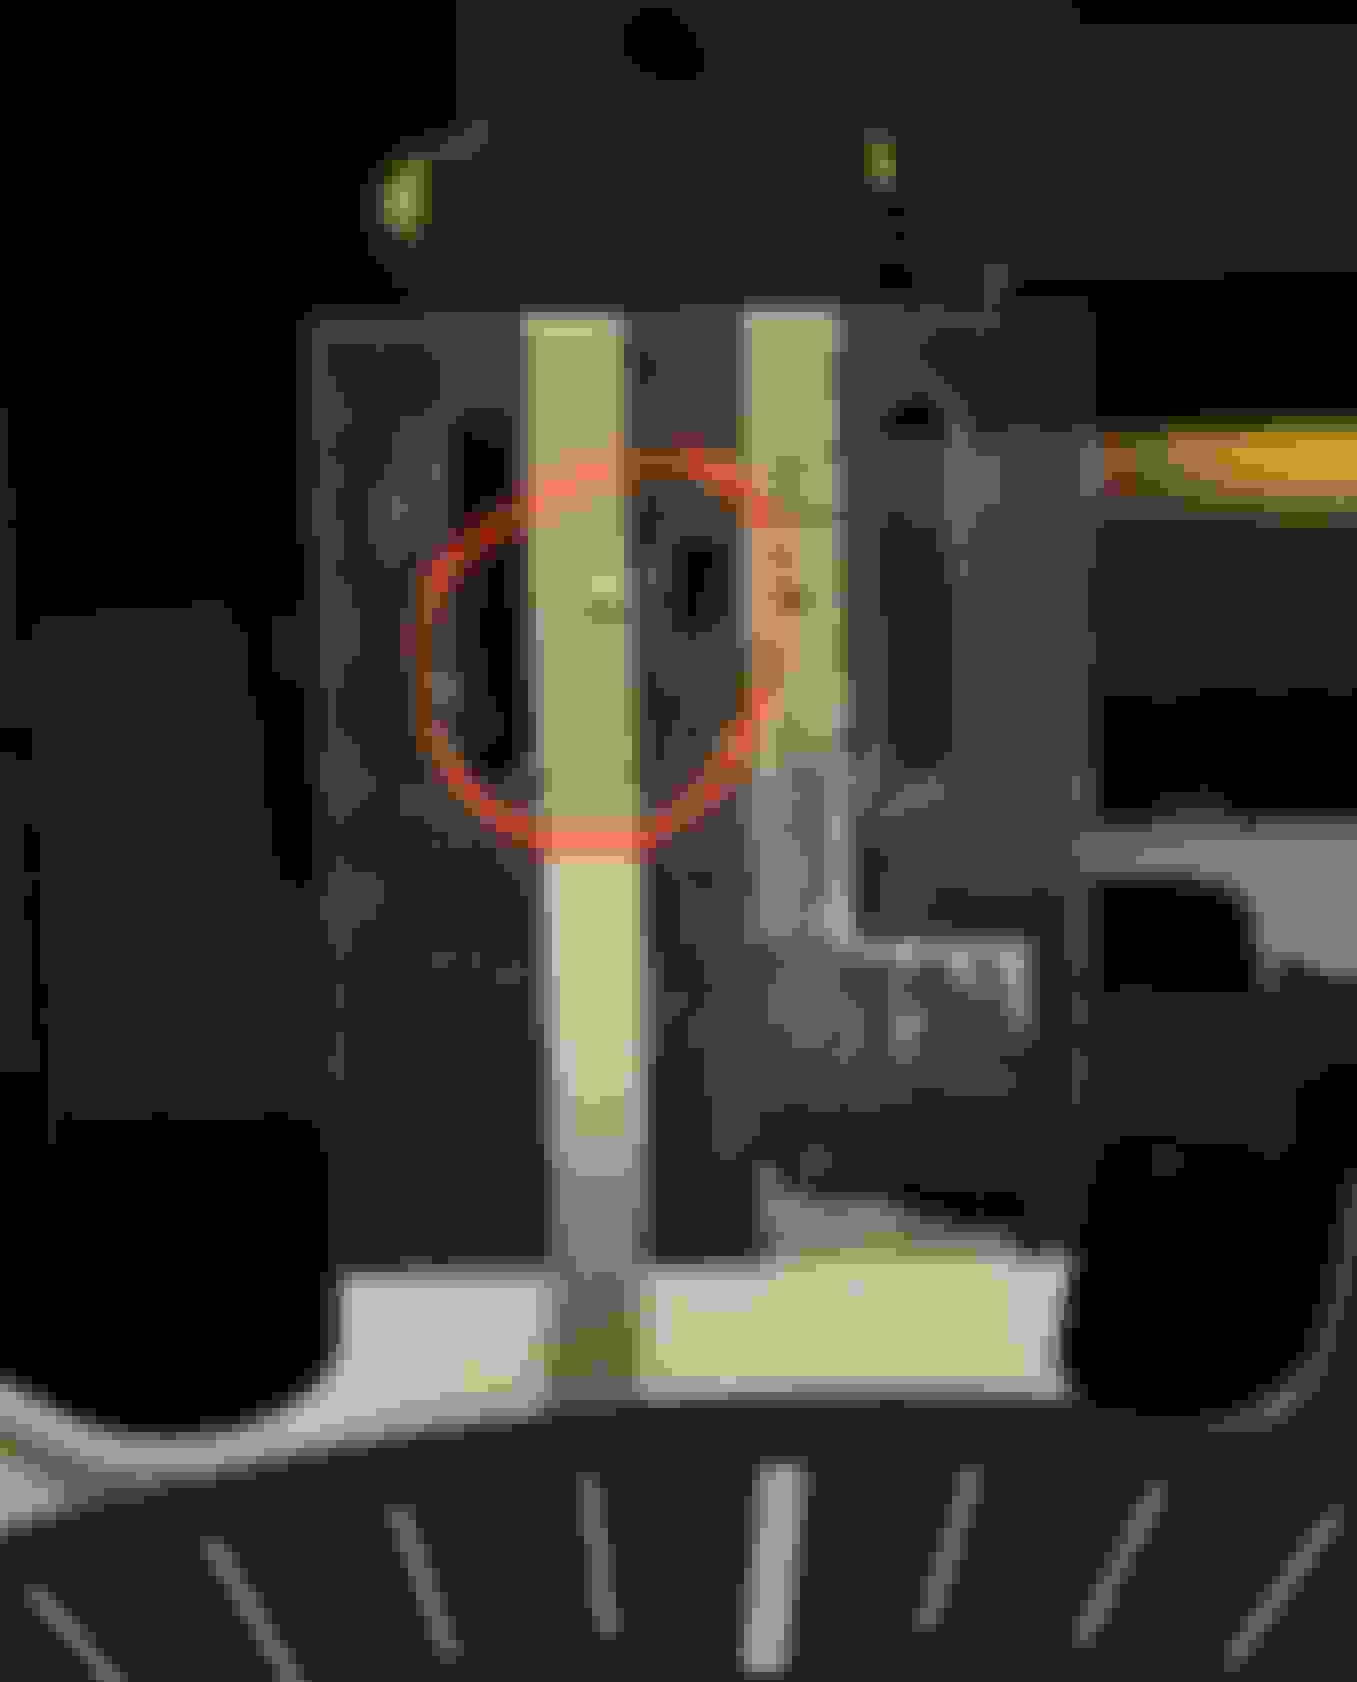
2nd pic shows closeup of ribbon cable below the tach. This is the power that feeds the lights. The lights are some sort of plastic laminate that lights up when power is supplied. NOTE the gold vertical line below the 6(on tach) this right side conductor is good. Look to the left of that one, the fatter conductor has a split in it. This is the failure. That split is not allowing the flow of current. This split is on the backside of the ribbon cable.
3rd pic shows clip holding the ribbon cable to the circuit board. clip is difficult to remove. Spread vertical clips while lifting hinged retainer.
4th pic show alternate angle of 3rd pic
5th pic shows back side of ribbon cable where I had to scrap off black protective layer to expose conductor. I then went to Radio Shack and purchased a tube of conductive wire glue for $6. I put one drop on the bad spot and spread it around, let it set for an hour and reasembled everything. I waited to the next day to try it out, success it is better than new.
Man, this was a great help. Of course, i decided to take mine apart late on a sunday evening, and radio shack and everything is already closed. i scrapped off some of the black insulation (very carefully with a razor, dont scrape too much or you will scrape the conductive silver part under it too) and i cut a sliver of tin foil to bridge the gap. The bend of the ribbon holds the foil in place. reinstalled the ribbon, closed the clip, and put it all back in. Bam, super bright again.
Seems like maybe heat over time and the tight bend the ribbon takes against the plastic bezel caused the conductive stuff to slide off the plastic ribbon thereby causing a fault I'm the circuit.
Seems like maybe heat over time and the tight bend the ribbon takes against the plastic bezel caused the conductive stuff to slide off the plastic ribbon thereby causing a fault I'm the circuit.
Could you please explain what have you done before disconnecting the instrument cluster? Like disconnecting the battery or not? ignition Key position ? Thanks
I just did this using a sliver of foil and some liquid electrical tape.
To answer your question. I did NOT disconnect the battery or turn key on etc.
Works perfect now.
John
Hi,
I have had the same problem with the backlight for a while. I found your posts and followed the instructions directions to open and inspect my IC. I just opened the front cover. Took some pictures. The ribbon cable seems okay, but I found that where it goes under the central part of the IC it was like a little "lifted" (tough to describe, like it was not perfectly glued down), maybe just an impression. I gently pressed it down with my finger, had no idea that would work. I closed the IC and reinstalled. Guess what, the backlight turned on. Let's see if will last. If goes off, I will repeat the process again to check whether that was the culprit. I have a question: when I was cleaning the front cover a little black pin fell down on my desk, see the photo. It's about 1/2 inch long. I have no idea where it goes. I just reinstalled the IC without it. Do you know where it goes?
1987 190e 2.3-16 sold and missed, 1966 220s, 2016 GL550, 1999 C43, 2006 CLS 55
I just had this happen to me when I went in the evening to drive her. The cluster lighting was out but everything else worked.
In my case there was no break in the ribbon. The contacts looked dirty, I cleaned them but it seems like it wasn�t making contact. I tried adding foil between the ribbon and connection that did work. Then I put the foil on top of the ribbon and it helped push it down and problem solved.
I want to thank the originator of the thread and these forums because they sure help us out. I will try to contribute my share of any unusual issues and solution.
Ok so I have the same problem as you guys there�s no light and I�m showing a pic of the same ribbon as the other one shown before I�m gonna try the tin foil and liquid electric tape but I accidentally cut a little bit of the good side so I�m gonna patch that side up as well. The first pic is of how it looks after I took off all the burnt up part and the second is of what i accidentally messed up. This is when I scraped the messed up part
That�s where I messed it up
[QUOTE=unlukky;6554379]I just did this using a sliver of foil and some liquid electrical tape.To answer your question. I did NOT disconnect the battery or turn key on etc.
Works perfect now.
John[/QUOTE
How it looks after I was done attaching foil. Crossing fingers it works Success even with my mistake it functions just like it should
Last edited by Jorge Valle; 07-04-2020 at 11:35 PM.
Reason: Adding pics
This is probably an odd experience, but if it happened to me, it can happen to you. The backlighting of the clock, speedo and tach stopped working. Sounds simple to fix, just replace the light bulbs. Wrong, there are no light bulbs. I started my search over the forum with others that have had this problem and what they did to fix it. My search did not provide any good answers, buy a new instrument cluster for $2,000 or find a place to rebuild the old unit. Note, replacing an instrument cluster new or used will require MB to do programing on the new unit, ie: odometer.
So I decided to take the instrument cluster out and have a look around. To remove the IC take the beauty ring off 1st. Just lightly squeeze the top and bottom near the chrome toward the center and it will pull straight out. Next remove the reset/light dimmer button. This pulls straight off, but where it penetrates the dash opening hole there is a tab that has to be depressed, it is hard to see. Now you only have 4 screws to loosen, they require a torx. Now you have to remove the wire harness, rotate the gray clip which is parallel to the IC to a perpendicular position. Now the harness will easily come out. To remove the IC I lowered the steering wheel as it is a tight fit. You should now have the IC in hand. It has a shell around it that has to be removed by lifting little clips around the perimeter, the top one is hidden within a hole. This only gets the front off. Now there are little clips that are part of the circuit board that allow removal of the back shell.
1st pic is IC with back side still attached
2nd pic shows closeup of ribbon cable below the tach. This is the power that feeds the lights. The lights are some sort of plastic laminate that lights up when power is supplied. NOTE the gold vertical line below the 6(on tach) this right side conductor is good. Look to the left of that one, the fatter conductor has a split in it. This is the failure. That split is not allowing the flow of current. This split is on the backside of the ribbon cable.
3rd pic shows clip holding the ribbon cable to the circuit board. clip is difficult to remove. Spread vertical clips while lifting hinged retainer.
4th pic show alternate angle of 3rd pic
5th pic shows back side of ribbon cable where I had to scrap off black protective layer to expose conductor. I then went to Radio Shack and purchased a tube of conductive wire glue for $6. I put one drop on the bad spot and spread it around, let it set for an hour and reasembled everything. I waited to the next day to try it out, success it is better than new.
just curious... do it know if this is an issue that would be picked up by the dealer scanning for codes? My digital cluster, all lights except headlight indicators, light behind the console clock and USB charger have been fading out for 10-20 seconds intermittently and then come back on. This has been happening for months and dealer says they can not duplicate and there are no error codes. Also they removed the pano roof twice for repairs and I'm wondering if maybe some wires were not connected properly. Dealership is useless and I'm hoping to get this fixed under warranty.
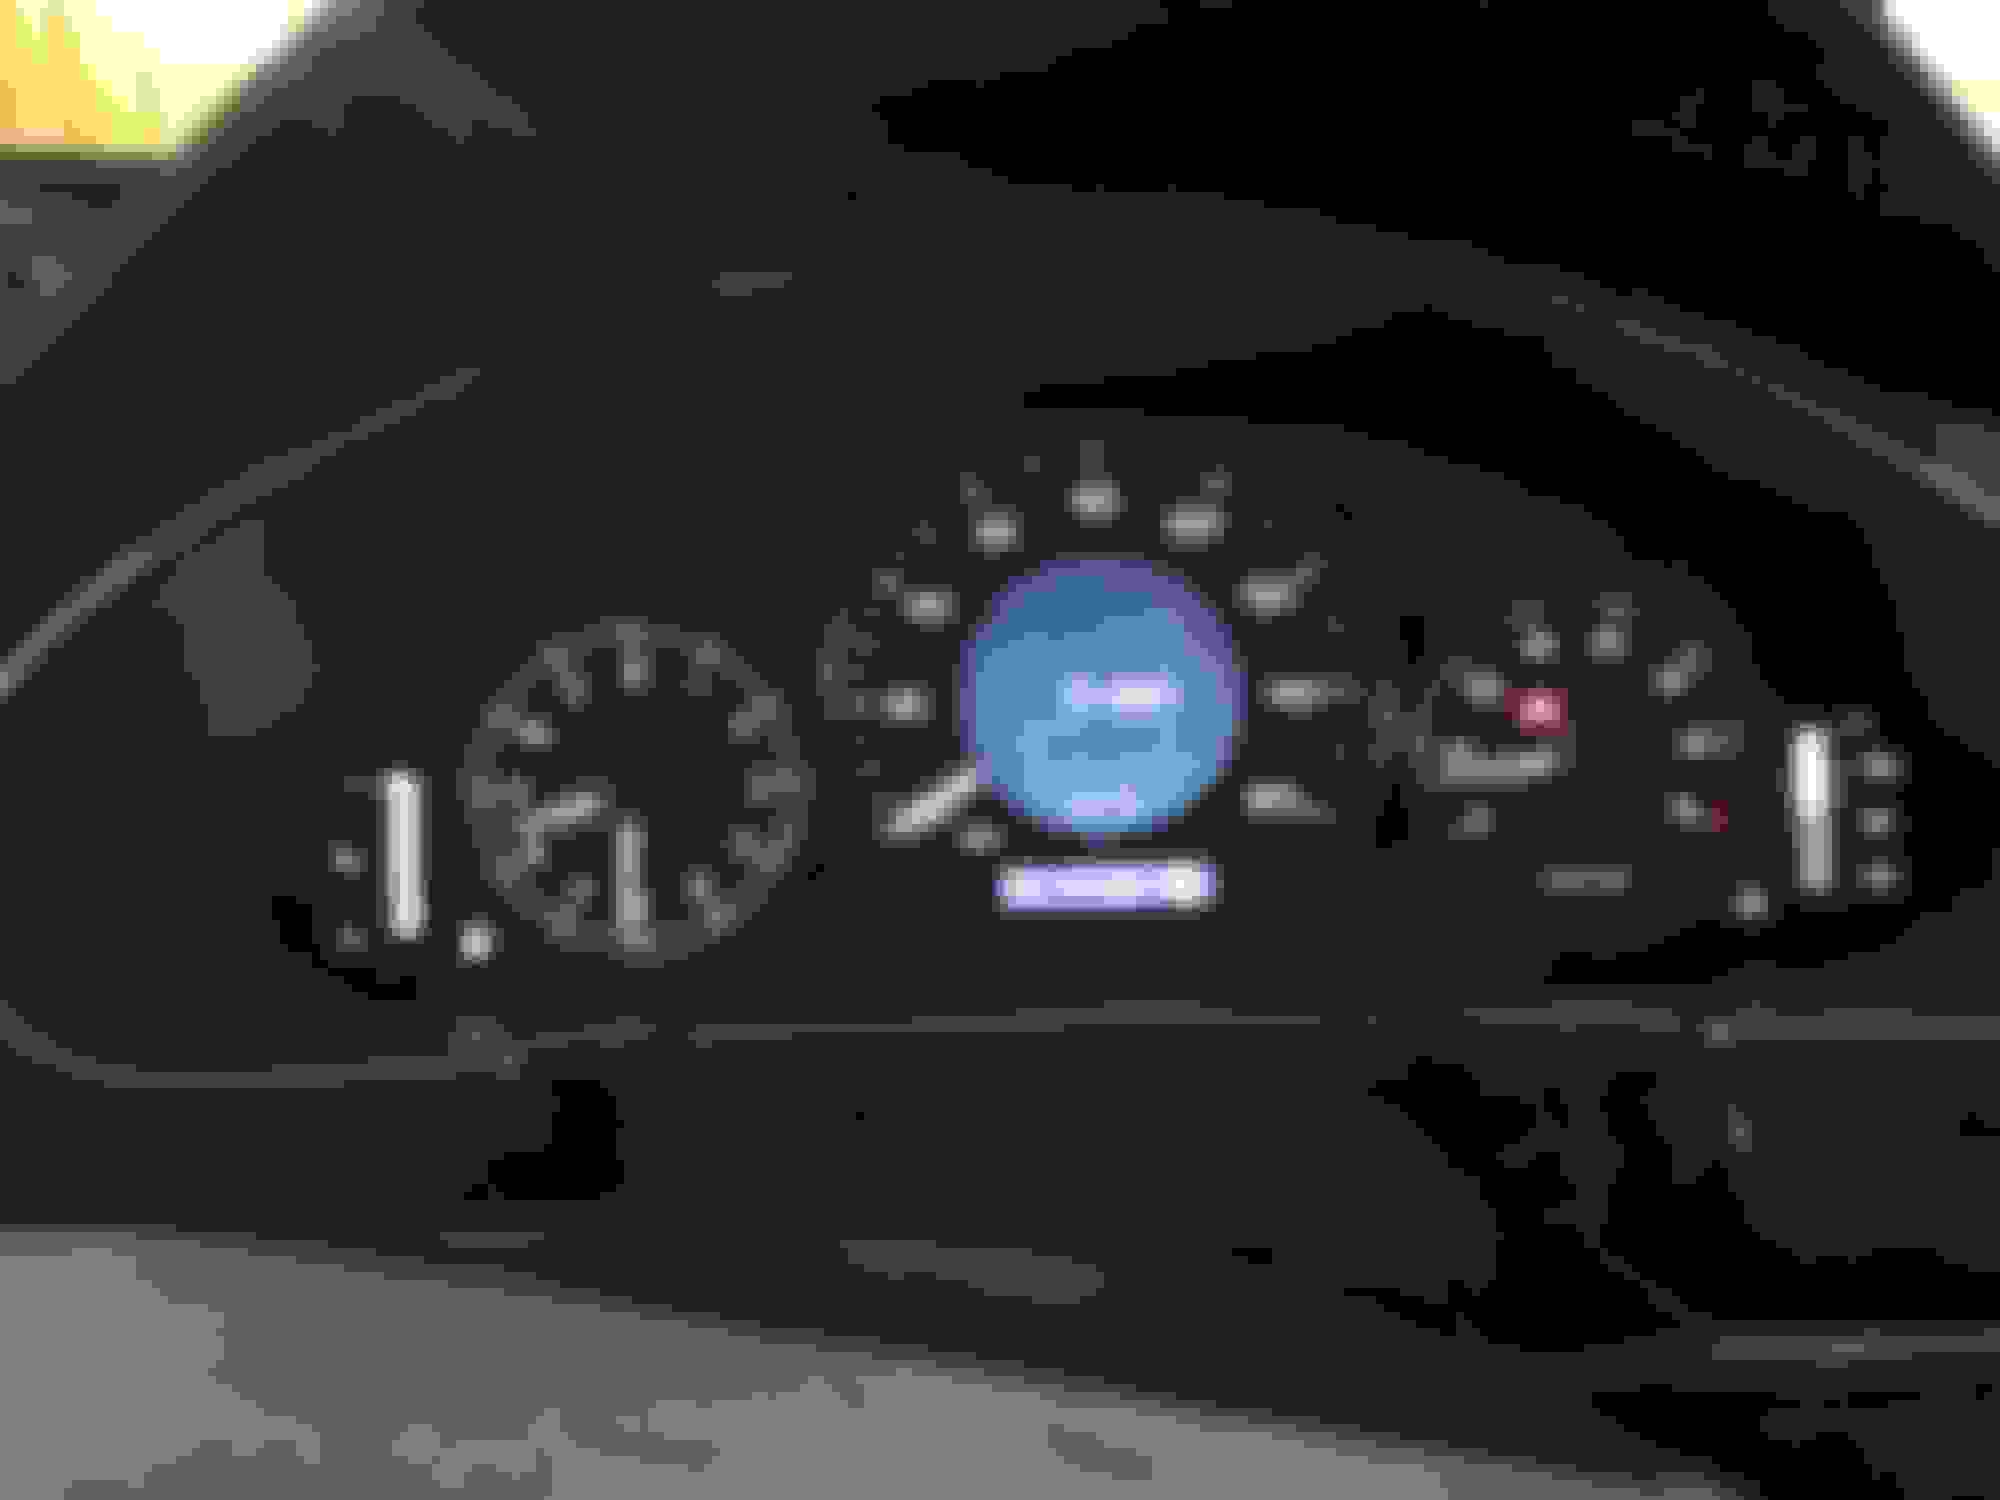
A couple of days ago I realized that the numbers on my speedometer and the clock on my cluster are lit, while the numbers on the RPM gauge are not. I tried disconnecting the main battery and reconnecting it with no success.
Any idea if this ribbon issue could be causing this partial backlight illumination failure?
In my country (Egypt) we do not have an electrical conductive tape/adhesive so I used normal duct tape at top and bottom of the foil pieces that I used. Worked very well.

 03-03-2014 | 11:40 AM