When you click on links to various merchants on this site and make a purchase, this can result in this site earning a commission. Affiliate programs and affiliations include, but are not limited to, the eBay Partner Network.
it's almost like a rubik's cube. if you lived nearby, i'd show you the trick and
you'd be able to do it easily thereafter. the video is done, naturally, under
the most ideal of conditions.
another example would be showing you how to use a slim jim to unlock a
car door. done by touch and envisioning where the parts are which need
to be jostled into compliance.
first time i tried this on similar latch like yours, it took me 2+ days.
thereafter, about 5 mins.
with the pre-facelift, wire latching system, it's more like seconds.
I have spent almost 3 hours to get the mirror housing off my 1998 e320. I just can't seem to pry that wire off the tabs. I've watched the video about 12 times and I'm thinking maybe that mechanism is different for the '98 e320 - yes/no?
Do I just keep at it until I break something off - lol?
pretty much all the available videos and pics are available in this thread.
if you're having difficulty, how about you post pic of the inside of your mirror?
that way, others can see what we're trying to solve.....as oppose to presuming
your's matches what is in our heads?
this is a much better approach....as I've seen one other variation for a 210
which was from a euro or non-North American car
looking at the picture.......keep in mind that the pic needs to be rotated....from what I remember.... you need to press the center of the wire down so that it clears the plastic tab type thingy. Once it clears it....you need to pry it up so it gets free from that plastic tab. Once you do that you can pry the whole wire off the two big tabs on the left and right.
That should free the cover.
I can't check mine as I have sold mine early this year.
hg98, The wire we are talking about is the thin one at the bottom of your picture #2. Do you see how it runs behind the molded tab on the cover at the right end? this should be pried up in your picture, and there is a similar cover tab on the left end of the wire that also should be pried up. Of course the picture should be rotated, so you will actually be prying the wire toward the car window.
Thanks Raymond.
That's the wire I was trying to push over the tab.
My concern is/ was will that wire break/bend if I push too hard?
Really appreciate you taking the time to respond.
Cheers.
it's not fragile. and the mounting points are cast. having said that, anything
can fracture if pressed hard enough. i've not heard of anyone on the various
forums report that they've broken this part.
as a gauge, i would say it can easily handle 10 lbs force on 6" screwdriver.
it's very unlikely that you'll deform the spring wire latch unless you put your
shoulder muscle into it
Raymond you are a bloody LEGEND.
Thanks for the tip.
My mistake was I wasn't applying pressure to pull off the mirror housing so the retaining wire would spring back behind the tab.
Once I applied pressure AT THE SAME TIME as prying the pin off of the tab, the housing came off without a hitch.
Once I got the mirror housing off, I noticed that the hook upon which the spring is fixed to is broken.
I used a simple zip tie to secure it against the mirror as per the suggestions in this forum.
Thanks men . . .
You just saved me $1000 - that's how much the Benz Stealership quoted me to completely replace the mirror.
Eternally grateful to you all and people like Raymond.
How about I set you up for a FREE subscription to my website as a thank you.
You can check it out here and if you're interested let me know. www.CashFlowGPS.com
I just drilled a hole in the housing right at the same exact point as where the tab was broken. Fed the spring through that hole first, then fed it through the hole to the other post. Proceeded to use a needle nose plier to post it on the other tab. Slipped the cover back on. VIOLA!
This way you don't have a weak point with a screw, jb weld, or a zip tie.
I see the last post was quite some time ago. I just recently had a floppy driver side mirror, and I am so glad I found this forum. I made the repair but now I am having problem putting the housing back securely.
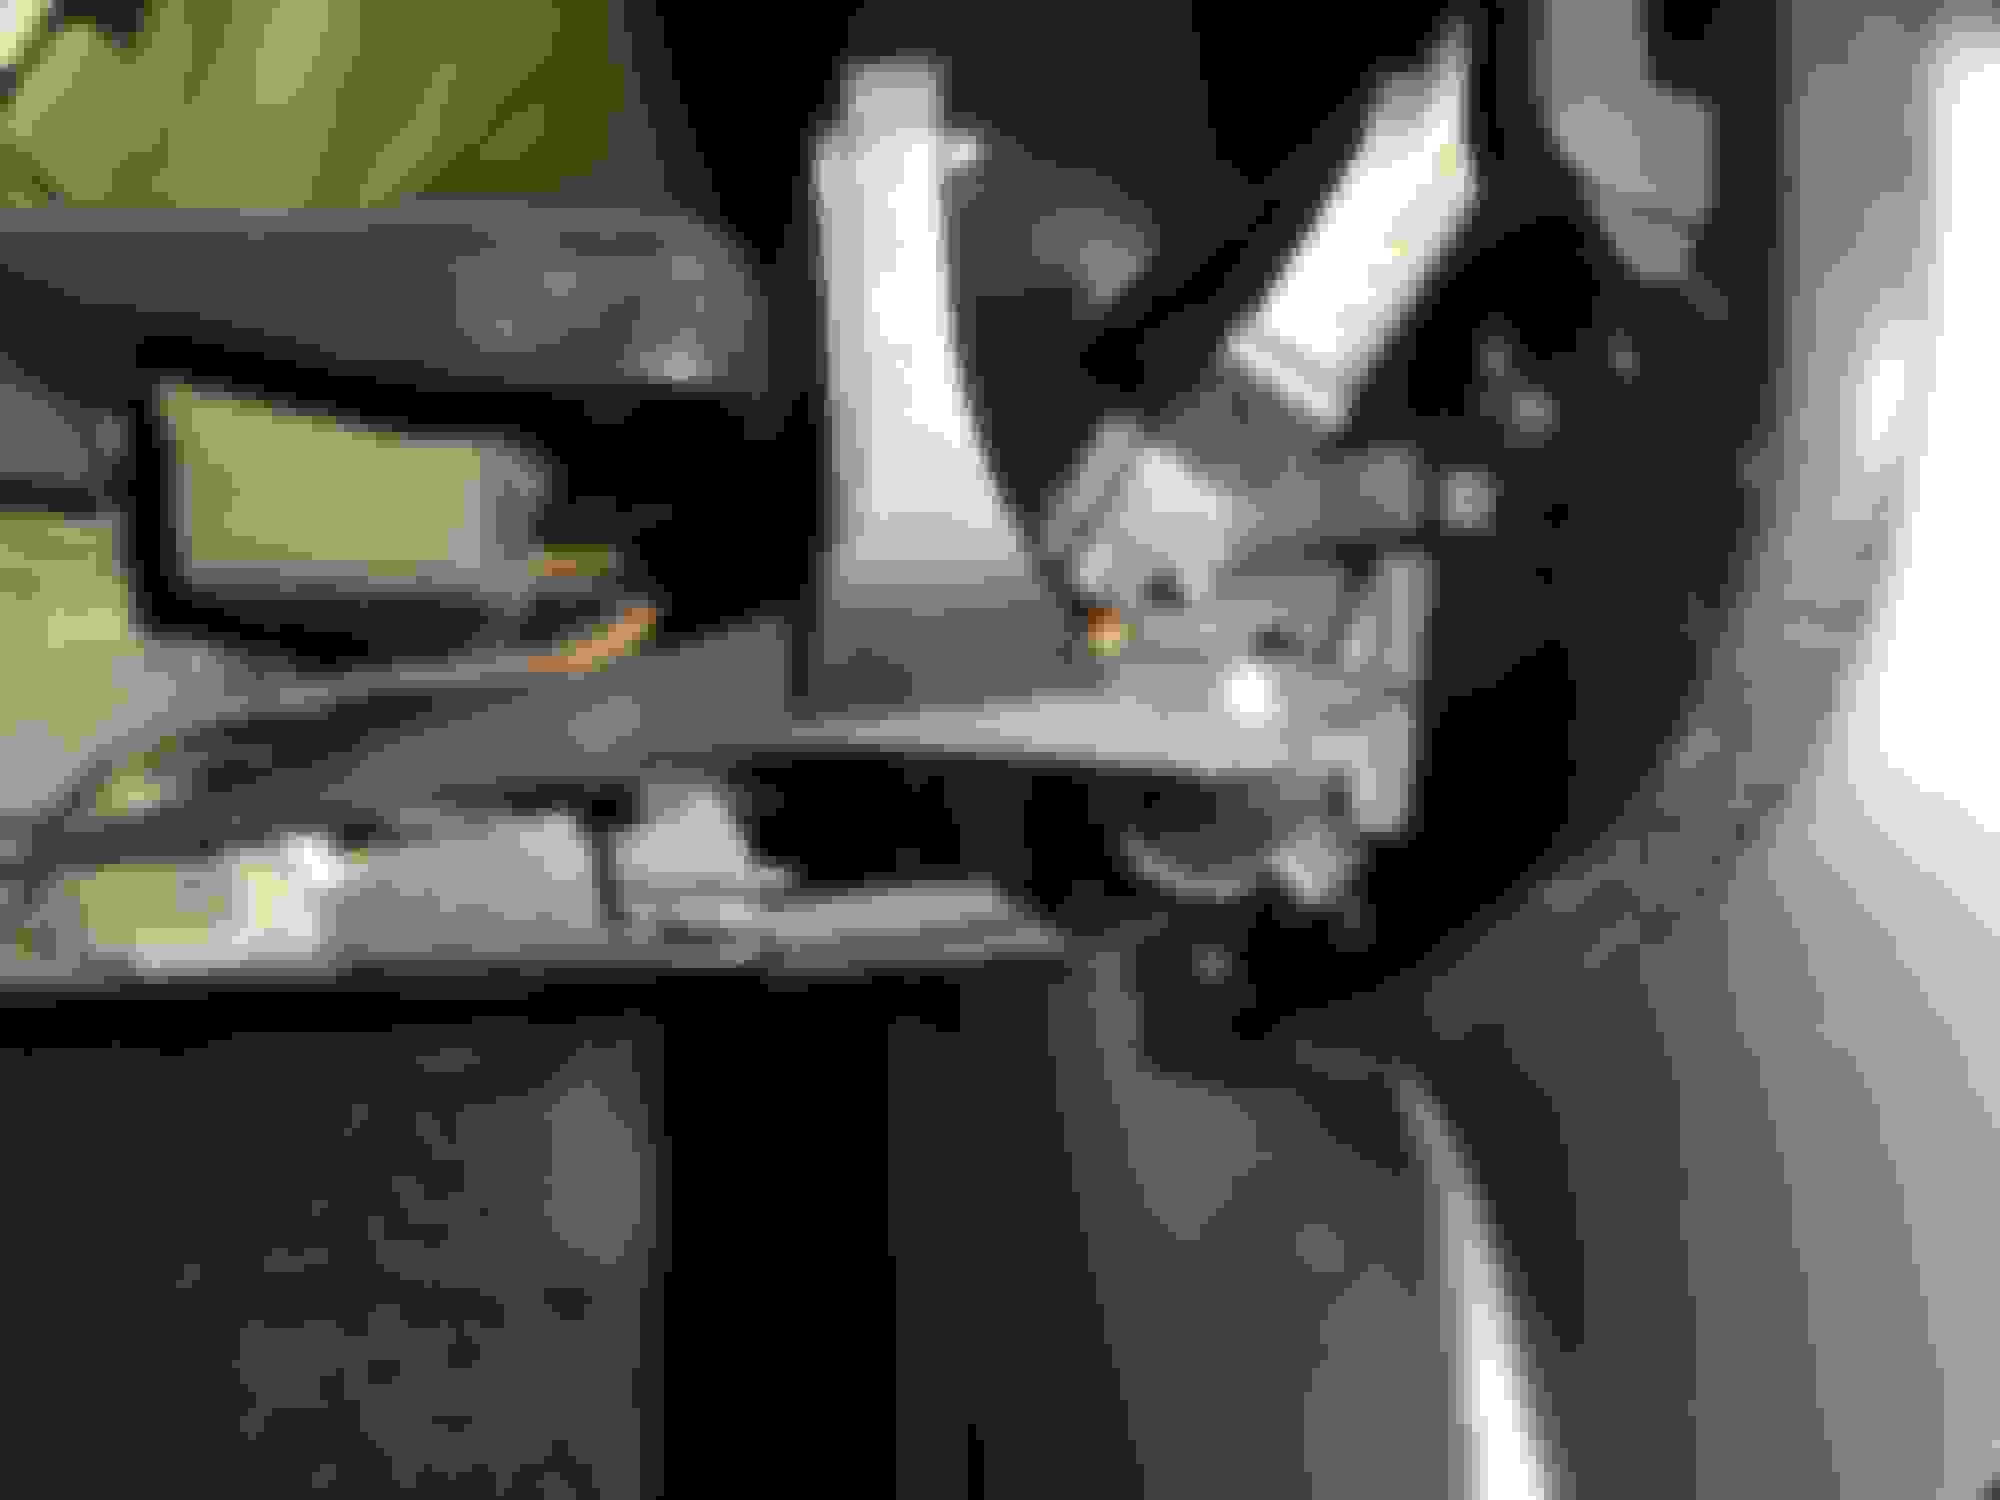
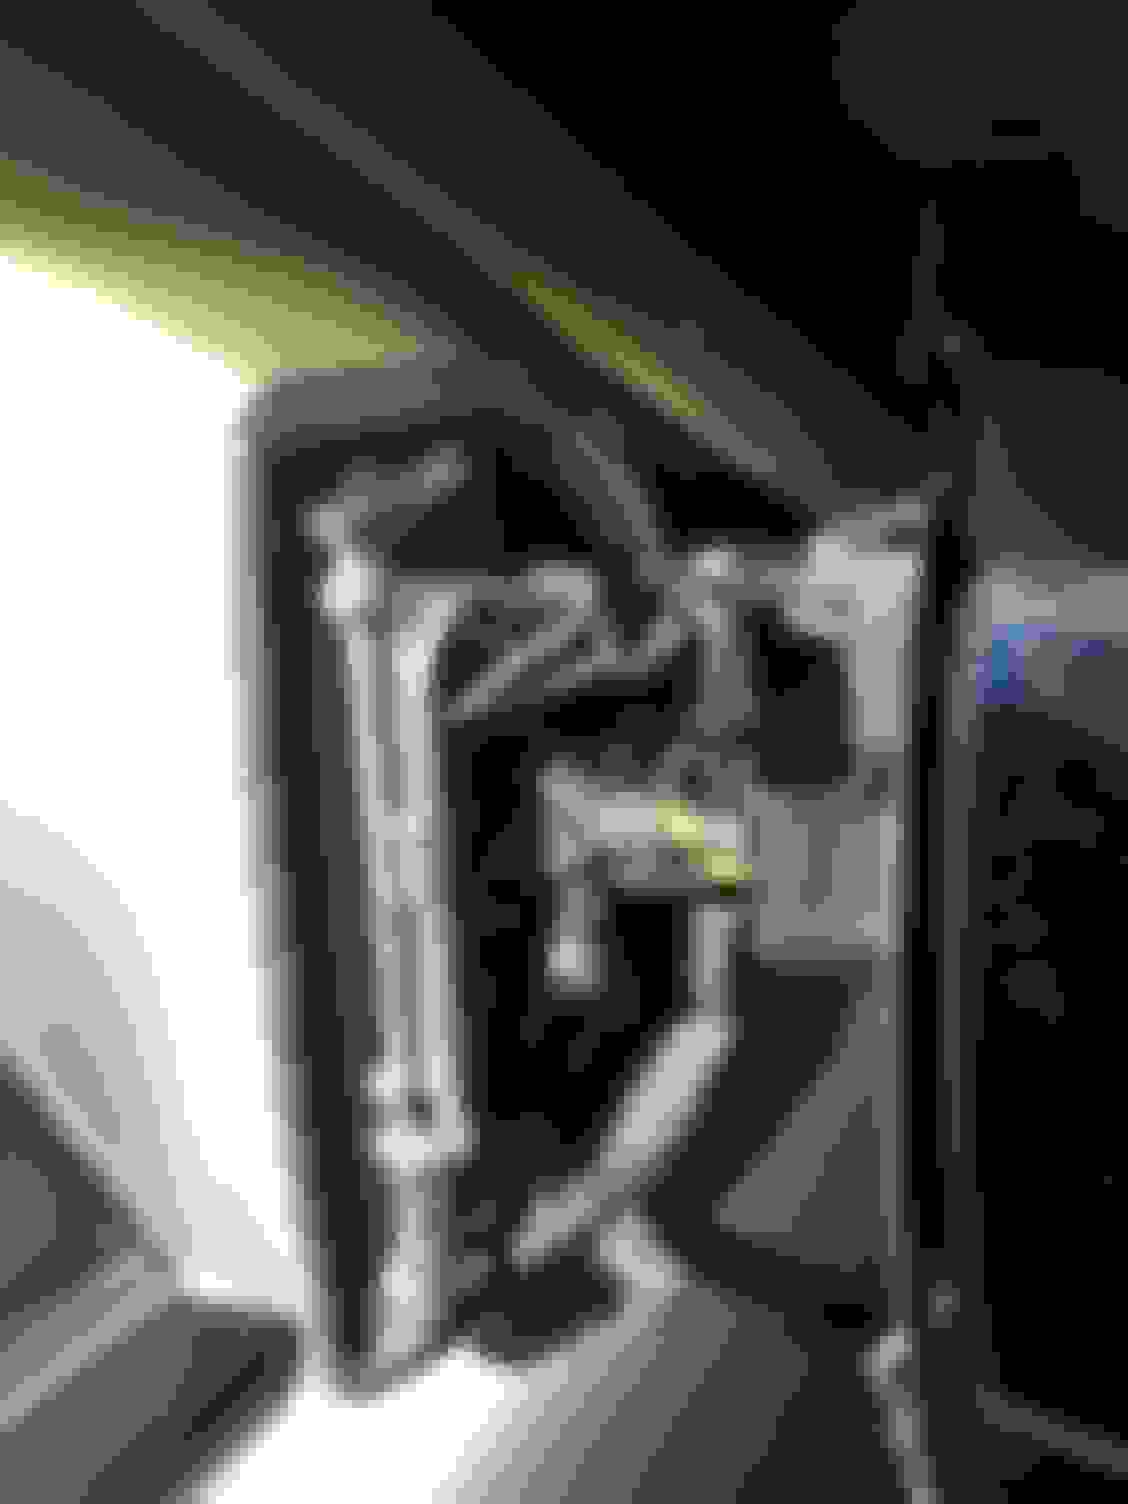
I will use the picture that Raymond G posted on 08-28-2011, 09:43 P. The two ski ramp looking tabs are now kind of far from the wire (yellow and red circles). I can't figure out why that is. My question is that there is a yellow line on the right of the picture. Does the black tab where the lower yellow line is point need to go into the white latch where the top yellow line is pointing?
I appreciate any feedback on how to reinstall the housing.
The wire is retained at the ends by holes in the housing, and a tab in the middle. Make sure the wire is held at these three points and it should catch the two tabs on the cover. Make sure nothing else is keeping the cover from sliding all the way on.
Without this help I would never have been able to repair the damage done by my local car wash! Nelbur, you're a star
Originally Posted by nelbur
The w210 side mirrors have a tendency to become floppy and act like they are about to fall off. There is a spring in the mirror under tension holding the mirror against the door, while still allowing the mirror to hinge backward and forward if it is hit. The problem is that the attachment hook for the spring is poorly designed and will bend over or break off releasing the tension on the spring. The fix is to remove the cover and reattach the spring to something.
The detailed DIY is as follows:
1. Adjust the edge of the mirror nearest the door so that it will clear the cover when it is removed ( about 1/4" recessed).
2. Push the mirror back against the door and look into the workings. You will see a wire bail that holds the cover on. pry the bail from behind the tabs on the cover and carefully pull the cover off. (see pictures, the bail is on the right side).
3. You will notice that the spring end is not attached. If the attachment hook is bent over, break it the rest of the way off and get it out of the way.
4. The fix is to take an 8 or 9 inch piece of "noncorrosive safety lock wire" and run it behind the mirror backbone (go under the electrical wires ) and run it through the end of the spring, and back by the front so the wire ends can be twisted together. (see picture one)
5. Grab the twisted end with a standard plier, pull to stretch the spring and twist the wire. Repeat pulling, then twisting, until the twisted wire has pulled the spring back to near where it was before the hook broke. Clip off the excess twist and bend the end up out of the way of the cover. ( see picture two). I added a second wire to share the load.
6. Carefully slide the cover back on. Make sure the tab, seen to the left of the wire twists, fits into the receptical in the cover. The cover should snap in place as the bail pops behind the tabs on the cover.
Just a comment on "safety lock wire". This is a stainless steel wire used by car racers and aircraft mechanics to secure critical bolts and other parts. It is designed to be twisted without breaking the way regular wire will when tightly twisted. It is available at Harbour Freight for small money. It has a thousand uses in any shop.
I know its not the cover, but what about the Mirror Glass itself. My Heating element inside the glass sizzled...not 2/3 of the glass is distorted/foggy ...unusable. I have ordered new replacement Mirror Glass (heated) $32.00 US shipped free from Latvia !! Now just need to trmove old glass and install new
Havent found any youtube vidz for W210 - thanks!
Last edited by tbone006; Mar 28, 2015 at 05:10 PM.
Raymond !!!
I knew i could count on you bruddah Thanks man... i actually got it out w/o removing the entire unit or cover. BUT....the unit i had was slightly different and had diff wiring connectors. So i installed w/o electronics...but at LEAST I CAN SEE IN IT NOw !!!
Thanks for the idea. I wish I read it before I bought a $30 replacement from junkyard. I found that the replacement part is already fatigued at the failure point - grrr! Now I'll be stuck with credit until something else breaks!
I know this is an old thread, but my issue is related. I've gotten the cover off and my passenger side mirror is floppy. In my case, the hinge part seems broken. And I don't see the spring on the back. Any advice on how to resolve this before I take a crack at it. Someone previous to me seems to have tried to zip tie it, but it was still floppy.
Thanks,
Nick
1999 E430
Last edited by Nick Ondrejka; Jan 23, 2018 at 10:52 PM.
Reason: additional photo


 Without this help I would never have been able to repair the damage done by my local car wash! Nelbur, you're a star