When you click on links to various merchants on this site and make a purchase, this can result in this site earning a commission. Affiliate programs and affiliations include, but are not limited to, the eBay Partner Network.
Thanks for the excellent detailed instructions. I have one small addition. Remove the engine cover. I was struggling with the installation until I decided to remove the engine cover and in 15 seconds the valve was in. Thanks again. (2005 E320 CDI)
Great post. Def remove the wiper linkage. The most difficult part for me was pulling the 90 degree hose from the single port towards the engine. I finally got that off and it was very difficult the reinstall with the new unit. Finally took advise from a post on here to pull the old O ring and use it. Also, I would have the clips opened when installing. It makes it so much easier than having them closed and have to push so hard. Worked perfect. Great to have warm air again.
Great DIY. Did mine on my E500 in about 1.5 hours IN THE SNOW. Pretty straight forward, I took off the wiper assembly which made access easy. I had trouble getting in the 90 degree hose until I put a touch of Vaseline on the o-ring, slipped right in, lol.
I replaced the valve and still no heat. Is there a fuse that I need to replace? Where would i find this fuse? Or should i check the electric pump? And is there a fuse for this electric pump? Thanks all!
I replaced the valve and still no heat. Is there a fuse that I need to replace? Where would i find this fuse? Or should i check the electric pump? And is there a fuse for this electric pump? Thanks all!
It could be a bad chip in the SAM. Mine was shot and I'd always get heat.... see my thread on replacing it -
Thanks to the OP for this. Fixed my rear vent hot air issue by replacing this valve. Took me about 1.5hrs. Easy to do when you remove the wiper assembly as stated in previous posts. The 4 plastic rivets on my e55 have phillips heads and just unscrewed. After unscrewing them I just popped them out with a screwdriver.
Thanks to the OP, great thread.
My 11/04 E55 had no heat so I just went through the hell of replacing this in a RHD car and I now have a working heater!
So I just attempted this and after I put everything back, the car is puking coolant. Have to take it apart tomorrow and see where it is thats leaking.
When I pulled the elbow off the front facing port, I noticed the end of the tubing was corroded and a part of it was stuck in the old valve... wondering if anyone has replaced just the elbow of the tube and what part number it is?
This is a great DIY and I'd like to express my thanks too to w211 ryda - mabuhay ka brad!
My unit started failing when I couldn't get cold air unless I put the temp to the coldest. This is during summer this year. Then when weather got cold recently I stop getting the heat and it just blows cold air. How ironic right? Anyway, I finally did this over the weekend. When I finally installed it, before putting everything back in place, I tested my heat by letting it sit at idle while engine is running. But still no hot air comes out. I read this whole thread and found that some folks got heat after driving it around. Thats what I did and then it happened... the heat goes on! Whew I was afraid it could be another issue. Thank God I got my heat back just in time because today starts to get cold here in the north east. My advice to add is sometimes the wiper gets super stuck just like my driver side wiper. And I tried prying it out but no luck. I found out in 'pelican parts' website they used a battery terminal puller to pull out the wiper from the wiper linkage. I didn't get to do that so I worked while the driver side wiper are still intact. Its a pain so just take time to remove the wiper assembly for easy install. Cheers!
I live in South Africa and have had this issue with my E200K. An auto electrician removed the valve as described here and prised it open. He diagnosed a dry joint and, after some soldering, the valve worked like a charm. This electrician also resolved a problem I had with the combination switch which would change from indicating left, to indicating right, without any input from me, with no new replacement parts fitted. I guess with a lack of resources, comes a lot of resourcefulness.
Hi, having problems with the heater. Trying find the heater control for the W463, I see the hoses going in to the firewall from the engine compartment, but no heater control valve. Anybody know can I reach it to check it?
Appreciate any tips, description, photo and/or diagram.
I took some of my free weekend time to replace this faulty valve. I followed the instructions as posted, but removed the clips on the old valve 100% to easy disconnect the hoses. Also I didn�t fully remove the wiper assembly, but removed the two nuts on the left and left the one on the right end intact. It moved pretty easy when I wanted out of the way.
Some coolant spilled when I removed the engine side coupler, but very minimal. One word of caution to all is that make sure to do this on a cool engine. The coolant was still a bit warm, any hotter would had been a scalding burn!
It was quick and painless, other than having to rest halfway over the engine from either side you pick to carry it out.
Hi, awesome write-up, I tried to replace mine which is a RH/D not a left hand drive so the setup on mine is a little different because the heater valve is tucked under the damn brake cylinder! Making it difficult to reach at and I don't want to remove the brake cylinder, may have to buy extension tools to reach down to get at it, I like the idea with the coat hanger to release the hoses clips, any help with this anyone?
Hi, awesome write-up, I tried to replace mine which is a RH/D not a left hand drive so the setup on mine is a little different because the heater valve is tucked under the damn brake cylinder! Making it difficult to reach at and I don't want to remove the brake cylinder, may have to buy extension tools to reach down to get at it, I like the idea with the coat hanger to release the hoses clips, any help with this anyone?
I've done mine on a RHD car. It's much more difficult that a LHD car. You'll lose more skin from your knuckles, but it's essentially the same process as described above.
The key is to understand the orientation of the valve and hoses and connect most of them before you drop it down into the cavity. If you get it wrong, the hoses will kink.
Okay, last weekend was frickin hot in So-Cali reaching 90+ and that�s when I first started to experience extremely hot air blowing out from the rear vents (B-pillar and from center console). My front a/c vents were working fine, but the hot air being blown to the rear passenger area was unbearable. I remember seeing several threads of people experiencing the same problem and since my car is no longer under warranty, I decided to tackle the job myself. Thanks to Konigstiger, found the culprit to be with the changeover valve. https://mbworld.org/forums/showpost....49&postcount=2
So here I go, on with another DIY.
Tools required:
Flatnose screwdriver
Needle nose pliers
An extended angle needle nose pliers
Ratchet
13MM socket
T25 Torx wrench or screwdriver
Wire coat hanger
Parts needed:
New changeover valve (part #A211 832 05 84). This is probably a revised valve w/ a new design since my faulty valve has the part #A211 832 00 84.
2nd, you�ll need to remove both wiper arm assembly with a ratchet and a 13mm socket. Here are the 3 nuts you�ll need to remove. Attachment 385000 Attachment 385001
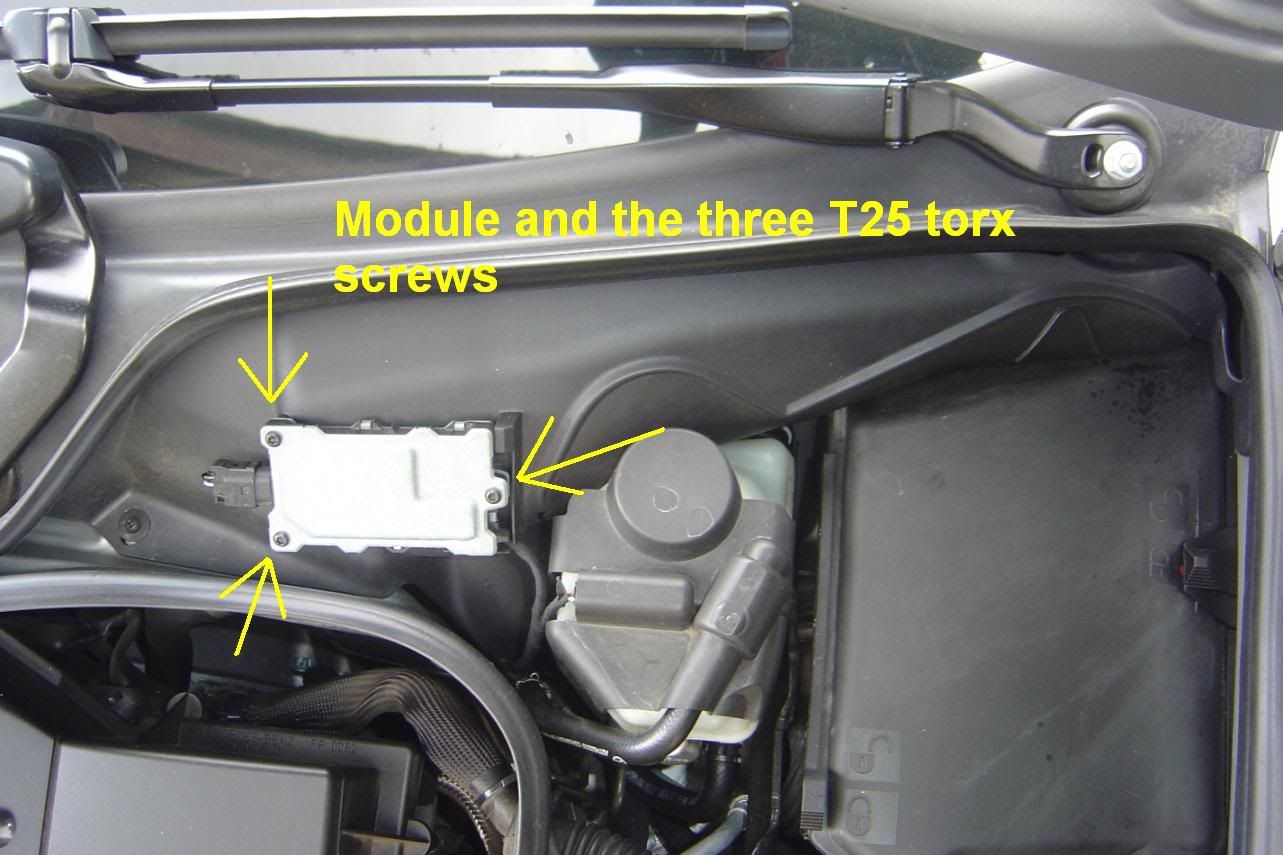
Next remove this module on the driver�s side. I�m not sure what it exactly does, but you�ll need to unscrew it from the plastic trim panel. Using the T25 Torx screwdriver or wrench, remove the 3 screws and set the module aside. You don�t even need to disconnect it.
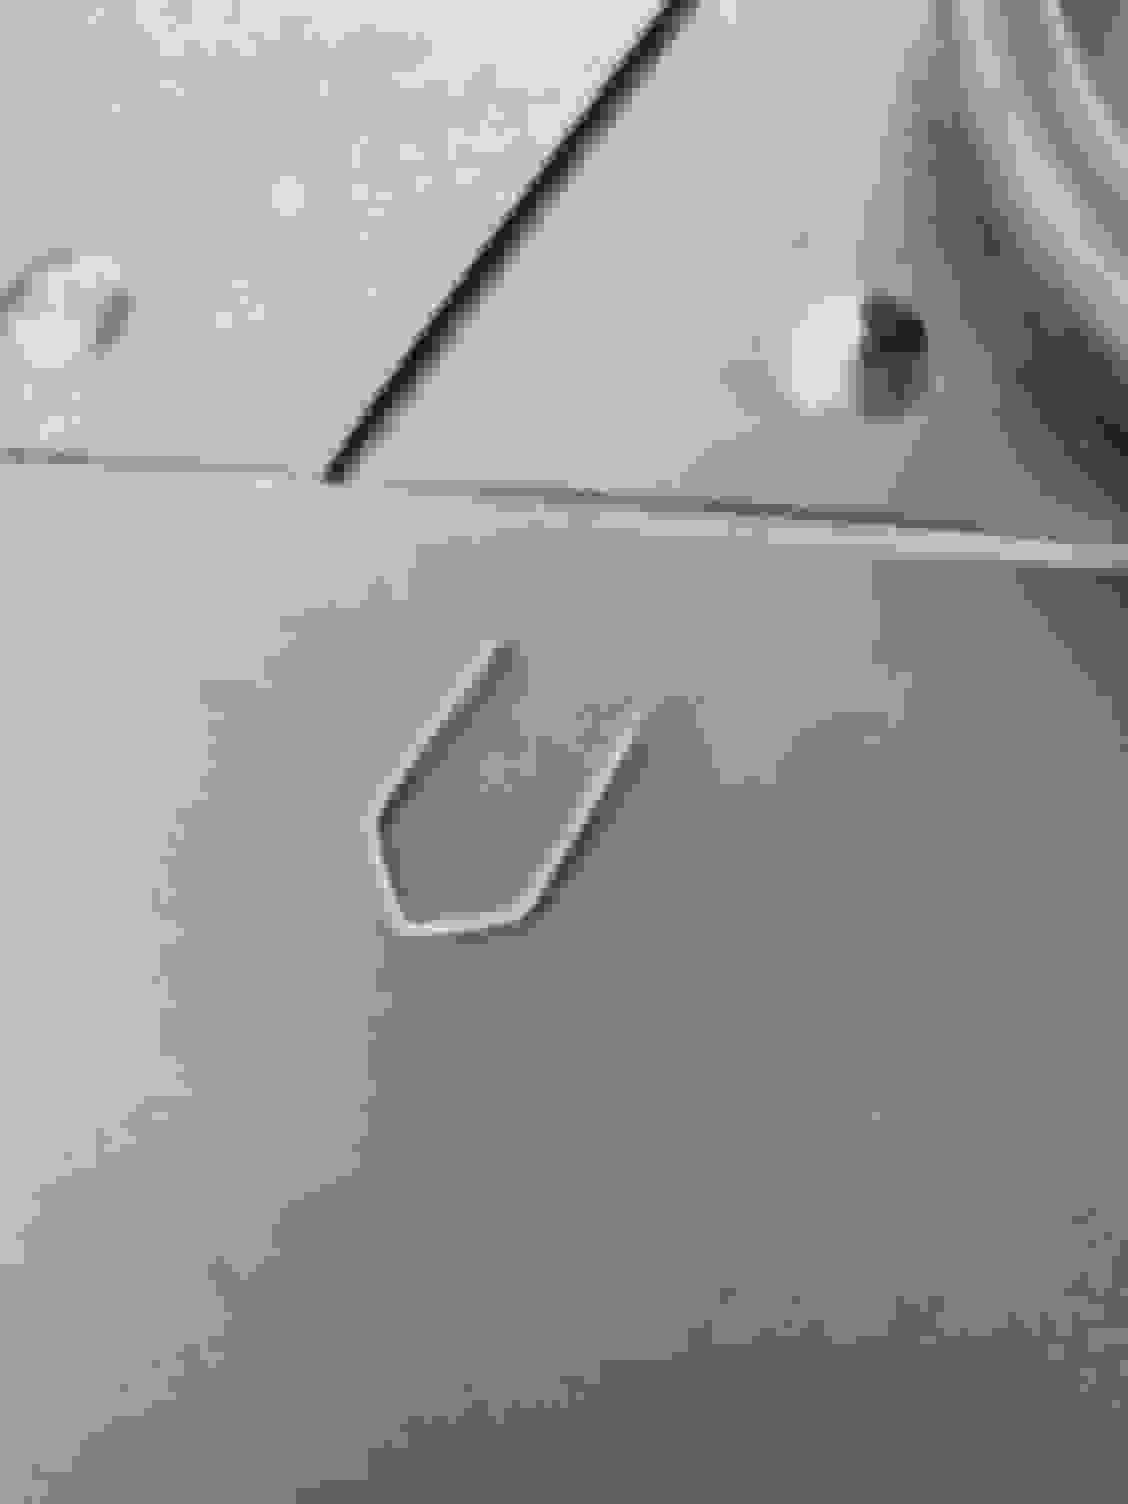
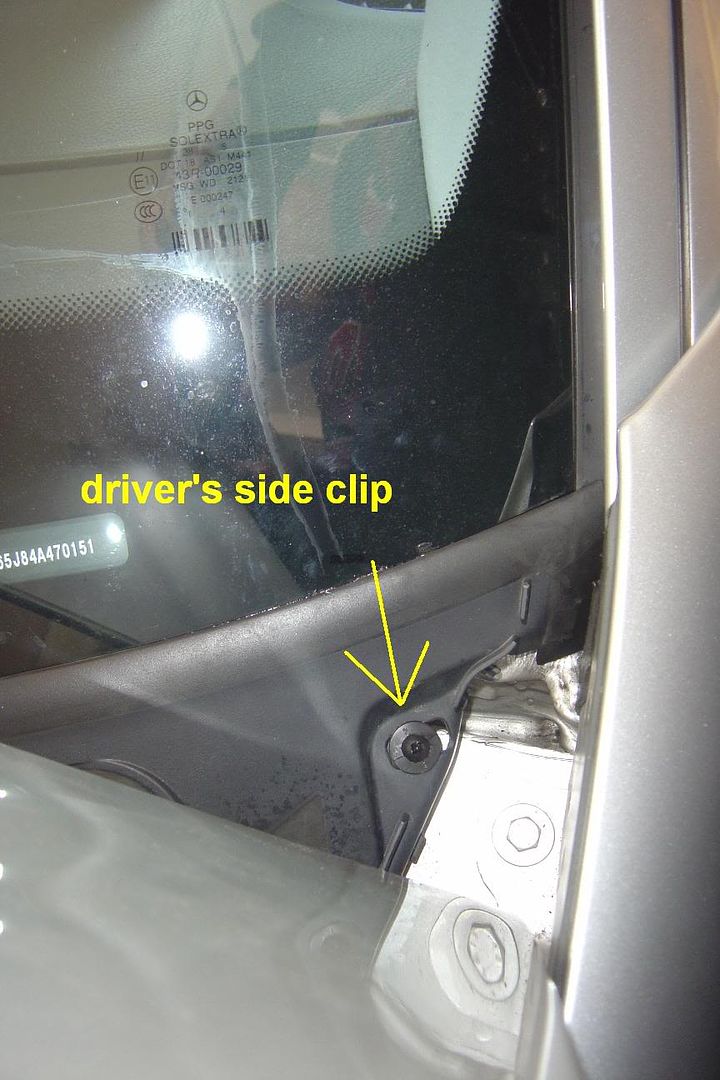
Now you�ll need to remove plastic trim panel that sits at the bottom of the windshield. It is secured down with 4 plastic clips. (they look like philip plastic screws). To remove these clips you gently slide a thin flathead screwdriver under the head of the clip and pry it up high enough so that you could use the needle nose pliers to pull on the shaft. Do not remove the shaft, just pull it out � of an inch or less then remove the clip.
At the bottom of the plastic trim panel is a big rubber hose that you�ll need to disconnect. On the passenger side, you�ll need to unhook the 2 electrical wires from the hanger. Now you could remove the plastic trim panel.
When you remove the plastic trim, you�ll see more wiper arm linkages as seen in the pic. Attachment 385006
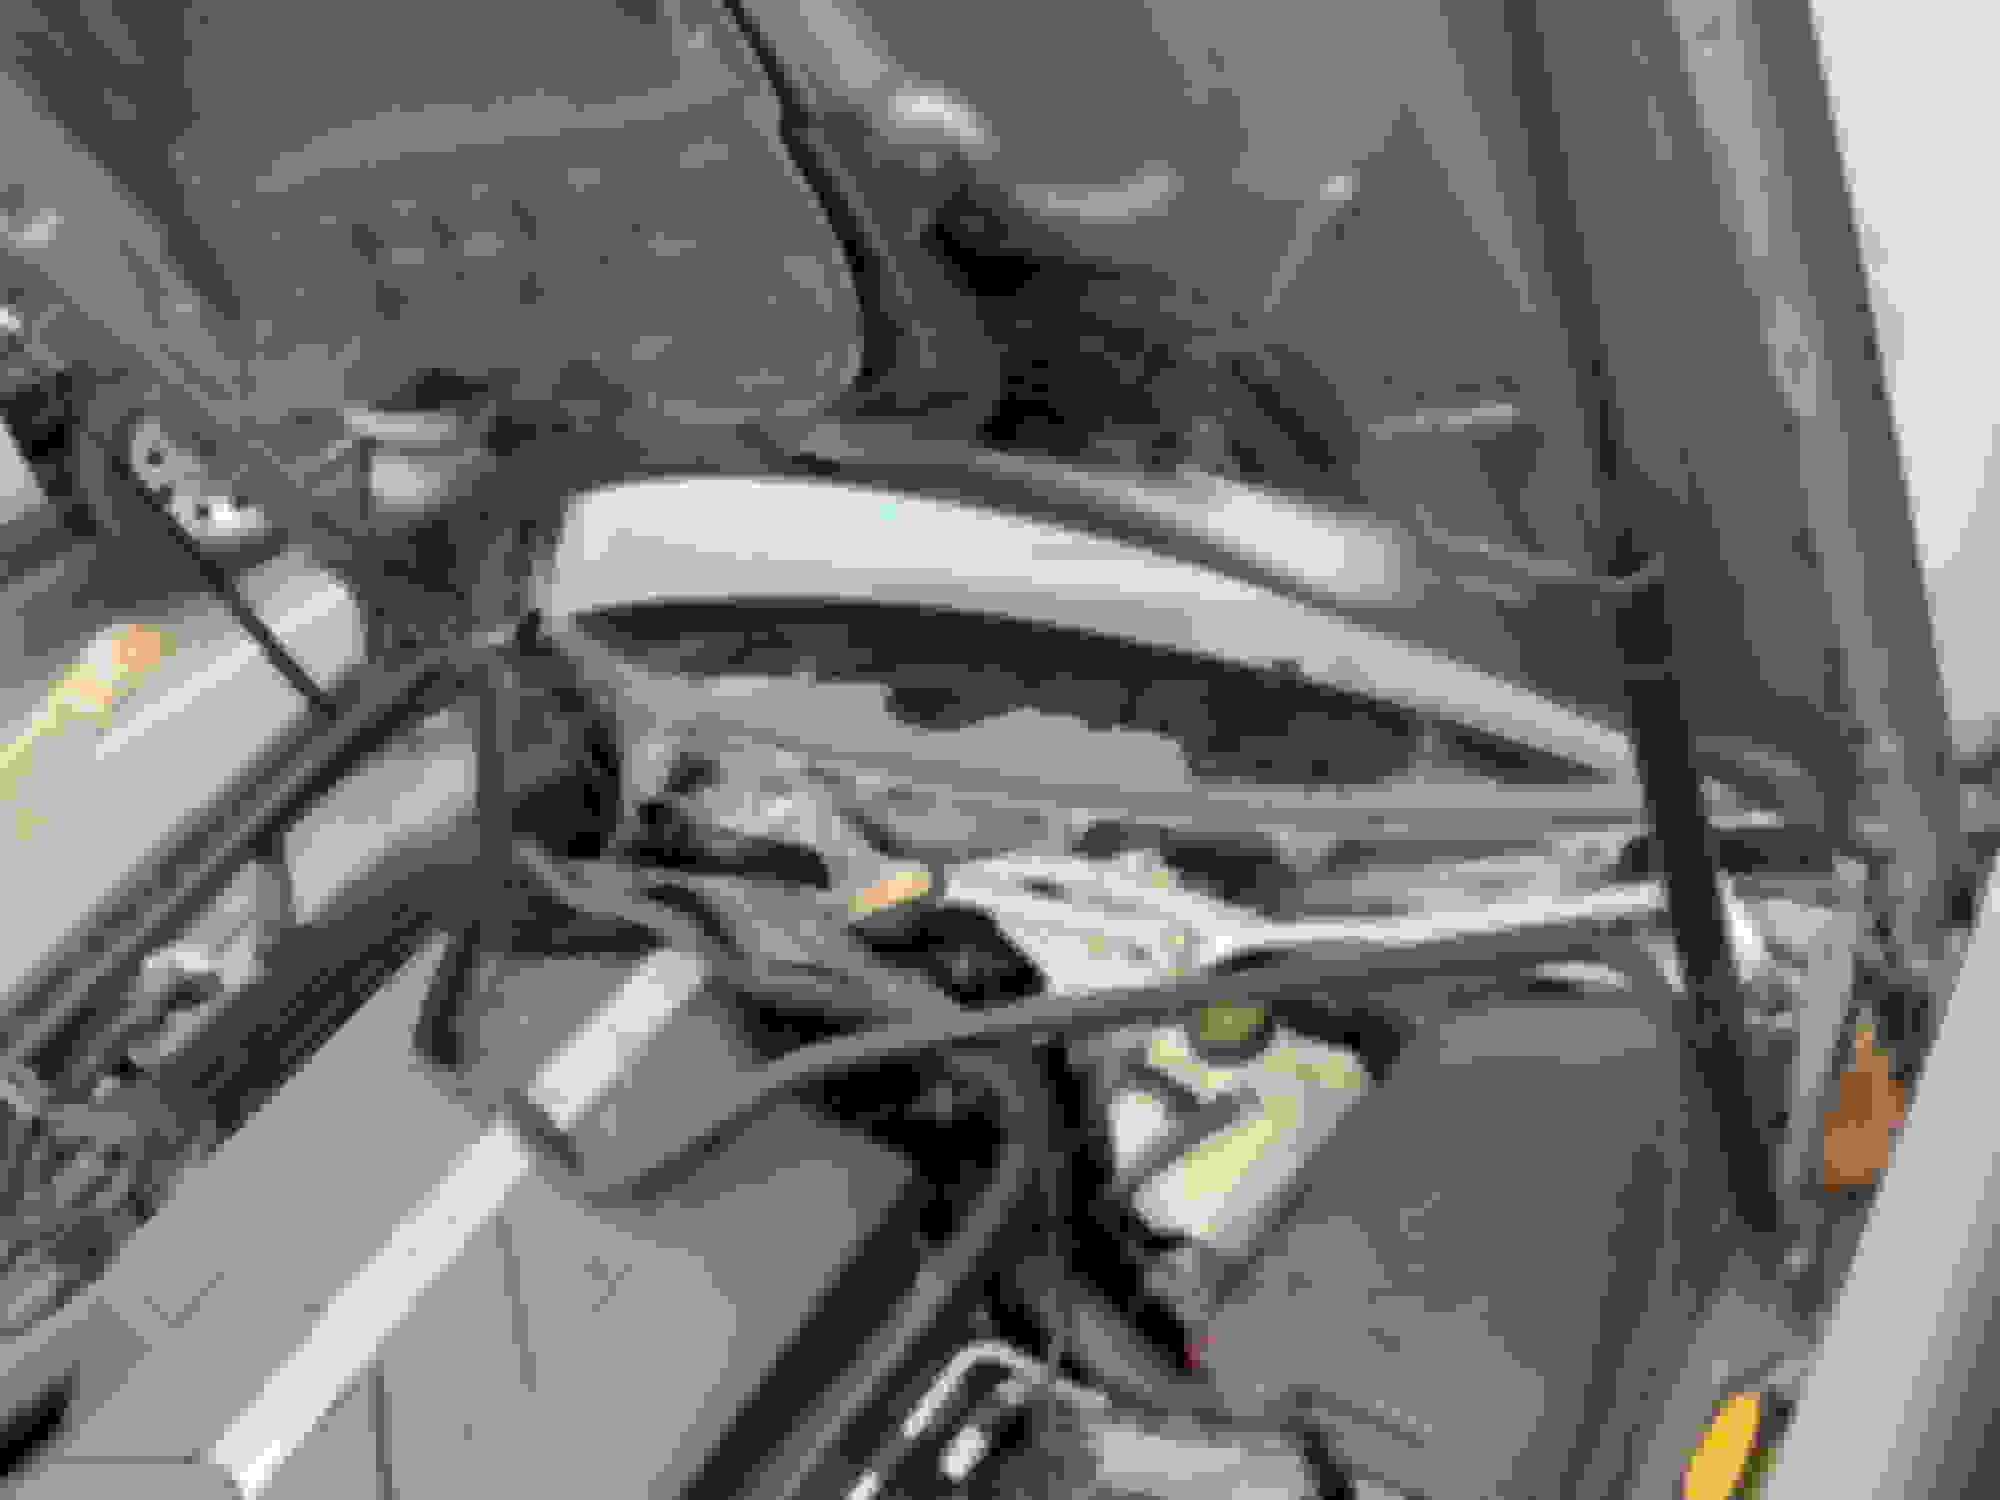
The changeover valve is covered with this thin foam padding. Just unfold it and tuck it under the wiper linkages. Next, you�ll need to reposition the linkages so you that you could access the valve. Gently push on the linkages until you have enough room. Now you�ll see the changover valve nested on the driver�s side firewall. If you have big hands like myself, you�ll be in a world of hate because it�s a tight squeeze!!
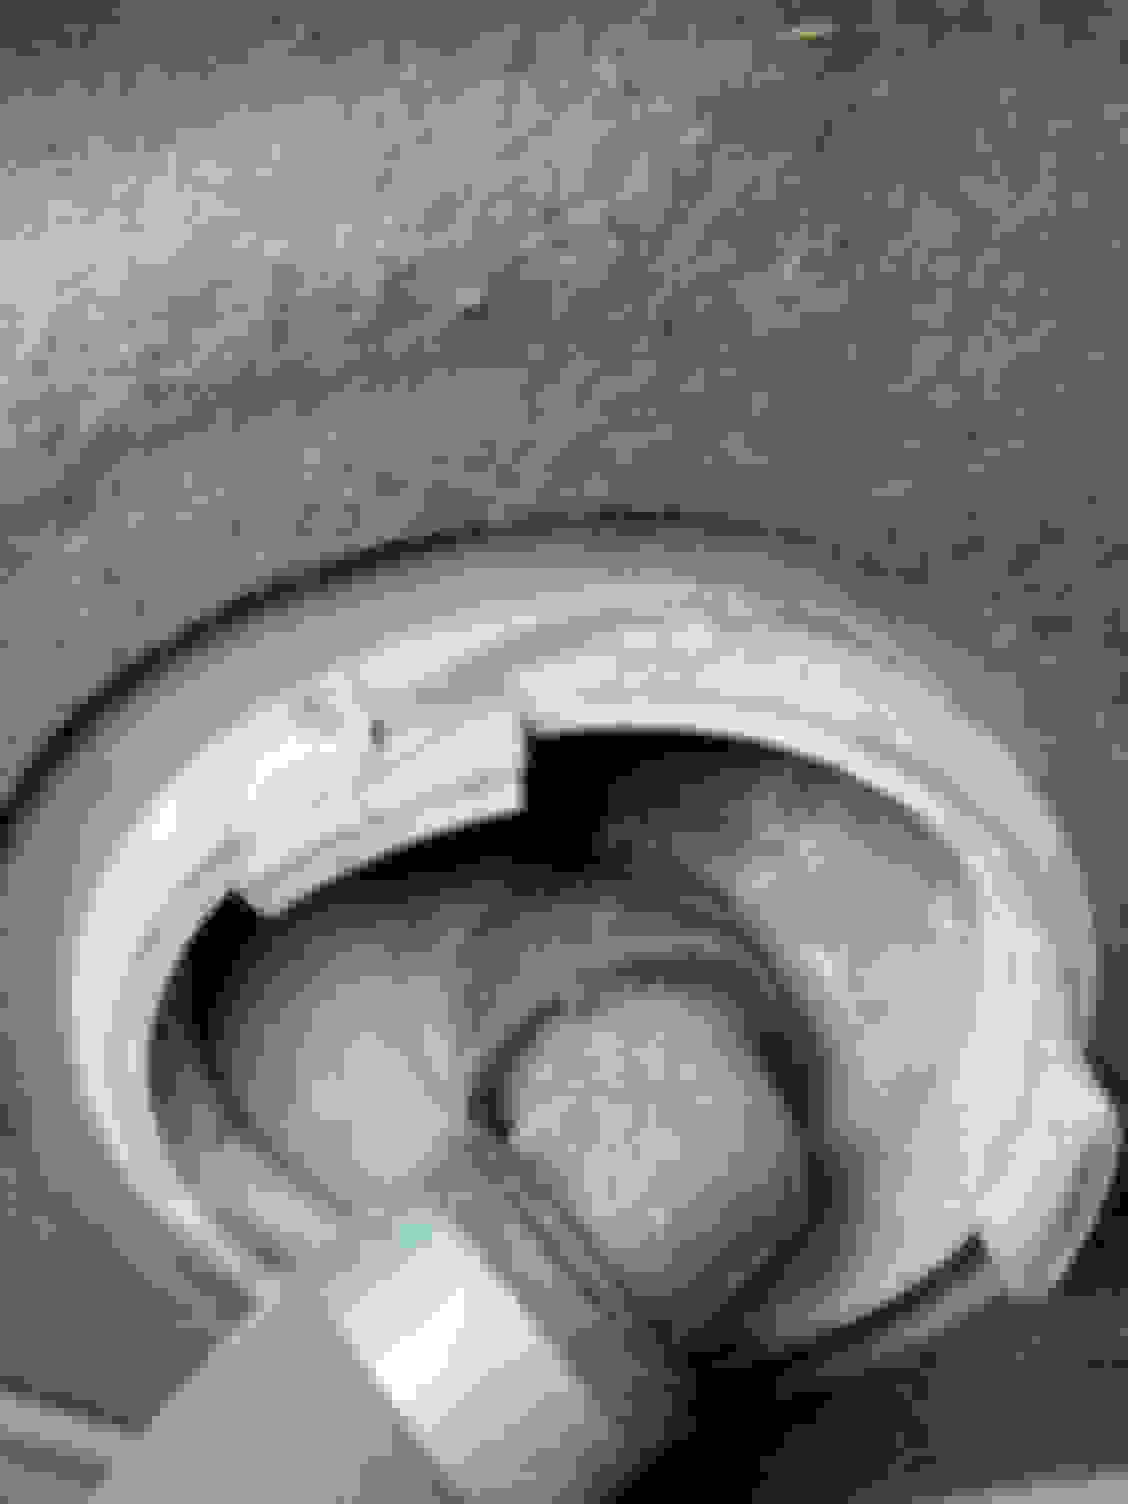
The valve has a total of 4 openings, 3 of which have a built in clip/lock and there is one socket for an electrical connector. In order to install or remove the tube/hose, you�ll need to unlock these locks by pulling on the clip outward.
Since the valve is located in an extremely tight area, this is where a wire coat hanger will come in handy. Cut up a hanger then at the end, make a small hook. You�ll use this to unlock the clips. One of the locking clips is accessible between the engine and partition.
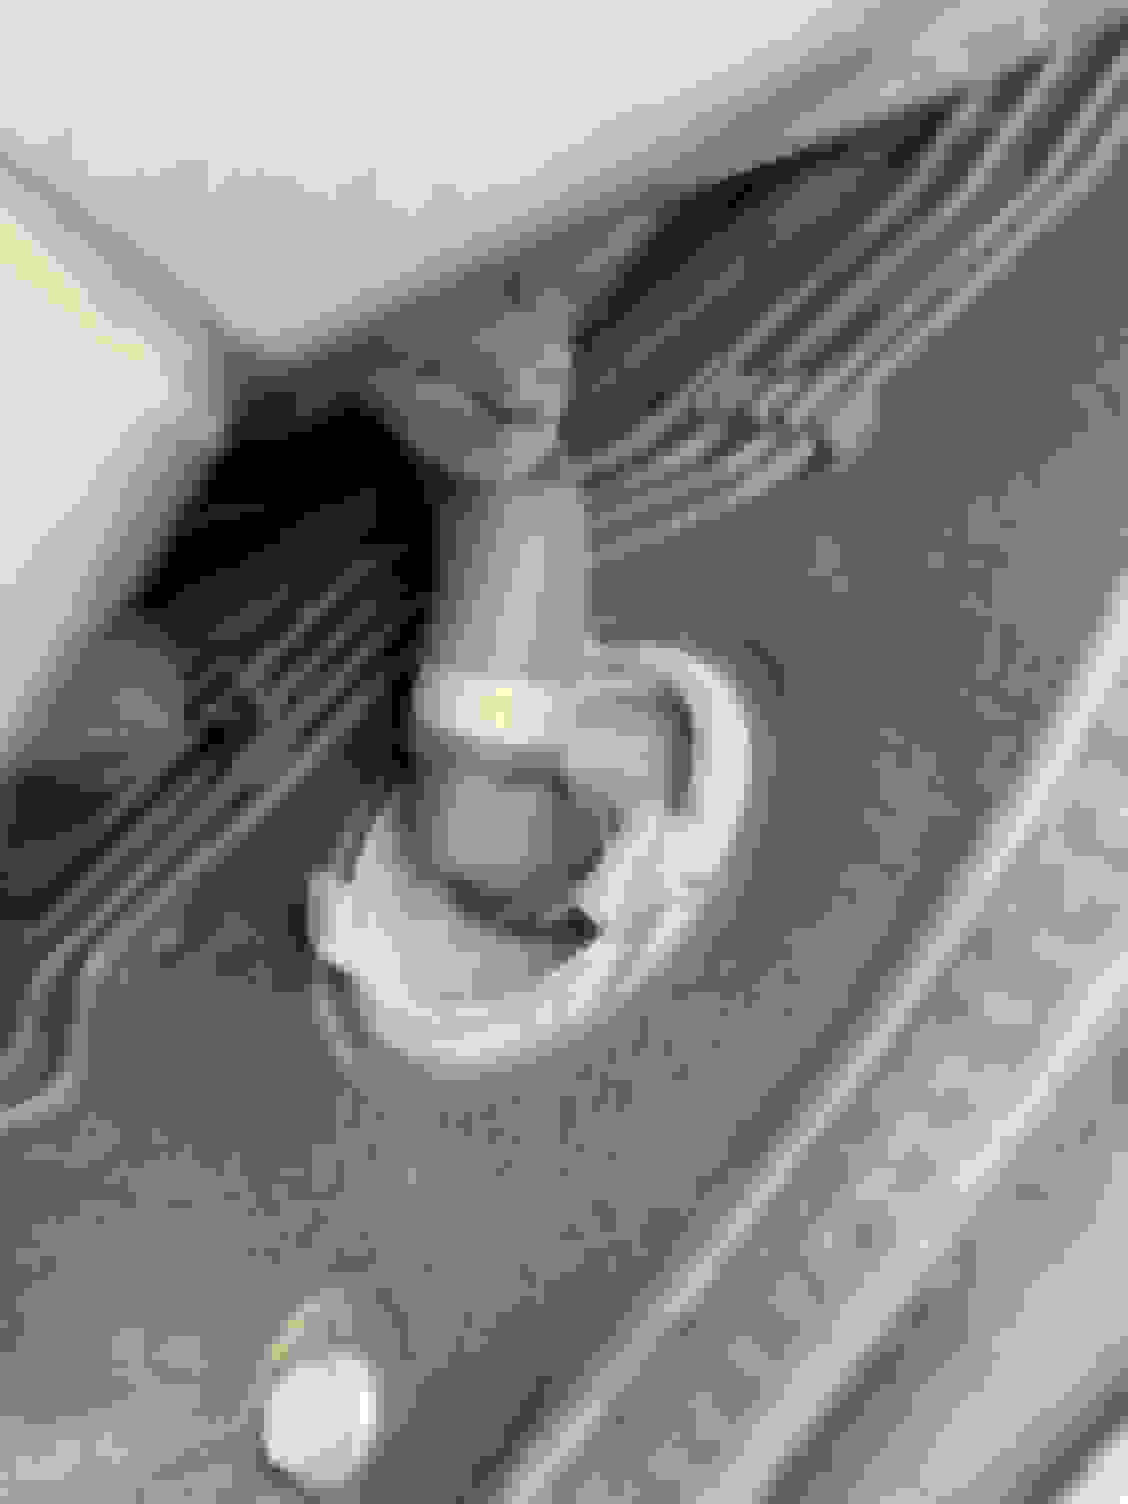
Hose removed: (small amount of coolant will leak out) Attachment 385012
The 4th opening is connected to a hose that has a clamp. Use your angled needle nose pliers to remove this clamp and hose, then disconnect the electrical connector. The 2 locking clips are up against the firewall. From the driver�s side, use your coat hanger again to unlock the top clip. Now from the passenger�s side, use your coat hanger to unlock the bottom clip. Attachment 385013
Now with everything disconnected, remove the valve body unit and install the new one in reverse order. Make sure you lock them clips! Reposition the wiper linkages back to their normal state and flip the foam padding back over the valve. Reinstall plastic trim, electronic module, weather-stripping and wiper arms. Now enjoy your a/c!
Mercedes SLR McLaren 722 S Is Extremely Rare Example Modified by McLaren
Slideshow: A one-of-one U.S.-spec Mercedes-Benz SLR McLaren Roadster became even rarer after a factory-backed transformation at McLaren's headquarters.