When you click on links to various merchants on this site and make a purchase, this can result in this site earning a commission. Affiliate programs and affiliations include, but are not limited to, the eBay Partner Network.
2016 E350 Sport; Mom Wrecked the 2008 E350; sold the 2002 C320
HID Retrofit: Modded EvoX-R Projectors
I'm about to install EvoX-R projectors in my '08 W211 Sport. The OEM E55 projectors have lost intensity and the headlights are a little aged, so it's time to pull the trigger. I have been sitting on the FX-R's that I bought on Black Friday last year and my new (halogen) headlights just arrived. However, I bought a pair of OEM E55 bixenon projectors off ebay - just in case. They'll be arriving this week. So now it's time to decide whether to stick with the OEM E55's, go with the EvoX-R's or try for the best of both worlds and make a hybrid.
My plan is to pull the front half of the E55's (shield, solenoid, FG limiter & fresnel lens w/bracket) and install it on the EvoX-R bowl. Before doing that though, I'd like to know if anyone has done so successfully and whether it is recommended or not.
I have found several threads on other forums of people suggesting doing this, but no conclusion whether it works well. The only thread that gave results stated it worked well in one projector but not the other. I'd like some insight from anyone who has done this or at least tried it.
Last edited by EuroDriverSD; 11-15-2016 at 11:07 PM.
I'm ordering EvoX-R projectors to replaced my halogen H7's.
I bought a factory bi-xenon but can't get the shutter to properly work since I don't have the S2 harness...lol
These lights are super easy to take apart. Bake and boom super simple to get to everything. This is the factory bi-xenon I did yesterday.
I'm doing my halogens today when I get home from work.
Why would you want to put the Fresnel lens on the Evox-R projector...? It comes stock with a clear lense which is superior to the Fresnel lens. I swapped out the Fresnel lenses on our CLK bi-xenons to ZKW-Rs and the cut off was amazing and the color flicker was intense.
It's easy to swap stuff back and forth on the projector bowls so do it and report back with pictures so others can see.
Once I get all my parts I'm doing a how to so others can benefit from it. Certain mods on here seem to go really stale super quick and or people just don't mod like they used to...
2016 E350 Sport; Mom Wrecked the 2008 E350; sold the 2002 C320
Originally Posted by NewShockerGuy
I bought a factory bi-xenon but can't get the shutter to properly work since I don't have the S2 harness...lol
Why would you want to put the Fresnel lens on the Evox-R projector...? It comes stock with a clear lense which is superior to the Fresnel lens. I swapped out the Fresnel lenses on our CLK bi-xenons to ZKW-Rs and the cut off was amazing and the color flicker was intense.
It's easy to swap stuff back and forth on the projector bowls so do it and report back with pictures so others can see.
Congrats! Any kind of xenon-based projector is going to be leaps and bounds better than the halogen lighting. Even the stock H7 projector with a generic HID kit is pretty decent, but I'm the type that likes to do things right or not at all. And of course, bi-xenon is much nicer.
You don't really need a harness to get the high beam shutter to work - just splice the solenoid wires into your high beam wiring and you're good to go. As far as I remember, the 2 solenoid wires are not positive/negative specific.
Why the fresnel lenses? Here's why: A clear lens does produce that sharp, colorful cutoff that looks beautiful against a wall but for real-life driving purposes, it actually hinders your seeing ability.
When you're on the road, a sharp cutoff is going to produce bright, white light below the cutoff, and everything above the cutoff is pitch black, with no transition. The blue or colored cutoff line further dilates your pupils, thus making everything above the cutoff seem even darker. The combination of these factors reduces your ability to see further down the road and makes you a more dangerous driver.
A fresnel lens acts like a flash difuser that softens the light and spreads it more evenly. For example, if you take a picture with a naked flash, the reflective objects in the picture are going to create white glare streaks on the image and will obstruct objects in their near vicinity. If you take that same picture with a difuser over the flash, the lighting will appear softer, it will be evenly distributed among the objects, and the glare spots will not be present, or at least greatly diminished.
Back to the context of a fresnel lens, it is going to soften the colorful cutoff line. Against the wall it will appear blurry and not very exciting (at least for wall shot bragging rights). However once on the road, that blurry cutoff is going to spill a little light into the black region above the cutoff line. This is very helpful in several ways: For one, it reduces the strain on your eyes and helps them adjust better between the illuminated road and the dark road above the cutoff, resulting in the driver being able to see further down the road. That scattered light also helps to shed a little illumination on road signs, objects or people on the side of the road. A sharp cutoff often fails to do this.
On halogen projectors, you often find "squirrel finders," which are tiny openings or slits on the cutoff plate, which throw a faint light box or beam above the cutoff, to aid in roadside illumination. This is not included in HID systems because since the xenon lighting is so much stronger, that it creates too much glare for oncoming traffic. Therefore, a blurry cutoff line is the next best alternative.
Finally, it distributes the light more evenly, reducing light streaks that are often present when using highly polished projector bowls, such as the EvoX-R. This also reduces eye strain a little bit, but it is more helpful in preventing your eyes from focusing on the streaky spots, thus keeping you eye focus on all surroundings evenly.
At the moment, I'm also using ZKW-R lenses on my OEM E55 projectors. It's not that big a sacrifice on the lighting quality because the E55 bowl has a bumpy, satin finish, acting as a difuser itself without having to depend on the lens for that purpose. However, once I install the EvoX-R bowls, I feel that the fresnel lenses are a must.
I'll post project/output shots once I dig into my new light housings - I'm hoping I can get around to it this weekend.
What a fun project looks like you have done your research. I swapped in a set of D2S E55 projectors with ZKW-R Clear lens back in 2014. I used Matsush-ita (need - so it doesn't **** out the end) ballasts that I installed on the bottom of the lights. Soldered in the high beam shutter and have been very happy with the results for the last two years.
2016 E350 Sport; Mom Wrecked the 2008 E350; sold the 2002 C320
Originally Posted by danielgetsthis
I would absolutely love a how-to write up. Please do.
Thank you
I'm going to try and do my own, if time allows. In the meantime, here's a how-to article to get you through the basic procedure. Hopefully I'll be able to demonstrate the opening of the lights, modding and swapping out the projectors. I'm sure you already ran into this write-up, but I'm including it, just in case.
EuroDriver,
Fair enough on the Fresnel lenses. Makes perfect sense. I guess I'm just used to the clear lenses since about 06' when I did a retro fit on my STi's with s2k projectors (which are **** btw!..lol) Makes sense on the e55 bowls. It's funny on one set that I had the bowls were in fact dimpled/satin where the other ones I had were completely shiny. I only noticed because I noticed that one bowl was burned a little from some dummy using 55w HIDS instead of 35w. EvoX-R bowls are in fact shiny so I see your point! I will find out here shortly once I get mine.
Completely understand though how some people might actually see the clear lenses as a disadvantage and I'm sure as I get older and my eye sight gets worse (more than it already is) I will shift my focus for sure.
Samaritrey:
Car isn't coded yet, I was doing bench testing on the light I had. I get my C4 system next week, as I believe it just entered into the states this morning so a few more days and I can play around with the car and code it properly along with other things I'm eagerly excited about.
----------- Euro: I don't want to hijack your thread so please let me know and I can remove things, I just wanted to help others as I've been searching for hours on specific things and there aren't many people that do these types of things on our cars.. IE: If it didn't come with s2 package people just swap in some POS ebay hid system and call it a day and that's not what your or I are doing, so I figured collaboration might help others? ----------
I took apart the stock halogen housing and I must say I am actually happier than opening up the factory bi-xenon w/active curve. For one there is less wiring, which makes it much easier to wire everything internally. Second, there is more room since there is no extra gears and what not, so my initial plan to have this looking OEM is going to work once I get the test ballast.
Just so that others might benefit from an OEM like setup that doesn't have active curve nor would have amp/d2s wires coming out the back of the headlight this is what I am doing.
1. I am purchasing a normal hella ballast that will mount in the OEM location on the bottom side of the headlight. See link:
http://www.ebay.com/itm/112001352534?_trksid=p2057872.m2749.l2649&ssPageName=STRK%3AMEBIDX%3AITThis has the same oval shape that the active curve ballast has but the top connection is slightly different where it doesn't have extra input/output canbus wires.
2. Obviously have to get different projectors, going with Evox-R as discussed in thread: They are bolt on, no mods necessary. (They do come with clear lenses so read above if that interests you or not. Those can easily be changed by pushing the tabs in, popping in Fresnel lenses and moving on) Purchasing from TRS: https://www.theretrofitsource.com/co...to-evox-r.html
3. Since the above ballast is for a D1S bulb and the projector uses D2S, the cable will not link up and attach to the bulb. There needs to be an ignitor which TRS just so happens to sell. https://www.theretrofitsource.com/co...onversion.html
So my plan is the following. Taking the above ballast I will notch out the bottom of the factory headlight that already has the plastic covering where the bi-xenon ballast would come through (should take 2 minutes with a dremel to open the oval cutout). Screw in ballast, connect the low beam wire to the +/- lead of the ballast input. Mount project using factory points, then attach bulb/ignitor...boom. I'm undecided if I want to use my LEDs for the parking/city lights or if I want to find a cheap broken set of bi-xenons and take out the portion that has the integrated LED. The integrated led is screwed onto the high beam housing so it's one piece. Simply just swap the pieces and code the car to make that aspect work. But it DOES look nice, and from the exterior no one would know you didn't have factory bi-xenons..lol
That's all I got. I'll post up once parts start arriving and it's time to mod.
Yeah having a star system is fun I got the older C3 system in like 2010/1 and it has made working on my Mercedes so much easier. Plus the added benefit of being able to change things is fun. Curious how your retrofit goes I wish I had used the denso ballasts as the mounting would have been much cleaner than my hack of an install.
2016 E350 Sport; Mom Wrecked the 2008 E350; sold the 2002 C320
Nigel - no worries re: thread jacking, I think it's better to have everything related to a specific topic on one thread. I finished my retrofit last night.
I transplanted the oem cutoff shields & fresnel lenses onto the EvoX-R bowls and after spending 2 days messing with hotspot alignment and lens spacing, the results are mixed.
If you're planning on going with the EvoX-R's, I'd suggest you install them as - is out of the box (minus the clear lenses) .
Good info! You don't happen to have taken any pictures of before then after the swap just to see a difference?
I should have my test ballast this week. Then if that goes well I'm going to wait a week for TRS thanksgiving sale (I'm cheap..hahaha) They normally do 25% off which is nice, so figure I can wait a week/two since the car is in the garage and it won't be taken out. Will give me time to do other things like the backup camera.
Good tip with the EvoX-r's. I'll just keep them as is then.
Completely understand though how some people might actually see the clear lenses as a disadvantage and I'm sure as I get older and my eye sight gets worse (more than it already is) I will shift my focus for sure.
-Nigel
Mine are upgraded as well ZKW'S were used and my light output improved drastically. What is this disadvantage you speak of?
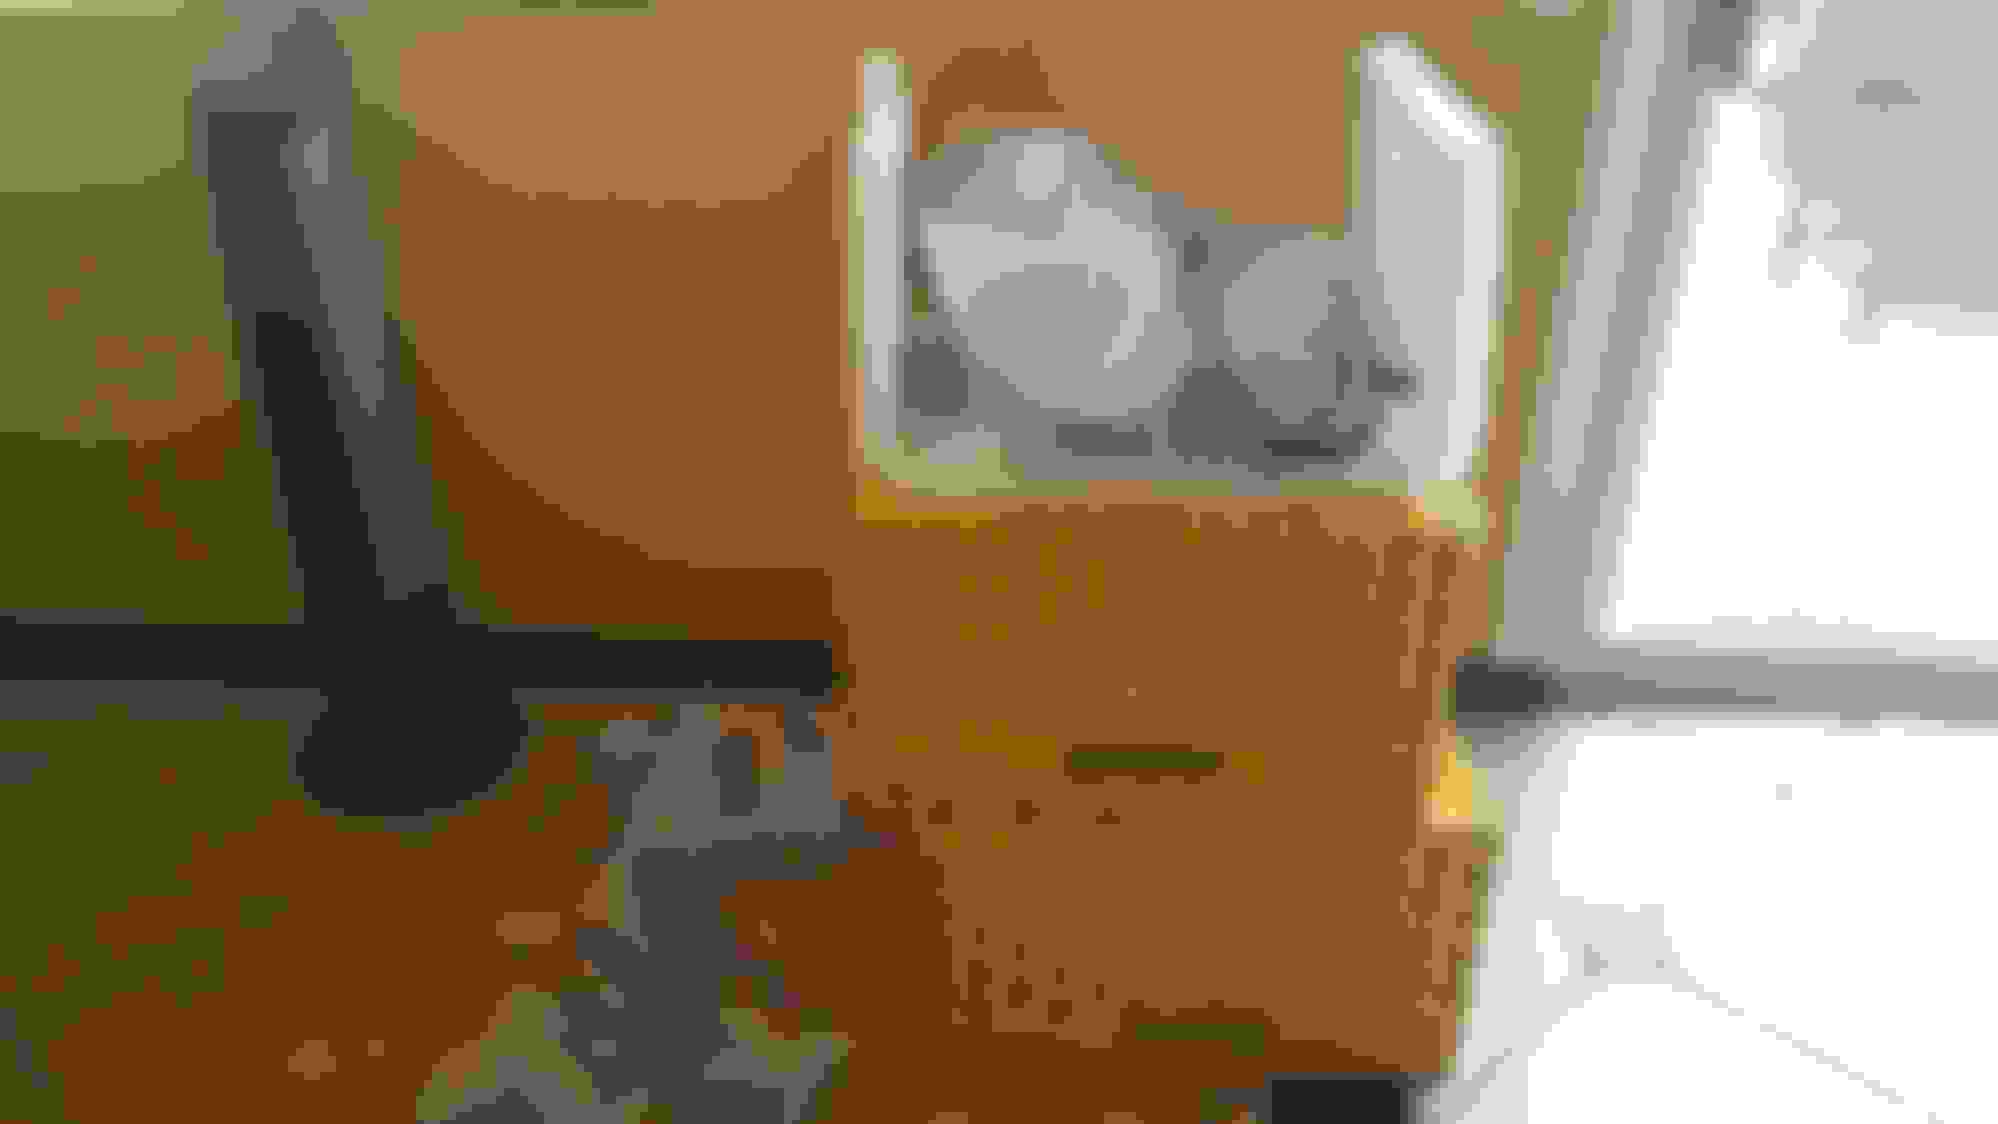
I got the ballast today. It's quite simple compared to the stock one. See pictures. It is smaller. The stock ballast mounts with 3-4 screws to the bottom of the headlight. The new ballast holes don't line up at the bottom, (because it's shorter) however, the top to screws are a perfect match AND the oval cutout is exact as well. So it will be quite easy to mount this. I have a done headlight coming so I am simply going to cut off the pegs on that one, and then epoxy one of them to the back so that way the ballast is supported front/back, even though the two front screws are MORE than enough to hold it in place.
Lights up the D1S bulb no problem. I'm going to order another ballast from the above people again and test it. I've had this one on for over an hour with zero issues so that's good.
All wiring is going to be internal just like OEM light, there for no issues with water or weather getting in from extra holes from grommets.
I'm happy this is working out perfectly so far. In fact it's going to be better than the stock h7's by a LOT. w00t w00t!!
2016 E350 Sport; Mom Wrecked the 2008 E350; sold the 2002 C320
Wow, you are sure going through a lot of trouble to hide some wires that probably no one else is going to see anyway - but I truly admire your purist spirit.
Don't bother with epoxying a post to the housing - believe me, it's not going to hold. You are better off finding a metal spacer bushing and putting a screw through it from the ballast into the plastic housing.
I'm getting ready to start writing the saga of my retrofit, but here's a couple pics of how I mounted my ballasts and ran the wiring.
Errata: Earlier I posted I was running Denso ballasts, but in fact they are Koito. I bought them from TRS rewired for AMP/D2S:
Not pretty but no one else will ever see it. Plenty of 3M heavy duty indoor/outdoor double-sided tape on the other side
Here's how the wiring looks on the inside, grommet on the dust cap
Better look at the setup. Included turn signal bulb in the pic to show I painted them chrome to get rid of the egg yolk look
Last edited by EuroDriverSD; 11-14-2016 at 06:52 PM.
2016 E350 Sport; Mom Wrecked the 2008 E350; sold the 2002 C320
Okay so this weekend I went ahead and did my retrofit. I used the Morimoto EvoX-R projector bowls and lens frame with the Hella E55 bracket with the cutoff shields and solenoids, as well as the fresnel lenses. These got mounted into a new pair of Hella OEM headlight housings.
The project turned out to be quite time-consuming and the end result is pretty good but INMO, not ideal.
I'm not going to get into the details on how to remove and install the headlights, since there's already some threads on that - I provided a couple of links on this procedure in post #6, above. That said, let's get into it:
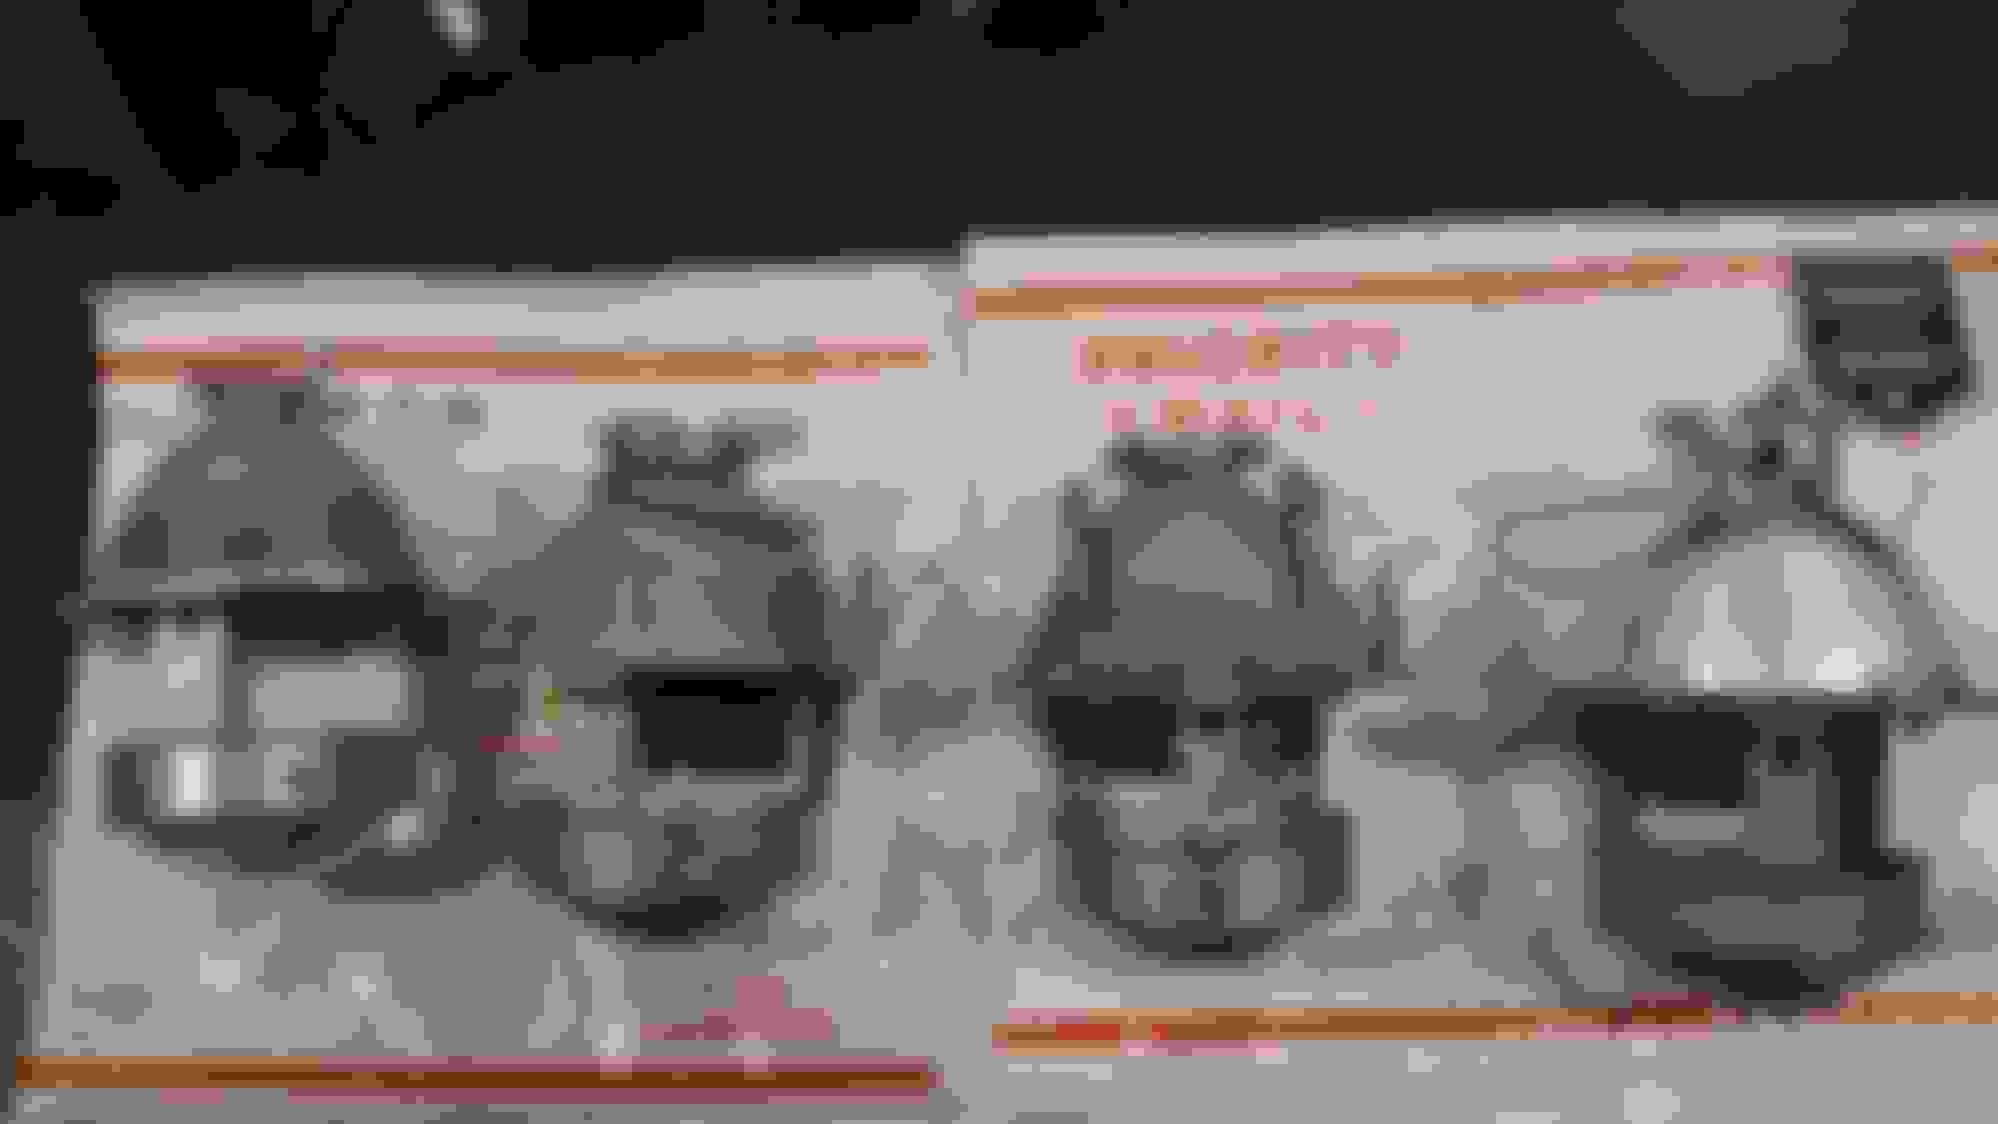
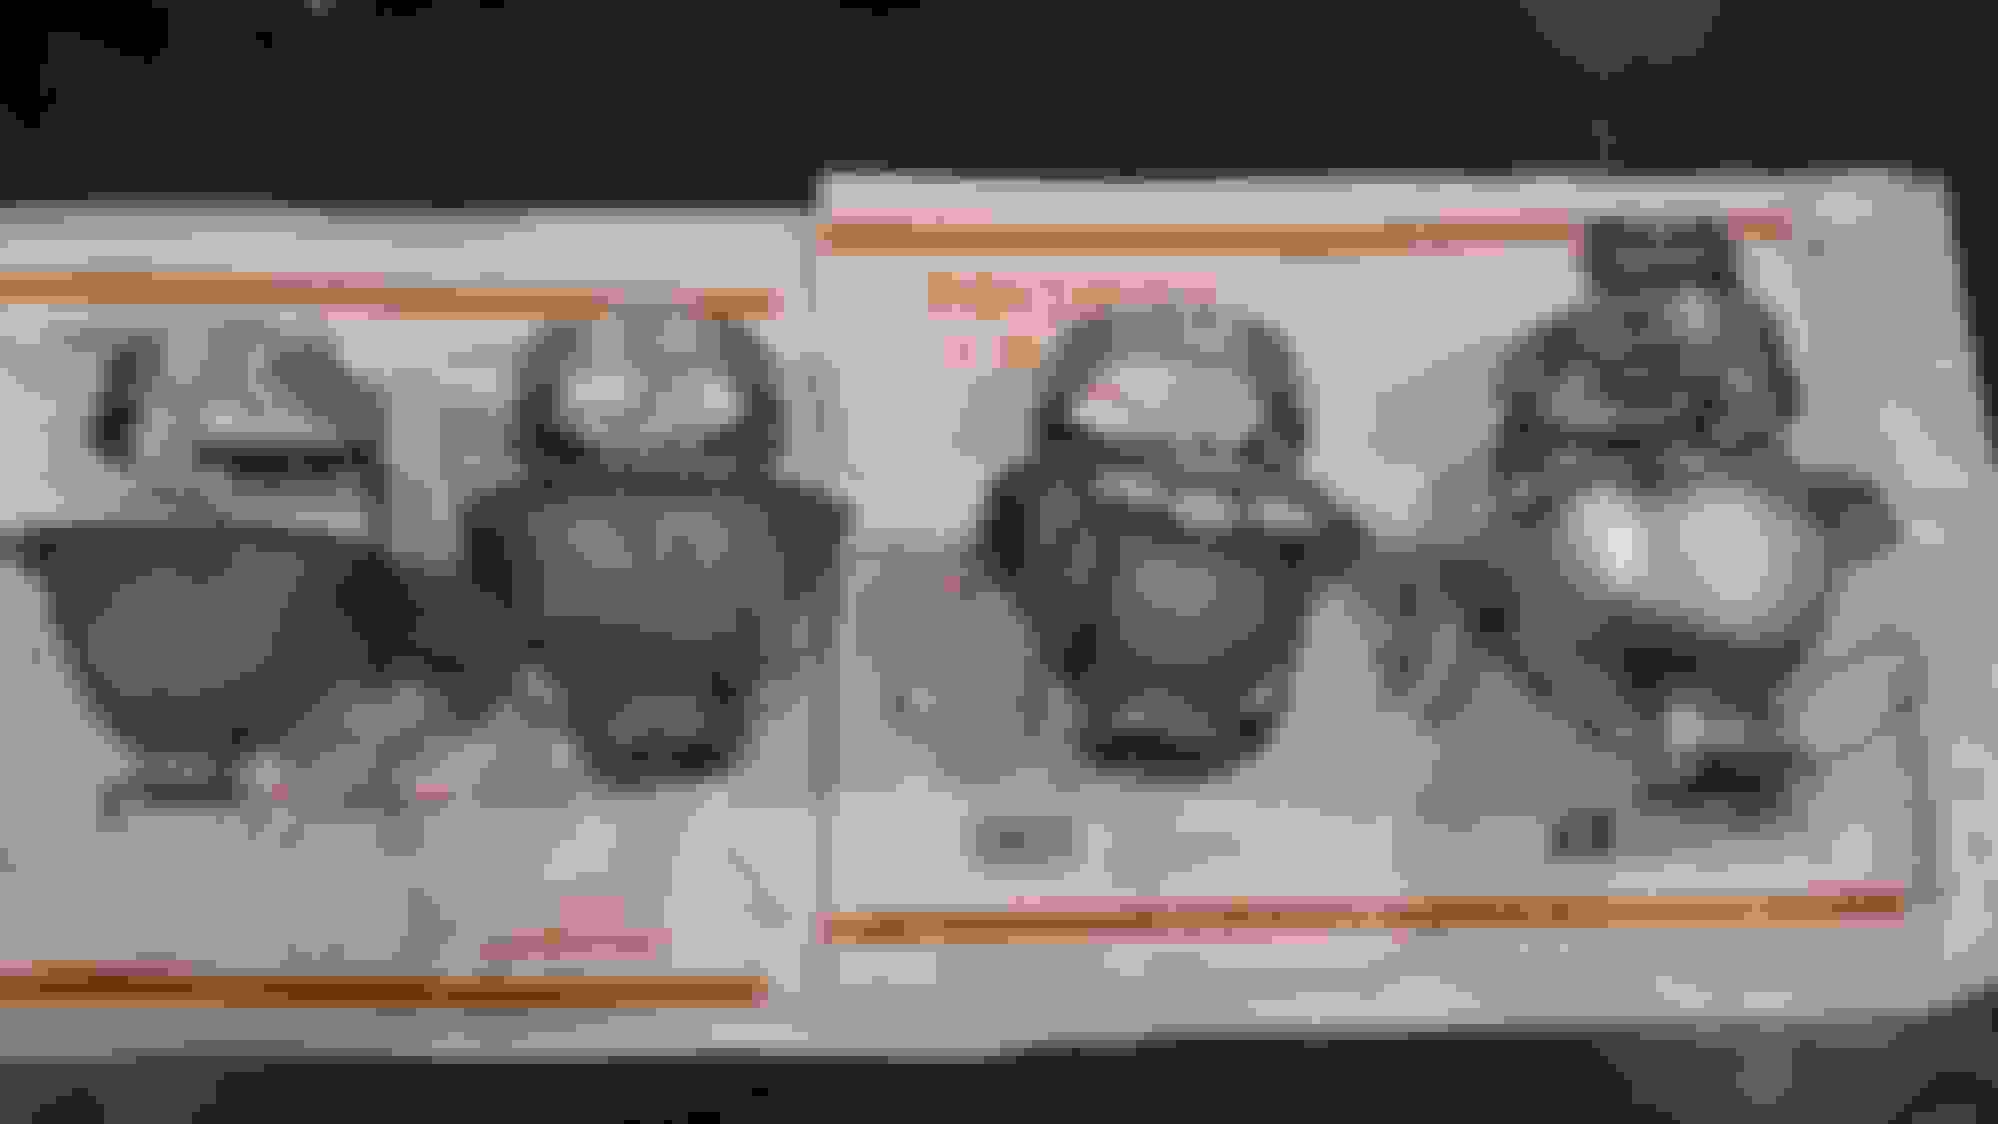
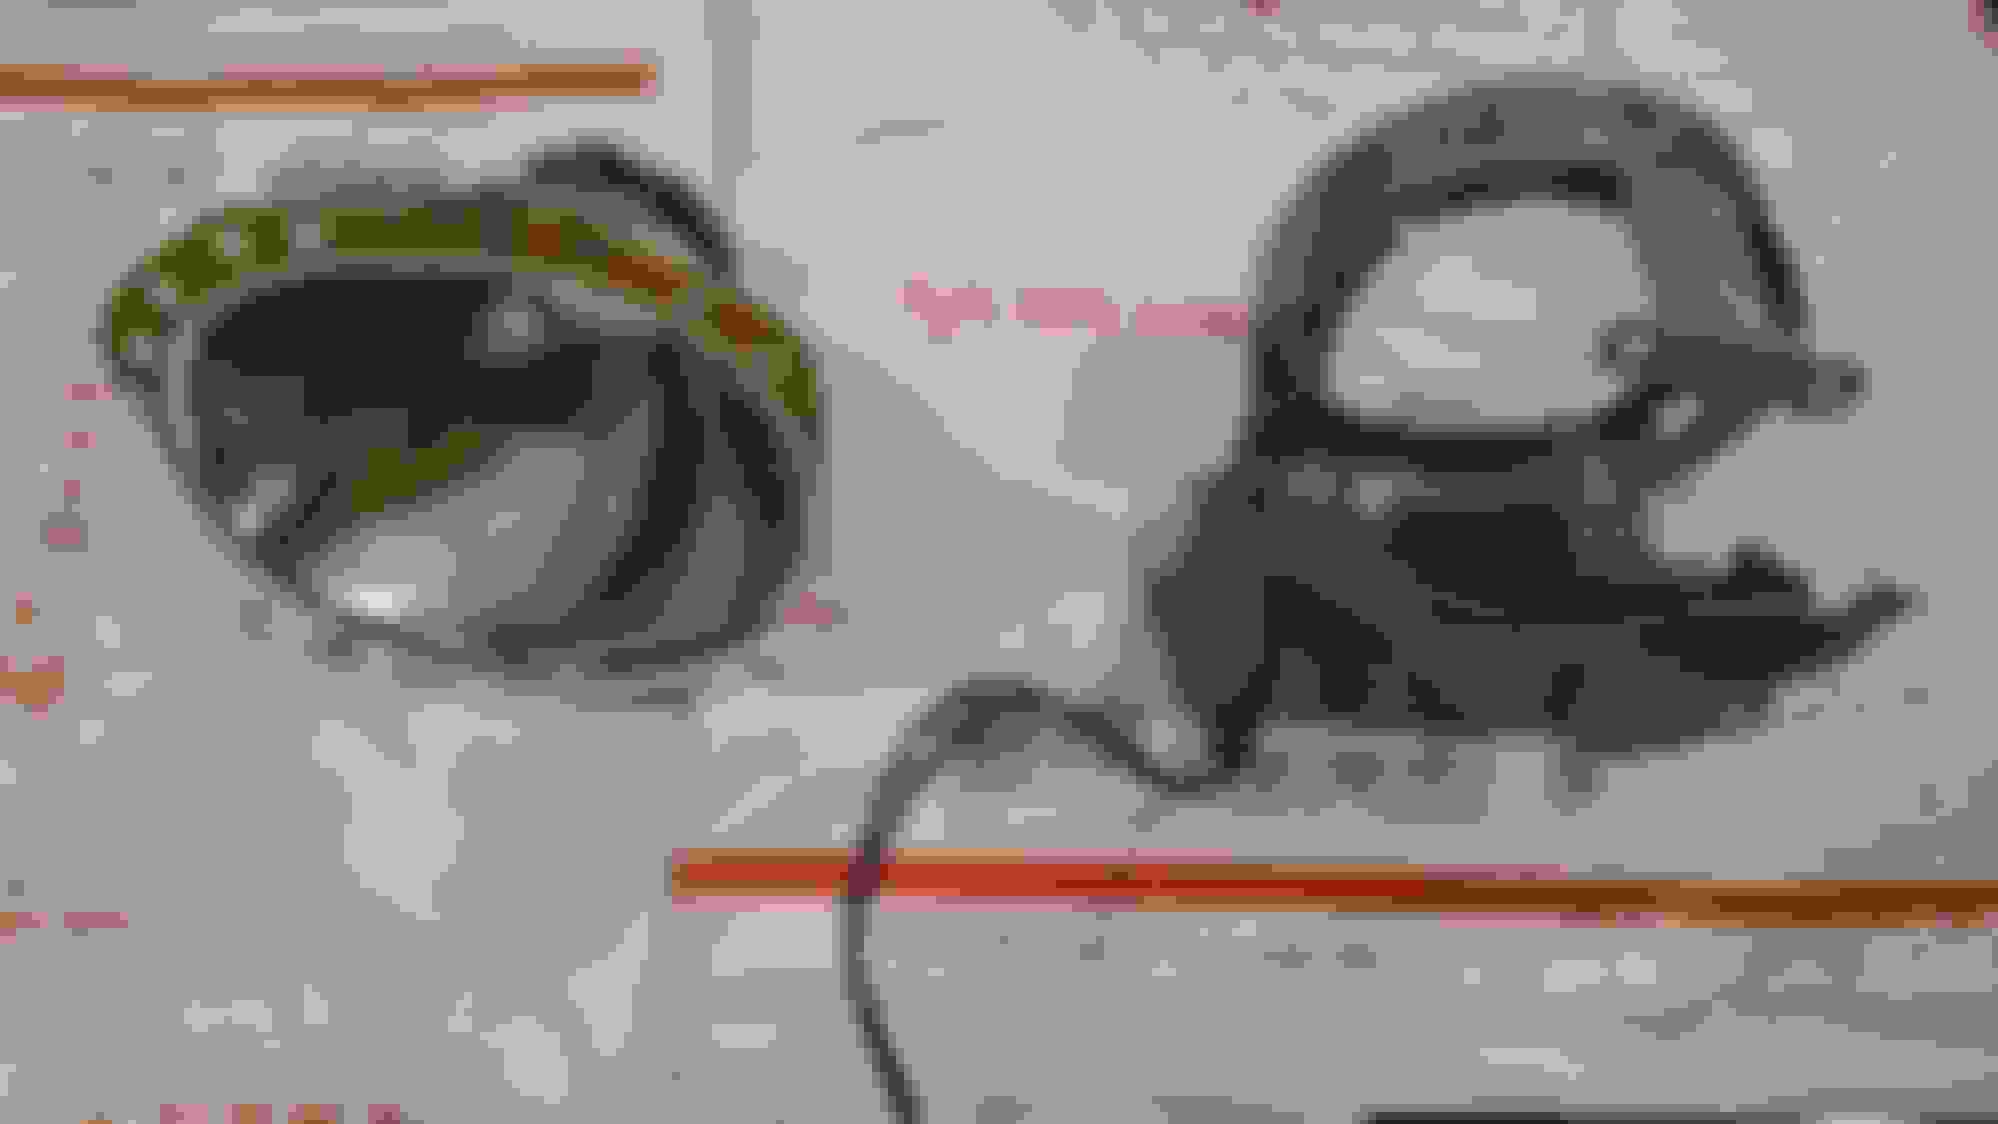
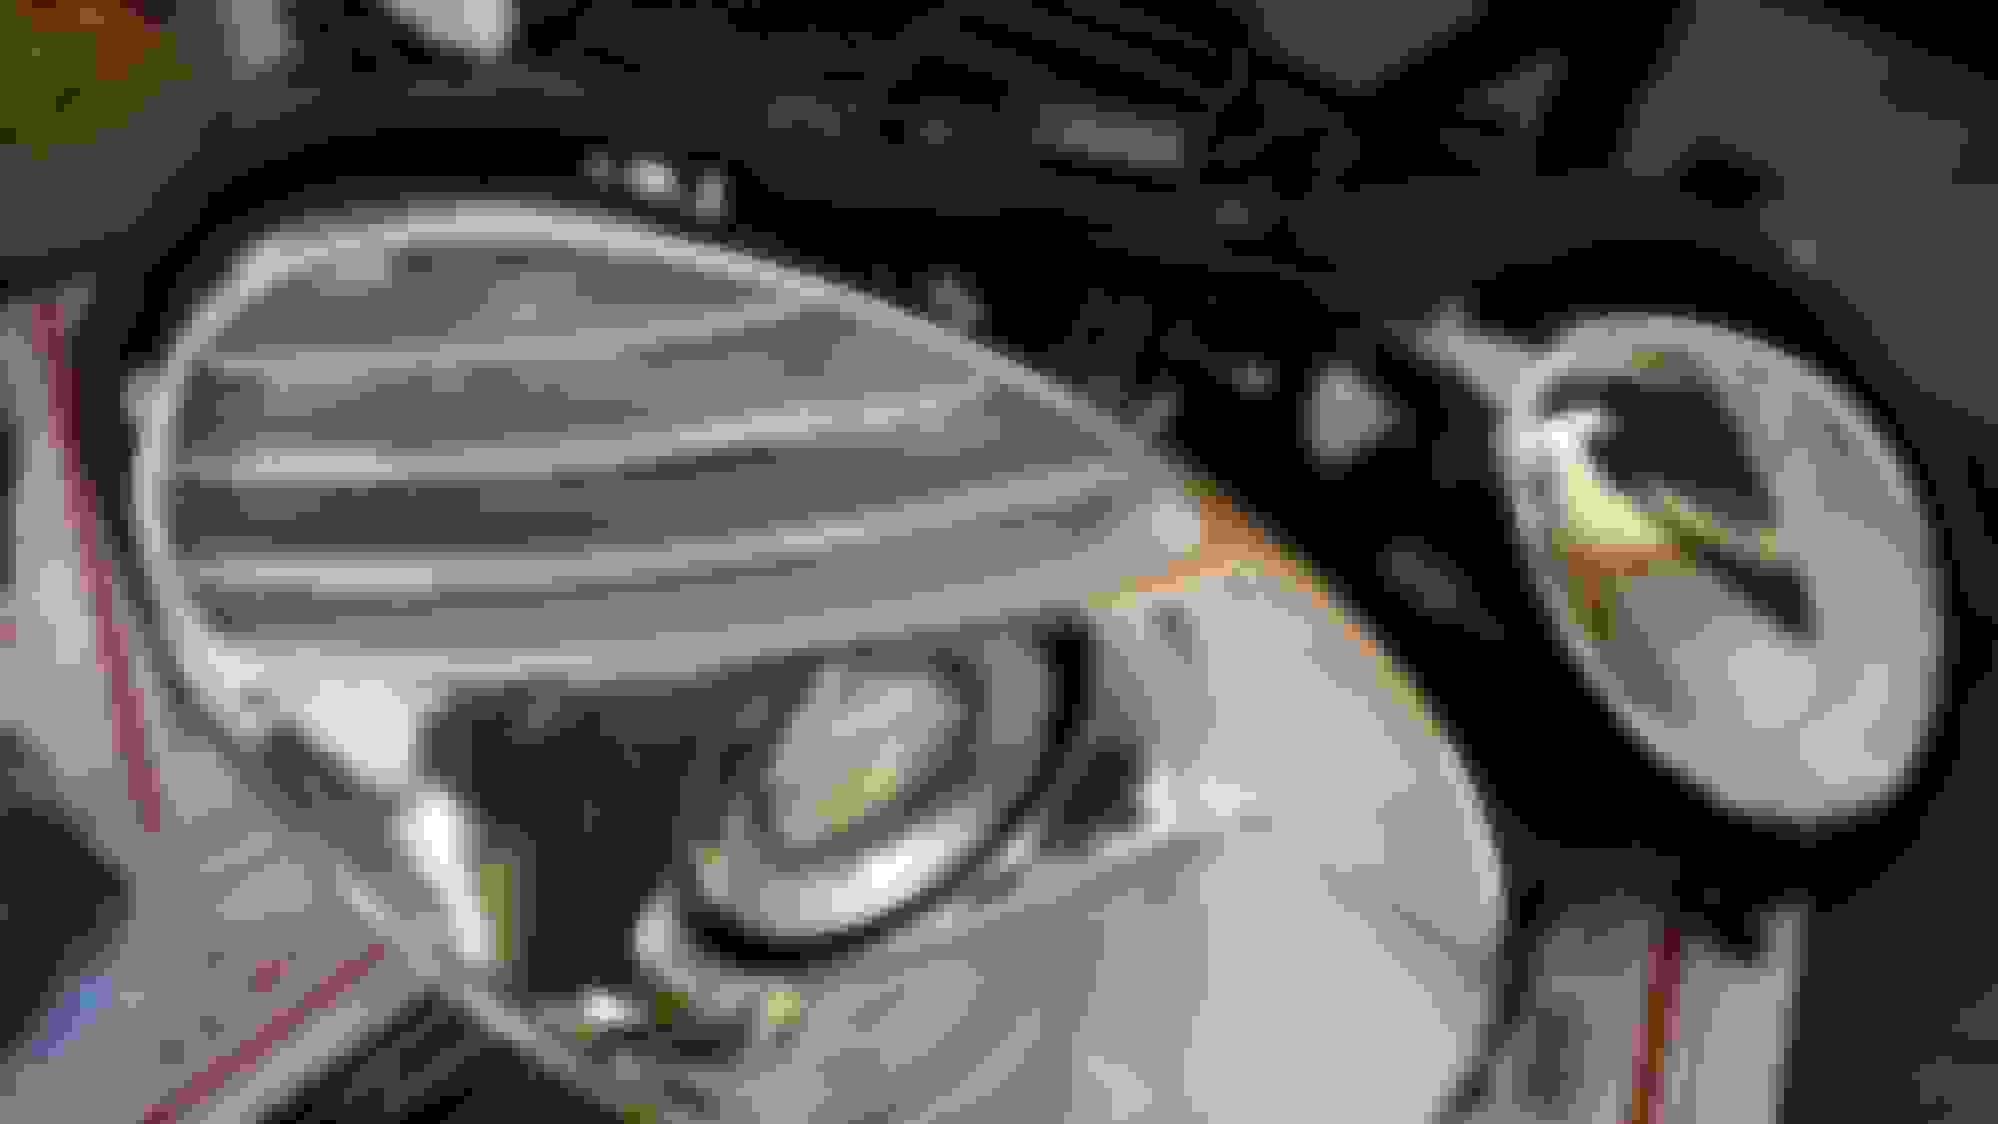
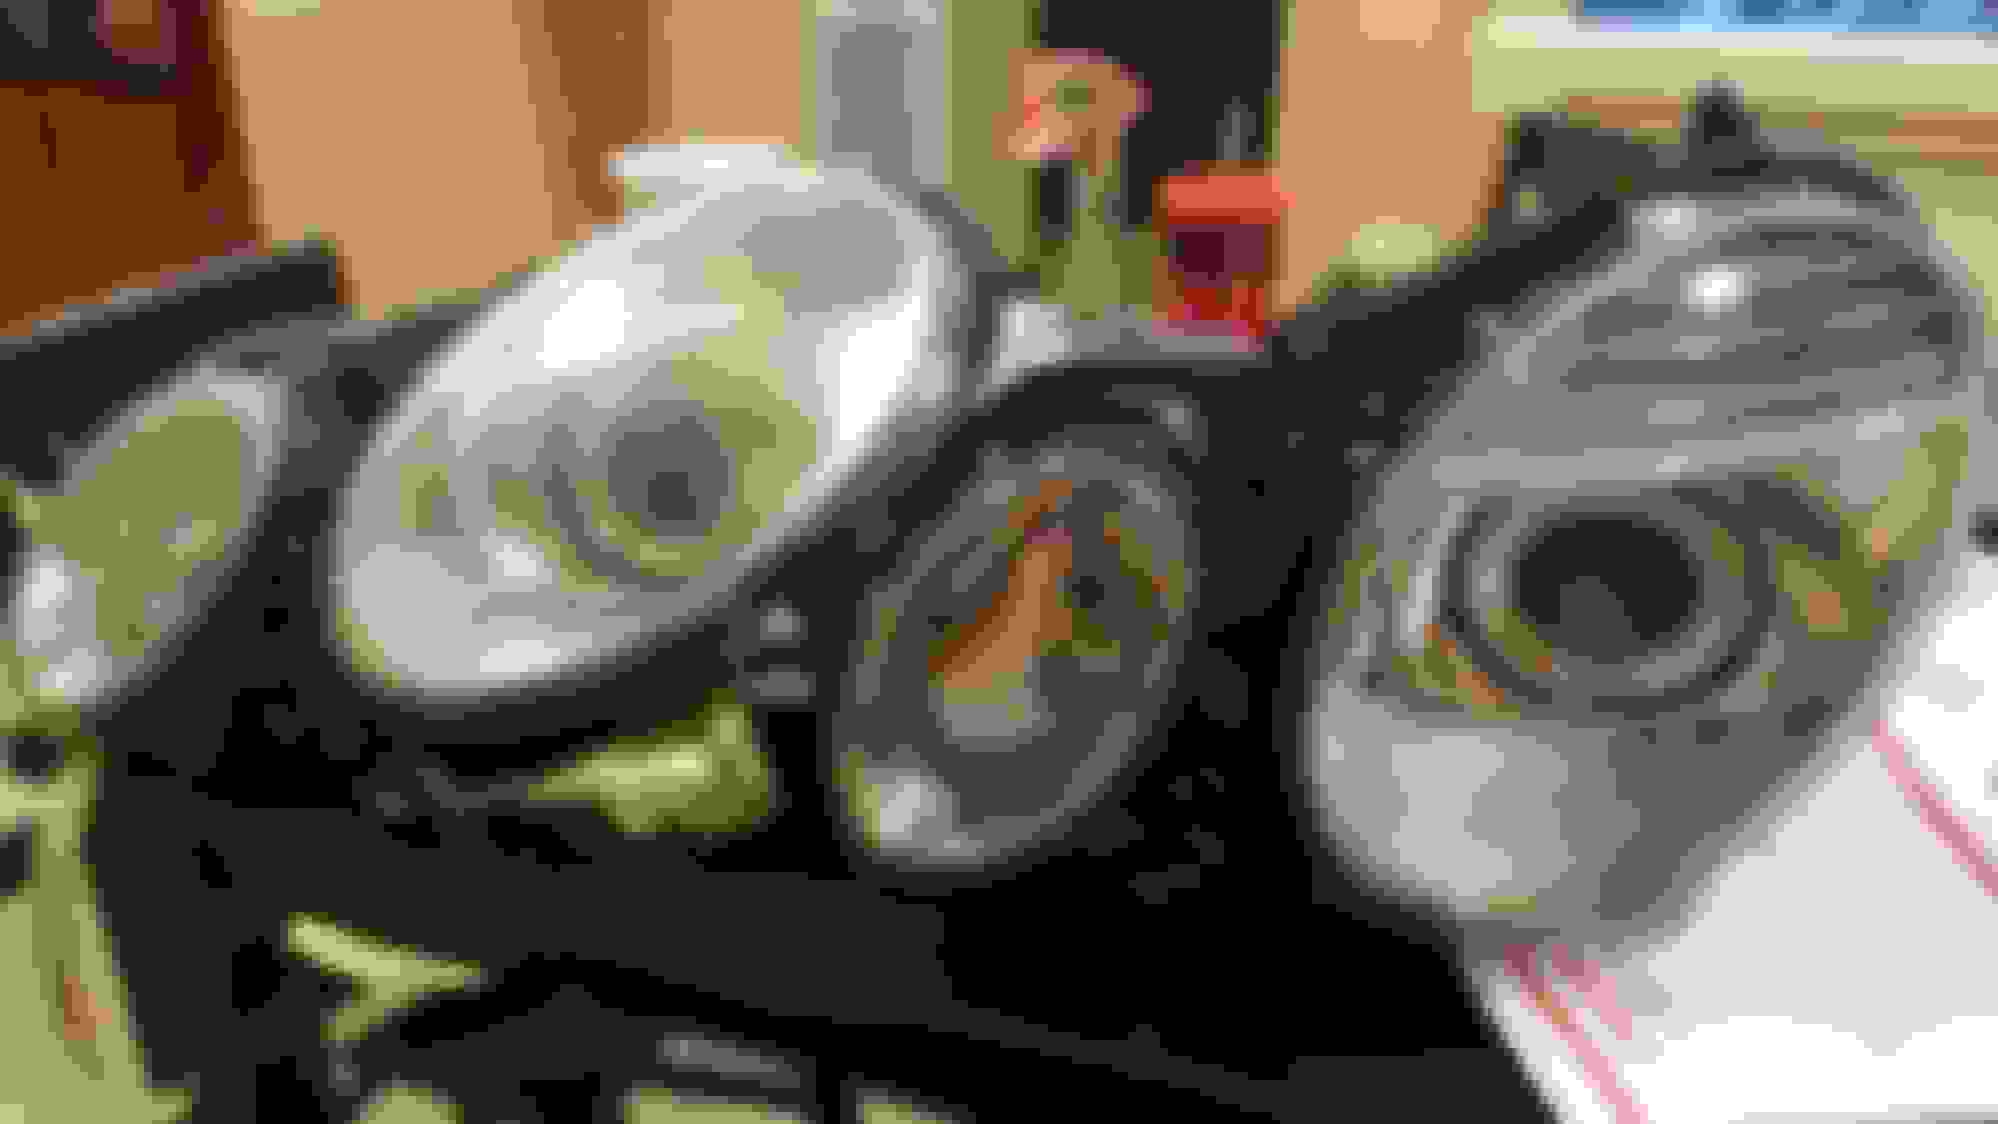
Here's the pool of projectors, from left to right: Hella E55 H7 (halogen), Hella E55 D1S bixenon (BMW), Hella E55 D3S bixenon (Audi) and Morimoto EvoX-R
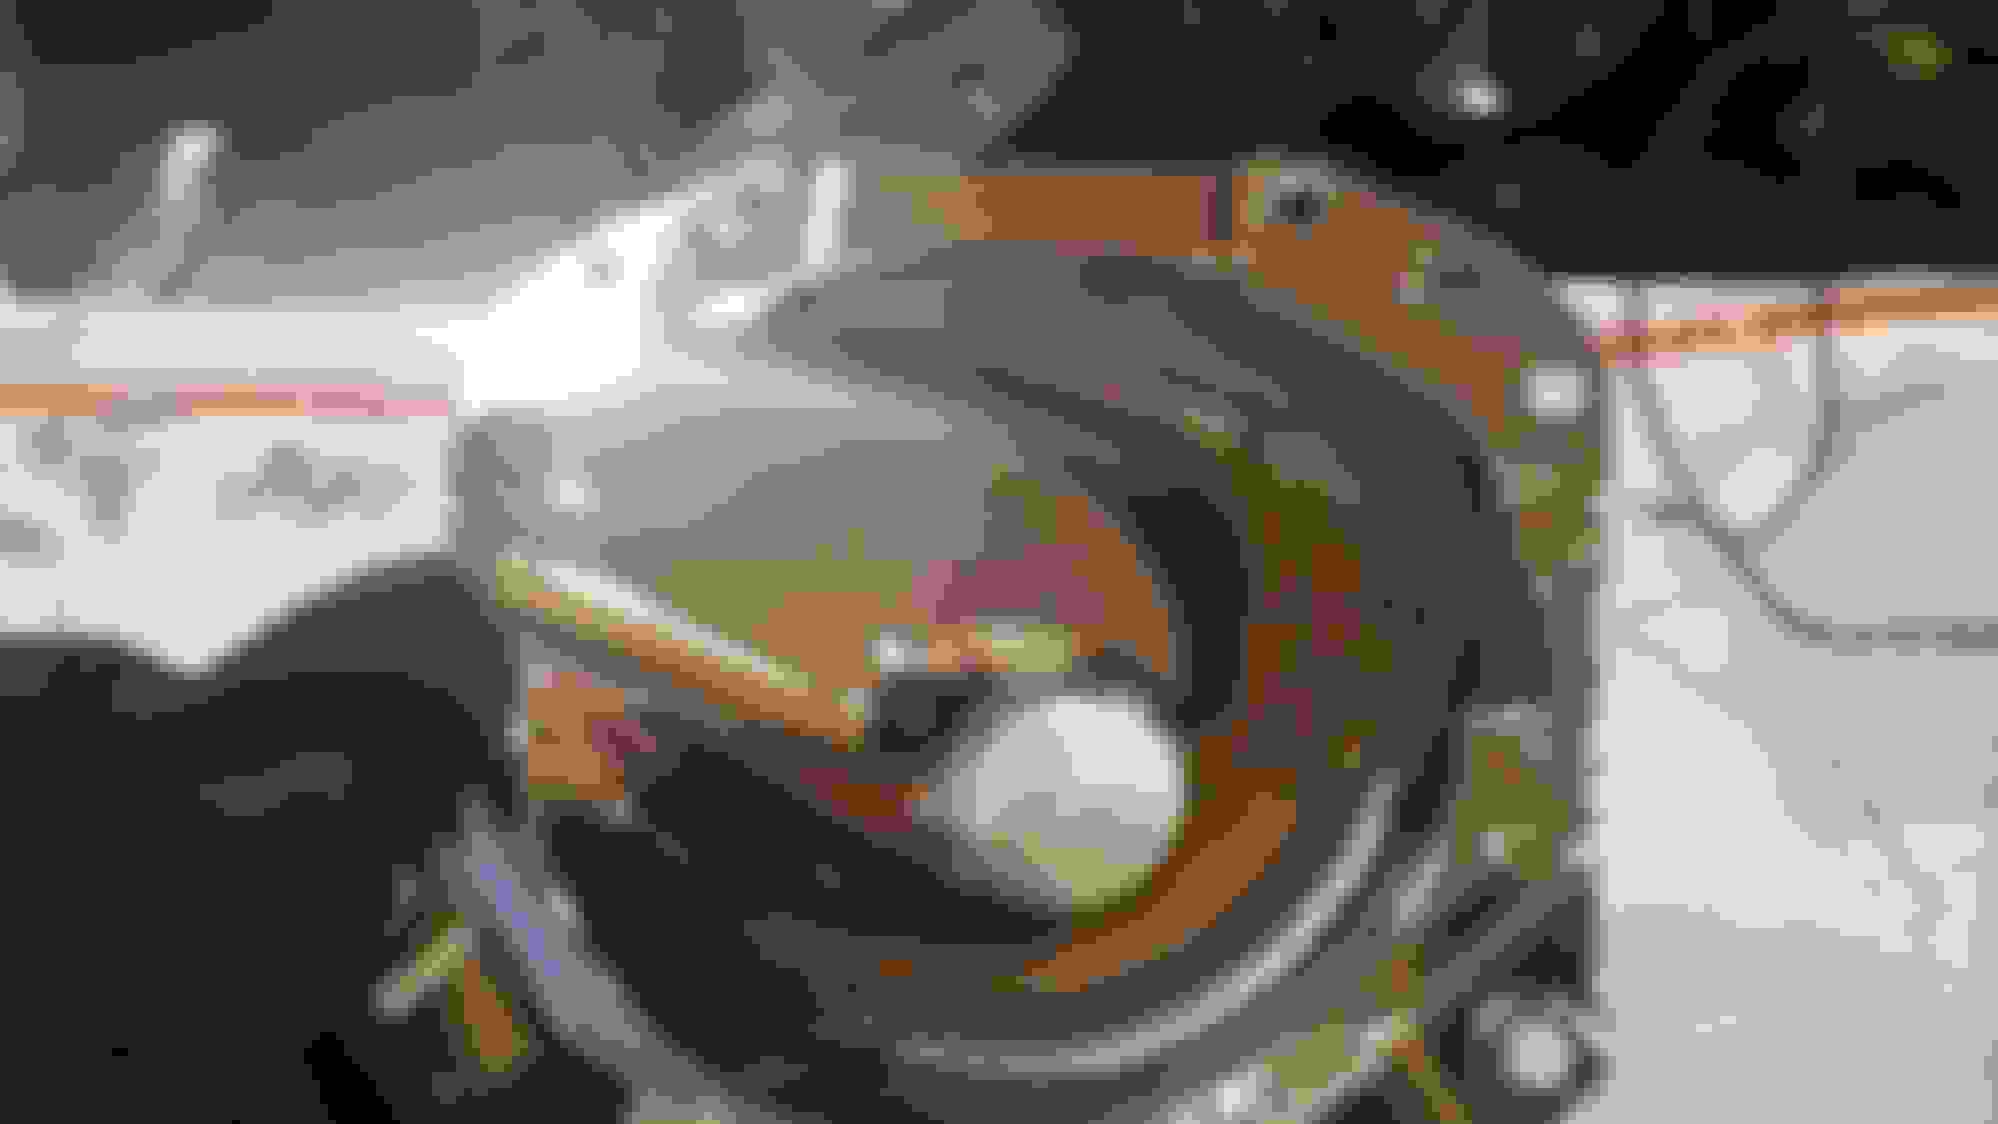
E55 bixenon taken apart:
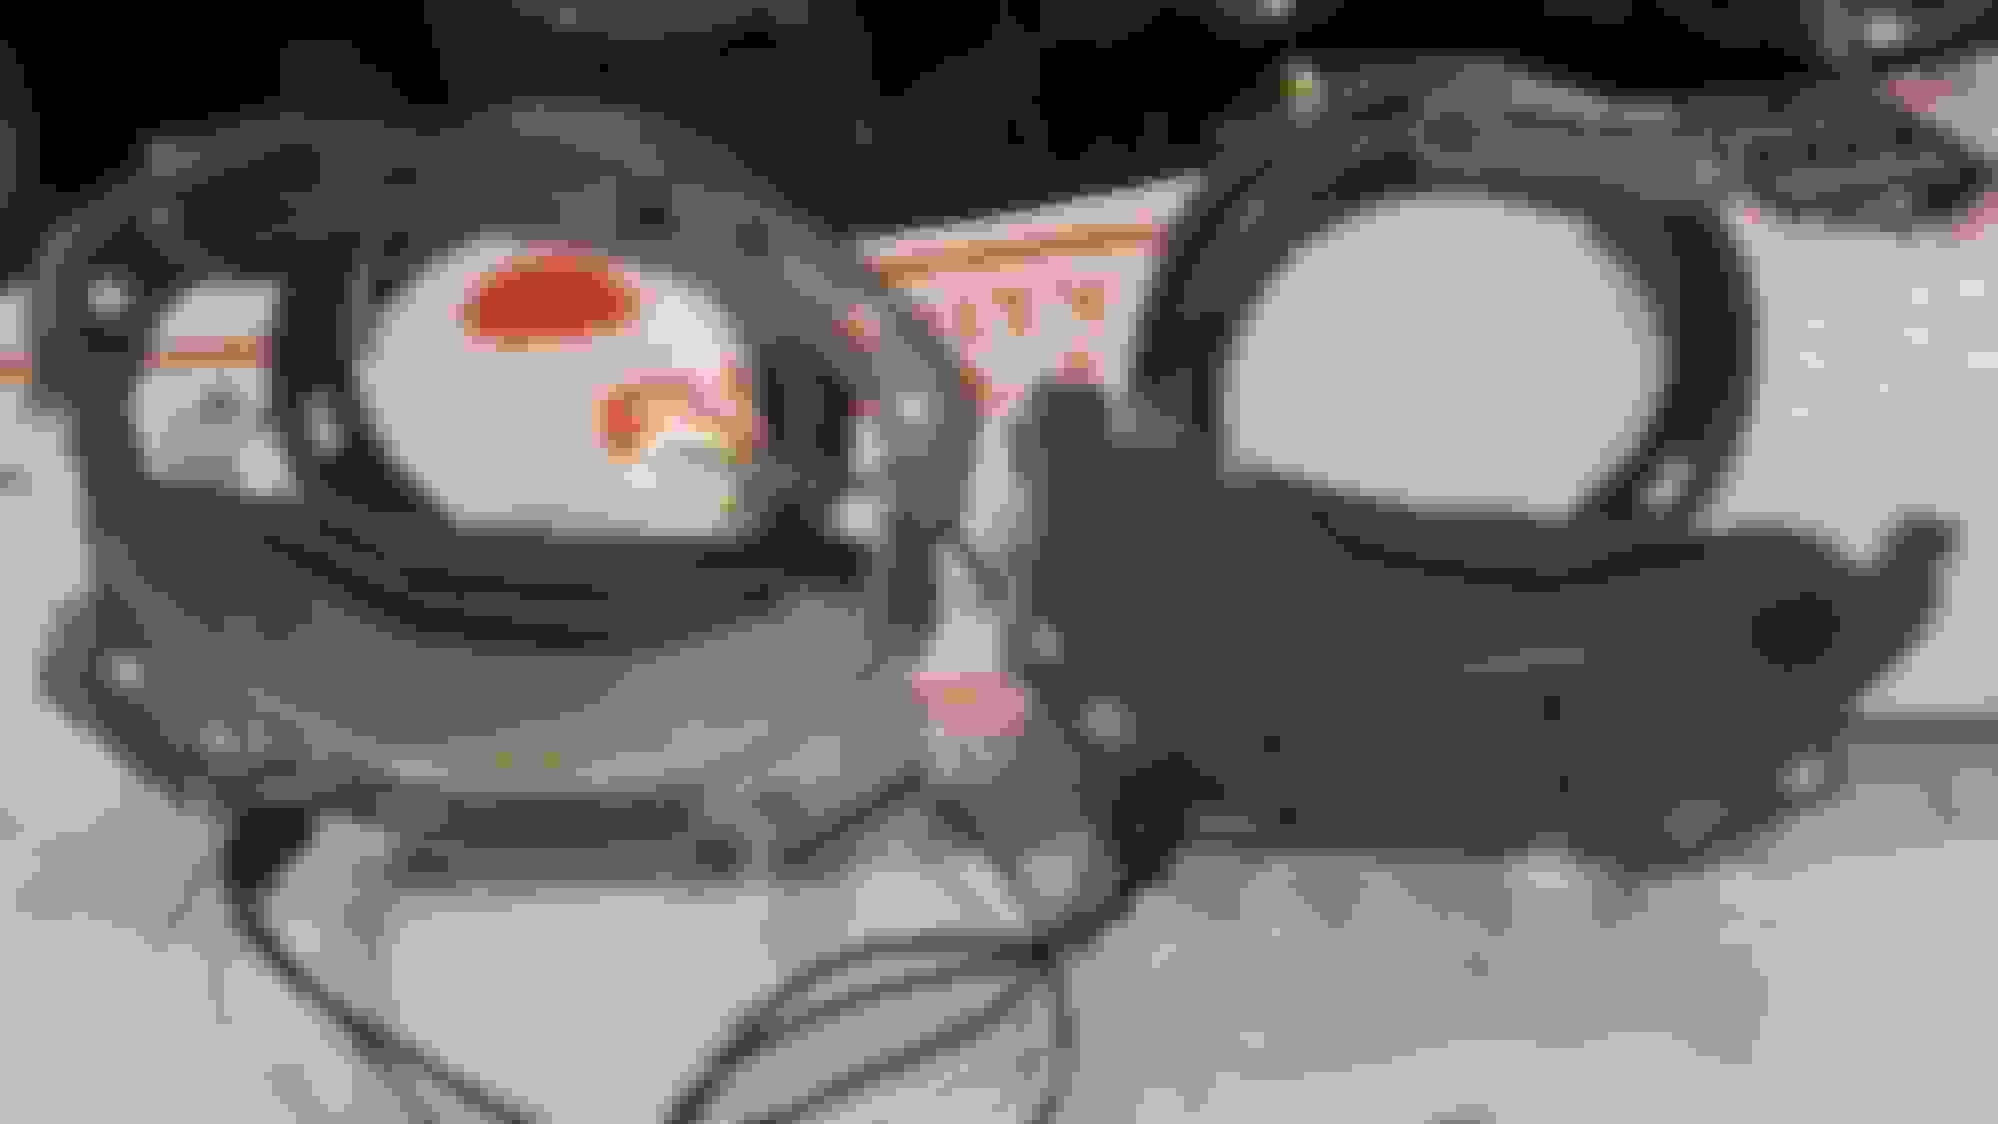
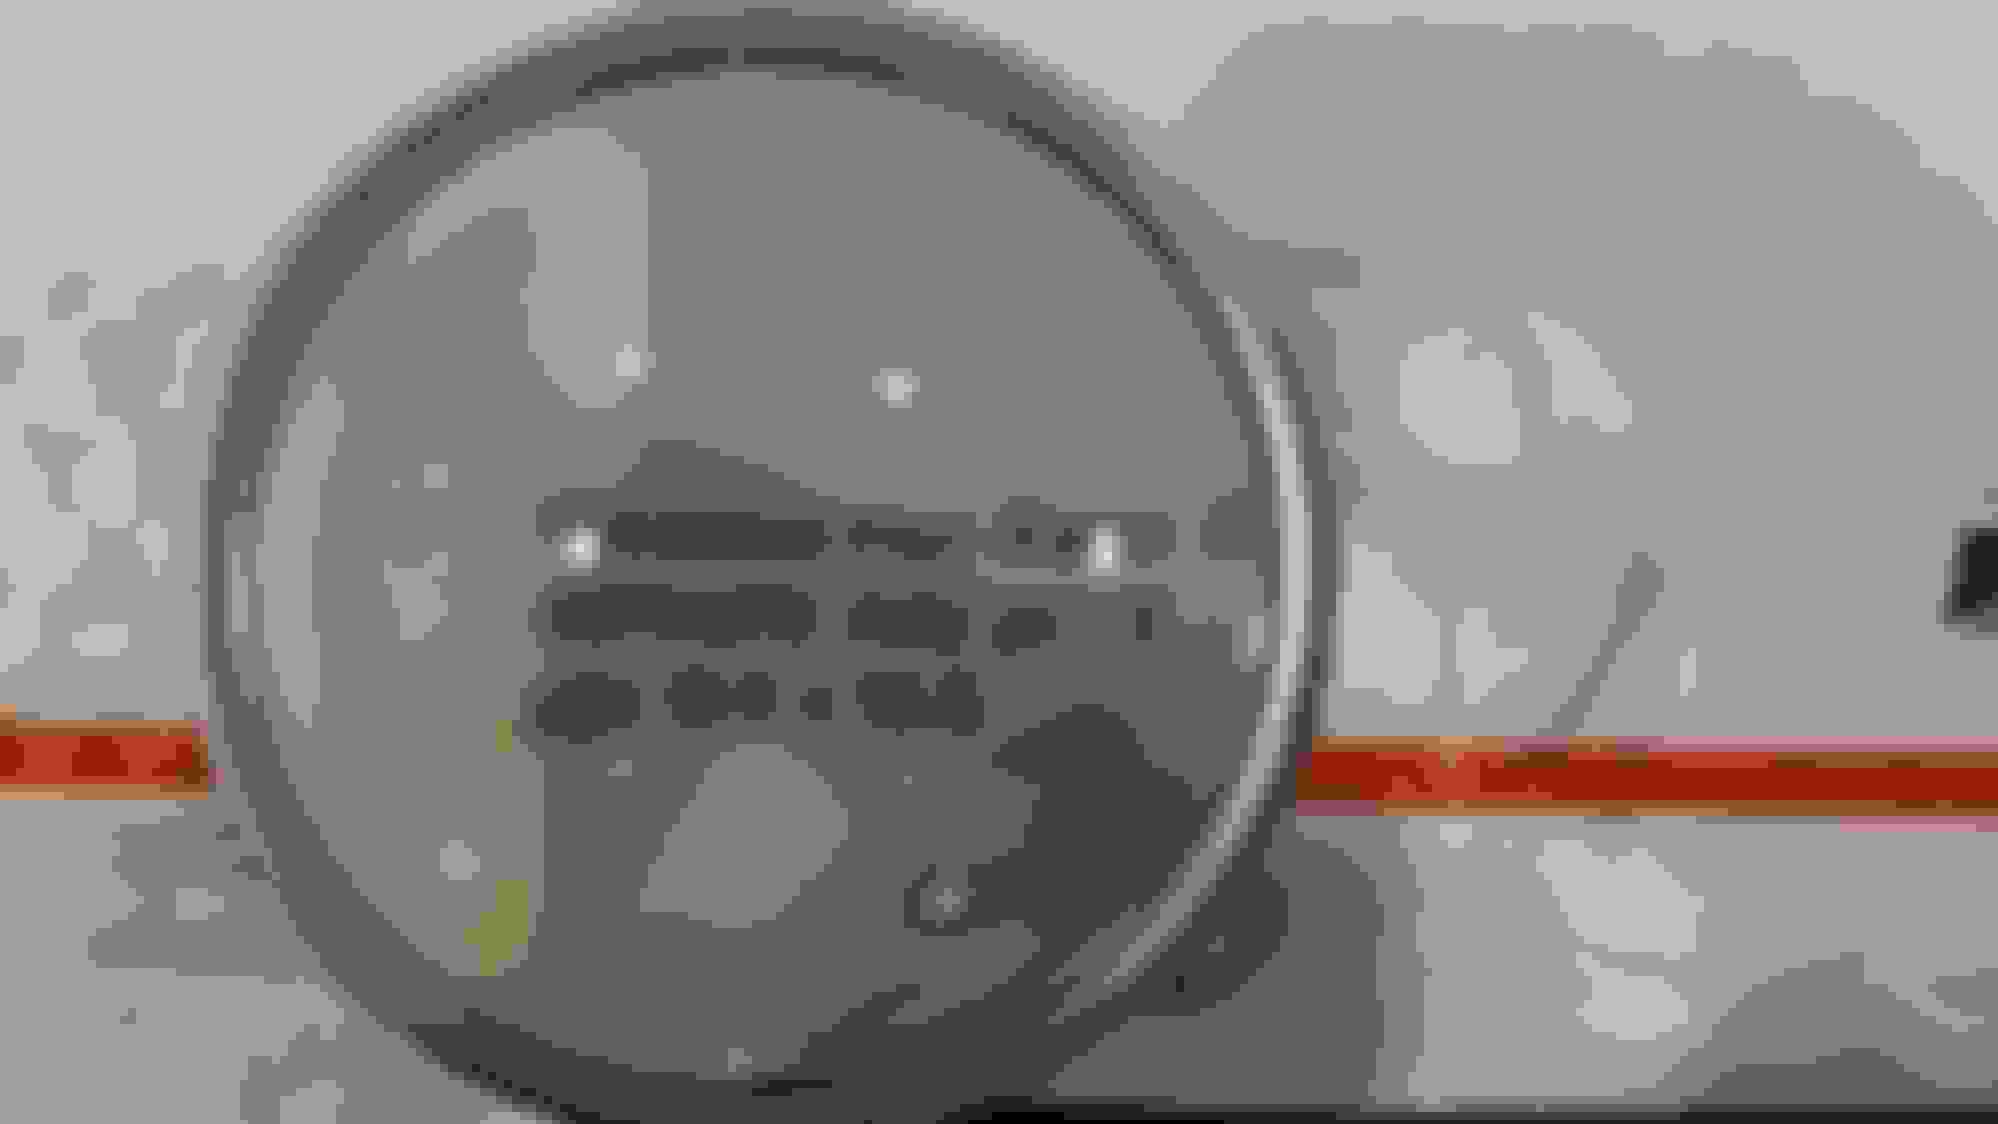
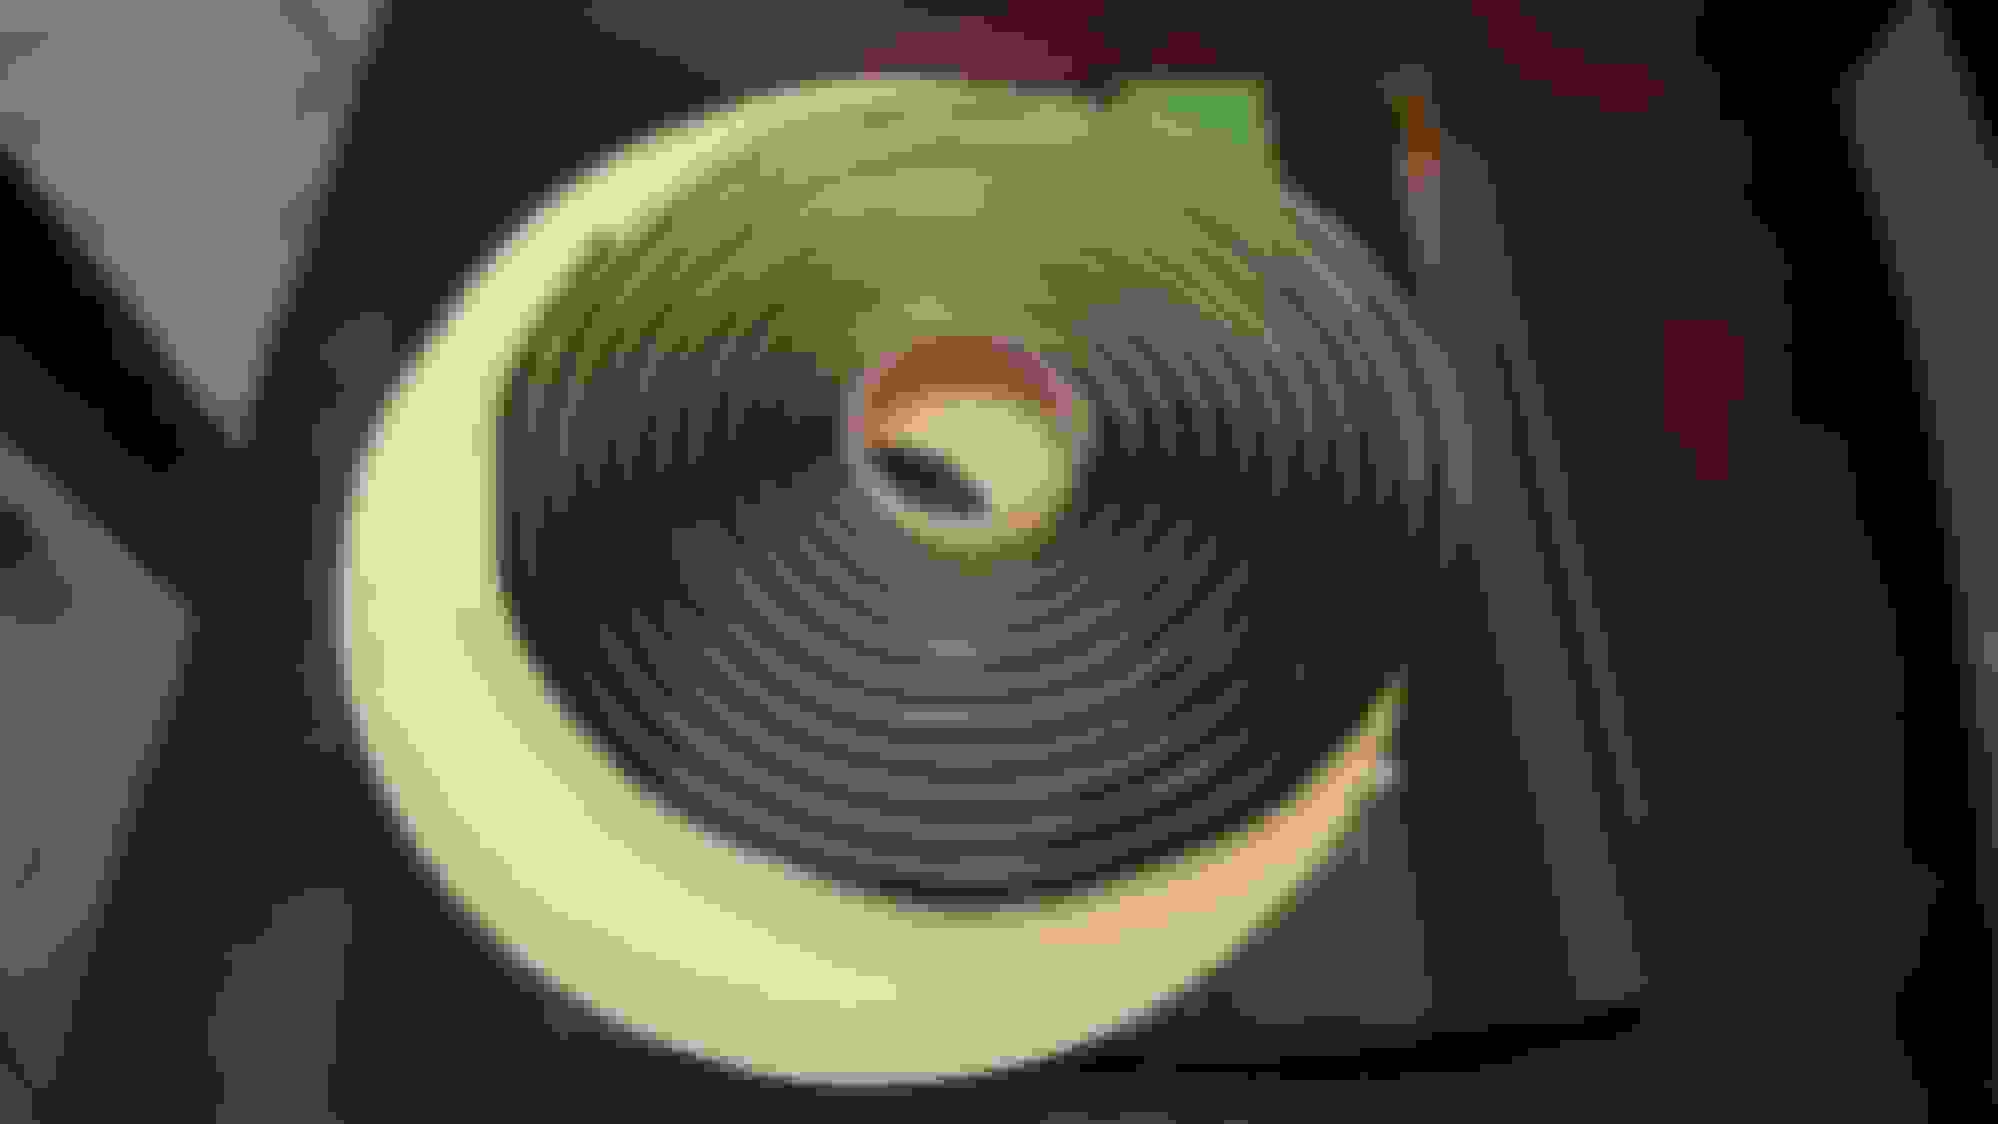
E55 projector bowl:
EvoX-R projector bowl:
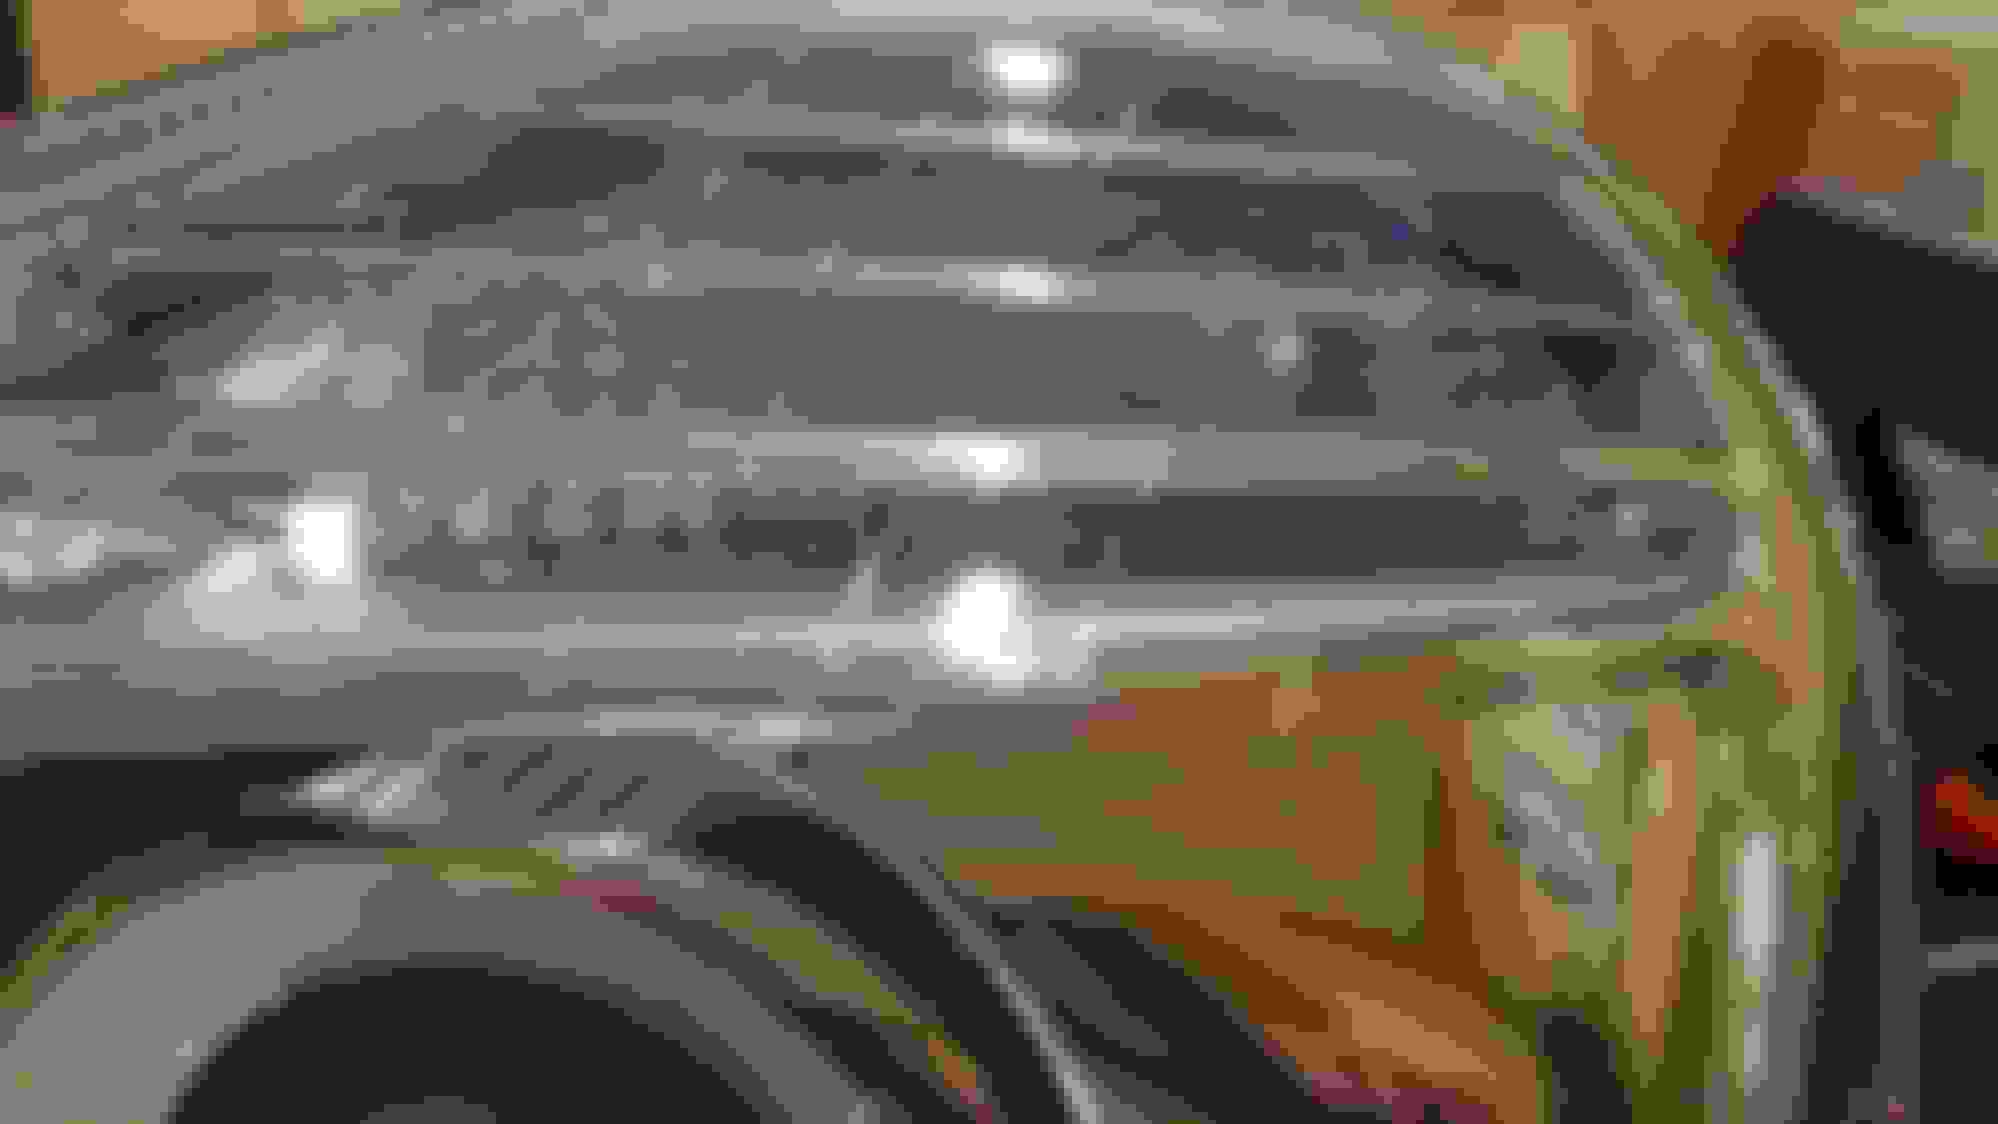
Cutoff shields - EvoX-R (L) vs E55 (R)
EvoX-R clear lens:
E55 Fresnel lens (the foggy one, not the one with circles - it's not as blurry as it looks, but for some reason the camera had a very hard time focusing):
It took me a couple of days to complete this project because I did not just want to install the EvoX-R projectors out of the box. I wanted to use the OEM E55 cutoff shields that have the taller, slope-style cutoff. Thus, I went ahead and took all the projectors apart and mounted the E55 cutoff shield plates onto the EvoX-R bowls. Simple enough, but that led to countless hours of adjusting, spacing and readjusting in order to get a clear projection and to align the hotspots.
After much trial and error, it occurred to me to use the lens brackets from the EvoX-R projectors and voila! a much cleaner output. Even though these brackets are strikingly similar, they are a little different in length.
Very true about the work for wires. I just can't stand wires and if at all possible I want things to be contained. It's a little bit more work but I'm OK with that only because these lights are soooo easy to open up. Wiring them internally just makes for a clean tidy install to which if it ever has to go to a dealer they won't ***** and say, your non OEM ballasts f'ed it up without even looking at anything else... (they love doing that **** here)..lol
Thank you for the tip on the epoxy/metal bushing. I will do that since it does seem more secure and better!
Personally in your pictures I love "EvoX-R bowl, E55 cutoff shield, clear lens" picture the best!
Excellent info!! We are the rare group that takes it this far I'm sure of that..hahah.
Looking forward to more of the progress you are doing!
2016 E350 Sport; Mom Wrecked the 2008 E350; sold the 2002 C320
EvoX-R Hybrid Retrofit Part 2:
Here's the candidates for the retrofit:
Ah, such a sight for sore eyes!
Prepare the headlights for "baking" (not California Prop 64 kind of baked): remove as much as you can from the housings, such as the lens retaining clips, bulbs, retaining rings, vent tubes, the washer nozzle assembly and the center bracket between the low beam and high beam
In order to soften the buyl to remove the lens covers, I preheated the oven to 250*F, then put in the headlights for 15 minutes. Place on a large cookie sheet and make sure no part of the housing touches the walls of the oven. Otherwise, things can melt where there's direct contact.
Use some thick gloves and have your area ready where you are going to start your work. The housings will be HOT - especially the metal parts such as the mounting nuts.
You should have a large flat blade screwdriver or similar tool ready. Immediately start to work around the edge of the housing cover, separating the clear cover from the housing. If the light cools down and the butyl hardens on you, don't force it - you will end up with cracking the lens cover. If this happens, just stick it back in the oven for a few minutes and keep going. Repeat as necessary. In my case, I easily worked around the headlight without the need to reheat. Perhaps this was because the housings are new because I remember when I did this on my old headlights it wasn't so easy.
Once you worked your way all around the headlight, lift it up about 1/2 - 1 inch and lightly set the lens back down on the housing. Give it a couple of minutes to cool down before lifting it off completely. Reason for this is that if the butyl is still warm, it's going to be very gooey and you are going to end up with butyl all over your chrome trim. Once you are ready to lift the lens off, it's helpful to have a sharp object on hand to trim or rip the butyl away from the housing as you lift. A second set of hands is very helpful for this if you can afford an assistant.
Another tip is to not try and lift the lens straight up, top to bottom or bottom to top. You will end up hitting the chrome trim either on top or most likely on bottom and again, getting butyl all over the chrome trim. Best approach is to lift up slowly and a diagonal downward motion towards the bottom of the headlight. Keep an eye on the edges until you clear the chrome trim.
If you happen to get butyl on the chrome, it's probably best to let it be. The chrome plating is very delicate and prone to scratching or peeling. If you attempt to wipe it clean, you will likely either scratch it or peel it, no matter how gently you do so.
Once the lens is off, proceed to remove the chrome cover surrounding the low beam. It is held in place by 3 tabs. The top and side tabs simply lift off, but the bottom one is bolted in. You will need to dig through the butyl glue in the channel to find the little screw.
Top tab seen here:
Bottom tab seen here - look closely and you will see the screw that secures it in the channel:
Here's an image of the back of the chrome trim so you can get an idea of how it's designed
Once the screw is removed, simply lift the chrome trim straight up. Grab it by the edges and do your best to avoid touching the chrome.
Chrome trim removed:
Now remove the projector shroud (the chrome ring around the projector). There's no screws securing it - it just has compression tabs that hold it snug around the projector. Place your fingers behind it, and tug up on it, slowly working your way around the circle.
Back of shroud:
Shroud removed:
See that extra little shield above the projector? That is to prevent the light from bleeding into the turn signal compartment. Remove that too. It is held in by a screw on each side.
In the picture below, note the 3 white knobs that hold the projector bracket.
Each is has 2 small tabs that secure the bracket. With a small screwdriver (preferably a jeweler's screwdriver), lightly push in on each tab while pulling on the bracket until it pops loose. First one, then the other. Repeat on the other 2 knobs.
Now the projector is free from the housing.
Now look at the projector from the back - there a 4 torx screws that hold the projector on the bracket. Remove the 4 screws and now the projector is completely free.
Assemble your new projectors on the projector brackets and now work in reverse to assemble everything back together. If you are installing bixenon projectors, now is a good time to wire the solenoids to the high beams. You can either splice the wiring into the high beam wires. I opted to use the H7 adapters from TRS and soldered the original wires to where the AMP plug was. Connect the molex connector to the solenoid, the orange plug to the high beam bulb and the black connector the the housing plug (the black plug that originally connected to the high beam bulb)
Note that on my EvoR-X projectors, I had to install the bolts from behind and the nut in front. This is because from behind, the nuts kept moving the bowls due to the tight space
This created a problem for me on one of the small shields - it would not sit flush (on the other side, it fit fine). I had to dremmel a small notch to clear the nut.
You probably thought to yourself that there's an incredible amount of butyl glue. It should be more than enough to re-seal the housings but just in case, I ordered butyl glue from TRS. When I retrofitted my first set of headlights, I ended up with condensation in my right headlight every time it rained or went through a car wash. You don't want that disappointment, so do yourself a favor and get some more - I bought 2 rolls, but 1 ended up being more than enough.
Work it into the channel all the way around the headlight housing. I used scissors to cut it.
When you are ready to put everything back together, preheat the oven again (this time, I only heated it to 200*F). I put the housings in for about 10 minutes. Pull them out and immediately start firmly pressing the lens into the housing - have your retaining clips ready and clip them back in while the butyl is still hot - they will help settle the lens in without you having to keep pressure by hand. Keep working your way around until the lens won't go down any further.
When done, I went ahead and put protector film on the lenses. I've been using this on my past couple of vehicles and it's great - it keeps your lenses looking new for years!
I also painted my turn signal bulbs with chrome paint to eliminate the egg yolk effect.
In retrospect, I would have left the bottom portion of the bulb unpainted and perhaps a lighter coat of paint - they ended quite a bit dimmer. I might play with another set later.
All done. Adios dull headlights! Hope all this is helpful
Last edited by EuroDriverSD; 11-15-2016 at 11:02 PM.
2016 E350 Sport; Mom Wrecked the 2008 E350; sold the 2002 C320
I take back what I said earlier about mixed results. After the install, I had a horrible time with the right headlight. The beam pattern was very strange, the cutoff was horrible and the hotspot was off. Well, something must have settled because now it looks great! I am now very happy with the end result and other than some (expected) hotspots on the foreground the lighting is awesome & much brighter than the oem E55's. It was well worth it.
By the way, I decided to go without foreground limiters, even though many say they're a must with the EvoX-R's. I think I made the right decision - foreground illumination looks awesome on the road.
The obligatory wall shot:
Last edited by EuroDriverSD; 11-15-2016 at 11:53 PM.
awesome how to and anyone can follow it! Exactly how I do it!
I am glad you brought up the shield above the projector because I almost threw it out thinking I wouldn't need it for the new projectors... but then I read your post about how the stray light will go up to the turn signal area, which makes perfect sense. I will note that when I attached the shield to the stock projector no difference was made the out output so I figured well, they aren't needed...lol Glad I read this before trash day tomorrow!
Have you thought about using LED bulbs for the front turn signal? I bring this up because you wouldn't get the amber egg yoke look. I am not sure if it would throw an error. I know on our CLK I used superbrightled can bus led for our front turn signal and it didn't have hyper flash nor did it have any errors, but I might test it out for our w211's. BUT, for the life of me I could NOT get any rear led bulbs to work... so it might be the same with the w211 where a front led turn signal would be OK?
I've used both companies and have zero issue with either, but in the above I'm half tempted to get the IJDMTOY only because it's brighter. The superbrightleds is a joke honestly. I ordered their amber canbus 194 bulbs and was sadly disappointed by the output. I believe they were only 2lumens... :-( Their same version but white was something like 400+ lumens. I don't understand why their amber bulbs sucks in terms of lumens is concerned. Plus both reviews on ijdm are merc owners so that's nice that it does work.
*Note, not affiliated with either company, but I love LEDs and finding bright amber bulbs seems to be a problem IF they are canbus.
-Nigel
Last edited by NewShockerGuy; 11-16-2016 at 01:45 AM.
2016 E350 Sport; Mom Wrecked the 2008 E350; sold the 2002 C320
^ Well, glad I mentioned the little shield!
I have tried a number of different canbus, "error free" led's (including some fairly expensive ones) and they have all triggered a code - I gave up.
Can you try to post some info on the specific ballasts you found for future reference?
Also, if you are going to go with the EvoX-R projectors, have you thought about getting the D2S connectors from TRS, cutting off the D1S connector, soldering in the D2S connector and eliminating the adapters all together? It would be much cleaner.
Black Friday 25% off is coming up at TRS, it's a good chance to get those adapters for free. BTW, I have a spare set of them & the solenoid adapters, a roll of butyl & probably some other stuff (all new). PM me if interested.
I hear ya on the LEDs! I will be the test guy then for the Ijdmtoy ones, and will post up on any issues/errrors.
Sure thing on the ballast that was used were OEM Hella (found on Cadillac Escalades) Model: 5DV 009 000-00
I got them from this eBay vendor only because they had included the harness (which for lack of a better term just saved me time searching or waiting to order from someone else)
I was planning on getting the D1S to D2S adaptors that TRS does sell at $70 a pair :-( I'm not sure if I follow you completely on the cutting off the connector part. I thought the D1S igniter is on the bulb base itself (integrated to the bulb), where as the D2S has the separate igniter.
*that's what I was thinking of for their 25% sale too...lol
Wanted to ask a couple questions now that I am doing more research.
I was reading that the EvoX-R's projector bowls are plastic? Can you confirm or deny this? I know the stock e55 projectors are a metal housing.
I keep reading that a lot of people prefer the stock e55 projector since it has the satin bowl finish compared to the shiny of the evox-r.
I found a pair of OEM e55 on ebay for about $80 and with the clear lenses would be a little cheaper than the Evox-R's but overall how is the build quality of the Evox-R's. TRS said they have very little problems with them which makes me still want to go with them. I found a thread on how to improve the cut off and what not on hidplanet but looking forward to what you say on them.
Thanks,
-Nigel
Last edited by NewShockerGuy; 11-16-2016 at 04:54 AM.
2016 E350 Sport; Mom Wrecked the 2008 E350; sold the 2002 C320
Nigel, Here's the link to the TRS D2S igniters I was referring to. You can solder them into your harness, or put an AMP pigtail on you harness in case you need to replace one down the road. It's up to you whether you are better off with these, or with the adapter you are contemplating.
Now on to your questions:
The EvoX-R bowls are plastic - PPS to be exact. I'll tell you that I was a little disappointed in how brittle they are - I have worked with PPS before and I've never seen it so brittle. When putting things together, a couple of corners broke from the pressure of the bolts/nuts (one corner on top and one corner on bottom). It didn't ruin them or affect the usable reflective surface in any way, but nevertheless a little disappointing.
Another thing to watch out for is the top portion of the bowls. If you look at my 2 pictures above of the E55 bowl vs. the EvoX-R bowl, notice that the E55 is flat across the top, where the EvoX-R has a recessed area in between the 2 bolt holes that hold the lens bracket. If you over-tighten the bolts for the lens bracket, you run a high risk of cracking the bowl. I just snugged them up and applied a generous drop of lock-tite (just be careful not to spill any inside the bowl).
Now as to which bowl is better between the EvoX-R and the OEM E55, that is the ultimate question for you to decide. Each has their pros and cons.
You are already familiar with the different finish on each bowl - EvoX-R (often referred to as the E55R) is smooth and mirror-like, and the E55 is rougher and satin. Based on my readings, the more notable differences are:
1) The E55 has better low-beam distance lighting but sacrifices some beam width in exchange (narrower beam) vs. EvoX-R is high-beam biased (more hotspot for high beam) but sacrifices beam distance for wider beam for side illumination
2) E55 light output is even and soft vs. EvoX-R is much brighter but streaky (more hotspots)
3) E55 has taller, sloped cutoff (many call it ECE style) vs. EvoX-R low slope (DOT style) but very intense color band. Here, many differ in opinion and it is purely a matter of preference what cutoff you prefer. Some say they can aim their lights a little higher with the EvoX-R's DOT cutoff. I feel that with the taller E55 cutoff, I have a higher beam on the right, while being able to keep a lower cutoff on the left (to minimize glare to oncoming traffic)
4) Lastly, as much as I love TRS, these are aftermarket parts (probably made in China) and we have to keep that in mind - IMHO these parts will never be as good as OEM. There's no telling how long they will last - only time will tell. As mentioned above though, they do have some significant advantages.
Thus, you have to decide what trade-offs you are willing to make for the features you desire most. Given your opinions in prior posts, I think you are going to be very happy with the EvoX-R bowls.
My opinion based on first-hand experience is that I'm quite impressed with the EvoX-Rs. Output is much brighter and more colorful! All said and done, I don't think I sacrificed much distance lighting (I don't know how much is has to do with me keeping the E55 cutoff shields) but I'm very happy with the slightly wider beam width (noticeable difference in roadside illumination). Also, I had never given much importance to a strong colorband at the cutoff, but the last couple of days I have noticed how much more dramatically objects reflect back at the periphery (edge of the cutoff and at roadside) with the strong, blue cutoff. However, I don't think I would have found it as enjoyable with the clear lens, which would have created a sharp color band. I see a color pop vs a blue streak. However, I still haven't had a chance to do any significant driving on dark roads. I'll report back once I really put them to the test.
That said, I'll quickly tell you the story why I wanted to improve on my original retrofit: Last year more or less, I purchased brand new, OEM bixenon headlights for my wife's C320. Let me tell you how AWESOME the lighting from those headlights is (strong, bright and insanely colorful. I think those use E46 projectors, which definitely have the bumpy finish on the bowl and are famous for the colorful output). Driving my W211 after driving her C320 just left me with an empty feeling on my light output. The EvoX-Rs have put me on par as far as brightness and the colorfulness is a completely different experience but IMHO the lighting quality is just not the same.
This got me thinking the the age of the bowls might be playing an important factor and thus it's unfair to compare old E55's to brand new EvoX-R's. As it is, it's getting harder and harder to find E55 bowls in pristine condition. Nevertheless, given the different finish, I believe the EvoX-R's would still be brighter in comparison to brand new E55's - the question is how much of a difference there would be. In addition, my bixenon E55's that I originally retrofitted have foreground limiters which make the light seem dimmer.
Just to prove my theory, I'm eventually going to do a little project with my old headlights. My plan is to get the E55 bowls aluminized, remove the FG limiters and try one on to compare against my EvoX-R hybrids. Stay tuned...
One last thing: Let me know how you fare with the ijdmtoys led's. I think they are among the ones I tried, but I can't be sure. I tried about a half dozen, including the ones from AZN optics. On that note, try his LED city lights leds (the small bulb in the high beam reflector). I'm currently using them (both in my car and in my wife's). The color temperature is very close to the xenon low beams, they are very bright and they do not trigger a code. They are available in 4300K and 5000K. I'm using the 5000K and they are a tad more blue than the xenon headlights. I have a hunch the 4300K are going to be a lot closer. Just in case you are interested, you can contact AZNOptics.
Last edited by EuroDriverSD; 11-16-2016 at 03:13 PM.
You're killing me... because you bring up very excellent points that make me wonder should I go OEM or go aftermarket! hahah
That's disappointing how brittle the material is. I have noticed that there is quite a bit of spotlighting with the Evox-R's at the bottom of the light. Scattered which I think is amplified due to the chrome bowls and the clear lens.
I will have to look at the Morimoto D2S plug and see if that will work. I am only a little weary cutting/soldering wires that deal with ballasts. Normal wiring no problem, have no reservations at all cutting/soldering re-doing. But it would make for a clean install. Not that the Morimoto adaptors wouldn't as it just clicks to the D1S cable but that's another thing to worry about.
I've tried Anz optics and none of their LEDS worked for our CLK. On top of that it's the same stuff that you see on Chinese vendors but marked up more, just like JPSpeed does..smh.
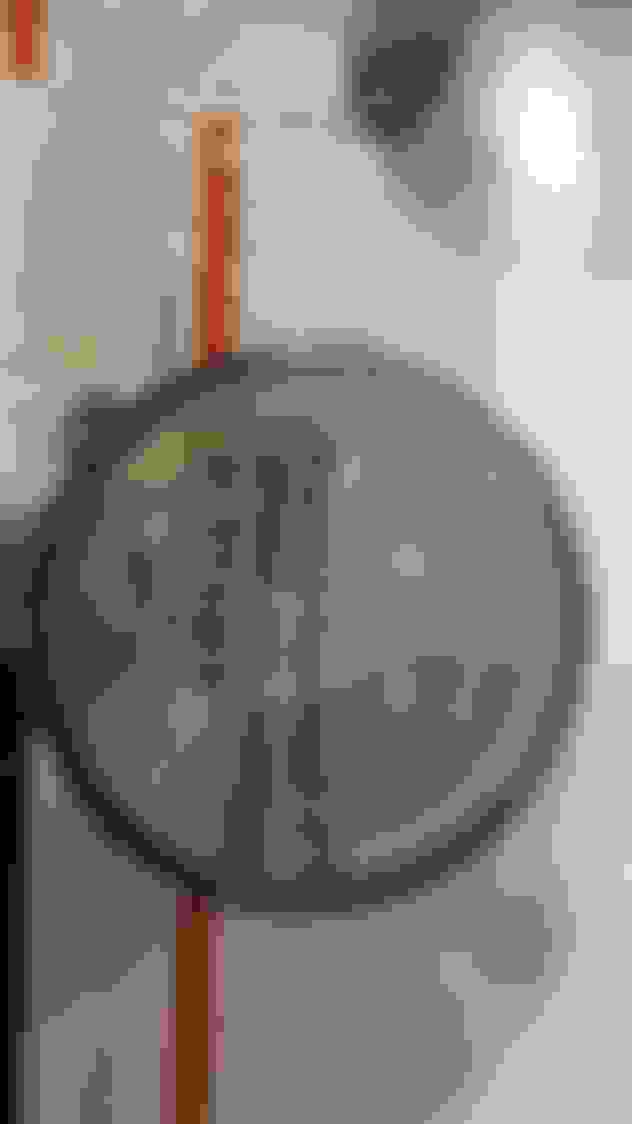
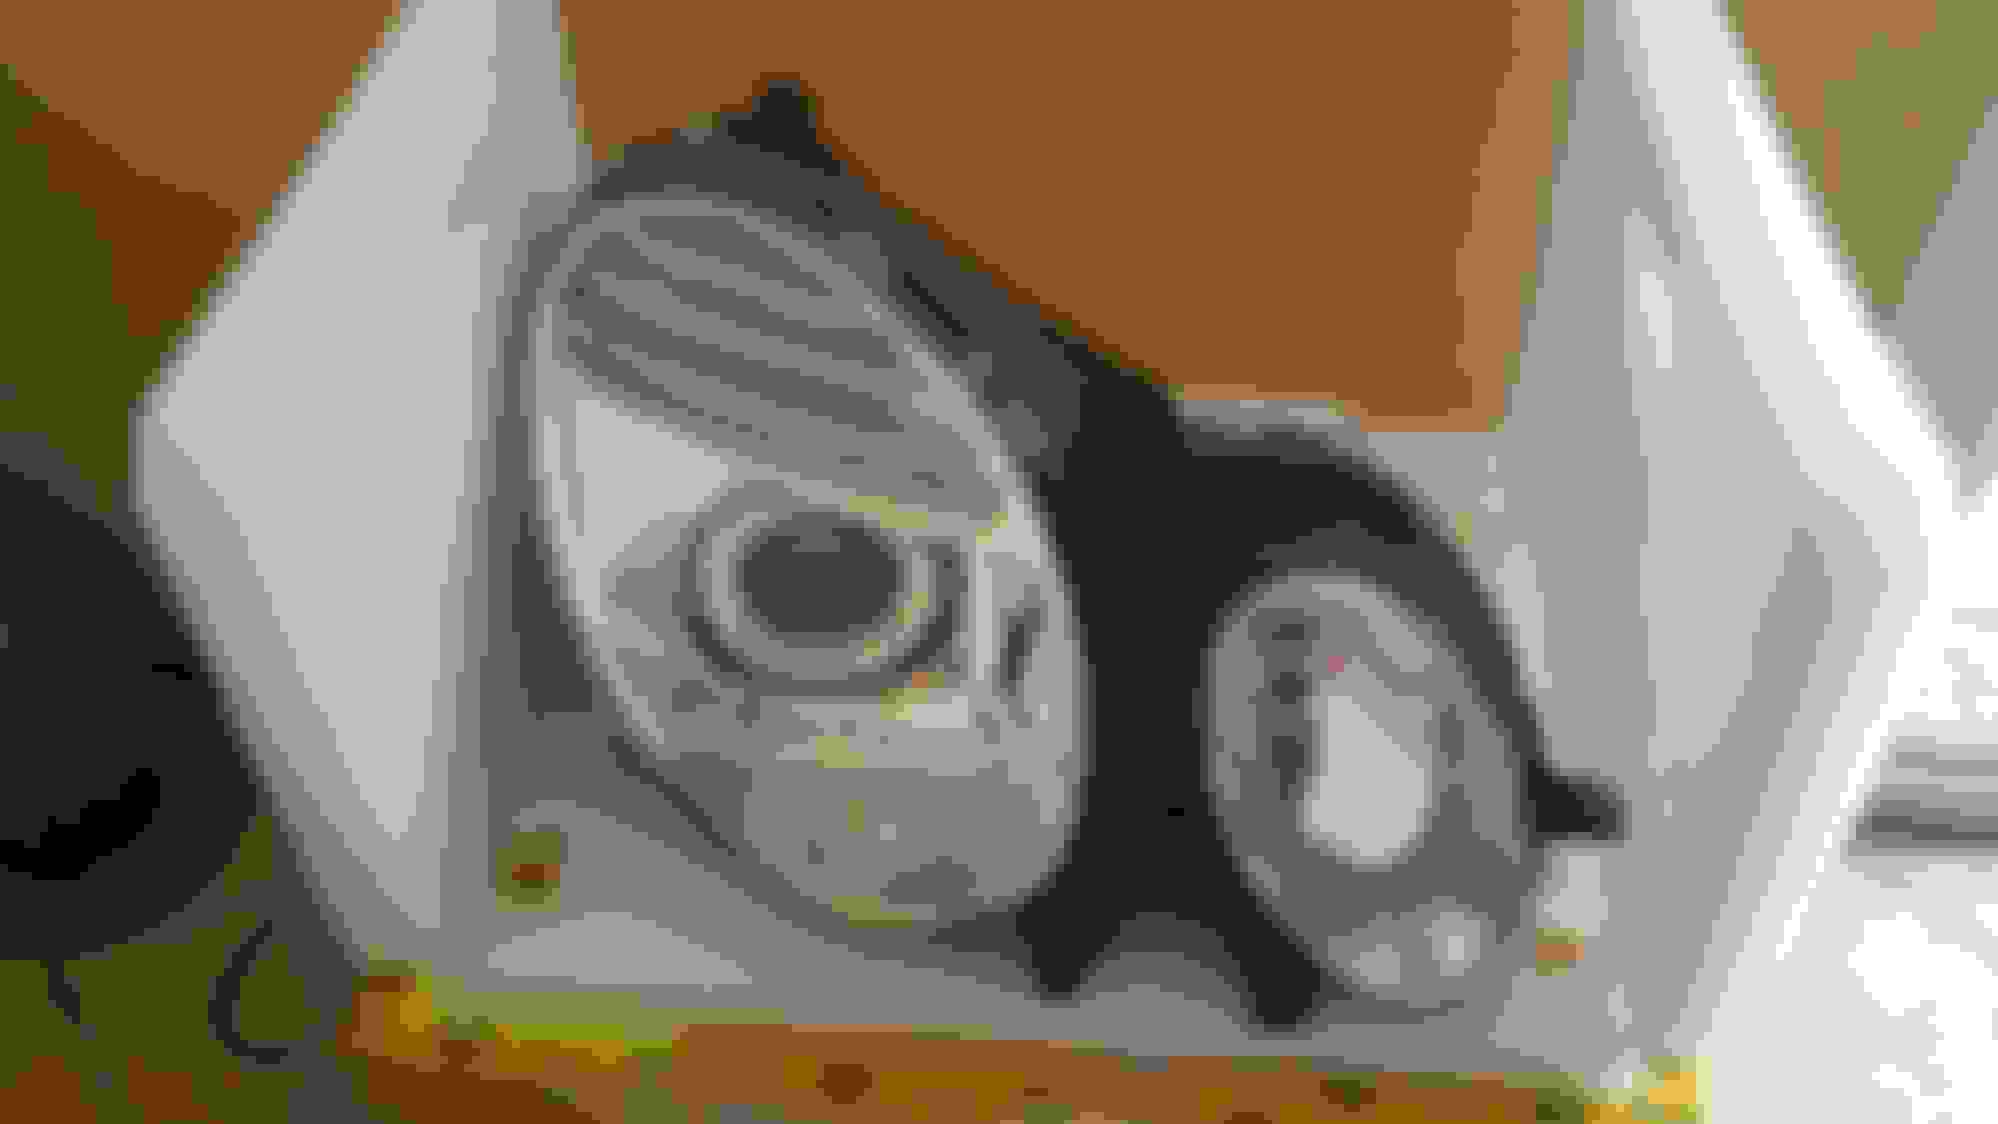
For the city lights I am actually going to use the LED bulb/reflector piece that comes stock on the oem bi-xenons. See attached picture. I just received my C4 STAR system last night so I will code the car so it knows to use LEDs for the parking/city lights. Should be cool plus I don't have to worry about stupid can-bus leds failing which they seem to do time to time from getting so hot. Plus if one looks at the headlights they will appear as oEM bi-xenons..w00t w00t!
I hear you on getting in the one car with great lights then being disappointed by switching to another. I get that feeling after I drive my STi with AP1 s2k projectors, then hop into anything else we have. It's like God himself is shining light in front of the car...lol
All very valid points so now I'm in a pickle (but still have time until the sale..lol) if I want to go with known good quality e55 projectors via OEM fit and finish, or go with the Chinese replica Evox-R's that many many many people really enjoy, and they do look nice! My mini d2s morimotos that I did on my ranger is about 4-5 years old now and still works great, as much as you can squeeze light out of the mini projector.
I can't say I'm partial to either cutoff on the e55 or the evox-r. They both look extremely nice to me.
EDIT/UPDATE:
So I order the E55 projectors... I figure I'd rather take OEM over the plastic brittle ones. Not sure if that was a smart choice. They have the Fresnel lenses so that means before I completely get rid of the CLK, I will yet again take apart the front end, remove the headlights and swap lenses so that I have the clear on my car. I doubt the next owner will even care/nor realized clear vs Fresnel...hahah. I don't dislike the e55 projectors, I think I was excited to try the newer ones but just knowing and working with the e55's I guess it's not a bad choice to revert to. Plus at less than half the cost of the evo's and with TRS's sale coming up I will just put the money towards the igniters and newer bulbs.
-Nigel
Last edited by NewShockerGuy; 11-18-2016 at 04:27 AM.
2016 E350 Sport; Mom Wrecked the 2008 E350; sold the 2002 C320
Originally Posted by NewShockerGuy
EDIT/UPDATE:
So I order the E55 projectors... I figure I'd rather take OEM over the plastic brittle ones. Not sure if that was a smart choice. They have the Fresnel lenses so that means before I completely get rid of the CLK, I will yet again take apart the front end, remove the headlights and swap lenses so that I have the clear on my car.
-Nigel
If you weren't planning on modding the EvoX-R's, I don't think the brittle plastic bowls would have been an issue for you - just plug-n-play. Regardless, I theink the OEM E55's are very respectable too. Just take a hard look at them before installing - make sure there are no burn marks or dull spots before installing. Otherwise, I think you'll be in for a disappointment.
I'm planing on getting a pair of E55 bowls aluminized so that the coating is as-new again (or perhaps even better!) Once I get that done, I just might go back to the E55's myself....
Instead of taking apart your CLK, you can just order a pair of clear lenses from TRS - if you do, just make sure to select Hella style vs. Bosch.
 11-06-2016, 01:17 AM