When you click on links to various merchants on this site and make a purchase, this can result in this site earning a commission. Affiliate programs and affiliations include, but are not limited to, the eBay Partner Network.
After a Road Trip - Front and rear Damper/Strut Full Inspection
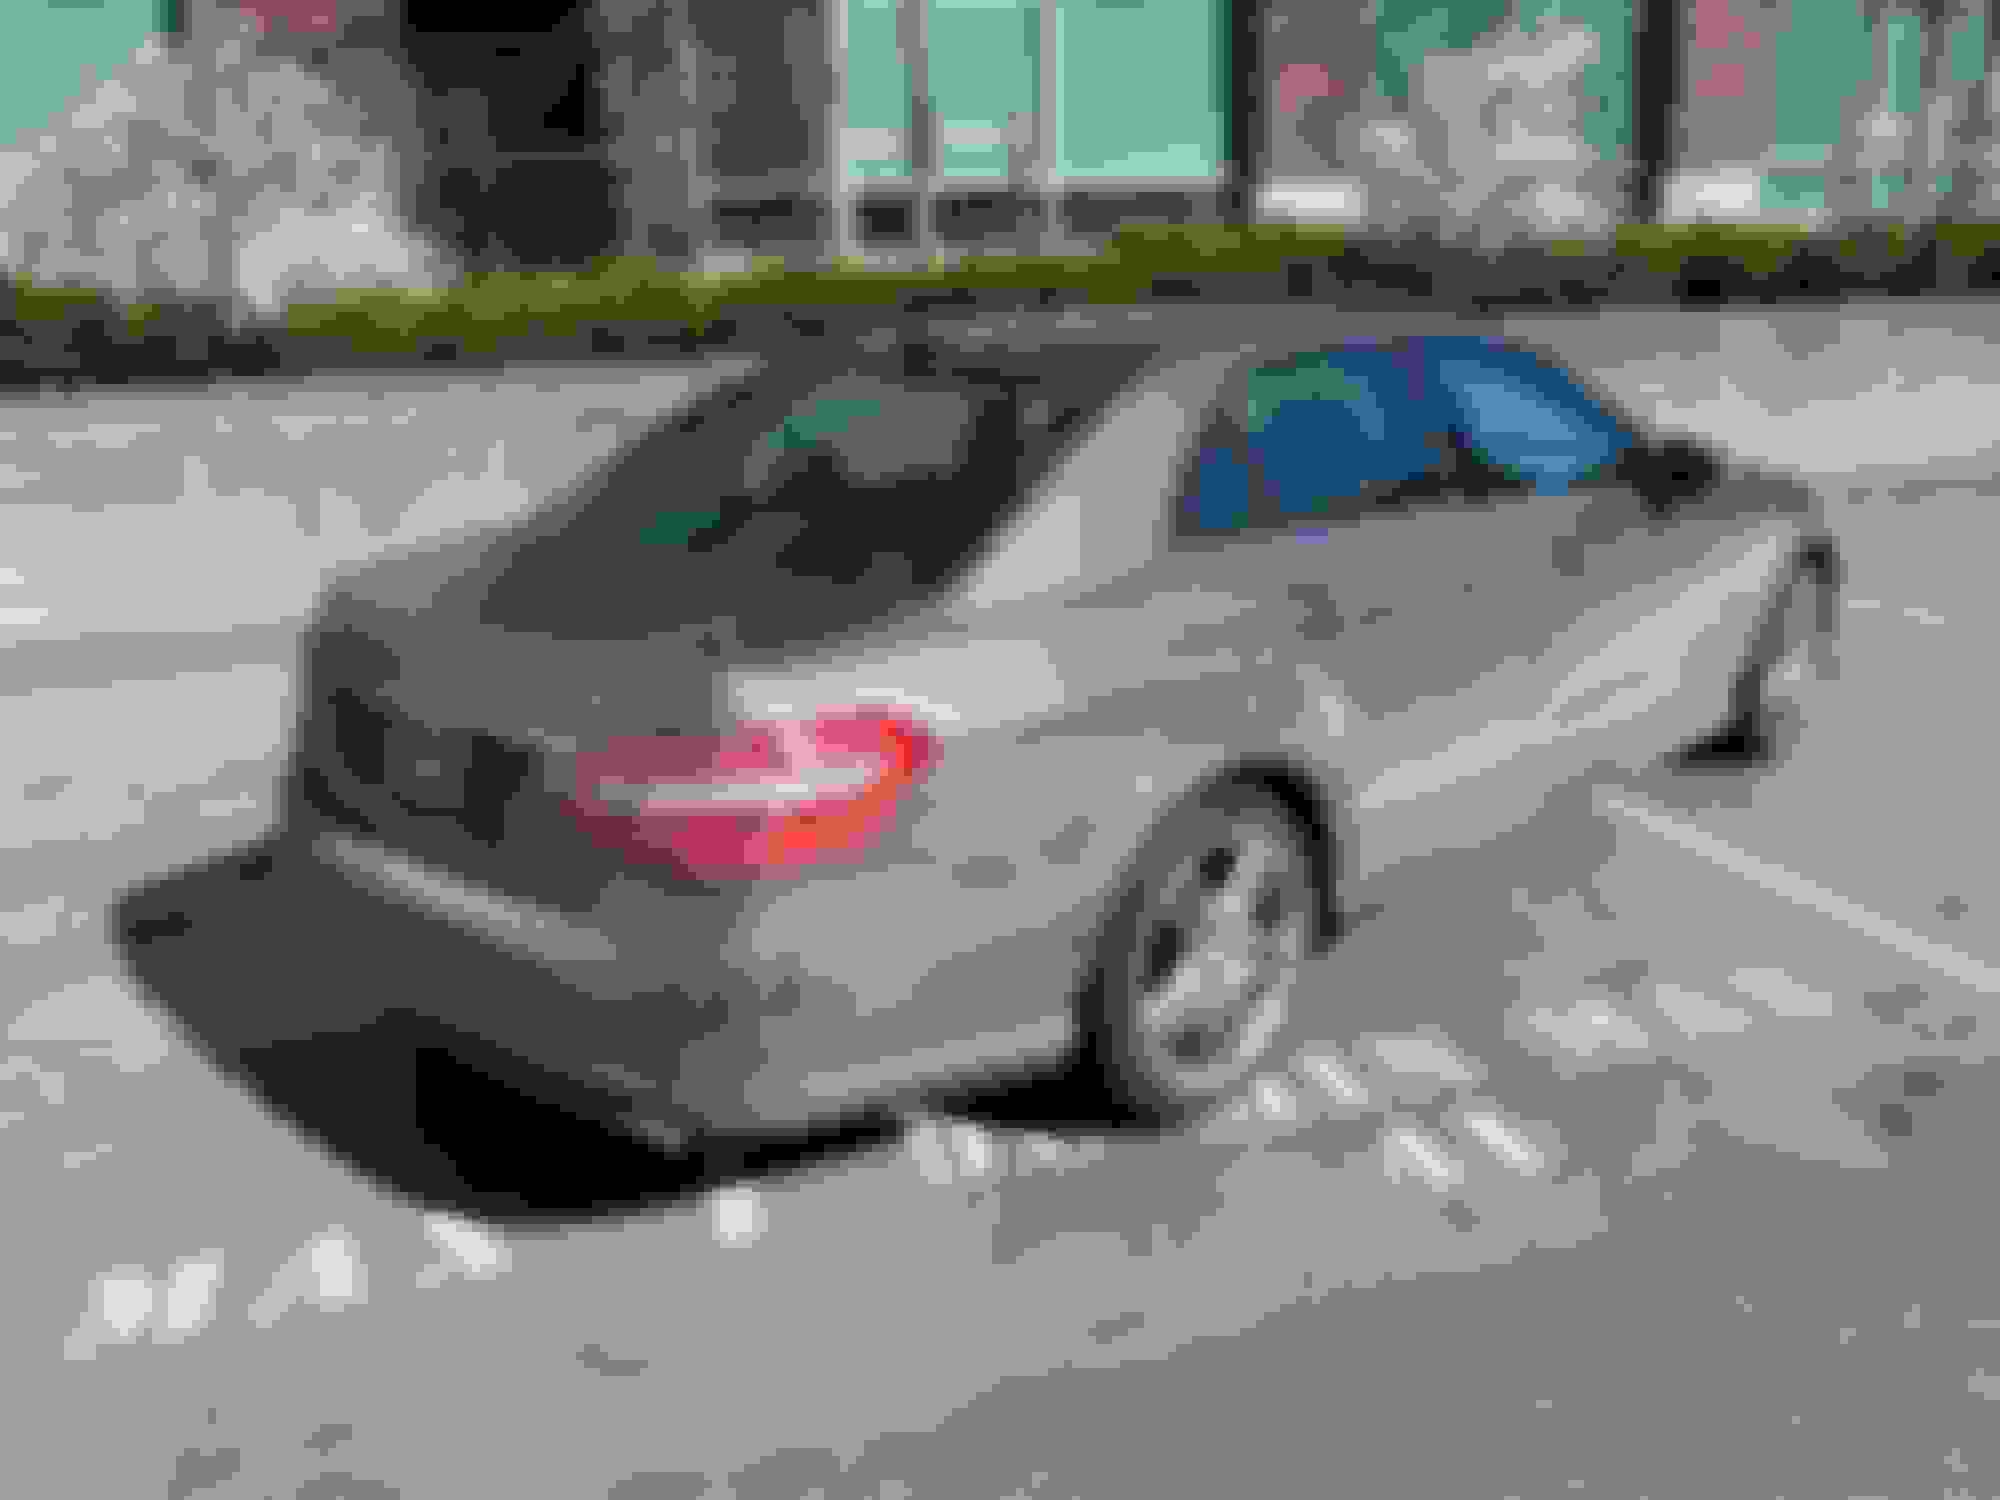
After I did the longest non-stop run ever on this W212, which was Jakarta-Bali-Jakarta 2020/2021 new year with a stop at a nice cool 21C 1,000 meter altitude resort somewhere in East Java called Batu city,
coming back to Jakarta Jan 2021 its time to inspect the car. Total approx 3,000KM, including 300 ish KM within Bali itself.
My standard W212 ground clearance is too low for this trip actually. I scrubbed the front spoiler lip and mid body including exhaust pipe at :
01. Into the ferry in Bali, Jakarta bound. To Bali was okey, because it was higher tide. The right side exhaust pipe took the beating.
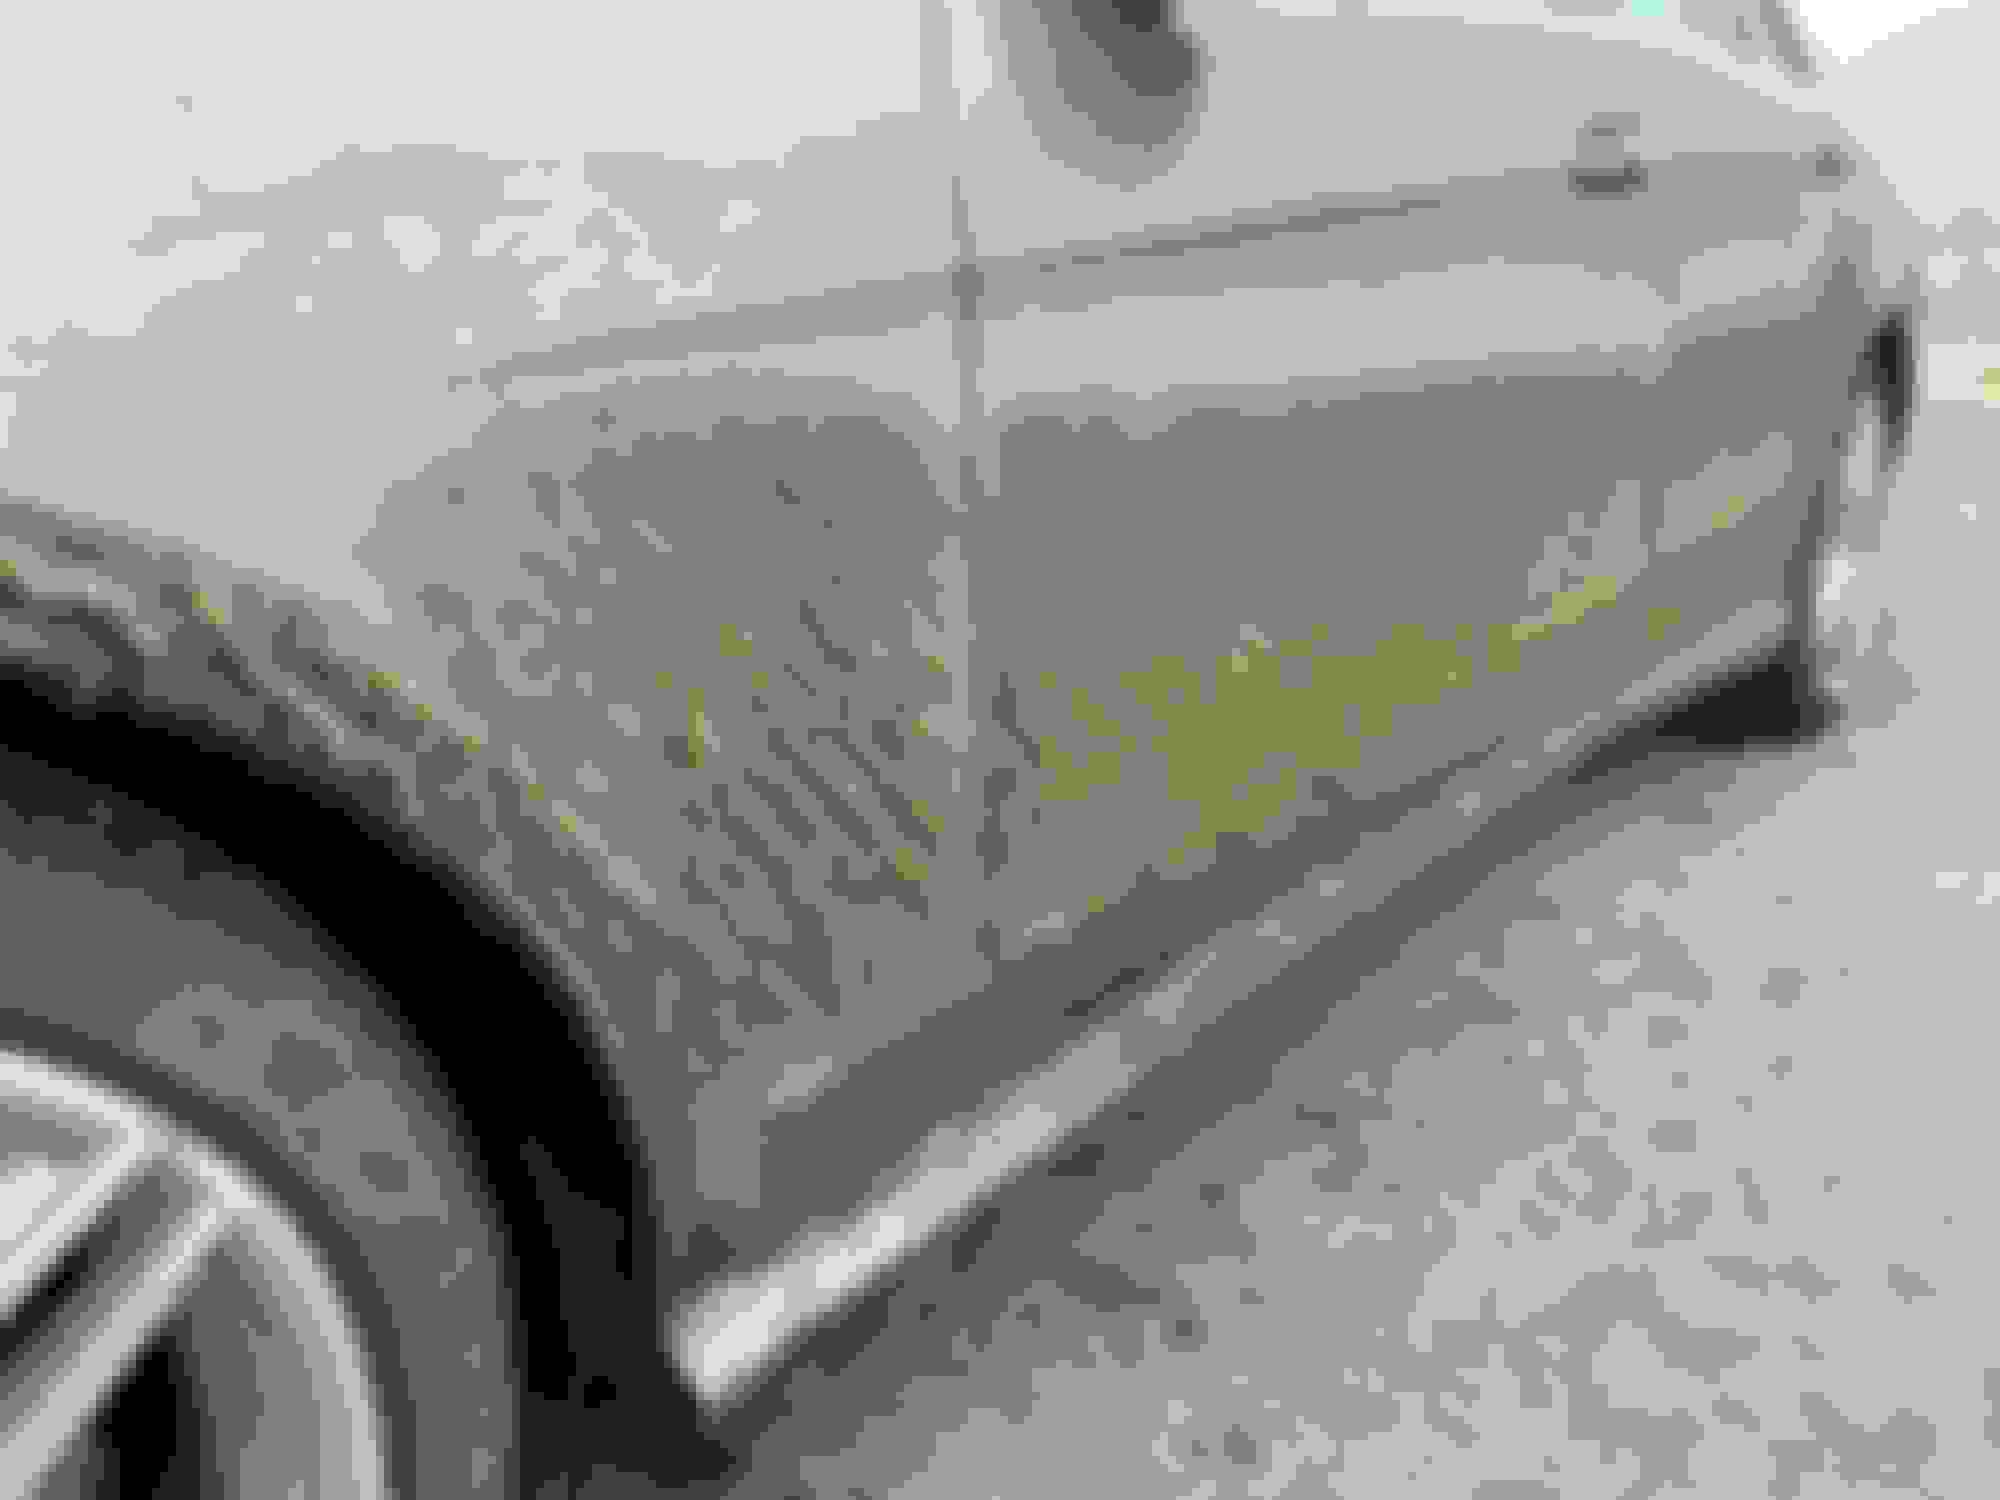
02. Near my villa in Bali ... , I was so tired after 11 hours drive and it was at night. I forgot to do the special sideway manuever if and when going up a steep hilly slope. Torn left side long sound shield.
03. Somewhere in Bali, Google Map gave me such a rural road...dang !!! Small bridge but very high "hunchback".
04. I needed to do a U-turn and the road was so small, I had to reverse into someone's property and the incline was so high, the front spoiler lip kissed Mother Earth
Side note : Google Map algo doesn't work very well in my country. There are routes I am told to jump over a padi/rice field. LOL.
Back to the mechanicals.........
Among other things I inspected, all shock absorbers I need to take a closer look as I seen sign of the bump stops shredding a bit of its rubber.
This is also to database all of the 4 of Bilstein B4 conditions after approx 10,000 KM of use.
The Bilstein install was done at an Indy and I did not get involved at all.
Now I will do all by myself.
On a paid highway coming back to Jakarta on 10th Jan 2021 at coordinate South 7.67560 East 112.89853 Jakarta bound 798 KM + 200meter , the quality of the road joint or slope/gradient, which is partly a bridge..was so bad,
at a mere 100 KM/H the rear damper bottomed out. It was me, wife and 2 kids and luggage , max passengers & cargo weight did not exceed 320KG. Only on this trip I experienced rear damper bottomed out.
There was another paid highway outbound from Jakarta which at 140 KM/H bottomed out occured. Poor workmanship and design are always the joint between the highway and small bridges, as these highways are like 3 meters above the villages,
hence underground pass thru need to be built above village roads or rivers/creeks.
If anyone wants to remove the rear damper you can use this video for the boot interior removal ONLY, that's it stop there. Do not follow how he loosen and tightened the piston shaft to the top mount.
**
Don't take caution below lightly or you will wear out the bottom bushing of the damper fast.
I am on a Rear Wheel Drive, not a 4-Matic. 677 suspension code. Below is the torque spec.
The "special" tools.
EPC does not show individual bump stop part number, dust cover and dust cover to bump-stop locking sleeve.
So I bought what a local online seller described as TOPRAN brand.
Easy self install, string assisted. The top mount is new, from Lemforder.
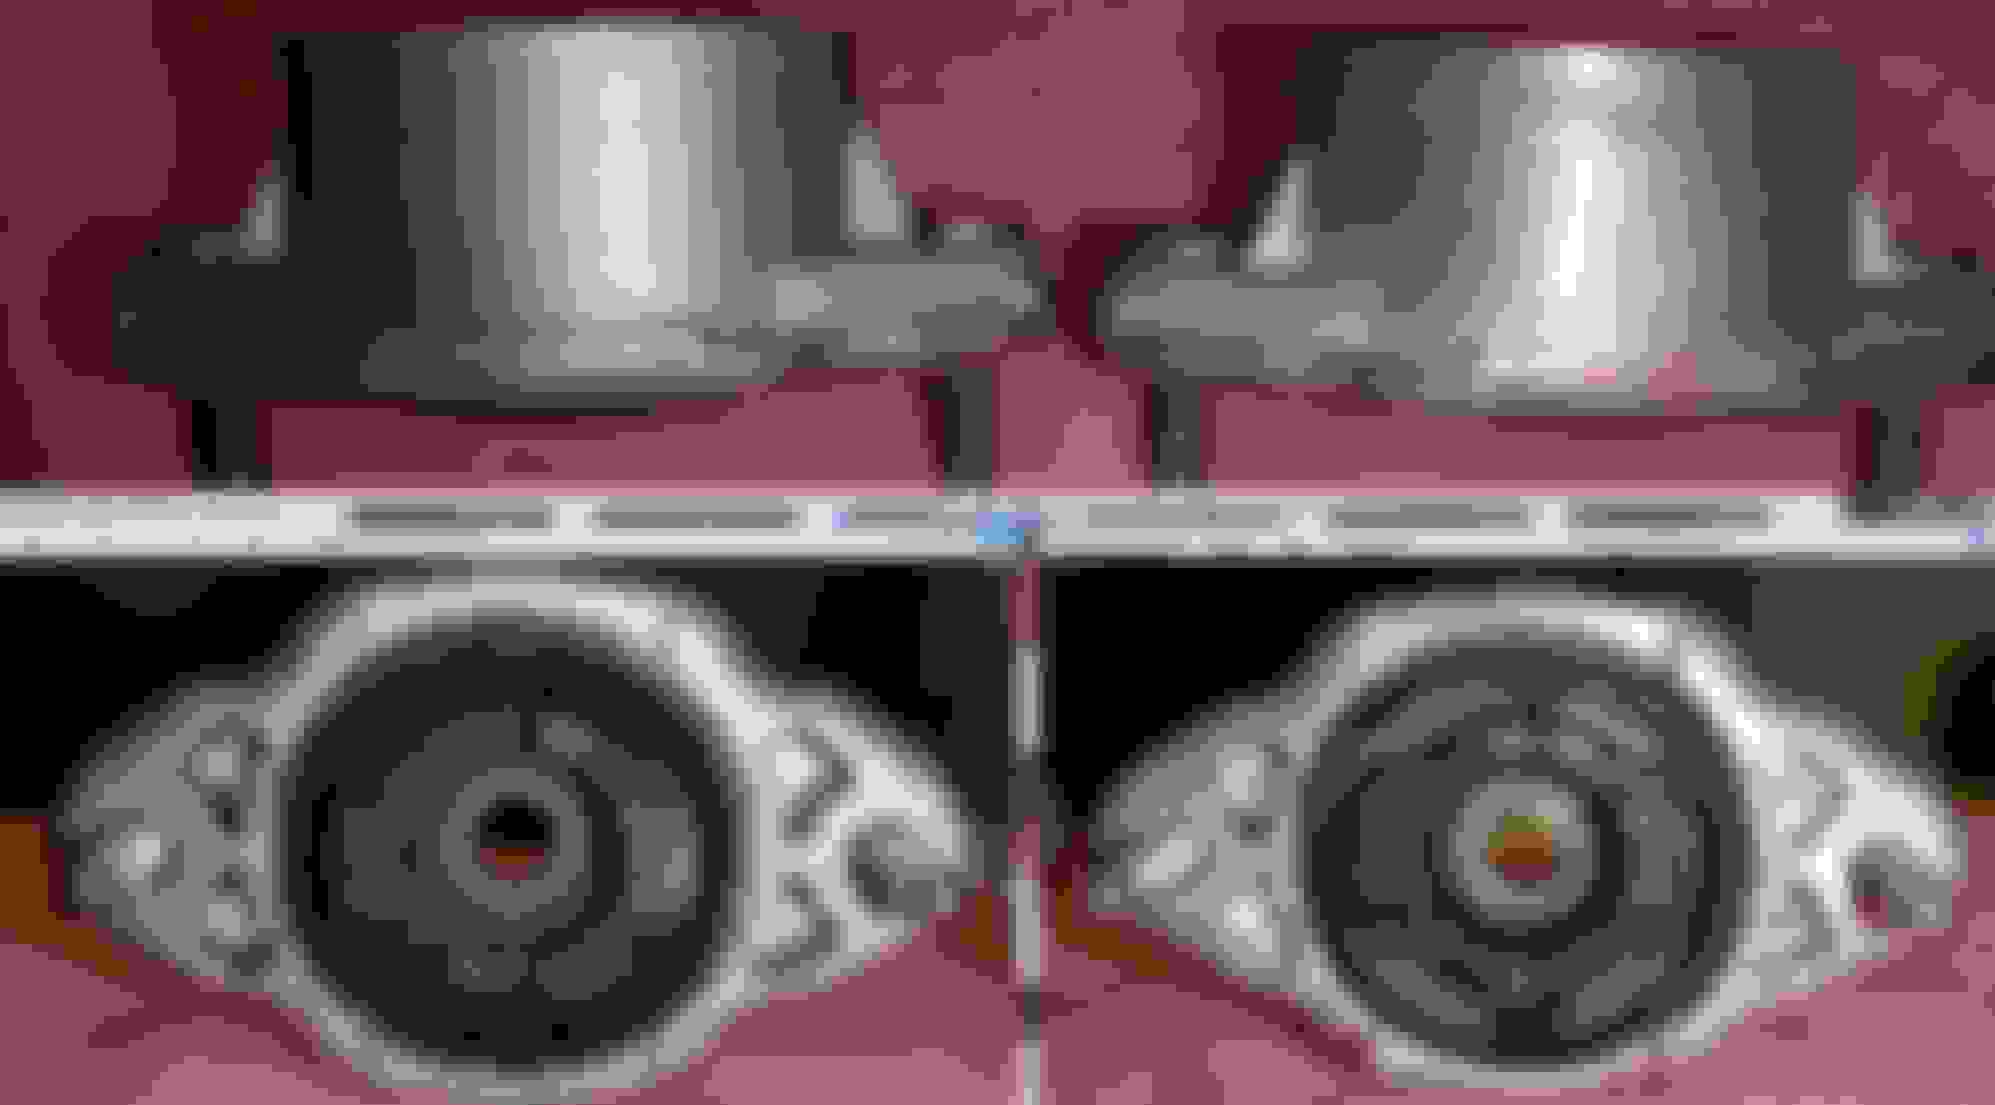
Comparing Lemforder and MB original rear top mount and 1.5mm sunken rubber of the MB one after approx 30,000 KM.
.
.
A little tip.
The plastic cover of the spring arm, for mine, I have removed at least 4 times to clean it up and when installing the rear damper.
Best for all 4 clip points..... use a small cable tie, because the locking mechanism is not so good when being opened up more than a few times.
I have almost lost one of thsi plastic cover........ 2 clips undone already.
The plastic trim lock of the boot lining. They are still okey at this 2nd time use. Here are the dimensions of the hole at the car body and the trim lock piece.
For a Bilstein B4, the cracking pressure of the valve is 19.5 kg to 21kg. Same for front strut and rear damper.
I use a body weight scale and push down slowly till the piston move down. Weight of the damper already calculated/deducted.
Damper is a velocity device, so when you push down slowly and not increase speed, the pressure/weight remain the same till it hits bottom.
The self rising ( rebound ) I did not time how many seconds. All movement compressed or rebound is smooth.
For rear damper, I still have spare new ones (2) same Bilstein, year of manufacture 2015 though and the one I am using is 2019 YOM.
Both new and used behave the same. So far so good.
NOTE : I did not replace the nylon lock nut with new one. Instead I have marked the piston male thread and the nylon lock nut mating position.
I wil re-inspect the damper again at next 10,000KM or when odo reads 40,000KM or approx 1.5 more years soonest.
Will continue later with front strut................
Last edited by S-Prihadi; Apr 30, 2021 at 08:04 AM.
I need to add for rear suspension leveling data.
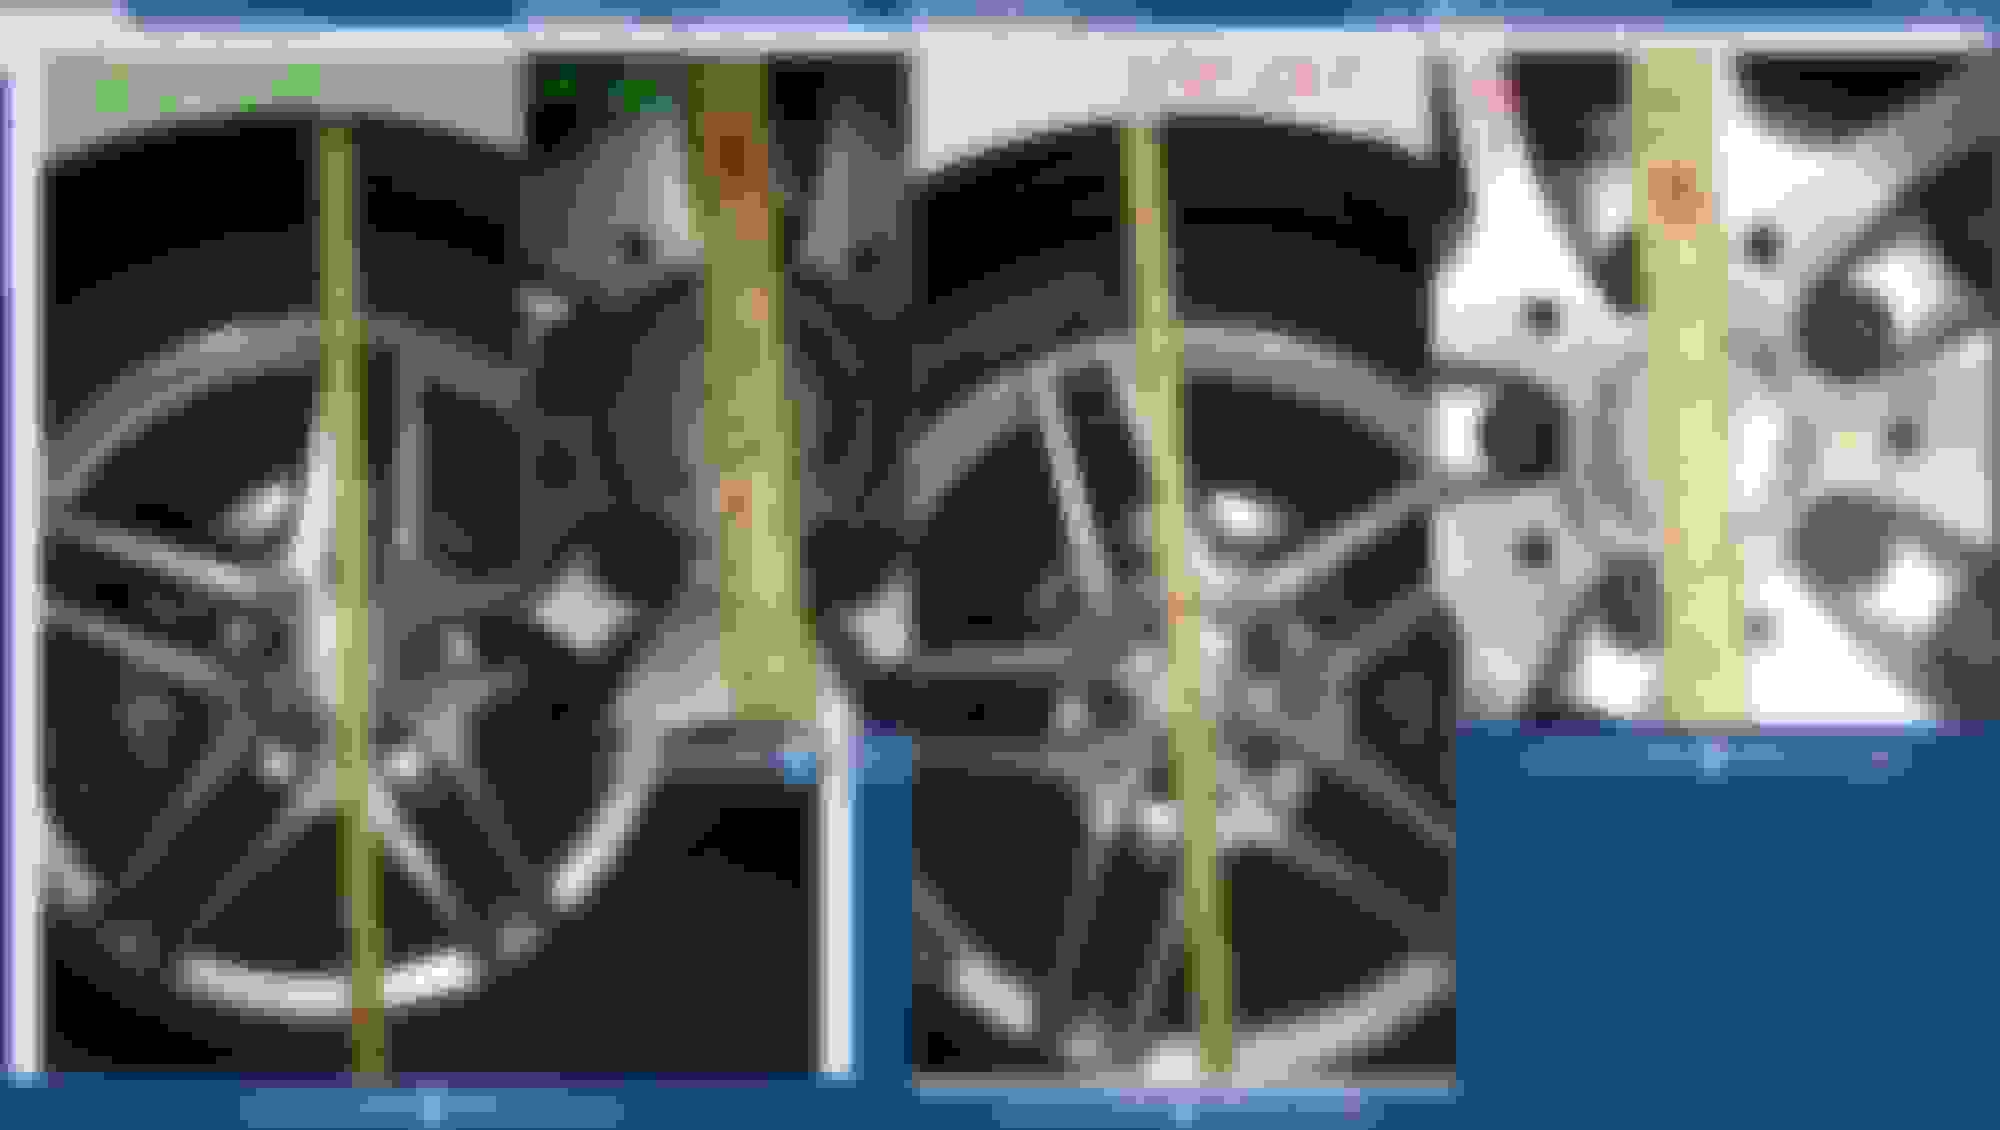
If you need to jack up the rear wheel/suspension for normal ride height, below is the measurement. 38cm from fender to middle of wheel hub is good enough.
AVOID jacking up the front suspension for getting ride heigh using hydraulic jacks if possible, as the jack can be "thrown" out by the spring. Hence I am not going to show the front ride height
01. Front has steering, so its more prone to "push/throw" your jack if you get unlucky. Yes, it happened to me already... LOL.
02. Jacking point of front suspension is not as stable and wide area as the rear.
03. Front corner weight are 496kg and 483kg with 50% fuel no driver. Rear are only 428/430 kg. USA version W212-s probably a bit heavier.
Me, always use my DIY tire stand when wanting to get ride height with decent working clearance.
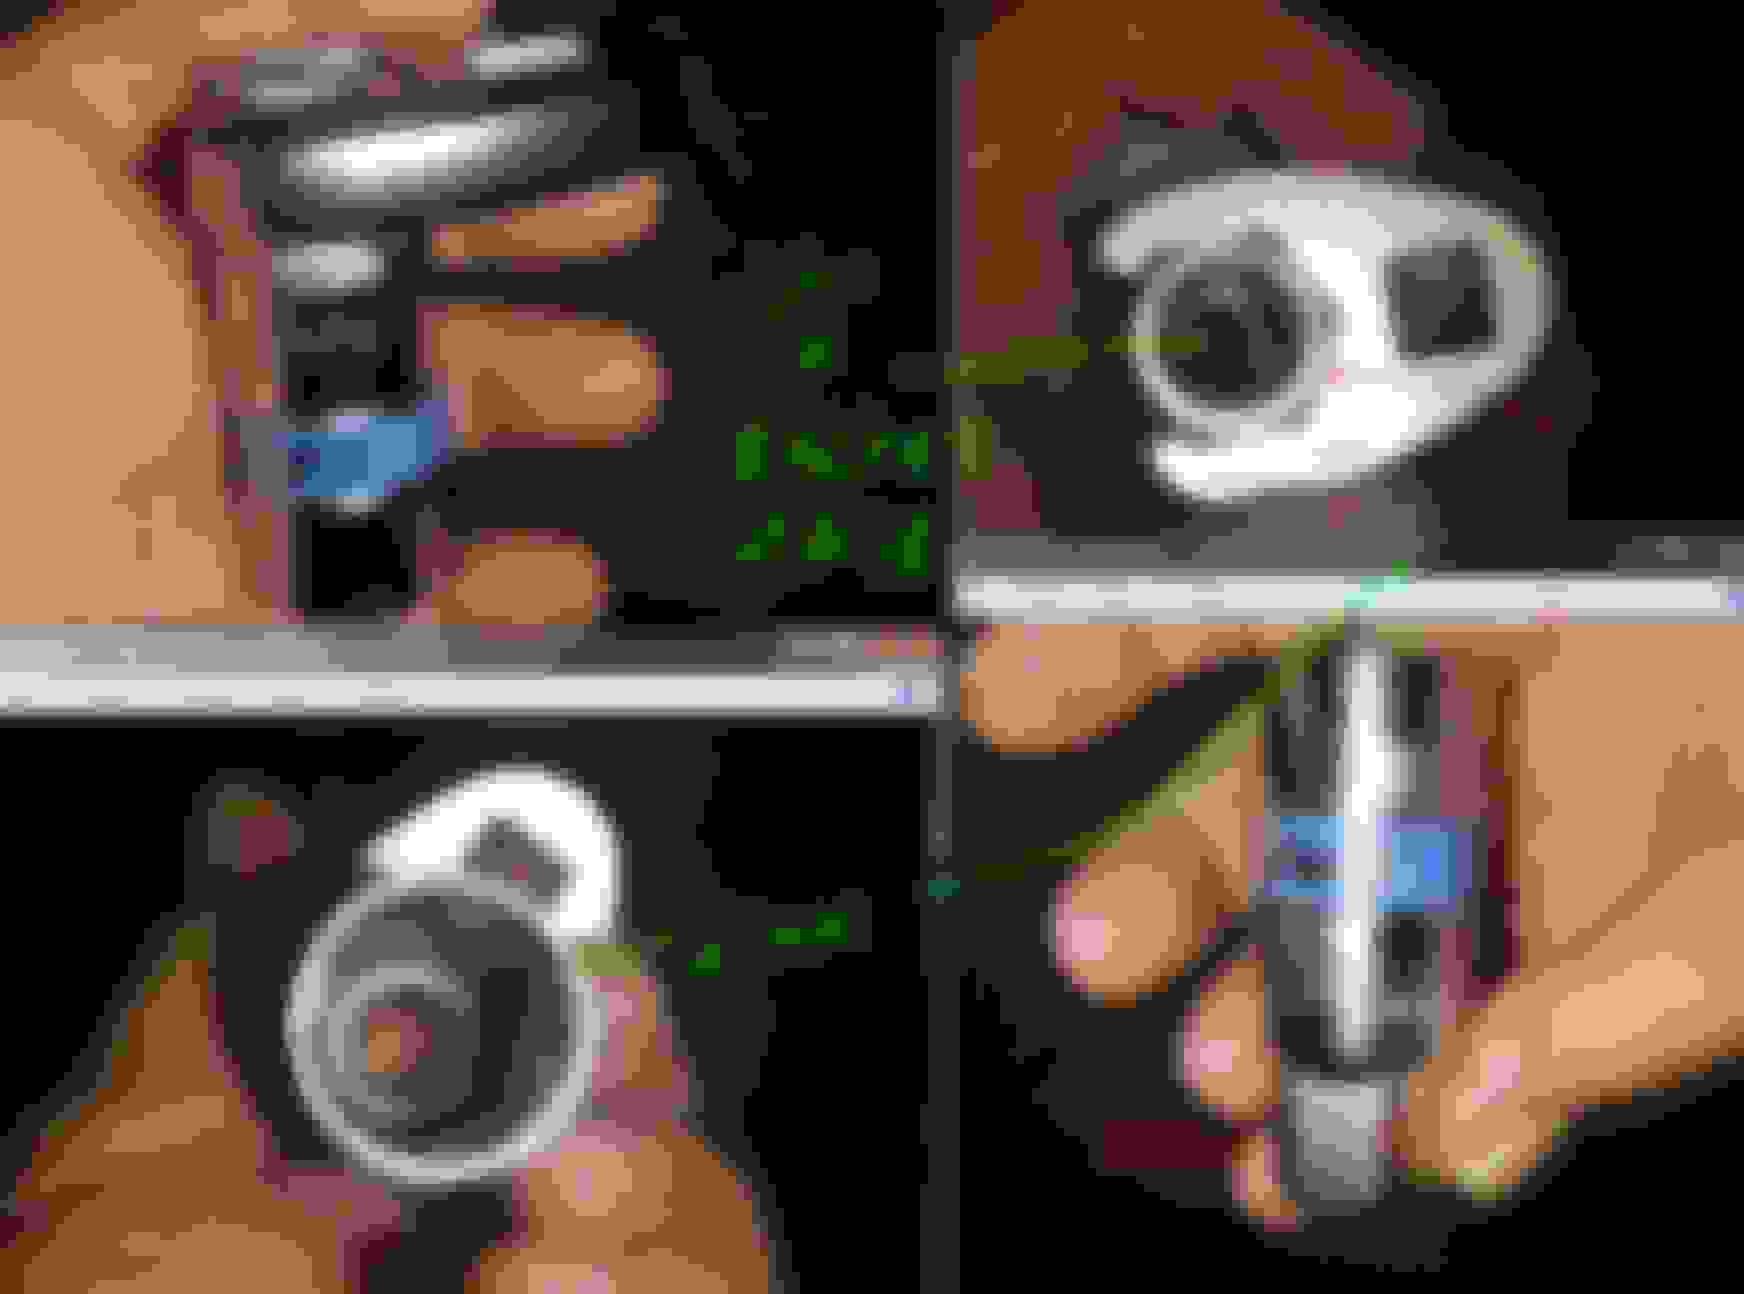
The "special" tool, I got a spark plug socket of 21mm.
Loosen the 21mm nylon lock nut first, till approx it flushed with the piston threaded shaft ( 7mm female allan ) , before trying to remove the strut from the car....if you don't have a nice big vice in your arsenal to do it out of the car.
Detailed component close up photos.
I really like the design of the bearing #70 placement. Albeit it is plastic body , it has lots of ball bearings inside and most importantly the load bearing area is very wide and is handled by the aluminum top mount wide body and
not by the middle small rubberized hole of the top mount.
I have destroyed a few suspension top mounts on my previous cars as most Mcpherson strut top mount design in the past ( probably still so today, for some ) the load is carried by a small middle ball bearing,
which encircled the piston shaft and that bearing is encapsulated inside a rubber body/mold.
The damage I experienced has aways been the bearing shoots out from the rubber body/mold. I drove those cars real rough, like a rally car hahahaha.
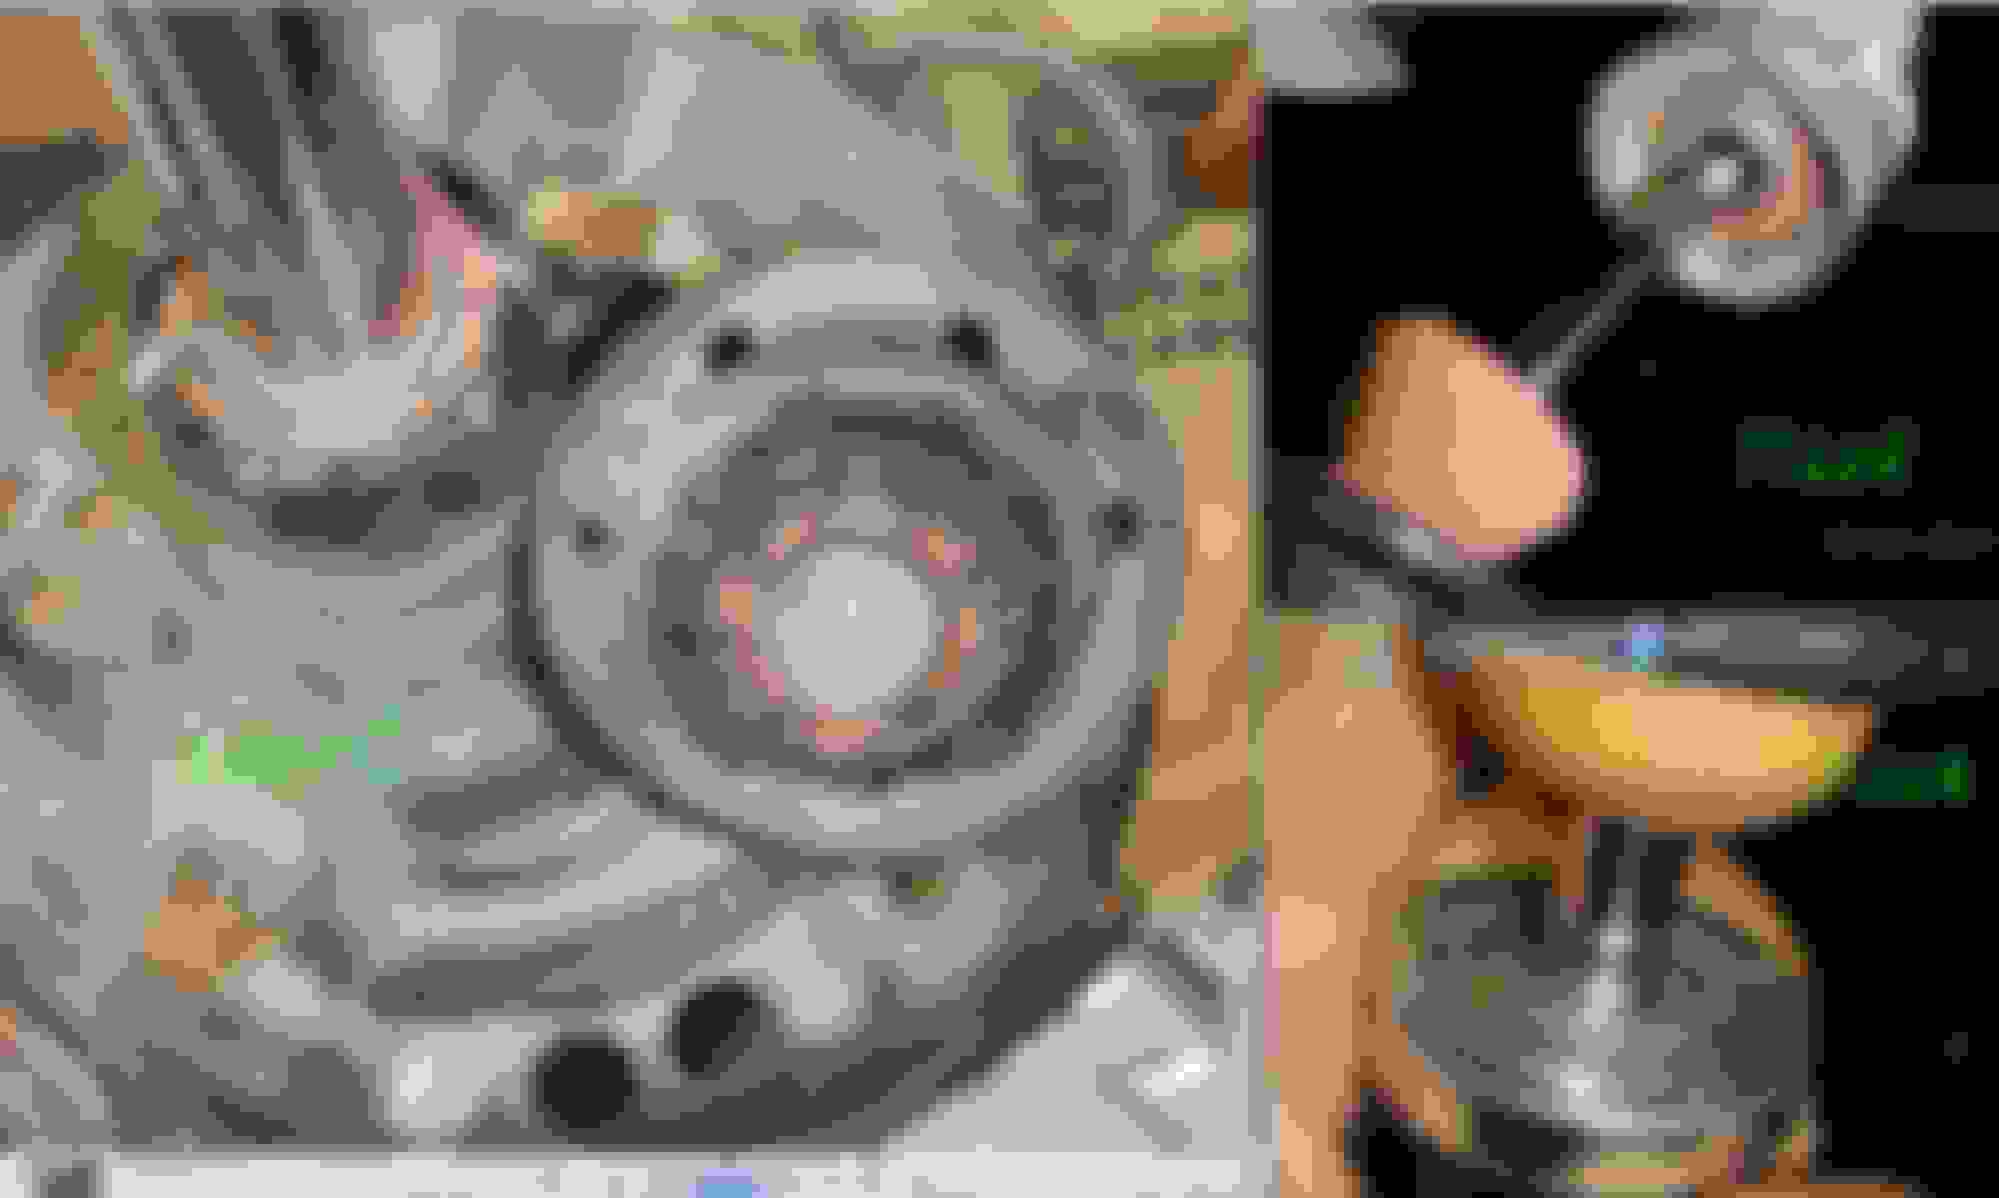
The Bump Stop below is from my left strut. That worn out area must be the 20 laps I did at the track, which has much more right hand corners, it is a clockwise track afterall.
The right strut bump stop is not "consumed" angled like that.
Using 3 spring compressors is so much better for fine tuning the positioning of the top mount, which is rather angled as installed. 1 of the spring compressor best be a single claw, when the other 2 are double claws.
The bottom of the spring actually has a little tiny depression to hold spring end well.
This method of supporting the brake rotor + knuckle from falling off too far and potentially damaging the ABS sensor wire and brake hose works for me, based on solo work.
For my W212, the brake pad worn-out sensor is at the right wheel, which is best to unscrew from the knuckle, as it will interfere with strut removal.
I tried single support at brake rotor and double support at wheel lugs, I prefer double support at wheel lugs as it can prevent brake rotor from spinning better.
Single support method below, not so good for me.
To unclip the ABS, brake pad sensor and brake hose holder assy, push these notches and then pull the holder assy.
The front bump stop from Topran, so seller said. I can't read the Toprand brand, only some numbers and the word "FREY" which meant it is from CHINA. I just googled ... let see how it holds after 10,000KM. I think it will vaporize
This one I can get from MB, it is in the EPC ....yipeee !!!
.
Very unique material this bump stop is. I think they call it microcellular polyurethane elastomer MPU.
The shredding looks like rubber but when I squeeze it it feels like foam but hard.
I read this bump stop can be ordered with special ratings pounds or KG per mm/cm compressed, as they are also like a spring, secondary spring that is. http://www.superstreetonline.com/how...ump-stops-here https://www.youtube.com/user/Suspens...ry=bump%20stop
For those working to tighten the front strut bad-azz 100Nm + 90 degrees bolt and has no height clearance ( car off the ground ) to use long breaker bar for the 90 degrees part,
I got this extension from USA Amazon sometimes ago and it is not bad, quite useful. Combined with 12 points ring type wrench, this extension handle can be sort of angled and not hit my fender, if compared to a long breaker bar
with even 12 points socket, which its 1/2" drive has less angular flexibility. The extension is called Mueller-Kueps MLK745100 Wrench (Extender)
For me importing from Amazon is the safest as they calculated all import duties up-front and Indonesian Custom never mess with Amazon shipment, as they know it is never under-invoiced
If you are working solo like me and with limited clearance, get a 2nd nut and a washer to secure your wrench like below and
you can then use 2 hands to do the +90 degrees, which is approx 200 ish newton, without having the wrench slipped from the 21mm nut.
Pay attention to this rubber support of the spring, top side.
If you loosen the spring compressor too fast and not balanced among the 2 or 3 being used, the spring end may slipped like below :
Tightening the nylon lock nut for top mount if only up to flush level with the piston shaft thread ( 7mm allan ) is easy, no need a vice.
Do the proper torque-ing of nylon lock nut when the small 3 bolts for top mount are already tightened to the strut cavity at fender and strut's 3 bolts torqued well to the knuckle.
If you can get a friend to help you just for 5 minute holding the brake rotor/knuckle to be angled down and away from the strut as you place the strut to the car, that is much much
easier and less tiring for you. Strut with spring is not light like damper only for the rear.
If you want to pre-orient ( with label) the direction of the top mount before inserting into the strut cavity in the car, best to do so.
The top mount fit to the provided re-inforced opening is very narrow gap, it is very accurate and tight fit. Left or right, same orientation for top mount. #1 always point to engine.
Again, here I did not replace a new nylon lock nut for top mount. Will do so when I get new original bump stop.
I have marked them, let see how well the used nylon lock nut hold position when properly torqued at 100 Nm.
Have fun messing with your dampers & struts guys.....
Sounds like a great road trip ..
we did 2,800 Km recently trough this ... Vancouver BC to Taber Alberta and back Crazy 3D salty snow pack on the car A stop in Banff Alberta on the way back And wine country near Kelowna BC High mountain passes on Highway # 3 - Manning park BC on the way back to zbancouver Car was dirty ... no mechanical or body work issues. $14 at a hand spray car wash ... all better.
2016 E350 4Matic wagon, 2019 Ford Expedition, 2019 Chevy Bolt EV
Originally Posted by S-Prihadi
After I did the longest non-stop run ever on this W212, which was Jakarta-Bali-Jakarta 2020/2021 new year with a stop at a nice cool 21C 1,000 meter altitude resort somewhere in East Java called Batu city,
coming back to Jakarta Jan 2021 its time to inspect the car. Total approx 3,000KM, including 300 ish KM within Bali itself.
My standard W212 ground clearance is too low for this trip actually. I scrubbed the front spoiler lip and mid body including exhaust pipe at :
01. Into the ferry in Bali, Jakarta bound. To Bali was okey, because it was higher tide. The right side exhaust pipe took the beating.
02. Near my villa in Bali ... , I was so tired after 11 hours drive and it was at night. I forgot to do the special sideway manuever if and when going up a steep hilly slope. Torn left side long sound shield.
03. Somewhere in Bali, Google Map gave me such a rural road...dang !!! Small bridge but very high "hunchback".
04. I needed to do a U-turn and the road was so small, I had to reverse into someone's property and the incline was so high, the front spoiler lip kissed Mother Earth
...
I am on a Rear Wheel Drive, not a 4-Matic. 677 suspension code.......
sounds like you really should have suspension code 482 "Suspension for greater ground clearance". 677 is "DIRECT Control", which I believe is the 'comfort' suspension (odd, tho, my 'luxury'/'comfort' E350 has 485 Direct Control, not 677, so I dunno the difference).
I count 31 different front spring options for a 212.065 E400 sedan, and 12 different rear springs.. Mercedes also used 10 different front shocks, and 12 different rears NOT COUNTING AIRMATIC (some of these are for 4matic, I didn't filter that out)
Last edited by Left Coast Geek; May 1, 2021 at 12:19 AM.
Sounds like a great road trip ..
we did 2,800 Km recently trough this ...
Vancouver BC to Taber Alberta and back Crazy 3D salty snow pack on the car
A stop in Banff Alberta on the way back
And wine country near Kelowna BC
High mountain passes on Highway # 3 - Manning park BC on the way back to zbancouver
Car was dirty ... no mechanical or body work issues.
$14 at a hand spray car wash ... all better.
That is so cool, the 2 photos. Thanks for sharing Chris.
Me cooler than 5C air temperature = suffer big time.
15C - 21C is where I am most happy if I travel to colder country.
sounds like you really should have suspension code 482 "Suspension for greater ground clearance". 677 is "DIRECT Control", which I believe is the 'comfort' suspension (odd, tho, my 'luxury'/'comfort' E350 has 485 Direct Control, not 677, so I dunno the difference).
I count 31 different front spring options for a 212.065 E400 sedan, and 12 different rear springs.. Mercedes also used 10 different front shocks, and 12 different rears NOT COUNTING AIRMATIC (some of these are for 4matic, I didn't filter that out)
Can't choose for local assembled car. My data card showed 677, because in Asia they call it E400 AMG hahaha, what a load of crap.
So I got the AMG wanna-be package so to speak.
I would be great if I can get reliable KG/mm data for my springs. Our forum friend Dingo is also on the search for a softer ride....still.
Mercedes SLR McLaren 722 S Is Extremely Rare Example Modified by McLaren
Slideshow: A one-of-one U.S.-spec Mercedes-Benz SLR McLaren Roadster became even rarer after a factory-backed transformation at McLaren's headquarters.


 , I was so tired after 11 hours drive and it was at night. I forgot to do the special sideway manuever if and when going up a steep hilly slope. Torn left side long sound shield.


 .
. 


