When you click on links to various merchants on this site and make a purchase, this can result in this site earning a commission. Affiliate programs and affiliations include, but are not limited to, the eBay Partner Network.
Ok, by now you've come to expect the Benz team would do something special for us. They went all out to bring smart steering to this E-Class chassis.
The driver wheel was built to present wise folks with a couple opportunities to fix it.
The steering column electronics are built in multiple layers like a club sandwich. Here I am showing what's working on the top side of the clock-spring.
[I have a string of separate posts for each item so I can reference individual topics in the OP in a menu style of a library].
I will fix OP (Clean + update) when I get to it. ✌️
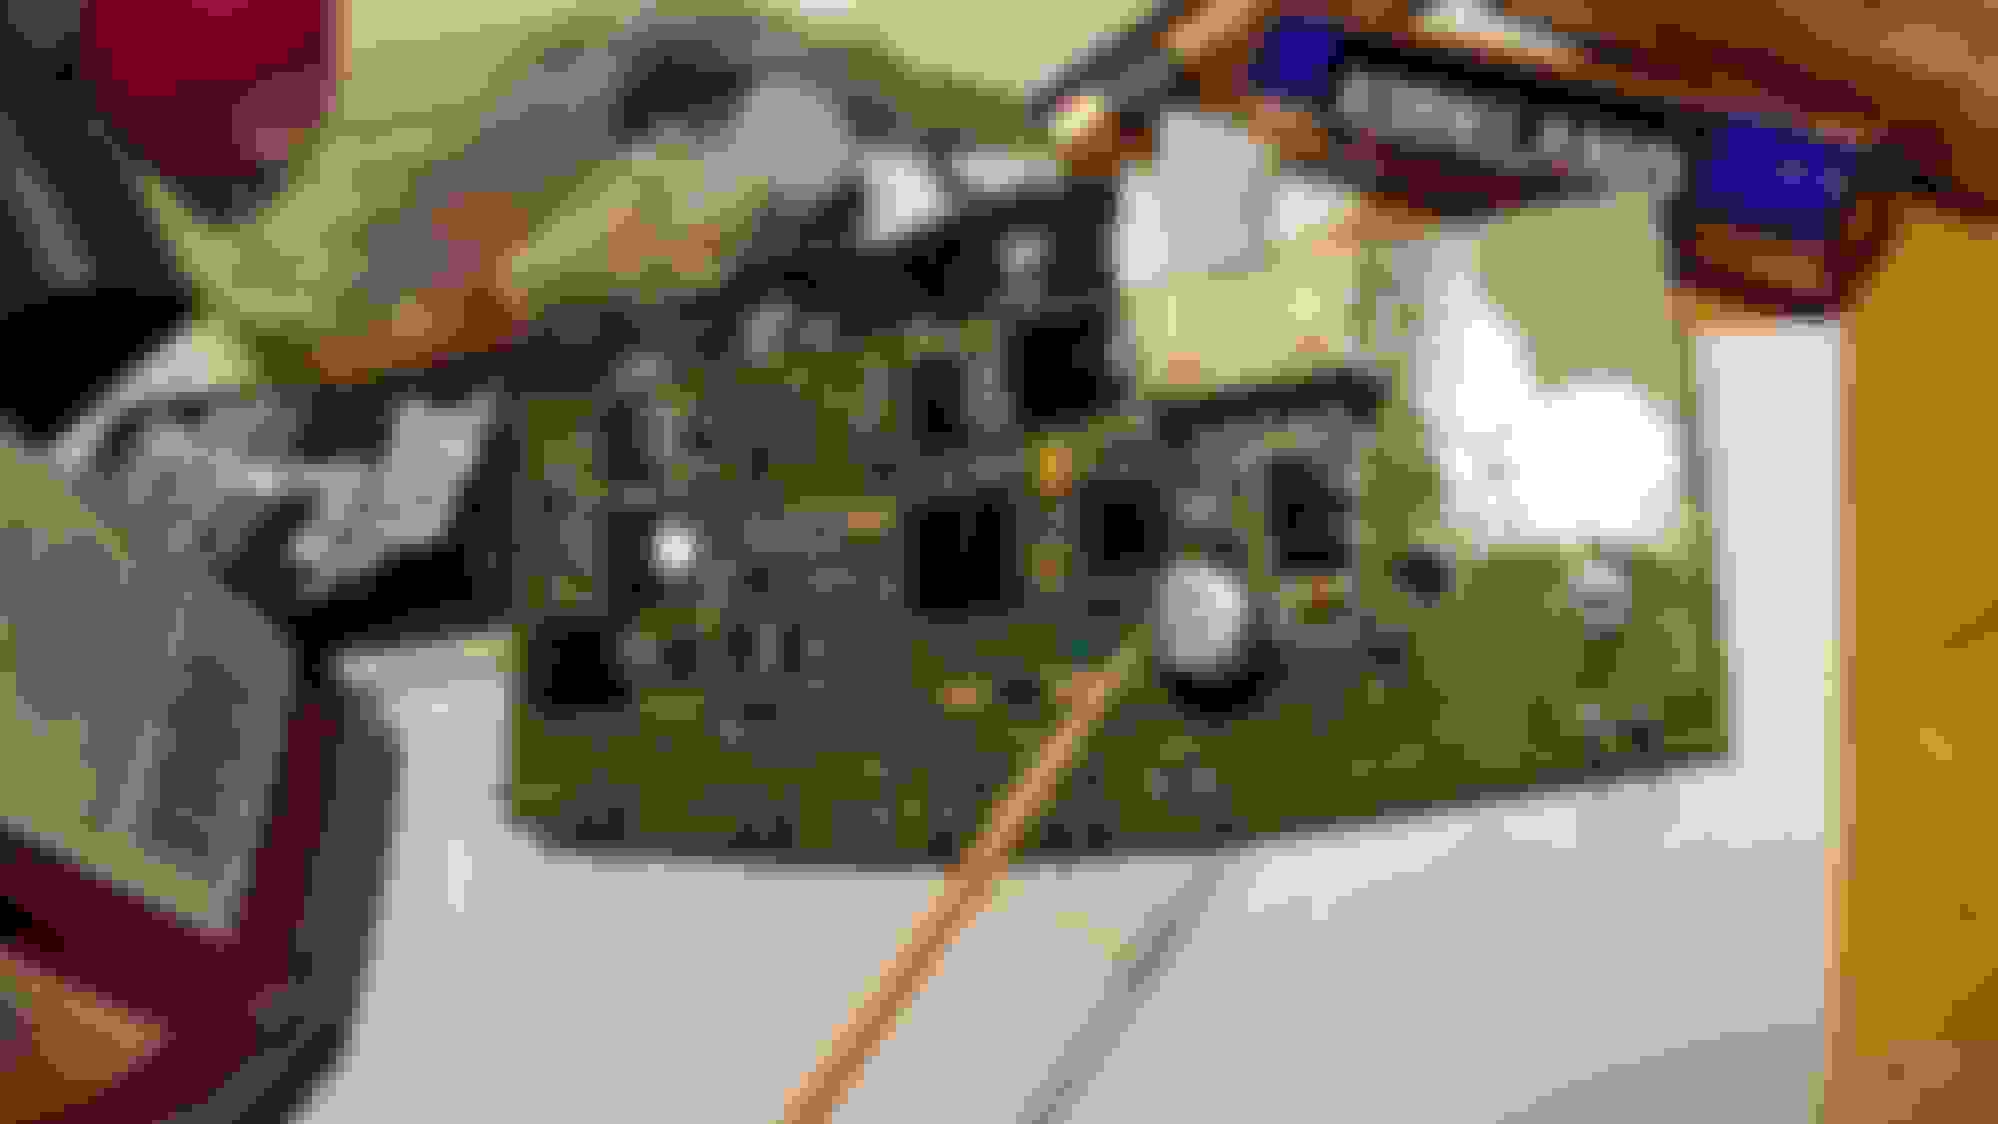
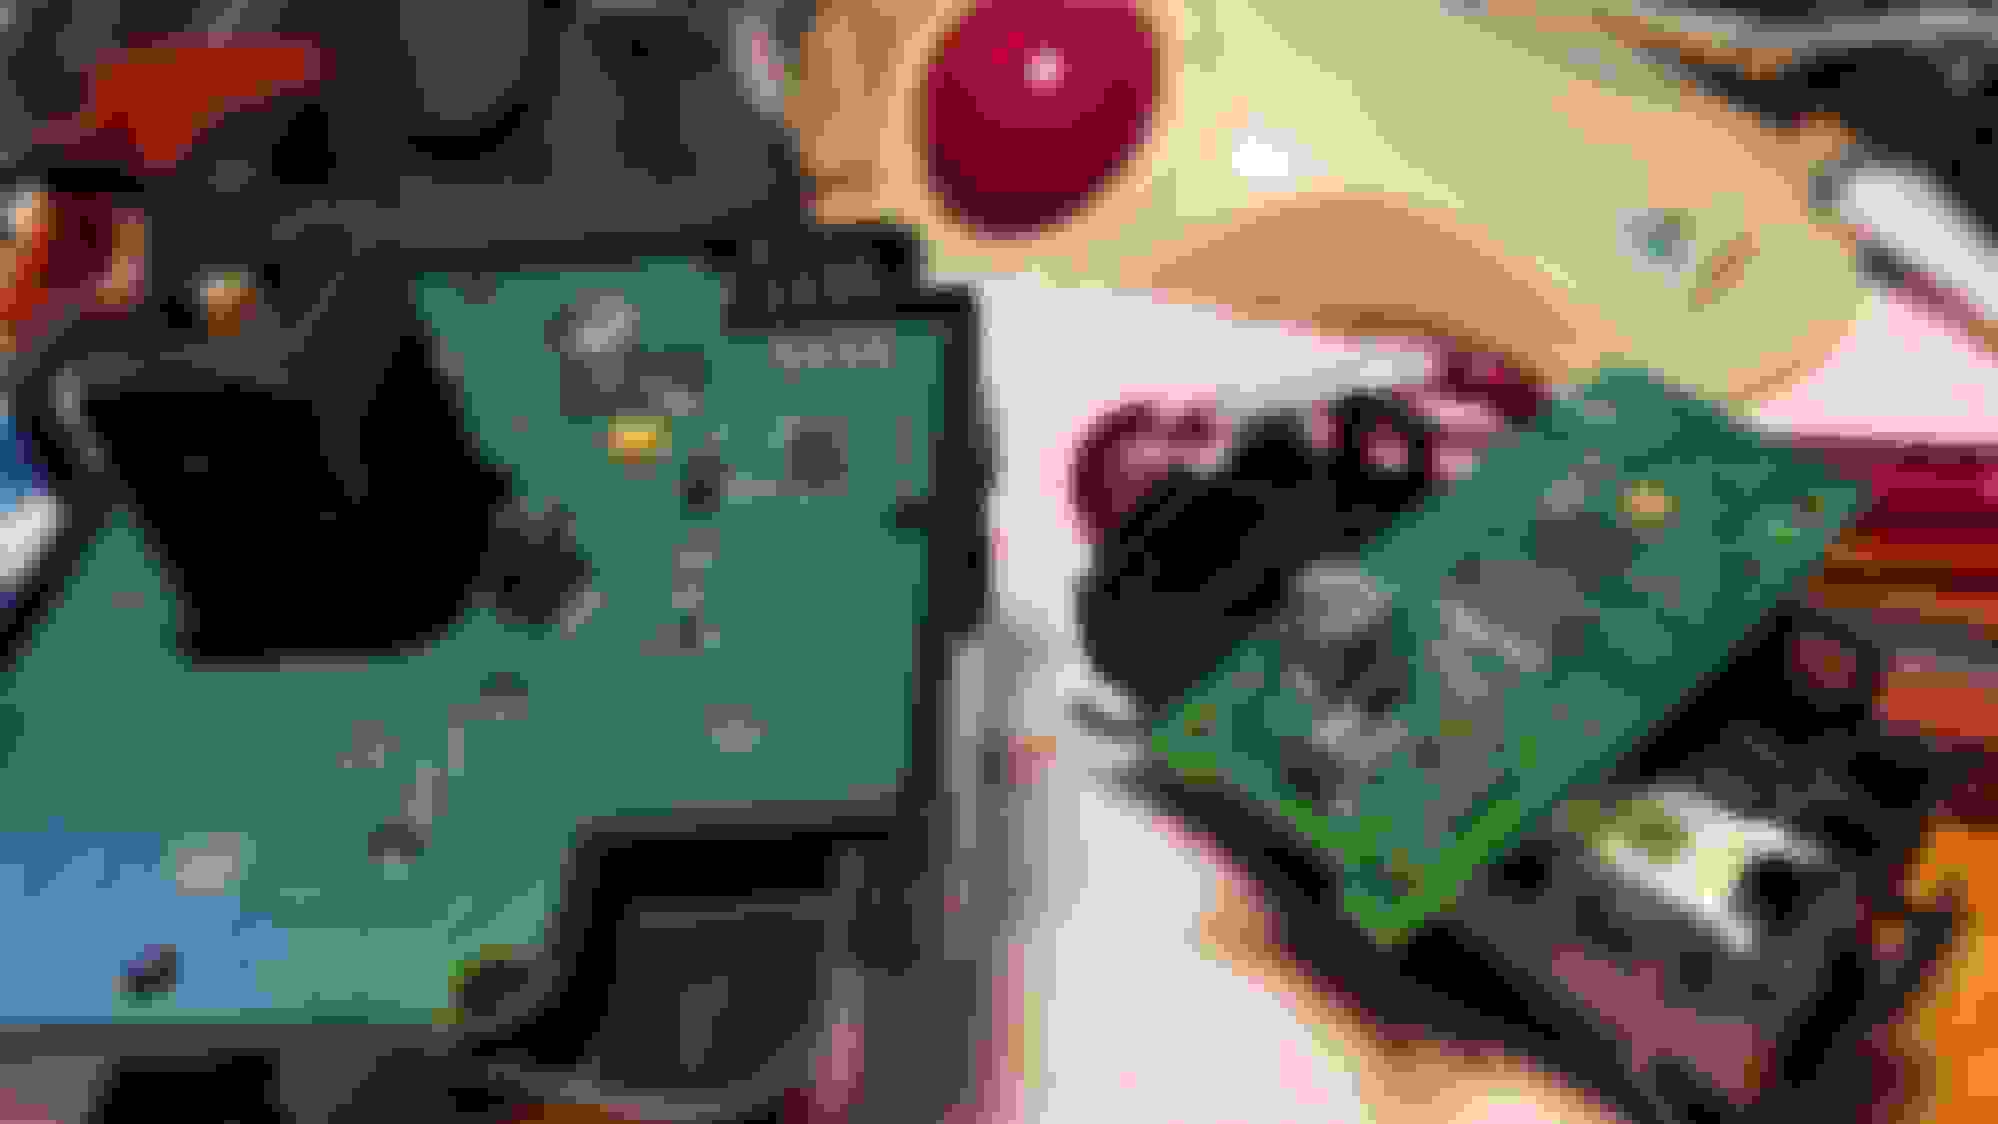
master wheel controller board
wheel motherboard circuit after surgery
Nice set of wheel buttons with amazing connections
We can add the paddle shifters also satellites of local mobo. amazing padle with carbon switch
Last edited by CaliBenzDriver; 01-27-2023 at 06:38 AM.
The wheel was fun but now what's it like under it ?
Now entering the DELICATE WORKSection :
bearing as dry as the caliper sliding pins
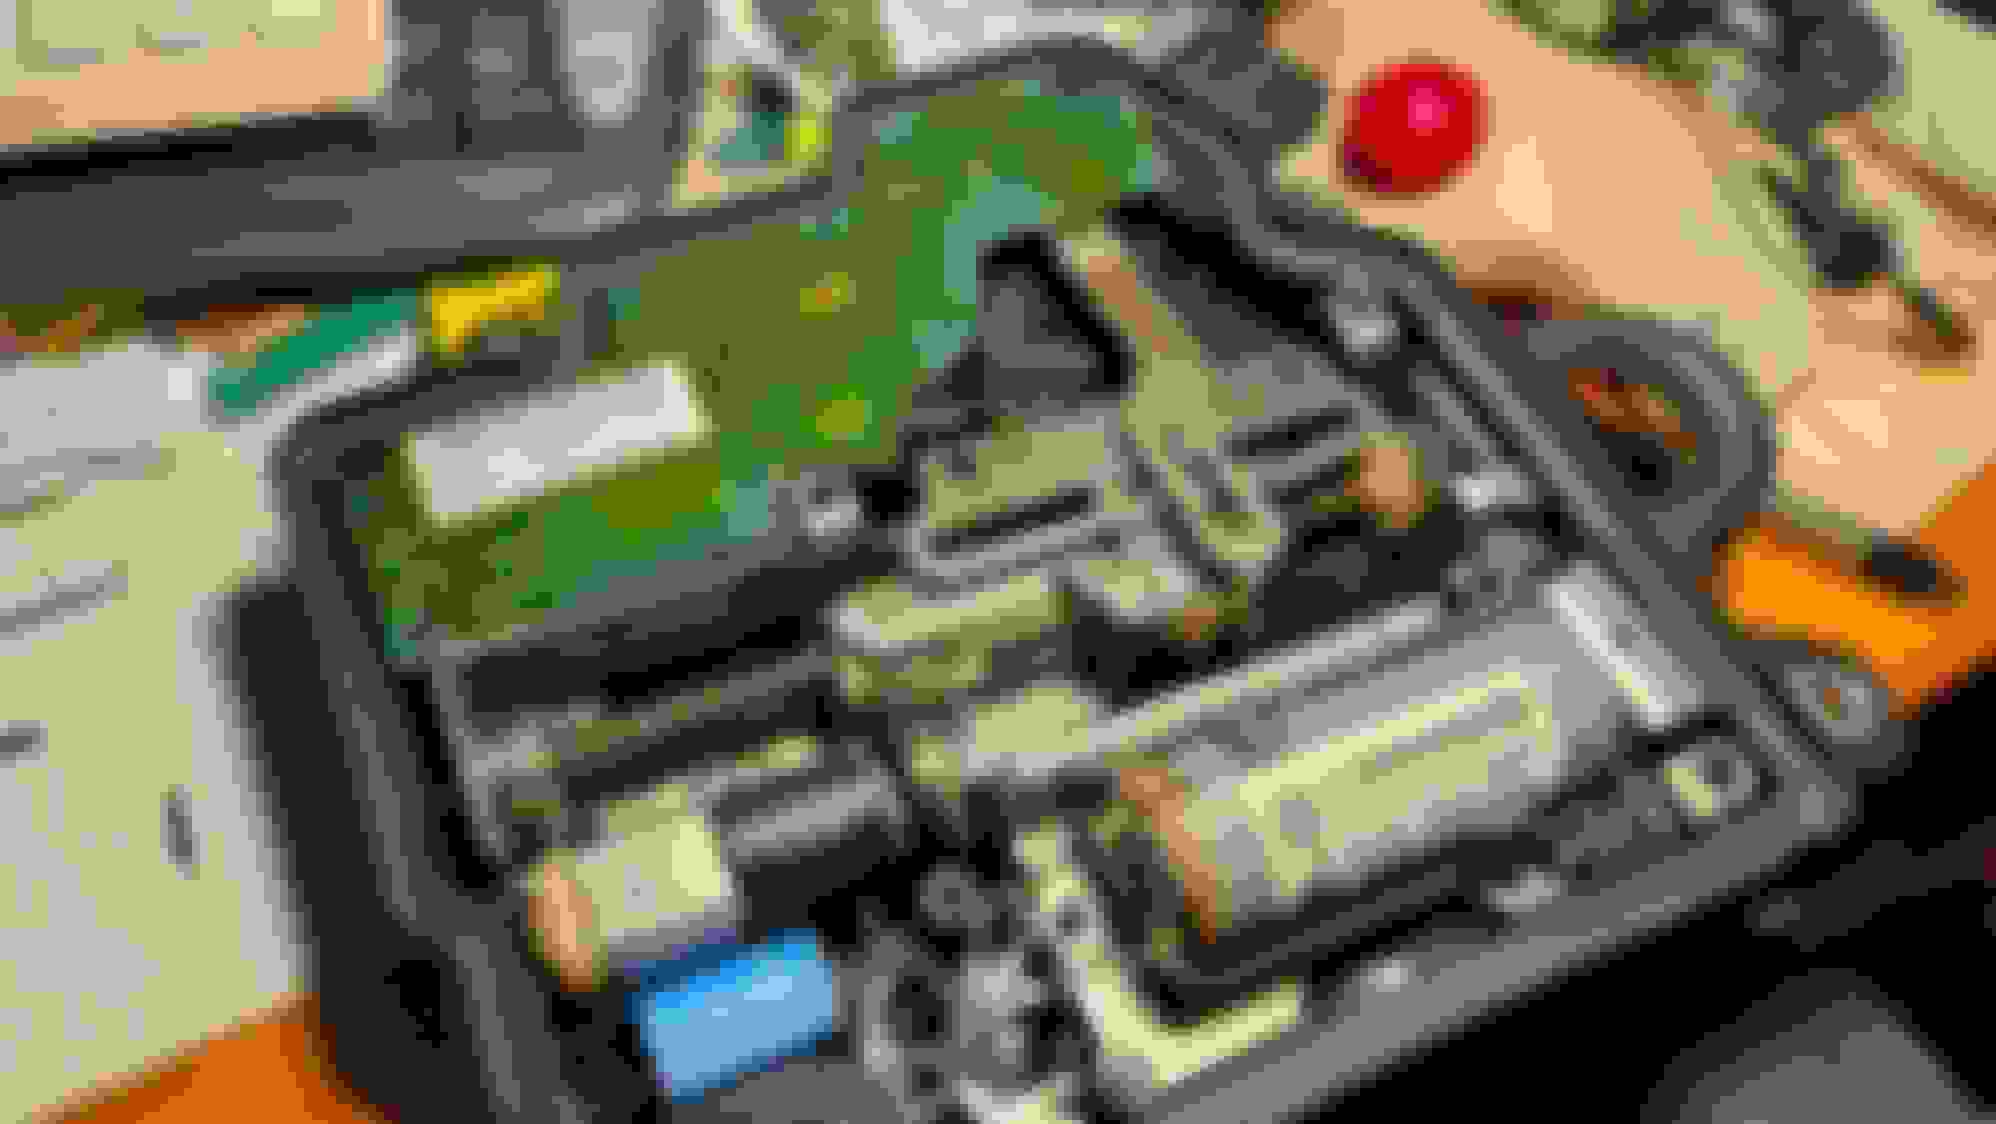
clock spring showing optical position encoding board - Bearing now coated with silicone grease! - Board now soldered and weatherized.
stalk levers interface
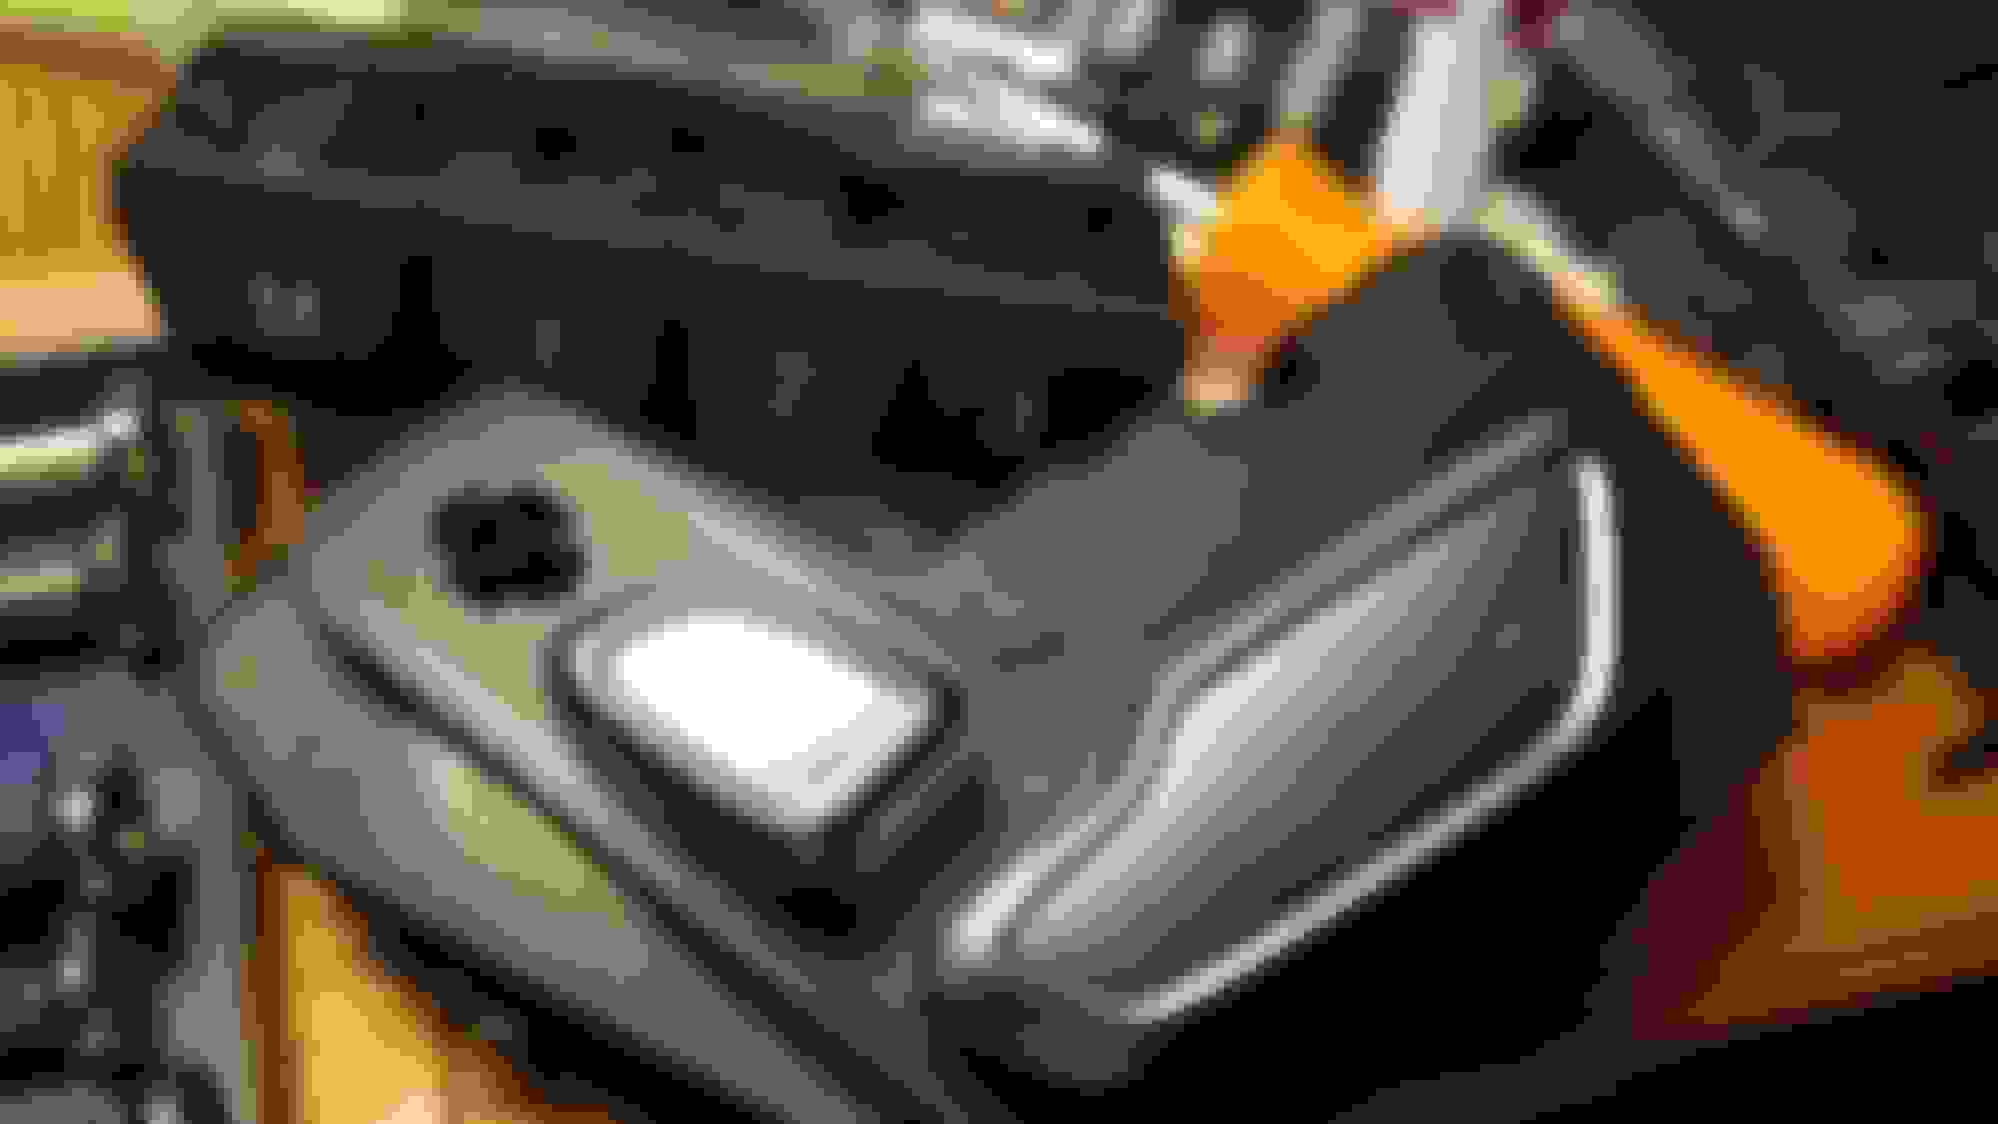
SCM Module ... not your friend!
SCM skinny legs rubon cons Direct Select simplicity
optical position encoder is !!dust sensitive!!
dry slidders rubing carbon tracks
This section should help @juanmor40 accomplish miracle on his Benz collection and anyone skilful enough to fix their SCM ASAP.
This stack is not entry level, take your time, don't rush your shadow. Study your topic. This is assembled to be repair friendly if you trust yourself with this sort of fun.
Last edited by CaliBenzDriver; 01-27-2023 at 07:07 AM.
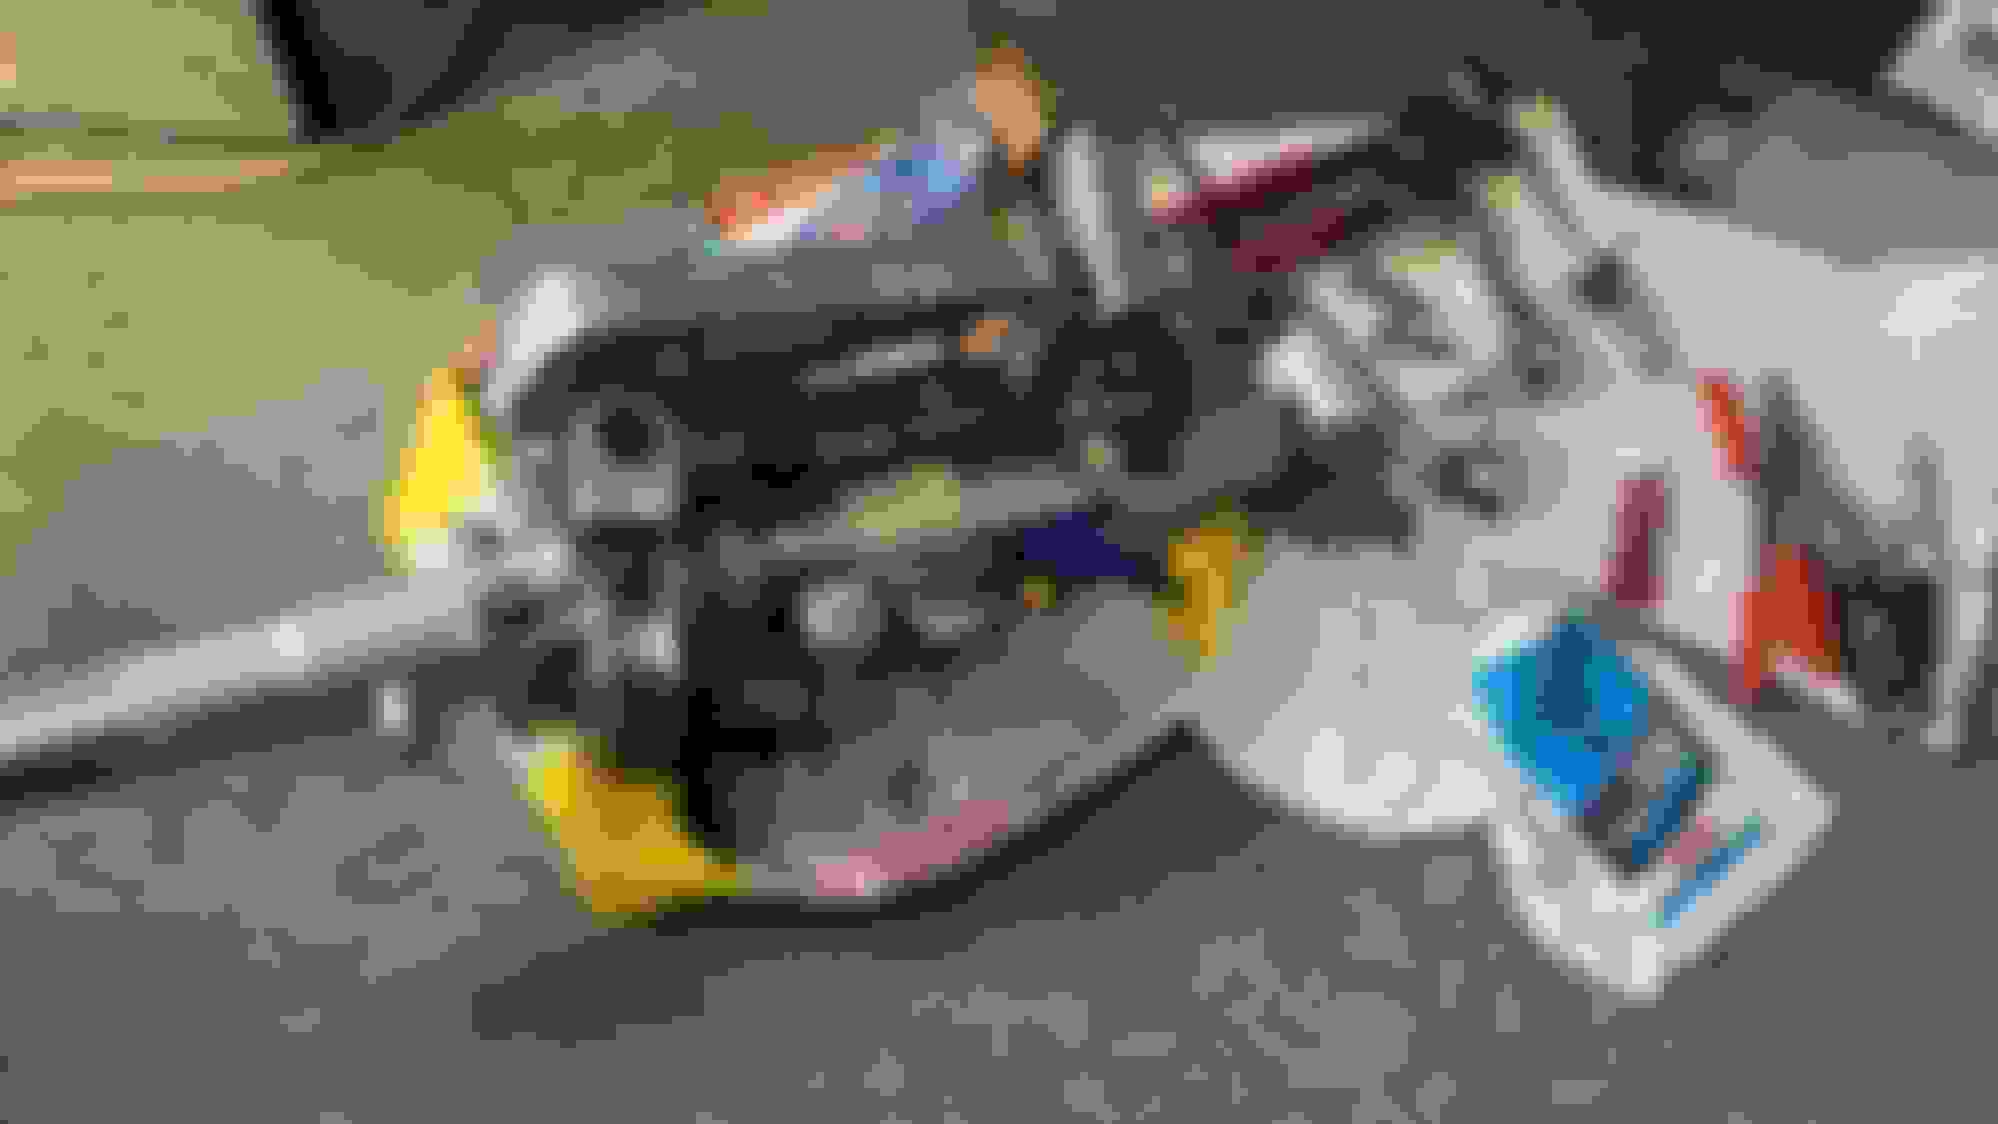
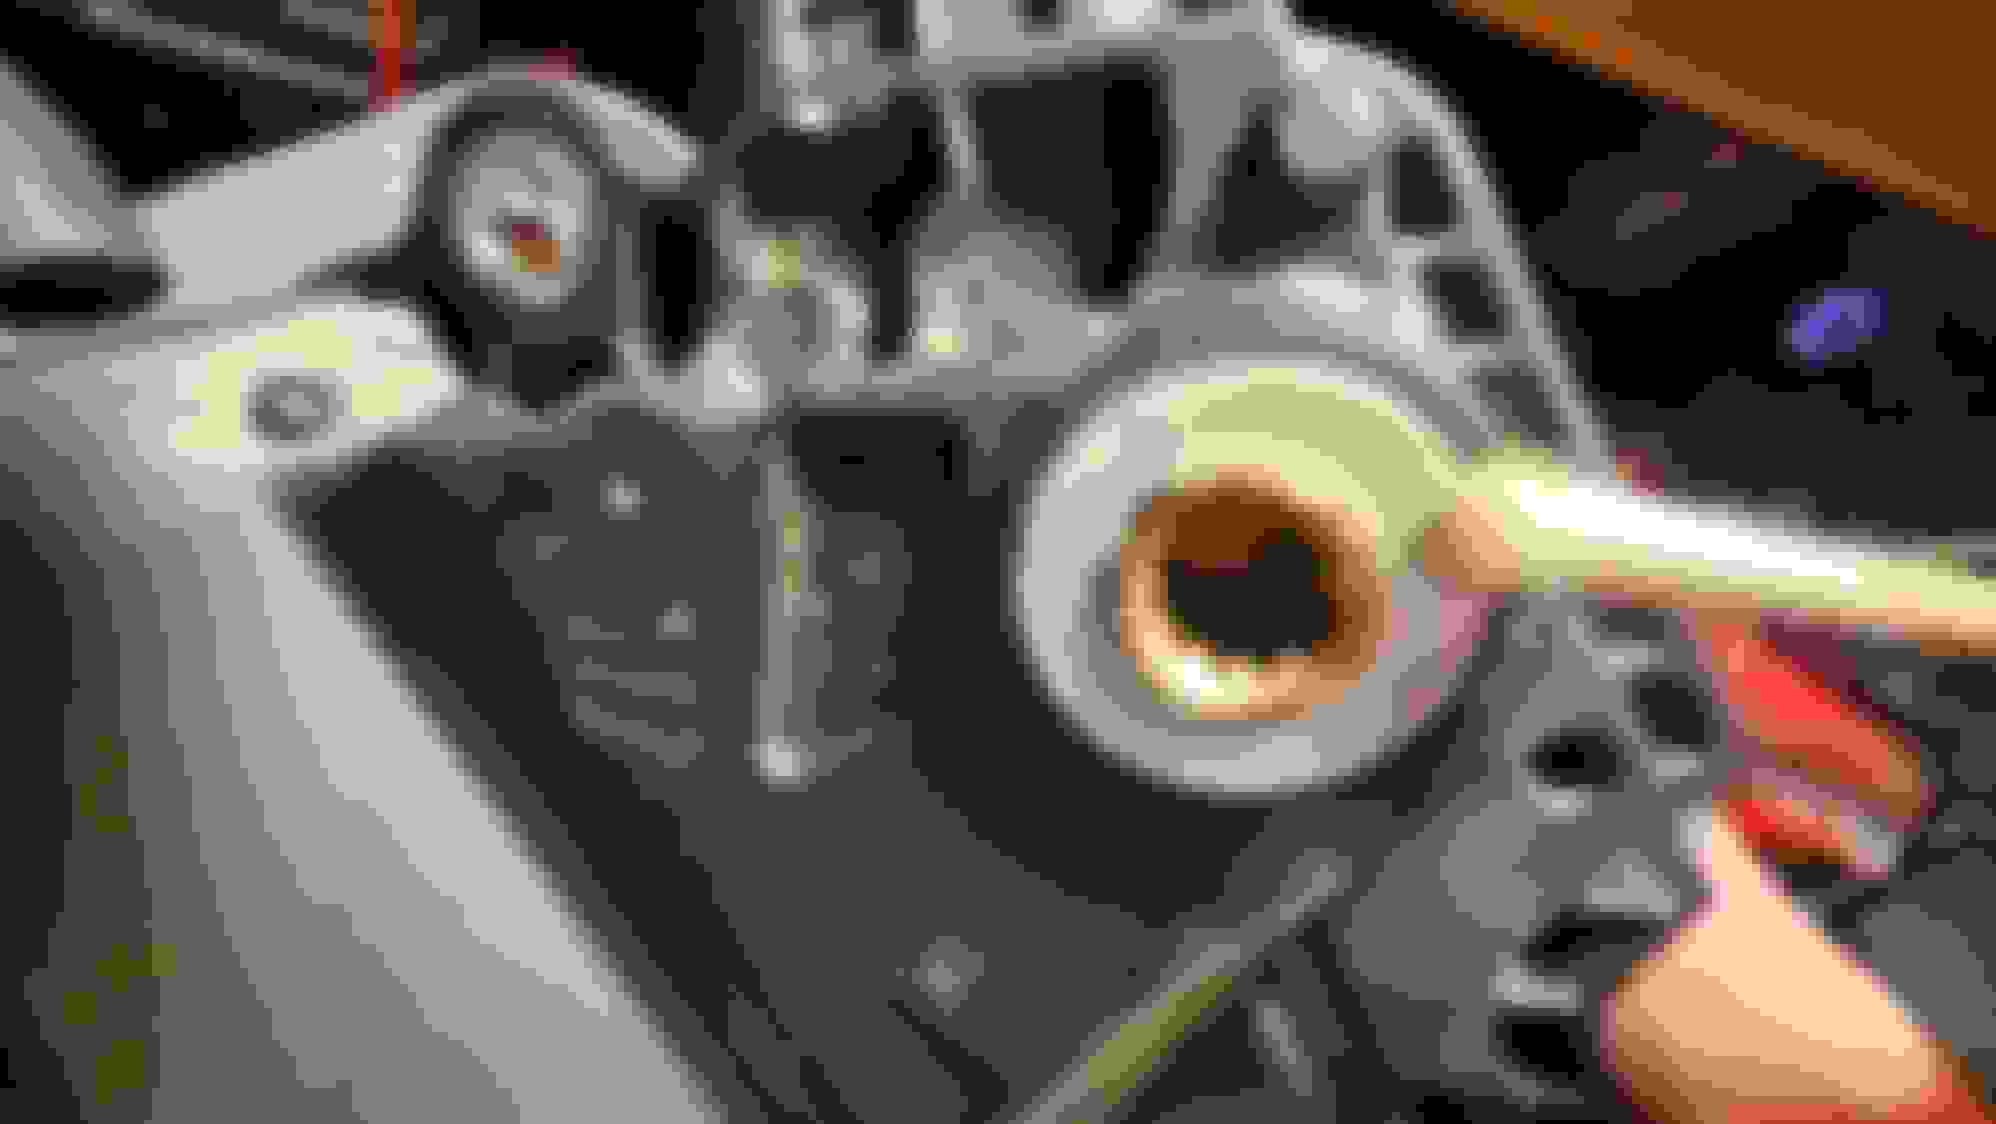
okay, now you can unplug you soldering iron, put on the latex gloves. We are going to play with our wrench set and silicone grease... telescopic column getting looked at 2 axis with 2 motors nice mechanical parts but poorly adjusted articulated tilt joint
..../....
Last edited by CaliBenzDriver; 01-27-2023 at 07:47 AM.
Removing my own door panels carefully is not my idea of what fun but hear this...
Once I saw how bright the mirror LED became after surgery it was clear that drop voltage through poor connections was in full force.
I then proceeded to fix all 4x doors having completed the trunk puller long ago already.
door lock unlock switch
amazing window switches
control style
door mounted CAN'ed seat control
DCUMirrorwindow mtr
..../...
Last edited by CaliBenzDriver; 01-27-2023 at 07:40 AM.
The guys at HK had some money left for a dedicated Amp only for rear bass channel. All nice tech with digital MOST sound into individual channels: super clean outputs
Later on this discrete function was merged back into MAIN Amp.
.../...
.../...
[still missing the ISM:
a known troublesome module 👎]
Owning a Mercedes to deal with the many different types of CAN disruptions possible is an interesting quest.
This ultimate Benz game leads to radically improved car functions. These systems are highly dependent on timely data. Realise the "mixture firing calculation" is a top VIP process that requires a smooth predictible crankshaft rotation.
✌️
Last edited by CaliBenzDriver; 01-27-2023 at 08:10 PM.
Just found this thread in the Tech Section as I was looking for guidance/advice on conformal coatings.
My situation I have 5 early-aught MB's and all have the vulnerable Transmission Selector Lever electronics board.
At the moment I am taking apart the shifter on my son's MY2000 CLK320 which has shift intermittent episodes (won't go into P unless key is turned to POS 0, removed and replaced to POS2. Gear Selector Window goes to pixels in between, but resets correctly).
My question: While I have the assembly open to clean etc, I was considering the application of conformal coatings as protection - but was unsure if it was advised.
After seeing this in your post, I now feel it is OK to apply it to the electronics board, is that correct? Liquids of any type: Drinks, sunroof-raindrops, etc.
CRC used to make Seal Coat 188411 but it NLA. MG Chem makes several: Acrylic, Silicone.
Is there a type you recommend? Acrylic or Silicone seem to most appropriate Can you post what you keep on your bench?
AND: Thank you for this very informative DIY. I do almost all my own work on my MB's and have found electrical to be the most challenging/rewarding. Many times is wiring or connections.
Help me keep this research thread on course, Pls post personal request OUTSIDE this thread. This thread topic is not wrenching.
okay 👏
> ISM electromechanical module:
Today I am dealing with the module that shifts tranny into "P-R-N-D" - The shift from "1 <--> 7" is managed by the TCU valve body inside gearbox with half a dozen oil solenoids shifting couple clutch packs and brakes.
Little did I know.... the real shifting is somewhat caused by the solenoid but not directly. It acts on a secondary piston-on-spring to fork wirking pressure around.
The "conductor plate" unit is a sissy interface: high working pressure managed locally by the remote ECU data processing activities.
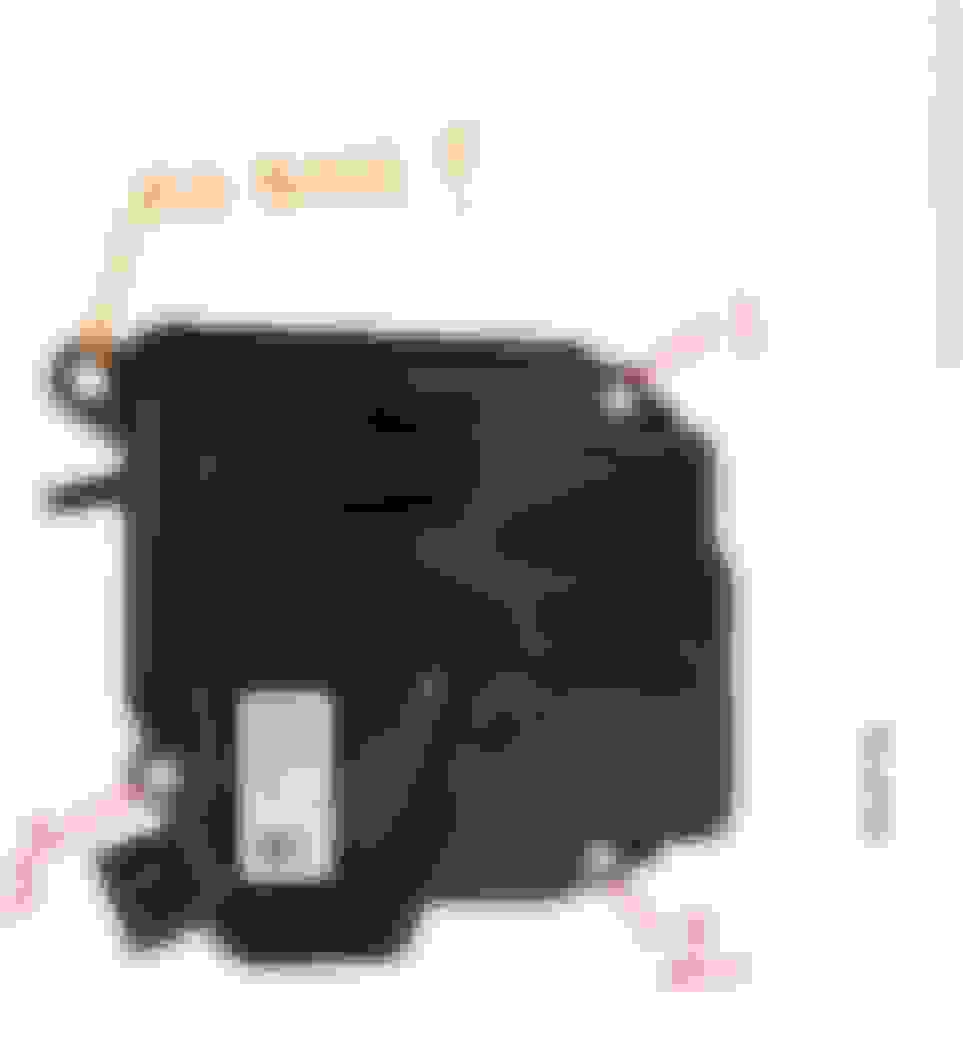
The ISM is a flat module that sits vertically outside the tranny with half-inch of room between it and the chassis.
The hard part of working on the ISM is getting it On/Off the car. You're really going to feel like a surgeon operating remotely. There's no enough room for anyone hand!
> Why Fix ISM:
1-- The ISM is positively involved in the drive authorization.
Unless it says "YES", you go nowhere with: "No Crank- No Start"!
2-- The ISM is interfaced over the CAN-C shared by busy ECU-TCU-ESP: my incentive!
When this piece of gem stutters, the whole bus transfers are delayed. It directly impacts performance of your chassis VIP's. It makes everything jerky with 500ms delay as oposition to instantly smooth. In fact using solderless pins guarantees poor marginal performance.
How do I know that... I fixed it with my own itchy-hands!
Every module I canceled solderless from rewarded me with timing improvements. This has me well motivated to fix my working ESP!!
This will speak to some of MB nuts experimenters... what solderless does is as real the oil pump affecting break booster vacuum or response of the engine accelerator: its unbelievable how we have a great car de-tuned.
I've sayed couple times before: this tranny can shifts faster than a machine gun. Actually we don't want it to shift so much we want it to work hand in hand with ECU.
TCU work like the left brain of the engine. ECU works with ESP and TCU to update their game plan non-stop on the fly, hundreds of time per second.
> VIP BUS CAN-C:
With the move towards electric transportation many new ways of disfuncioning need to get perfected.
Here we have a sofisticated control enabled to disrupt our essential modules.
This module is smart enough not to kill its host car unless the day it means business.
> What to fix about ISM:
Lube the dry mechanicals with silicone grease
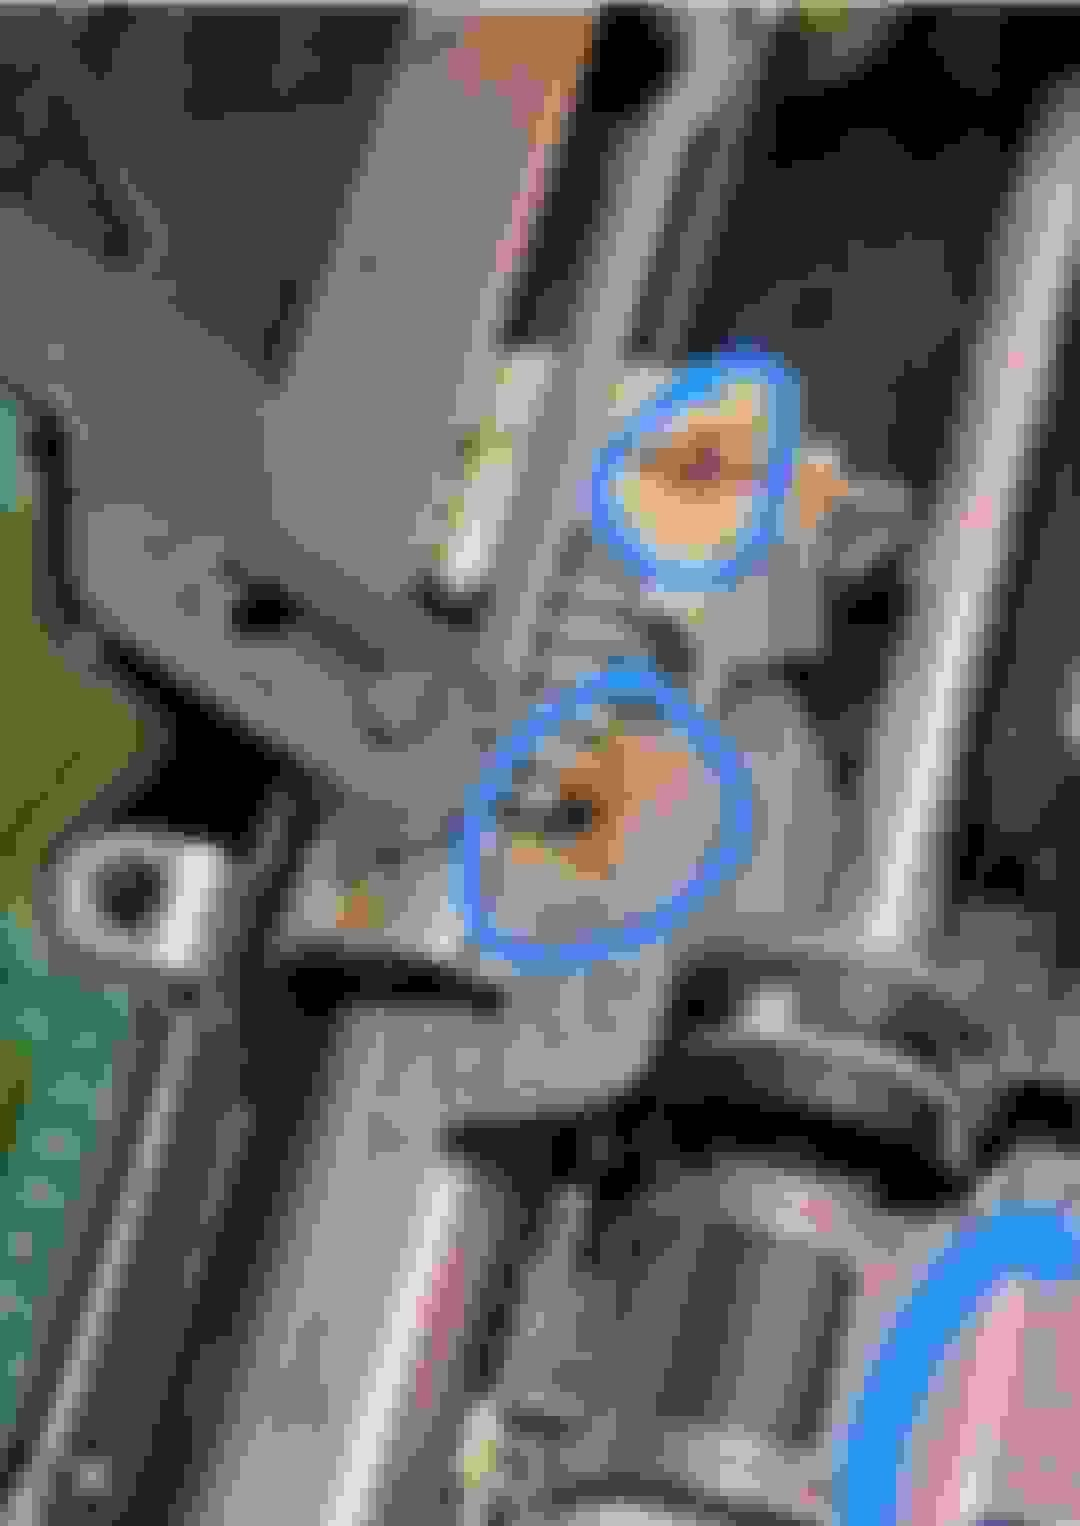
Solder the loose solderless connections
Coat the partly exposed PCB traces
Oil the output shaft bearing
Seal the exposed module connector
Here is what I could not do:
I could not extract anything out of the shell. I wanted to extract the mechanical assembly and the complete PCB to coat component side... nope!
This emmergency lock release: emergency backup Park locker redundancy
This is used to slam "P" when the chassis has lost main power.
the whole selector assembly open for viewing
When you see the complexity of this module you understand legacy was involved in this evolution.
There has been at least one previous similar module designed to automate this job. The whole purpose of ISM is to turn its output selector rod left or right. Nothing else! The whole PRND function could me merged right in the conductor plate unit.
solderless working harder for ya until last day
Can you guess what dry mechanicals do to electricals? The motor winding start current level surges the poor contacts of push-pins.
The firmware is built to retry motor activation until target destination is reached. When this timesout faults become alive.
soldered then coated over...
fat juicy solders without access to components side
Hello... see that nice 35V cap instead of amplifier 16V caps. The leads are electrically welded to posts, not soldered. That is honest vibration proof grade.
factory dry assembly...
all silicone greased up
case sealant for reference
The cover is secured by half-dozen torx screws so sealant only keeps contaminents out.
> Tools:
Essentially you need a foot long flex slim 1/4" ratchet to loosen the 4 fasteners. AMZ Prime $30 👏
Without that you cant reach the top two screws. Everything is finger tight only, easily backed out.
The mating of tranny with ISM shaft ensure perfect match for reinstalling. Let's say tranny is in Park, consequently ISM has to be in park as well to match after you're done greasing the innards. Some ppl set tranny to N then ISM will need to be set in: N -Whatever matches both.
> Silicone PCB coating: Old left side - New right side
My new coating is by MG chemicals Ref#422C brushed over to prevent over spray.
We don't want to coat heat sinks or CPU tops, open connection... I think here the brush applicator may offers a better control.
> Leaky connector:
The last thing you want is the same game as the Blind-Spot radar that get wasted when rain enters through cheap connector seals. So I applied the same high temp silicone I used to seal the case itself after securing all the screws.
harness as rain guides
enough goop
working reliably 👏
> The OUTCOME:
-- ISM now shifts "PRND" faster and more quietly. The internal shaft spins faster because it has no drop voltage at the poor connection.
-- Oddly enough now my electromagnetic suspensions actively work like never once before. I attribute that to more available CAN-C bandwidth.
-- That tells me the nearby bandwidth limit is sensitive and was poor to begin with. Much like SCM actively biasing the car EPS to steer straight at highway speeds.
> THE NUTSHELL:
1- Get to it before it gets to you! Prime example of free maintenance vs. unexpected repair. This unit was made famous by its freaked out warning:
"Visit Shop Without Shifting"
2- Take 5mn to spread silicone RTV over ISM connector. You dont need to commit to fixing the loose pins on the first day... simply take care of sealing the amazing connector when you go clean your main strap.
3- Neighbor is the infamous W-TF GND STRAP!!
4- Marginal solderless connections are used to segment the consumer grade electronics! If everything was military grade, we would have more time to go scuba.
Last edited by CaliBenzDriver; 02-02-2024 at 04:26 AM.
My my , how the heck your hand can fit to remove the ISM Cali ?
I tried once pushing my hands into the gap, it wont fit.
I am sure you use a long tool to get to the 2 upper bolts, but re-installing the bolts I guess would be much more difficult than removing them.
Also need to zero the spinner gear on the ISM and the tranny to NEUTRAL..... me would fail .
I am tempted to solder those push-in-pins....
ASK : Only 3 bolts Cali ? The top most left is only alignment dot at tranny casing ?
Oh no, 4 bolts !!!!
Last edited by S-Prihadi; 02-02-2024 at 03:22 AM.
Reason: ADD INFO
This is a very interesting post. This is likely the cause why I often get some stored failure message on Xentry from modules that have no apparent issues (open circuits, implausible values, message missing, etc.). My W212 rear camera works fine, but it always has stored faults regarding communication issues with other modules (head unit, steering lock, etc.). I suspect the difficulty I'm having to pair a new headset to my rear entrainment system could be related to bad wiring that is impairing proper communication. I'll keep this in mind and start on the "easy" modules as suggested.
In awe of CaliBenzDriver's contributions, I am posting encouragement. Go for it, Andre. It is really, in my opinion, often just basic electricity and electronics.
I am (was) a novice at MBenz vehicles, but am a good shade-tree mechanic having been raised in my father's Sinclair Gas Station garage ++ Army Helicopter Repairman. I was initially baffled by the mystique of Mercedes-Benz when I bought my first in 2015 (2001 ML320).
Since then, getting my hands-dirty and making max use of these forums, I have discovered that many 'gremlins' are really poor electronics or even wiring problems. And not the standard 'replace the module' default diagnosis at the dealer or the indie shop. A wiring diagram and my Fluke 902FC are my tools of choice, along with a set of 6 foot extension leads.
My first 'victory' was repairing a LimpHomeMode. After 3 LA area indie shops quoted me $1,800 - $3200 to 'fix it' but without guarantees, I tackled it myself. Found that one of the 13 wires from the Transmission Case Adapter to the ECM was 'open'. Replaced it with a length of Radio Shack speaker wire - and it is still going years later. Now I do all 5 of my MB's 722.6 control plate cleaning (when indicated) and solenoid testing (easy from inside the car). Has saved me a lot of money.
A remote mirror adjust failure (horizontal) was found to be an open wire from the console to the connection point on the door at the sail-panel, inside. Easy fix.
All my BAS faults have been cleared by checking wiring (darn mice) and good grounding, or simply cleaning the wheel-speed sensors. Easy to ohm, and easy to test with a magnet. Mostly dirty from brake dust. Only 1 replaced so far.
A remote trunk release mal-function was caused by a faulty ground.
CaliBenzDriver gives us all a great example of "Just do it", along with S-Prihadi. This is a shout-out to his laudable examples.
(I am ordering the conformal coating he uses, today - and a 40x magnifier!)
Last edited by Jerry Easley; 02-02-2024 at 01:58 PM.
Reason: clarity
I fixed my ISM for pure performance, long before it had a chance to get in emergency mode. Meaning all the parts were free to move around normally.
The ISM output shaft can not be turned into a different position manually after the cover is glued shut.
When reassembling be sure to leave ISM output shaft in the position that matches your tranny gear selection. In my case P-ark.
Any how, two weeks ago I actually encounter ISM safe mode in action... I add disconnected both of my batteries and when I opened the driver door, I heard a long unusual actuation, a sort of winding.
As a confirmation, I later got a fault related to ISM freaking out on low power.
The ISM wanted to safely make sure chassis was indeed in "P" before loosing all stored energy.
> What is that Emcy mode?
This is an automatic security function that shifts tranny into Park. It is used to prevent a chassis from staying in gear without electrical power.
> How safe mode P shifts without power?
That's where the clever German design comes in.
This understanding may be useful to reset the ISM of a car that got stuck in P ("drive to repair shop without shifting"!!) through the emergency safe mode.
Here is the list of parts involved:
A spring tension
B latch catch
C release trigger
D capacitor storage
E small motor
F Emcy actuation shaft
safe mode components explained
> Safety Park operation:
Follow along using graph lettering. This mechanism is fairly unusual.
- When the ISM uController chip decides it's time for safe Parking, it runs the E-motor using energy stored in the D-Capacitor.
- The release motion is only a quarter turn of F-actuator shaft. This shaft position is offset and not centered. When it rotates to the oposite side a quarter yturn around, it comes to push against the C-Release.
- The A-Spring pushes the output actuator away from B-Latch towards the "P" at the extreme position.
Here the actuation force is provided by the spring that is compressed by the main motor during a reset procedure. That's why a tiny release motor with capacitor is able to trigger so much to happen with so little energy.
the Release shown unlatched
The coil spring is extended to force lever towards P. Re-arming the mechanism requires to spin release shaft quarter turn back away from trigger. I did not have to mess with that.
> Mechanical Reset Out Of Safe Mode:
In that case you need to scroll the long screw shaft to bring the B-latch to grab the C-trigger.
There may be additional steps to carry through the software interface to resume ISM normal service.
> DON'T TAKE PCB out:
The internal PCB is held in place by melted plastic pins. To remove the PCB OUT IS ONE BAD IDEA for two reasons:
-1- the board will no longer be secured in place (unless glued). Pins will see vibrations stress to hold PCB in place.
-2- You run the high risk of braking the internal trace that connects the solderless pins: dead board, mo repair PCB internal sandwich layers! The traces are not seen on either sides.
The PCB actually has nice coating over components area.
It is only missing coating of connections pins after your soldering job. We really don't need access to the components side... lead me to advise against pulling the board out. ✌️
> MODULE DISFUNCTIONS :
Funny thing is the disfunctions are part of the design functions.
Disfunctions are in charge of bringing in your business while maintaining safe operations.
This module has a few ways to act poorly. It has two sets if my favorite pins:
- One set for external Power+ CAN lines.
- One set for internal supply of motors, capacitor...
- 1- External pin disruption:
It jams CAN-C traffic with poor network bus connections coupled with glitchy module power through loose pins. Essentially module ends up ghosting.
-2- Internal Oxidized Pins :
The dry mechanicals are stamped out of stainless steel, not aluminum. They handle the moderate duty while the added friction is stressing the rubber belt and the secondary pins with strong motor current spikes.
-3- Locked in P!
One day eagle-eye control board sees the main motor is having a hard time setting the tranny PRND. It triggers the service message ("service .... with out shifting") then triggers latch release. Bingo chassis is in Park wherever this happens.
No way the controll board is going to entertain trying to get out of this mode because it has a true internal show-stopping fault.
Last edited by CaliBenzDriver; 02-03-2024 at 01:58 PM.
Reason: unlatched picture
 01-27-2023, 04:24 AM


 delicate fingers you got my man .....


 me would fail .