4X4 LED Bar Fix & Rear Bumper...It Can Be Done
#1
Junior Member
Thread Starter
4X4 LED Bar Fix & Rear Bumper...It Can Be Done
So here we go. Lots of mis information on this forum regarding the LED's on the 4x4 US Spec as well as the rear bumper. Ive fixed these issues on my truck. Attached are the pics. Ive received about 15 messages from people asking me about all this so Im putting it in this post.
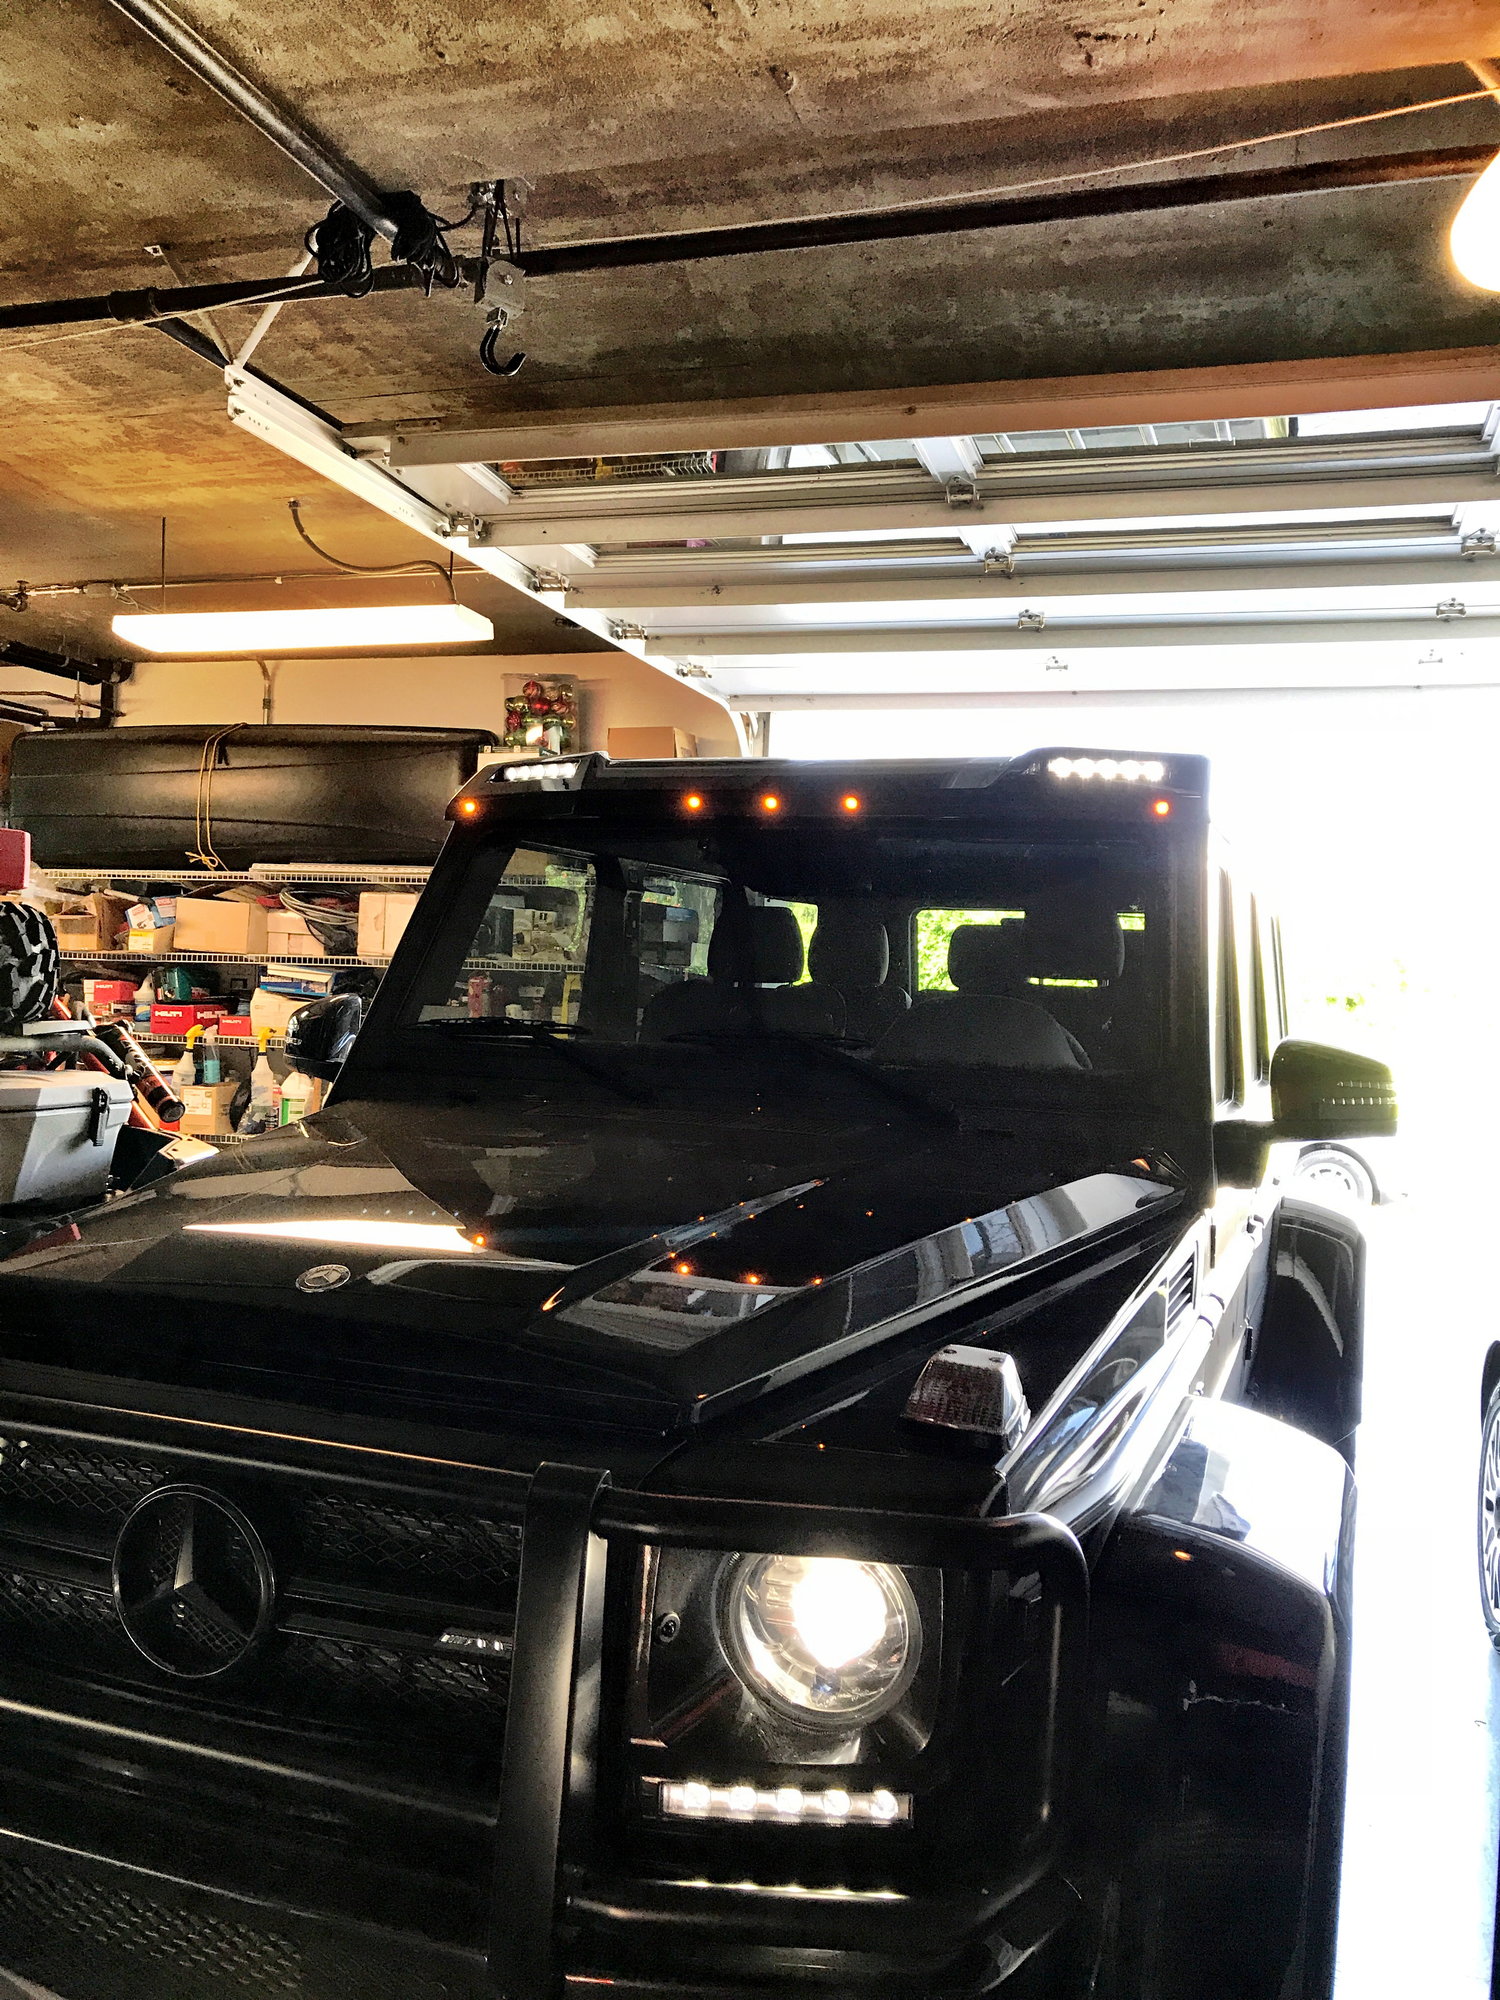
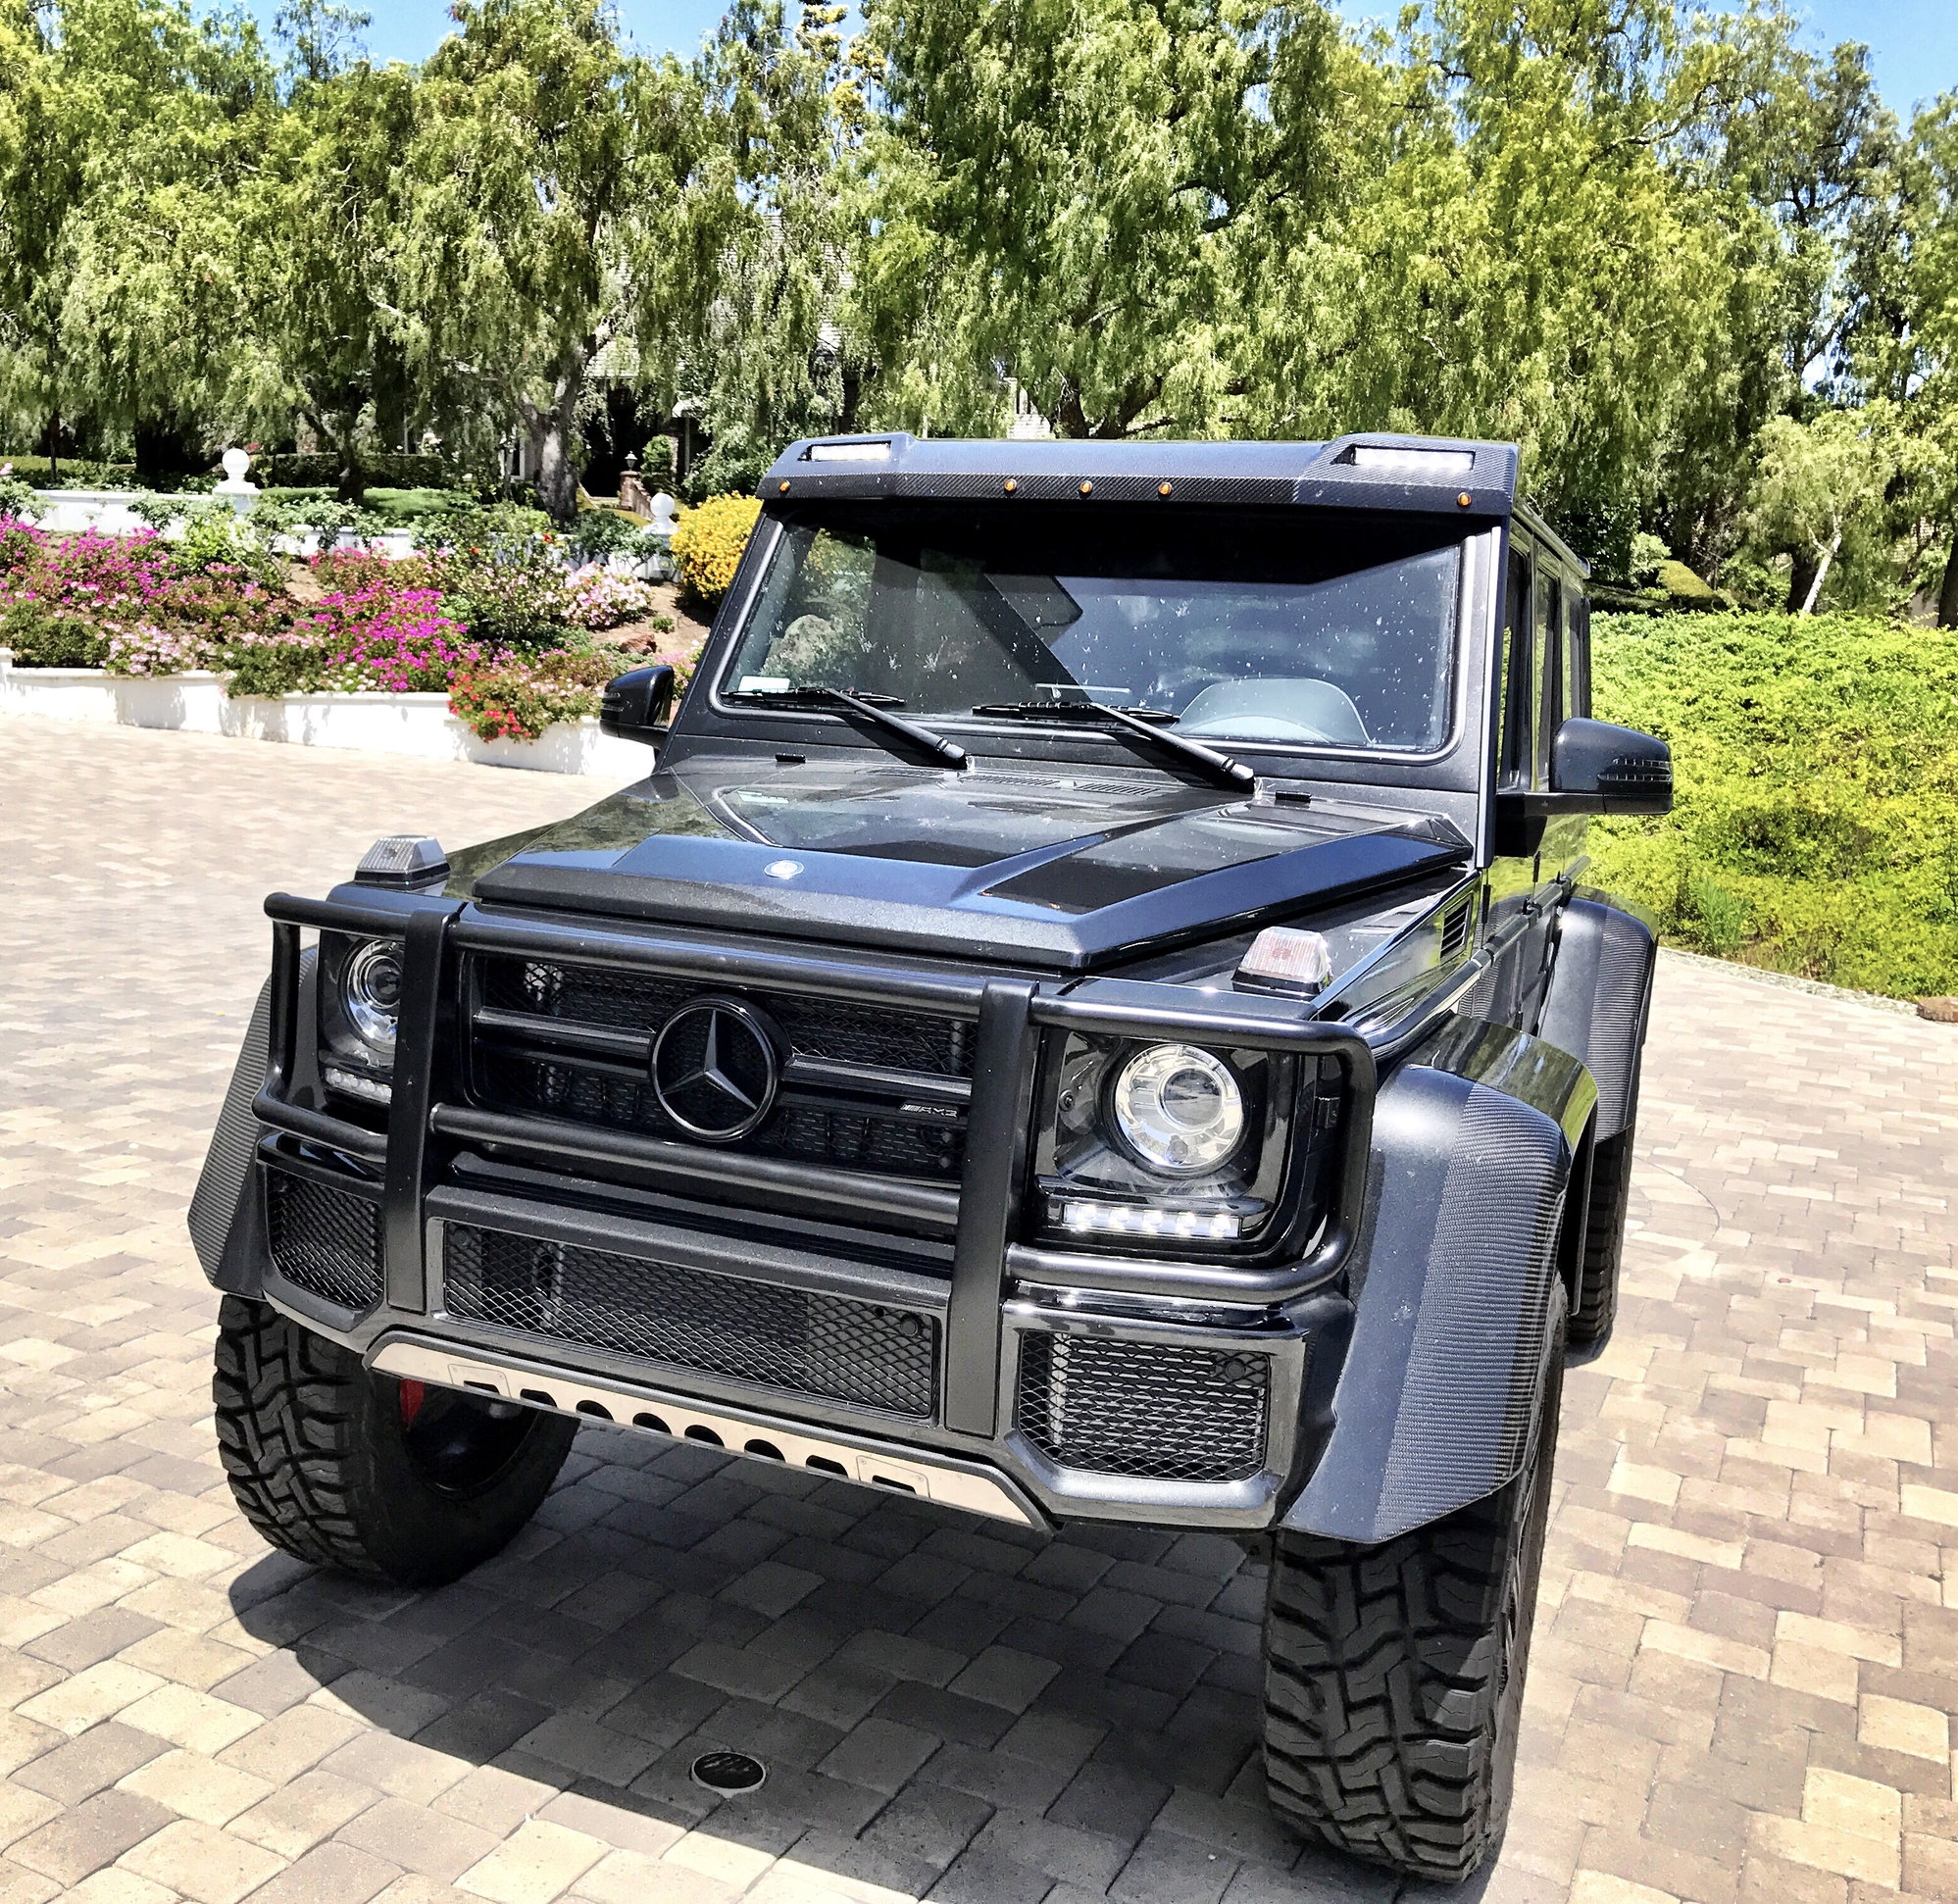
The US Spec 4x4 squared does not have the LED lights wired. Its not there. However, people are writing that there is also no a hole in the roof to run the wires through and this requires drilling. This is not true. There is indeed a hole to pass the wires through. Unfortunately its hard getting the wires there. The problem is that the LED's don't run off of 12v power. If you run 12v power to them, you will burn them out. So you have 2 options...buy an LED light driver from Mercedes, or use the front LED's as power. I chose option #2
I constructed a cable using all the factory connectors and wrapped the cable with the factory tape. This has to essentially be run from the engine bay all the way up through the roof and into the carbon fiber frame to wire up the light bar. It took me about 6 hours to do it the right way which means the headliner needs to be dropped, light bar unbolted, wires run, and everything put back together. It wasn't fun.
There is another way to do it without removing the headliner. Behind the OCP Panel (where the sunroof switch is) there is a small rubber grommet about 1 inch in diameter. You can remove that and then put a screwdriver into that hole and push out the 2nd grommet which seals the roof. You can then fish the wires through those 2 holes into the light bar panel. At first I did this route...but there is no way to put the 2nd grommet back in. It potentially leaves an area where water can get into the roof. It's likely that nothing would happen and no water would get in...but just to be 100% sure I ended up removing the headliner and the LED bar so that I can seal it from the top. Having done that and seeing it again, I probably wouldn't have gone through this extra effort to seal up that 2nd hole. Also, fishing the wires through that hole is no easy task and took a good hour or so of my time.
Im thinking about possibly making 5-10 Wire harness cables and throwing them up on a website with step by step instructions to install. The cost of the cable would have to be $500 in order for it to be worth my time. The cable uses all the factory connectors and thus there is no cutting of wires or splicing of wires.
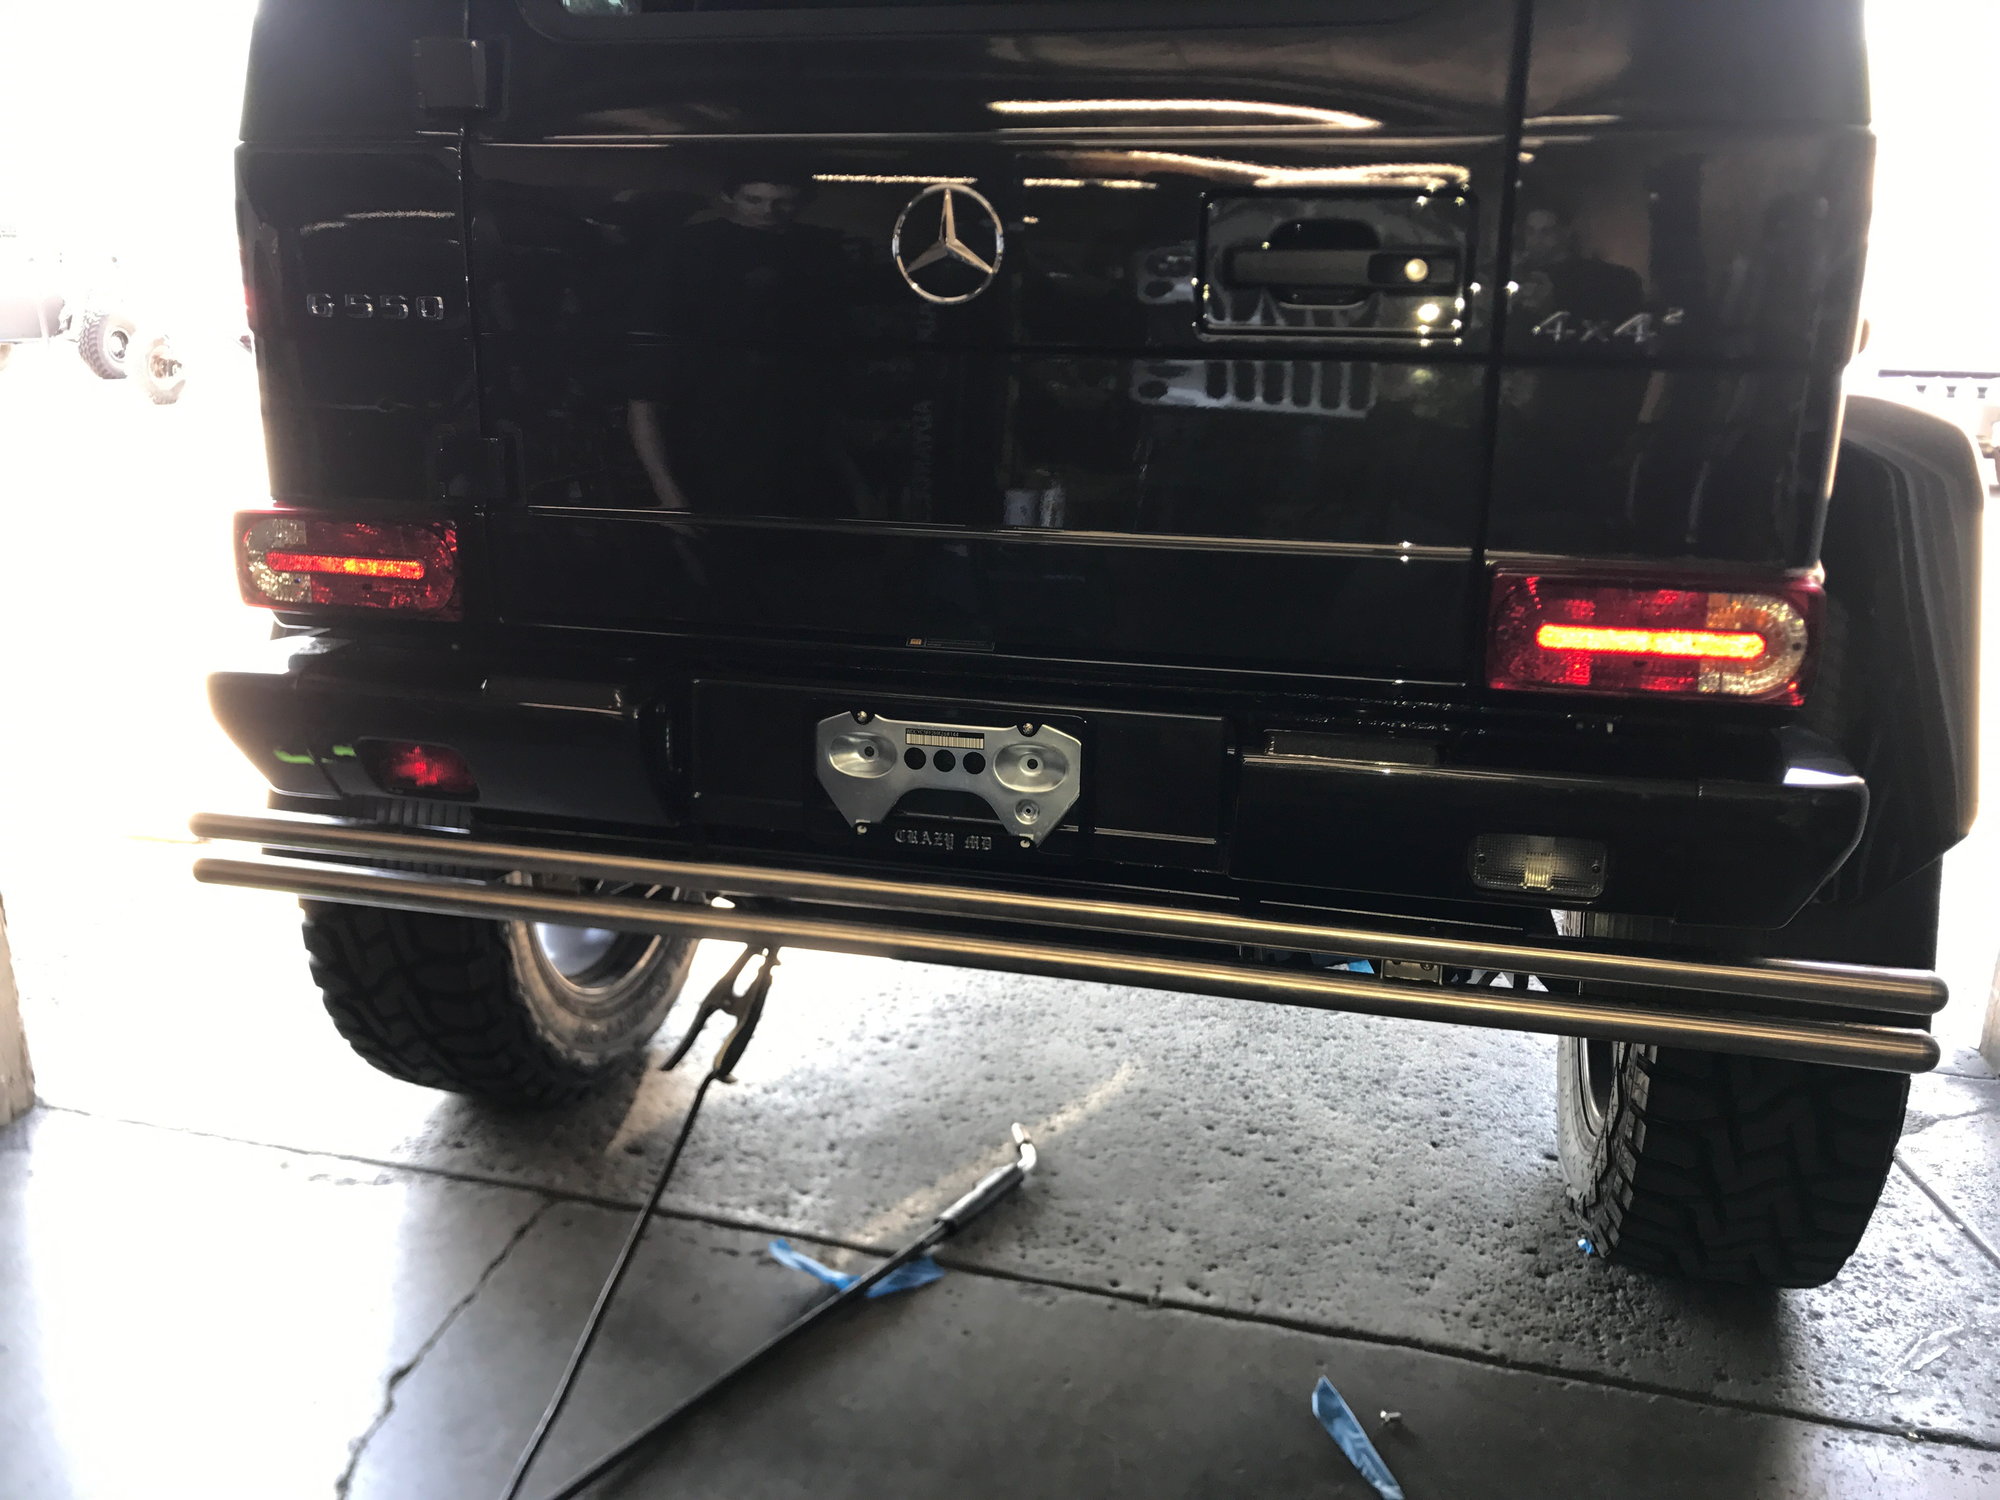
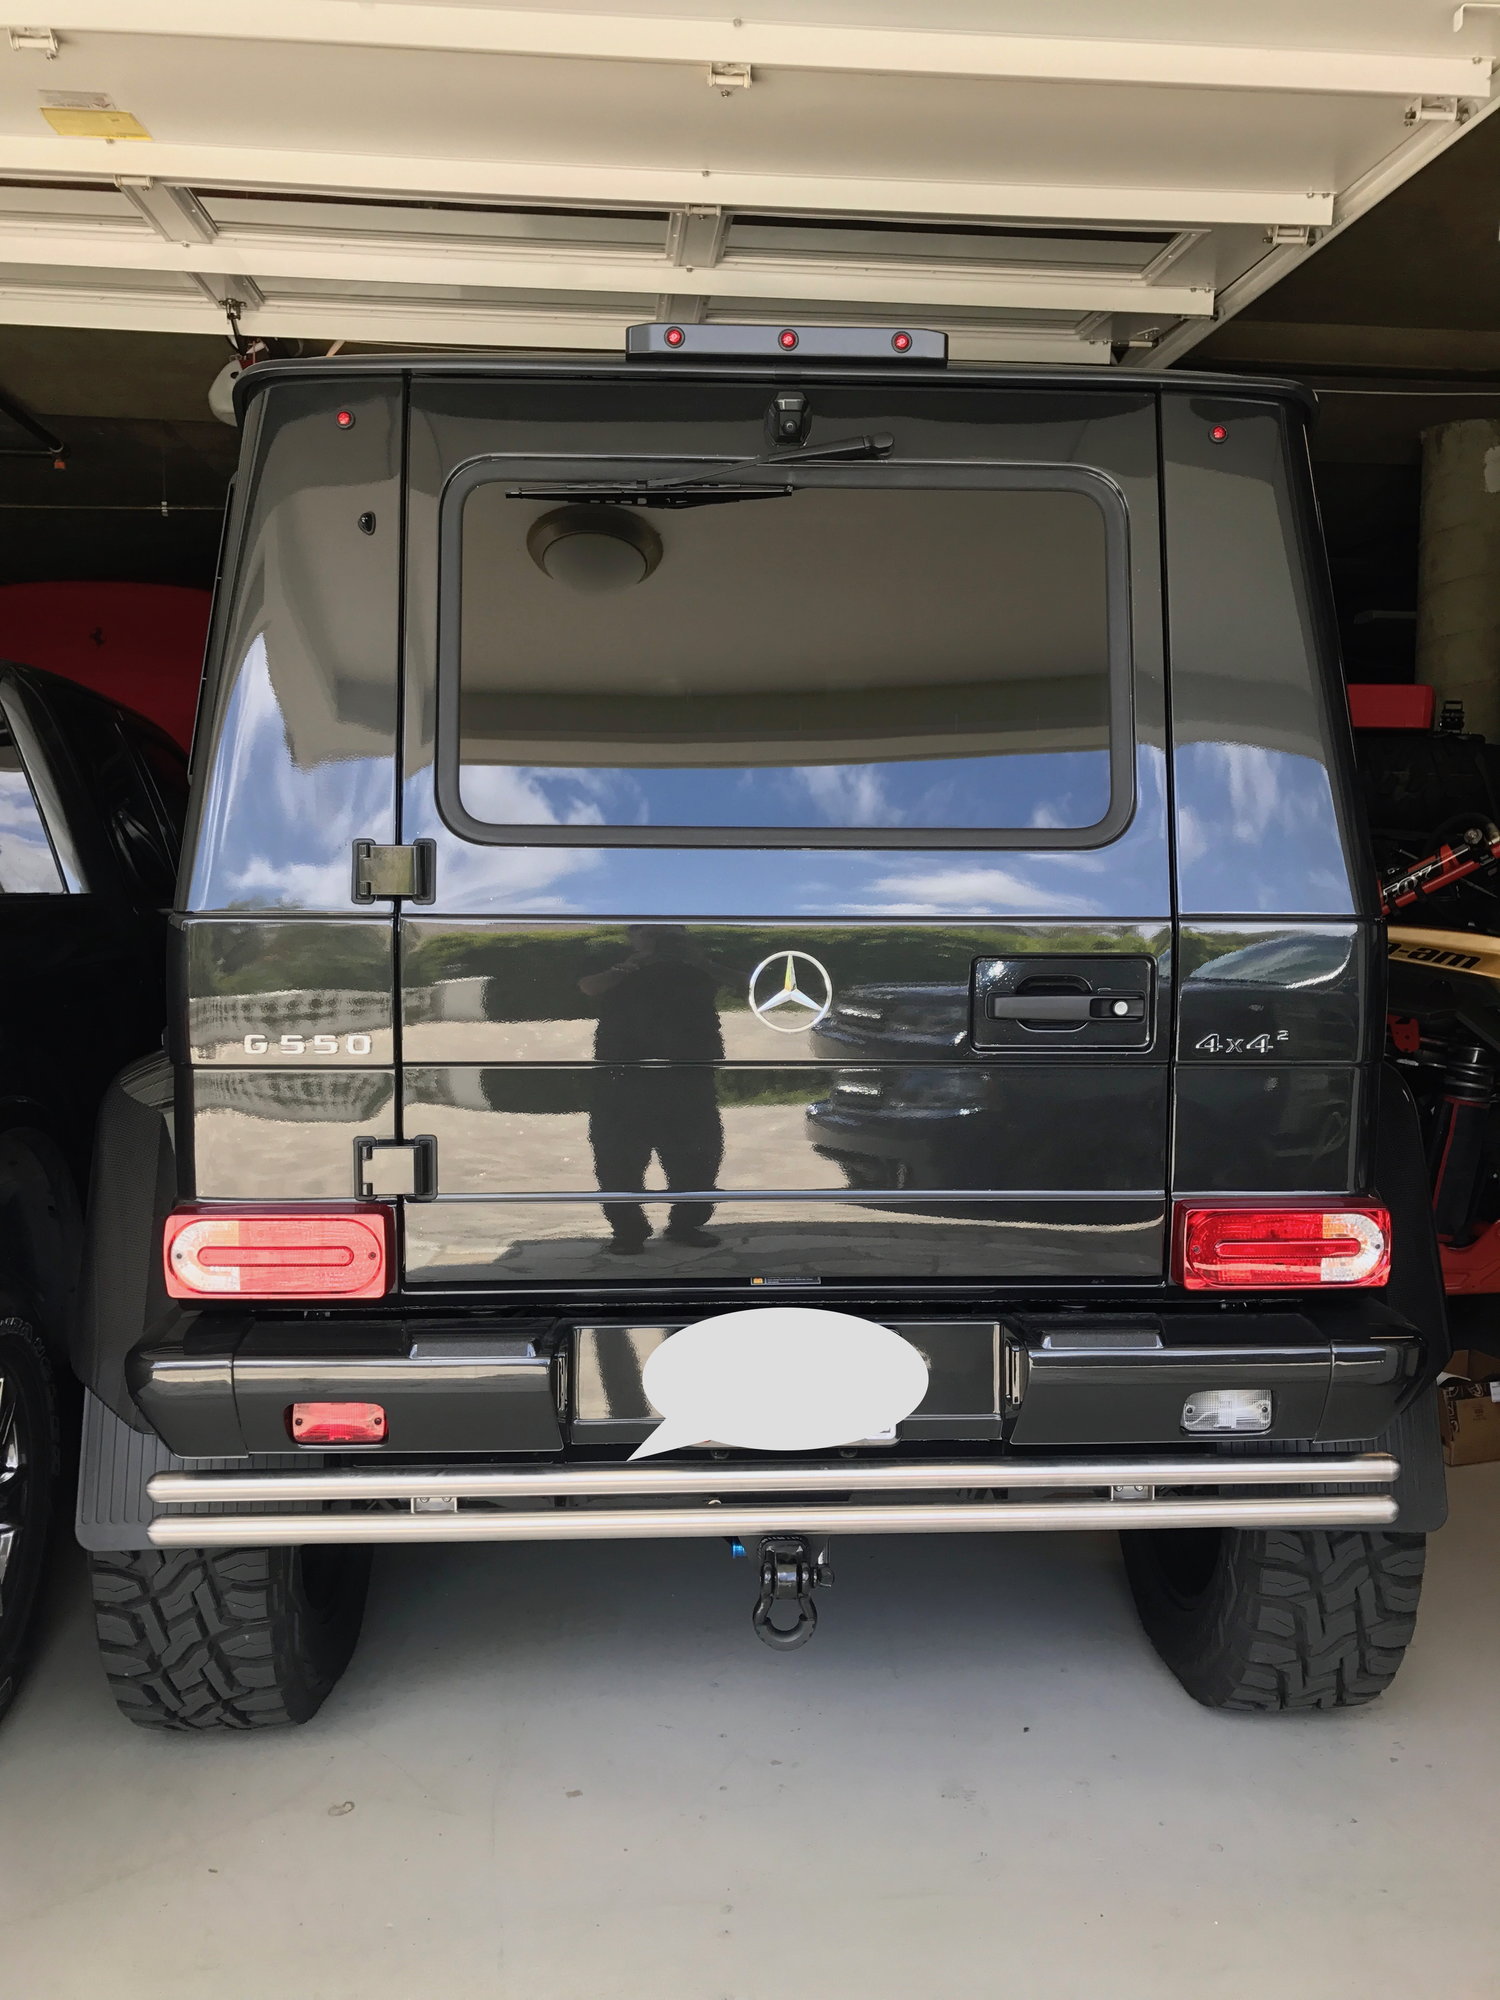
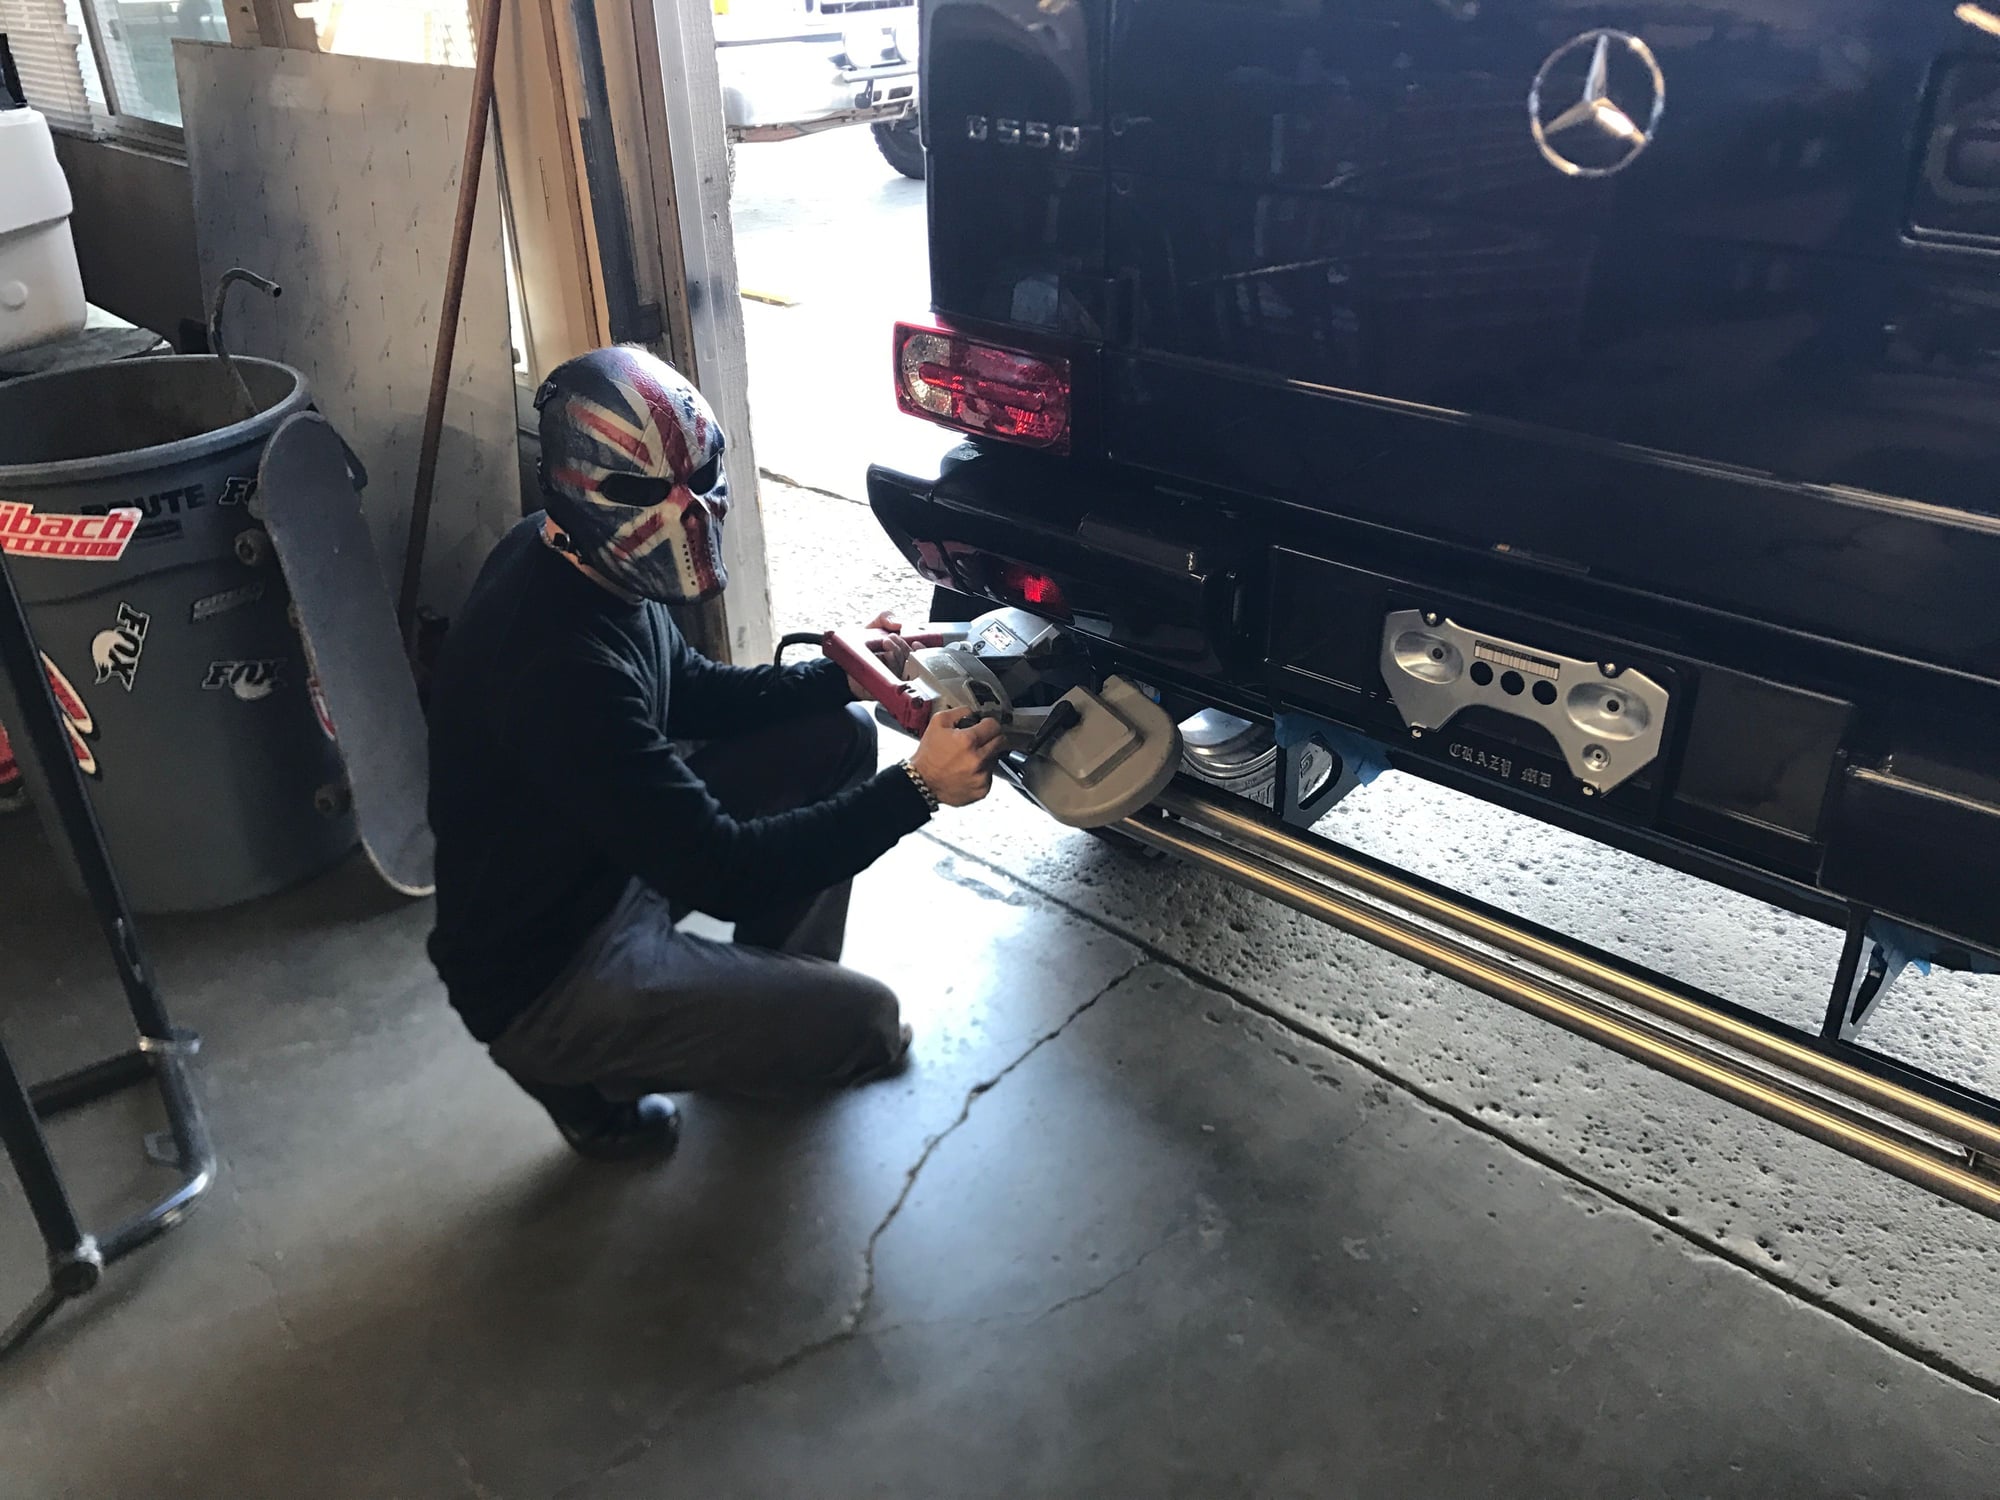
Next the rear end of the car. Due to DOT regulations for the bumper, we got stuck with the ugly crash bars which not only look terrible but decrease the departure angle of the car. All this aside, hats off to MBZ for making a work around to make this car available to us in the USA. So here is the deal...if you want to use the Euro stuff to make the back look nicer, be my guest. Its likely that the USA dealer won't order the parts, and it pretty much requires the back subframe of the car to be taken apart and retrofitted. Factor in the cost of all those parts and the labor, it will not be feasible for most customers to do. So heres what I did:
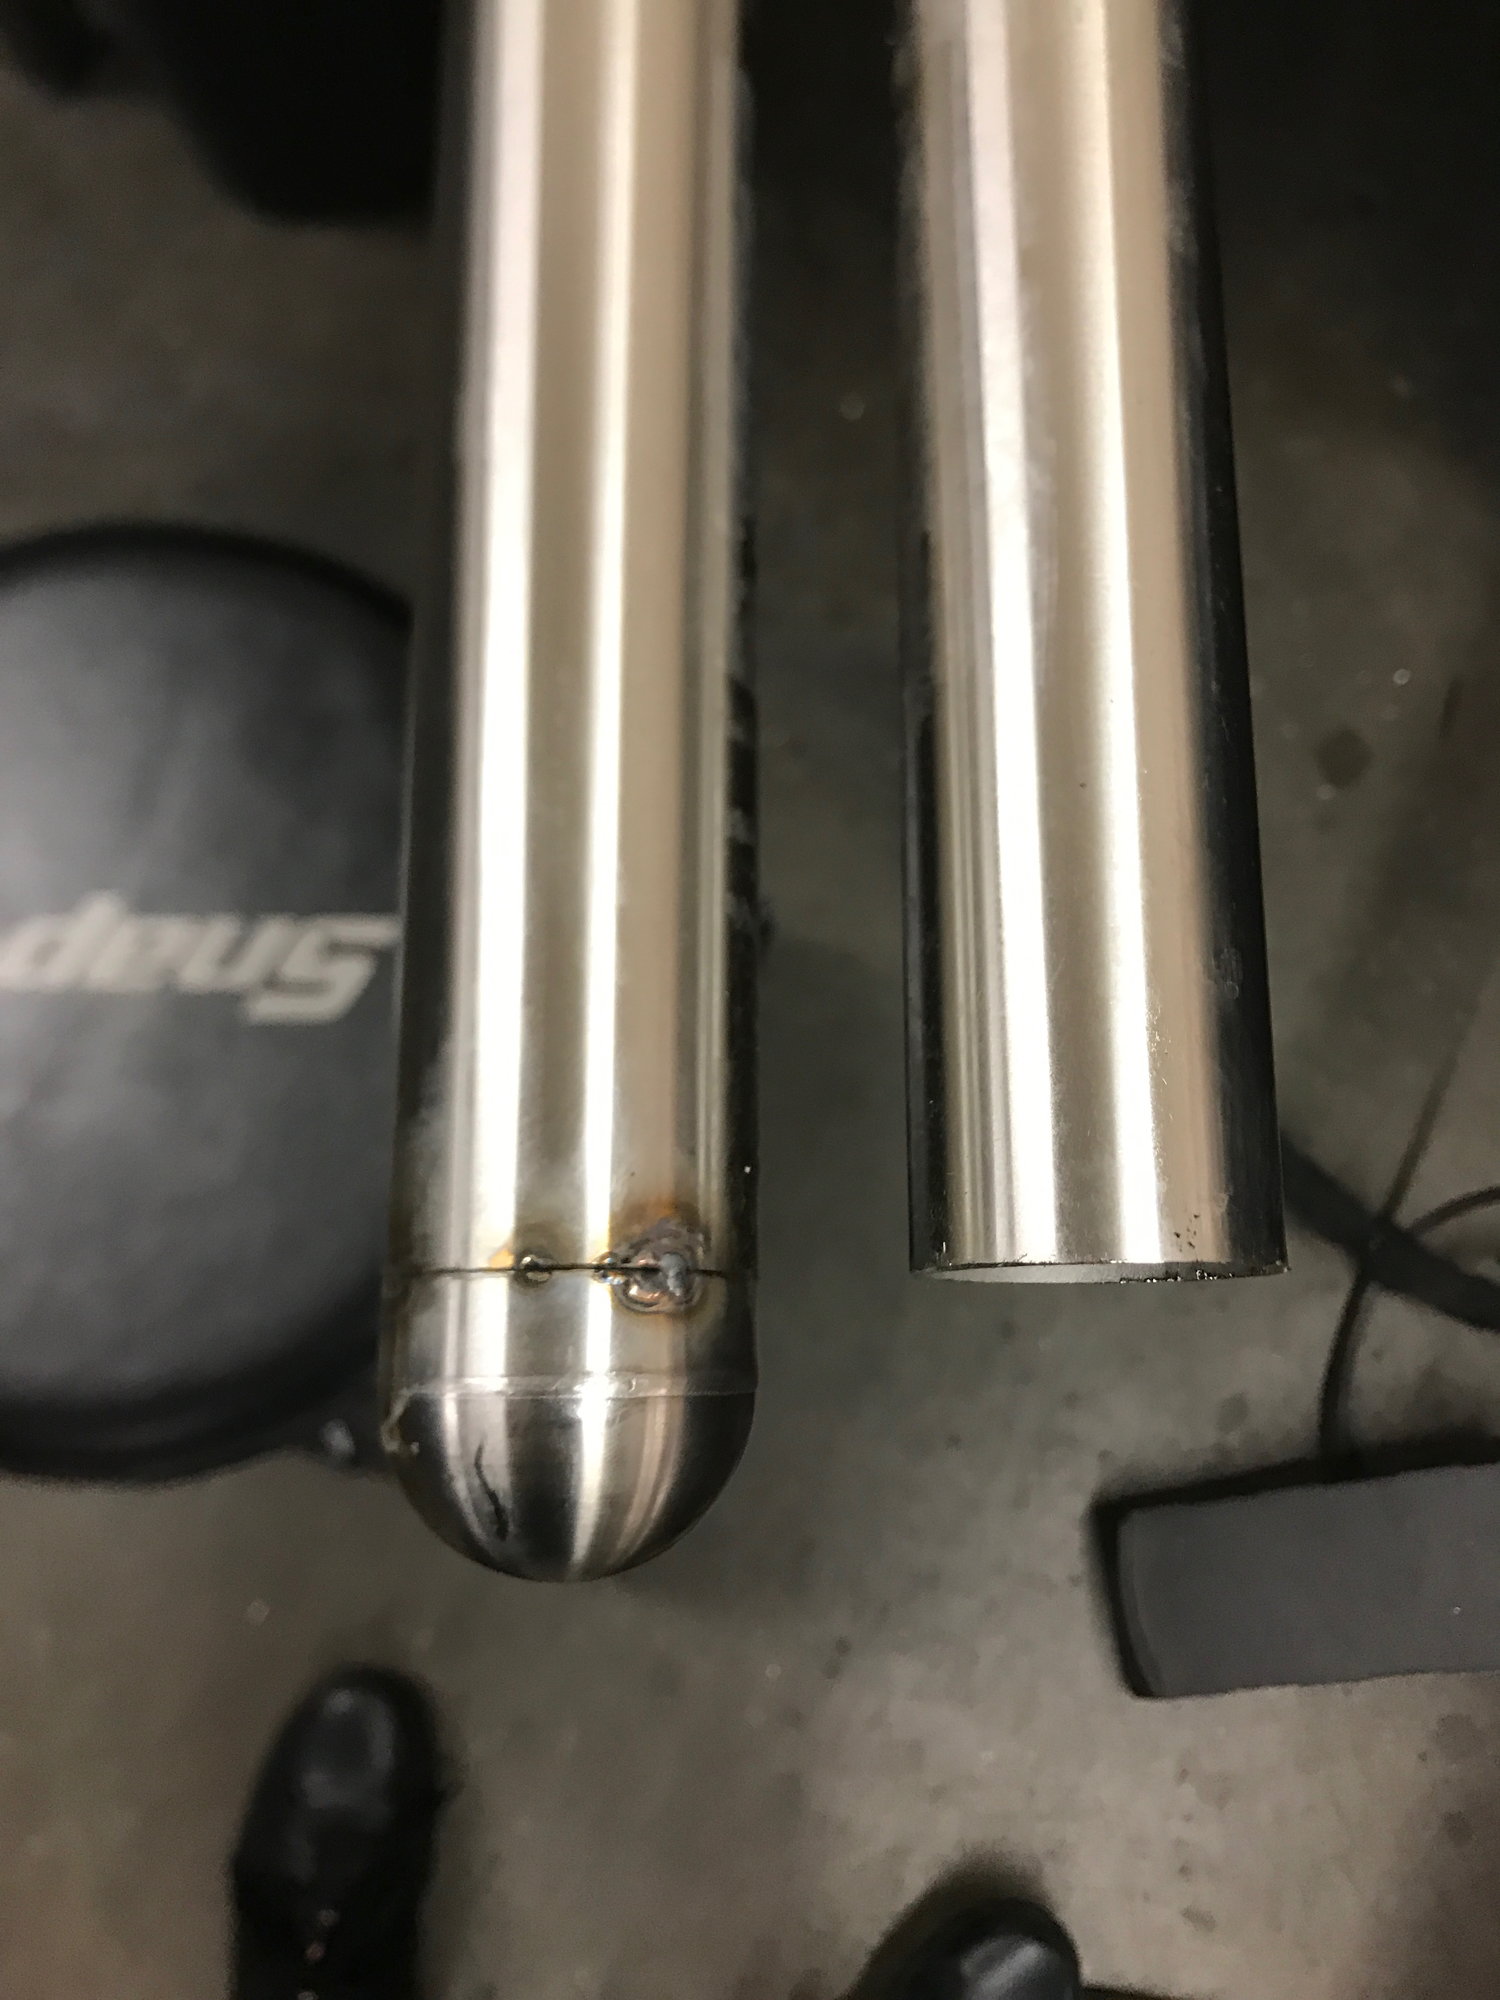
I spent a whole day cutting off the brackets under the car. I moved the mount for the crash bars higher up as I still wanted them there because I thought the car looked a little weird without them. Once I installed them higher up, I realized they were way too long. So I cut 5 inches off each side and re tig welded them together and the polished and brushed the finish around my welds.
While I was at it, I fabricated a tow hitch for the car. Not to actually tow with as I don't think it will be strong enough, but I can use it to put a bike rack on the back or a joe hauler to load my dirt bike on the back of the car, or use it as a tow point for pulling a stuck vehicle or myself.
What you are seeing in the photos was about 12 hours of fabricating work, welding, cutting, grinding, painting. Don't ask me about doing this to your car as the answer is NO. I already have 4 good friends that have offered me $5K each and I've said NO. I am a surgeon in my daily life (Although I could have likely been an aircraft welder) and I did this just for myself to make my truck how I wanted it. I grew up learning metal fabrication before I went to medical school and every once in a while these skills come into play.
My advice, don't let anyone try this on your $250K truck unless you can accept it to be messed up. Because I can tell you that it wasn't an easy task, to repair your car the parts from MBZ are extremely expensive, and your truck will be down waiting for an entire new rear end to be re-installed. Just the welding alone needs to be done in a way to not heat up and damage the factory paint underneath yet be strong enough to hold. Cutting the bumper bars requires a special tool including a lathe in which I happen to have in my garage (most shops would just use a chop saw and destroy your bars).
So I was the first to do it, everyone including Brabus and other shops will try to copy me. I had the ***** to cut up my car and figure it out...now heres a template to get started for those that want to venture.
Last edited by CrazyMD; 05-15-2017 at 06:38 PM.
The following 4 users liked this post by CrazyMD:
#4
Nice work!! I should probably just wait to ask questions until my truck gets here and figure it out myself, but I ain't got nothing better to do today. What didn't you like about the look of the rear when you removed the bars and struts/frame (my word(s) for the metal in which the bars are attached)? Is there not just a black skid plate like on a G63? If a guy decided to spend the $$$ for the Euro conversion, is there cutting involved, or just nuts and bolts - and what all would you need to purchase? Mercteil.com and gwagenparts.com said I just needed the rear skid plate which is $2200-2500 depending where you buy it.
#5
Junior Member
Thread Starter
I haven't had the factory Euro rear skid plate to look at...but from what I can tell...you cannot remove the USA rear plate without taking apart quite a bit of the car. I can be completely wrong...But I looked at all the nuts and bolts holding it together and its a lot more than just a few nuts and bolts.
Its not just a skid plate that you are removing. Its a big portion of the under carriage of the truck. I wasn't comfortable disassembling my vehicle to that extent. It looks like its tied into the subframe. Maybe someone will have more ***** than me and tear the rear end of the car apart and figure it out.
I also don't think the Euro skid plate will "mount right up" to a USA car. But again, I could be completely wrong. Don't want to spread mis information. But I spent a lot of time under this car looking at things before taking a sawzall to the back of my car.
#6
Got it. Thanks. I wouldn't do anything that wasn't a nuts and bolts job. Since you sound handier that I, I'm sure you did your due diligence before you cut up your $225k G. I'll give it a look when I get mine, but if it ain't easy, it's staying stock.
#7
Junior Member
Thank you for taking the time to write a step by step guide. That rear bumper bar mod is awesome!
Do all of your lights still work? And if I added a Brabus lip will all lights still function? The shop I work with drilled a hole in the roof to connect the top lights on a Brabus 4x4.
Do all of your lights still work? And if I added a Brabus lip will all lights still function? The shop I work with drilled a hole in the roof to connect the top lights on a Brabus 4x4.
Trending Topics
#8
The 4x4 visor already has lights - those little orange leds - so there's got to be a wire getting to the visor somehow to power those and I suspect that's the same route CrazyMD went.
Hey, CrazyMD, why can't you just hook the leds to the power coming to the little orange market lights?
Hey, CrazyMD, why can't you just hook the leds to the power coming to the little orange market lights?
Last edited by twist-a-grip; 05-16-2017 at 09:42 AM.
#10
Senior Member
Looks like you have the G63 Grill.
We want to put the G65 Grill on (to match our 6x6)...do you just order the middle insert, or does the entire surround have to be replaced as well?
The Parts Diagram shows just the insert is needed, however I just want to be sure.
Thanks!
We want to put the G65 Grill on (to match our 6x6)...do you just order the middle insert, or does the entire surround have to be replaced as well?
The Parts Diagram shows just the insert is needed, however I just want to be sure.
Thanks!
The following users liked this post:
NYCBenz (06-26-2017)
#12
Senior Member
#13
Junior Member
Thread Starter
Someone reached out to me to make them a harness to activate the lights. It doesn't make sense time wise to make 1 harness. So I ordered the parts to make 3 total. I will essentially have 2 left. If anyone is interested pm me. The harness uses all factory mbz connectors that I order from the dealership
#14
In the meanwhile I connected the high beam as well. I am not the type of guy who knows how to fix cars or has knowledge of electricity. I just learned by doing. What I can confirm is that the voltage just goes down from 2.9v to 2.75v when the two led lights are commected to the car. I added a switch as well, so I am able to turn the leds of if necessary. I did not use foctor cables or any stuff. Just a 1mm cable from the front left led up to the high beam. Note that you have to connect them by a parallel scheme, if you know what I mean
#16
Junior Member
Thread Starter


