I like writing these DIY. I usually refer back to my post when it’s time to undo them lol. I only did the front camera along with a radar rj11 wire. Originally had both but still trying to play with a new radar mounting location so currently just dashcam. Hopefully the picture uploads okay.
There are 4 accessible fuse area.
1. Engine – Did not check
2. Driver Footwell – All Live
3. Passenger Footwell – All Live.
4. Under Rear Passenger Seat – This the only one. It’s not super clean tho, there will be a wire showing when you lift up the seat. However there are also OEM wires that are visible when the seat is up. Just depends on how you finish it.
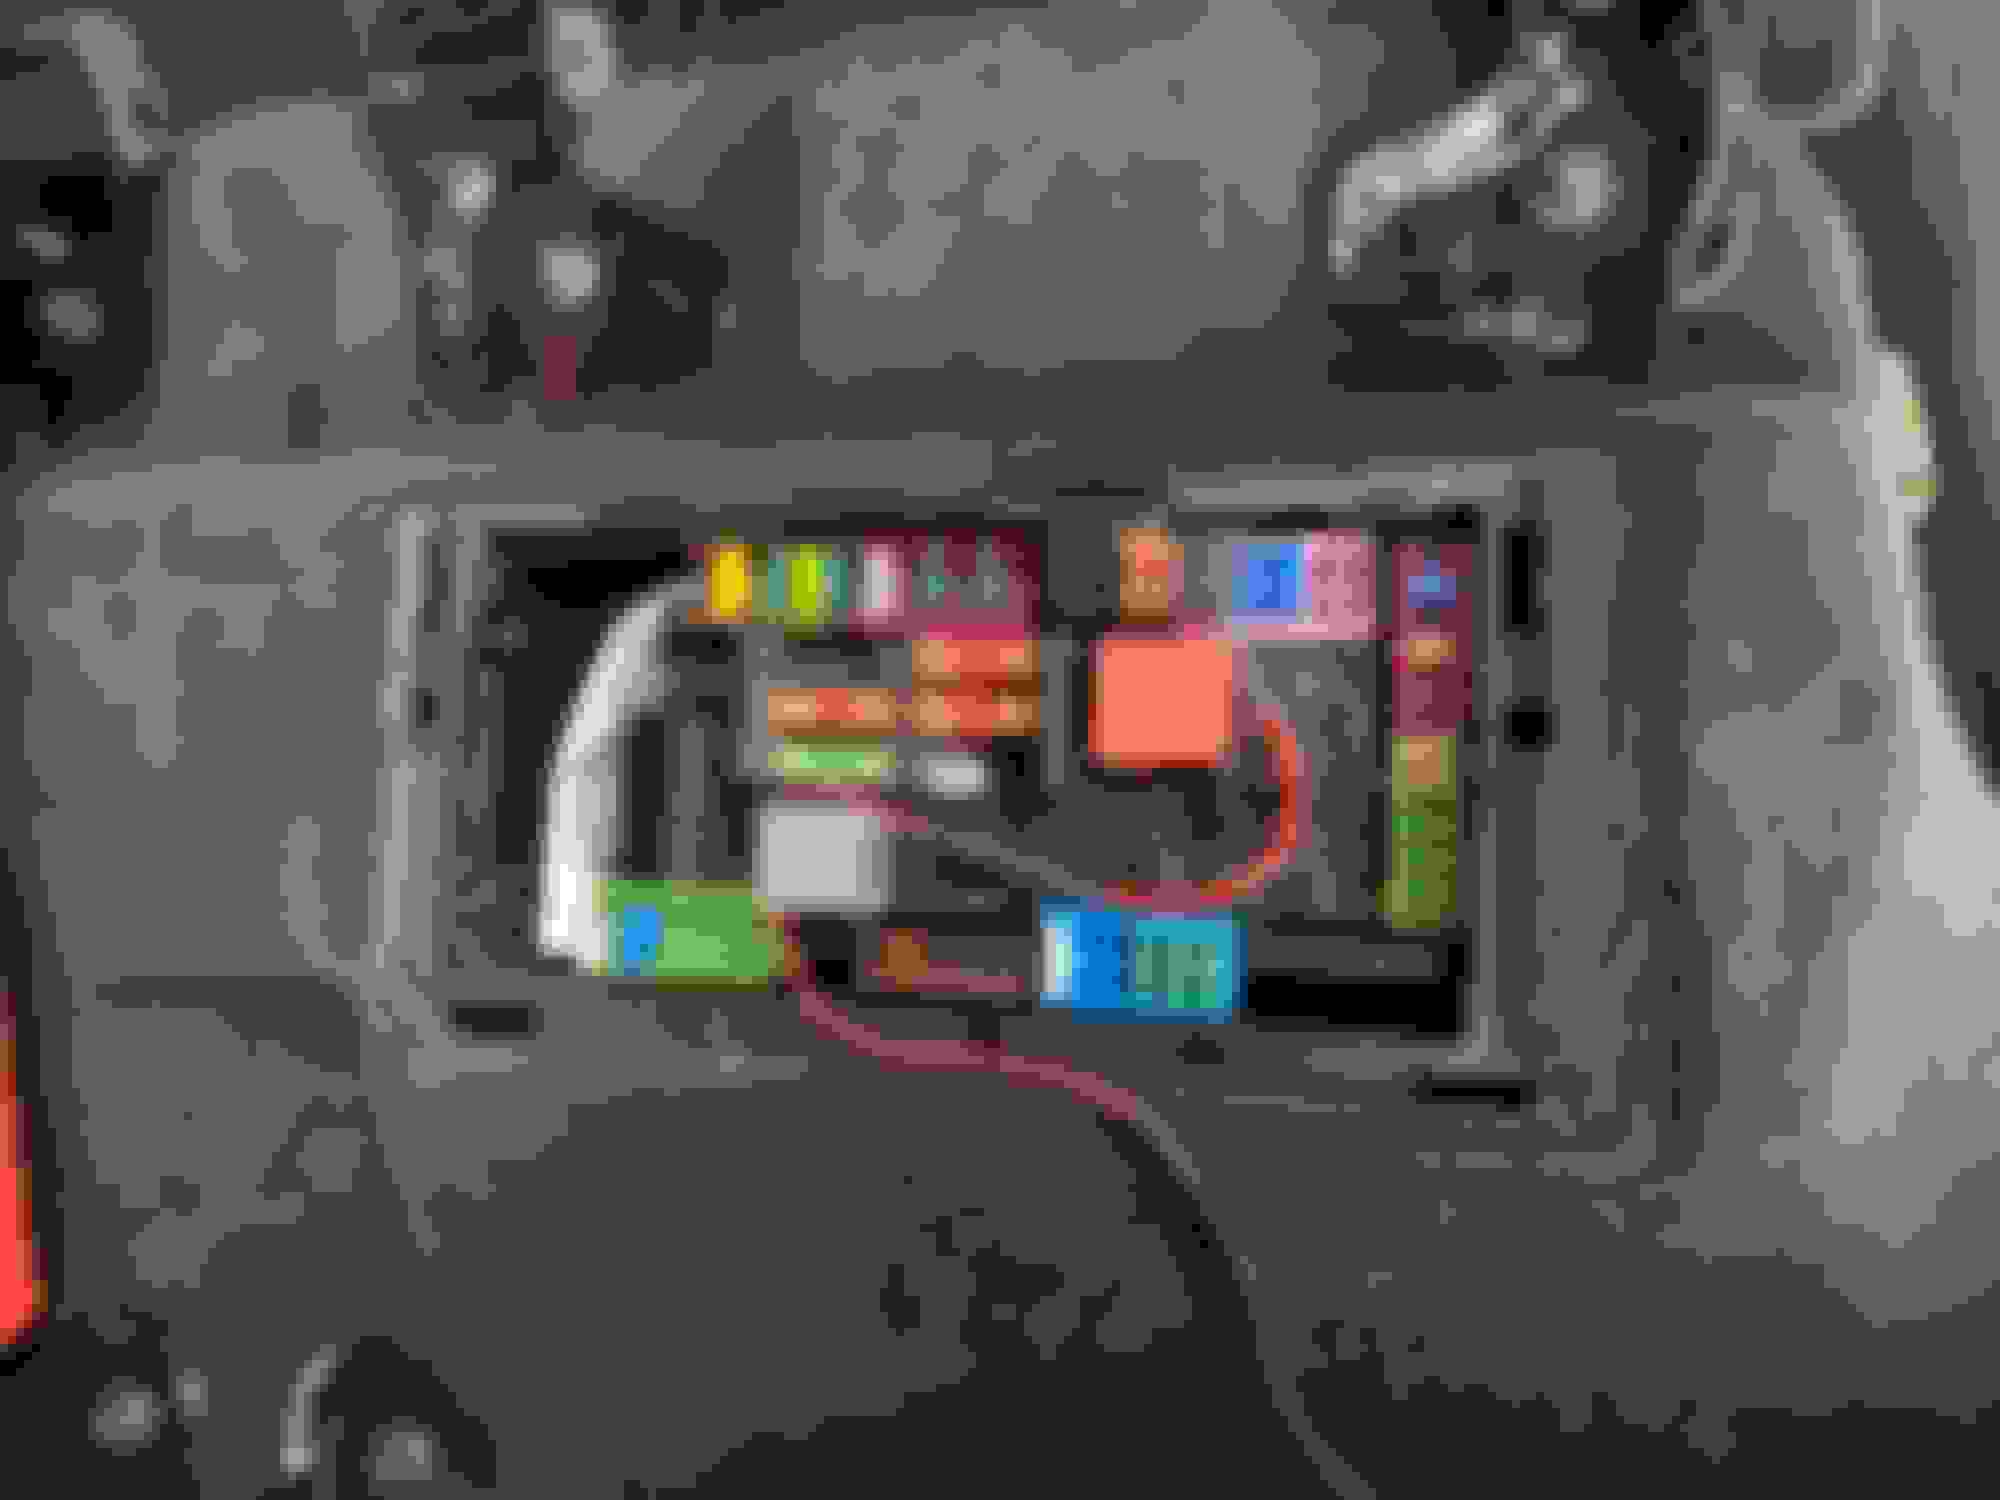
I spent quite some time checking all the fuses and taking apart trims. Since you readers won’t be doing that, you’ll save a lot of time. Really should only take 30mins or so. Why couldn’t MB leave us a good fuse spot in the passenger footwell! It’s so perfect. It’s where I left extra bundled wire wrapped in felt tape to eliminate any noise. I've attached the driver side fuse area as well as the full fuse diagram for those interested.
ACTUAL DIY STEPS BEGIN HERE
ACTUAL DIY STEPS BEGIN HERE
Find where you want your device, closer to headliner will result in a much cleaner install. Start tucking the wire into the headliner.
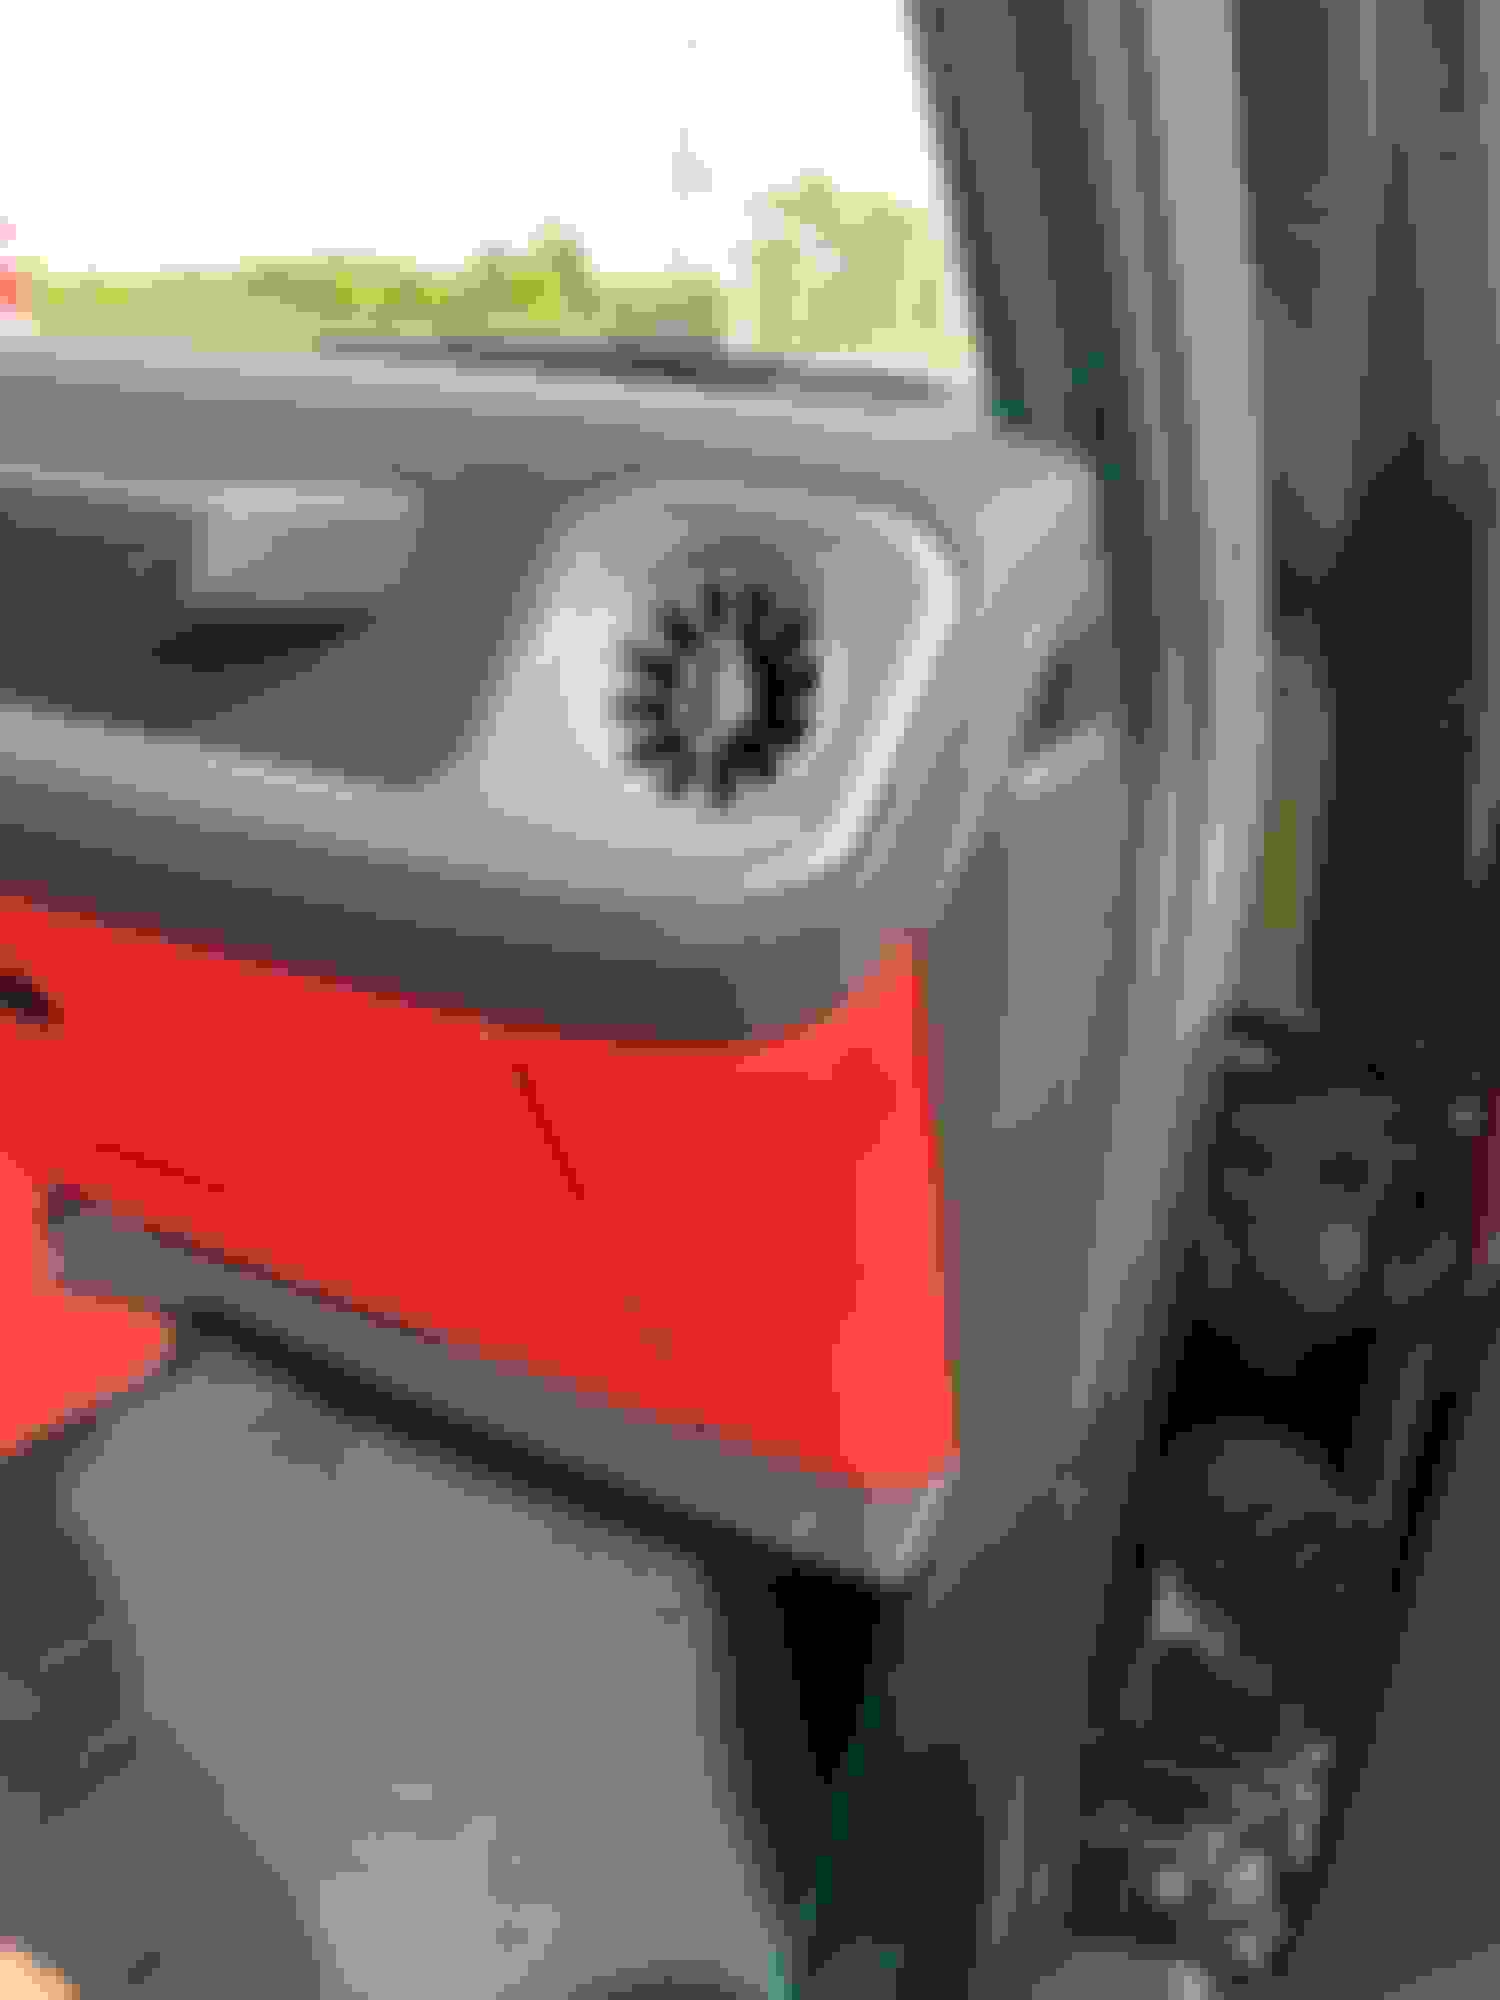
Pop the A Pillar Clip off, remove the torx screw. You can then pull off the pillar cover. Simple to remove unlike my huracan or r8. I always, always route my added cables BEHIND THE AIRBAGS. I’m just **** like that. You really don’t want any wires in front of the airbags in case of deployment. Follow my green line in picture.
You’ll end up in the passenger footwell. Take out the extra cable and now you work from Rear forward as you'll have to leave the extra cable slacks in the passenger footwell. No real place to leave it in the rear.
Time to start tapping. Don’t tap into sensitive electronics. I tapped into fuse 456 (15amp in fuse chart but damn, 5amp in pictures WTF?), which is a 12v socket in the trunk. Fuse 455 would have worked for me too as I don’t have rear seat entertainment but then there was too much bend in my add-a-fuse cable. Tucked wires under door sill until you reach the front passenger footwell. After testing your devices will power off with the ignition, I wrapped the red add-a-fuse cable in black felt tape to give it a more OEM look.
Can you post a pic / talk about how you connected the power cable to the fuse cable? Most of these cameras come with a cigarette lighter connection? Did you use a Power Magic Pro?
Can you post a pic / talk about how you connected the power cable to the fuse cable? Most of these cameras come with a cigarette lighter connection? Did you use a Power Magic Pro?
U can try to splice the power cable, u need one positive and a ground. Positive you crimp onto the add a fuse and terminate the ground. I usually just buy the hardwired kit for either the dashcam or the radar.
Rear Seat - > Add a Fuse -> 18ga extension Wire to Passenger Footwell. Make connection here to whatever you're connecting in the passenger footwell. Use existing car grounding nut to ground your device. I connected both my radar and dashcam to the same 18ga wire
Rear Seat - > Add a Fuse -> 18ga extension Wire to Passenger Footwell. Make connection here to whatever you're connecting in the passenger footwell. Use existing car grounding nut to ground your device. I connected both my radar and dashcam to the same 18ga wire
Thanks for the helpful post! I am curious how you power both radar detector and dash cam with the same wire.
Getting the wire under the carpet was easy. I simply removed that tie down on the floor under the seat, cut my wire and fed it from the fuse box to the hole left by the removed tie-down and then was able to push it down to the sill area where I pulled up on the carpet enough to grab the wire coming down. Spliced the wire back together and I was done.
from amazon since blend mount does not work for mercedes. Removed the housing and drilled two holes to secure my radar detector. I tapped into my existing 18ga wiring from the passenger rear fuse box. I made the connection at the passenger footwell fuse box since there's a ground there.
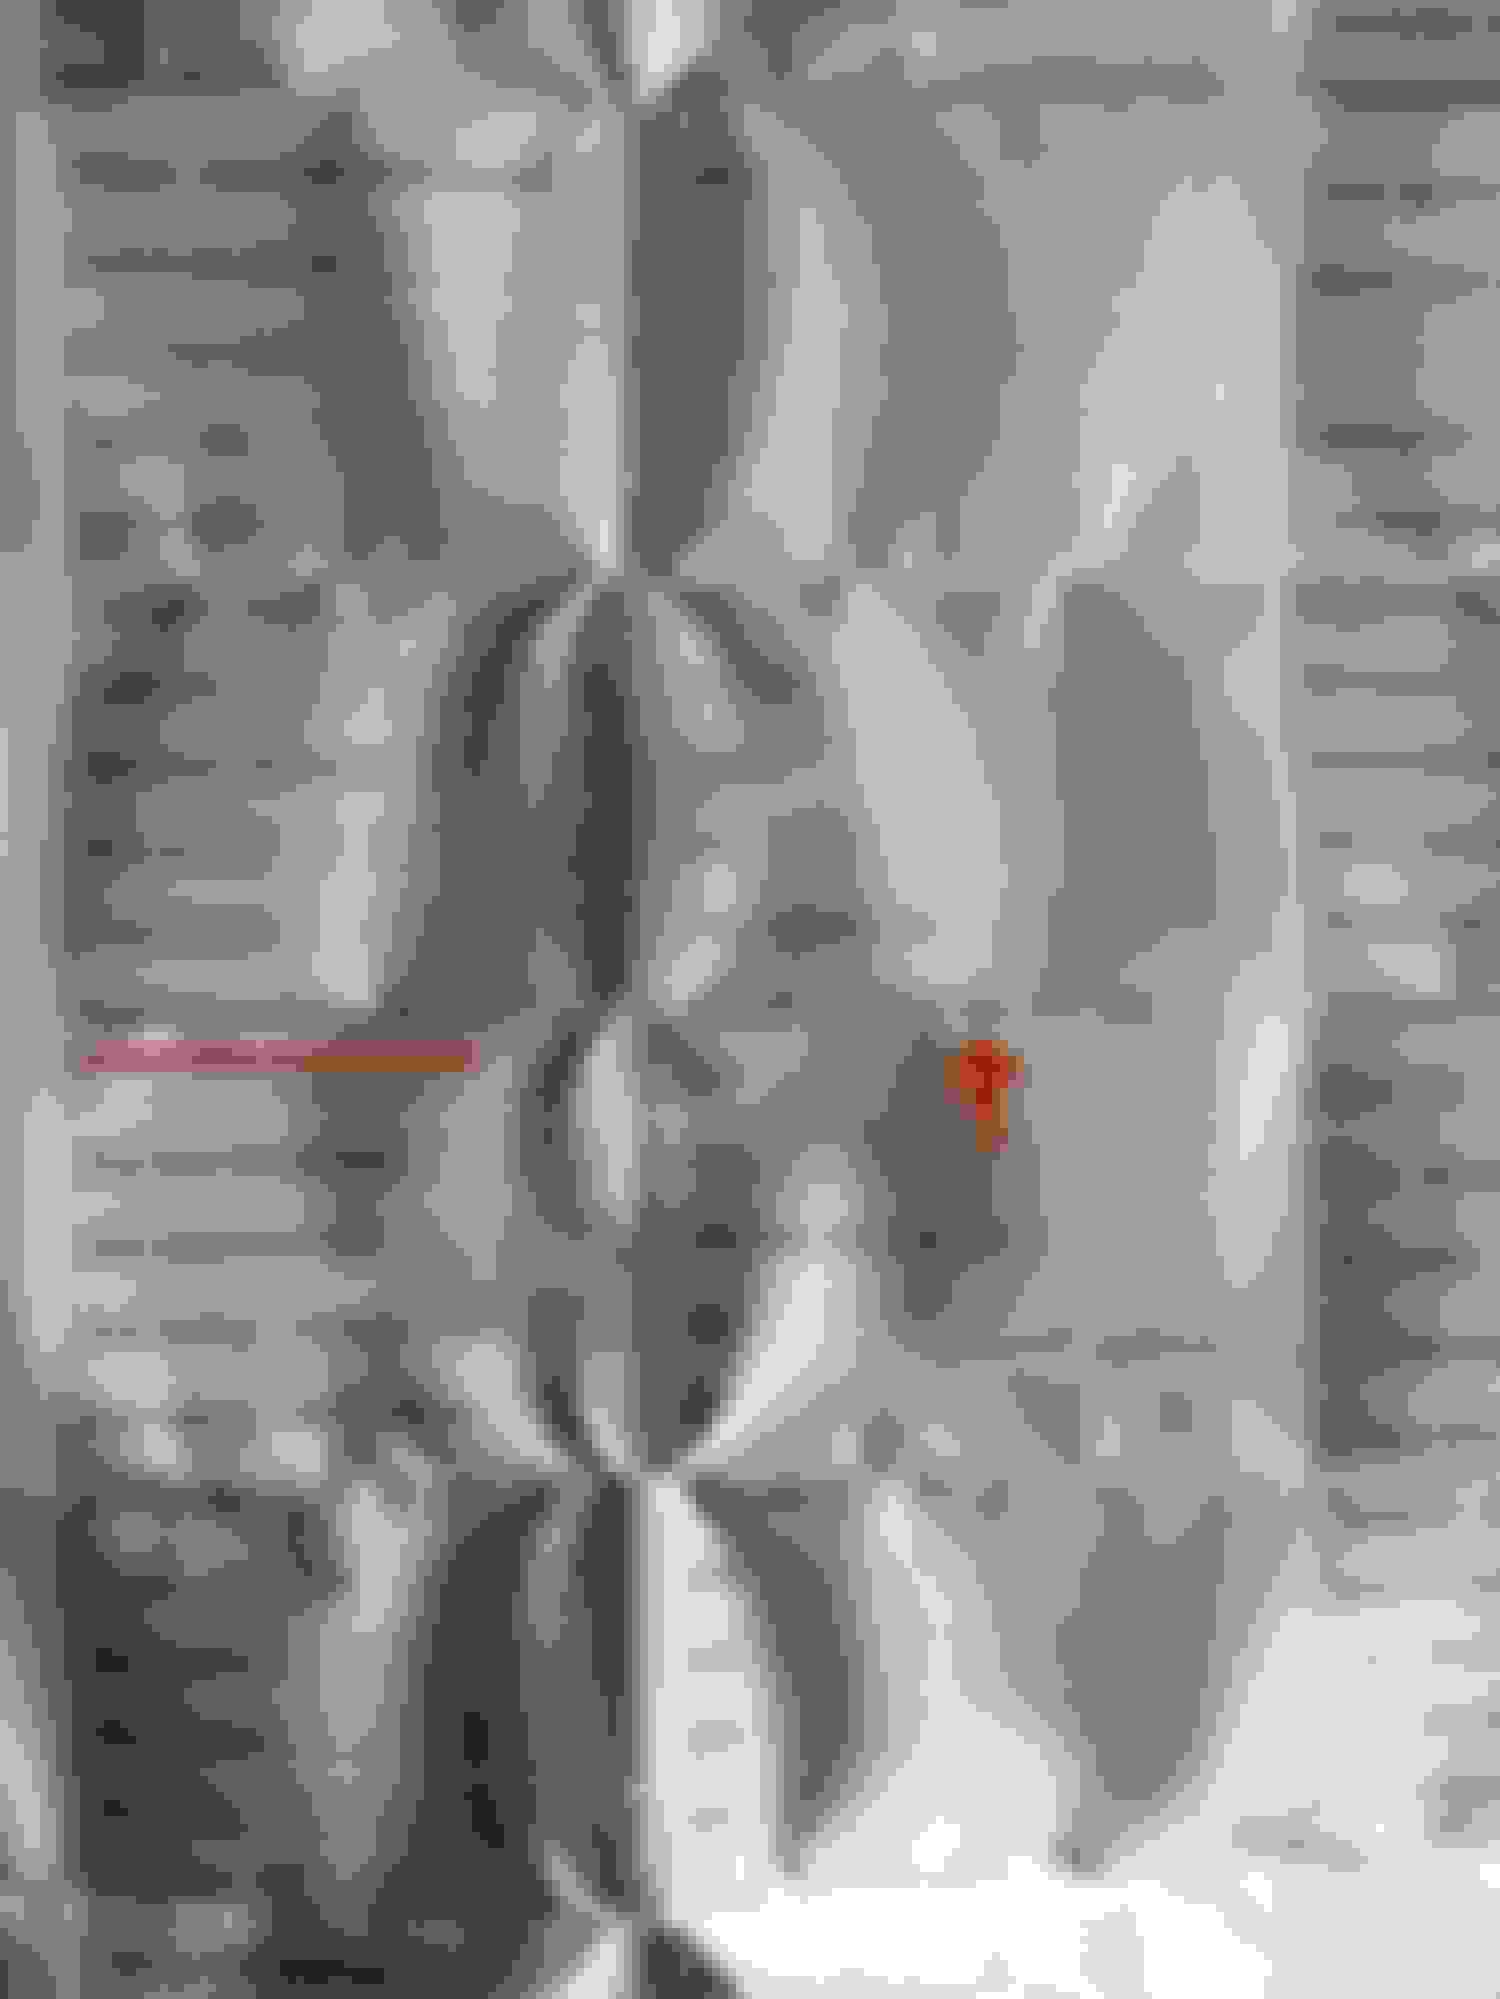
If you were to use the mirror tap option, the larger bundle of wiring to the left is where you should tap into. The right small wire would be your sensor on the windshield (I believe this is for the rain sensor as well as the high beam, maybe distronic). You need to use a multimeter against a ground to see which one has a 12V power. Should be very straight forward from here.
Did you use the other side of the clamp as a backing plate when you drilled it? It took me a while to make the same mount actually work as designed due to the cover being in the way. I would have rather gone with your idea. I might still do that, actually. It�s difficult to reach my home link buttons with my current config. Good idea and thanks for sharing.
Did you use the other side of the clamp as a backing plate when you drilled it? It took me a while to make the same mount actually work as designed due to the cover being in the way. I would have rather gone with your idea. I might still do that, actually. It�s difficult to reach my home link buttons with my current config. Good idea and thanks for sharing.
Yep sure did. See below. I also added rubber washer on the inside of the housing between the clamp to improve clamp force as well as eliminate any rattles/creaks. On the outside, I used a piece of felt tape, cut to size, to prevent any creaks/rattles as well. Then used loctite blue on the screws. Homelink button not impeded in any way.
NIcely done! I'm sure you found, as I did, that removal of the plastic shroud the most difficult part of the install. Any idea what purpose the plastic strap with the barbed ends serves?
NIcely done! I'm sure you found, as I did, that removal of the plastic shroud the most difficult part of the install. Any idea what purpose the plastic strap with the barbed ends serves?
I've done a few of these so it wasn't bad. The strap is supposed to lock in the smaller piece of trim (the one that goes on top of the larger housing). Barb end would help lock the strap in place with no risk of undoing itself. Overengineered for sure lol.
I'm currently trying to hardwire the Viofo A139 Pro Dashcam (going with this because of the latest Sony STARVIS 2 sensor). This dashcam hardwire kit (linked here) comes with the black ground wire, yellow ACC wire and a red wire (requires constant power). Viofo hardwire kit has a battery discharge prevention box which is nice to have.
For the red wire (Constant power), has anyone found a fuse in the rear fuse box that has constant (battery) power and is safe to tap into? I see fuse spot 409 which is supposedly engine electronics but I dont think its a good idea to use that?
The other option that I was thinking was the analog clock which is on the drivers side fuse box but I would prefer something in the rear fuse box as its much easier to access and store excess wire near by.
The passenger footwell *should* have a few always on. Plenty of room to store stuff as well.
[edit] my notes above stated it's all live in the passenger. I ended up splitting the two cables. One to the rear and one to the front. The new blackvue requires constant as well.
When I installed my dashcam, I could not find any footwell fuse block switched circuits -- everything was hot all the time. My G550 has one open fuse socket, and you can buy fuse pigtails at most auto stores that provide an easy way to tap into open fuse socket locations, while providing a fuse to feed you accessory item.
Do you know which one you tapped into? I found a 5A fuse that is part of the "Radio/Navigation System", its fuse 320. It was live but not sure how long it run on the battery (heard about 60 minutes). There are also other ones such as seat adjustment, sliding sunroof. Any suggestions on which to use?
If you use a fuse tap device such as https://www.autozone.com/starting-ch...-tap/32416_0_0, it won't matter which fuse location you tap into. The way this device works is you pull a fuse out of the fuse block and plug it into this fuse tap, along with a second fuse to feed your dash cam. You plug the fuse tap into the fuse block, and it restores fusing to the original fuse circuit and provides an independent fused circuit to your dash cam. This is a much better solution than sharing an existing fuse and risking an accidental fuse failure that could disable your vehicle in unexpected ways. Be sure to plug the fuse tap in the correct way -- the pigtail lead should only be hot when the second fuse is inserted. If it remains hot even with the fuse out, reverse the tap's orientation.
Best way to check for an always hot connection is first thing in the morning after the vehicle has been parked overnight.
Slideshow: A one-of-one U.S.-spec Mercedes-Benz SLR McLaren Roadster became even rarer after a factory-backed transformation at McLaren's headquarters.