When you click on links to various merchants on this site and make a purchase, this can result in this site earning a commission. Affiliate programs and affiliations include, but are not limited to, the eBay Partner Network.
When I decided to upgrade the Burmester Audio system in my GLC I was dismayed to find very little information on this forum for how to go about it. For context and background, I spent 5 years in my late teens and early 20's as an MECP Certified 12v Mobile Electronics technician. I have installed literally hundreds of sound systems and upgrades in customers cars early in my career. I moved on and into home audio and eventually commercial audio and video but even a seasoned pro looks for information before digging into a fresh install if unfamiliar with the platform. What I found was little to nothing specific to the GLC, with most information specifically geared towards upgrading the factory up front "subwoofers" in the footwells. I intend to leave the entirety of the OEM system alone for now and just wanted to focus on adding the low end required to overcome road and wind noise once the weather turns and windows driving begins.
I did find a few helpful threads over on the C43 forum and there was one in particular that helped shed some light on what I would be dealing with in the GLC, although our platform has some differences. In addition, there was some information in that thread that was factually incorrect. So, for future folks looking to do this kind of upgrade, here you go. I highly recommend it and for what it's worth, in the 20+ years I've been installing 12v audio upgrades in mobile and marine environments, both professionally and in recent years, for friends and family, this is quite literally the easiest one I've ever done. No kidding. Everything, and I mean everything, is within a single 2' x 2' area in the hatch to work with. That's it. The hardest part of the whole install was running the cable to the front for the remote bass level control, which I'll get to later on in this thread.
Before starting, remove the cover for the battery, under the hood on the passenger side. Press the tabs on either side of the cabin air filter to release it and pull it up and out of the way. Remove the negative terminal of the batter by loosening the 10mm bolt and gently working it back and forth. I used a flat blade screwdriver to gently pry open the terminal and loosen it. Once it is completely free of the battery, let the car sit for about 20-30mins. There is a capacitor bank that services the factory electrical system and will take a bit to discharge.
I then removed the rear false floor cargo cover and then gently released the carpeted cover for the spare tire/cargo area. With some gentle working it will come out without tools, just easing it free around all the edges and trim.
Once that was removed I used a multimeter to measure 12v at the rear of the car at the actual fuse block itself to verify that the system had drained down completely.
Secondly, we need power and ground of course. For remote turn on, fortunately, most of the quality aftermarket amps provide signal sensing turn on capability which means the amp will be able to determine when there is audio present and turn itself on an off as the audio is on and off automagically.
For the 12v power feed we are quite fortunate that MB has a substantial 4ga power feed running from up front where the battery is to the back of the car where the fuse box/distribution block is. This is plenty of power feed to run upwards of 40-50amps of continuous power, more than enough for 90% of applications. If you are installing an amp with more current requirements than this, you're going to be doing more power upgrades anyway. This application was only going to see 30-40amp draw at maximum so the OEM 4ga feed was more than enough.
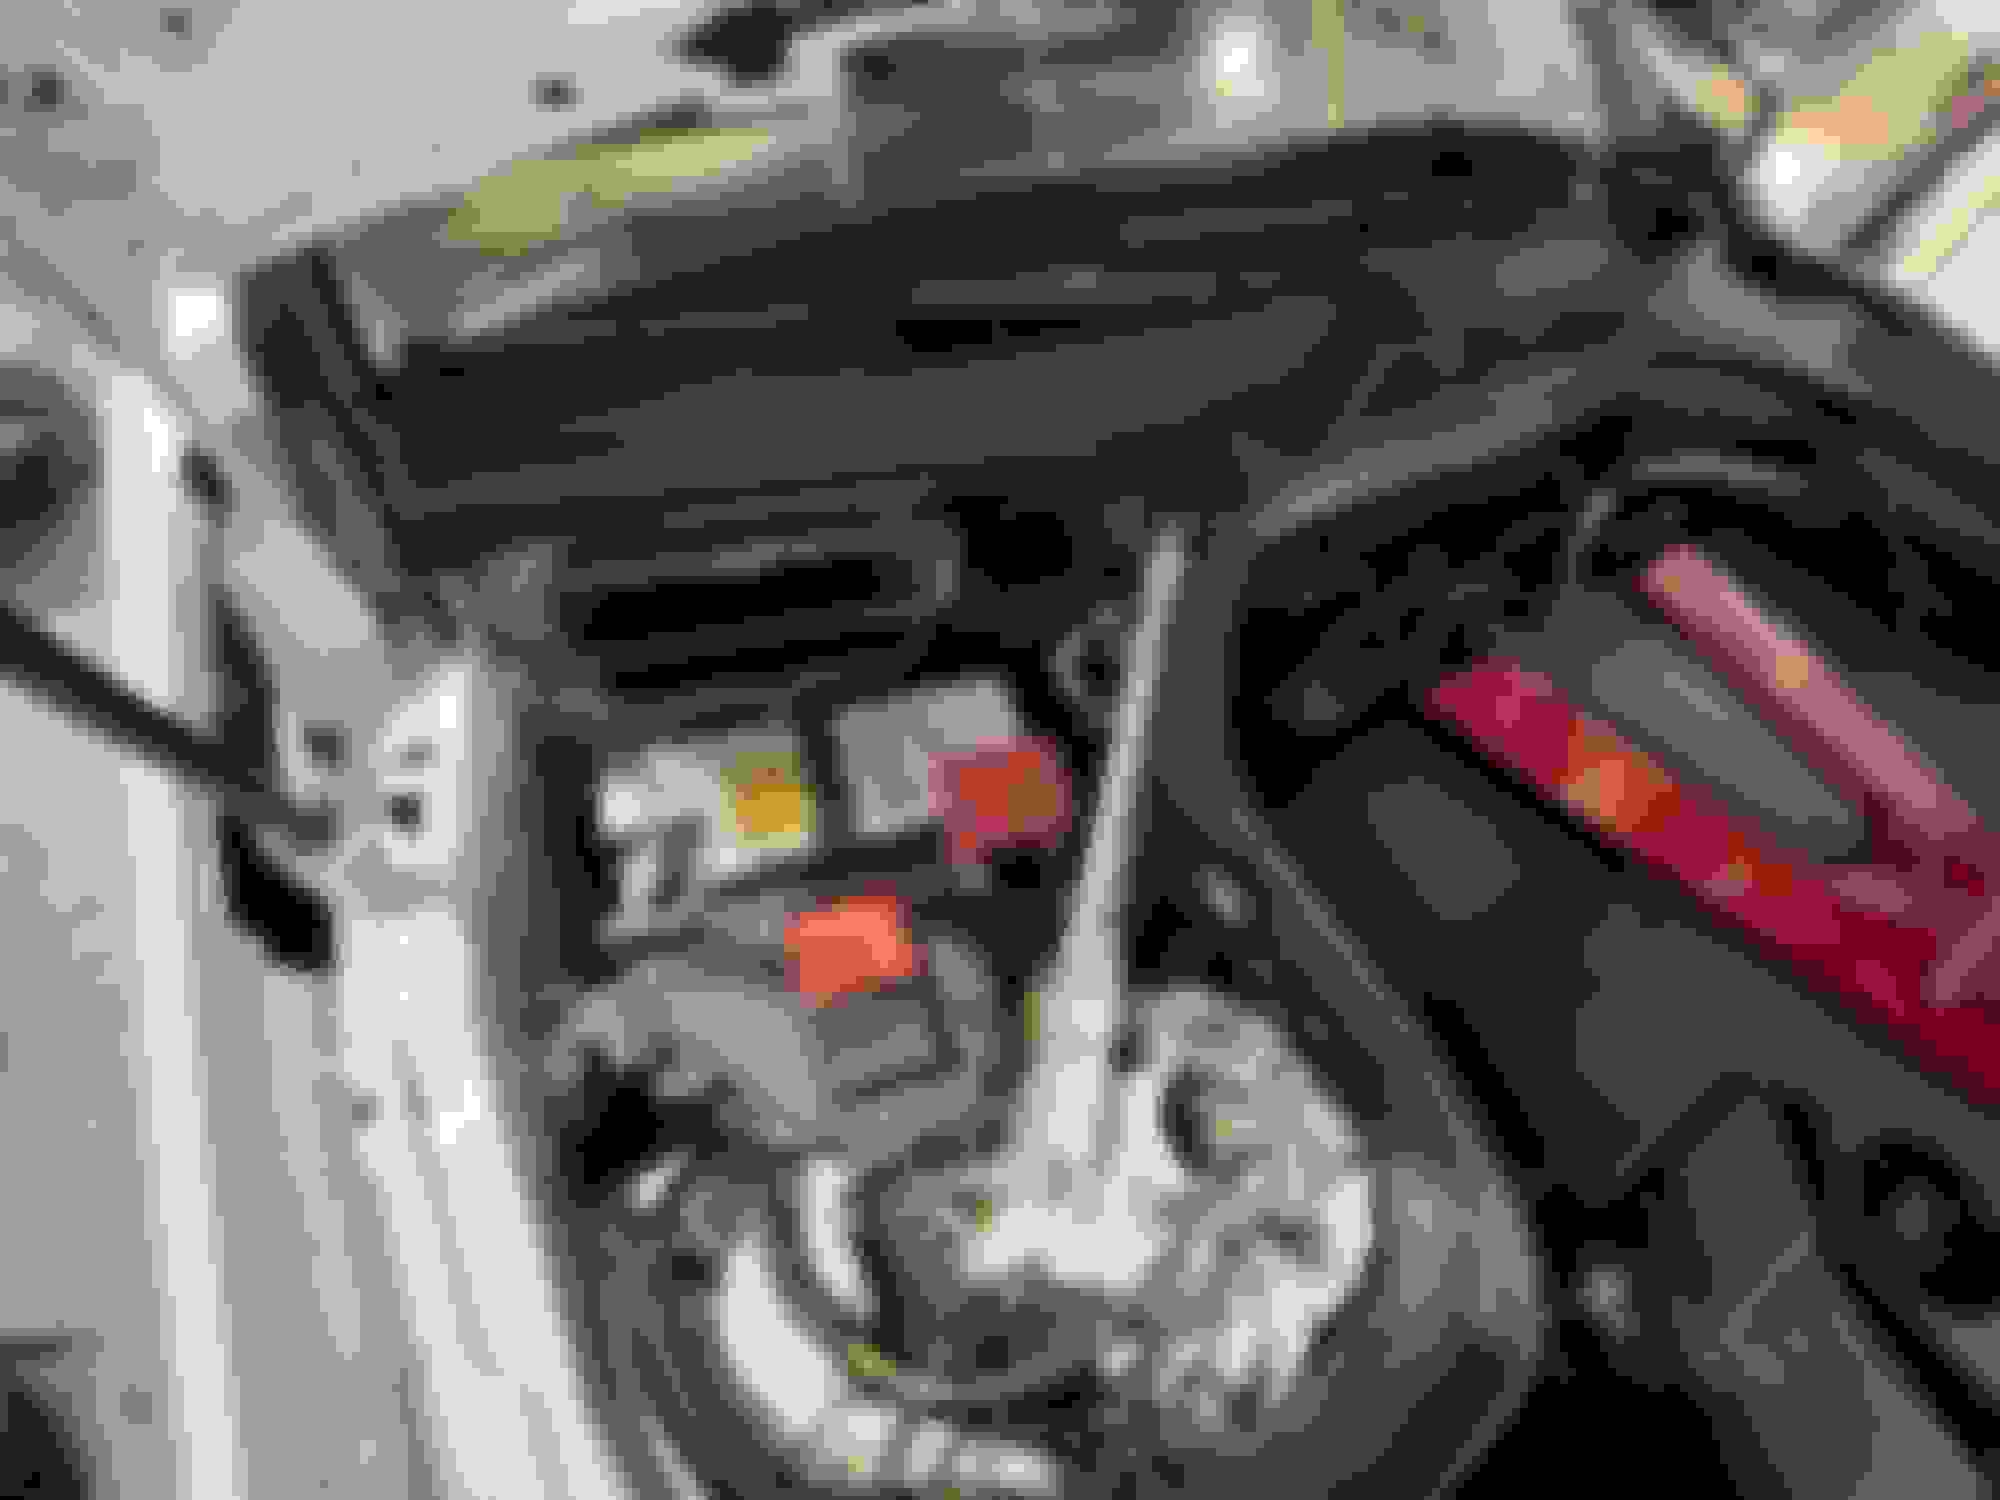
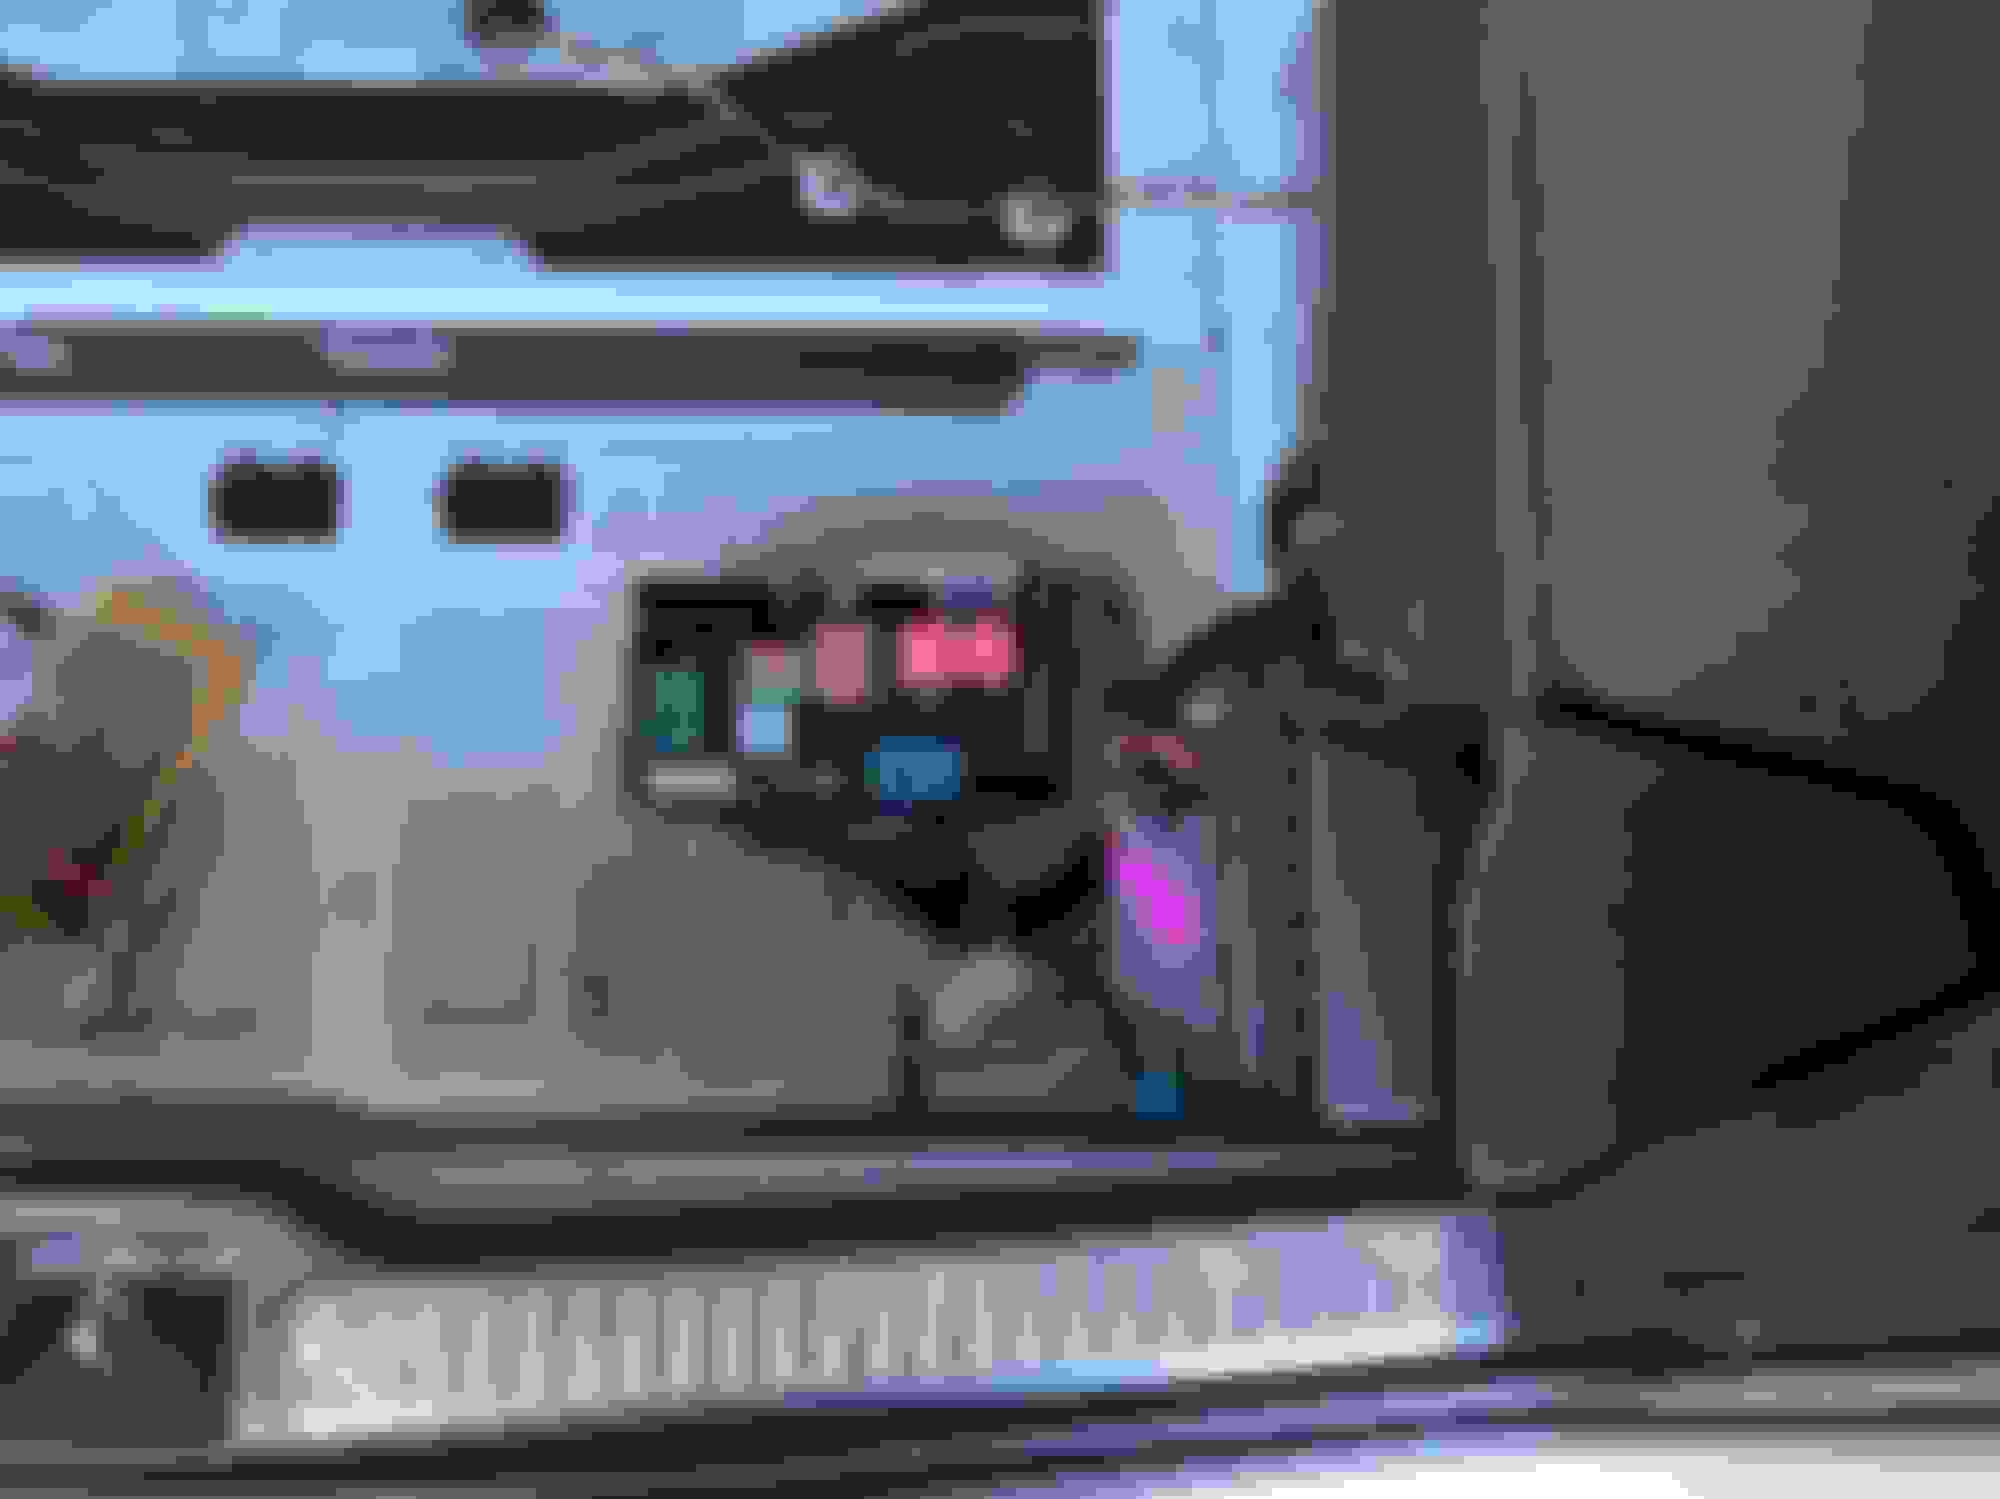
There is a metal tab on the back side of the fuse block assembly that if you press down on it, while gently twisting the plastic enclosure itself, will release the whole assembly and you can then lift it out and remove the rear cover. Be careful as there are a few T20 torx screws and then a few plastic tabs that must be released and cover will come off. This will expose the 4ga terminal. Your aftermarket power wire with a ring terminal on it will connect directly to this 4ga feeder wire post.
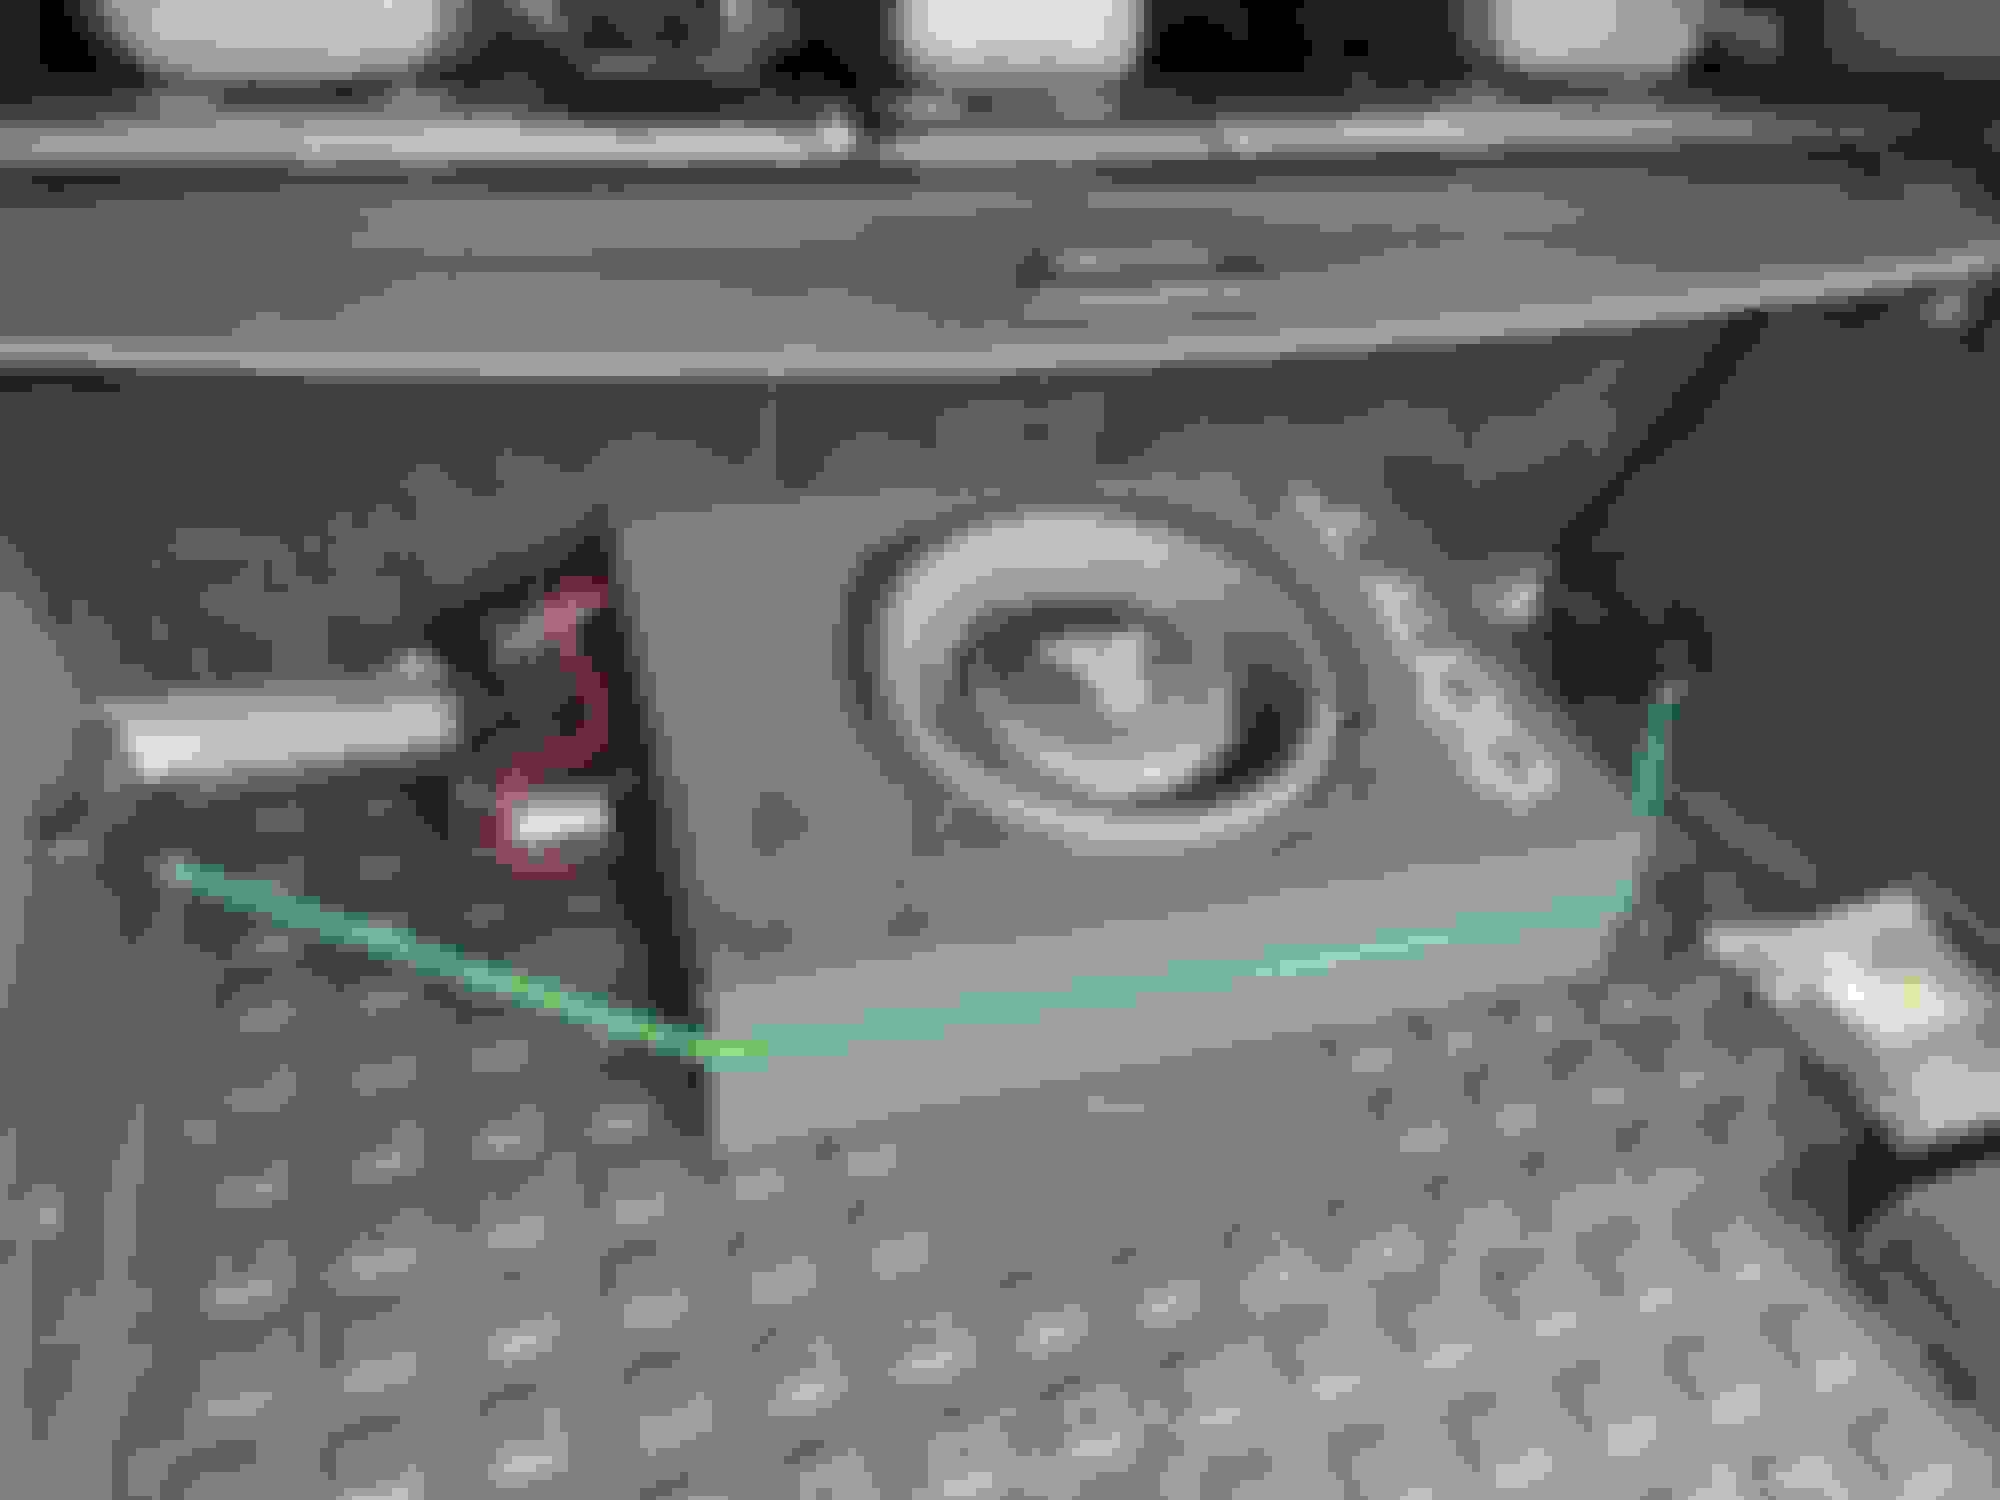
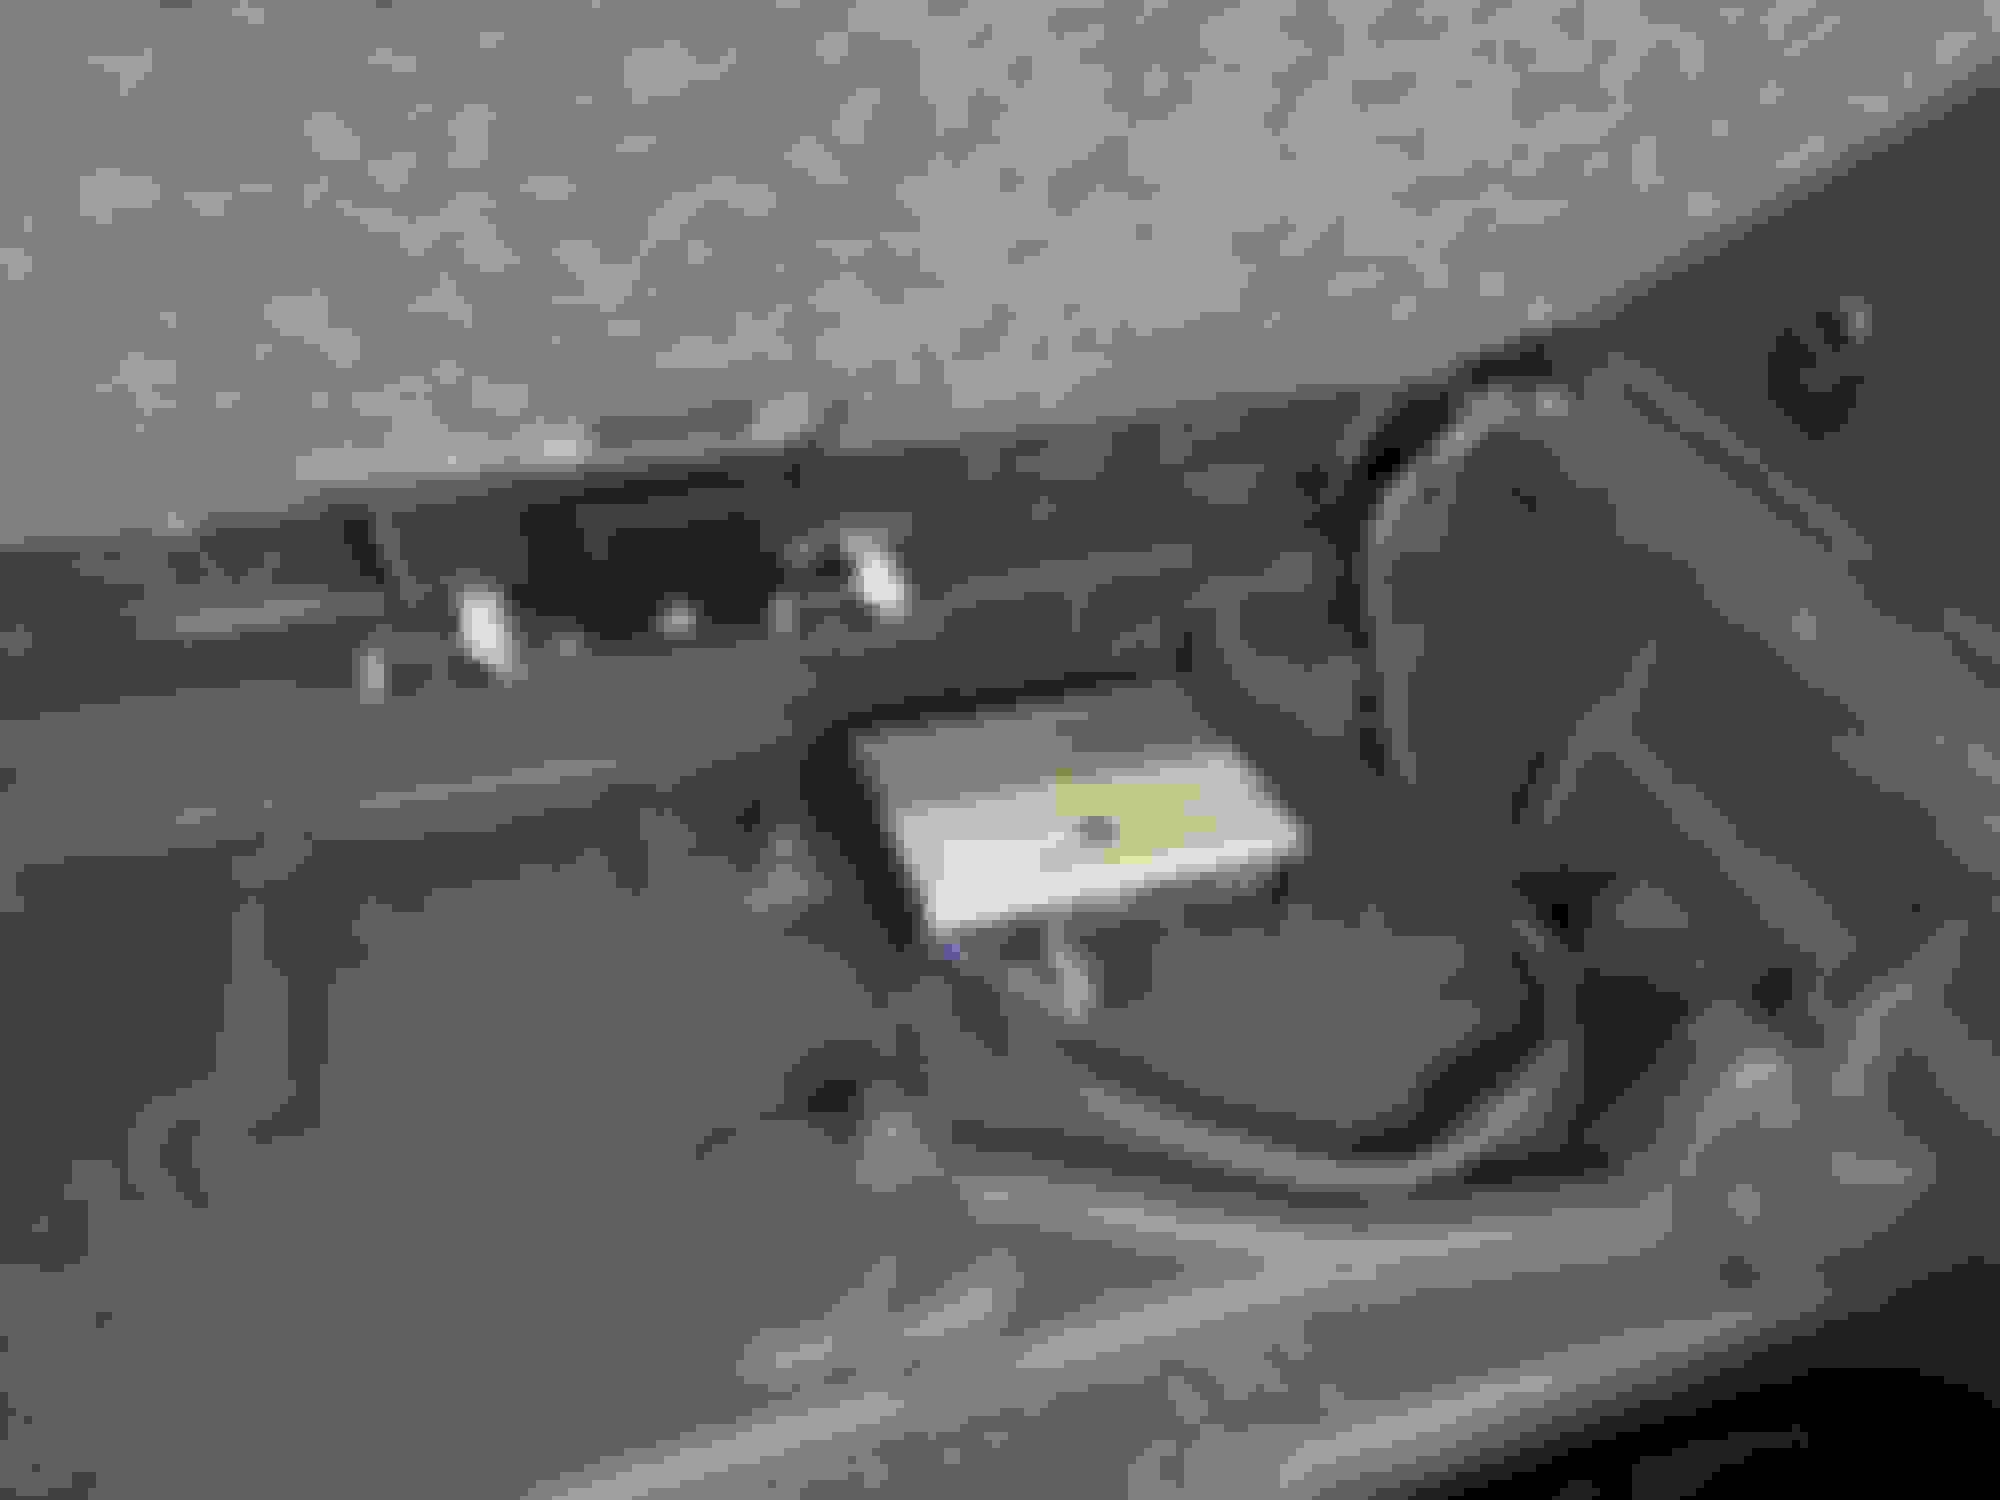
Next is ground, of which there are numerous factory grounding lugs available to choose from. Be aware that painted surfaces will have a dramatic effect on the ability of the lug to conduct 12v correctly so always use a digital multimeter to verify good ground before choosing a spot. I ended up using the false floor mounting bolt due to a couple of factors: ground wires should never exceed more than 3' total length and with the connection point of my powered sub amp being on the far side of my cable routing, that was the closest logical place to ground it. I sanded the mounting point to bare metal and measured with the multimeter to ensure good grounding point.
After power is sorted, we need to get a good clean signal for inputting to our aftermarket amplifiers. The challenge we have with the Burmester system is that while we have a good clean full range signal heading into our front "subwoofers", it is an amplified signal and has much too high voltage for a standard line output converter. Fortunately, JL Audio has created a line output converter device that will accept as high as a 400w factory signal so once we identify and tap those wires, we have our high level signal to feed the line output converter, which will then provide us a clean low level RCA signal to feed into our amp. With the power still disconnected from the battery of course, release the harness from the OEM Burmester amplifier, sitting on the ledge to the right of the fuse block. It is easily identified by the large purple release lever. Simply turn the lever and gently remove the harness from the amp. This harness has the two pairs of neg - and pos + speaker wires we need to tap for our line output converter. After cutting away (very carefully) the OEM tesa tape, locate the violet and pink wire pairs. These will stand out as they are braided the same way and are of a heavier gauge wire than most of the rest of the wires in the harness. If we were hooking up a feed for a mid to high frequency signal, left and right identification would be critical. Fortunately low frequencies and subwoofer frequencies are mixed to mono by the time they make it to the subwoofer anyway (our ears cannot distinguish stereo bass frequencies, or those frequencies generally below 100-120hz) so in this particular instance, left and right is no difference. You just want to make extra sure you get the + and - signals connected correctly. The Pink with black stripe is - and the Pink is +. Violet with black stripe is - and Violet is +. There are a number of ways to go about making this tap - full disclosure, If it were a paying customers car I would have gone about this differently but I honestly was running short on time, had been forced to start and stop this install 3 times over 3 days, and I was ready to be done and put the car back together. I cut the wires, stripped back the insulation on each pair, added my signal wires to one side, then used butt connectors to join them back together again. There are many critics of using this type of connection, and to be honest, I prefer to solder and heat shrink all my connections, however, if done correctly and crimped correctly (this is key) - this connection method is perfectly suitable and functional. Also, as another indicator that I was in a bit of rush at the end, I would have routed the wiring with the power wire (and connected them from underneath, rather than on top) which would have been cleaner. I may actually go back and redo that aspect of the install some day but for now, it works and it rocks, so, carry on.
After making all the connections, mounting the line output converter (I opened up one of the mounting holes with drill bit, then used a free mounting stud on the fuse block plate - also served as my ground for the device) and routing the 12v power wire for the line output converter to an open spot on the fuse block, I ran the power wire and RCA cables behind the factory wheel well. I then used Tesa tape (same OEM black fabric tape used throughout the MB) to clean up the wiring and create an umbilical to run to the JL Audio Powered 10" subwoofer. After making the connections there I ran the supplied RJ11 telephone wire from the cargo area to the front dash for the Remote Bass Control knob. This is a critical device that allows for dialing in more or dialing out for less bass response, only having an effect on the subwoofer itself. The reason this is important is it allows you leave the OEM tone controls alone and only make adjustments to the sub itself. Running this wire was a bit tricky but with some patience it can be routed up and underneath the plastic trim panels from front to rear and up to the drivers side kick panel. I have a plan for mounting the knob permanently up front but it's going to a bit tricky and might be expensive so I'll save that detail for when I actually pull it off. For now, it's simply tied up under the dash on drivers side, next to the OBDII connector.
Once everything is connected, connections checked twice, the fuse goes into the fuse holder and the negative battery cable connected back to the battery. Double checked everything with the multimeter and then powered on the stereo. Signal turned on the line output converter, which then provided RCA level signal to the amp, which then fired up. Using a 50hz tone and connected via USB I set the gain structure on the line output converter first (the clipping light on the device is handy for this - much more information available in the manual). This first step was done with the gain and crossover set to minimum on the JL amp. Once the maximum signal was obtained from the line output converter, I moved to the JL amp and set it's gain accordingly (again, good detailed information in the manual - always remember kids, gain is NOT a volume control!) and then the crossover point to suit my liking.
I didn't want to leave any permanent marks on the cargo area from the subwoofer but still needed a way to make it stay put during "spirited" driving, of which I do a lot of. After starting at it a bit and scratching my head I came up with simplest of solutions. A simple bungee from one cargo anchor to the other holds the subwoofer in place perfectly, and holds up to repeated brake boosted launches, to include 1/4 mile race track time. Easy peasy, removable in seconds.
After driving around for only a few days I quickly realized I had made a mistake in my choice of subwoofer. Mind you, the ported 10" JL subwoofer plays plenty loud. Surprisingly loud for what it is actually. My mistake was forgetting that no matter how many subwoofers I've owned over the years (a LOT) I always gravitate back to sealed enclosures vs. ported enclosures. I really appreciate the lightning quick response and snap that a sealed enclosure has over it's ported counterparts, despite it's relative lower overall output. This led me to try a quick bit of Frankenstein engineering. I have a 12" sealed JL enclosure left over from an install I had in one of my Tacoma's a few years back. It's been collecting dust (as you can clearly see in the pics lol) so I dismantled the JL powered sub and "borrowed" it's amplifier. Removing it and connecting the leads to my sealed 12 I was instantly reminded why I love sealed boxes!
So fortunately I was able to return the JL powered enclosure for a credit, which I then used to purchase a dedicated monoblock subwoofer amp. Since I had the umbilical already made up and taped up, I simply disconnected the old box and wired up the new amp. It took a grand total of 5 minutes. I then used a square of industrial velcro fixed to the bottom of the amp and stuck it right to the carpet in the cargo area. I retuned the system to the new amp, set the gains and all was good. I then took the subwoofer out of the box and hit it up with a light coat of flat black paint to mellow out the bright white JL Audio logo. Didn't care when it was in my Tacoma since it was behind the rear seats but here it was a bit obnoxious. Finally, sourced a stealthy black bungee cord with nice silver hooks and she's all squared away now.
I can't begin to describe what an impact this makes to the OEM system. Sure, from an audiophile standpoint there is A LOT to be desired from the OEM "all midrange and highs" speaker configuration, theres simply no getting around that. Physical limitations to speaker size and location makes fixing this pretty difficult without extensive custom work and an extremely heavy dose of digital signal processing, but, for what it is and what it cost, this transforms the driving experience and the OEM system. One of the primary advantages to the speaker arrangment in this car is subwoofers up front - with the addition of the aftermarket sub the bass is tight and more centered in the car. For those that haven't experienced it before, most aftermarket systems, unless augmented by some really, really strong mid bass drivers, exhibit a very "bass in the back" listening experience. The fact that our factory system has a low frequency presence in the front of the car helps pull that bass response from the aftermarket subwoofer forward and more at the listening position. It's truly a great listening experience. When it was all done and tuned up right I had my son sit with me a listen to the live recording of the Eagles "Hotel California" from the album Hell Freezes Over. I told him to close his eyes and just listen. When that first bass drum hits and resonates with each progressive beat his face lit up! He said it gave him goose bumps. It did for me too. It always has, always will. Anyway, if you made it this far and are still with me - enjoy and feel free to ask any questions. I'm happy to help. Even though I'm not in the biz anymore and don't have connections for buying gear at cost I do still tend to shop around. Crutchfield always has been and always will be my go-to for gear when I can't get it at cost through friends but this particular system had me looking elsewhere since they didn't have the gear I wanted in stock. I found Creative Audio online and was very, very happy with the shopping experience. I got a great deal on the amp that I swapped for the powered box by purchasing an available open box unit which looked perfect and functions just like new. I saved 70$ from that alone. Would highly recommend them. Also, I was a factory trained technician for JL Audio and to this day they still make some of the highest quality mobile, home and marine speakers and electronics available. Can't recommend them highly enough. That's about it. I'm tired of typing lol.
Subwoofer 1: JL Powered 10" enclosure, ported - https://www.jlaudio.com/collections/...-systems-93332
Subwoofer 2: JL 12 TW3 Sealed enclosure - https://www.jlaudio.com/collections/...-systems-93303
Amplifier 2: JL XD 600/1 - Amazing bang for the buck and small footprint! - https://www.jlaudio.com/collections/...plifiers-98604
Line Output Converter: https://www.jlaudio.com/collections/...ocessors-98413
Remote Bass Control - https://www.jlaudio.com/collections/...essories-98118
Amp Install Kit - LOVE this brand and the quality/cost ratio they offer: https://smile.amazon.com/gp/product/...?ie=UTF8&psc=1
So does the LoC allow you to use an amp without DSP ? Or does that JL amp have a DSP built in ?
Correct. For this specific application DSP is unnecessary. But there should be some clarification about what Digital Signal Processing is going to do for your signal; if adding ONLY a subwoofer, there is no "post Burmester" amplifier processing necessary. The signal is full range and amplified - the JL LoC has active circuitry that can accept that amplified signal and convert to usable low level RCA signal. If I were to add amplification to the mid range and tweeter drivers in this system I would consider using a DSP amplifier or outboard DSP, although strictly speaking, it still isn't an absolute requirement. Having the digital signal processing affords the ability to manipulate crossover points, add equalization, and time delay on specific output channels - making significant impact on overall sound quality of the system. This is not a technical requirement however to obtain a signal and then amplify it after the fact. Think of it as - if I take the signal from the Burmester amp - I'm only increasing what the Burmester gives me. If I take that signal and run it through processing, now I can manipulate it however I choose. The beauty of the Burmester system (if upgrading the amplification and speakers) is the ability to grab that signal via optical cable and send it through devices such as the ZenTV module, then running directly to DSP. But again, my intent at this time was just to augment the full OEM system with added low end. It still lacks any kind of real midrange and midbass whatsoever. If I decide to keep this thing beyond the next two years, I'll very likely end up changing the entire front stage speakers (foot well subs, door mids and highs) and running them through a DSP and dedicated amplifier. Hope all that made sense? It's actually a bit more complicated than what I described but it can get pretty geeky.
Last edited by sbradleyhall; Mar 25, 2021 at 03:53 PM.
I have been wanting to do a sub upgrade since the day I drove off the lot. Thanks for taking the time to do this very detailed write up! You probably spent more time on it than the install, LOL.
I have been wanting to do a sub upgrade since the day I drove off the lot. Thanks for taking the time to do this very detailed write up! You probably spent more time on it than the install, LOL.
Glad you were able to get something from it! And I'm happy that it's benefiting someone who's interested it doing their own upgrade. I can't recommend it highly enough - makes cruising that much more enjoyable. Full disclosure though, when I'm driving "spirited" I usually turn the audio system completely off just to enjoy the aural delight of the car itself
When I decided to upgrade the Burmester Audio system in my GLC I was dismayed to find very little information on this forum for how to go about it. For context and background, I spent 5 years in my late teens and early 20's as an MECP Certified 12v Mobile Electronics technician. I have installed literally hundreds of sound systems and upgrades in customers cars early in my career. I moved on and into home audio and eventually commercial audio and video but even a seasoned pro looks for information before digging into a fresh install if unfamiliar with the platform. What I found was little to nothing specific to the GLC, with most information specifically geared towards upgrading the factory up front "subwoofers" in the footwells. I intend to leave the entirety of the OEM system alone for now and just wanted to focus on adding the low end required to overcome road and wind noise once the weather turns and windows driving begins.
I did find a few helpful threads over on the C43 forum and there was one in particular that helped shed some light on what I would be dealing with in the GLC, although our platform has some differences. In addition, there was some information in that thread that was factually incorrect. So, for future folks looking to do this kind of upgrade, here you go. I highly recommend it and for what it's worth, in the 20+ years I've been installing 12v audio upgrades in mobile and marine environments, both professionally and in recent years, for friends and family, this is quite literally the easiest one I've ever done. No kidding. Everything, and I mean everything, is within a single 2' x 2' area in the hatch to work with. That's it. The hardest part of the whole install was running the cable to the front for the remote bass level control, which I'll get to later on in this thread.
Before starting, remove the cover for the battery, under the hood on the passenger side. Press the tabs on either side of the cabin air filter to release it and pull it up and out of the way. Remove the negative terminal of the batter by loosening the 10mm bolt and gently working it back and forth. I used a flat blade screwdriver to gently pry open the terminal and loosen it. Once it is completely free of the battery, let the car sit for about 20-30mins. There is a capacitor bank that services the factory electrical system and will take a bit to discharge.
I then removed the rear false floor cargo cover and then gently released the carpeted cover for the spare tire/cargo area. With some gentle working it will come out without tools, just easing it free around all the edges and trim.
Once that was removed I used a multimeter to measure 12v at the rear of the car at the actual fuse block itself to verify that the system had drained down completely.
Secondly, we need power and ground of course. For remote turn on, fortunately, most of the quality aftermarket amps provide signal sensing turn on capability which means the amp will be able to determine when there is audio present and turn itself on an off as the audio is on and off automagically.
For the 12v power feed we are quite fortunate that MB has a substantial 4ga power feed running from up front where the battery is to the back of the car where the fuse box/distribution block is. This is plenty of power feed to run upwards of 40-50amps of continuous power, more than enough for 90% of applications. If you are installing an amp with more current requirements than this, you're going to be doing more power upgrades anyway. This application was only going to see 30-40amp draw at maximum so the OEM 4ga feed was more than enough.
There is a metal tab on the back side of the fuse block assembly that if you press down on it, while gently twisting the plastic enclosure itself, will release the whole assembly and you can then lift it out and remove the rear cover. Be careful as there are a few T20 torx screws and then a few plastic tabs that must be released and cover will come off. This will expose the 4ga terminal. Your aftermarket power wire with a ring terminal on it will connect directly to this 4ga feeder wire post.
Next is ground, of which there are numerous factory grounding lugs available to choose from. Be aware that painted surfaces will have a dramatic effect on the ability of the lug to conduct 12v correctly so always use a digital multimeter to verify good ground before choosing a spot. I ended up using the false floor mounting bolt due to a couple of factors: ground wires should never exceed more than 3' total length and with the connection point of my powered sub amp being on the far side of my cable routing, that was the closest logical place to ground it. I sanded the mounting point to bare metal and measured with the multimeter to ensure good grounding point.
After power is sorted, we need to get a good clean signal for inputting to our aftermarket amplifiers. The challenge we have with the Burmester system is that while we have a good clean full range signal heading into our front "subwoofers", it is an amplified signal and has much too high voltage for a standard line output converter. Fortunately, JL Audio has created a line output converter device that will accept as high as a 400w factory signal so once we identify and tap those wires, we have our high level signal to feed the line output converter, which will then provide us a clean low level RCA signal to feed into our amp. With the power still disconnected from the battery of course, release the harness from the OEM Burmester amplifier, sitting on the ledge to the right of the fuse block. It is easily identified by the large purple release lever. Simply turn the lever and gently remove the harness from the amp. This harness has the two pairs of neg - and pos + speaker wires we need to tap for our line output converter. After cutting away (very carefully) the OEM tesa tape, locate the violet and pink wire pairs. These will stand out as they are braided the same way and are of a heavier gauge wire than most of the rest of the wires in the harness. If we were hooking up a feed for a mid to high frequency signal, left and right identification would be critical. Fortunately low frequencies and subwoofer frequencies are mixed to mono by the time they make it to the subwoofer anyway (our ears cannot distinguish stereo bass frequencies, or those frequencies generally below 100-120hz) so in this particular instance, left and right is no difference. You just want to make extra sure you get the + and - signals connected correctly. The Pink with black stripe is - and the Pink is +. Violet with black stripe is - and Violet is +. There are a number of ways to go about making this tap - full disclosure, If it were a paying customers car I would have gone about this differently but I honestly was running short on time, had been forced to start and stop this install 3 times over 3 days, and I was ready to be done and put the car back together. I cut the wires, stripped back the insulation on each pair, added my signal wires to one side, then used butt connectors to join them back together again. There are many critics of using this type of connection, and to be honest, I prefer to solder and heat shrink all my connections, however, if done correctly and crimped correctly (this is key) - this connection method is perfectly suitable and functional. Also, as another indicator that I was in a bit of rush at the end, I would have routed the wiring with the power wire (and connected them from underneath, rather than on top) which would have been cleaner. I may actually go back and redo that aspect of the install some day but for now, it works and it rocks, so, carry on.
After making all the connections, mounting the line output converter (I opened up one of the mounting holes with drill bit, then used a free mounting stud on the fuse block plate - also served as my ground for the device) and routing the 12v power wire for the line output converter to an open spot on the fuse block, I ran the power wire and RCA cables behind the factory wheel well. I then used Tesa tape (same OEM black fabric tape used throughout the MB) to clean up the wiring and create an umbilical to run to the JL Audio Powered 10" subwoofer. After making the connections there I ran the supplied RJ11 telephone wire from the cargo area to the front dash for the Remote Bass Control knob. This is a critical device that allows for dialing in more or dialing out for less bass response, only having an effect on the subwoofer itself. The reason this is important is it allows you leave the OEM tone controls alone and only make adjustments to the sub itself. Running this wire was a bit tricky but with some patience it can be routed up and underneath the plastic trim panels from front to rear and up to the drivers side kick panel. I have a plan for mounting the knob permanently up front but it's going to a bit tricky and might be expensive so I'll save that detail for when I actually pull it off. For now, it's simply tied up under the dash on drivers side, next to the OBDII connector.
Once everything is connected, connections checked twice, the fuse goes into the fuse holder and the negative battery cable connected back to the battery. Double checked everything with the multimeter and then powered on the stereo. Signal turned on the line output converter, which then provided RCA level signal to the amp, which then fired up. Using a 50hz tone and connected via USB I set the gain structure on the line output converter first (the clipping light on the device is handy for this - much more information available in the manual). This first step was done with the gain and crossover set to minimum on the JL amp. Once the maximum signal was obtained from the line output converter, I moved to the JL amp and set it's gain accordingly (again, good detailed information in the manual - always remember kids, gain is NOT a volume control!) and then the crossover point to suit my liking.
I didn't want to leave any permanent marks on the cargo area from the subwoofer but still needed a way to make it stay put during "spirited" driving, of which I do a lot of. After starting at it a bit and scratching my head I came up with simplest of solutions. A simple bungee from one cargo anchor to the other holds the subwoofer in place perfectly, and holds up to repeated brake boosted launches, to include 1/4 mile race track time. Easy peasy, removable in seconds.
After driving around for only a few days I quickly realized I had made a mistake in my choice of subwoofer. Mind you, the ported 10" JL subwoofer plays plenty loud. Surprisingly loud for what it is actually. My mistake was forgetting that no matter how many subwoofers I've owned over the years (a LOT) I always gravitate back to sealed enclosures vs. ported enclosures. I really appreciate the lightning quick response and snap that a sealed enclosure has over it's ported counterparts, despite it's relative lower overall output. This led me to try a quick bit of Frankenstein engineering. I have a 12" sealed JL enclosure left over from an install I had in one of my Tacoma's a few years back. It's been collecting dust (as you can clearly see in the pics lol) so I dismantled the JL powered sub and "borrowed" it's amplifier. Removing it and connecting the leads to my sealed 12 I was instantly reminded why I love sealed boxes!
So fortunately I was able to return the JL powered enclosure for a credit, which I then used to purchase a dedicated monoblock subwoofer amp. Since I had the umbilical already made up and taped up, I simply disconnected the old box and wired up the new amp. It took a grand total of 5 minutes. I then used a square of industrial velcro fixed to the bottom of the amp and stuck it right to the carpet in the cargo area. I retuned the system to the new amp, set the gains and all was good. I then took the subwoofer out of the box and hit it up with a light coat of flat black paint to mellow out the bright white JL Audio logo. Didn't care when it was in my Tacoma since it was behind the rear seats but here it was a bit obnoxious. Finally, sourced a stealthy black bungee cord with nice silver hooks and she's all squared away now.
I can't begin to describe what an impact this makes to the OEM system. Sure, from an audiophile standpoint there is A LOT to be desired from the OEM "all midrange and highs" speaker configuration, theres simply no getting around that. Physical limitations to speaker size and location makes fixing this pretty difficult without extensive custom work and an extremely heavy dose of digital signal processing, but, for what it is and what it cost, this transforms the driving experience and the OEM system. One of the primary advantages to the speaker arrangment in this car is subwoofers up front - with the addition of the aftermarket sub the bass is tight and more centered in the car. For those that haven't experienced it before, most aftermarket systems, unless augmented by some really, really strong mid bass drivers, exhibit a very "bass in the back" listening experience. The fact that our factory system has a low frequency presence in the front of the car helps pull that bass response from the aftermarket subwoofer forward and more at the listening position. It's truly a great listening experience. When it was all done and tuned up right I had my son sit with me a listen to the live recording of the Eagles "Hotel California" from the album Hell Freezes Over. I told him to close his eyes and just listen. When that first bass drum hits and resonates with each progressive beat his face lit up! He said it gave him goose bumps. It did for me too. It always has, always will. Anyway, if you made it this far and are still with me - enjoy and feel free to ask any questions. I'm happy to help. Even though I'm not in the biz anymore and don't have connections for buying gear at cost I do still tend to shop around. Crutchfield always has been and always will be my go-to for gear when I can't get it at cost through friends but this particular system had me looking elsewhere since they didn't have the gear I wanted in stock. I found Creative Audio online and was very, very happy with the shopping experience. I got a great deal on the amp that I swapped for the powered box by purchasing an available open box unit which looked perfect and functions just like new. I saved 70$ from that alone. Would highly recommend them. Also, I was a factory trained technician for JL Audio and to this day they still make some of the highest quality mobile, home and marine speakers and electronics available. Can't recommend them highly enough. That's about it. I'm tired of typing lol.
Subwoofer 1: JL Powered 10" enclosure, ported - https://www.jlaudio.com/collections/...-systems-93332
Subwoofer 2: JL 12 TW3 Sealed enclosure - https://www.jlaudio.com/collections/...-systems-93303
Amplifier 2: JL XD 600/1 - Amazing bang for the buck and small footprint! - https://www.jlaudio.com/collections/...plifiers-98604
Line Output Converter: https://www.jlaudio.com/collections/...ocessors-98413
Remote Bass Control - https://www.jlaudio.com/collections/...essories-98118
Amp Install Kit - LOVE this brand and the quality/cost ratio they offer: https://smile.amazon.com/gp/product/...?ie=UTF8&psc=1
What abputbthe glc300 4matic ? Do I have to run the power from the battery or can I use this method , not sure if I have the upgraded system I I want to add an amp amd subs thanks
What abputbthe glc300 4matic ? Do I have to run the power from the battery or can I use this method , not sure if I have the upgraded system I I want to add an amp amd subs thanks
You'll have the matte silver Burmester speaker grills if you have the upgraded audio system - the door speaker grills will be black if you do not. Unfortunately I don't know if the signal for the line output can be obtained from the rear of the suv on the non-Burmester system, however, you should still be able to utilize the power feed from the same auxiliary fuse box location.
Can this 4ga wire be used to charge the battery in the engine bay? I am thinking if this is possible I can tap into the 4ga and leave a battery charger in the trunk for charging.
Last edited by PartyVan; Jun 19, 2021 at 08:17 AM.
You'll have the matte silver Burmester speaker grills if you have the upgraded audio system - the door speaker grills will be black if you do not. Unfortunately I don't know if the signal for the line output can be obtained from the rear of the suv on the non-Burmester system, however, you should still be able to utilize the power feed from the same auxiliary fuse box location.
Think i just found it � right beside the sub in the firewall, passenger side�
Hi Bradley. I just saw this post related to upgrading the audio system in your vehicle; very informative! I have a quick question for you; I'm having a very difficult time removing the false floor / carpeted area. Can you please explain how you were able to remove this? Thank you for any help you can provide.
Thanks so much for this detailed write up. My 2020 GLC63 is on a truck this week across the country to me and hopefully the goodies I need for an install similar to yours will be waiting for me when I get back from my LA trip to Weistec. They are going to put in their CPC module for me including TCU & ECU tune (crappy CAN 91 octane tune) but should be fun. Turbos coming in the summer. My kids want to make YouTube videos out of it!
Hi there, just have to say your post is on exactly what I was looking for, I am planning a full rockford fosgate upgrade on my GLC 250d, I have the components but I�m having difficulty with the retrofitting the 8inch woofers in the floor, as these require a specific housing, don�t know where to get them further more my plan includes upgrading the 4inch door speakers and tweeters and adding 2x 12 closed boxed subwoofers with mono block amp,I�ll be running the door speakers off a separate amp and a dsp as I don�t have the burmester package,at this point I have no one skilled enough to do this type of install for me in Ireland, please help!
Sbradleyhall thank you for the detailed write up. Your craftsmanship, quality of work and attention to detail are excellent, very nice job!
I did something similar in my 2018 GLC43 SUV. I have owned and installed many JL Audio products and am a big fan of their great products. This time I opted to use the Audio Control LC2i Pro LOC which I fed in to a Sundown Audio SFB-1500D amp. I fiberglassed an enclosure to fit underneath the factory carpeted floor cover so no cargo area was lost. The fiberglass enclosure houses a 15” DC Audio level 3 subwoofer and the results were dramatic. I will try to find some time to post some pictures.
Thanks again.
When I decided to upgrade the Burmester Audio system in my GLC I was dismayed to find very little information on this forum for how to go about it.
I wouldn�t have been too surprised mate, I couldn�t even get basic torque settings for a simple brake/ rotor change�even though many peeps seem to have done it. In that regard, anyone adding info to the DIY technical side of the fence is great.
What abputbthe glc300 4matic ? Do I have to run the power from the battery or can I use this method , not sure if I have the upgraded system I I want to add an amp amd subs thanks
is there a remote turn on back there.. I'm using 2 amplified bass tubes
What abputbthe glc300 4matic ? Do I have to run the power from the battery or can I use this method , not sure if I have the upgraded system I I want to add an amp amd subs thanks
is there a remote turn on back there.. I'm using 2 amplified bass tubes
Thanks for posting this. I just got my 2020 GLC43 and as a long time car stereo fanatic, disappointed is putting mildly how I feel about the factory system. If/when you get around to doing a full job replacing the rest of the system, please post it. Thank you
Sbradleyhall thank you for the detailed write up. Your craftsmanship, quality of work and attention to detail are excellent, very nice job!
I did something similar in my 2018 GLC43 SUV. I have owned and installed many JL Audio products and am a big fan of their great products. This time I opted to use the Audio Control LC2i Pro LOC which I fed in to a Sundown Audio SFB-1500D amp. I fiberglassed an enclosure to fit underneath the factory carpeted floor cover so no cargo area was lost. The fiberglass enclosure houses a 15� DC Audio level 3 subwoofer and the results were dramatic. I will try to find some time to post some pictures.
Thanks again.
Excellent write up! I just did this install on my 2019 GLC 300, with the same LOC, but connected it to a powered sub.. As for the ground connection you made, how did you get that bolt out??? Looks like it's a hex bolt, but with that false floor propped up with the hook, I can't get a tool in there to get that bolt out? Would putting the rear seats forward give more room?
Excellent write up! I just did this install on my 2019 GLC 300, with the same LOC, but connected it to a powered sub.. As for the ground connection you made, how did you get that bolt out??? Looks like it's a hex bolt, but with that false floor propped up with the hook, I can't get a tool in there to get that bolt out? Would putting the rear seats forward give more room?
@dedney1775 , do you mean the ground lug under the Torx bolt in this pic?
From OP's pics, this is exactly the state it was in when I did it. The false floor pulls out completely which makes it much easier to work. Fold the seats down and use your tool of choice. It was in there pretty tight, but I'm fairly sure I just used a 3/8" ratchet and Torx socket/bit. It's been a couple of years though.
Still one of the best write-ups for stuff like this that I've come across! Sounds great, went in pretty easy, and the write up had a lot of great general install tips I've used elsewhere since then.
Much appreciated @sbradleyhall !
Thanks for the reply. I keep forgetting to check, but I think my floor doesn't slide out. Working a ton if hours lately, so I keep forgetting to try again.
As for mounting the powered sub - does anyone know if it could be mounted under that false floor, on that black matting? Or, would that floor distort or take away from the bass?
I still have to dial in the LOC and sub too. I can hear a tiny bit of the bass when I'm back there.
I followed your directions to install a JL Audio LOC and JL Audio amplified 8 inch sub. Everything works perfect and in case anyone wonders these little JL amplified subs hit really hard.
I'm so stoked that so many people were able to use this tutorial to help them with their installs. I have done this install on a second GLC43 and just removed it again to sell the car. It always makes me laugh how quickly these things can be uninstalled considering how much time it takes to install them! Removed without a trace, 20 mins done. I'm really just happy this thread will hopefully live on and be useful for many years into the future. I'll be posting my love letter goodbye to my second GLC43 in the coming weeks....I'm going to miss this little monster dearly.