When you click on links to various merchants on this site and make a purchase, this can result in this site earning a commission. Affiliate programs and affiliations include, but are not limited to, the eBay Partner Network.
Just installed these today. MB doesn't make mud flaps for the Coupe, only the SUV. Had to order them from China. Links are below for anyone interested.
The front ones were, once I figured out what hardware was needed and what wasn't. They come with extra parts. The rear ones were a different story. First, I should start with the fact that I installed them without removing the wheels. This left no space whatsoever in the rear for a screwdriver. I had to use a Phillips head bit and a socket adapter and drive the screws with my bare hands. Hard to produce any torque like that. I was basically figuring out the entire process as I went. If I had to install another set, it would be much easier now that I know the routine.
The price was a steal, compared to the MB set for the GLE43 SUV. Their MSRP is $272 for the front and rear.
Sorry for the late response. I just noticed your post.
No, they did not come with any instructions. They came exactly as pictured. The mud flaps were in a plain brown box with a plastic bag containing the mounting hardware. I emailed the seller and he sent me a generic installation video for a completely different model vehicle. It was absolutely useless. Once you match up the holes in the mud flaps to the push pin fasteners in the wheel wells, it's pretty much self explanatory. There was only one screw at the top of the front flaps that installed differently. It needed a metal backing, which was included.
All in all, I'd say they were definitely worth the effort. I've had mud flaps on every new vehicle I've ever owned. Along with keeping mud/dirty water from splashing up onto the body, they keep the body panels from getting scratched by road debris.
Last edited by GLE43_Sube; Mar 18, 2017 at 04:40 PM.
I hope to install mine soon. I have had my vehicle for close to two years now and I dont like the damage from road debris.
The push in fasteners you mentioned...how did you get them out without breaking them? Did you use the same one to fit the flaps? Please send close up pictures of the installed ones.
Thank you for the info and link. I hope to install mine soon. I have had my vehicle for close to two years now and I don't like the damage from road debris. The push in fasteners you mentioned...how did you get them out without breaking them? Did you use the same one to fit the flaps? Please send close up pictures of the installed ones.
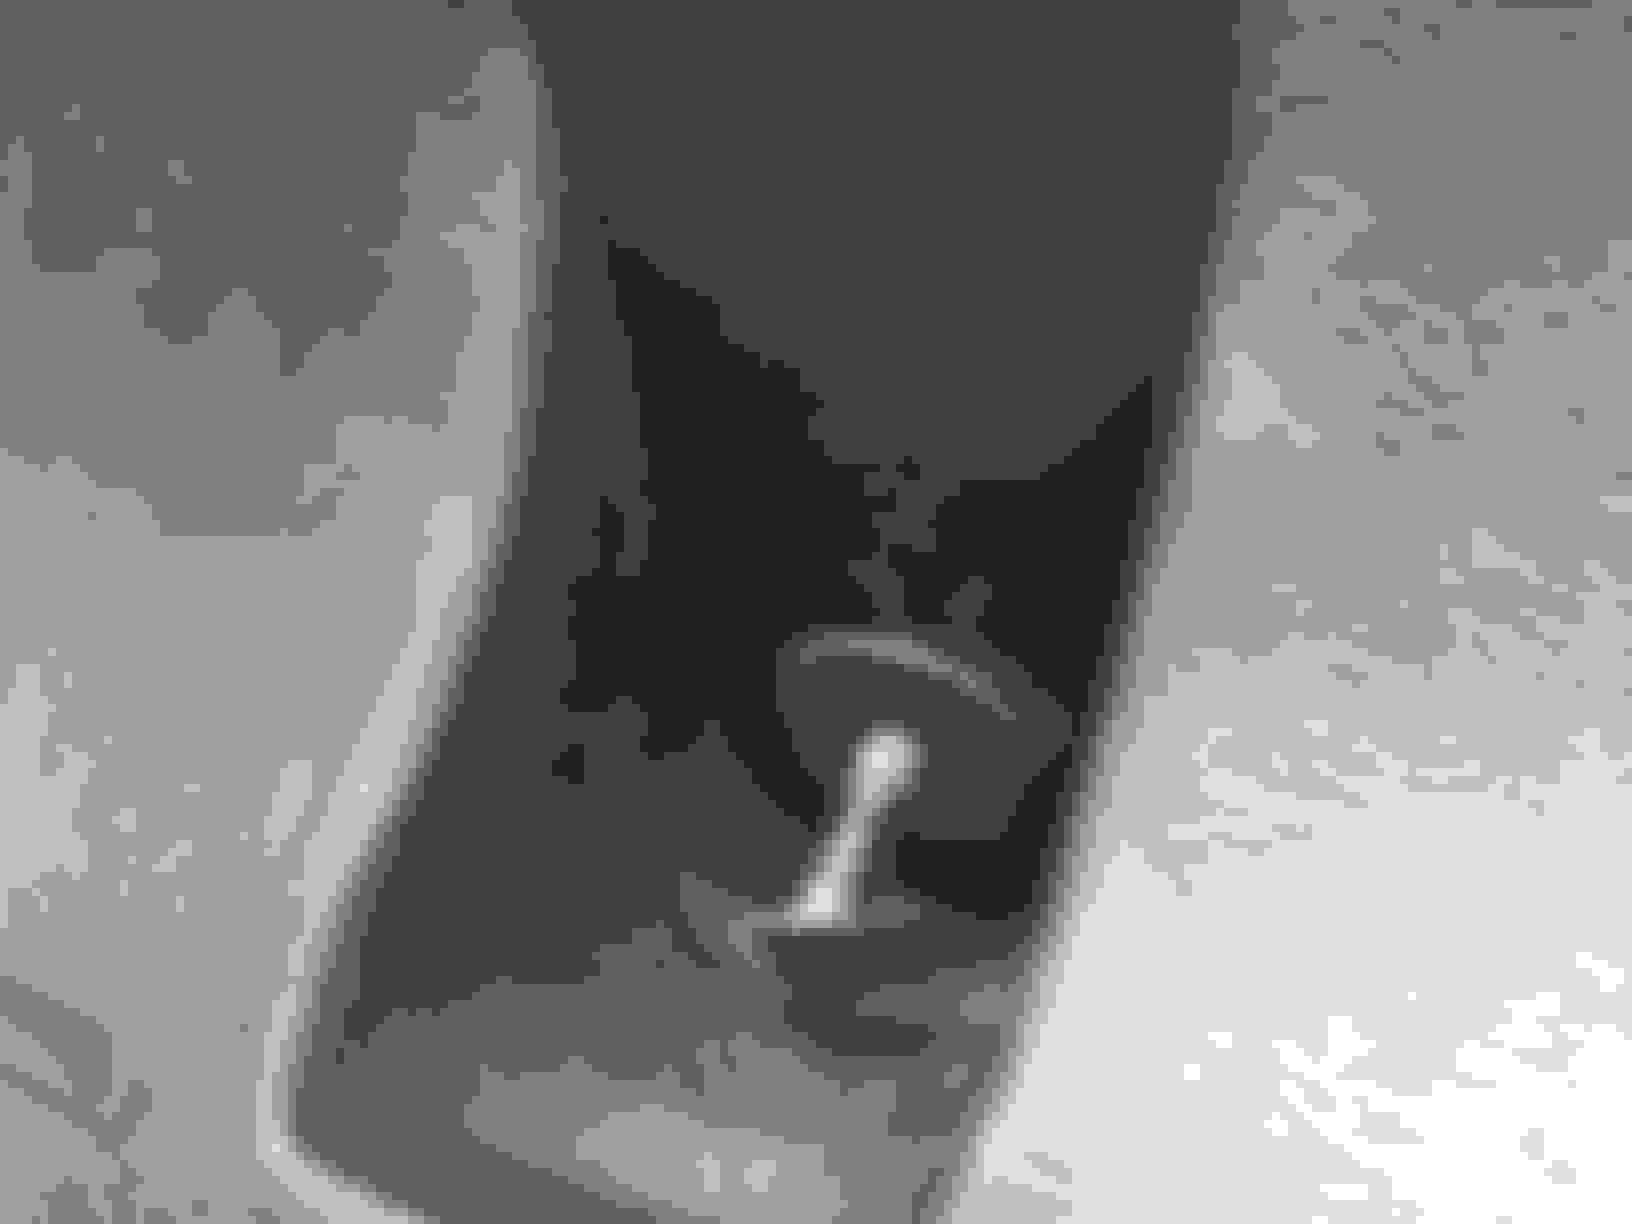
I was a little surprised to see this post. I thought this thread had died a quiet death. There doesn't seem to be much interest in mud flaps for the Coupe. Either way, I'm glad to help. I just ran out to the garage and took some new pics. I was able to show all of the mounting screws for the front flap in one photo. It took three photos to show all of the mounting screws in the rear flap.
Tools needed:
Large flat-head screwdriver
Short Phillips head screwdriver or Phillips head bit and socket wrench (I used the latter)
Hacksaw and vise or hammer and chisel (I used the latter)
All of the screws/washers in the pics are included with the mud flaps. If I remember correctly, they even give you extras.
Remove the existing plastic fasteners using a large flat-head screwdriver. Slide the blade under each fastener and wiggle it just enough to get your fingernail under it. From there, you'll be able to pull them all of the way out with your bare hands. Don't worry about breaking these during removal. They're hard rubber, so they're rigid without being brittle. Besides, you won't need to reinstall them. They'll be replaced by screws.
Front Mud Flaps -
Turn your left front wheel all of the way to the left to install the left mud flap. Vice Versa for the right side. This will create maximum working space. The front mud flaps have double sided tape to aid in a flush fit. Remove the covering from the external side of this tape. Clean the application surface before applying. The screw depicted with the red arrow will have to be shortened. Otherwise, it'll make contact with the metal body panel underneath the black plastic wheel well trim on the body. Use a hacksaw or hammer and chisel (on concrete floor) to cut approx 1/4" off. But before you cut the screw, screw it into that hole to see exactly how much you'll need to cut off. This is the only screw that'll need to be altered. Also, you'll need to install a metal backing (included with mud flaps) behind this screw. All of the screws are screwing into plastic molding, not metal. This may not sound very secure, but the screws are only holding the mud flaps in place. They're not supporting much weight at all, so they're more than secure enough. Remember, originally there were only plastic fasteners securing these body panels. Mine haven't moved an inch in almost two years.
Rear Mud Flaps -
The rear mud flaps are a little more challenging, only because there's not much room to work. Of course, you could always remove the wheels, but let's not go there. I proved it can be done without needing to do that. This is where the short Phillips head screwdriver comes in. I used a Phillips head bit in a socket (without the wrench). I put a piece of Duct tape around the socket for grip. Then, I just screwed them in with my bare hands. If you're counting the vertical holes from the top of the mud flap down, you're putting screws through holes 2 and 4. The remaining screw is inserted on the bottom side of the mud flap. You can use a regular screwdriver for that one.
For the rear mud flaps, you'll notice they give you multiple screw holes. I examined the backstop behind each hole to determine which holes would work best. If you stick with these holes, you'll have no problems. Feel free to Private Message me if you have any problems whatsoever. I know this long tutorial makes this sound like a daunting job. It's really not. The hardest part for me was squeezing my big hands into the rear wheel wells.
Last edited by GLE43_Sube; Jan 30, 2019 at 10:47 AM.
The original links I posted when I created this thread are now outdated. Here are some current links. Be aware, there are two different versions of these mud flaps for the Coupe.....with and without running boards.
Thank you so much for the detailed response. You have given me so much confidence. Im sure I should be able to do it. Will send you a private message if I face challenges.
Thank you so much for the detailed response. You have given me so much confidence. Im sure I should be able to do it. Will send you a private message if I face challenges.
Thank you.
You're welcome. Please let me know how you make out.
I got busy over the weekend installing the mud flaps. Thank you GLE43_Sube for the detailed installation manual.
It was pretty much as you said though had to make a few minor alterations. After removing the plastic clips the holes left behind were too big for the screws supplied so I went re-used the plastic clips and they held reasonably well. I decided to go ahead and secure the rear ones with screws throw the holes on the mudflaps. The front mud flaps had one corner that to be trimmed on the inside bit to fit perfectly. Can send pictures if anybody wants to see the detail. Thanks for the headsup with regards to the screw that had to be cut. That one would have had me scratching my head.
After removing the plastic clips the holes left behind were too big for the screws supplied so I went re-used the plastic clips and they held reasonably well.
Looks great! In looking at the photos, I'm not sure if I reinserted the trim portion of the push pin rivets and inserted the screws into them. In other words, use the trim as "anchors" for the screws. Look at my original pics in this thread. Notice the trim around the screw heads. Either that, or those are washers. I can't remember. Did yours come with washers? It wouldn't be hard for you to replace the push pin rivets with screws for a little added security. I'm not near the car right now. I'll have to check.
Forgive me. It's been over two years and I'm trying to recall all of this by memory.
Last edited by GLE43_Sube; Apr 30, 2019 at 01:30 PM.
I think you must be right. Judging from the pictures I would say you replaced the pins with screws. No apologies needed at all. Your guide was very useful. I don't think I will replace the pins soon as the flaps feel secure enough especially with the screws. In due course...maybe.
The original links I posted when I created this thread are now outdated. Here are some current links. Be aware, there are two different versions of these mud flaps for the Coupe.....with and without running boards.
I went to the link You've provided https://www.ebay.ca/itm/OEM-Splash-G...1:pf:0&vxp=mtr ( WITH RUNNING BOARDS ) and asked the seller on eBay. He told me these Mud Flaps are not going to fit my 2017 GLE43 AMG COUPE with RUNNING BOARDS!!! May I ask that
your vehicle same as mine. Thanks for your help!
In my humble opinion those should fit. Its stated 'GLE coupe with running boards'. That fits the description of your vehicle. If you like the look I suggest you pull the trigger.
In my humble opinion those should fit. Its stated 'GLE coupe with running boards'. That fits the description of your vehicle. If you like the look I suggest you pull the trigger.
Does anyone who installed the mud guards on their GLE43 Amg Coupe have a full side view picture of your vehicle that you can share? I am considering getting these. Thanks
Does anyone who installed the mud guards on their GLE43 Amg Coupe have a full side view picture of your vehicle that you can share? I am considering getting these. Thanks
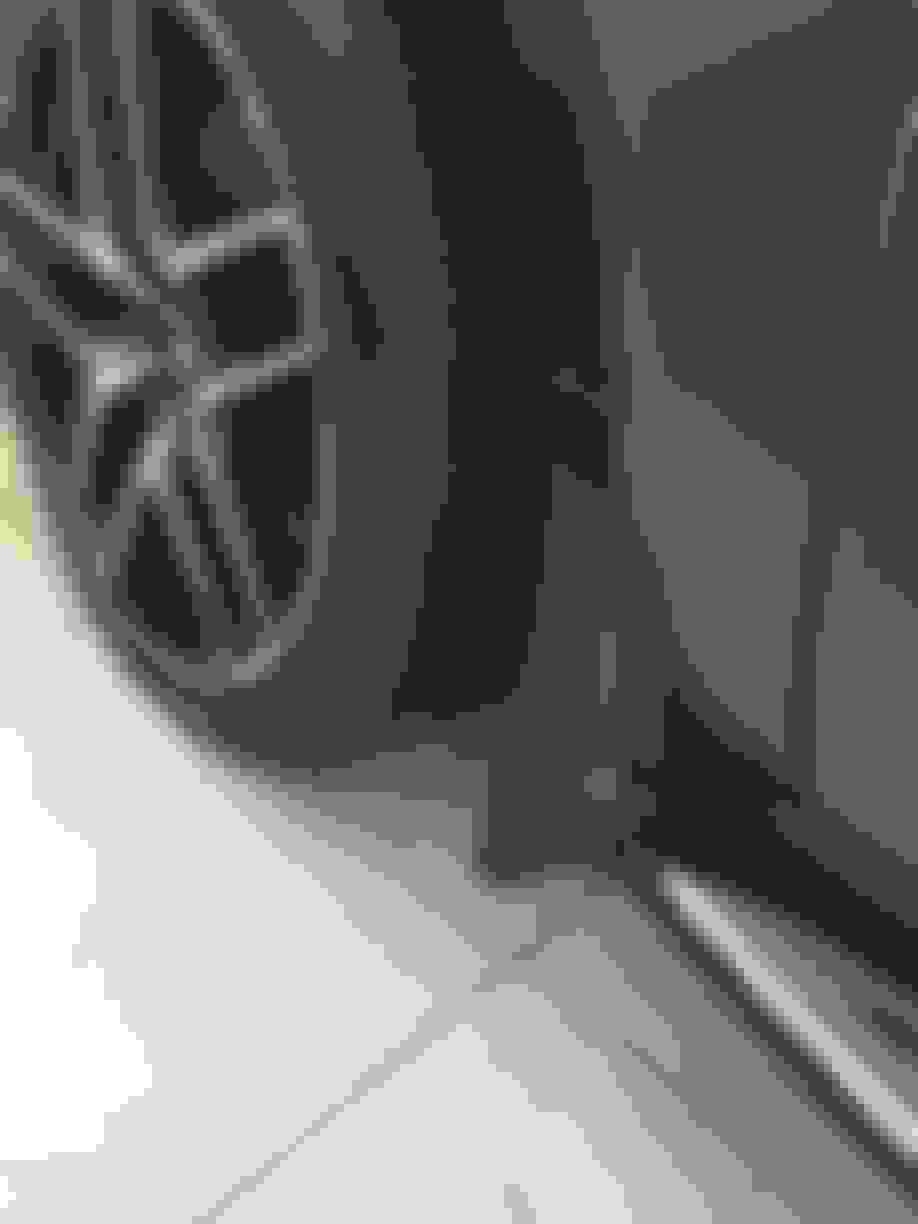
These aren't full side view pics, but they give you a good idea of what they look like installed. I kept the pics at full resolution to accentuate detail. Also, see my original pics uploaded when I started this thread.
Just get them. Trust me. You won't regret it! I've never cleaned road debris from the body panels. It all gets caught by the mud guards. They're functional, sporty and add a unique touch. Since MB doesn't sell them, no other Coupe in your area is likely to have them. Just one more way to set yourself apart from the crowd.
Thanks man. I ordered them a few weeks ago, but it will be another few weeks before they're delivered. After I ordered I was having second thought whether I would install them, but I'm clear now.
Thanks man. I ordered them a few weeks ago, but it will be another few weeks before they're delivered. After I ordered I was having second thought whether I would install them, but I'm clear now.
Much appreciated.
No problem. My tutorial in this thread is pretty comprehensive, but let me know if you run into any problems.
I installed these bad boys today using the only plastic fasteners for all four corners. For the top of the front mud flaps, I used the "U" clips provided. The "U" clips are inserted with the flat side facing front between the ridges below the top hole.
This way of installation does not require any screws and therefore no adding holes to the car (something I really did not want to do).
You only need a flat head screwdriver or some plastic fastener/clip remover to remove the plastic fasteners.
Good luck to you. I wouldn't trust just plastic fasteners alone. You don't want these coming off at highway speeds. That could be disastrous! I didn't add any holes. I used the included screws in the preexisting holes for the fasteners. The screws just replaced the fasteners.
Mercedes SLR McLaren 722 S Is Extremely Rare Example Modified by McLaren
Slideshow: A one-of-one U.S.-spec Mercedes-Benz SLR McLaren Roadster became even rarer after a factory-backed transformation at McLaren's headquarters.