When you click on links to various merchants on this site and make a purchase, this can result in this site earning a commission. Affiliate programs and affiliations include, but are not limited to, the eBay Partner Network.
I'm waiting to get the parts for the permanent shutoff of that darn ECO functionality. Worked with Nathan at modmybenz to get a solution that was just focused on the ECO disable rather than the broad solution they already had. Great responses back from him.
I'll post up pics and feedback as soon as I'm done.
I received the harness this past week and will begin the process to install. Looks like I might need an ignition switch sleeve removal tool so I can get the decorative panel off. I'm going to see if I can DIY one.
Just a quick update, I installed and after talking with the vendor, we realized the manufacturer sent the 40 wire module instead of the 16 wire module for my 2015 model. The new module is in route and I'll continue the DIY once it arrives.
I've got a lot of details to share on this fairly simple installation.
Well, I have to say, now that I have the new wiring harness from Nathan at modmybenz installed and working, I couldn't be more pleased about it. This definitely solves the ECO button disable and I'm simply loving it. On with the DIY (this is for information only and anyone attempting is doing so at their own risk)... I give this install a 3 out of 5 difficulty due to the one special tool required.
Step 1: Remove ignition switch sleeve with tool
Step 2: Pry dash cover on passenger side (best to have the door wide open). The cover does not need to come off completely, just enough to give you access to the Torx 20 screew.
Step 3: Remove T20 screw.
Step 4: With plastic dash removal tools, pry from top of dash trim near the drivers ignition. One you hear the pop, you can remove the rest by hand or use the tool to assist.
Step 5: Once the dash is completely free, be careful to not pull out quickly because the hazard lights cable is attached. Simply remove that plug by depressing a small button on the top. Set the dash to the side.
Step 6: With the T20 bit, loosen the bolts to the left and right of the vents. These bolts will back out until you feel them tighten. Do not go any further as the bolts are meant to stay in.
Step 7: Use a small plastic dash tool to remove the trim ring around the HVAC controls. This trim ring is very thin so you do not need to insert the tool very far.
Step 8: Remove the two T20 screws from lower left and right sides of the HVAC controls.
Step 9: Pull out the control unit and lay to the side. There is no reason to disconnect the wires.
Step 10: There are two holes accessible from the HVAC pocket that allow you to use your fingers to push the radio forward and out. It will take some significant force so use one of the dash tools to assist if needed.
Step 11: With the radio free, make sure to unplug a red wire on the passenger side of the radio unit.
Step 12: With the rear of the radio unit completely, the large wire loom on the lower left of the radio can be removed by swinging a lever at the bottom of the loom out towards the wire loom. This unlocks the harness from the radio.
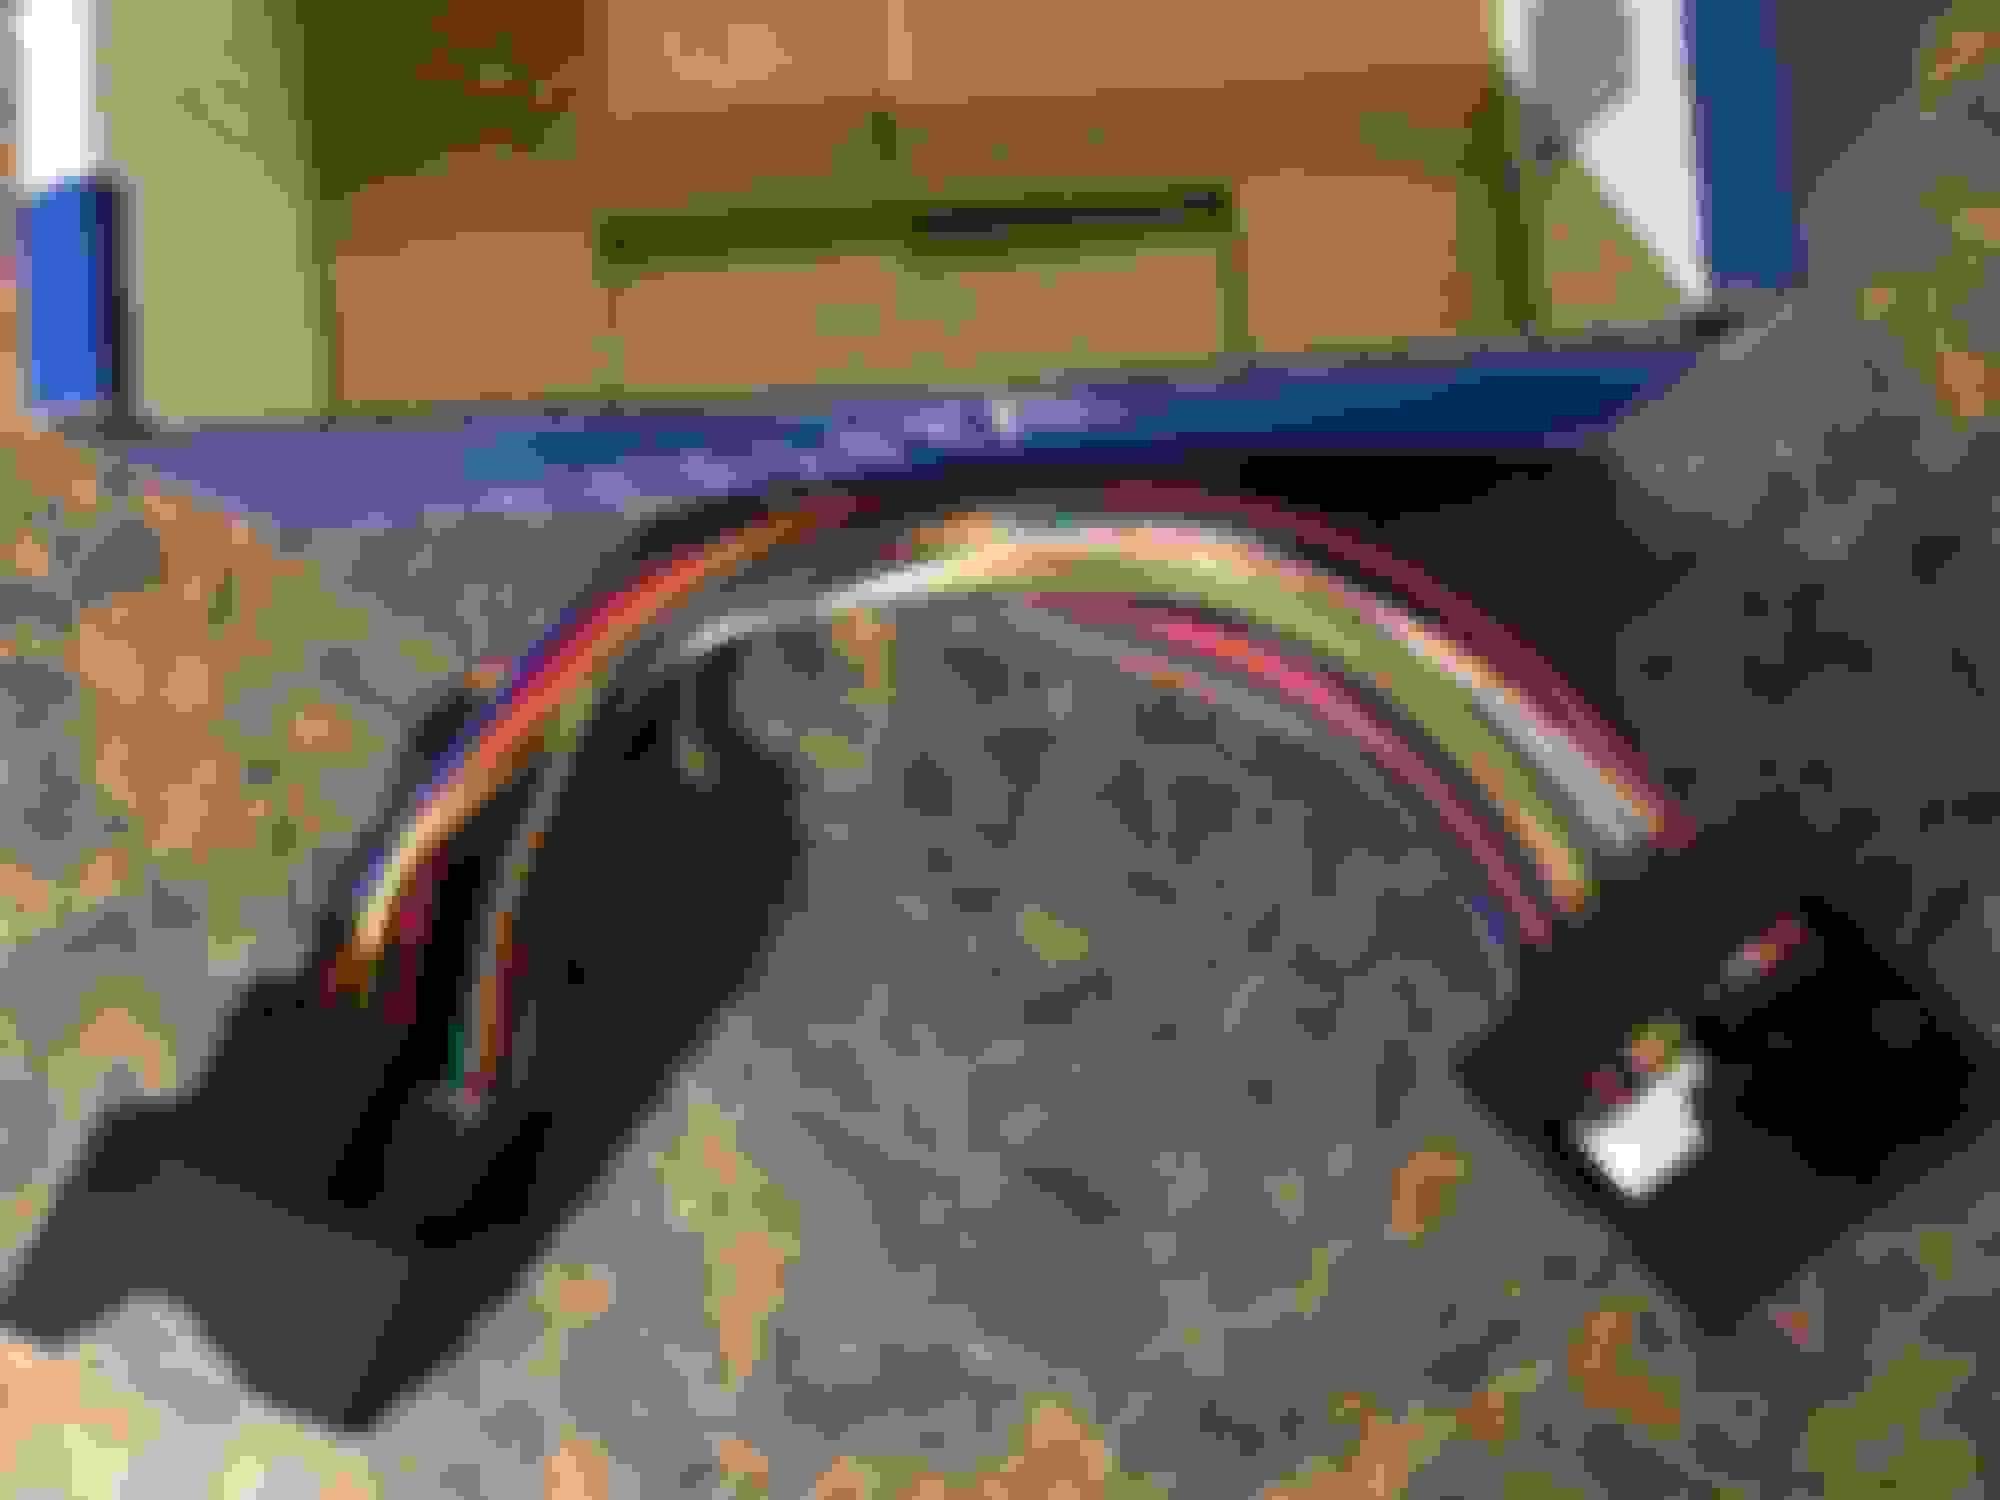
Step 13: Plug your videoinmotion module and lock it down to the original harness on the vehicle.
Step 14: You will need to tuck this block into the small gap behind and to the rear of the HVAC controls. This is not a step to rush because you do not want to loosen any wires from the harness. I had to rotate the block long ways to squeeze it through the gap.
Step 15: Plug the other end of the videoinmotion into the back of the radio.
Step 16: In the space left by the radio, look to the left and right sides. You will see plastic J shaped hooks on either side. These need to be set so that they are in their lowest position and the screws all the way forward. This will allow the radio to slide back into place and lock properly.
Step 17: Once you reset the J hooks and slide the radio back in, the steps are pretty much the reverse.
NOTE: I did have to give Nathan my VIN in order to get an activation code for the module. This requires using the + and - buttons on the steering wheel with the key in the first turned position. When done, it will make your hazards blink 2 or 3 times. After that, the ECO button just turns off.
After almost two years of running this module, it is still as sweet to have that ECO button automatically turn off as the first day I had it operational. Now working on getting a GLC 300 4Matic to have this module as well.
Recently rode with a friend in his Maserti Ghibli for the first time and wondered what the hell was wrong with his car every time the engine sputtered when we came to a stop. Found out it's the eco function - what an annoyance.
LOL... "tree hugger". Yes, it can be re-enabled "ON" using the instructions that changed the default to "OFF". It can also be turned on at any time by just pushing the button, but it will continue to default to "OFF" until you do the steps in the instructions.
The part number depends on what options you have on your GLK, so Nathan will need your VIN to verify what options you have on your vehicle.
Nathan is VERY MUCH still active and responsive. I reached out to him to ask about doing the same for a '19 GLC 300, to be built sometime this year, and he responded immediately.
Mercedes SLR McLaren 722 S Is Extremely Rare Example Modified by McLaren
Slideshow: A one-of-one U.S.-spec Mercedes-Benz SLR McLaren Roadster became even rarer after a factory-backed transformation at McLaren's headquarters.