When you click on links to various merchants on this site and make a purchase, this can result in this site earning a commission. Affiliate programs and affiliations include, but are not limited to, the eBay Partner Network.
2017 AMG C 43 (W205); 2019 E 300 (W213); 2008 ML 320 CDI (W164)
Wheel bearing W164
The right front wheel bearing on our 2008 ML 320 CDI started to whine/hum 7 months ago with 156 000 km on the clock. Over the course of the next 6 or so months, I bought 5 wheel bearings to replace the worn bearing:
Bearing No.1: 'NTN Canada' bearing ordered from Pelican Parts. The bearing was perfect after installation for about 6 weeks but when the vehicle hit a bad pothole in the road and the whine was back although much softer than the original whine.
Bearing No.2: 'NTN Canada' bearing ordered from Pelican Parts. Whine was present straight after installation but different to any of the previous whines. Drove the vehicle like this for almost 10 000 km with no change in the whine.
Bearing No.3: Ordered an SKF bearing from Pelican Parts, but received an 'NTN Canada' bearing in old SKF packaging. Bearing returned unused to Pelican Parts.
Bearing No.4: Ordered an SKF bearing through Amazon.com, but again received an 'NTN Canada' bearing in old SKF packaging. Installed the bearing and it hummed worse than bearing No.2.
Bearing No.5: Bought a wheel bearing from the Mercedes Benz dealership. Inside the MB packaging was another 'NTN Canada' bearing. Installed this bearing and it also whines although less than any of the previous bearings.
The very original bearing that the vehicle was fitted with when new, seemed to not have any markings at first glance, but after a bit of cleaning and on closer inspection, you could very faintly see a marking 'NTN Canada'.
Has anybody had the same experience? Are the after market bearings sub-standard?
(By the way, Pelican Parts has agreed to give me a credit for bearing Nos. 1 and 2.)
2017 AMG C 43 (W205); 2019 E 300 (W213); 2008 ML 320 CDI (W164)
W164 front wheel bearing replacement
Some photos to show the right front wheel bearing replacement.
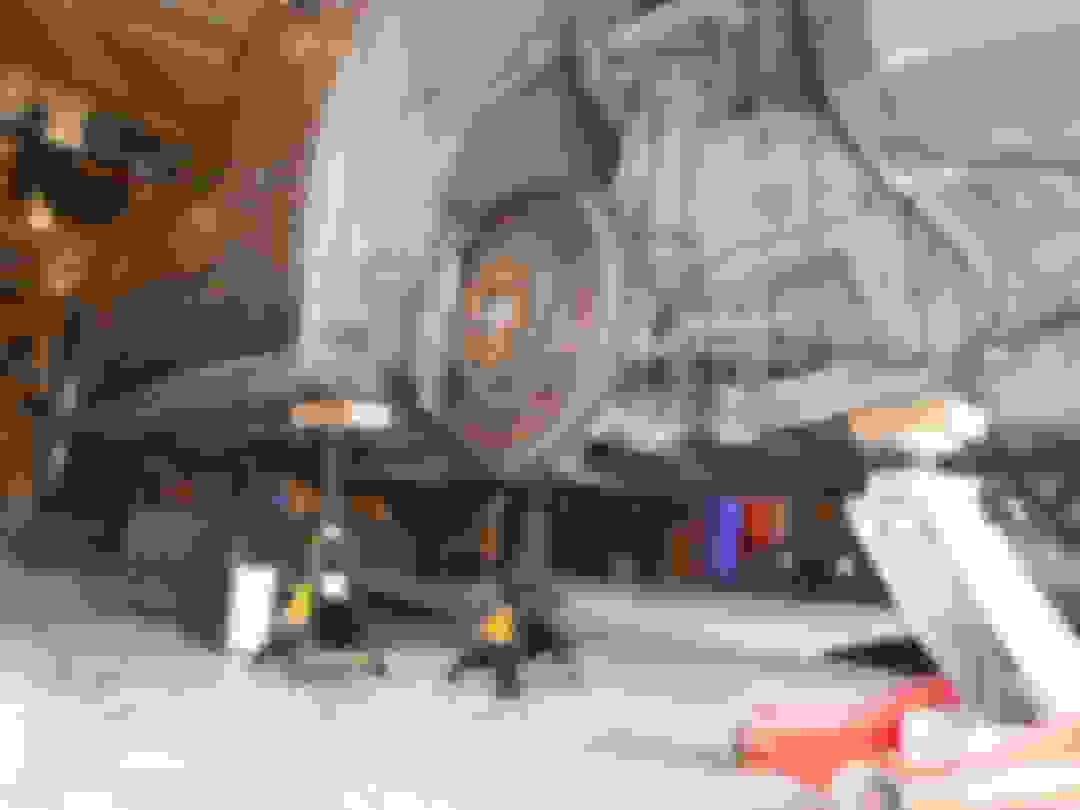
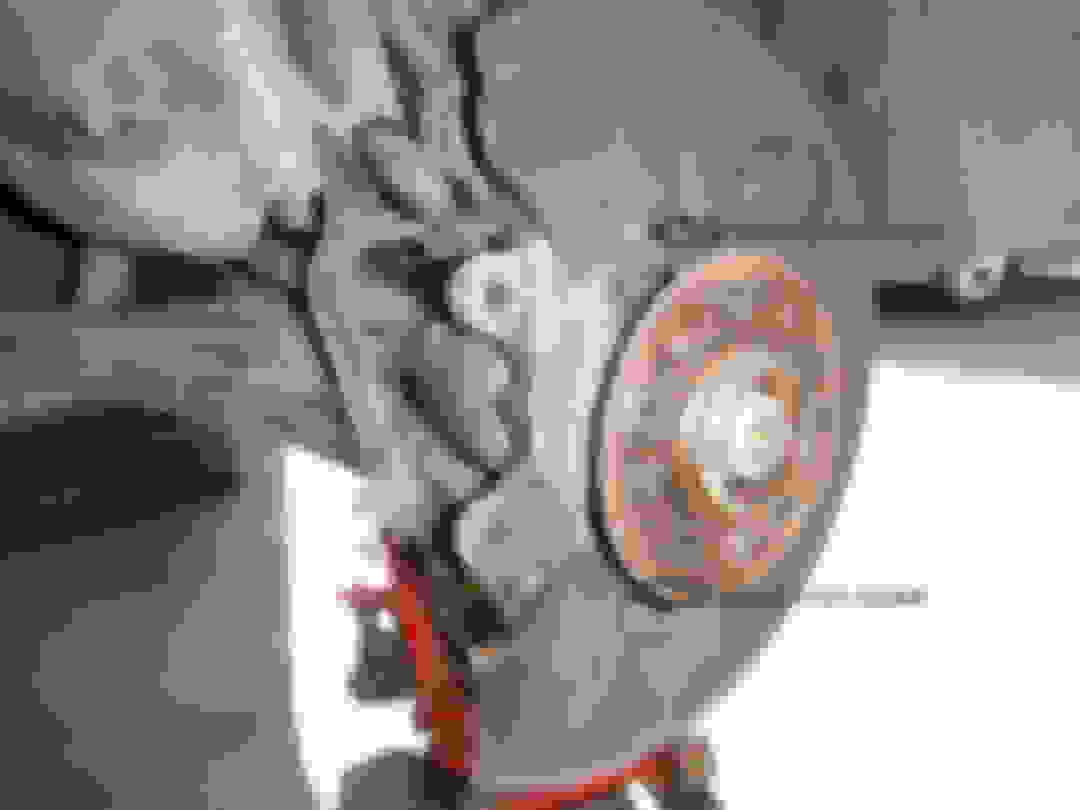
Front of vehicle securely supported on 2 jack stands. The hydraulic jack is not carrying much load and serves only as additional safety.
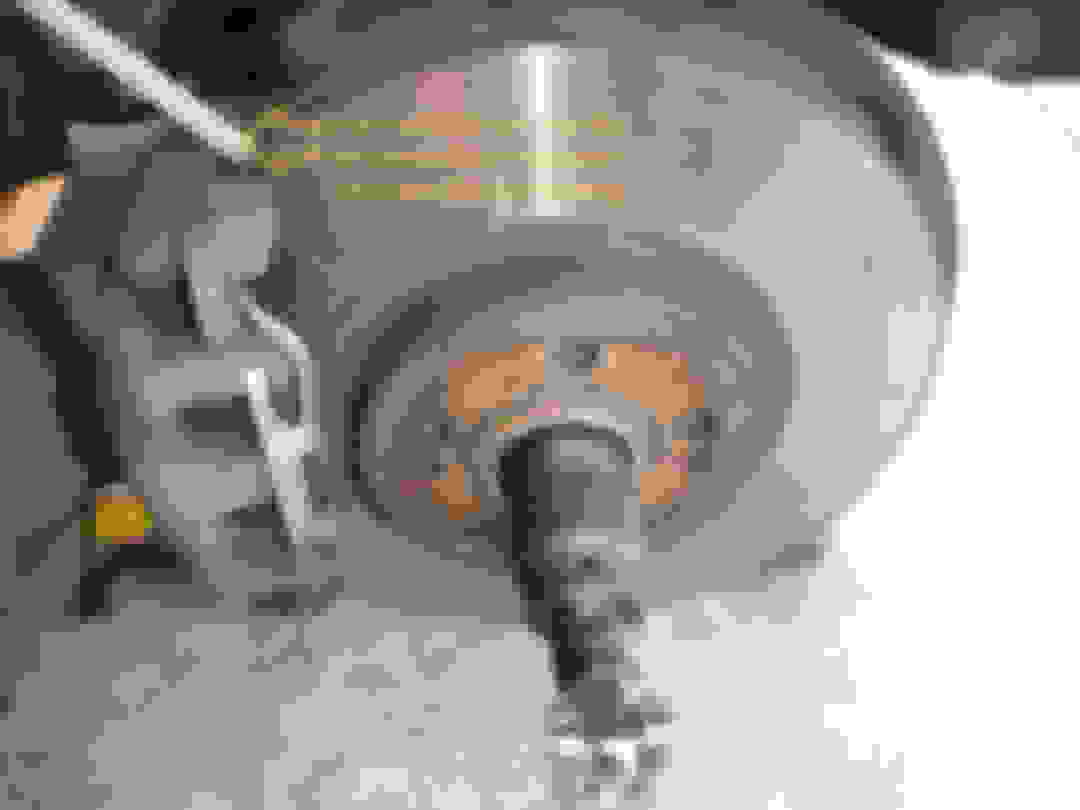
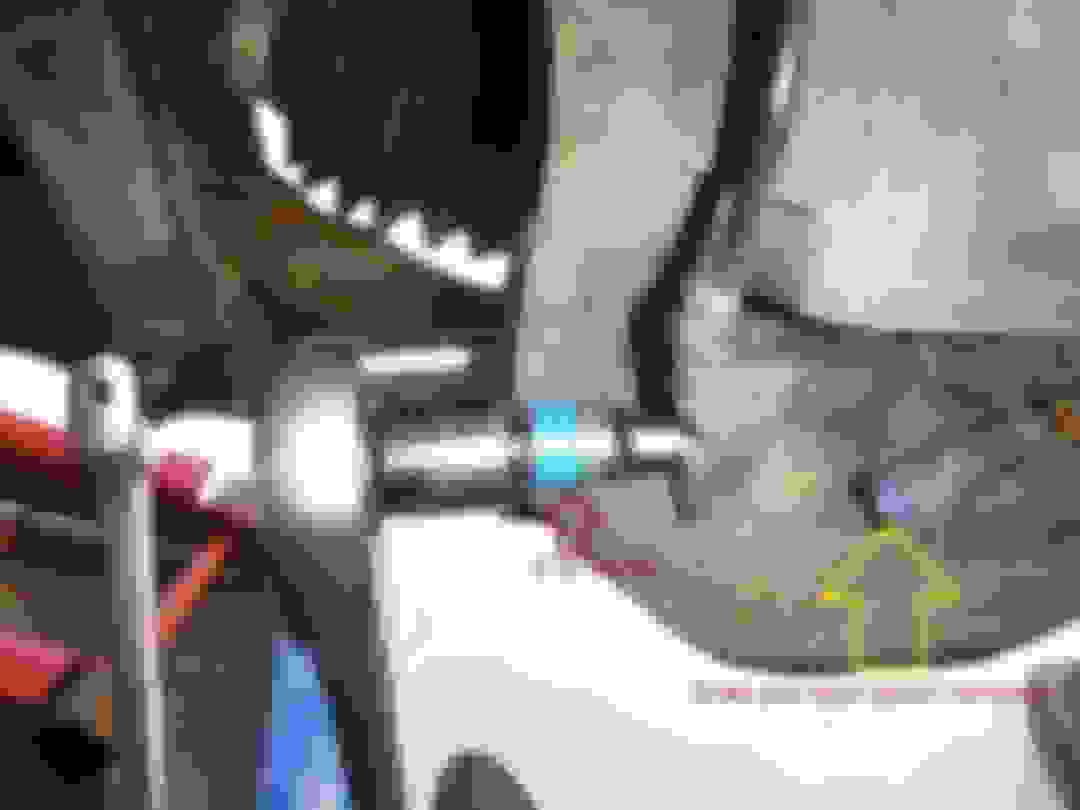
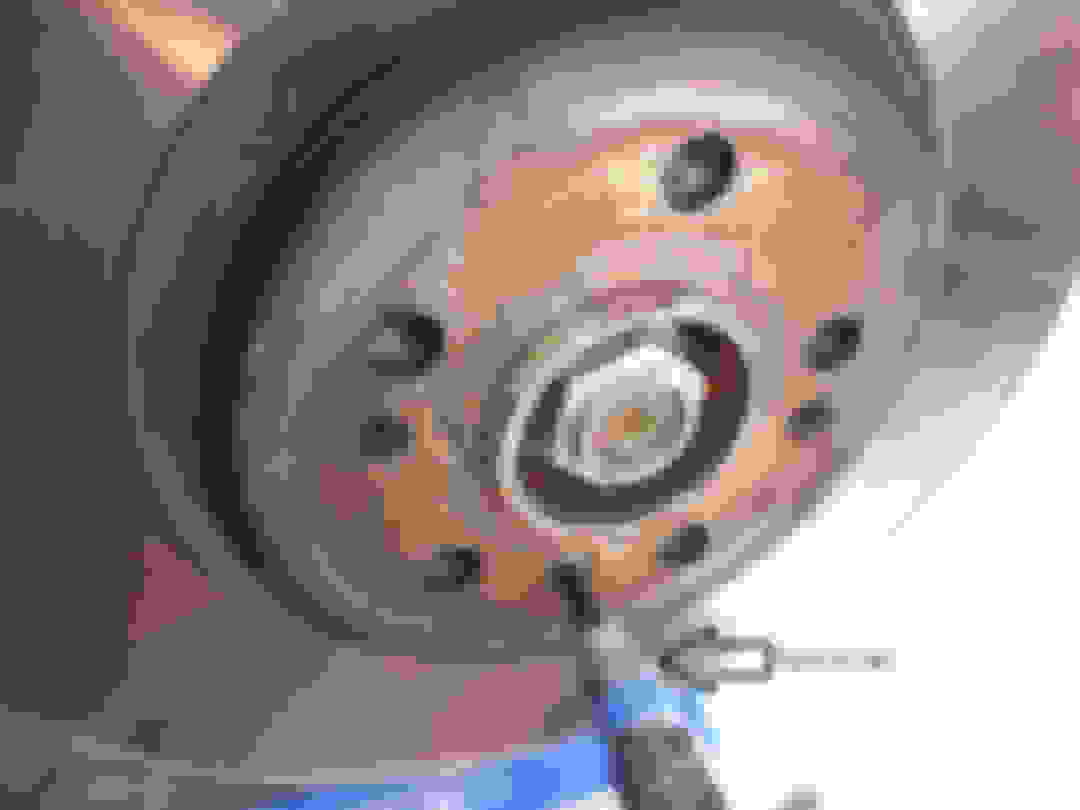
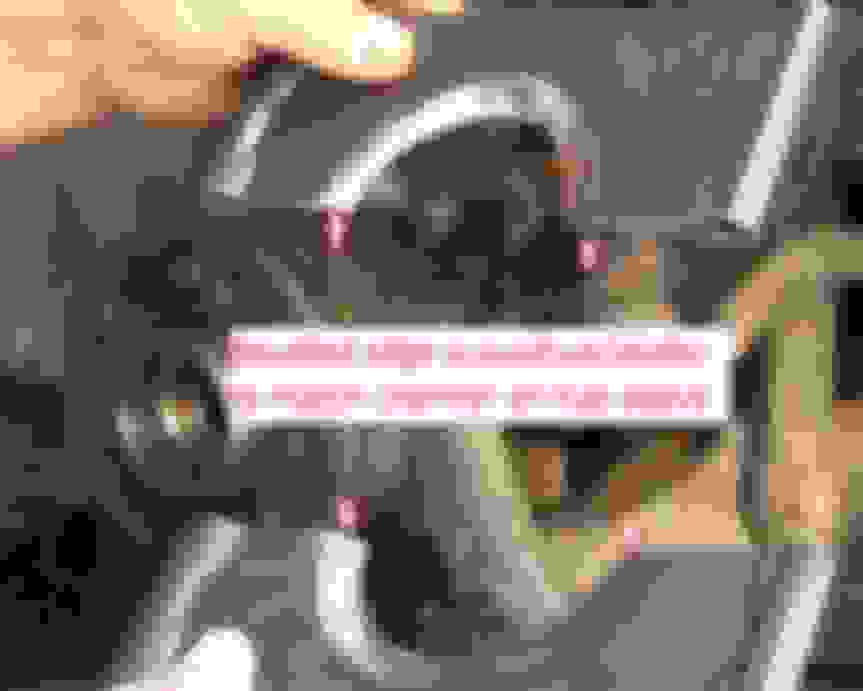
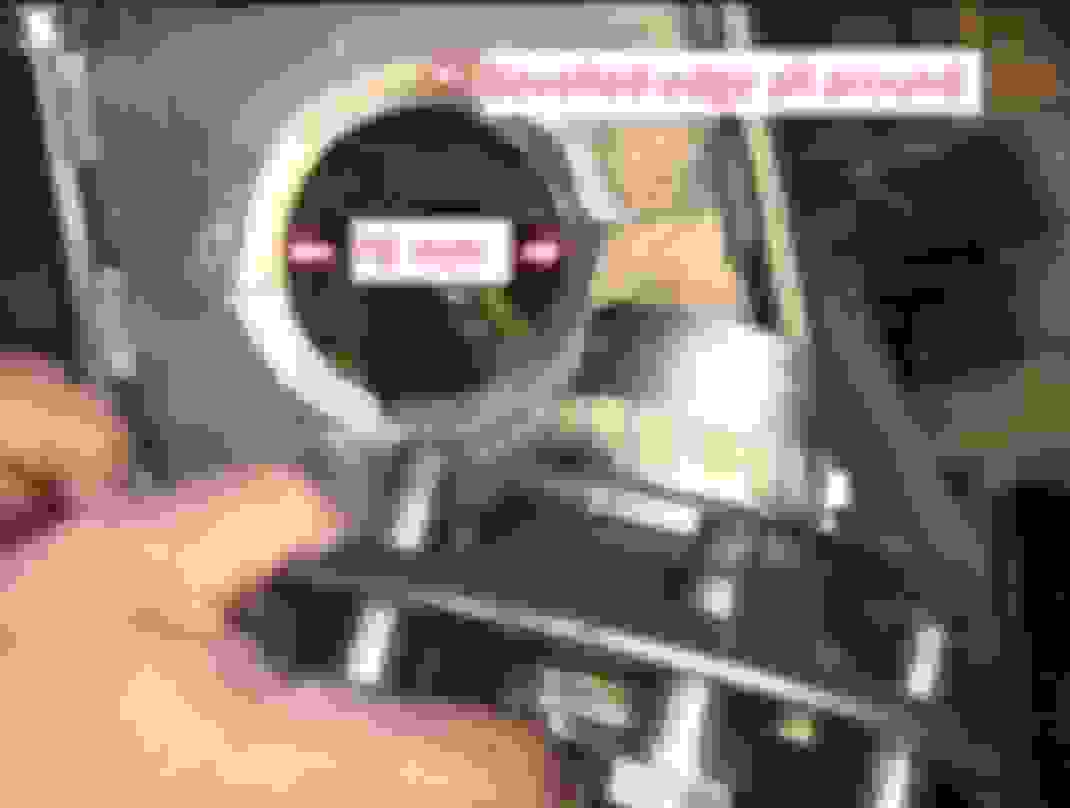
The axle nut takes a 36 mm socket. A screw driver is inserted into one of the brake disc ventilation holes to hold the disc while loosening the axle nut.
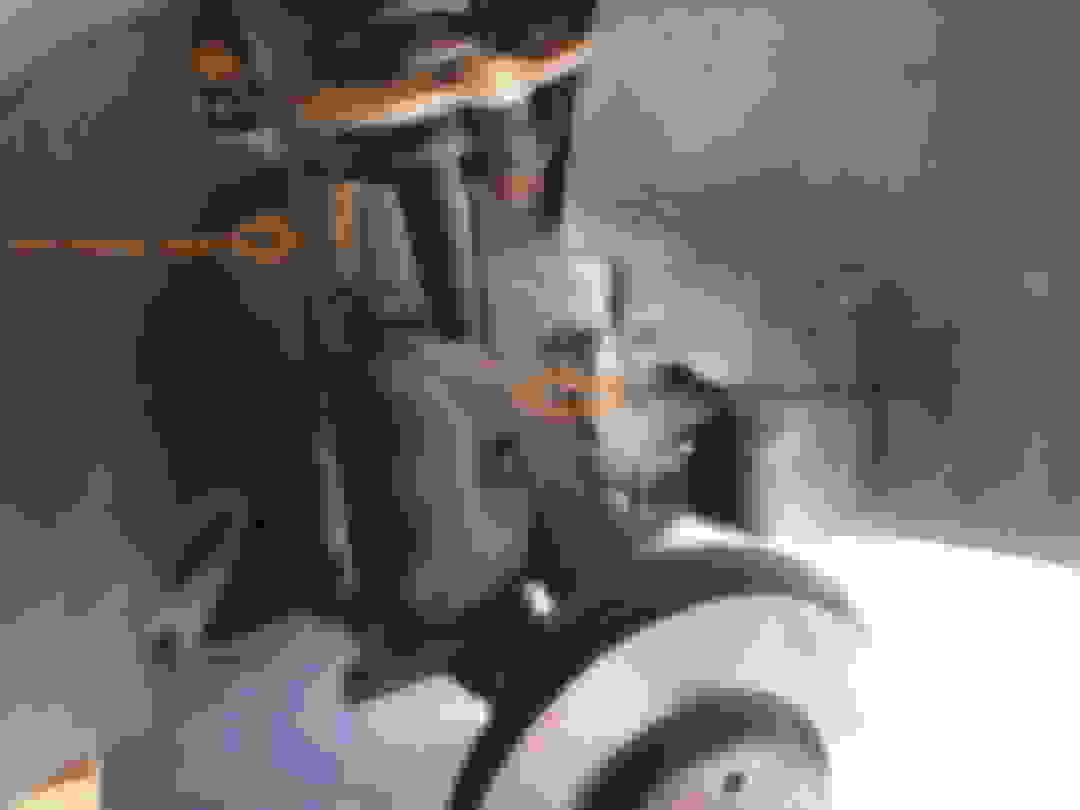
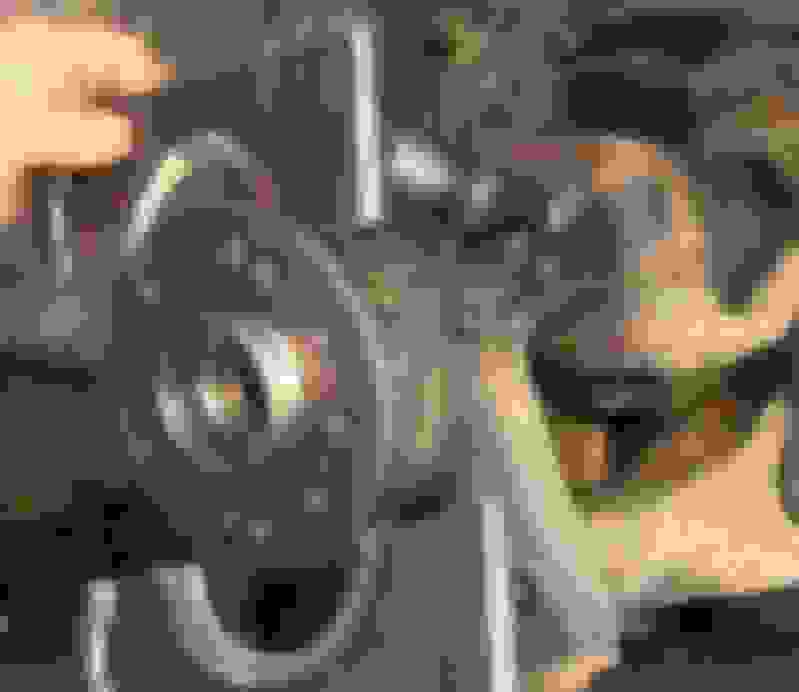
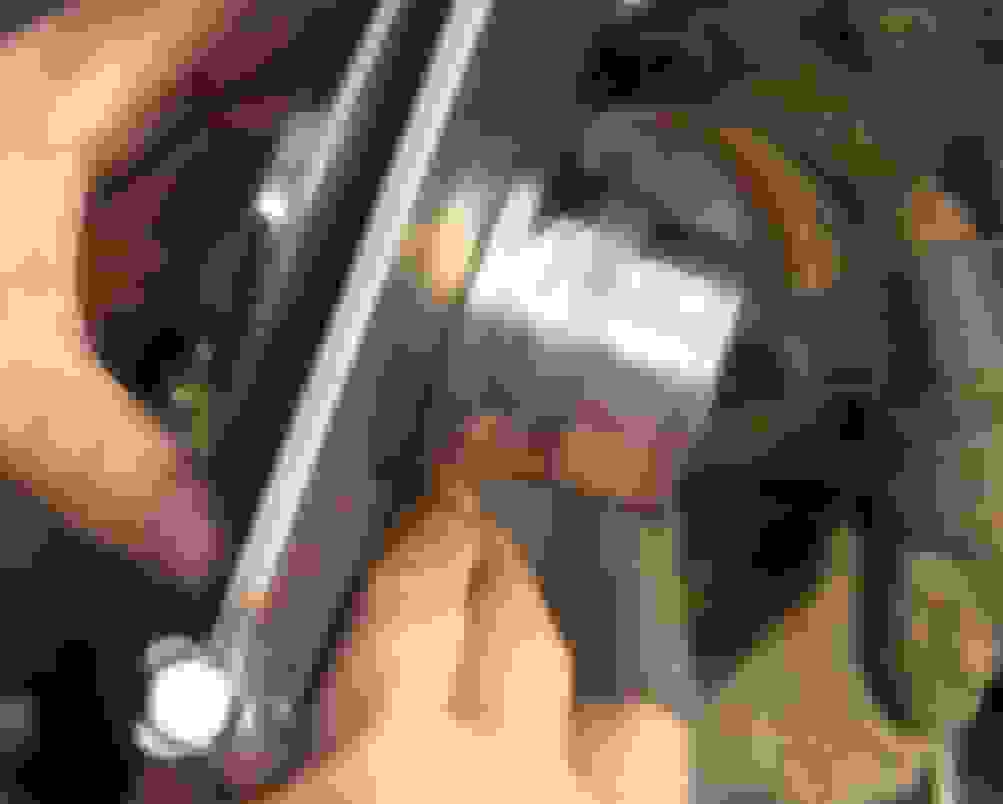
E-10 Torx socket required to remove the bolt holding the one half of the wheel sensor connector piece to the brake caliper. Do the disconnect and removal so that the brake caliper can be moved out of the way.
Undo the 2 bolts holding the brake caliper in place. Bolts take a 21 mm socket.
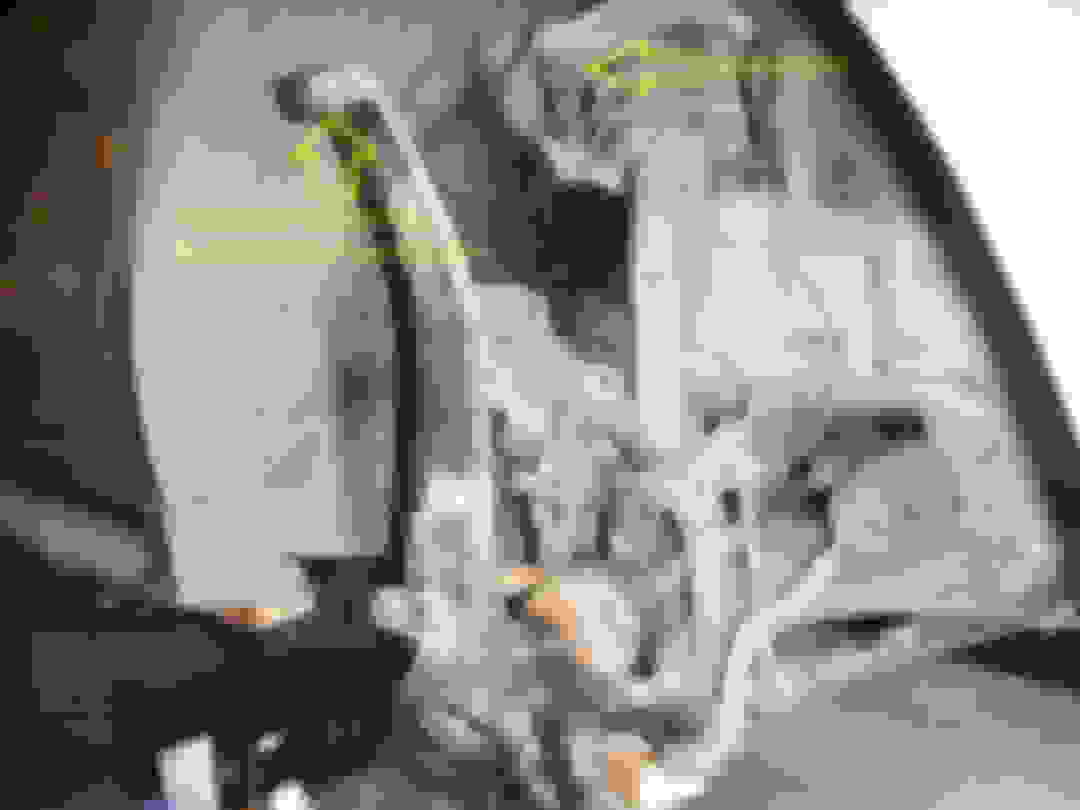
Use a piece of wire to suspend the brake caliper away from the work area. The caliper should not be left to hang by the rubber brake pipe.
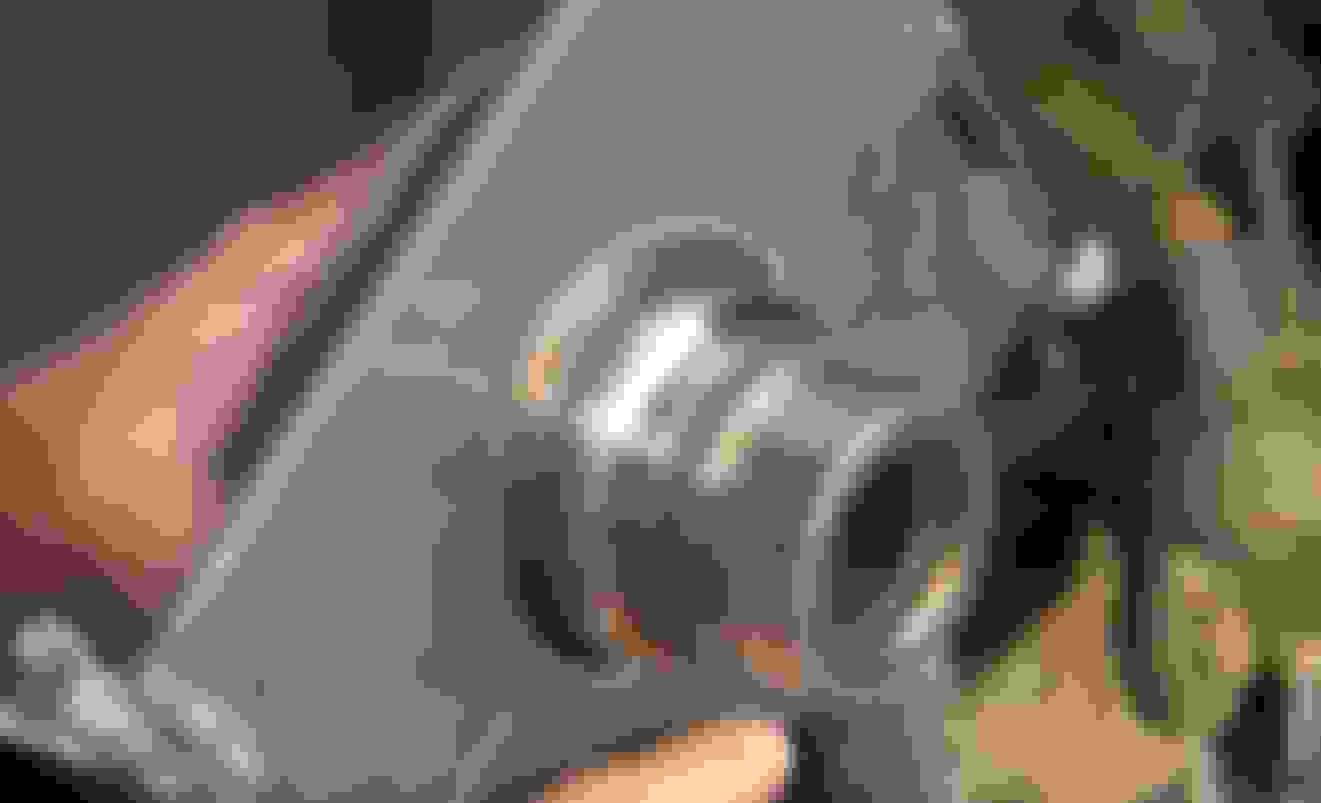
Carefully remove the wheel motion sensor with an E-10 Torx socket.
The wheel motion sensor can be a bit stuck in. Gently wiggle it loose and out. The removal here was done after the brake disc and back plate had been removed.
A Torx-27 bit is required to remove the retaining screw holding the brake disc back.
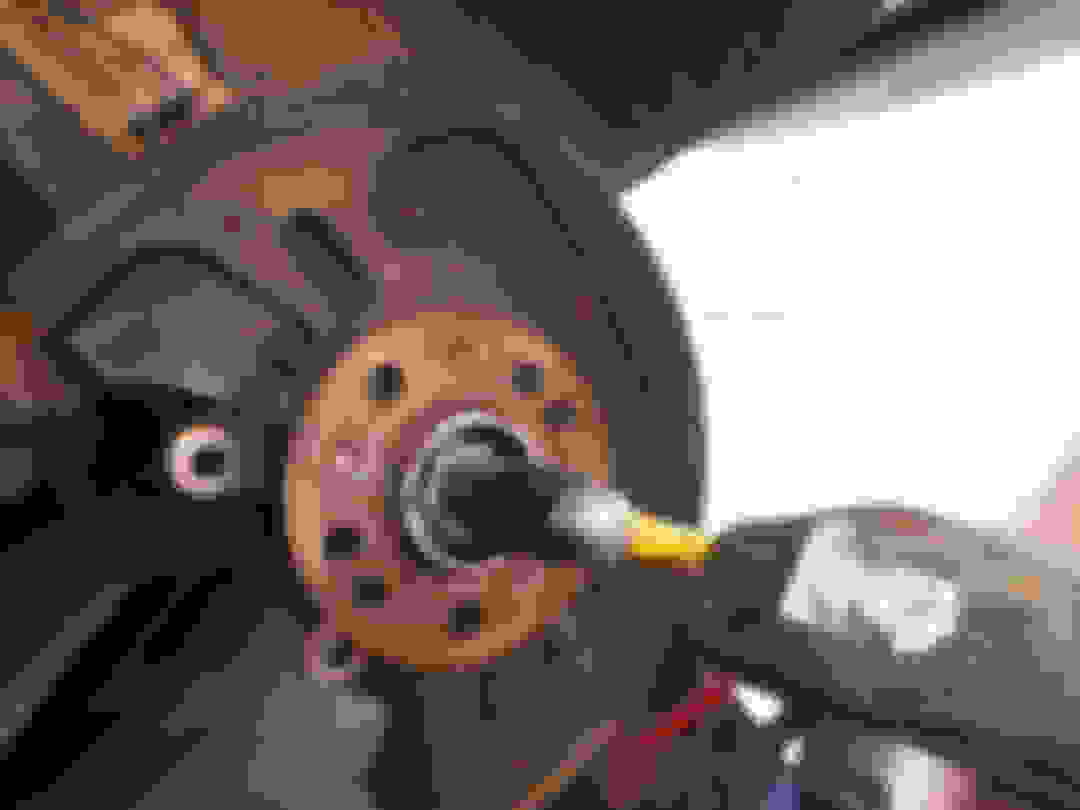
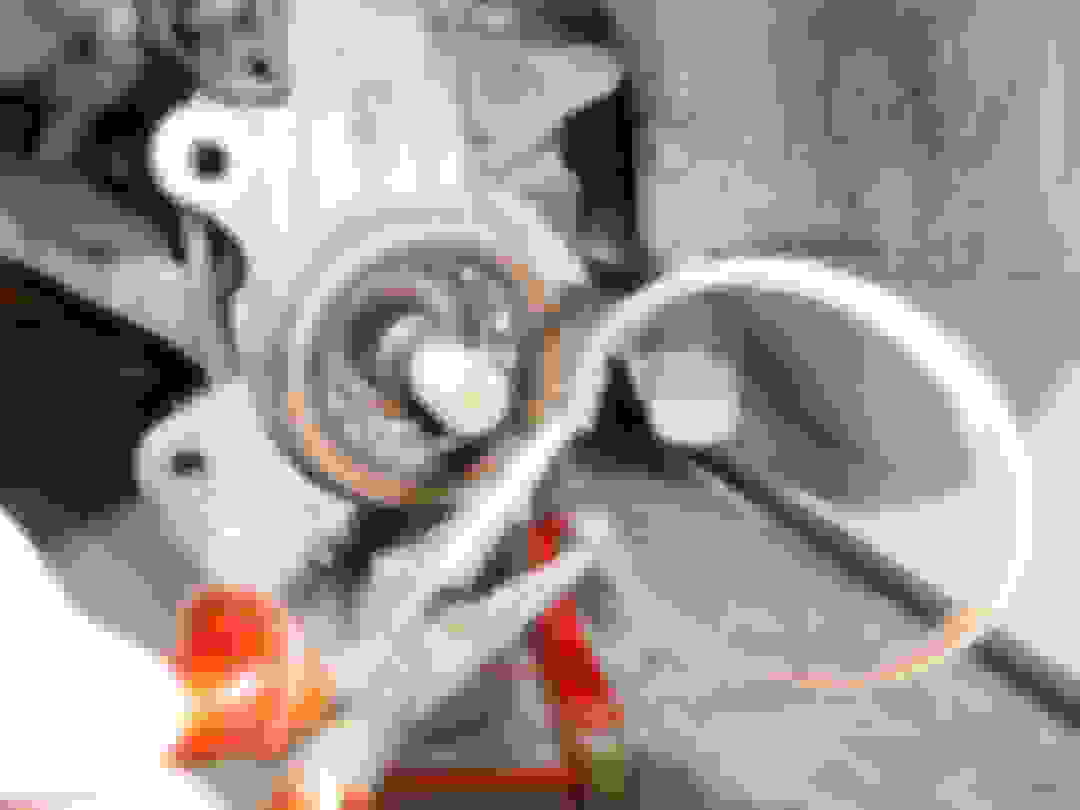
Carefully tap the axle shaft loose. The nut on the axle shaft is turned out so that it is flush with the axle shaft end. This prevents damage to the axle shaft threads.
Four bolts hold the back plate in place. Remove with 13 mm socket.
With the brake disc removed, the axle shaft can also be broken loose from the wheel hub with a pulley puller. The hub cannot be removed in this way and the axle shaft cannot come out of the hole!
Install a sliding hammer to the hub to pull the hub out of the bearing.
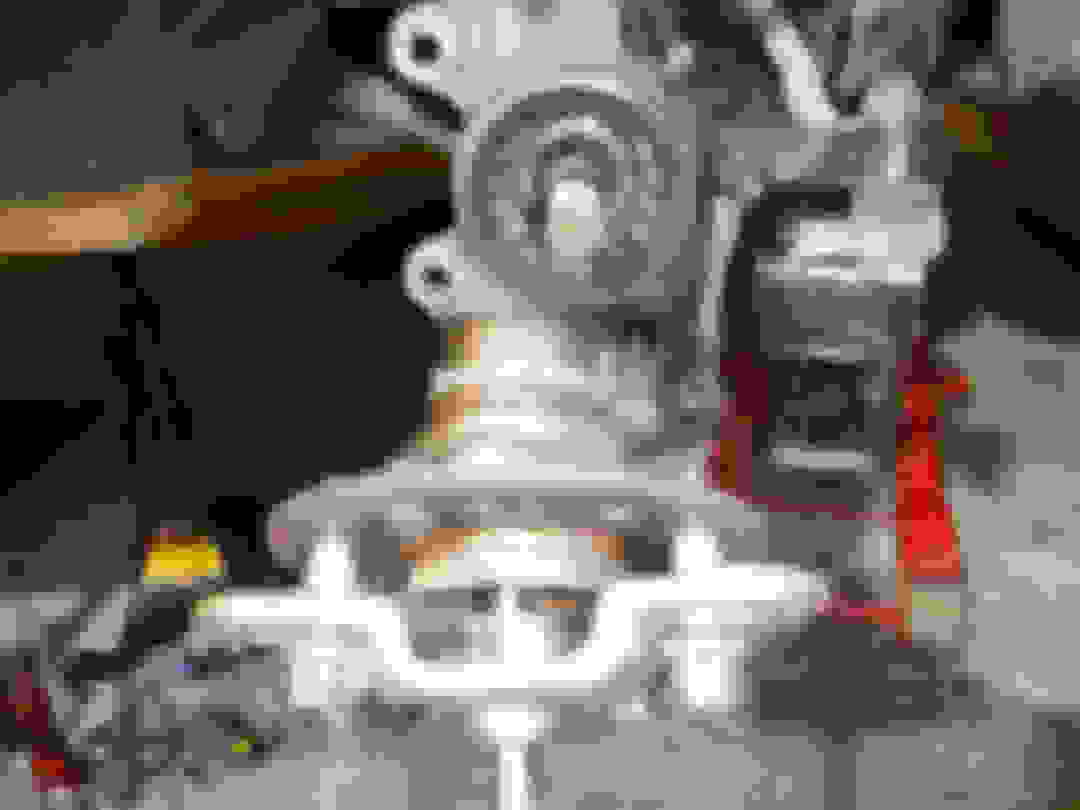
Hub broken free from the rest of the bearing which remains in the knuckle. One half of the inner race remains on the hub and the other half remains in the bearing.
The cir-clip needs to be removed from the knuckle but may first need to be broken free from the groove that it sits in. Use a hammer and punch to lightly tap free.
Remove the cir-clip from the knuckle.
Cir-clip removed.
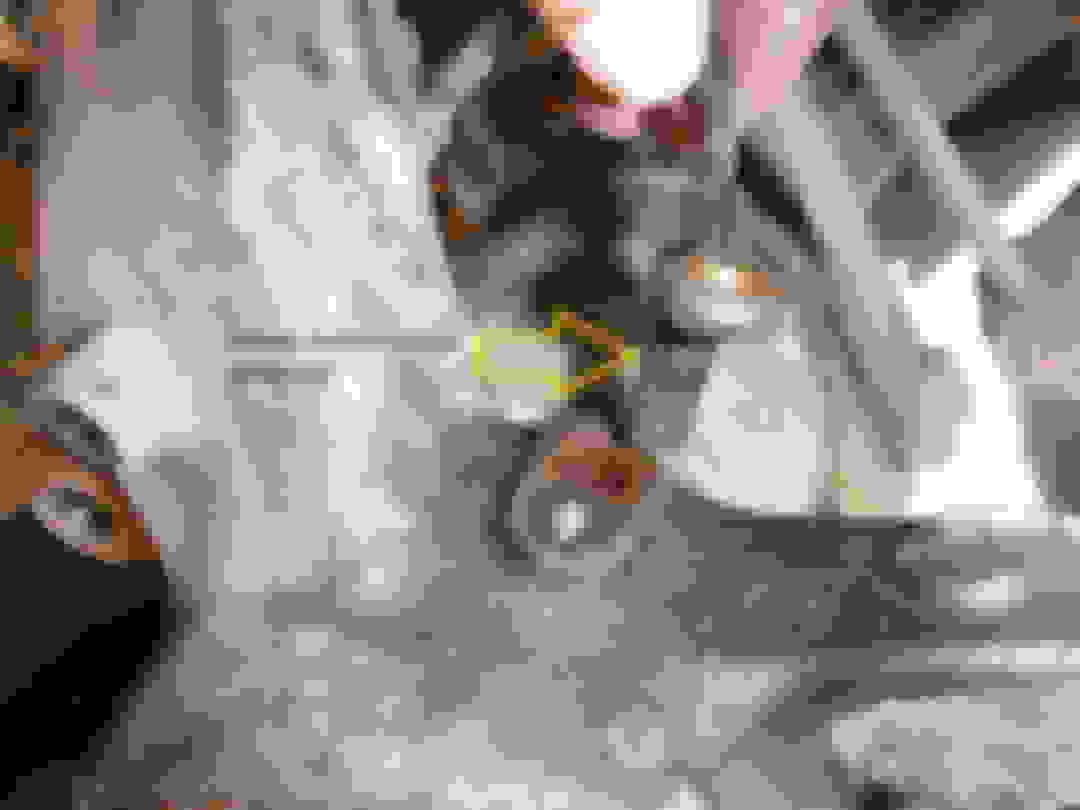
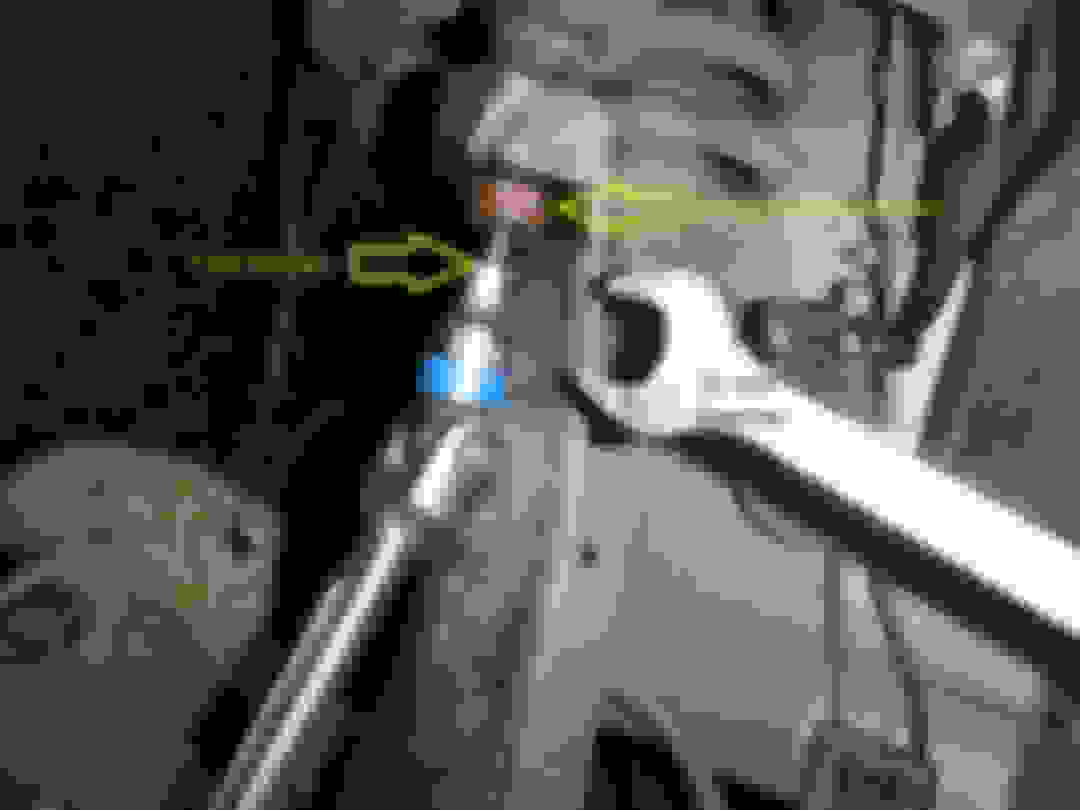
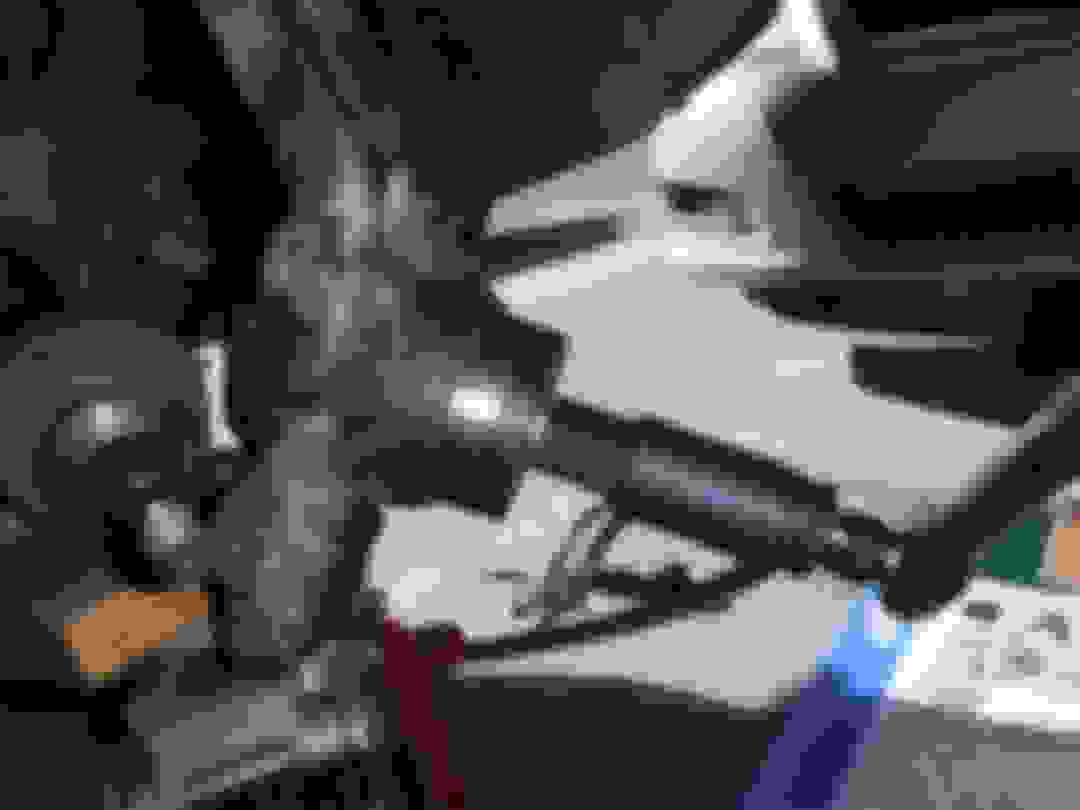
In order to free the axle shaft from the bearing, detach the upper ball joint from the top end of the knuckle. Loosen the retaining nut on the ball joint with a 21 mm spanner and a T-45 Torx bit.
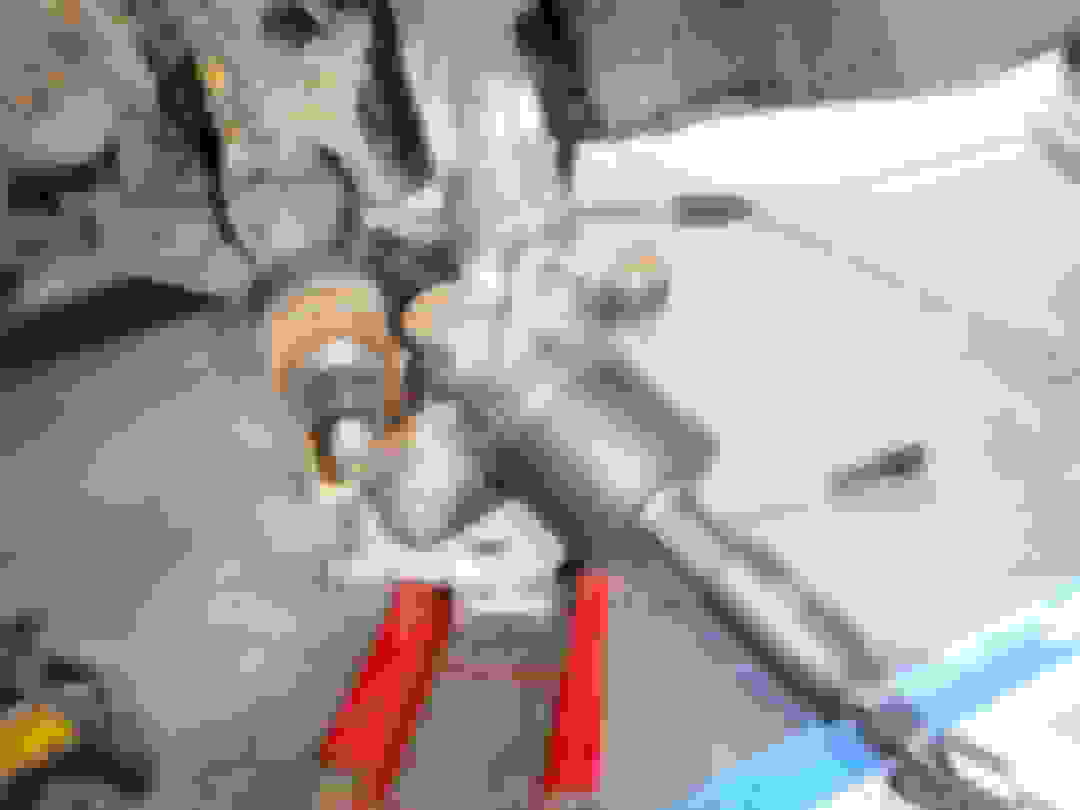
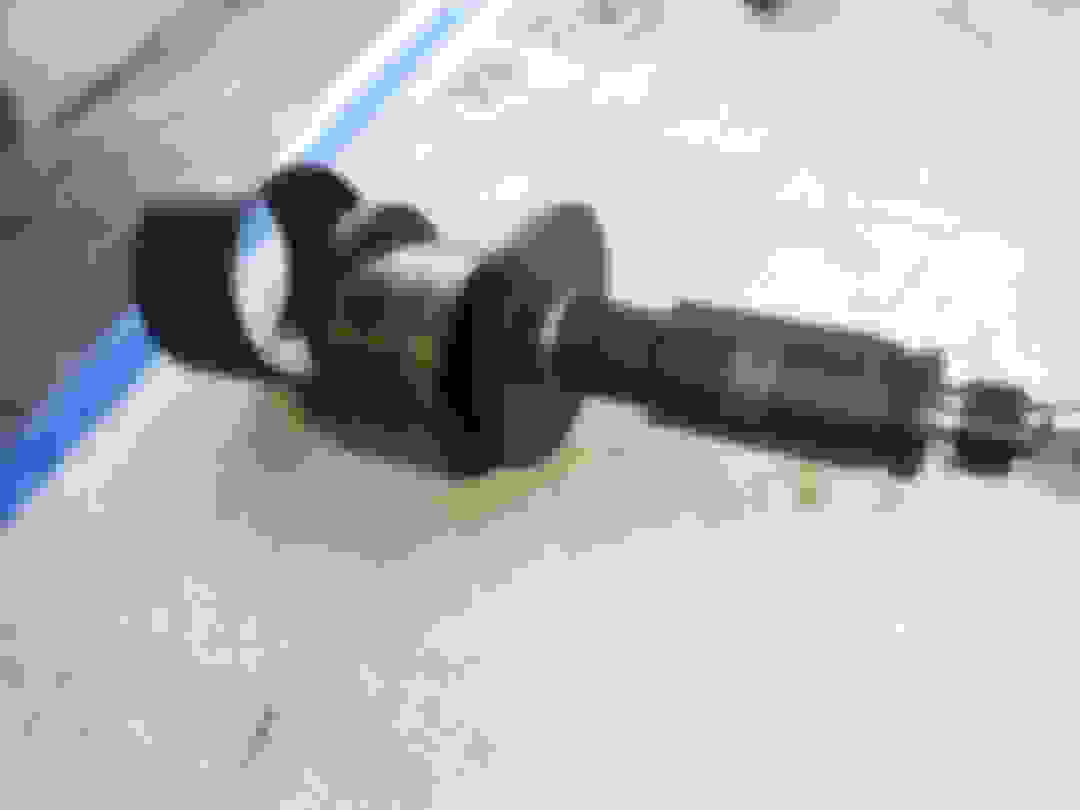
Tool to separate the ball joint from the knuckle.
With the top end of the knuckle free of the ball joint, the knuckle can be swung outwards so that the axle shaft can come out of the wheel bearing.
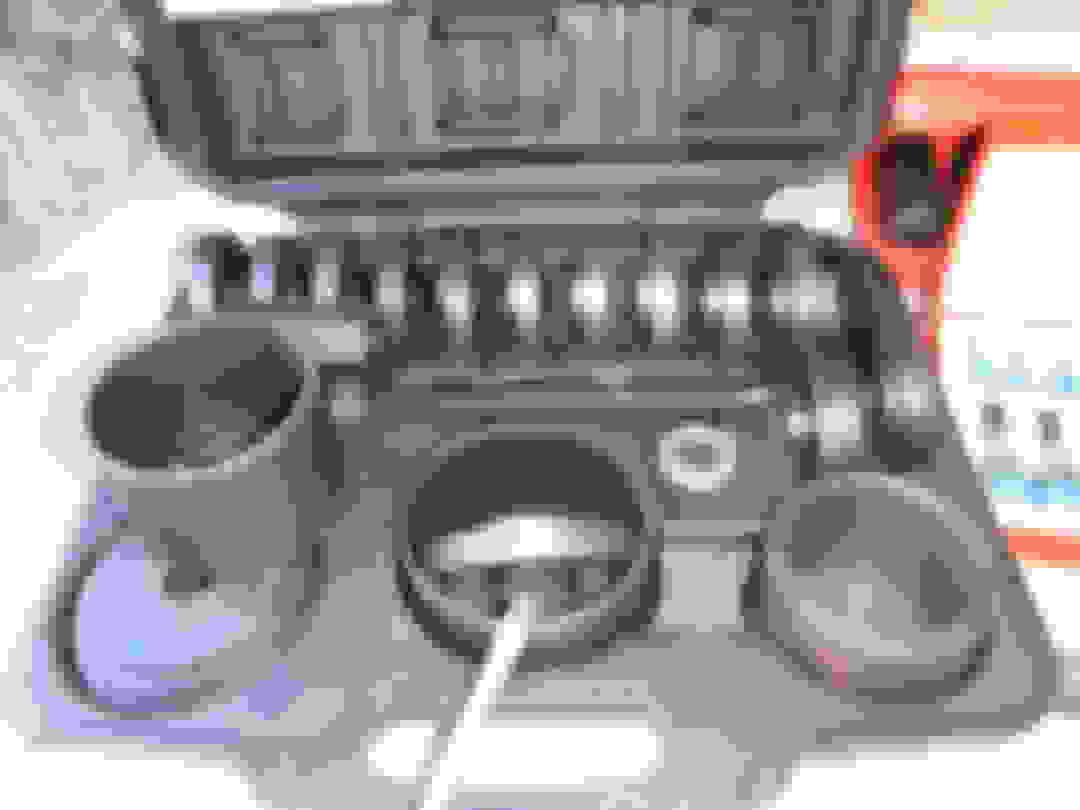
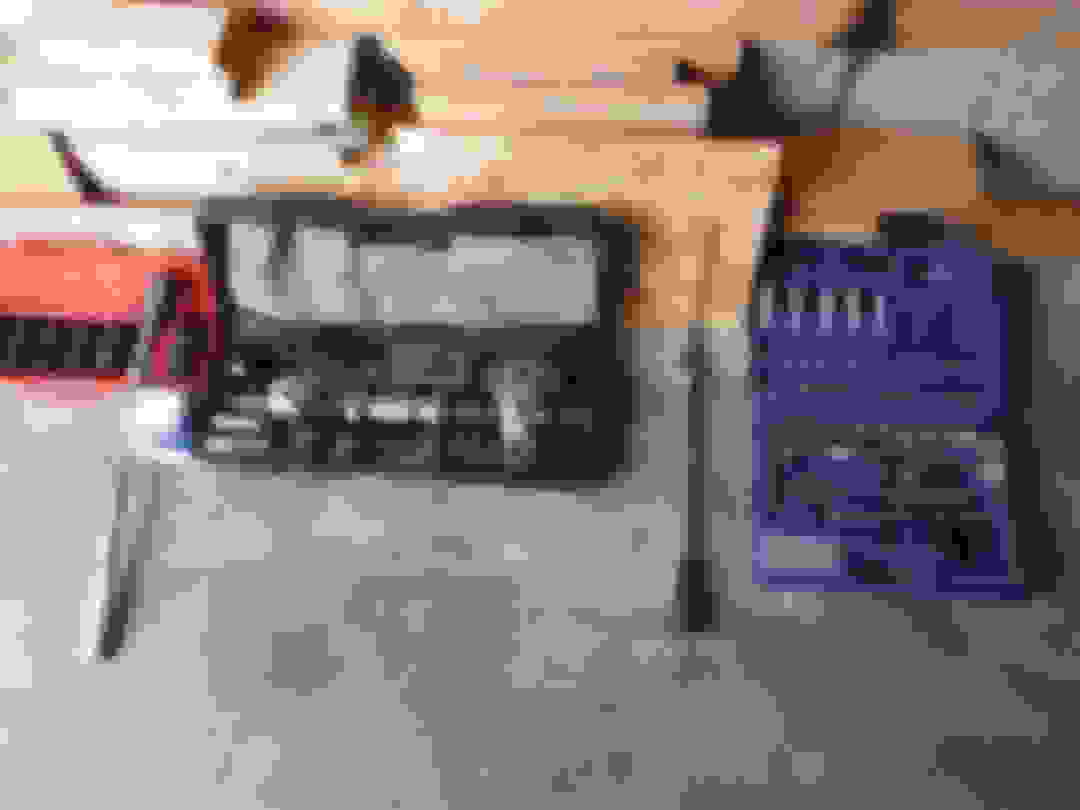
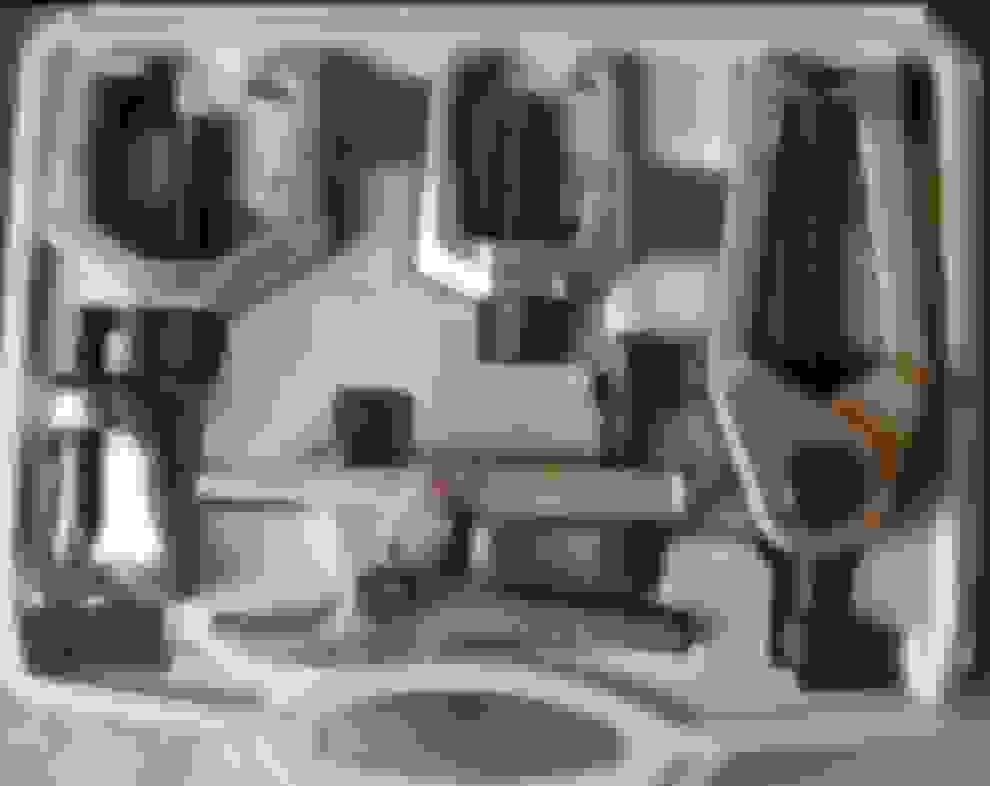
Tool kit required to remove the old bearing and to install the new bearing.
This shot is taken from behind the knuckle. The axle shaft is out of the hole and a steel disc with a 82 mm OD (from the tool kit) is in place against the bearing.This disc will be pulled through the knuckle and thereby pushing the bearing out.
Rest of the set-up to pull the bearing from the knuckle. There is a high tensile bolt through the centre of the bearing and sleeve. The bearing is pulled into the sleeve seen here on the outside of the knuckle.
Bearing removed.
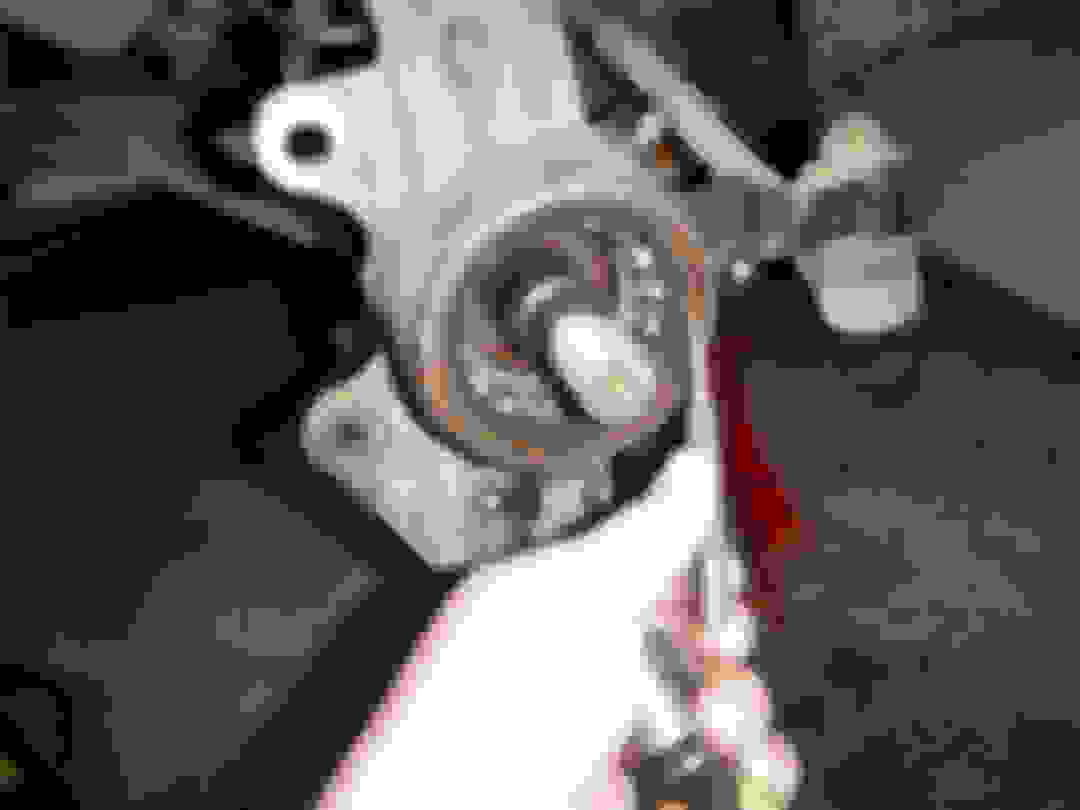
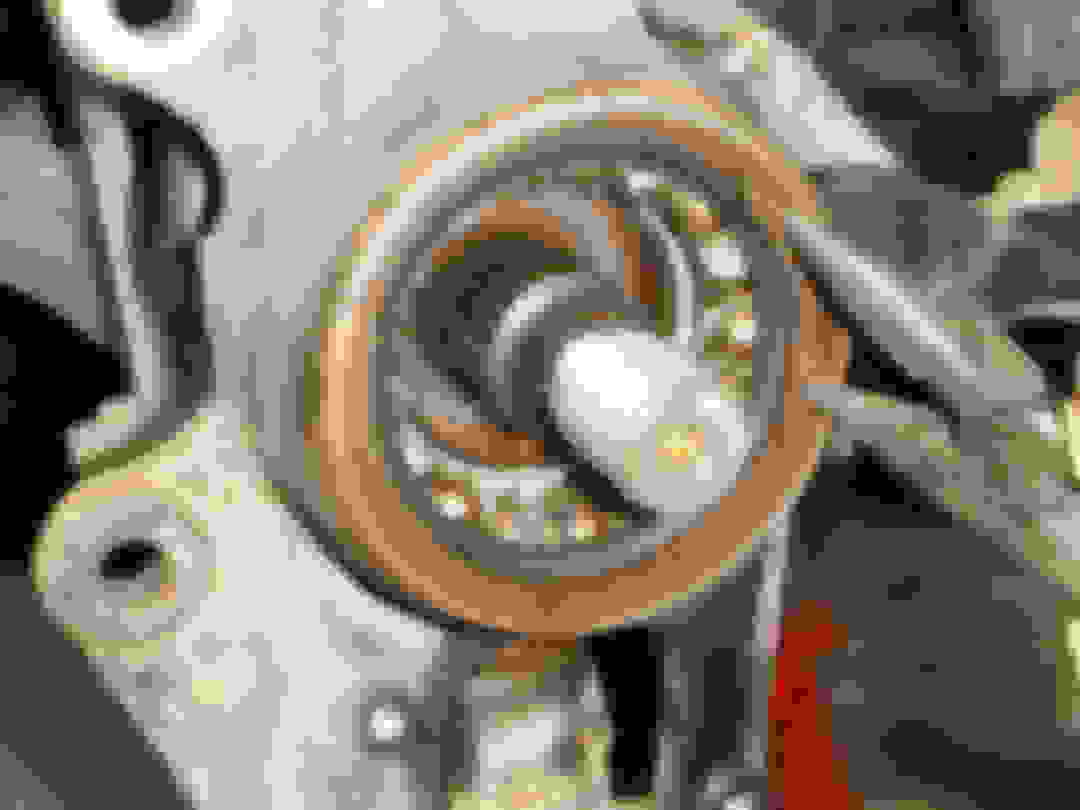
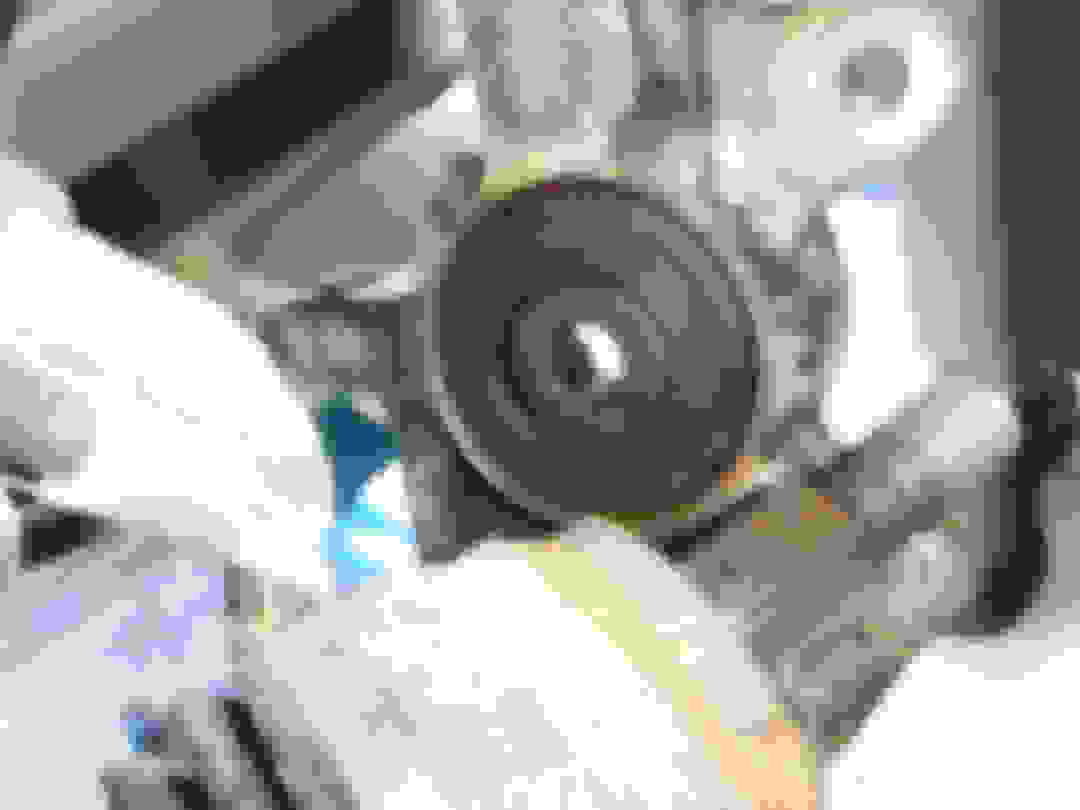
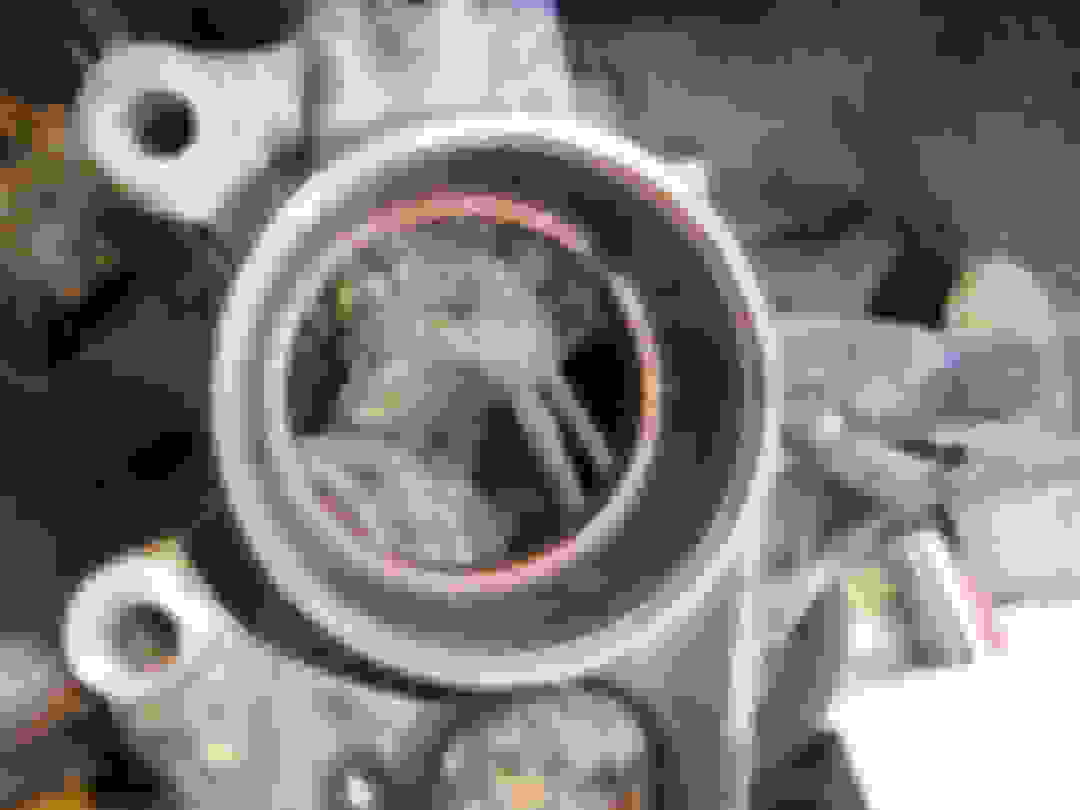
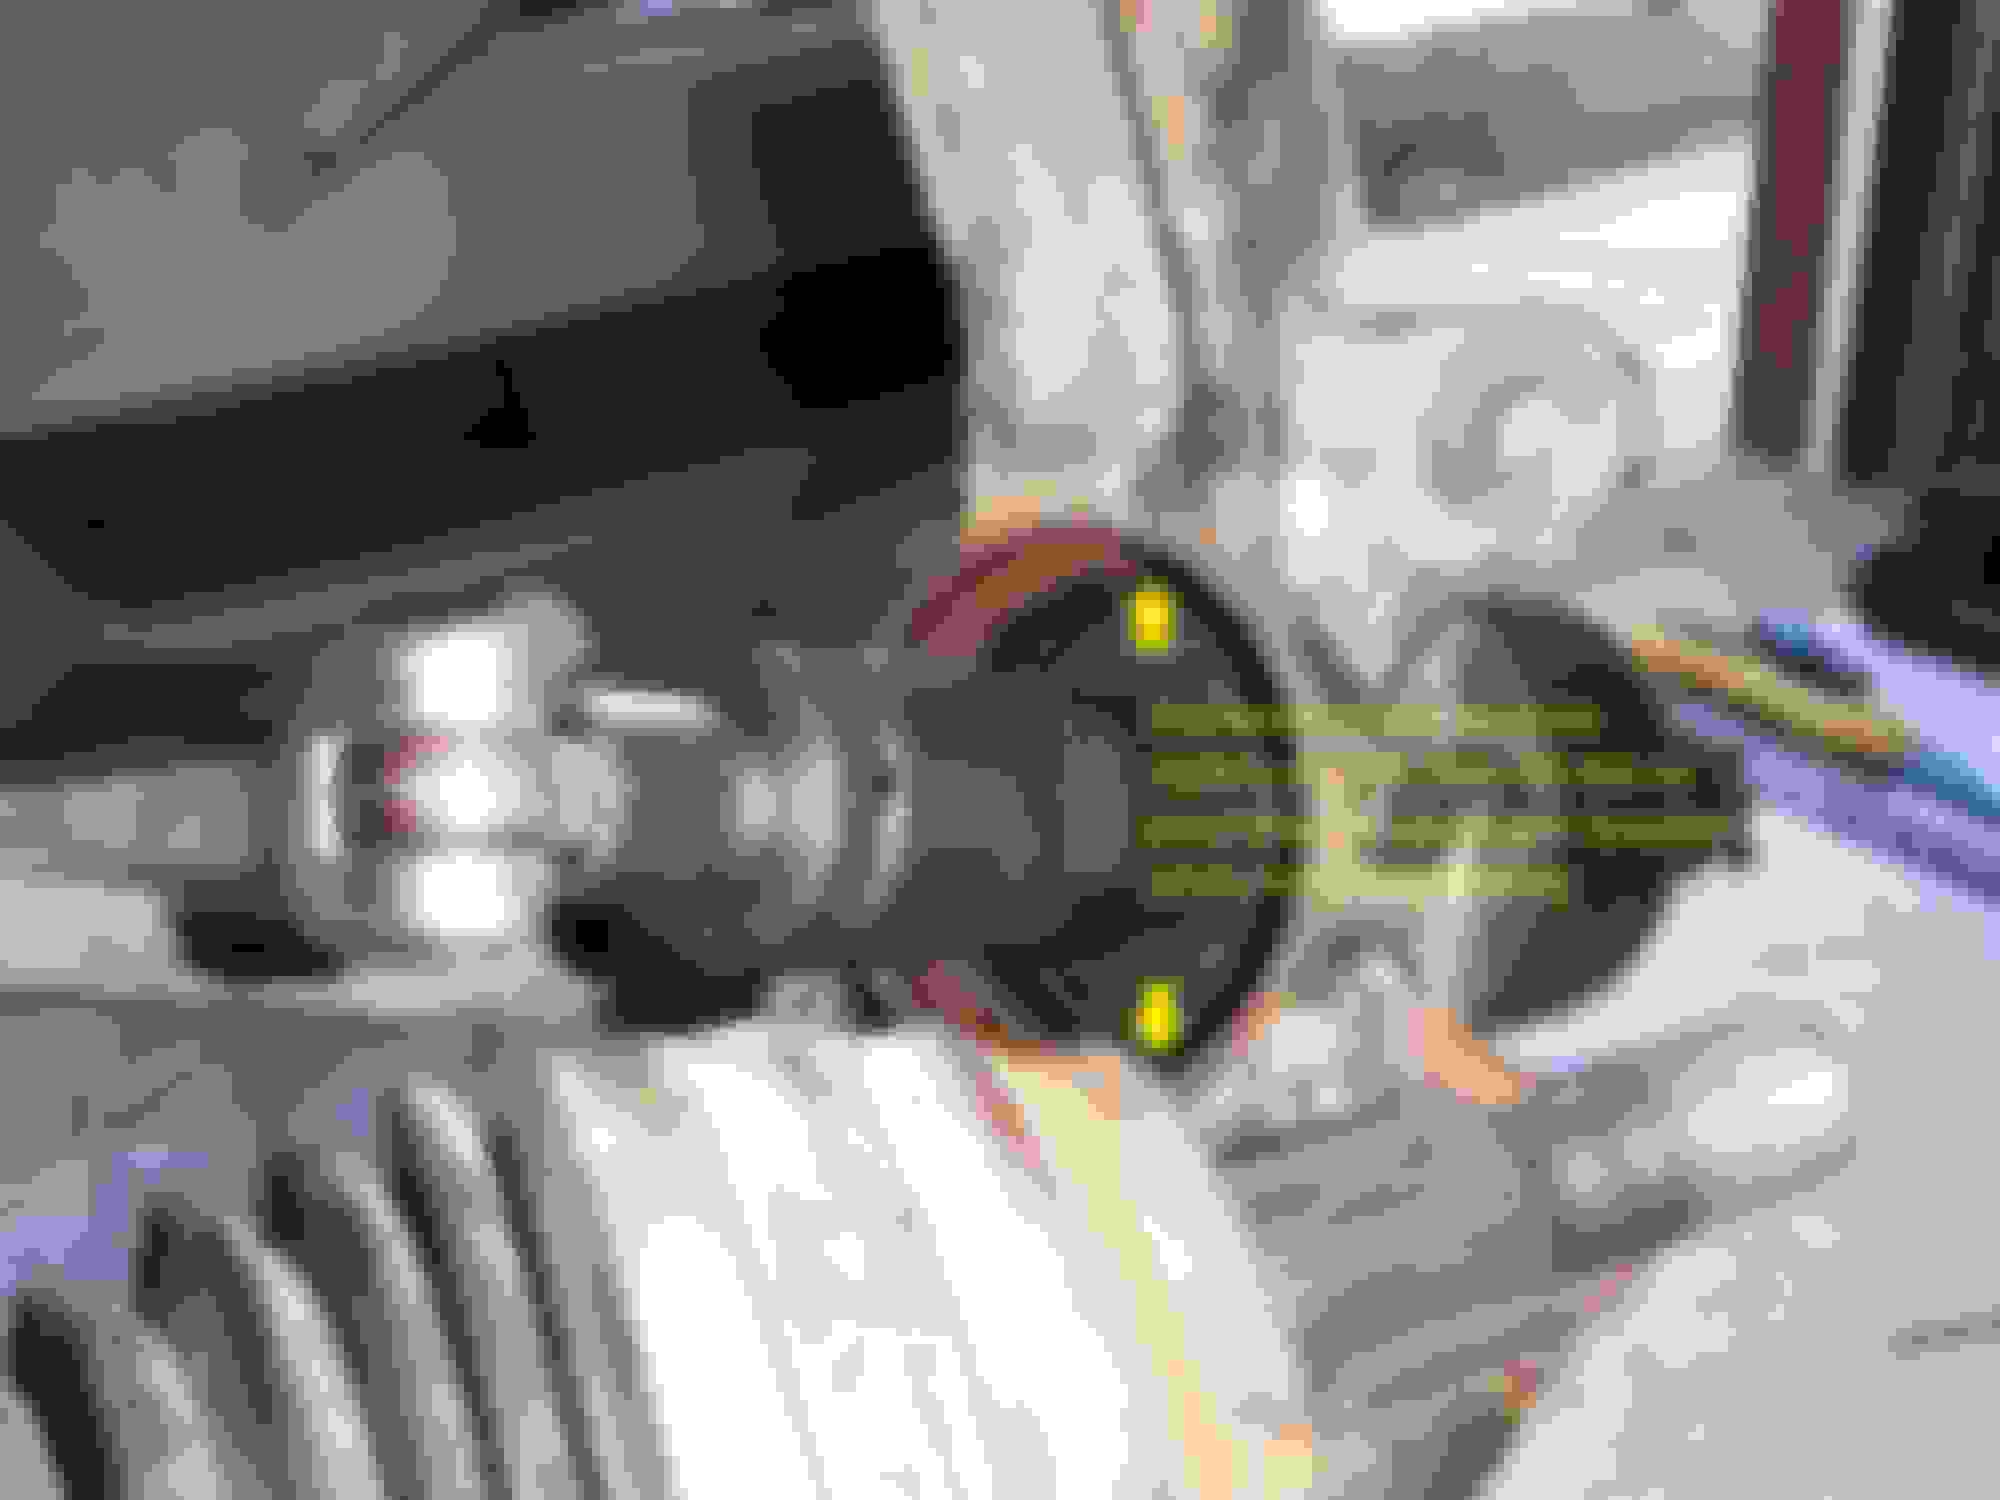
Knuckle with bearing removed. The cut-out/hole on the inside rim of the sleeve in the 2 O'clock position and in the back of the sleeve, is for the wheel motion sensor. The bearing must be installed with the magnetic side of the bearing up against this cut-out.
Bearing inner race being removed from the wheel hub.
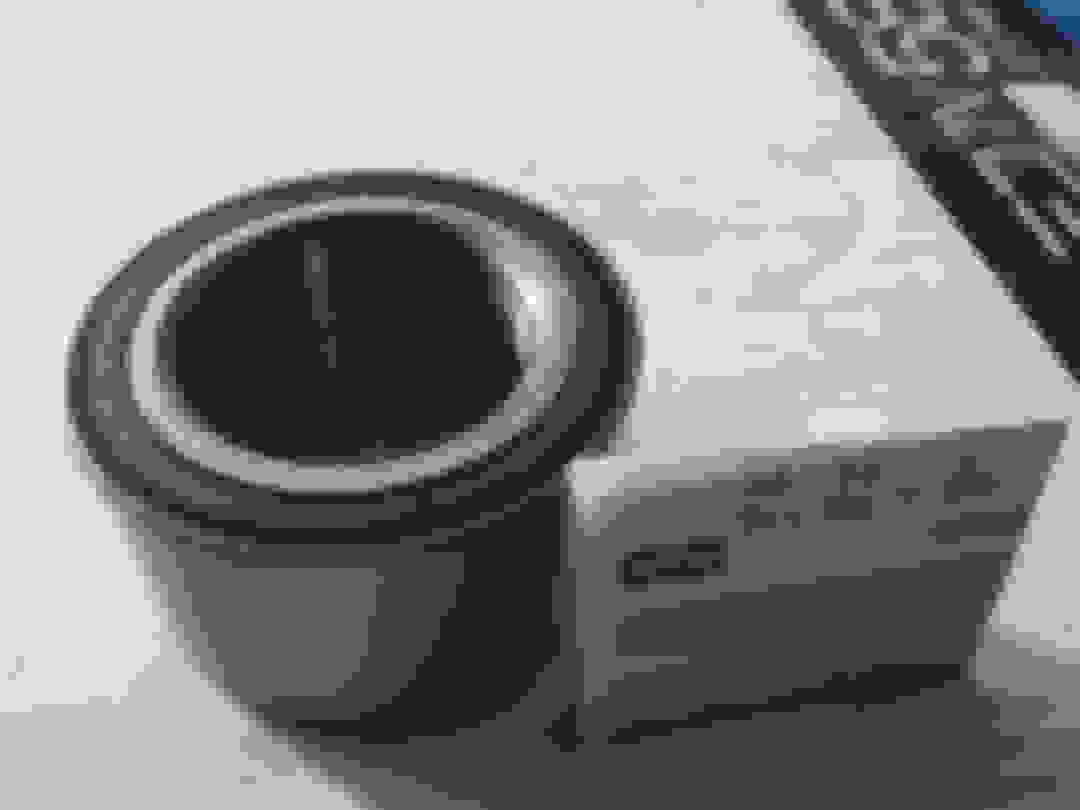
New NTN bearing. The original factory installed bearing was also NTN. OD = 90 mm; ID = 54 mm; L = 50 mm. Be sure to install the magnetic side of the bearing towards wheel motion sensor in the knuckle. One side of the bearing has a rubber seal and this side must go in first. The other side of the bearing, not visible in this photo, has a metal seal and is not magnetic. Test which side of the bearing is magnetic with a paper clip.
New bearing being installed. After this step, the wheel hub is installed in very much the same manner. I don't have a photo for the hub installation set-up. The rest of the installation is a reverse of the removal procedure.
C230 Sport Coup + 2006 W164 ML350 + 99 Ford Escort RIP
Yes, likely not the wheel bearing.
Time for diff bearings, a common failure.
The seller listed in the ebay auction also has a website same as username, .com with lower prices
and intl shipping. PM me if you have any questions.
Last edited by C230 Sport Coup; Aug 30, 2016 at 01:22 AM.
2017 AMG C 43 (W205); 2019 E 300 (W213); 2008 ML 320 CDI (W164)
Thank you for your input, CLK Group and C230 Sport Coup. I suppose I'll have to consider that the noise may be coming from a bearing(s) in the front differential.
The original wheel bearing that I changed out had pit marks on the race and needed to be replaced anyway and the first NTN bearing replacement made all the noise go away. So I suppose it's just incidental then that some of the bearings in the differential should be failing now.
I'm going to securely put the vehicle on jack stands and see if I can locate the noisy bearing with a mechanic's stethoscope.
2017 AMG C 43 (W205); 2019 E 300 (W213); 2008 ML 320 CDI (W164)
W164 front wheel bearing replacement
Some photos to show the right front wheel bearing replacement.
Front of vehicle securely supported on 2 jack stands. The hydraulic jack is not carrying much load and serves only as additional safety.
The axle nut takes a 36 mm socket. A screw driver is inserted into one of the brake disc ventilation holes to hold the disc while loosening the axle nut.
E-10 Torx socket required to remove the bolt holding the one half of the wheel sensor connector piece to the brake caliper. Do the disconnect and removal so that the brake caliper can be moved out of the way.
Undo the 2 bolts holding the brake caliper in place. Bolts take a 21 mm socket.
Use a piece of wire to suspend the brake caliper away from the work area. The caliper should not be left to hang by the rubber brake pipe.
Carefully remove the wheel motion sensor with an E-10 Torx socket.
The wheel motion sensor can be a bit stuck in. Gently wiggle it loose and out. The removal here was done after the brake disc and back plate had been removed.
A Torx-27 bit is required to remove the retaining screw holding the brake disc back.
Carefully tap the axle shaft loose. The nut on the axle shaft is turned out so that it is flush with the axle shaft end. This prevents damage to the axle shaft threads.
Four bolts hold the back plate in place. Remove with 13 mm socket.
With the brake disc removed, the axle shaft can also be broken loose from the wheel hub with a pulley puller. The hub cannot be removed in this way and the axle shaft cannot come out of the hole!
Install a sliding hammer to the hub to pull the hub out of the bearing.
Hub broken free from the rest of the bearing which remains in the knuckle. One half of the inner race remains on the hub and the other half remains in the bearing.
The cir-clip needs to be removed from the knuckle but may first need to be broken free from the groove that it sits in. Use a hammer and punch to lightly tap free.
Remove the cir-clip from the knuckle.
Cir-clip removed.
In order to free the axle shaft from the bearing, detach the upper ball joint from the top end of the knuckle. Loosen the retaining nut on the ball joint with a 21 mm spanner and a T-45 Torx bit.
Tool to separate the ball joint from the knuckle.
With the top end of the knuckle free of the ball joint, the knuckle can be swung outwards so that the axle shaft can come out of the wheel bearing.
Tool kit required to remove the old bearing and to install the new bearing.
This shot is taken from behind the knuckle. The axle shaft is out of the hole and a steel disc with a 82 mm OD (from the tool kit) is in place against the bearing.This disc will be pulled through the knuckle and thereby pushing the bearing out.
Rest of the set-up to pull the bearing from the knuckle. There is a high tensile bolt through the centre of the bearing and sleeve. The bearing is pulled into the sleeve seen here on the outside of the knuckle.
Bearing removed.
Knuckle with bearing removed. The cut-out/hole on the inside rim of the sleeve in the 2 O'clock position and in the back of the sleeve, is for the wheel motion sensor. The bearing must be installed with the magnetic side of the bearing up against this cut-out.
Bearing inner race being removed from the wheel hub.
New NTN bearing. The original factory installed bearing was also NTN. OD = 90 mm; ID = 54 mm; L = 50 mm. Be sure to install the magnetic side of the bearing towards wheel motion sensor in the knuckle. One side of the bearing has a rubber seal and this side must go in first. The other side of the bearing, not visible in this photo, has a metal seal and is not magnetic. Test which side of the bearing is magnetic with a paper clip.
New bearing being installed. After this step, the wheel hub is installed in very much the same manner. I don't have a photo for the hub installation set-up. The rest of the installation is a reverse of the removal procedure.
2017 AMG C 43 (W205); 2019 E 300 (W213); 2008 ML 320 CDI (W164)
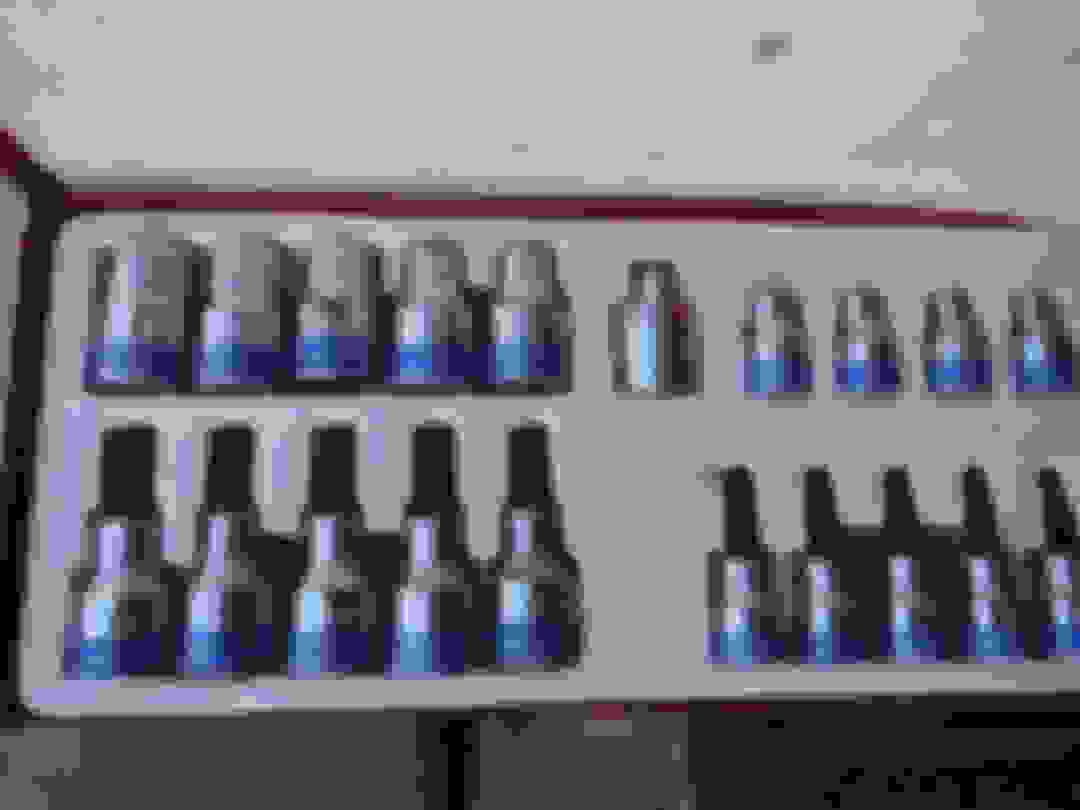
Powerbuilt Alltrade 648741 Kit 27 Front Wheel Drive Bearing Removal and Installation
The kit was ordered online through Amazon. Price in Canadian dollars.
I bought the kit in February 2016. There are several other kits like this. This kit works well for removing and installing the front wheel bearing. I haven't done a rear wheel bearing yet, but I've always just assumed the kit would work just as well for the rear wheel bearings.
2017 AMG C 43 (W205); 2019 E 300 (W213); 2008 ML 320 CDI (W164)
Yes, the Canadian dollar has weakened since then. I like to know that I could do another bearing if it became necessary so I would certainly keep the kit. If you didn't have this kit, you'd need a press, but I think the kit is quicker and easier.
Use safe glasses please. this material snaps and breaks like glass.
I followed this DIY, the only problem that I found was the Bearing removal tool kit that I bought, same as in the pic, didn't have the right diameter for my bearing.
So from there, was a nightmare to remove it.
I ended up using a chiesel and the Dremel. Took me almost a full day.
So double check the diameter of your tool before starting the job.
2017 AMG C 43 (W205); 2019 E 300 (W213); 2008 ML 320 CDI (W164)
Home made tool to pull off the wheel hub
Some photos below show some dimensions and a home made 2-piece tool made out of a 180 mm x 150 mm x 6 mm thick steel plate to pull the hub off the steering knuckle. Using this tool is much easier than using a sliding hammer to remove the wheel hub.
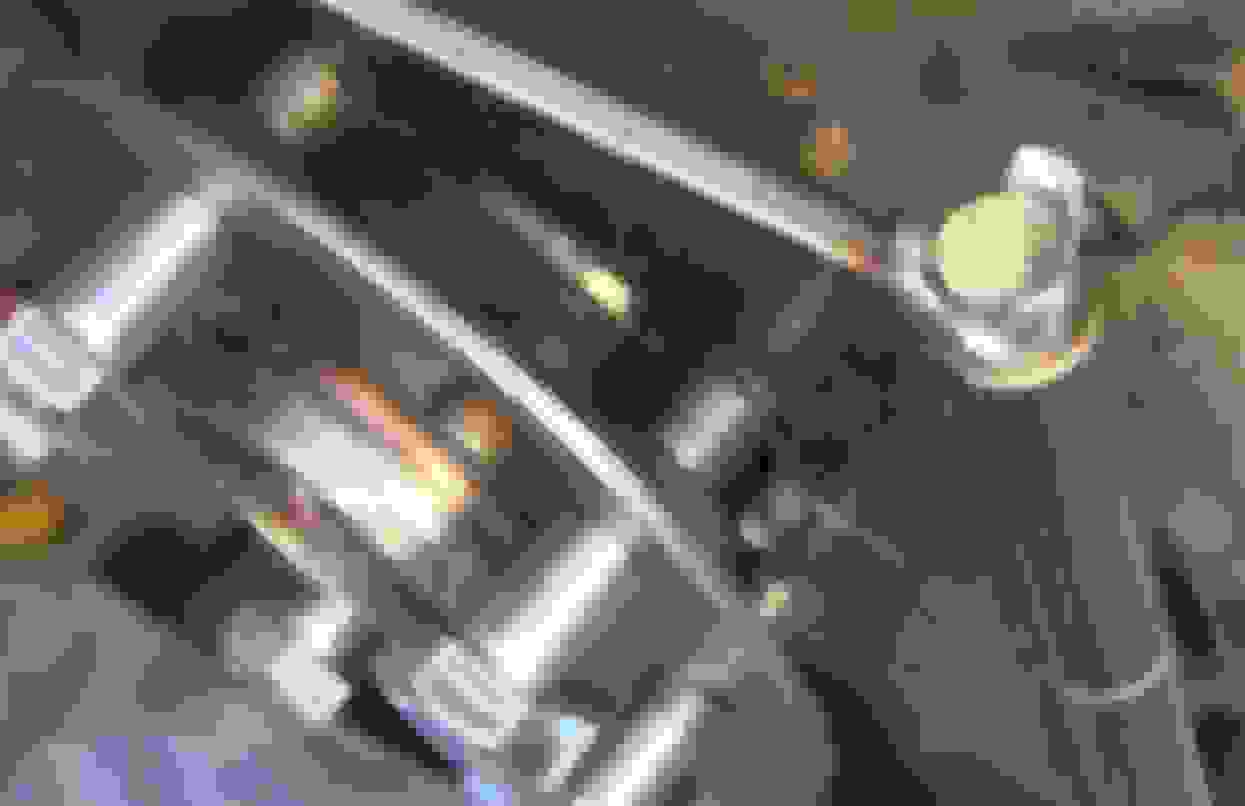
Wheel hub still in place in steering knuckle and viewed from above. Part of a sliding hammer which was used at another time, is visible at the bottom of the picture.
2-piece plate tool in 2 parts.
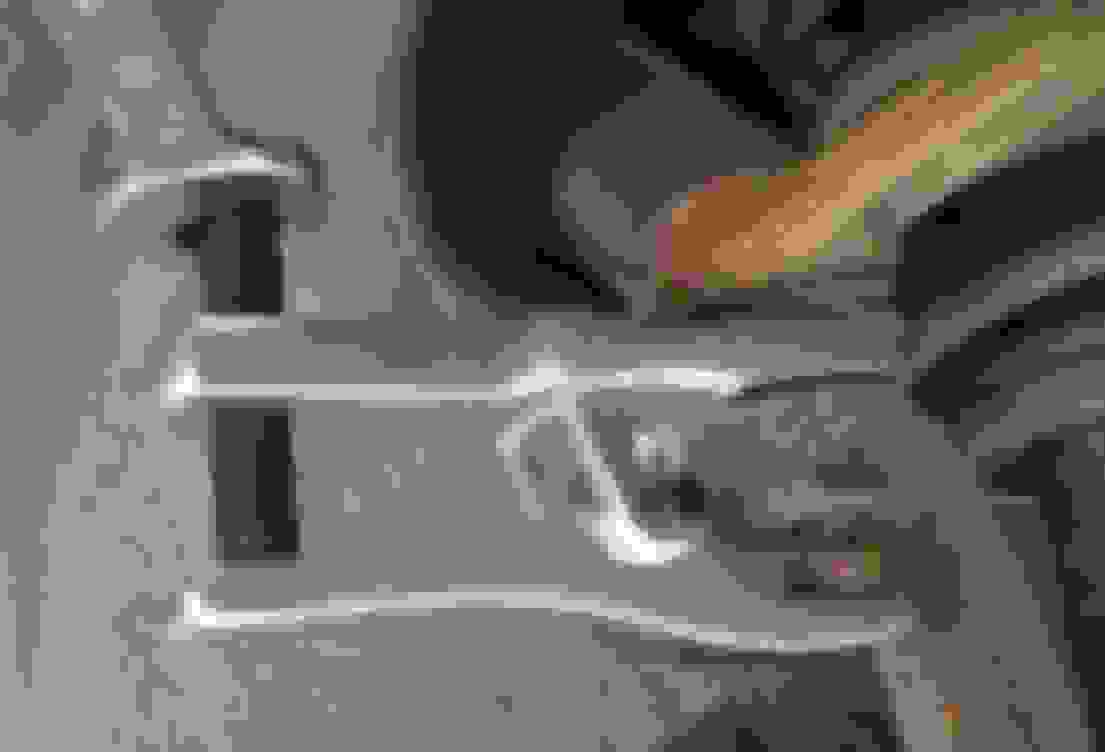
Slide the 2 halves in between the wheel hub and the steering knuckle.
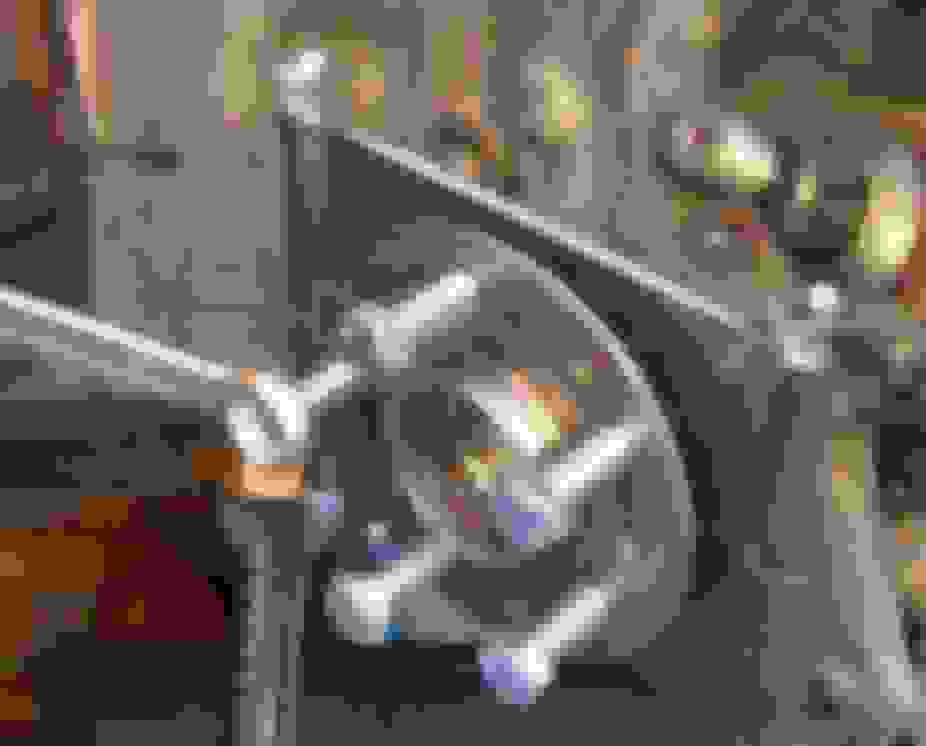
2-piece plate installed behind the wheel hub. Turn five M 14 x 1.5 x 50 mm bolts through the wheel hub holes so that they push against the steel plate behind. Tighten bit by bit in a criss cross fashion to evenly pull the wheel hub off.
The wheel hub already 10 mm out. The ends of the bolts were shamfered/tapered before. If this is not done. the bolt ends 'mushroom' a little and they could damage the holes in the hub when they're turned out eventually. Do not use your usual wheel bolts for this.
Wheel hub removed. This is a lot easier than using a sliding hammer!
This is merely to show how the 2-piece plate sits on the inside of the hub.
To make this tool, the plate could probably be a little lighter than what was used here.
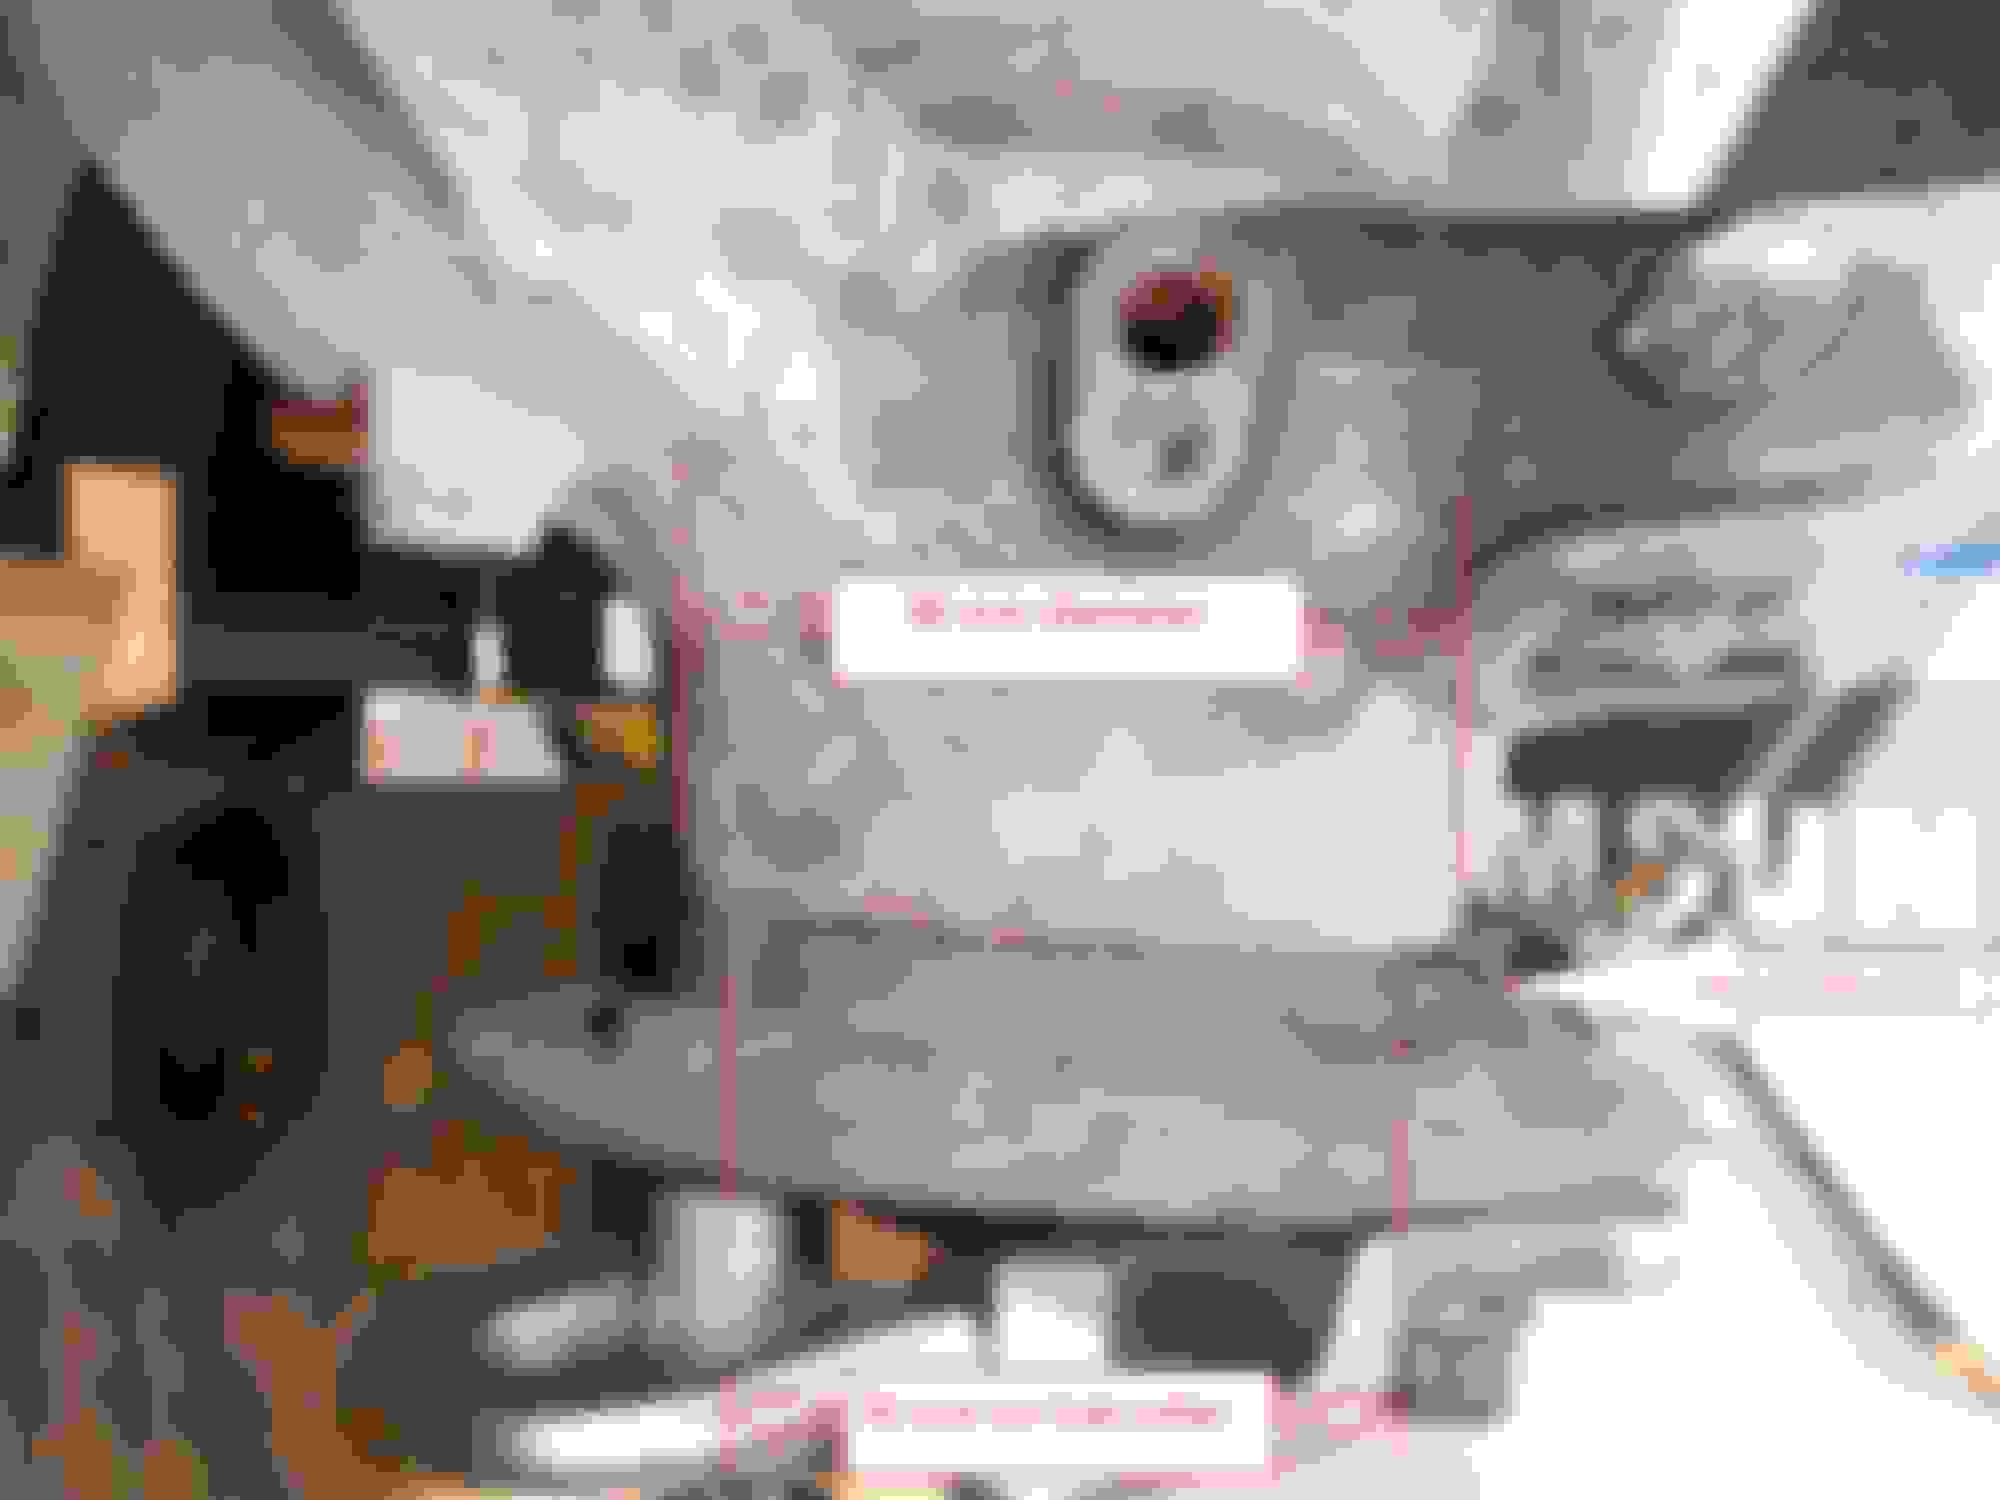
This shot is taken from behind the knuckle when the wheel bearing was being pulled out. The steel disk which pushes against the bearing, needs to be able to pass through the 84 mm aperture in the steering knuckle.
Wheel bearing removed from the steering knuckle. The steel disc that pushes the bearing out needs the pass through the 84 mm aperture in the back of the sleeve.
Hello, I’m new to the forum. I’ve completed numorous repairs on my 09 GL320 over the past couple years, and now have a ‘humming’ coming from the front end when driving. It seems to stop humming when I am driving and turn to the right. Any ideas?
Thank you
QUOTE=2008 ML 320 CDI;6907803]Thank you for your input, CLK Group and C230 Sport Coup. I suppose I'll have to consider that the noise may be coming from a bearing(s) in the front differential.
The original wheel bearing that I changed out had pit marks on the race and needed to be replaced anyway and the first NTN bearing replacement made all the noise go away. So I suppose it's just incidental then that some of the bearings in the differential should be failing now.
I'm going to securely put the vehicle on jack stands and see if I can locate the noisy bearing with a mechanic's stethoscope.[/QUOTE]
Hello, I’m new to the forum. I’ve completed numorous repairs on my 09 GL320 over the past couple years, and now have a ‘humming’ coming from the front end when driving. It seems to stop humming when I am driving and turn to the right. Any ideas?
Thank you
QUOTE=2008 ML 320 CDI;6907803]Thank you for your input, CLK Group and C230 Sport Coup. I suppose I'll have to consider that the noise may be coming from a bearing(s) in the front differential.
The original wheel bearing that I changed out had pit marks on the race and needed to be replaced anyway and the first NTN bearing replacement made all the noise go away. So I suppose it's just incidental then that some of the bearings in the differential should be failing now.
I'm going to securely put the vehicle on jack stands and see if I can locate the noisy bearing with a mechanic's stethoscope.
I bought two SKF FW214 front wheel bearings for my ML 550 from Rock Auto https://www.rockauto.com/?carcode=1441947&parttype=1672. The total cost, with shipping and GST, was $197.97 CAD. And thanks to my buddy from Okotoks (2008 ML 320) for his fabulous instructions. My main problem is removing the part of the bearing that stays on the hub after it is removed from the steering knuckle.
2017 AMG C 43 (W205); 2019 E 300 (W213); 2008 ML 320 CDI (W164)
Originally Posted by RussG
I bought two SKF FW214 front wheel bearings for my ML 550 from Rock Auto https://www.rockauto.com/?carcode=1441947&parttype=1672. The total cost, with shipping and GST, was $197.97 CAD. And thanks to my buddy from Okotoks (2008 ML 320) for his fabulous instructions. My main problem is removing the part of the bearing that stays on the hub after it is removed from the steering knuckle.
Yes, that is a little tricky to do.
Clamp the hub flange firmly in a vice and use a small angle grinder to obliquely cut across the bearing part (inner race) that you want to remove, taking care not to cut through the race and into the hub itself. The cut drastically weakens the race. Using a hammer and chisel (metal work), moderately hit the race with the chisel placed in the cut. The race should break/crack along the cut and come off the hub quite easily.
Take your time and take care not to damage the bub.
Mercedes SLR McLaren 722 S Is Extremely Rare Example Modified by McLaren
Slideshow: A one-of-one U.S.-spec Mercedes-Benz SLR McLaren Roadster became even rarer after a factory-backed transformation at McLaren's headquarters.