

 thankya


Frank gets Blinder Laser Jammer (install pics)
Thread Starter
MBWorld Fanatic!
Joined: Aug 2013
Posts: 1,267
Likes: 56
From: Alberta, Canada
'18 GLE63S AMG /'19 PORSCHE TURBO S / '09 CORVETTE ZR1 /'14 LEXUS RX350/'16 RAV4 Ltd
Frank gets Blinder Laser Jammer (install pics)
I only did the front heads today and may leave it at that..
I will try to quickly do the written scope and then add pics at the end.They will make sense after the text is comprehended.
Well first of all beware...for a first timer this is a task that takes hours, patience and good sight with proper tools..specifically light. I used my LED headlamp and +3 diopter specs....yes I'm old !!
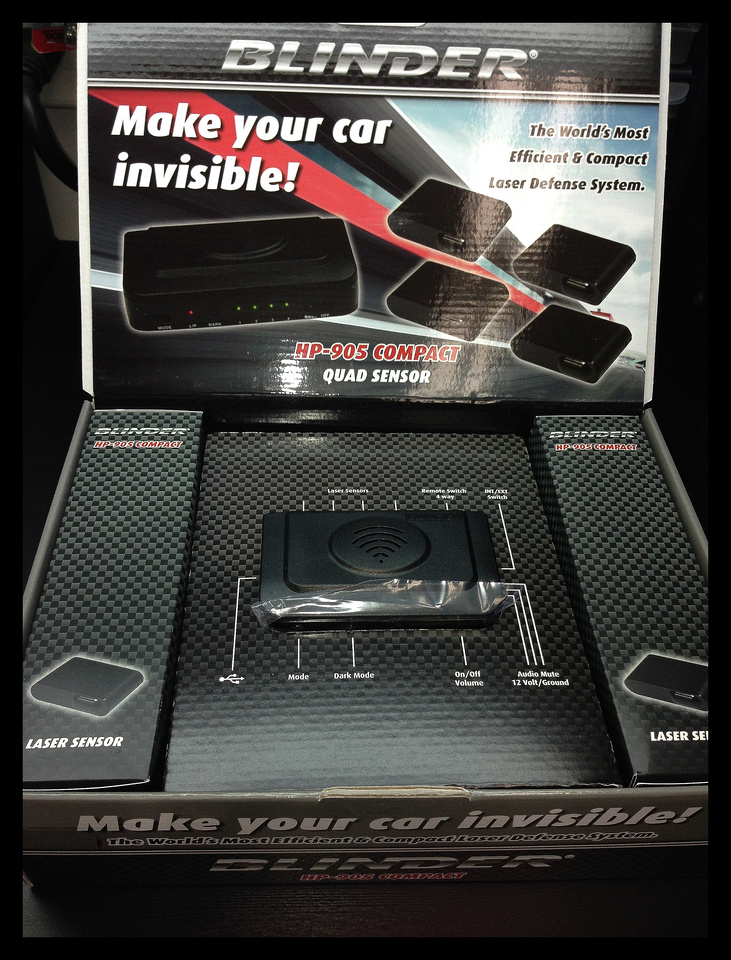
I opted for the new Blinder HP-905 and time will tell as to it's performance. I've had 5 Laser Interceptors set in the past and currently run that on my ZR1 and I have no gripe with it..just that the cost for the unit i wanted - quad heads high power was $1800 and this quad Blinder was $900 and....the new Blinder heads are substantially smaller than the LI units...so we'll see..this unit also has a programmable jam time (secs) following encounter then shuts down (so you slow down,,it turns off,,smokey gets a legal speed reading) then it resets/arms after 7-8 secs and also has a switch to use only as parking assist, use only as laser alert or use both as alert and jam...I did not install this switch yet..time will tell if needed..
Today took me all day and I worked diligently for about 7 hours..most of the time is exploratory of course,,, not ever having this car apart and not wanting to break anything by "pulling harder.." I just took the time needed..
I opted to go through firewall at the passenger side..from the info I pre-gleaned it seemed to offer the easiest route..
First step..fender cover passenger side..the intent is to get the firewall bare so remove top filter cover (lift front/tilt back/extract from slots),inner filter funnel cover (3 clips..2 top/one side) and the remove inner filter shroud (4 10mm nuts and a sensor engine side that releases by twisting the sensor to align release points)
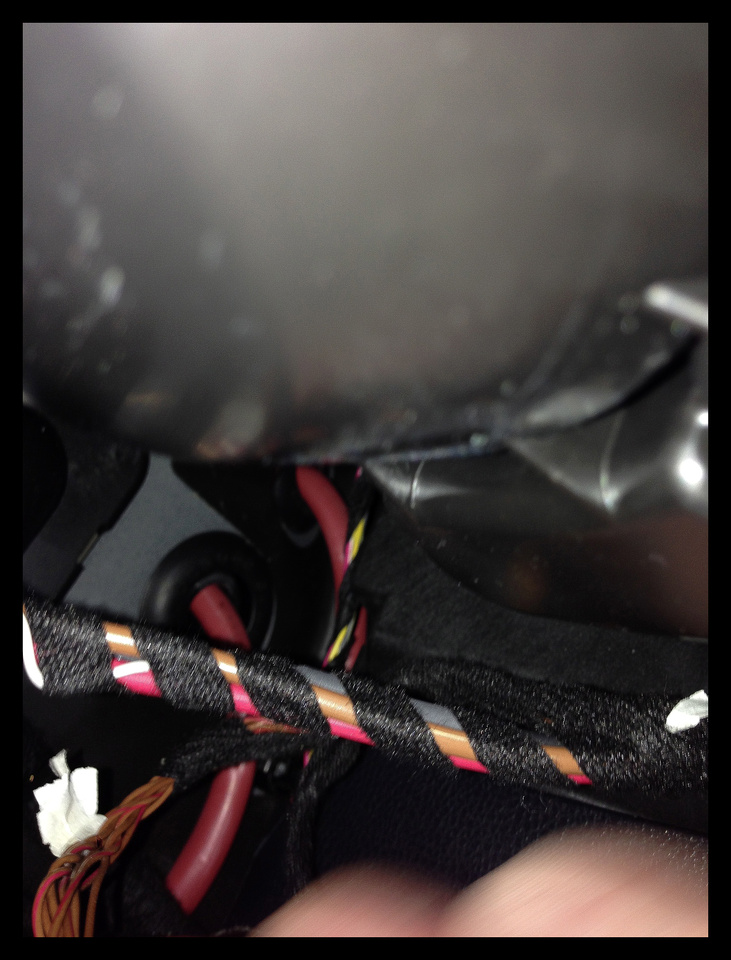
The firewall is then bare and I selected to share the positive battery cable grommet to get into the footwell.
Inside the cabin you must remove the lower glovebox valence (3 front screws..1 rear) ..the light body slides sideways to come out of the valence and there is an incidental electrical connection for a sensor..work the panel out,pull the carpet back and you now can see the intended grommet.
Push the grommet aside enough to free the front jammer wires through.
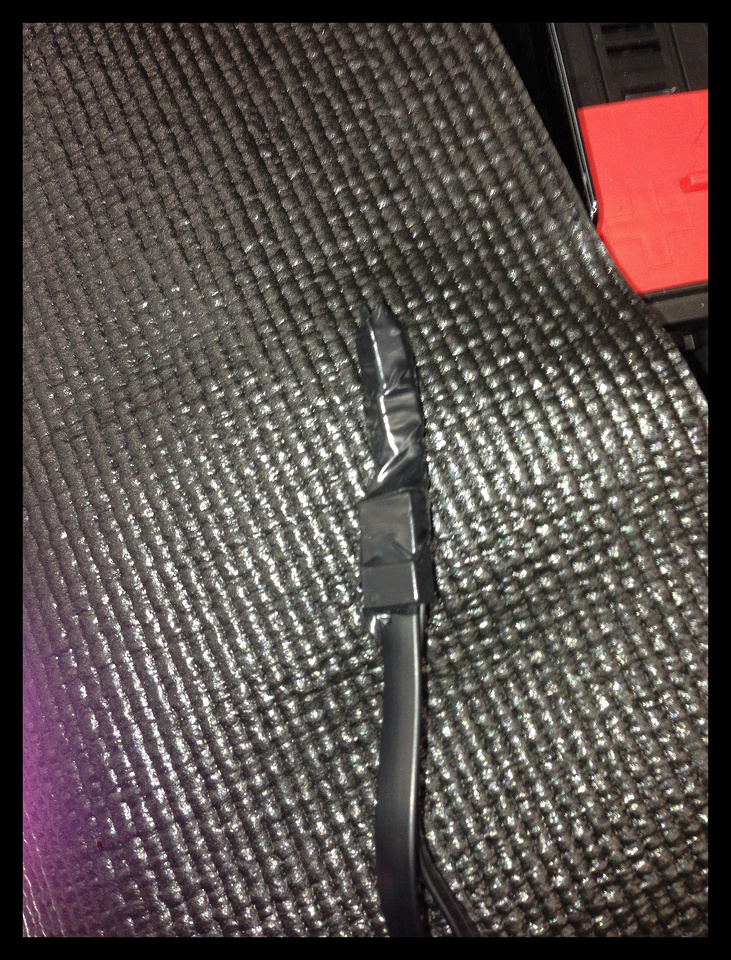
I taped the two ends (two front heads..) of the wires to protect them and forced them through.
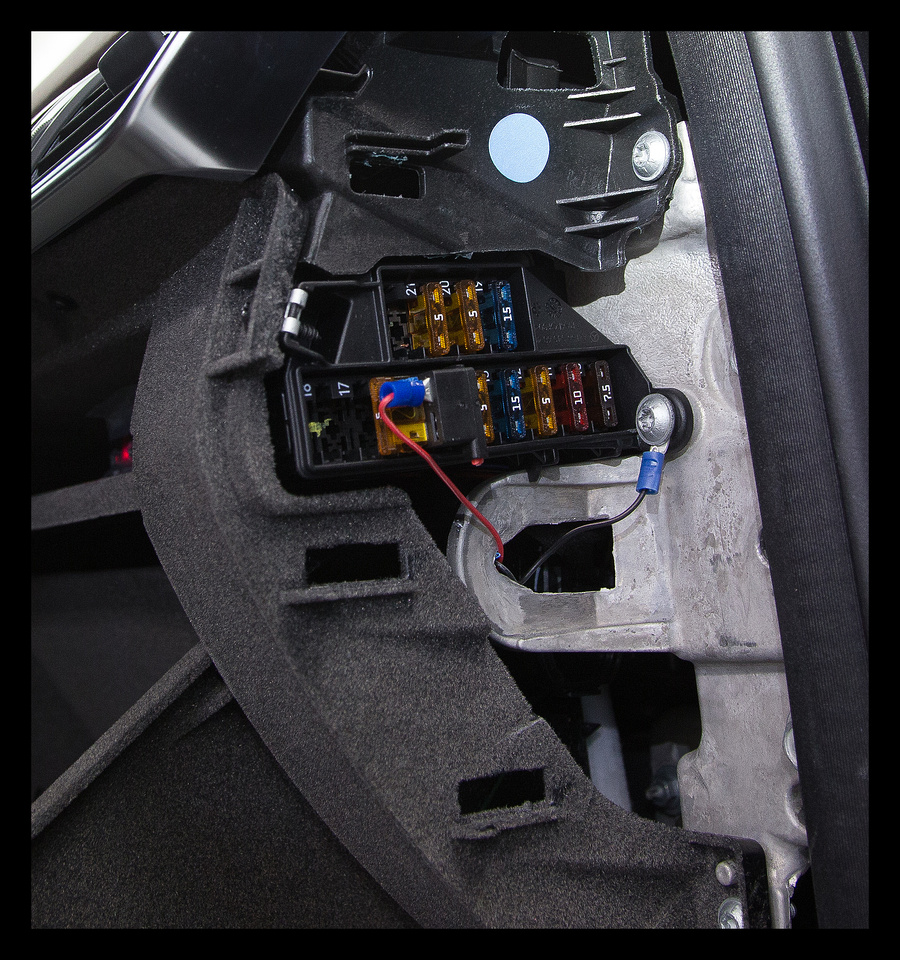
Once fed though I routed to the side fuse panel location...to access fuse the cover pulls off and pivots along the front side
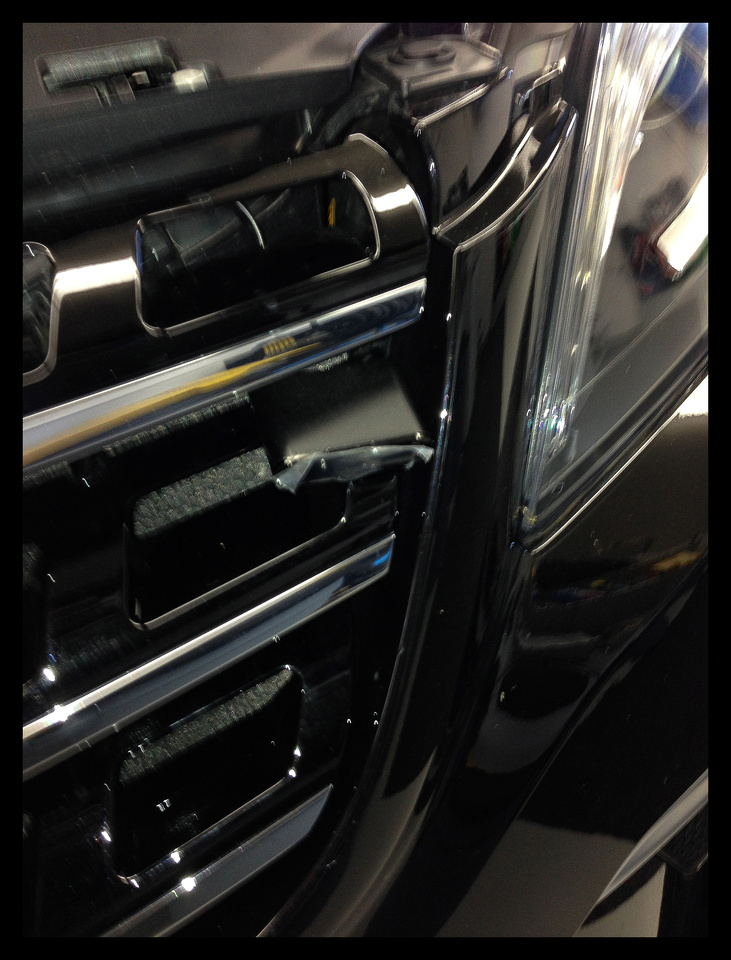
I then finished the front grill work by removing the plastic cover and chasing the wire from grill to firewall ( wires are two piece with one end fixed to head and the other 7 or 8 pin which press fits to the wire already fed though firewall)
I completed the grill work without fixing the heads and buttoned up the under hood pieces reversing the procedure to put all back..
I found a live fuse power source as I want the unit to stay on and not cycle each time I start the vehicle..in future I shall add a power switch or may opt to select a switched power source if I find the need to turn it off.
I used a fuse mate to share said fuse and grounded to the chasis as shown..then chased the wires to the selected location of the main module..the small " parcel" shelf located above the glove box cavity..
Here I will save you the major grief I had spending an hour trying to get the power cord and head wires to the unit in its location..THE SHELF PULLS OUT so you can run them from behind after taking the shelf out...frick
I placed the module on the shelf and secured it with velcro so its easily removed for updates/etc.
This area now complete I re-installed the lower valence and side cover
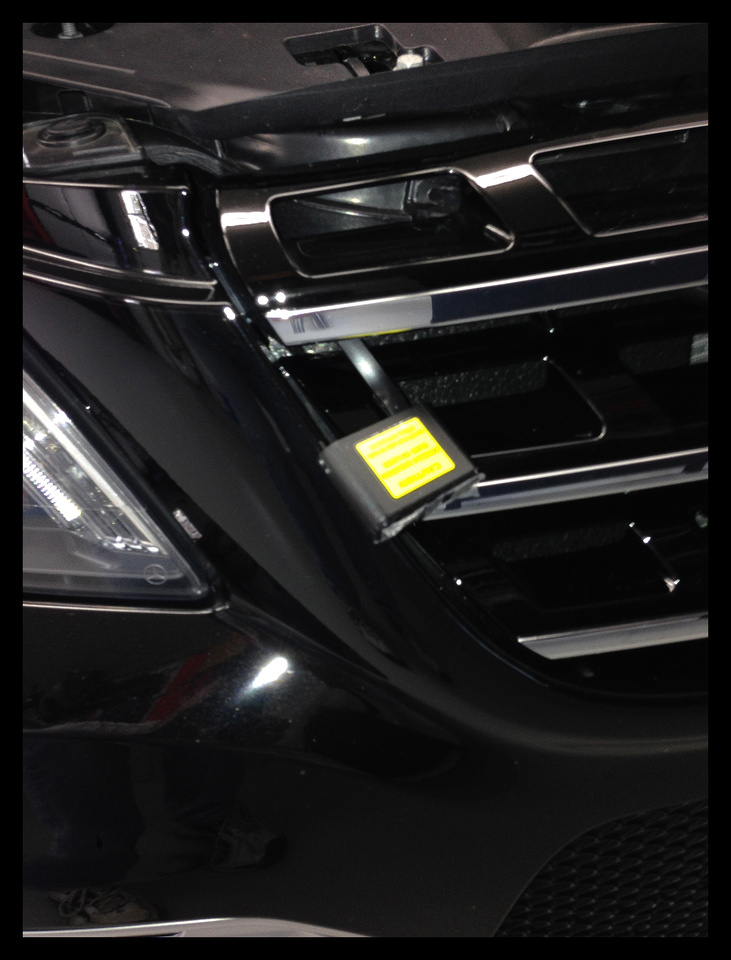
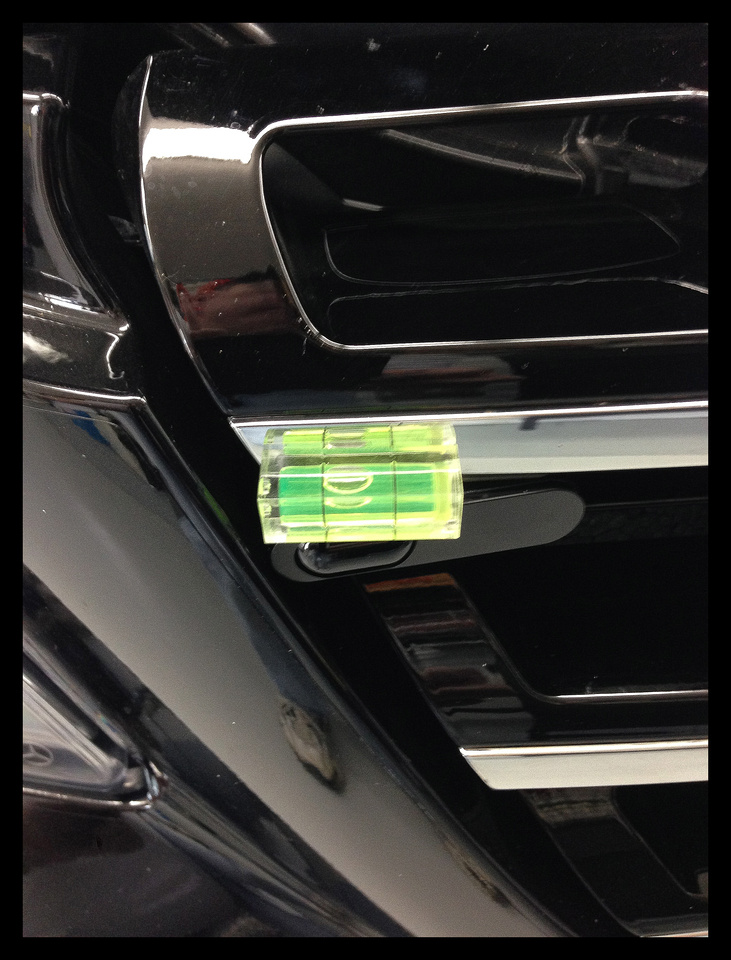
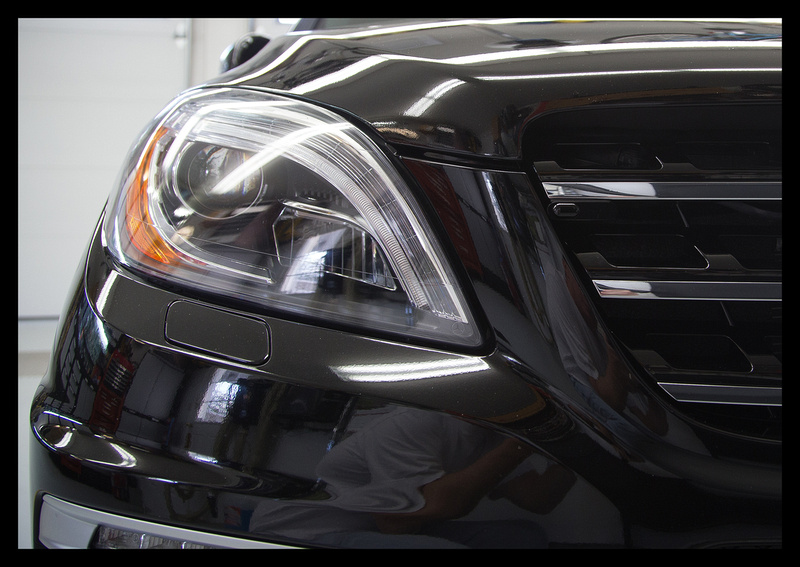
Up from at the grill I opted to locate the heads near the headlights as this is the spot smokey usually targets and found they fit nicely under the grill. I used 3m double sided tape to secure these tidy little heads to the underside of a grill cutout and found it to be very level..
Put everything else back together and tested functionality with a free tester Blinder sent along and voila...all good and plenty loud !!
The pics...caveat...some from iphone..others from my pro body
The unit

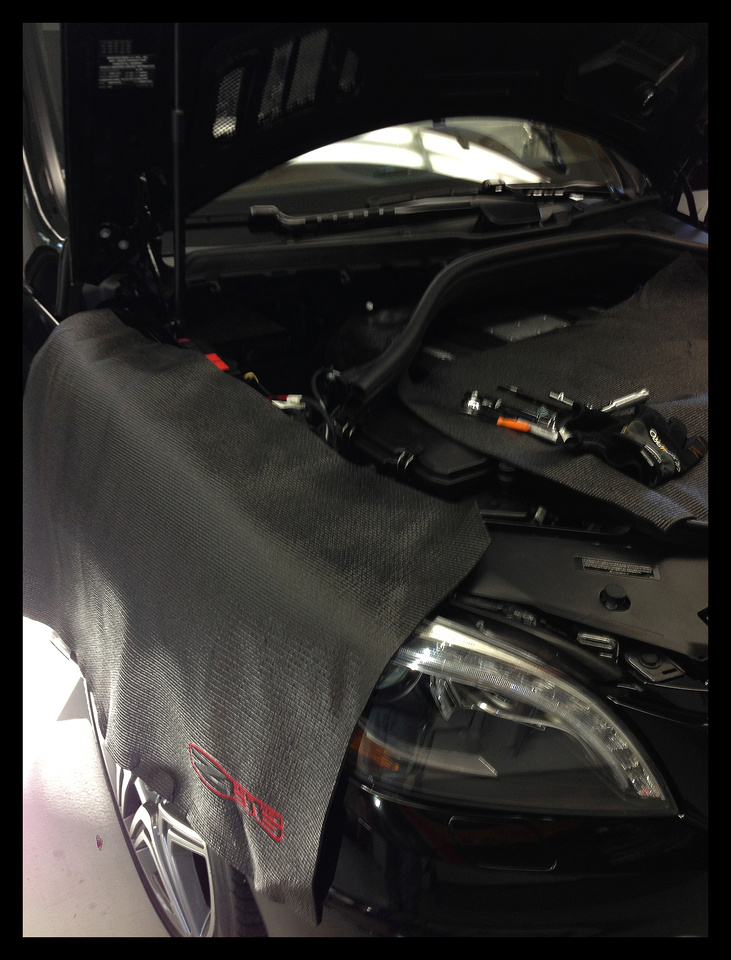
protect fender
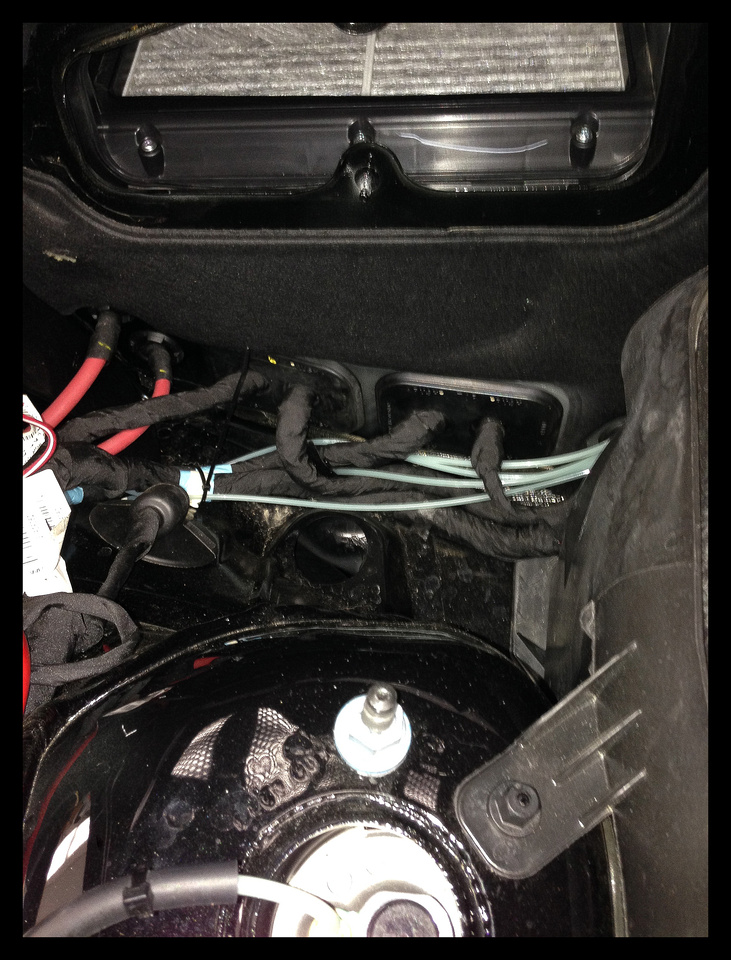
bare firewall where you see battery positive grommet location
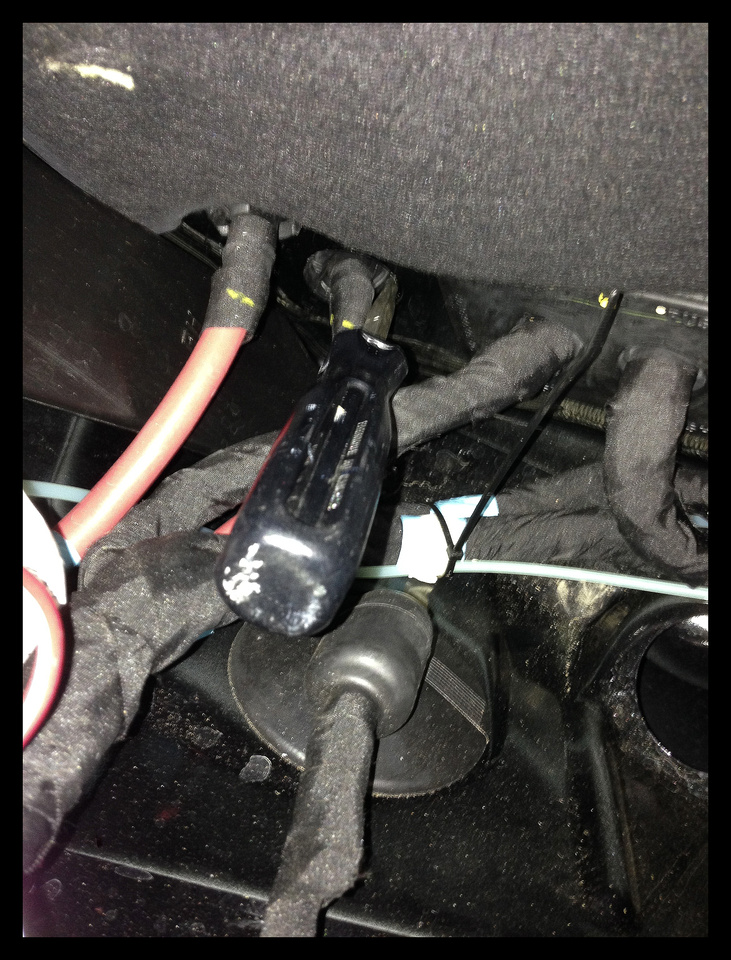
inside cabin under footwell..I used the lower grommet and pressed the two wires through
the power / ground source/location
xcess wire and no shortage of it comes with the heads..

heads before securing
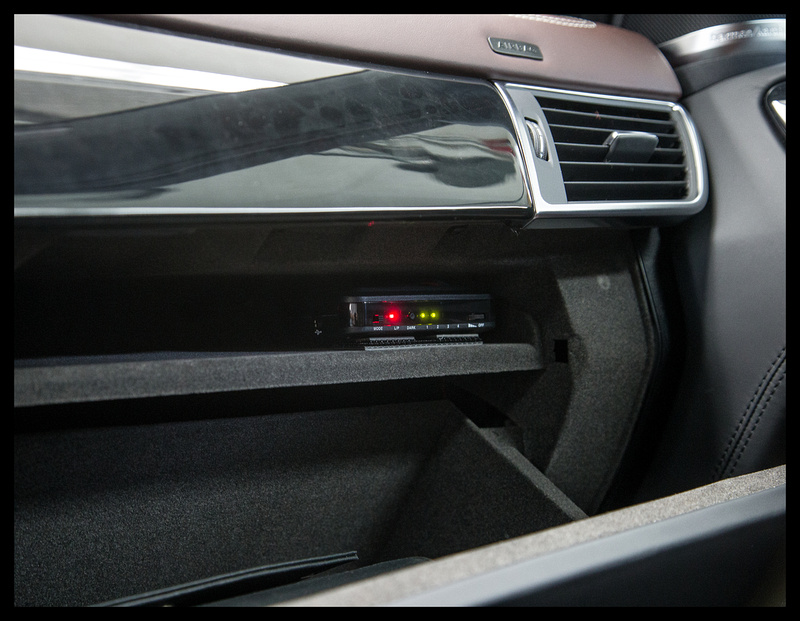
final module located
heads secured

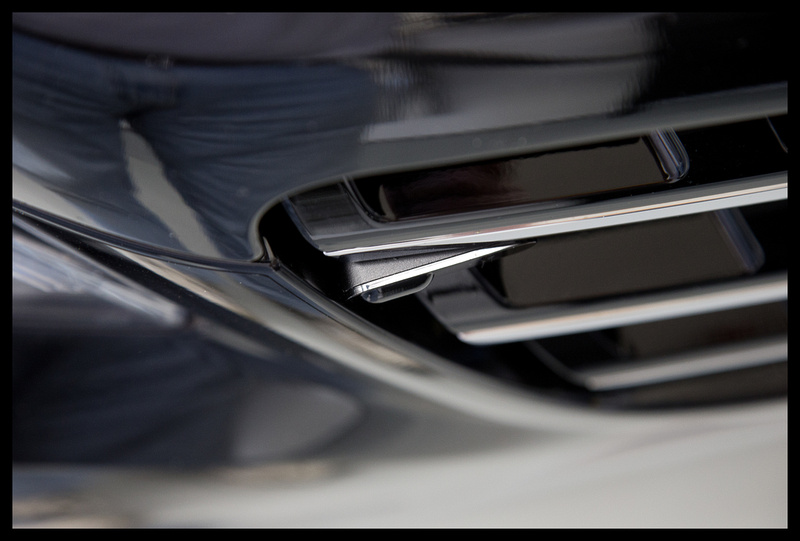

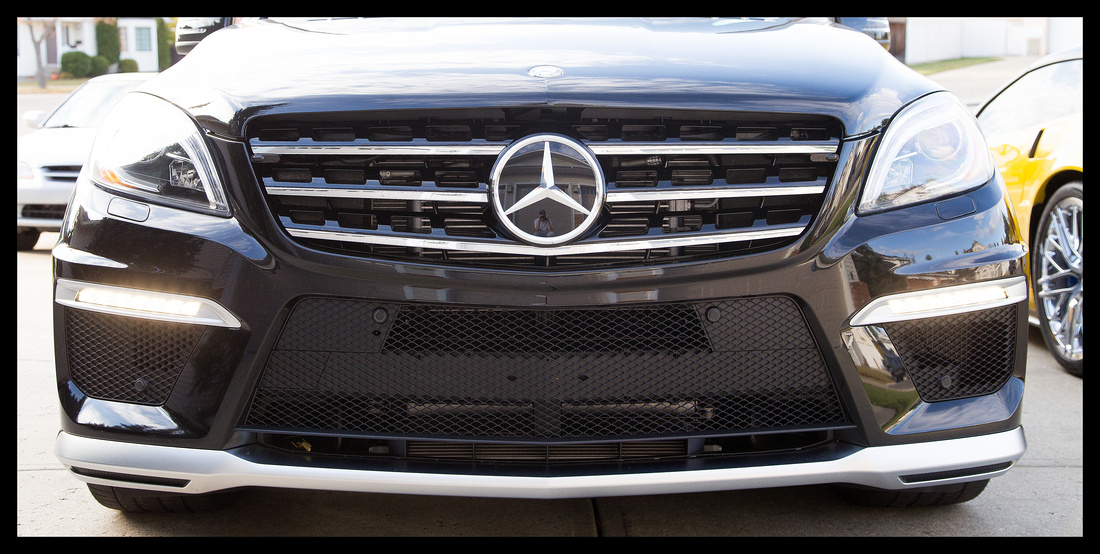
Very stealthy

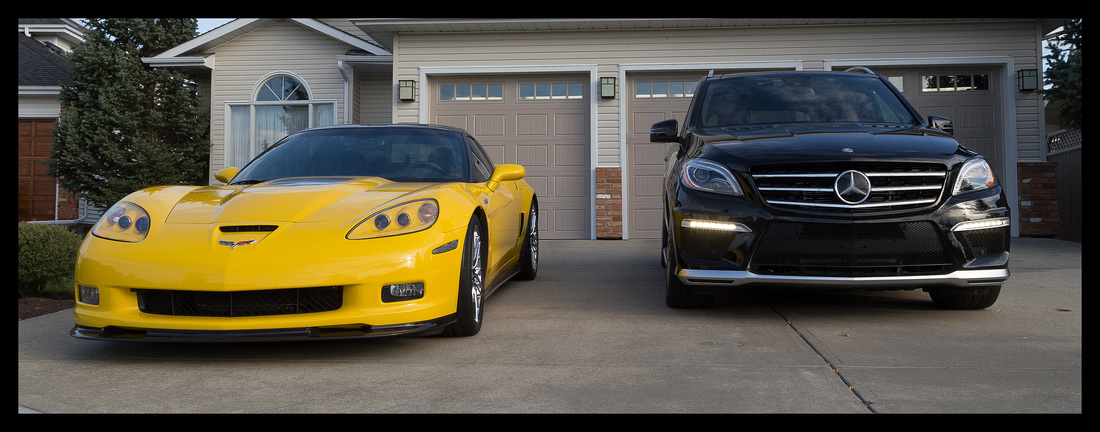
And finally..1200 horse power
I will try to quickly do the written scope and then add pics at the end.They will make sense after the text is comprehended.
Well first of all beware...for a first timer this is a task that takes hours, patience and good sight with proper tools..specifically light. I used my LED headlamp and +3 diopter specs....yes I'm old !!
I opted for the new Blinder HP-905 and time will tell as to it's performance. I've had 5 Laser Interceptors set in the past and currently run that on my ZR1 and I have no gripe with it..just that the cost for the unit i wanted - quad heads high power was $1800 and this quad Blinder was $900 and....the new Blinder heads are substantially smaller than the LI units...so we'll see..this unit also has a programmable jam time (secs) following encounter then shuts down (so you slow down,,it turns off,,smokey gets a legal speed reading) then it resets/arms after 7-8 secs and also has a switch to use only as parking assist, use only as laser alert or use both as alert and jam...I did not install this switch yet..time will tell if needed..
Today took me all day and I worked diligently for about 7 hours..most of the time is exploratory of course,,, not ever having this car apart and not wanting to break anything by "pulling harder.." I just took the time needed..
I opted to go through firewall at the passenger side..from the info I pre-gleaned it seemed to offer the easiest route..
First step..fender cover passenger side..the intent is to get the firewall bare so remove top filter cover (lift front/tilt back/extract from slots),inner filter funnel cover (3 clips..2 top/one side) and the remove inner filter shroud (4 10mm nuts and a sensor engine side that releases by twisting the sensor to align release points)
The firewall is then bare and I selected to share the positive battery cable grommet to get into the footwell.
Inside the cabin you must remove the lower glovebox valence (3 front screws..1 rear) ..the light body slides sideways to come out of the valence and there is an incidental electrical connection for a sensor..work the panel out,pull the carpet back and you now can see the intended grommet.
Push the grommet aside enough to free the front jammer wires through.
I taped the two ends (two front heads..) of the wires to protect them and forced them through.
Once fed though I routed to the side fuse panel location...to access fuse the cover pulls off and pivots along the front side
I then finished the front grill work by removing the plastic cover and chasing the wire from grill to firewall ( wires are two piece with one end fixed to head and the other 7 or 8 pin which press fits to the wire already fed though firewall)
I completed the grill work without fixing the heads and buttoned up the under hood pieces reversing the procedure to put all back..
I found a live fuse power source as I want the unit to stay on and not cycle each time I start the vehicle..in future I shall add a power switch or may opt to select a switched power source if I find the need to turn it off.
I used a fuse mate to share said fuse and grounded to the chasis as shown..then chased the wires to the selected location of the main module..the small " parcel" shelf located above the glove box cavity..
Here I will save you the major grief I had spending an hour trying to get the power cord and head wires to the unit in its location..THE SHELF PULLS OUT so you can run them from behind after taking the shelf out...frick
I placed the module on the shelf and secured it with velcro so its easily removed for updates/etc.
This area now complete I re-installed the lower valence and side cover
Up from at the grill I opted to locate the heads near the headlights as this is the spot smokey usually targets and found they fit nicely under the grill. I used 3m double sided tape to secure these tidy little heads to the underside of a grill cutout and found it to be very level..
Put everything else back together and tested functionality with a free tester Blinder sent along and voila...all good and plenty loud !!
The pics...caveat...some from iphone..others from my pro body
The unit
protect fender
bare firewall where you see battery positive grommet location
inside cabin under footwell..I used the lower grommet and pressed the two wires through
the power / ground source/location
xcess wire and no shortage of it comes with the heads..
heads before securing
final module located
heads secured
Very stealthy
And finally..1200 horse power
Last edited by Nanook; Oct 12, 2013 at 11:05 PM.
Thread Starter
MBWorld Fanatic!
Joined: Aug 2013
Posts: 1,267
Likes: 56
From: Alberta, Canada
'18 GLE63S AMG /'19 PORSCHE TURBO S / '09 CORVETTE ZR1 /'14 LEXUS RX350/'16 RAV4 Ltd
installed the switch today
I wasn't going to bother installing the mode switch and just let the program deactivate jamming "n"-seconds after an encounter but not being able to leave things alone I tackled this today...fairly easy
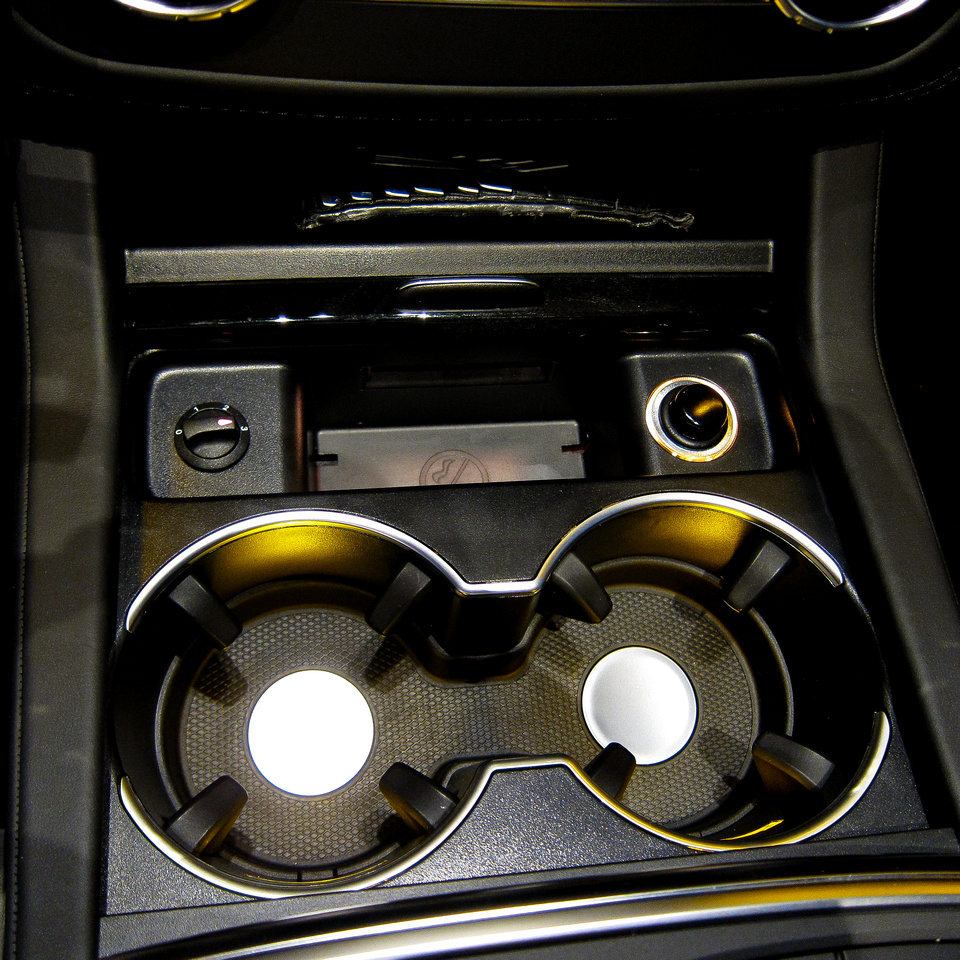
1) there are 4 fasteners holding the console in place..2 fore under the small alcove storage mat and 2 under the inside console mat...this allows enough play to draw the console back to gain access under for passing the wiring forward for connection to the main module (phone jack type plug and ground wire)
2) I drilled a 3/4" hole with a spade bit
The switch has three settings (arrow on pointer is lighted red)
0 - off (which I feel useful for longer inactivity or to disable after a laser encounter so after slowing down a speed reading can be obtained)
1 - parking mode only (to confirm to the officer the heads are parking sensors)
2 - advises laser activity with no jamming
3 - advises laser activity and provides jamming
Next episode and the tough one....installation of the rear heads....I've really considered simply purchasing an additional rear module and bury it in the hatch panel rather than chasing wiring somehow to the front module..(headliner out ?...not gonna happen)
Newbie
Joined: Mar 2014
Posts: 1
Likes: 0
2013 ML 350
I used 3m double sided tape to secure these tidy little heads to the underside of a grill cutout and found it to be very level.
By the way, the pictures you took look amazing! Great post!
Trending Topics
Thread Starter
MBWorld Fanatic!
Joined: Aug 2013
Posts: 1,267
Likes: 56
From: Alberta, Canada
'18 GLE63S AMG /'19 PORSCHE TURBO S / '09 CORVETTE ZR1 /'14 LEXUS RX350/'16 RAV4 Ltd
I am about to do the install myself and I am curious how the 3m double sided tape holds up long term. I would prefer to use the 3m tape instead of screws so I do not potentially damage the grill. Has the 3m tape held up okay?
By the way, the pictures you took look amazing! Great post!
By the way, the pictures you took look amazing! Great post!
Ping me if you need any help with your install
MB World Stories
The Best of Mercedes & AMG

Manual Mercedes? 6 Times Sindelfingen Let Drivers Have All The Fun
Verdad Gallardo
Mercedes SLR McLaren 722 S Is Extremely Rare Example Modified by McLaren
Verdad Gallardo
8 Classic Boxy Mercedes Designs That Have Aged Like Fine Wine
Verdad Gallardo
Flawlessly Restored Mercedes 190E Evo II Heads to Auction
Verdad Gallardo
Electric Mercedes C-Class Unveiled: 11 Things You Need to Know
Verdad Gallardo
Mercedes EQS Gets A Major Update: Everything You Need to Know
Verdad Gallardo
5 Underrated Mercedes-Benz Models That Don't Get the Love They Deserve
Verdad Gallardo
Mercedes 300D Has Pushed Well Past 1 Million Miles and It Ain't Stopping
Verdad Gallardo


