When you click on links to various merchants on this site and make a purchase, this can result in this site earning a commission. Affiliate programs and affiliations include, but are not limited to, the eBay Partner Network.
Joshinator99’s 2009 ML 63 AMG “Restomod” Build Thread
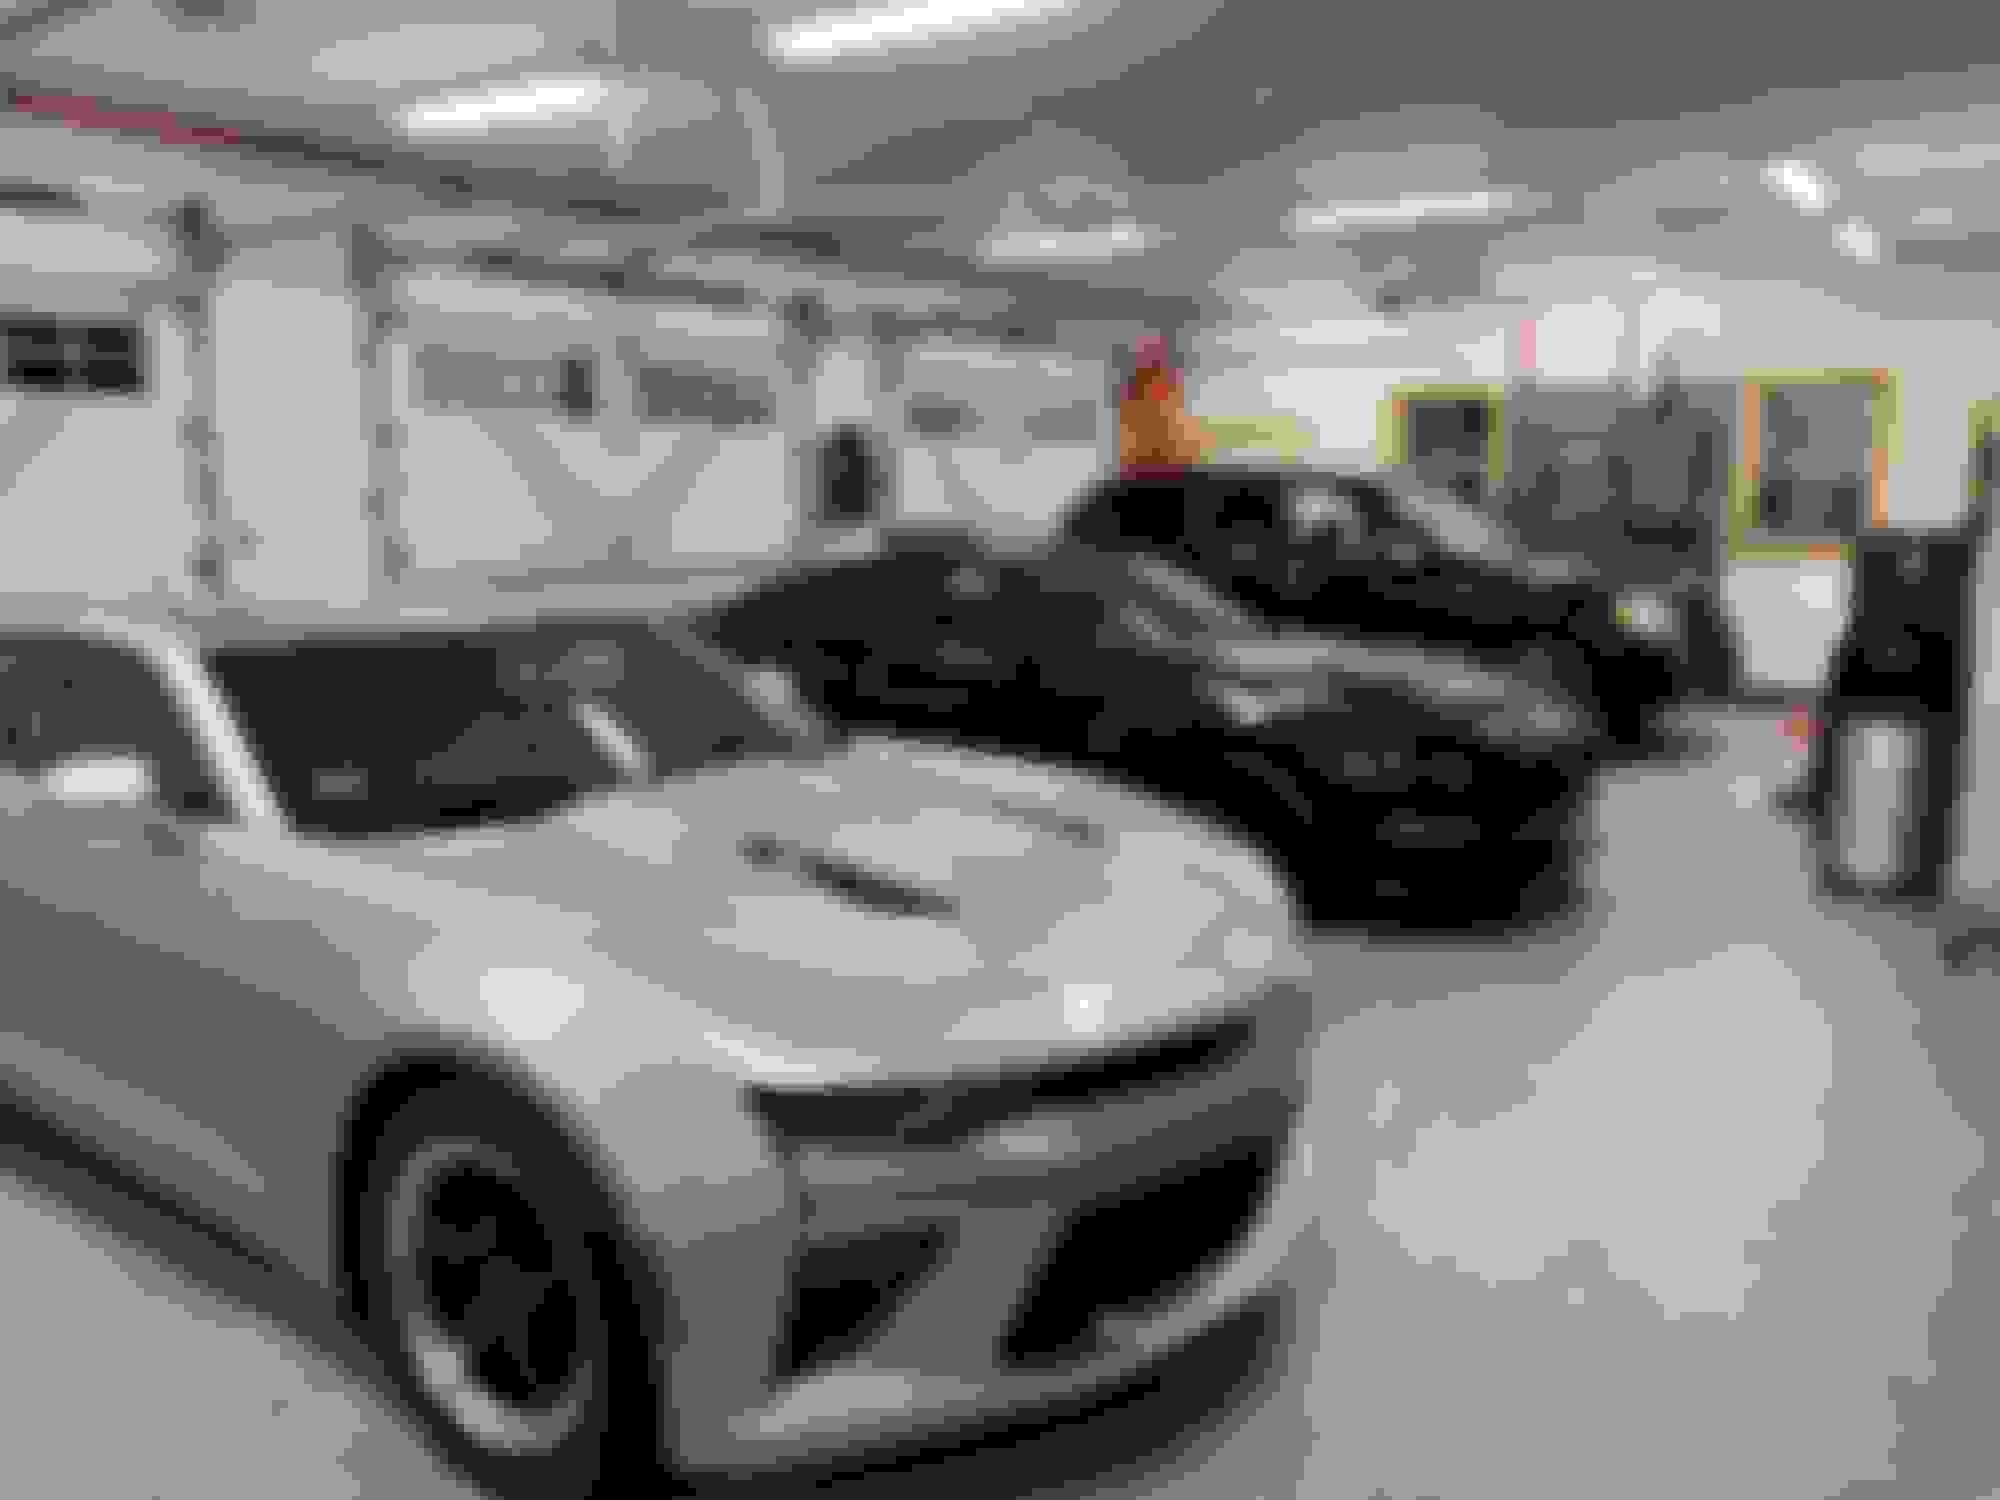
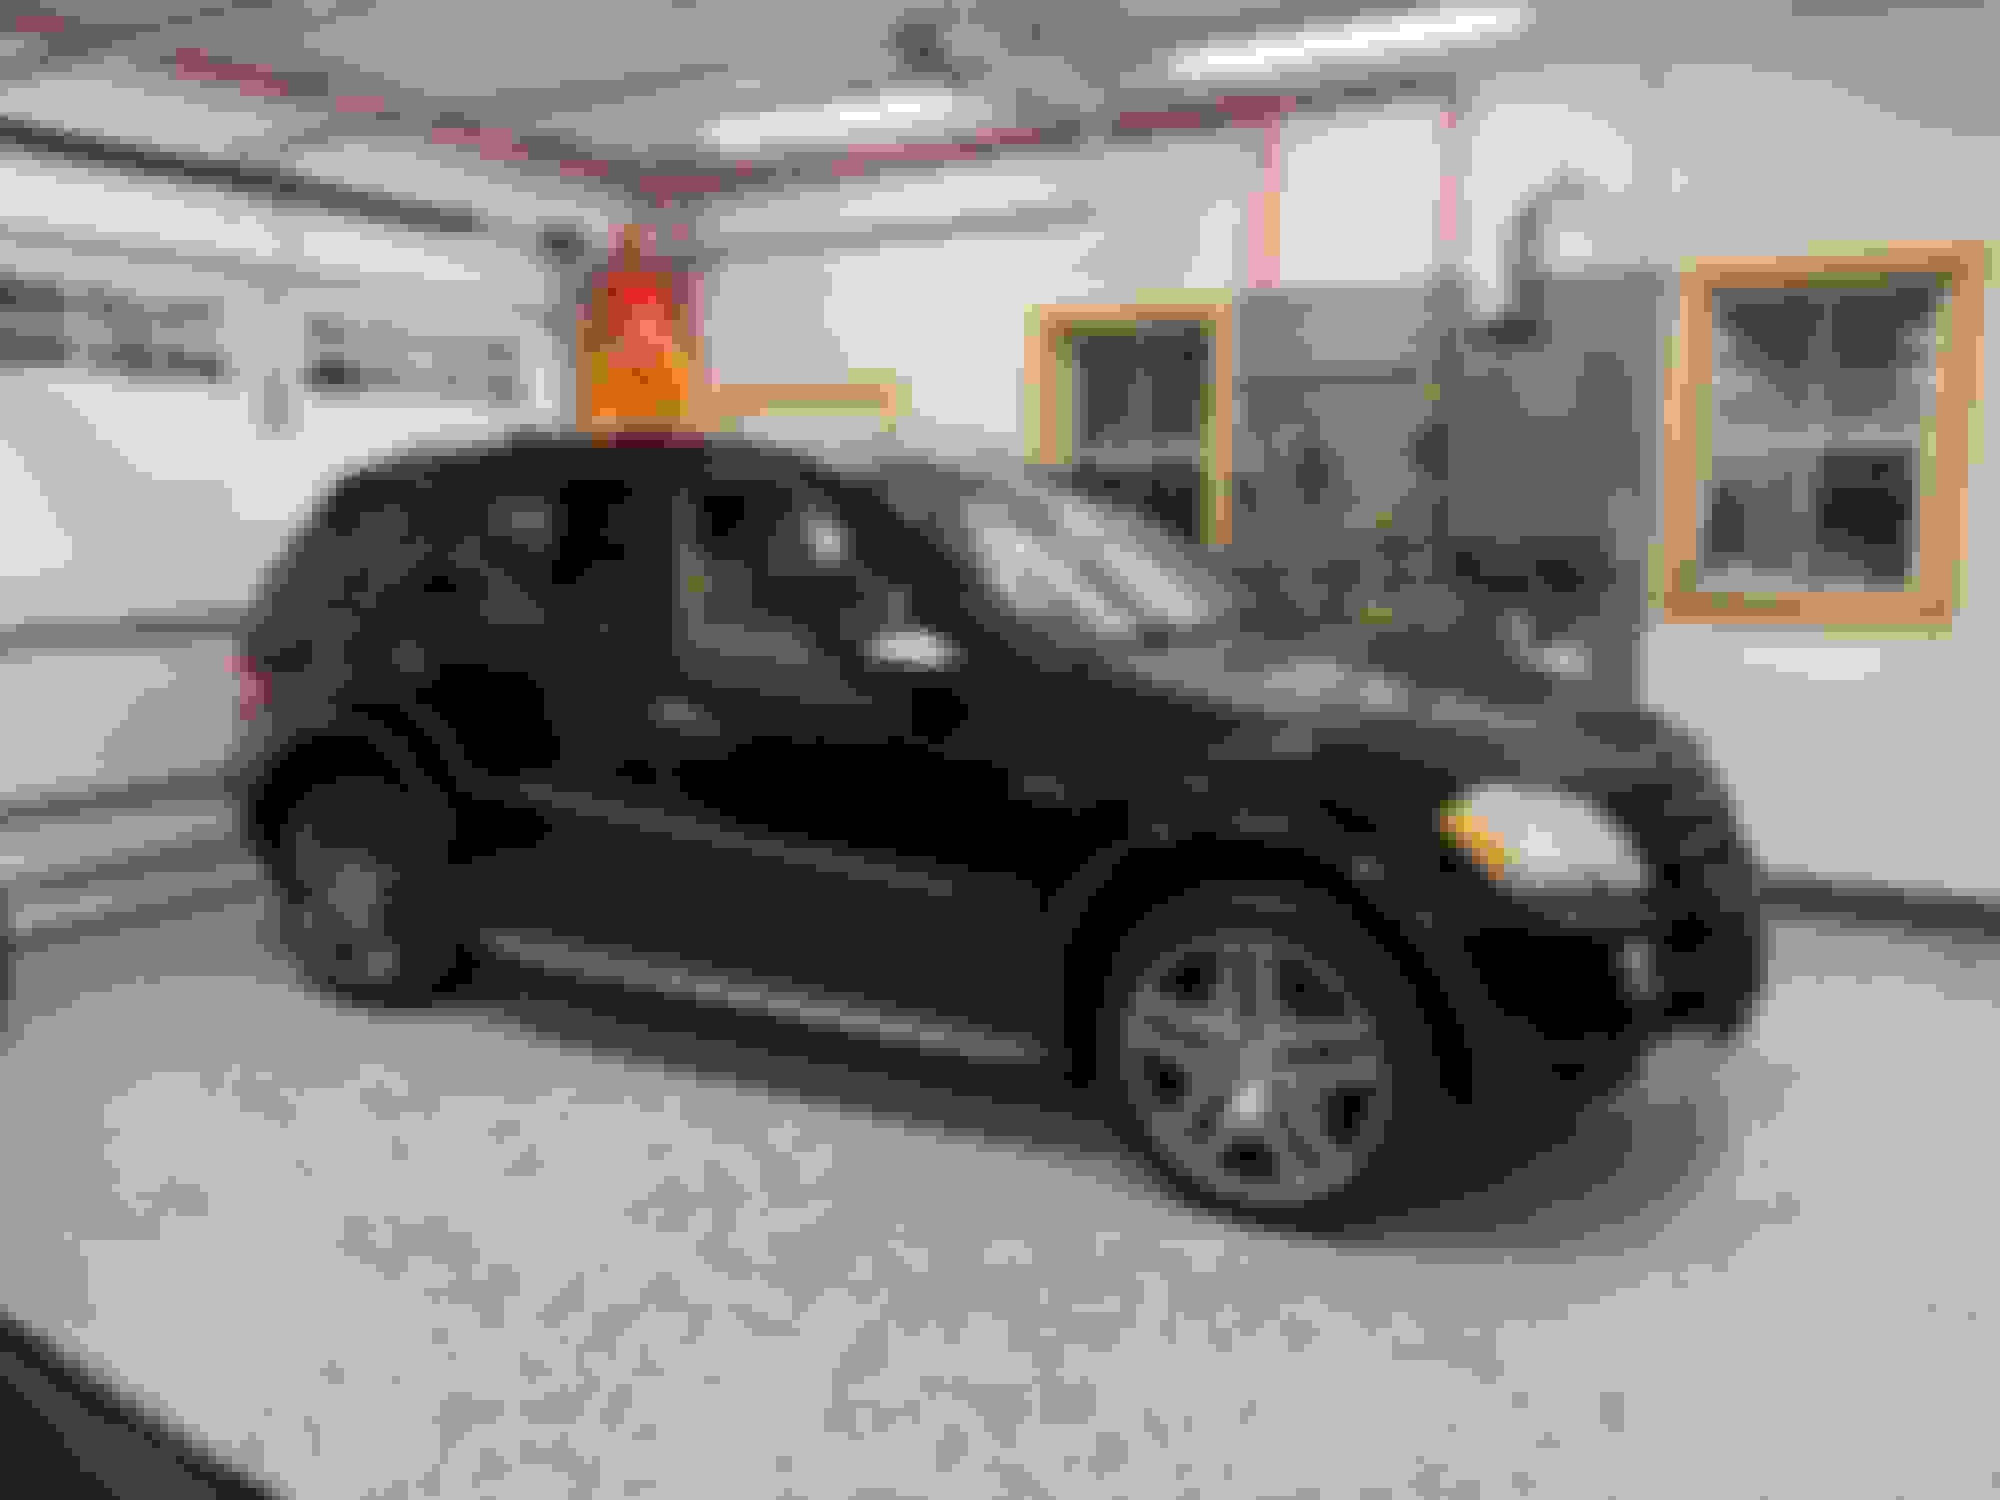
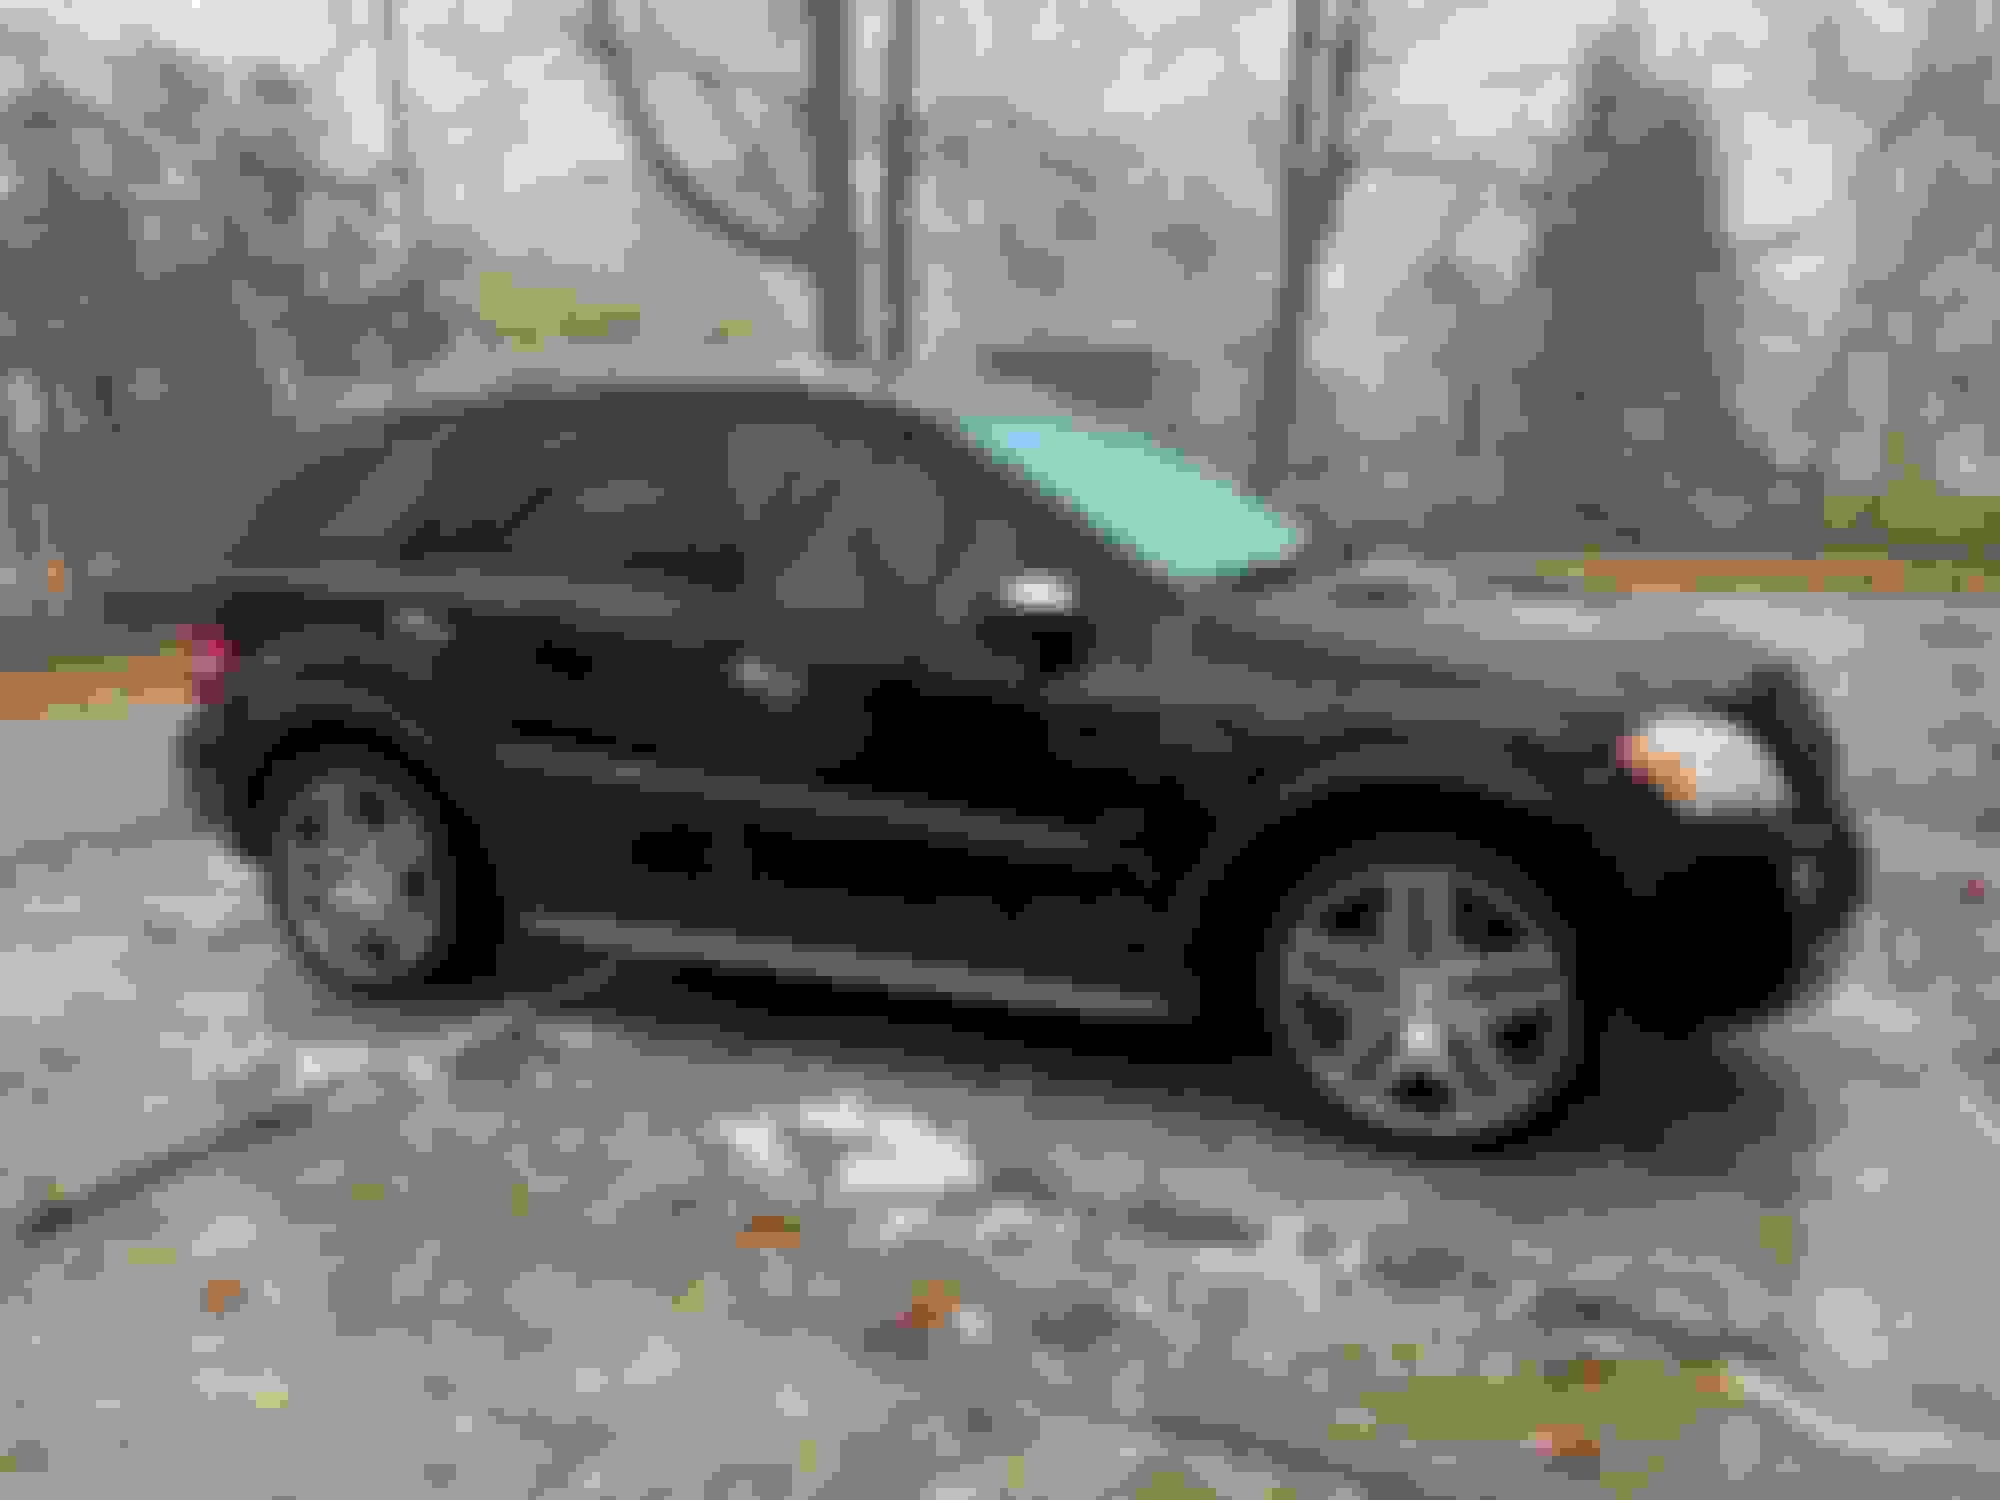
This thread will document the continuing restoration (and occasional upgrade!) to my new-to-me 2009 ML 63 AMG. The AMG was picked up to supplement our existing 2021 Ford Expedition Limited, 2022 Ford Mustang GT Premium, and 2017 Chevy Camaro SS. With the Camaro packing 1230 HP (1059 WHP) and the Mustang lightly modded as well, both of those cars are off the table for winter use as they’ve never seen salt or snow. The Expedition is great but is my daily driver, so while the wife doesn’t venture far from the house during the winter months, she needed something she could drive in a pinch. I thought it would be handy to have something to use occasionally as well and be able to tow my race car trailer & Camaro if the need arose. So I stumbled across this gorgeous AMG and couldn’t resist! The previous owner had bought it in early 2023 for nearly *30% more* than I paid for it, dumped $8K worth of work into it on top of that (4 new 295/35/21 tires, new suspension air compressor, new front airstruts, new upper control arms, and new rear brakes), then got swept off his feet by a new Audi A8L that he apparently had to have… Oh well, works for me! 🍻
Last edited by Joshinator99; Nov 5, 2023 at 05:10 PM.
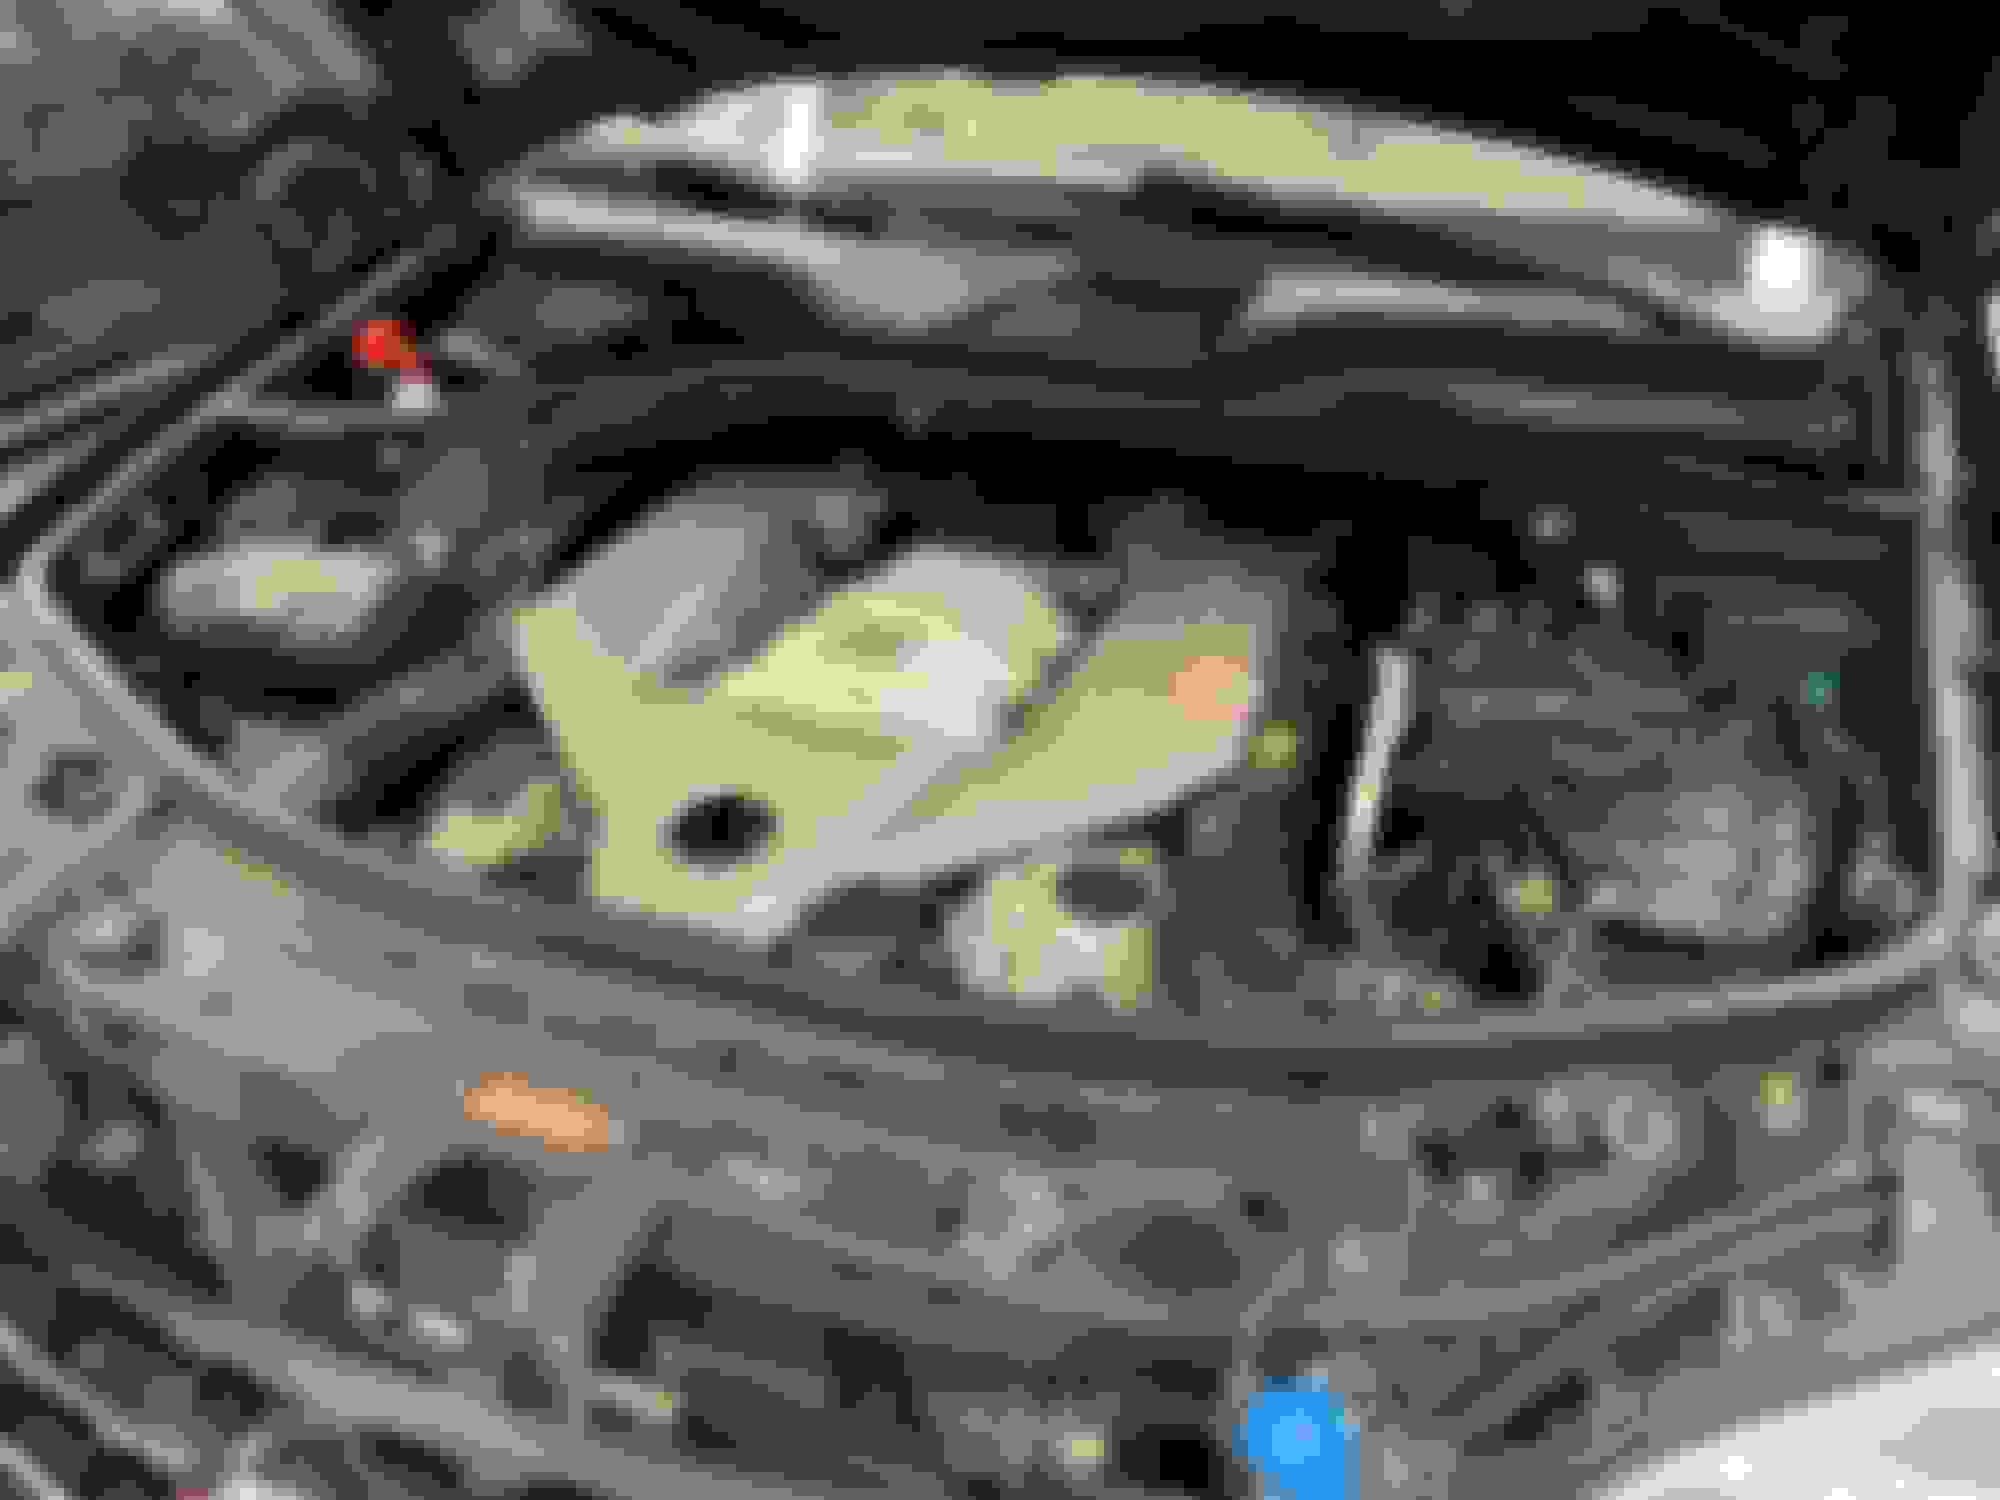
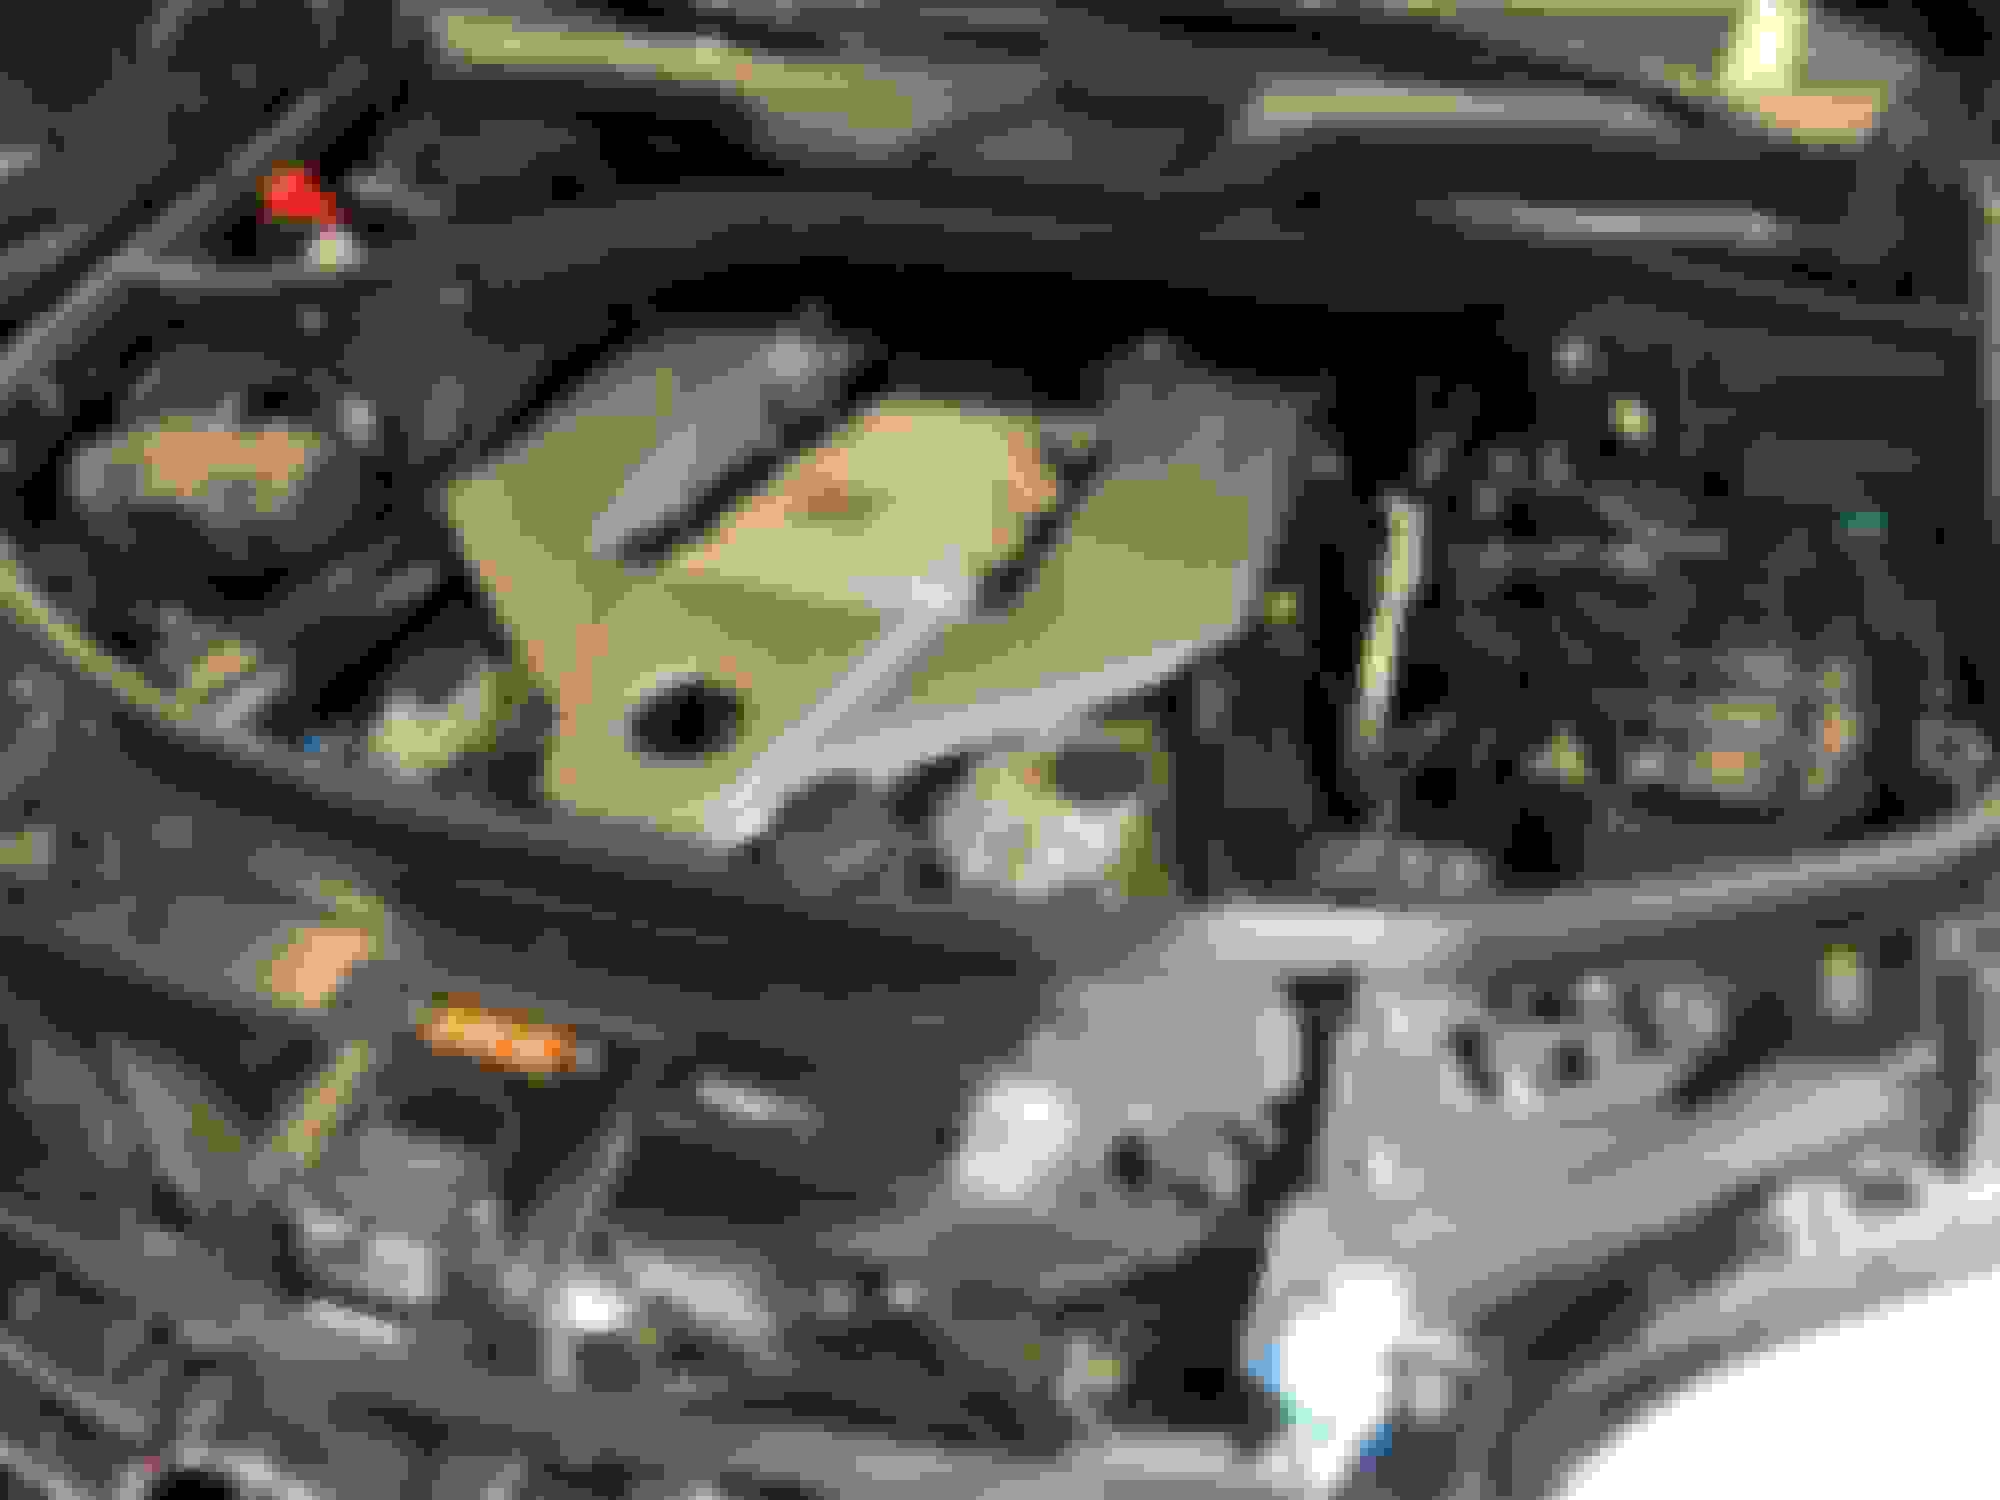
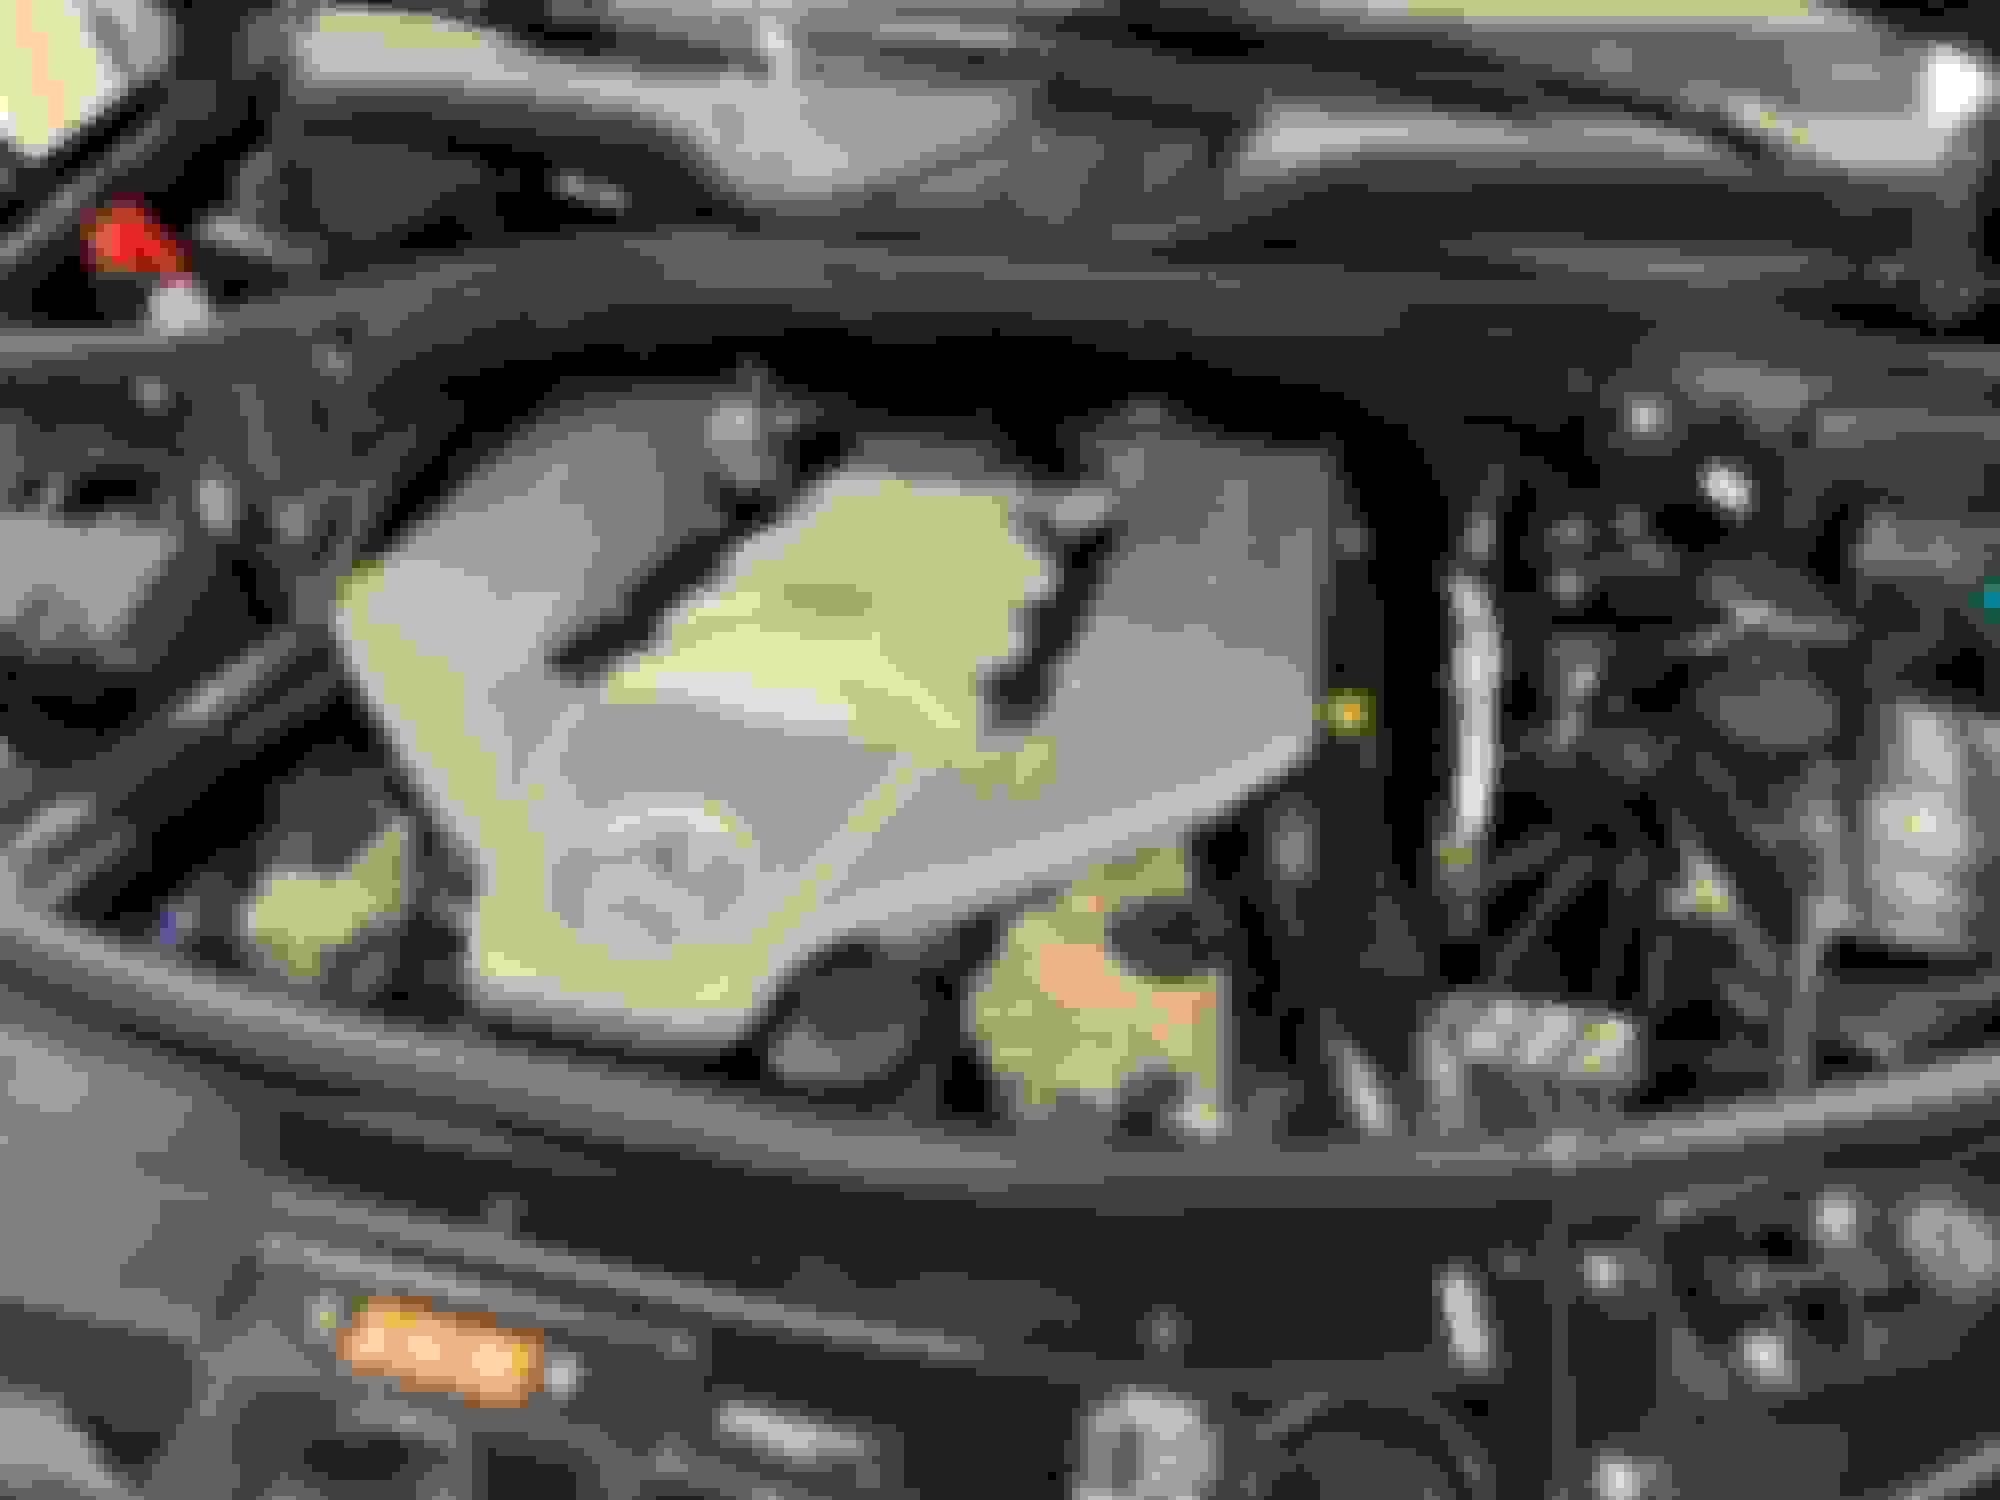
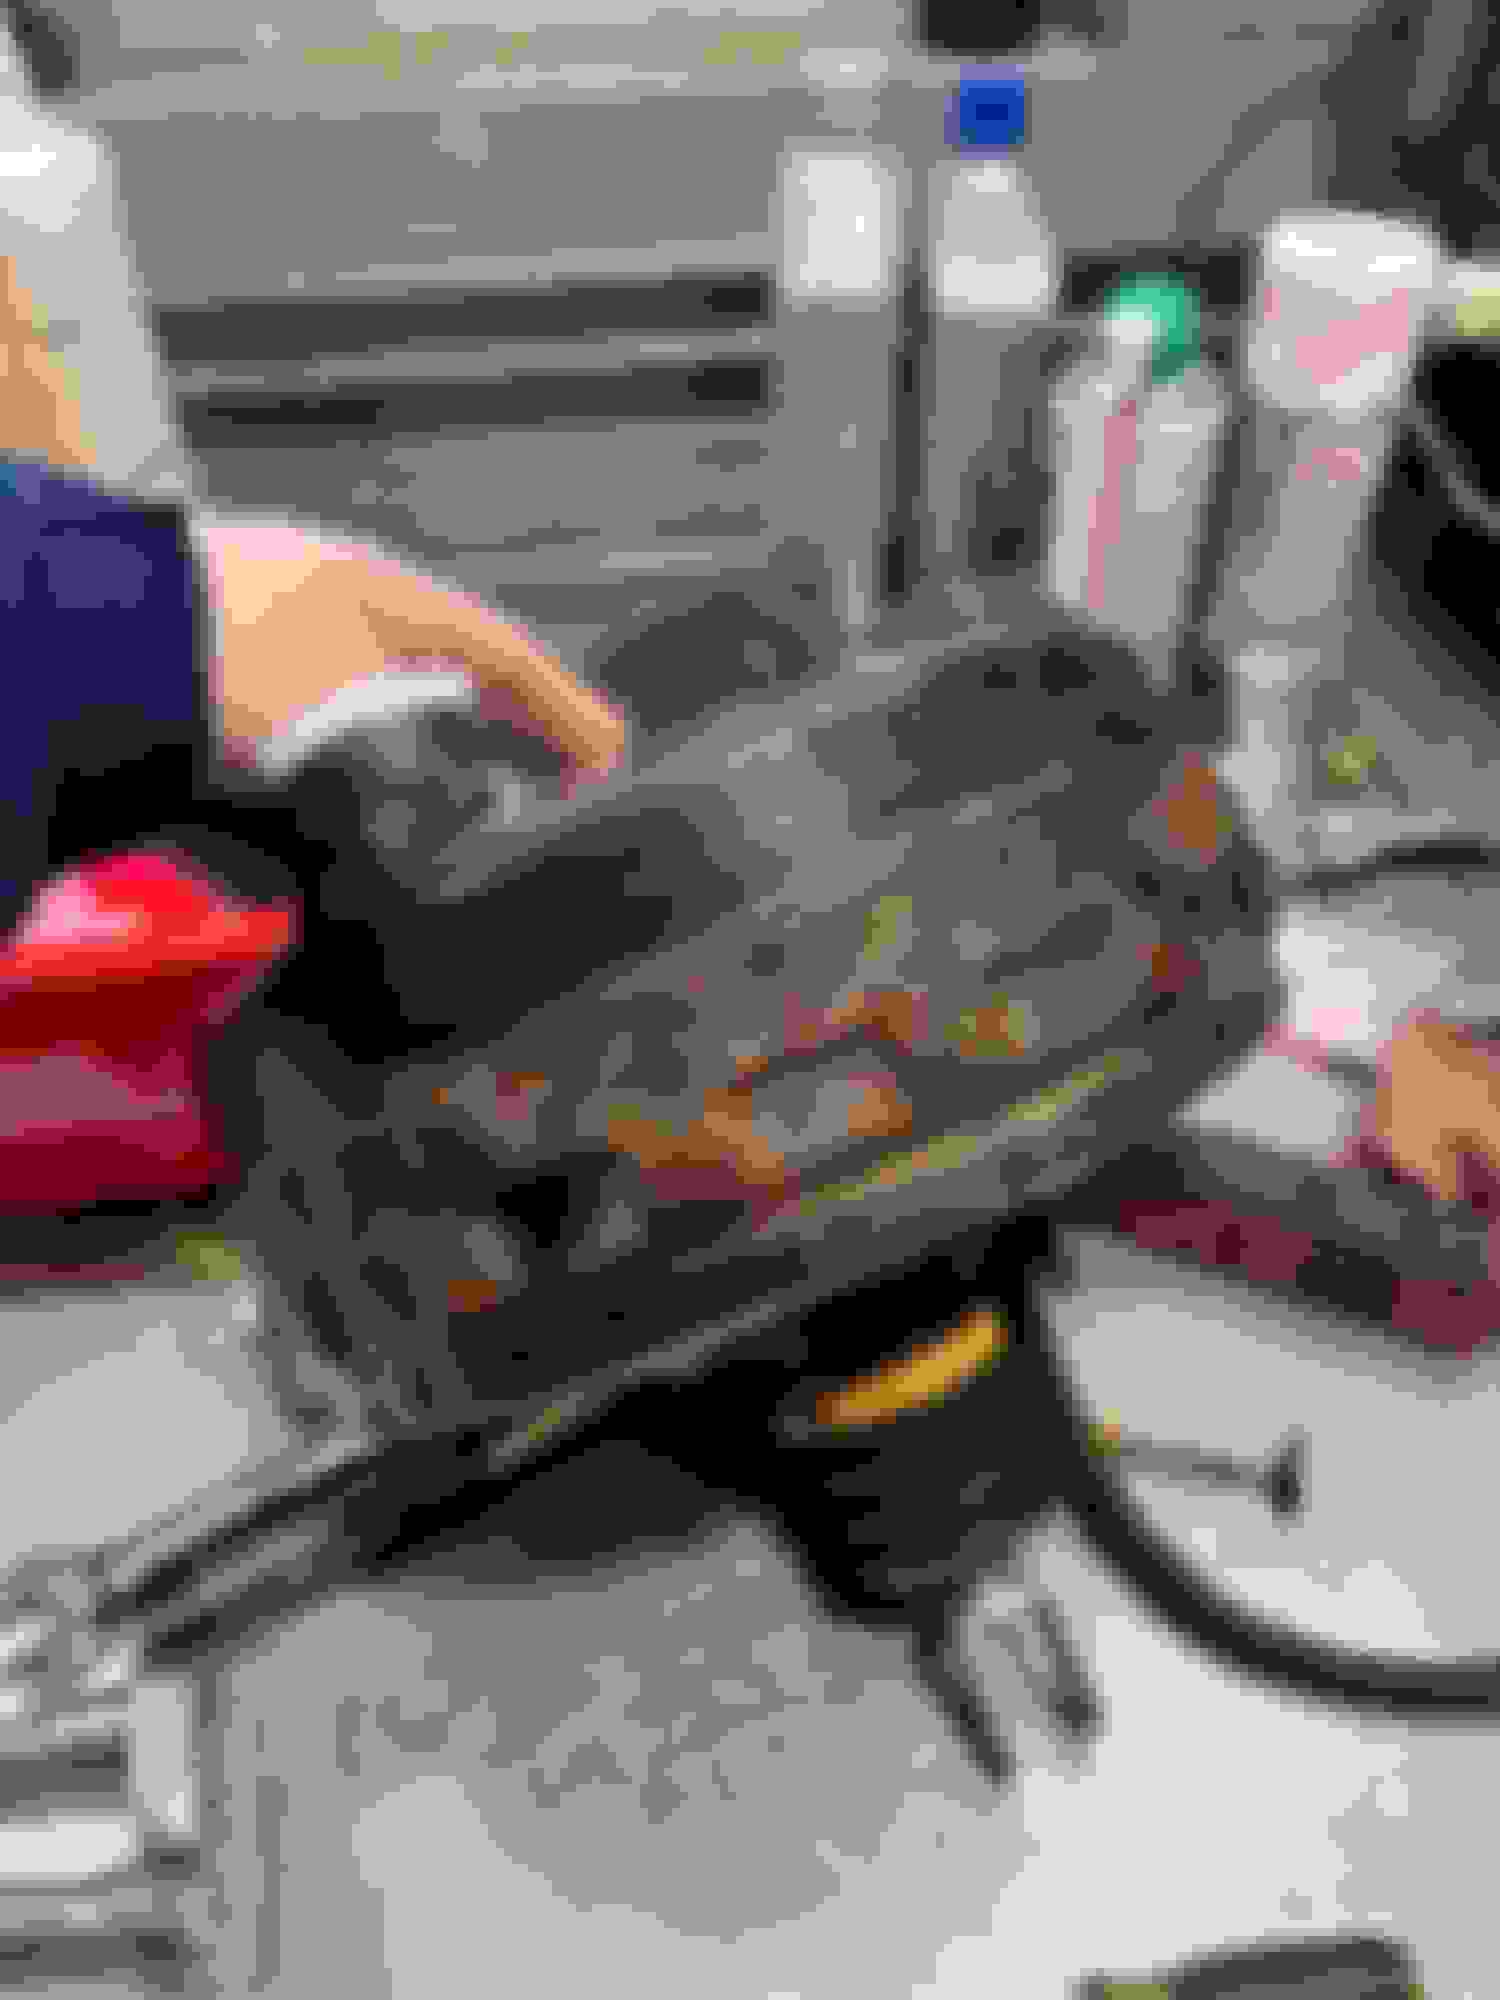
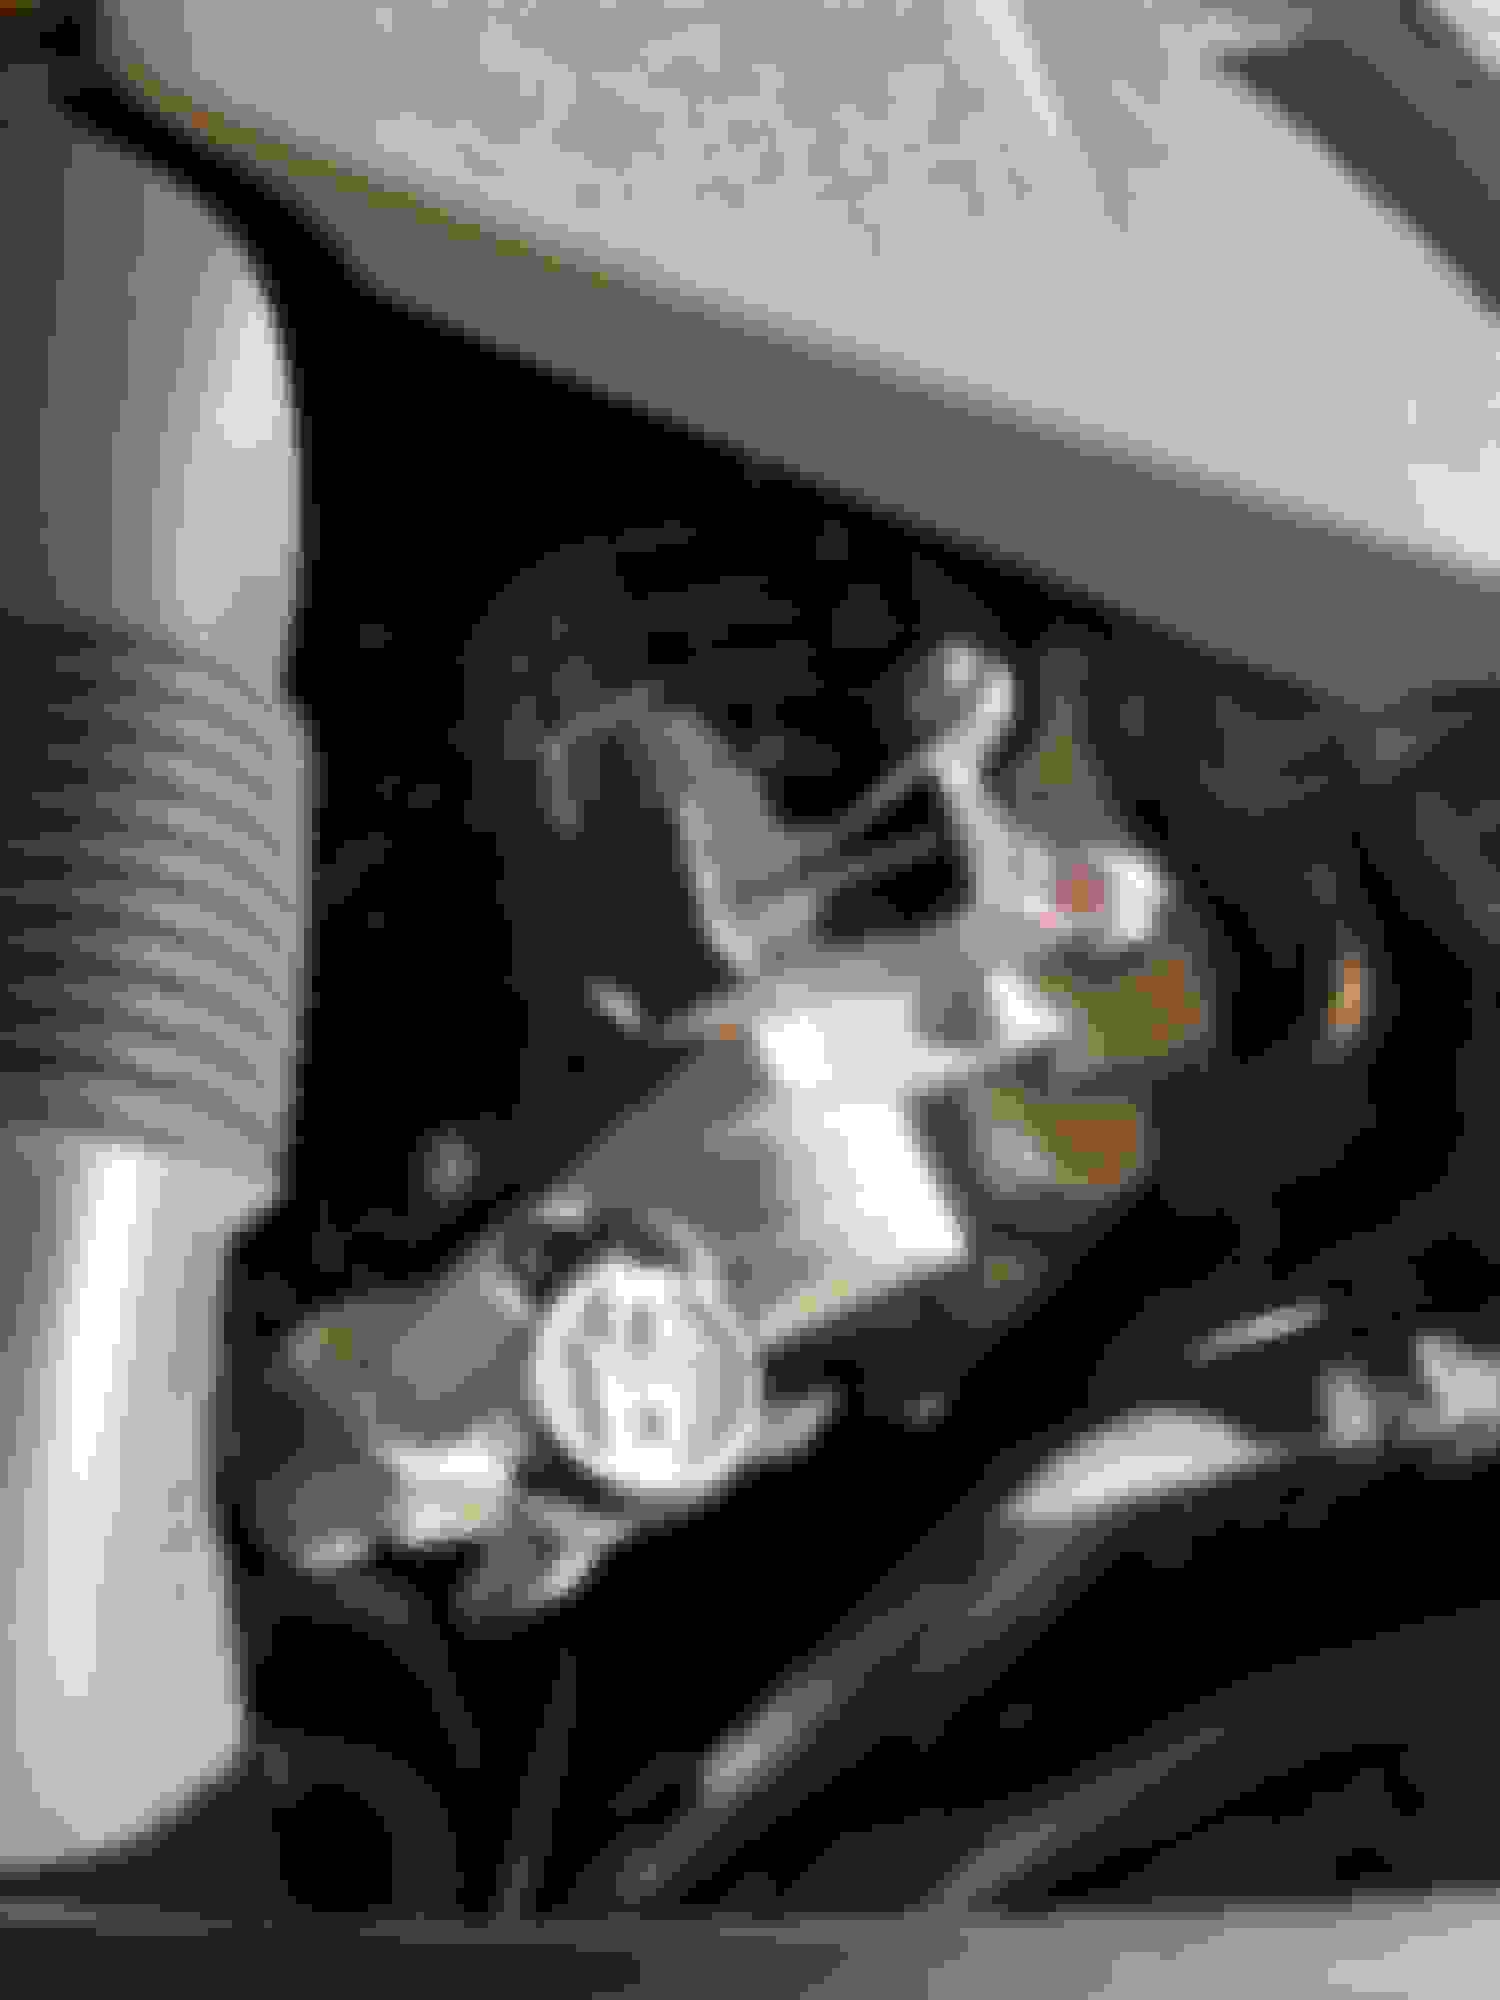
So it’s hard to get a feel for what’s going on in the engine bay when everything is filthy. So the first step was to break out the Griot’s Garage Engine Bay Cleaner and give a it a good scrub down! After blow drying the engine bay and letting it dry, I treated it to a spray down of Griot’s Vinyl & Rubber Dressing which will help rejuvenate engine bay seals and any plastic & rubber parts under hood. After letting that soak in for 15 minutes or so I wiped it all down. Much better! Now about that missing MB badge… 🤔
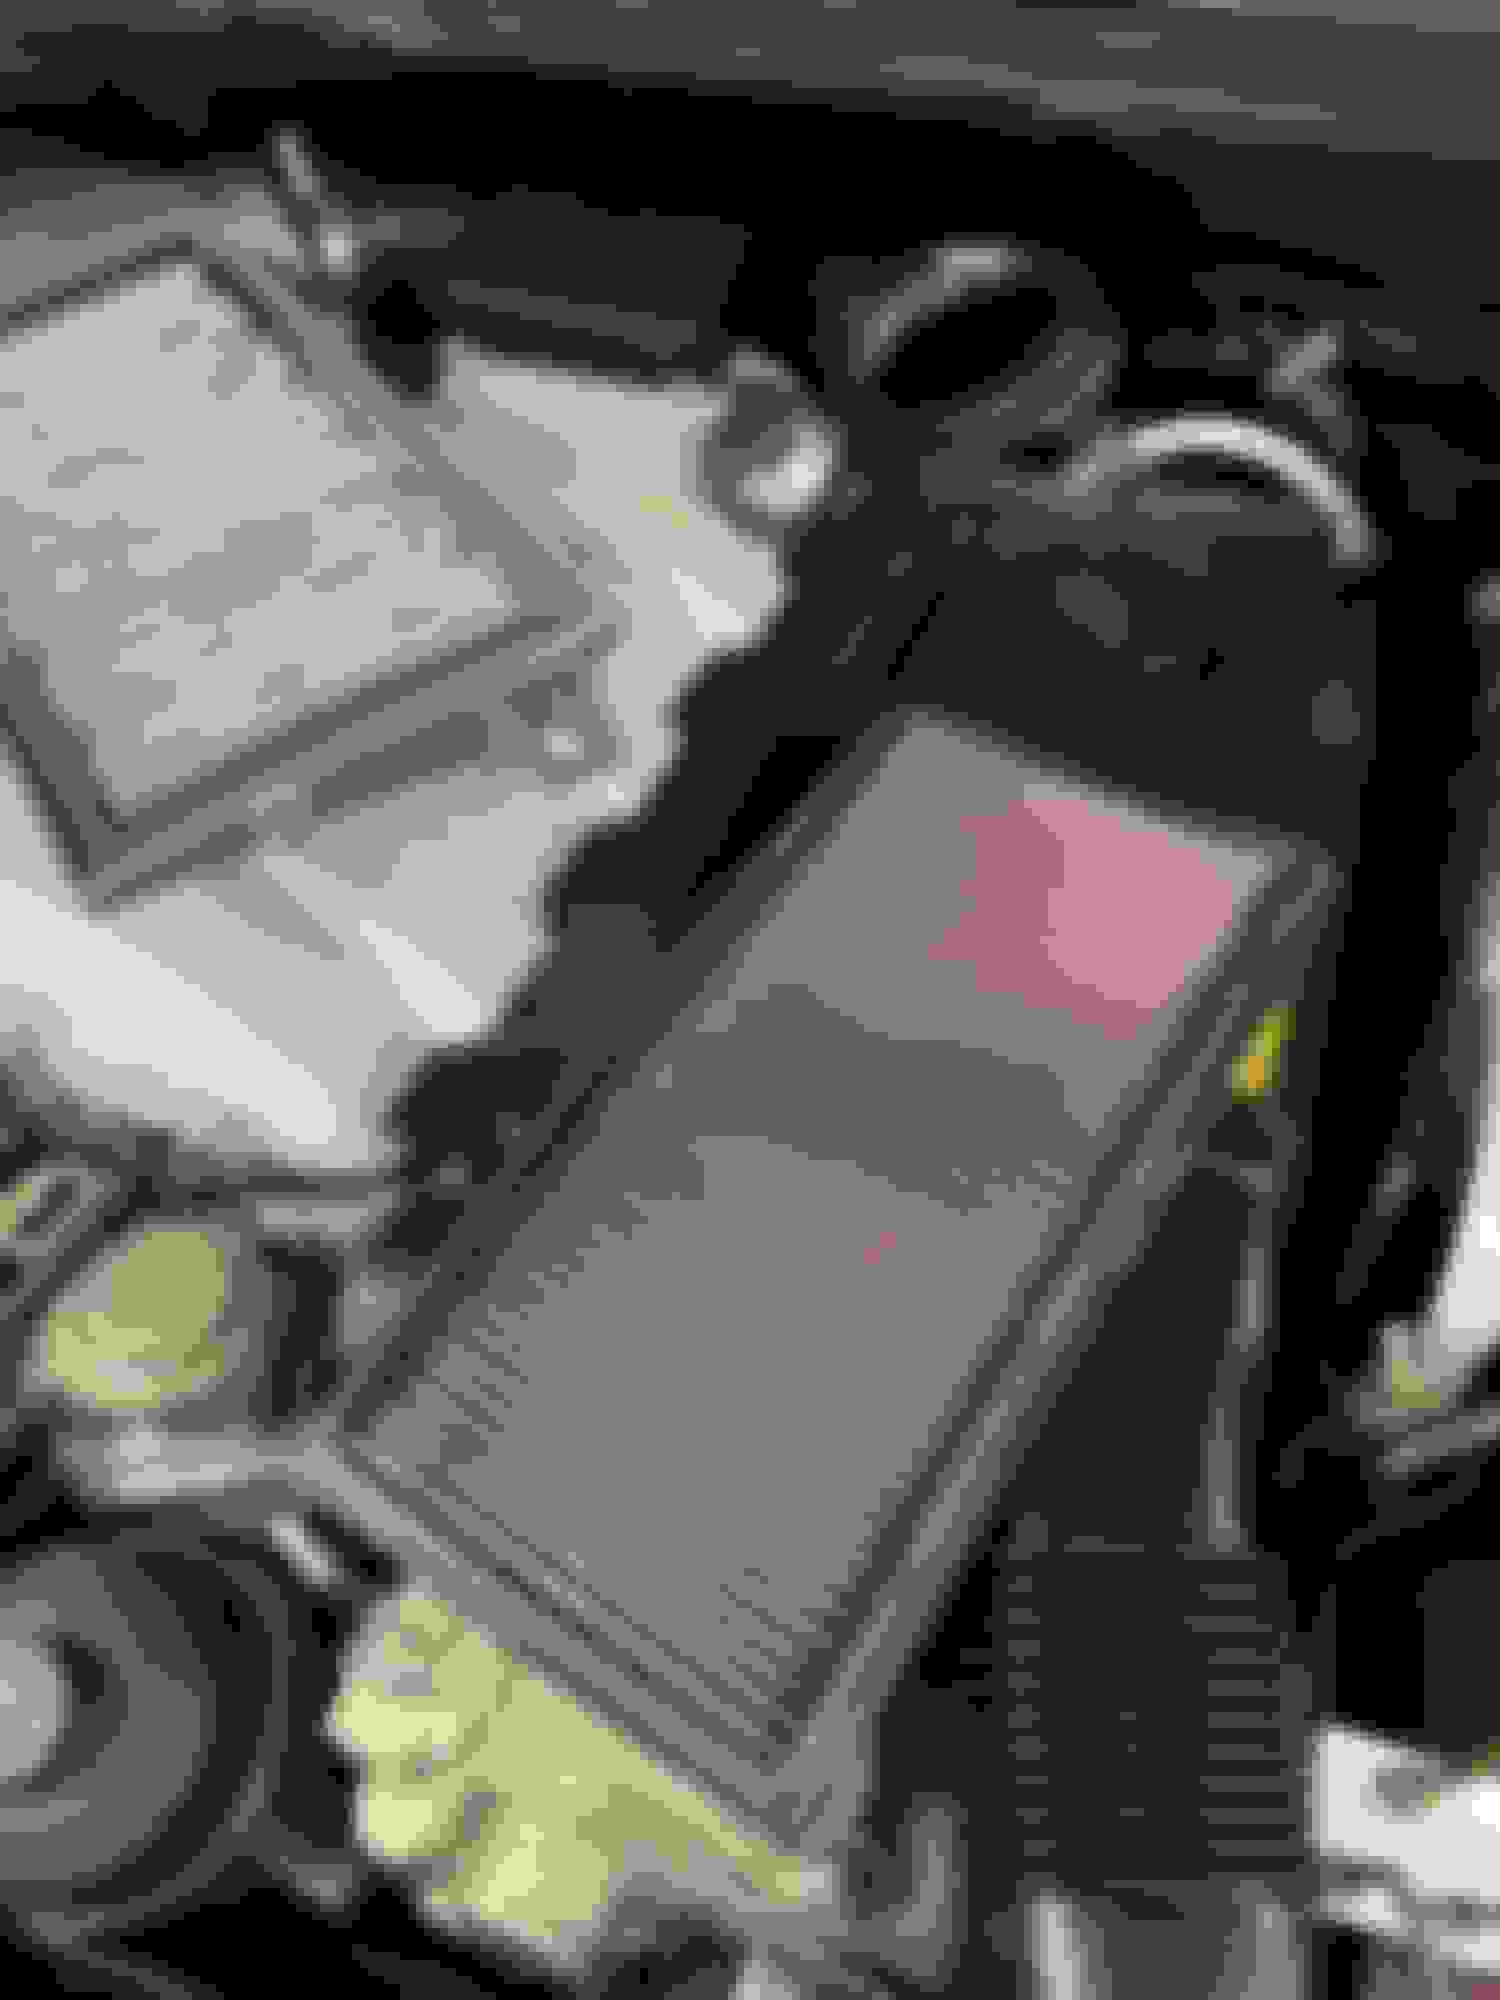
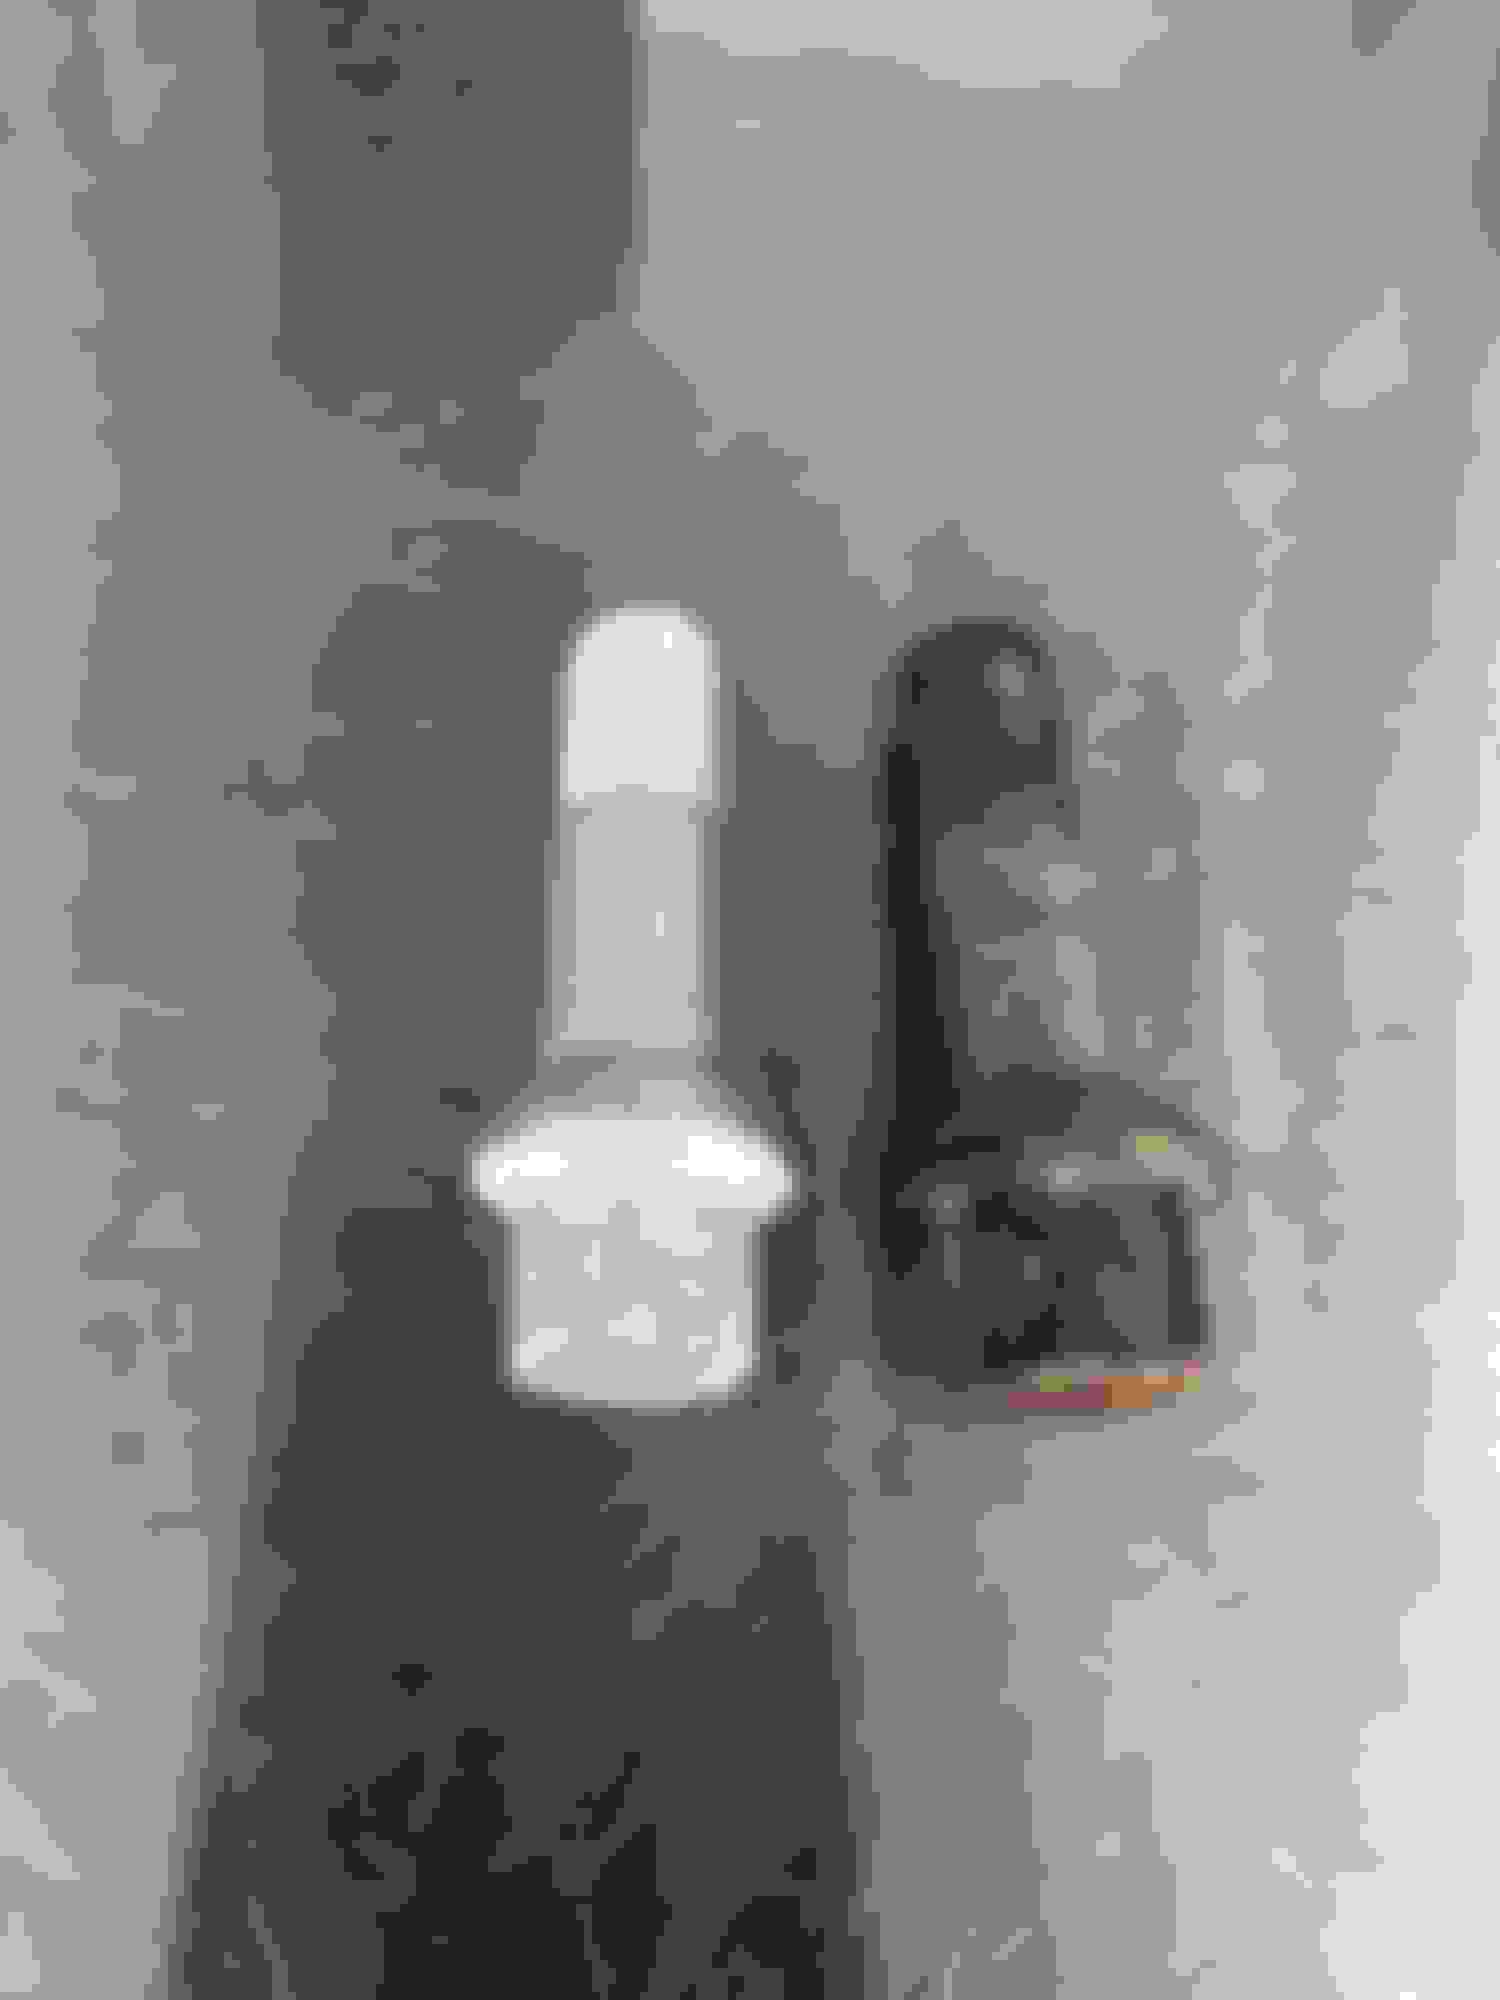
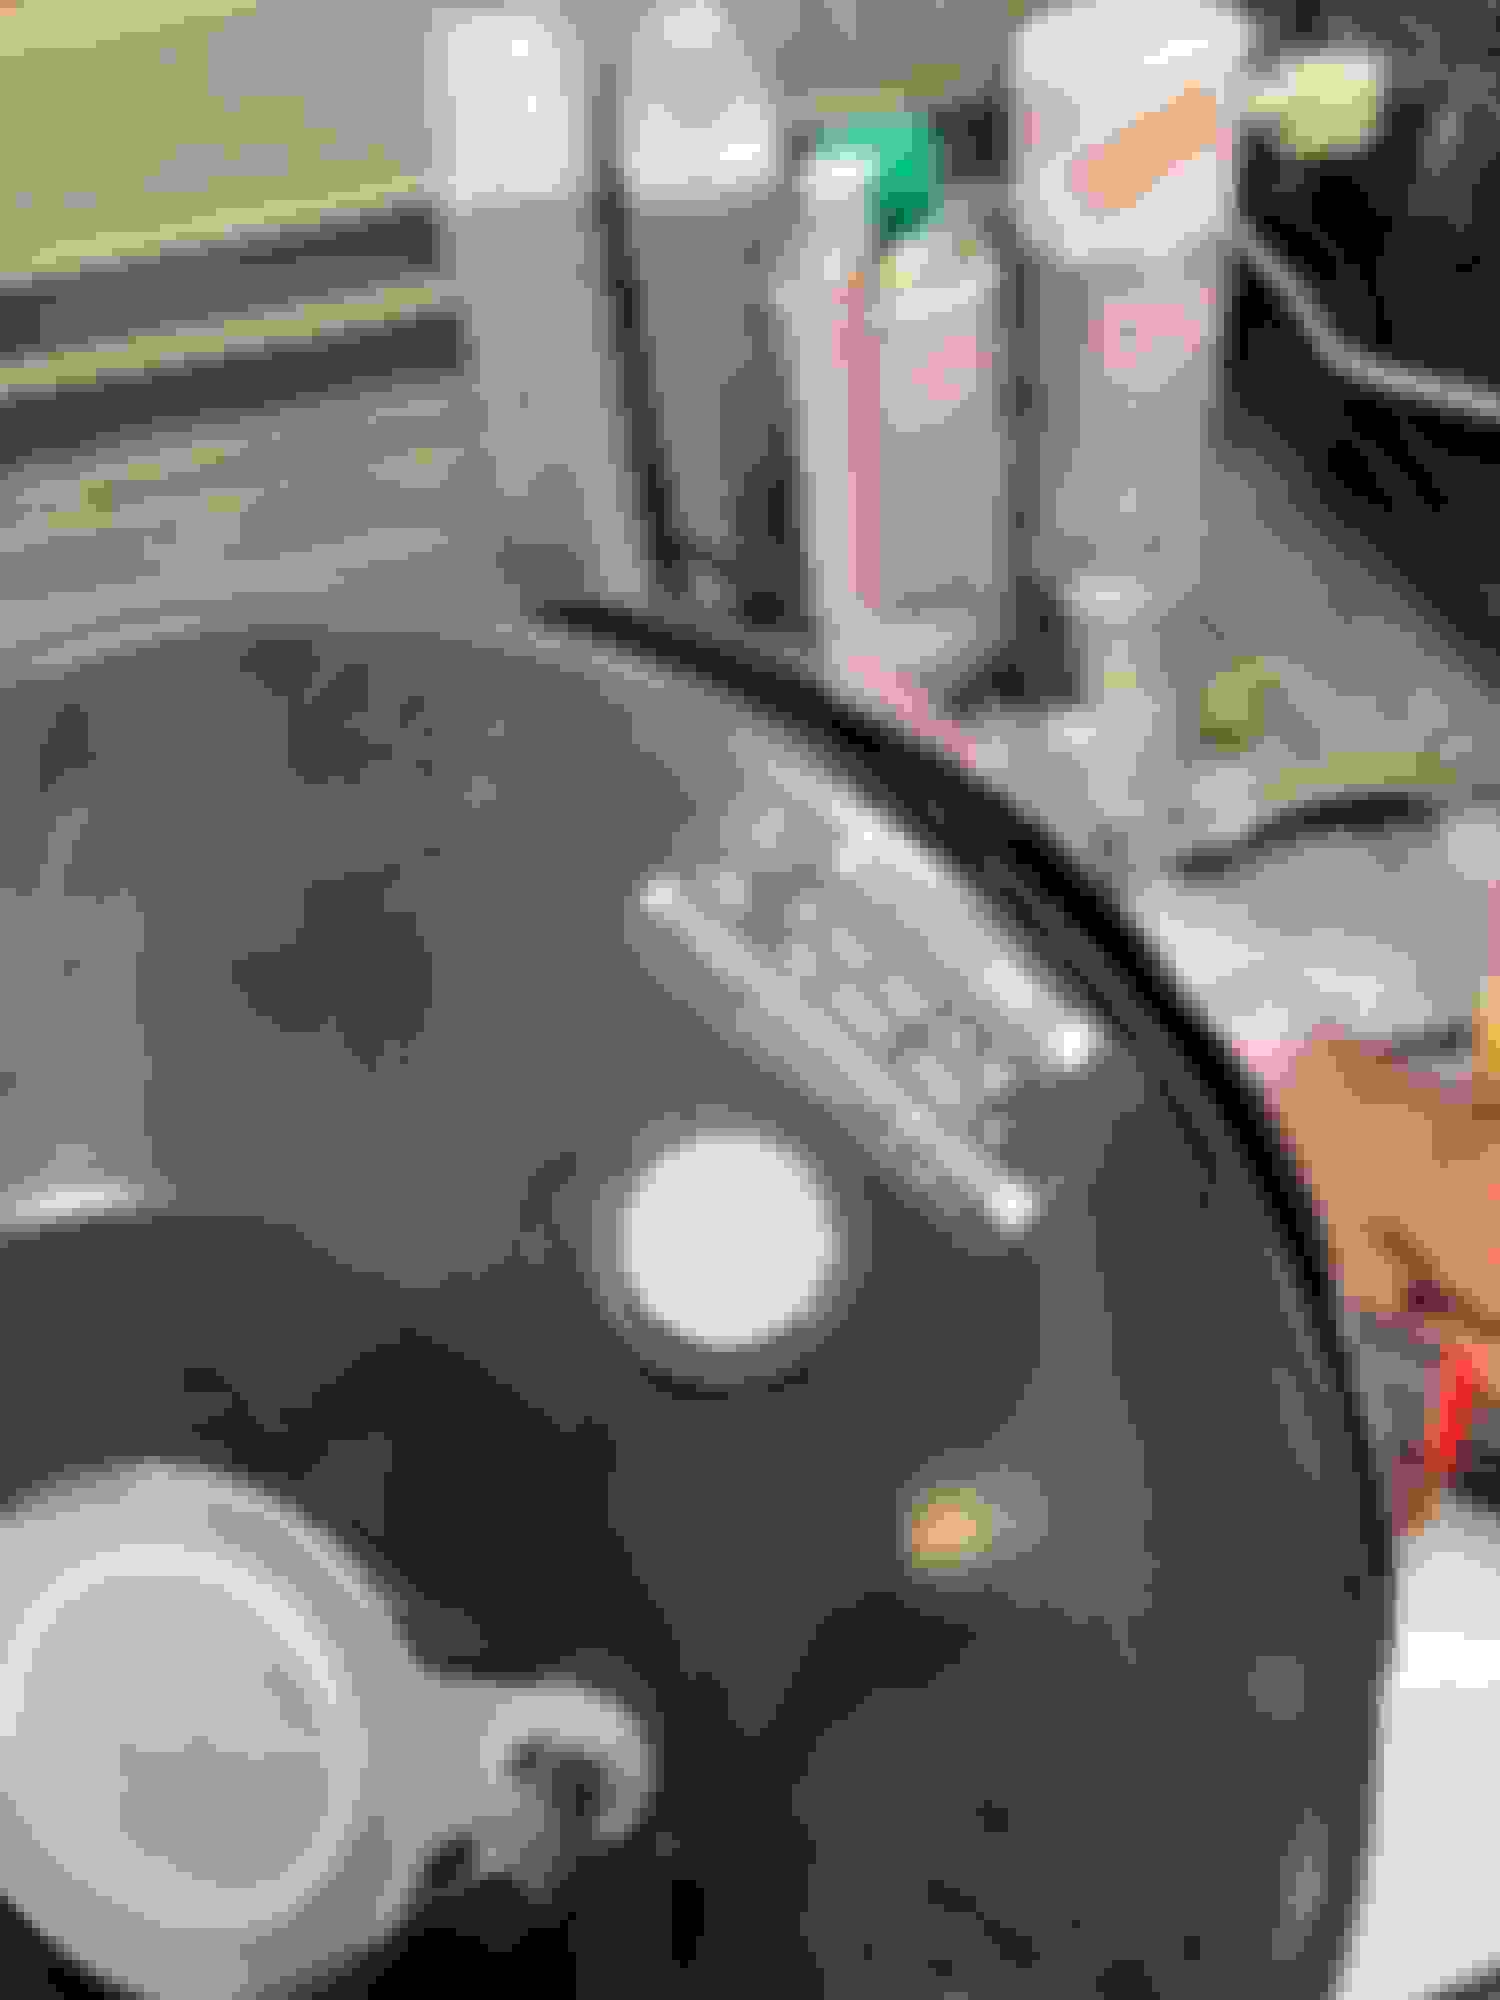
So the ML is getting a little something every day it seems like. Took it for an inspection this week to keep the state happy. She passed with flying colors. Not bad for a nearly 15 year old truck! 👍 Next up was new wiper blades all around. Then today the new “Engine Appearance Cover” showed up to replace the one that came on the truck but was missing the actual MB badge. Sucks to pay $125 for a missing badge, but the engine bay looked a bit dumb without it, so we can check that off the list.
Nice! I've always had a soft spot for the styling on this era ML63. And good for you for replacing the engine cover MB badge! I saw one at auction in the past few months and it was missing that as well...Do they just fall off or something*sarcasm*?
8874748[/url]]Nice! I've always had a soft spot for the styling on this era ML63. And good for you for replacing the engine cover MB badge! I saw one at auction in the past few months and it was missing that as well...Do they just fall off or something*sarcasm*?
Thanks! Agreed, I think the style holds up very well even in 2023. And taking care of the details definitely adds up…I’ve got a bunch of odds and ends coming for this truck to help bring it back up to speed. It’s in too good of shape not to do! So I’ll have some more updates coming soon. 👍
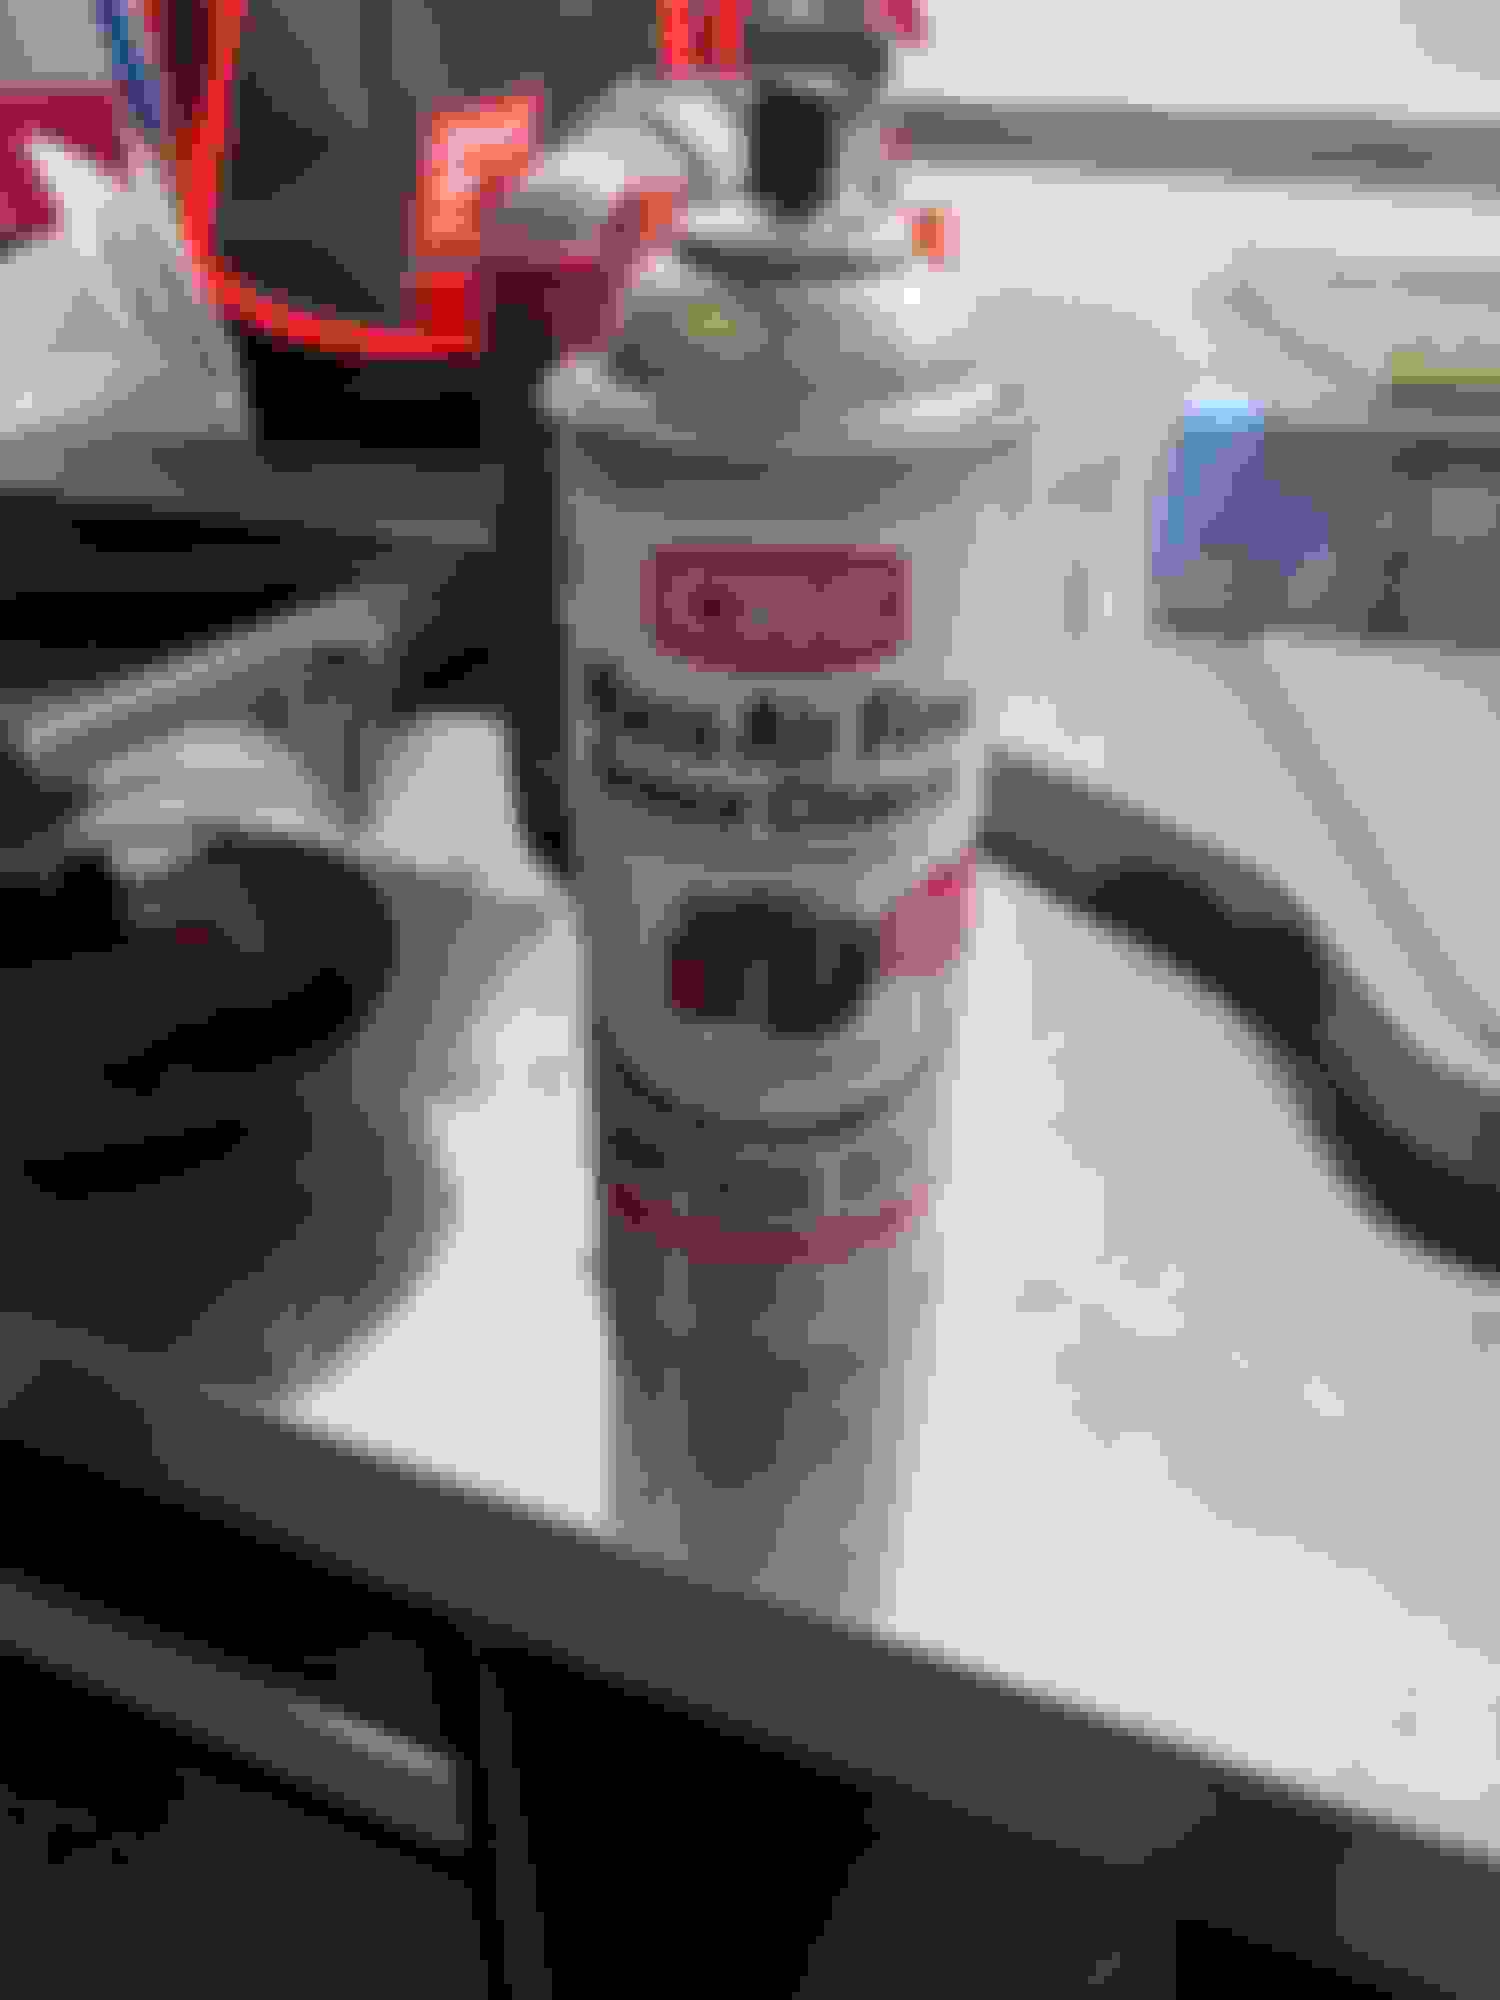
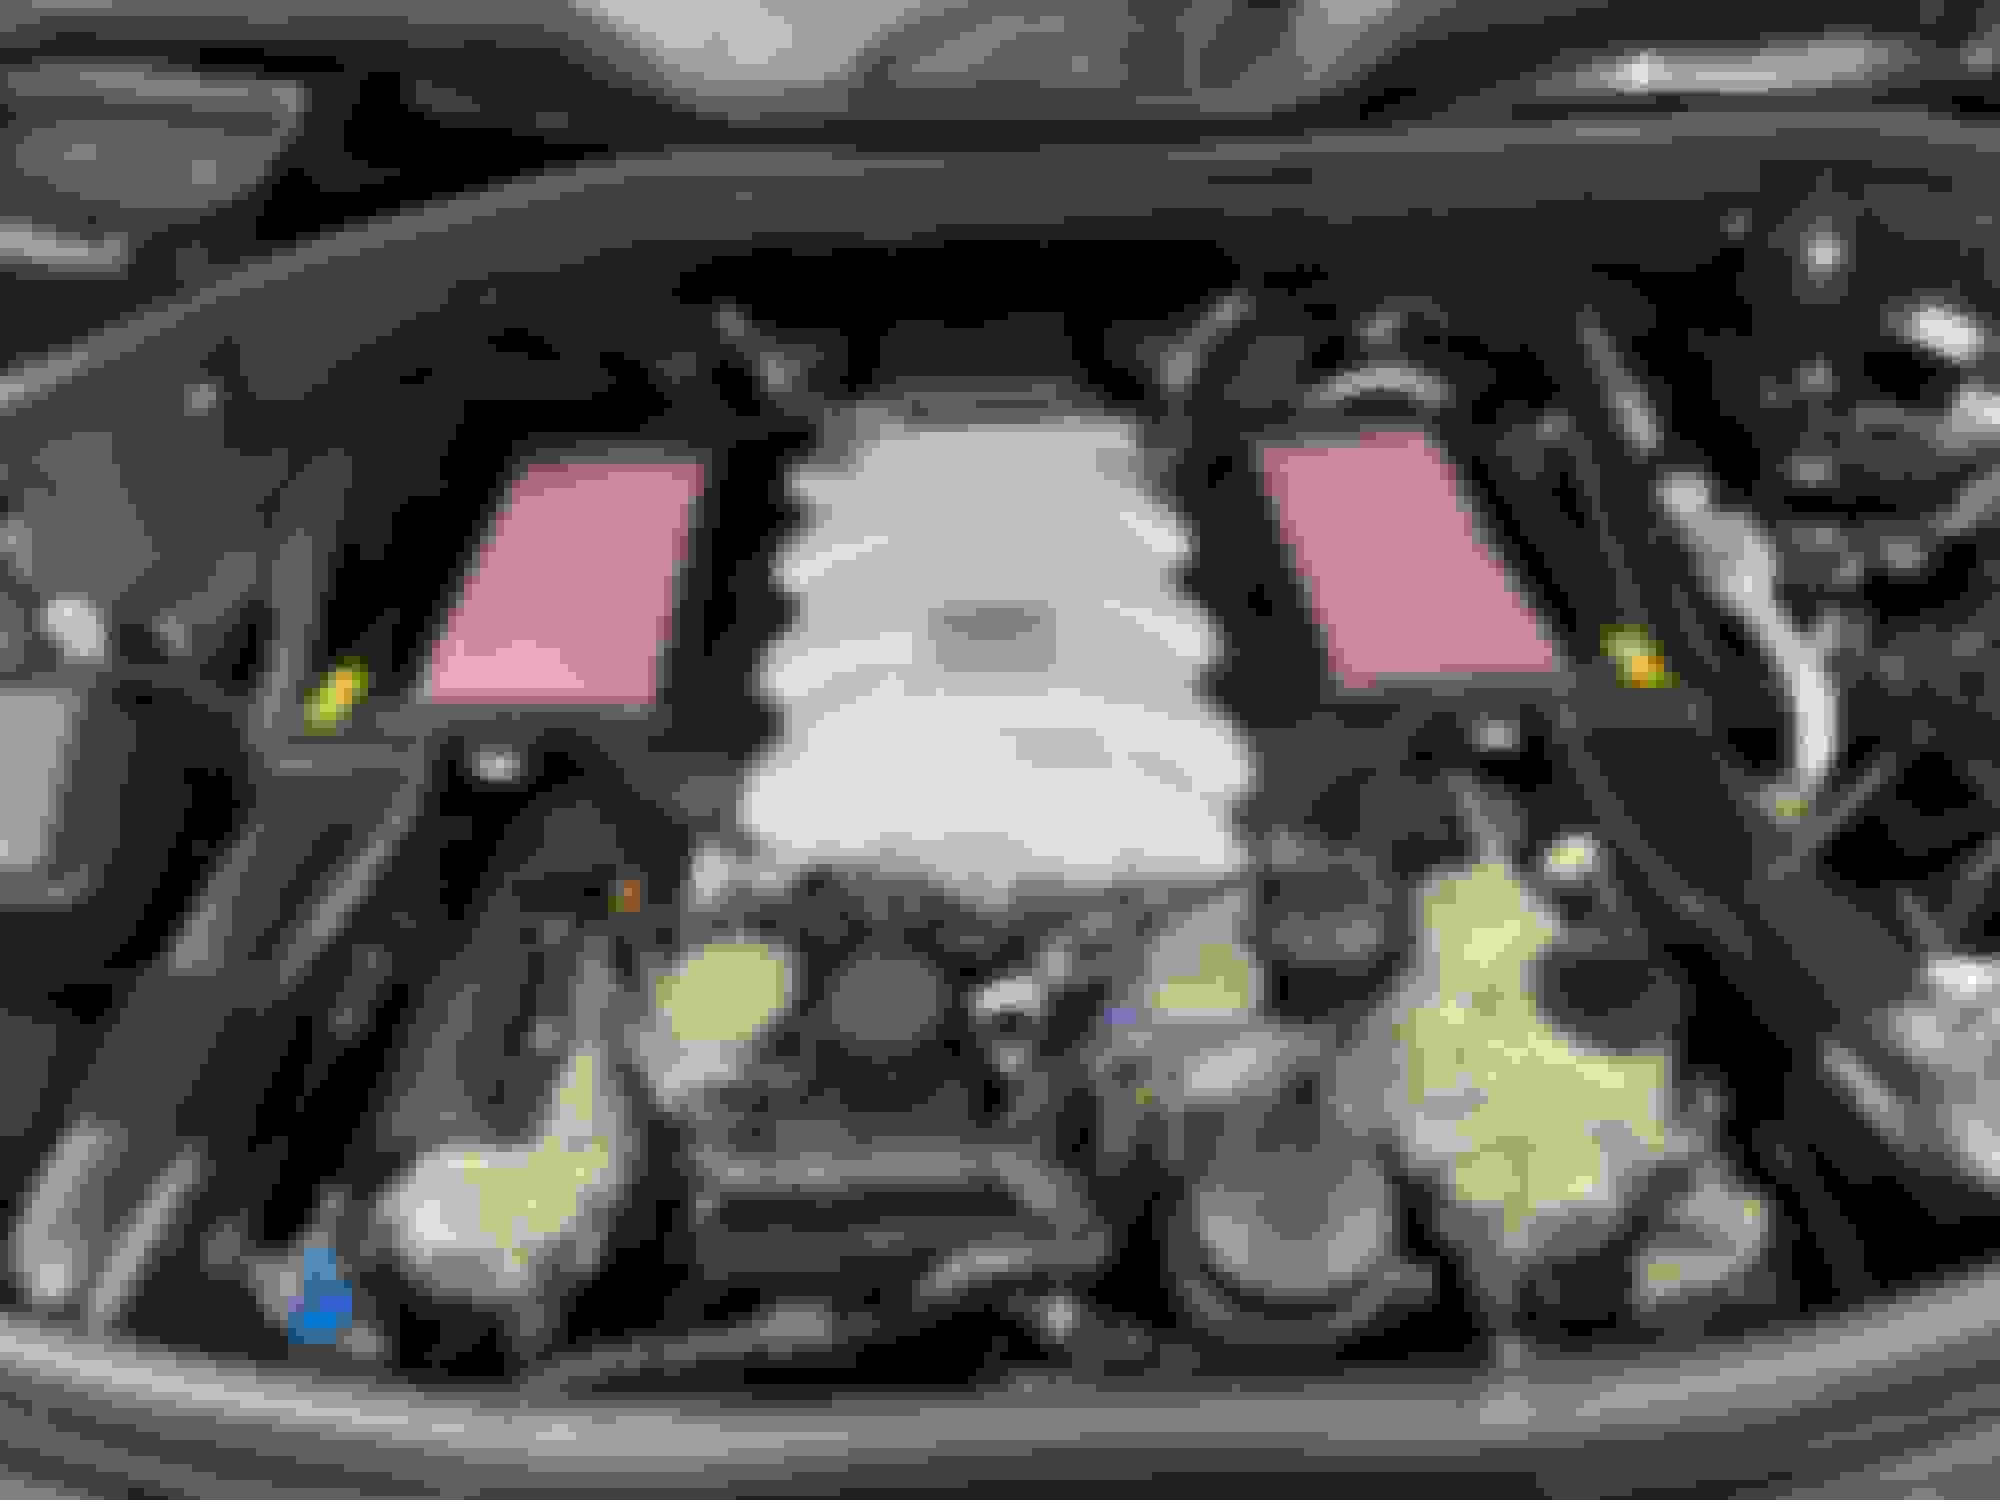
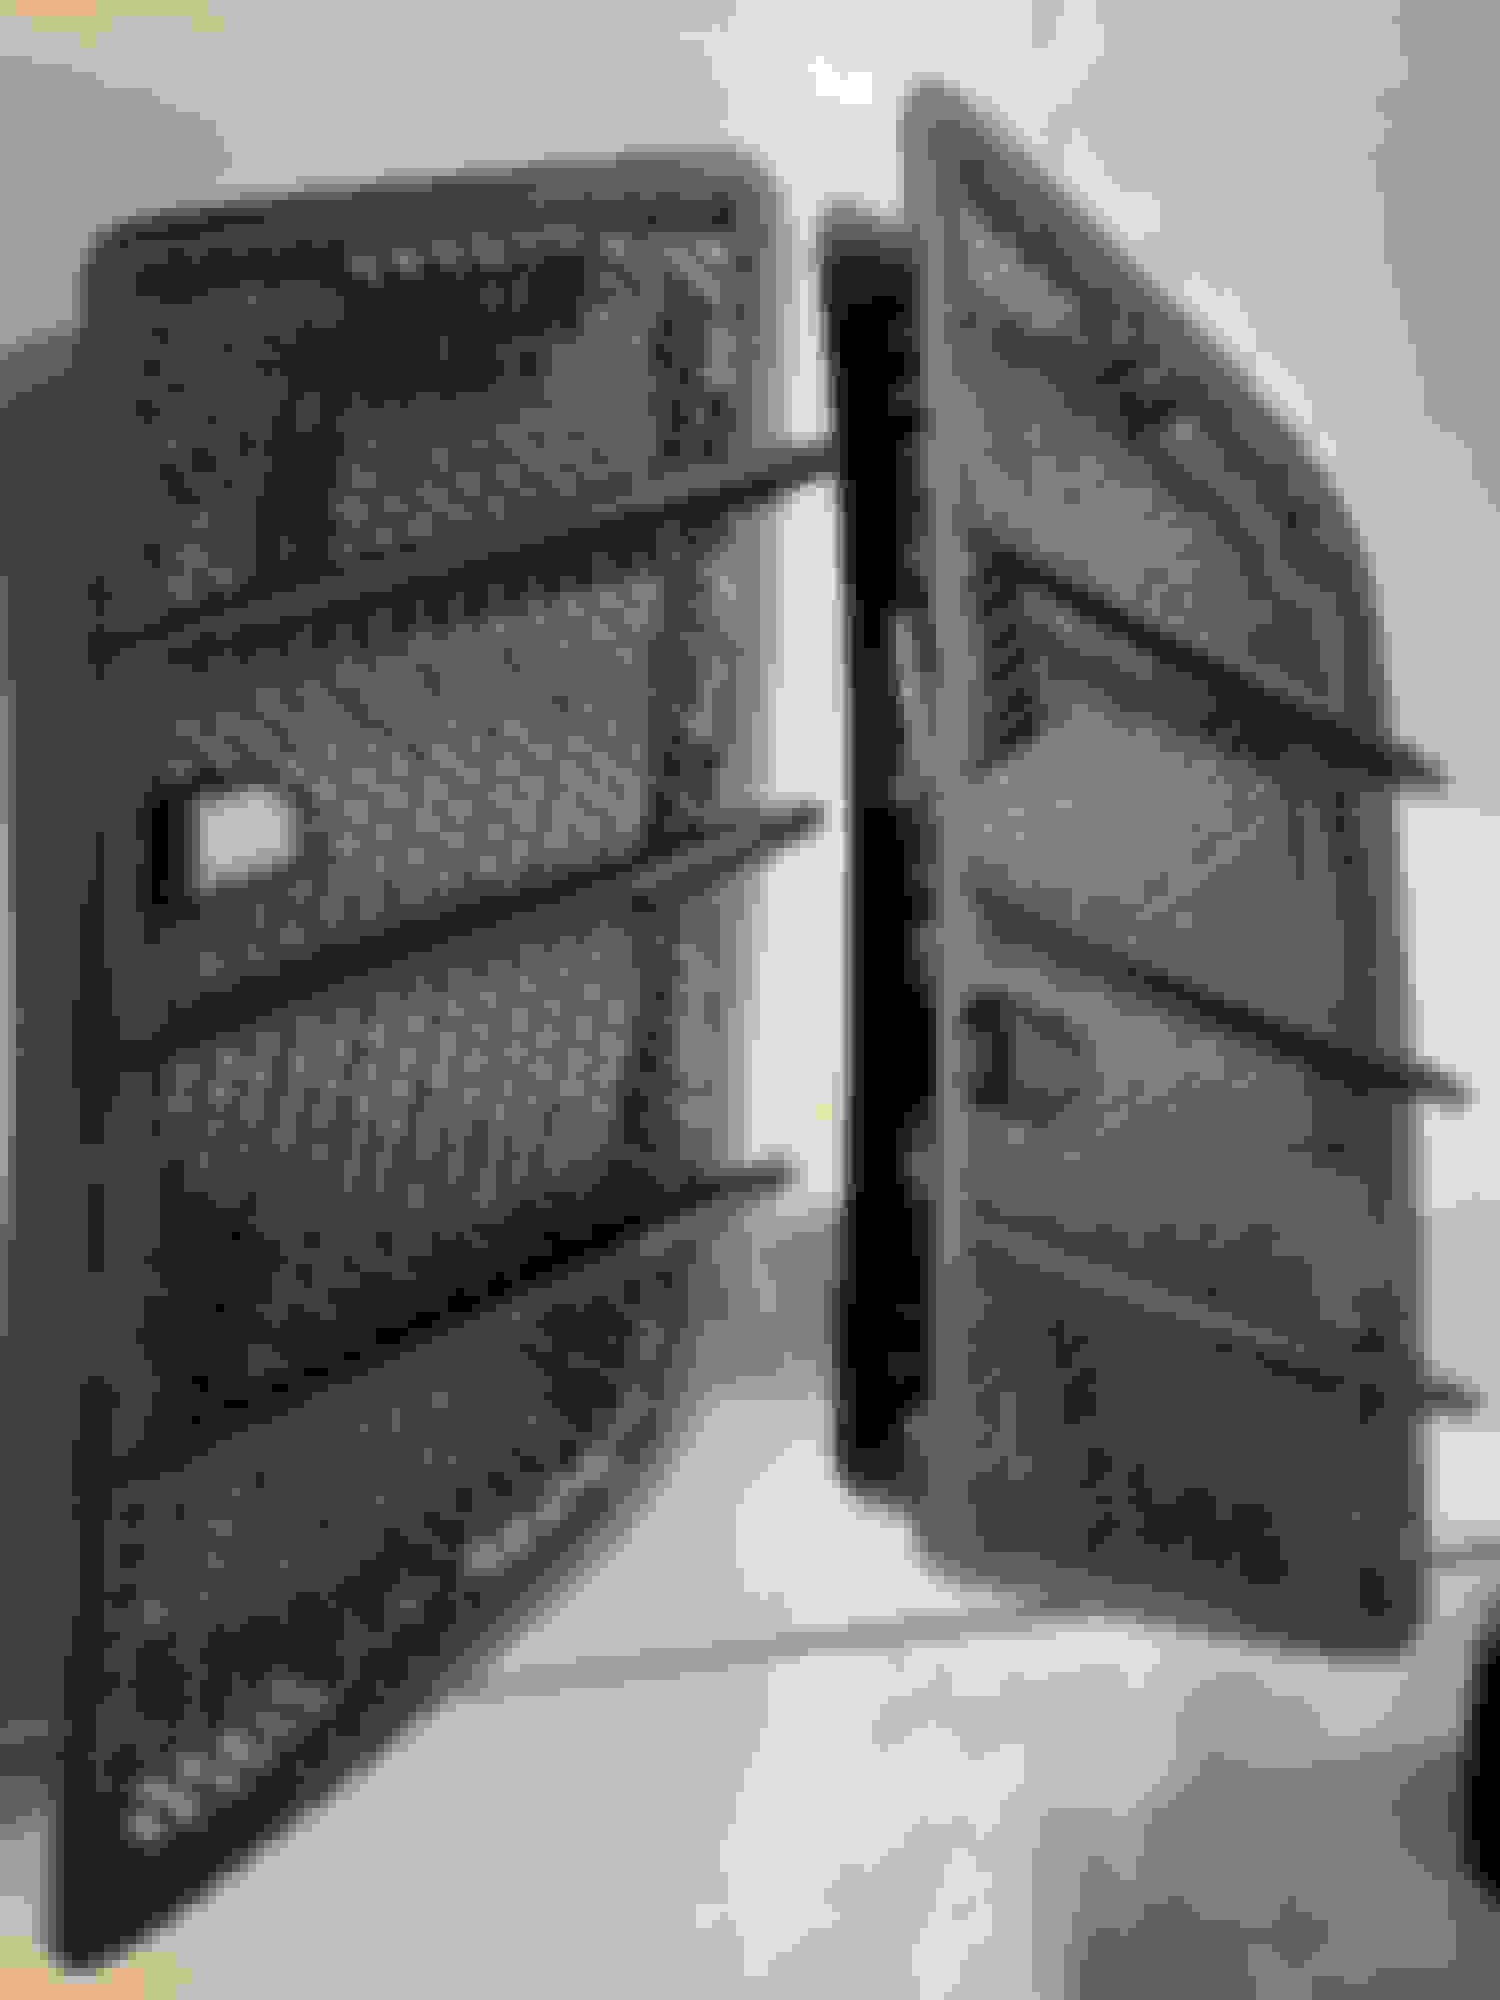
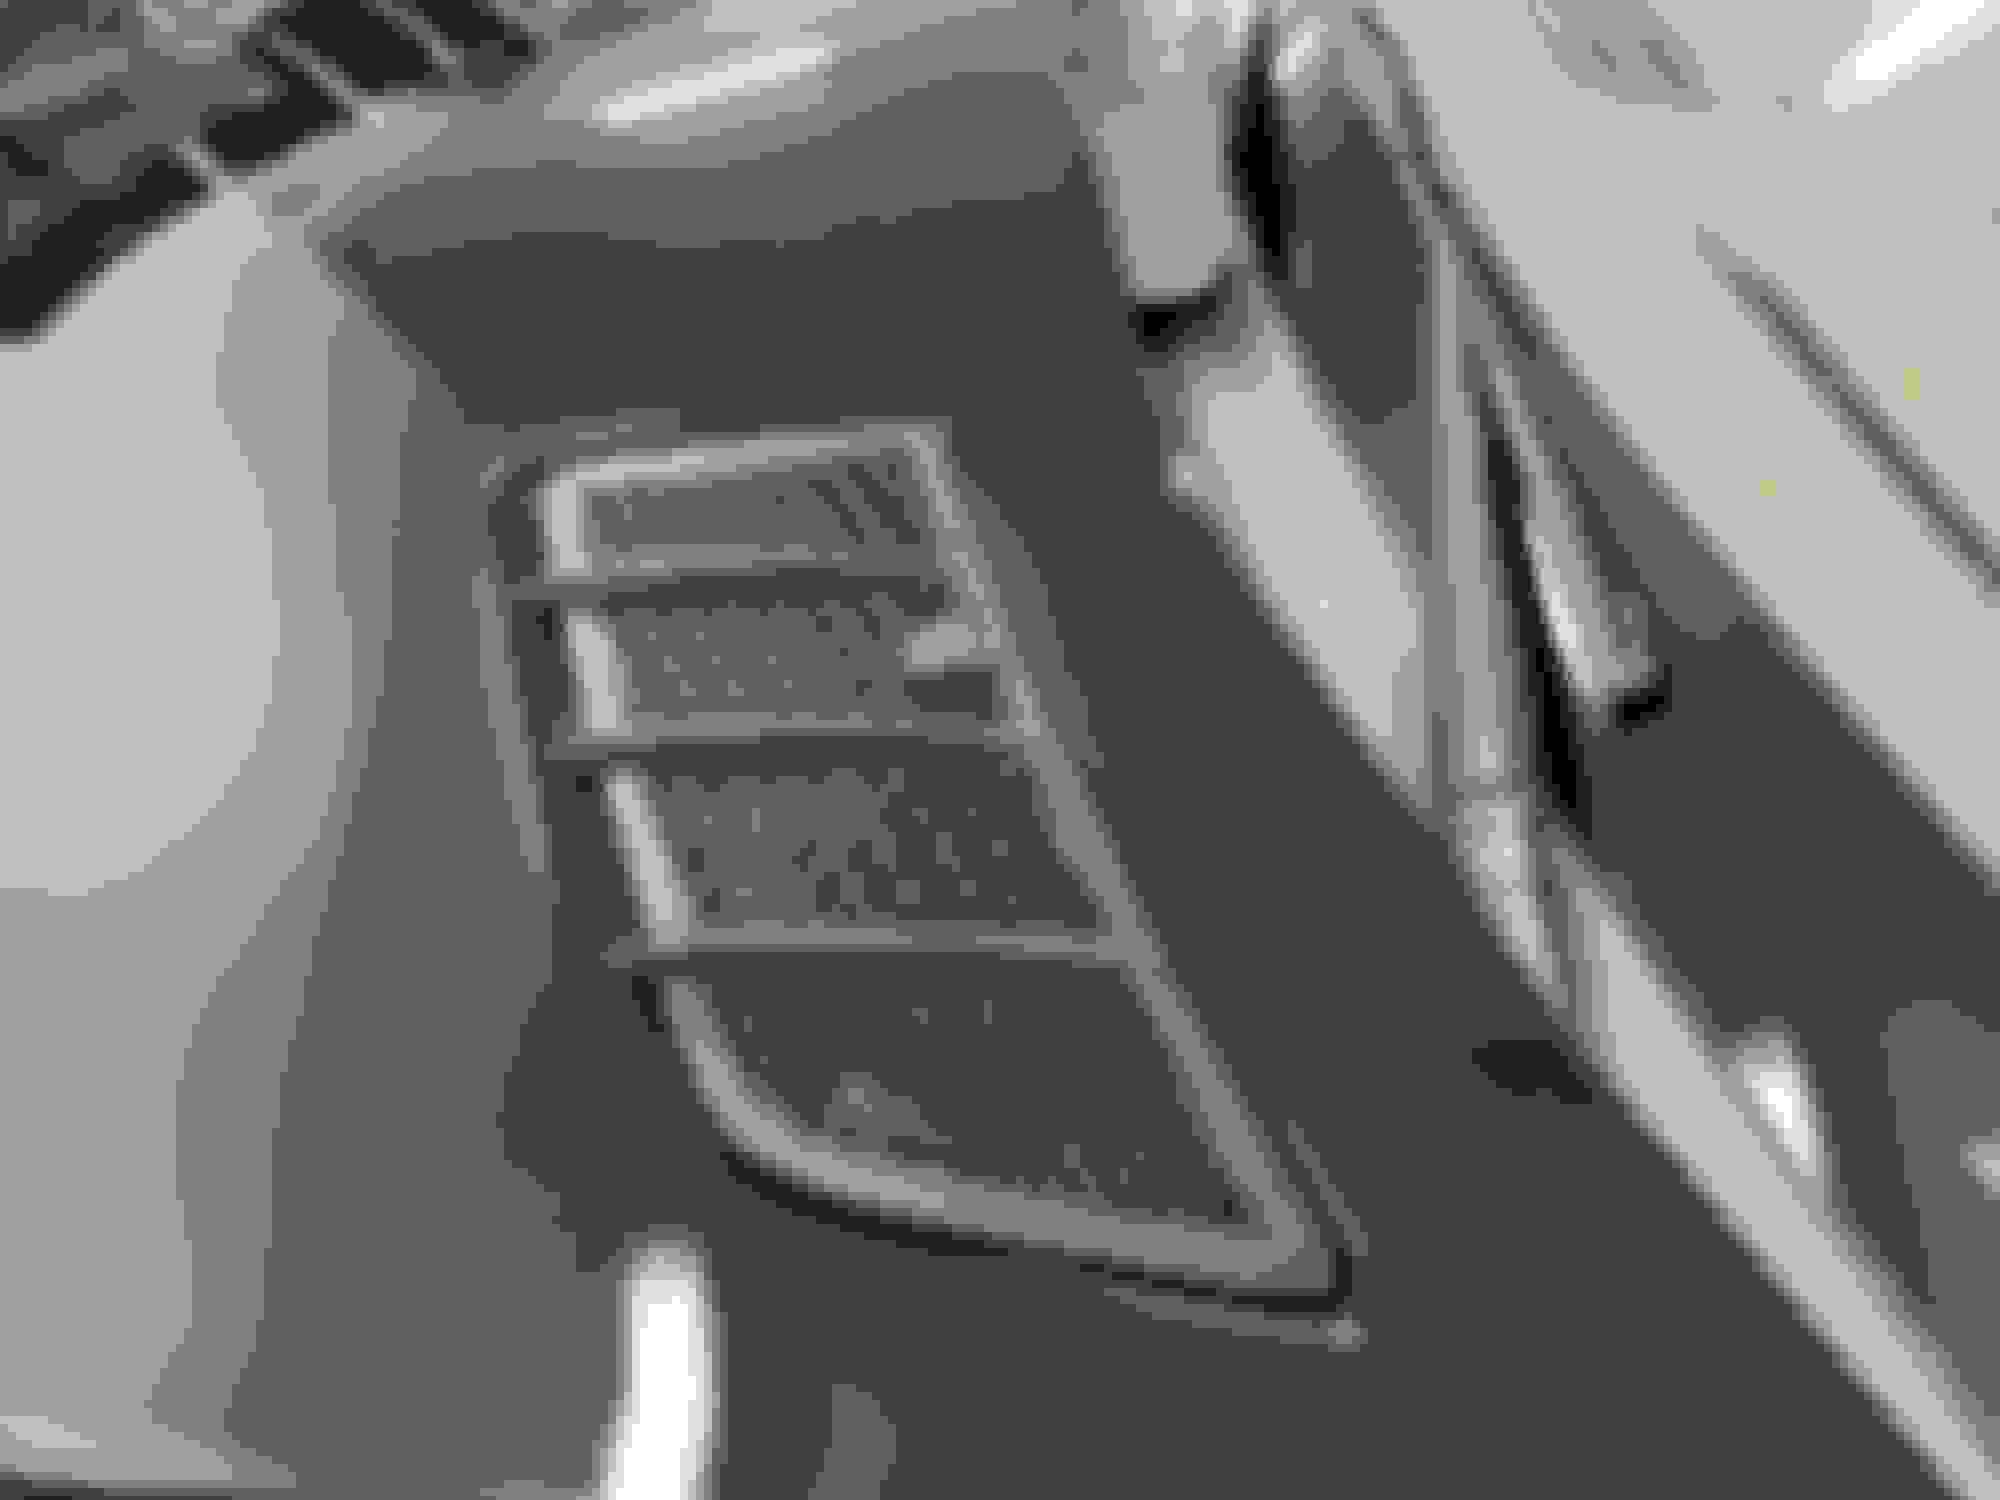
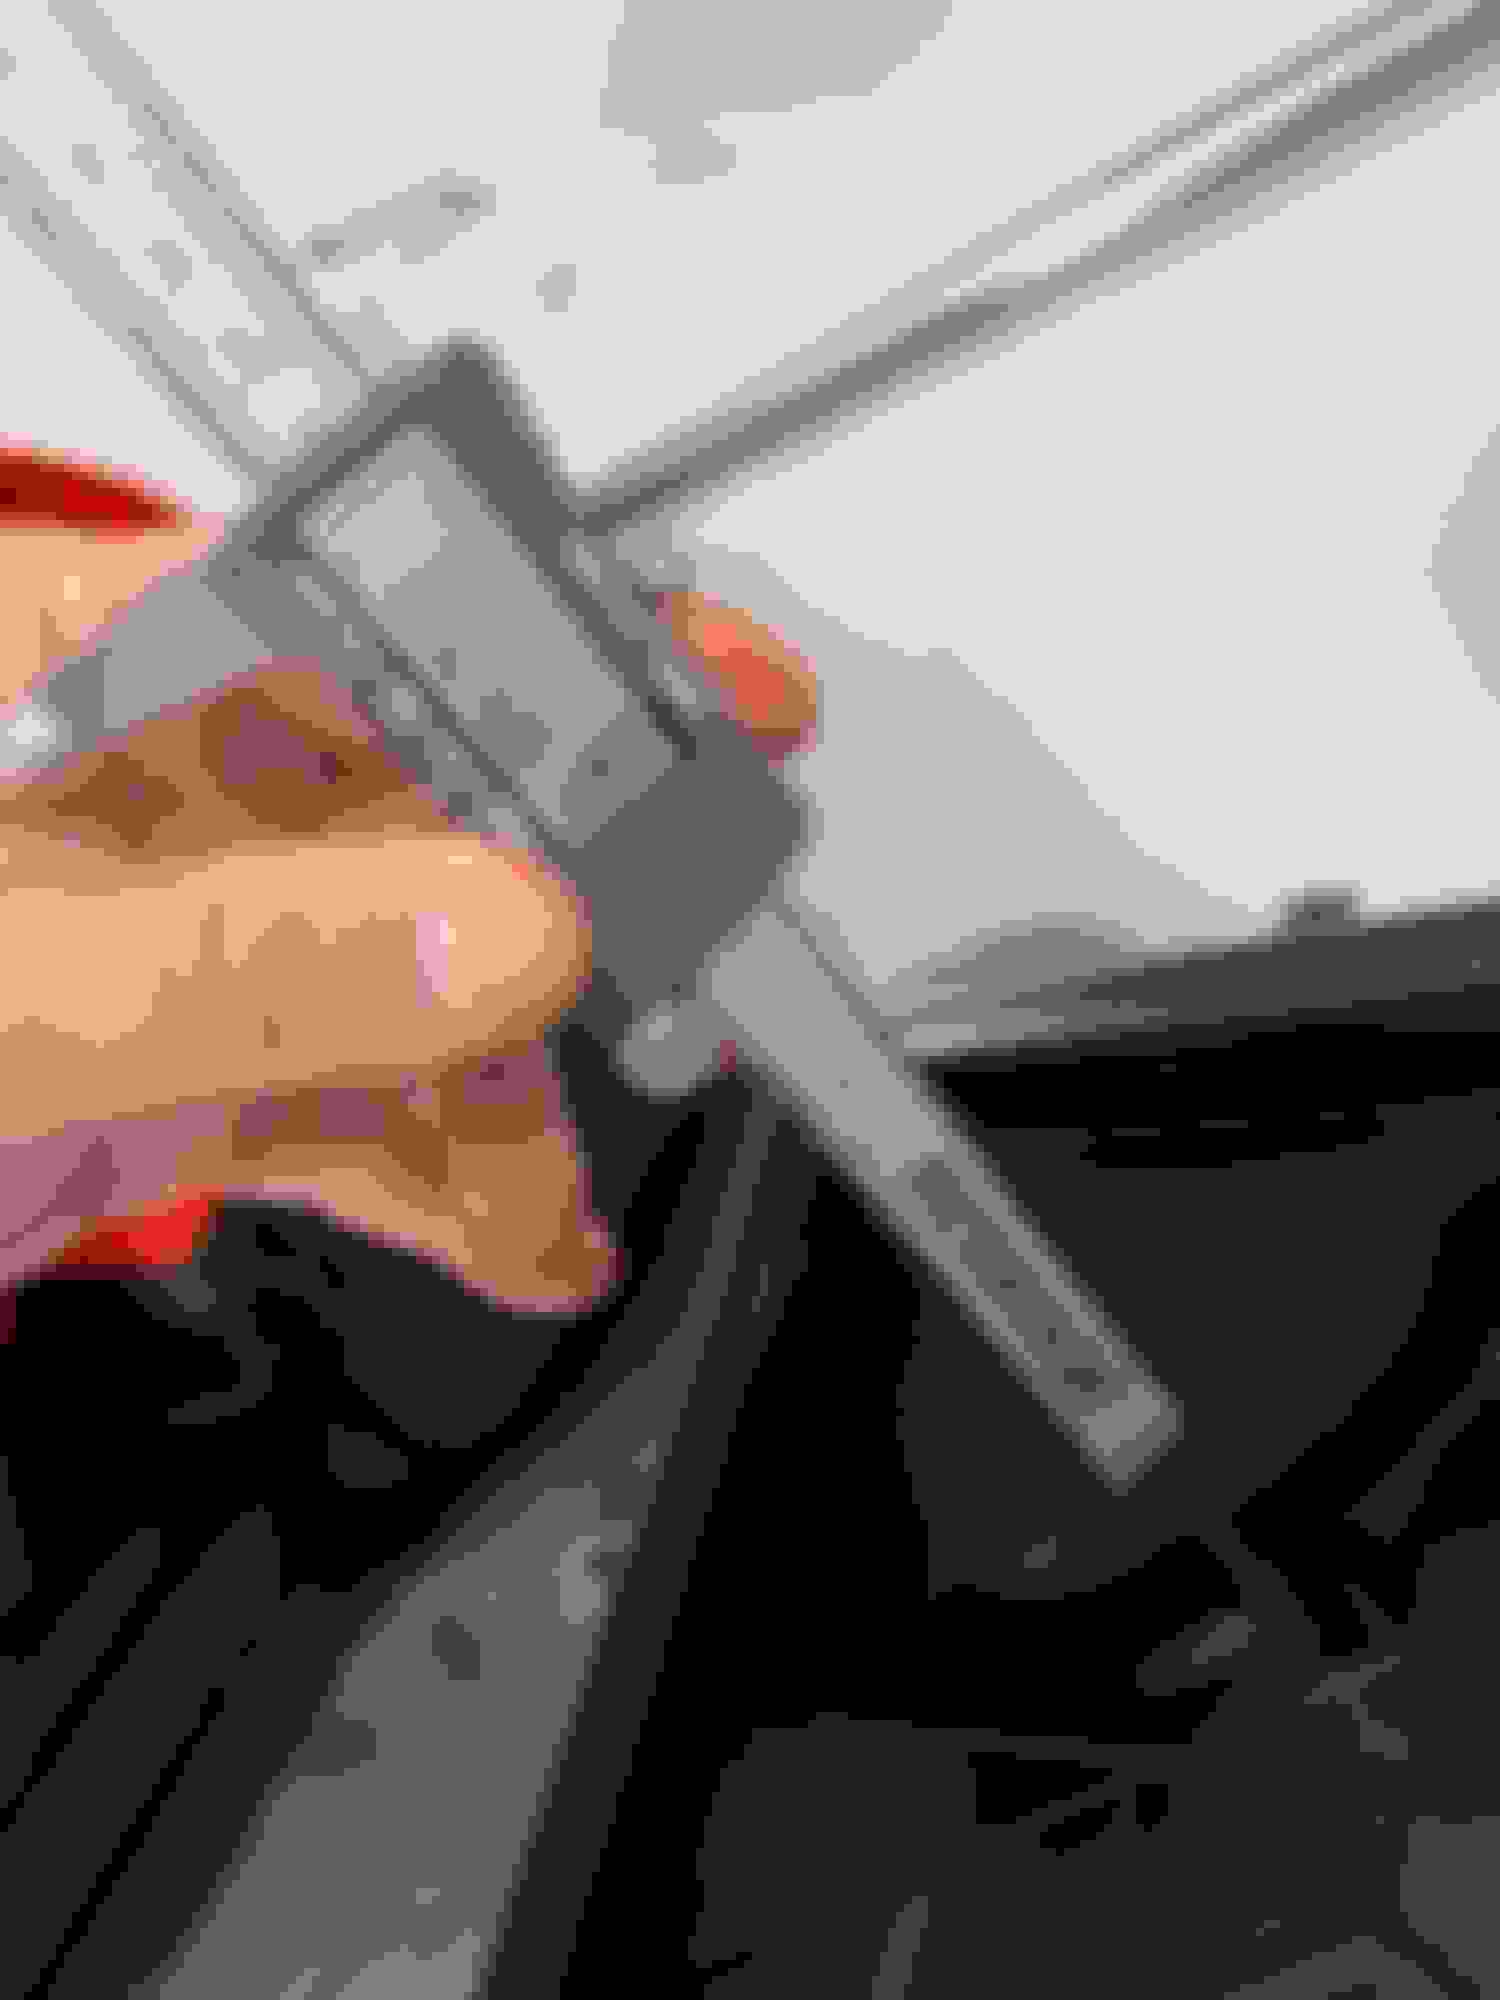
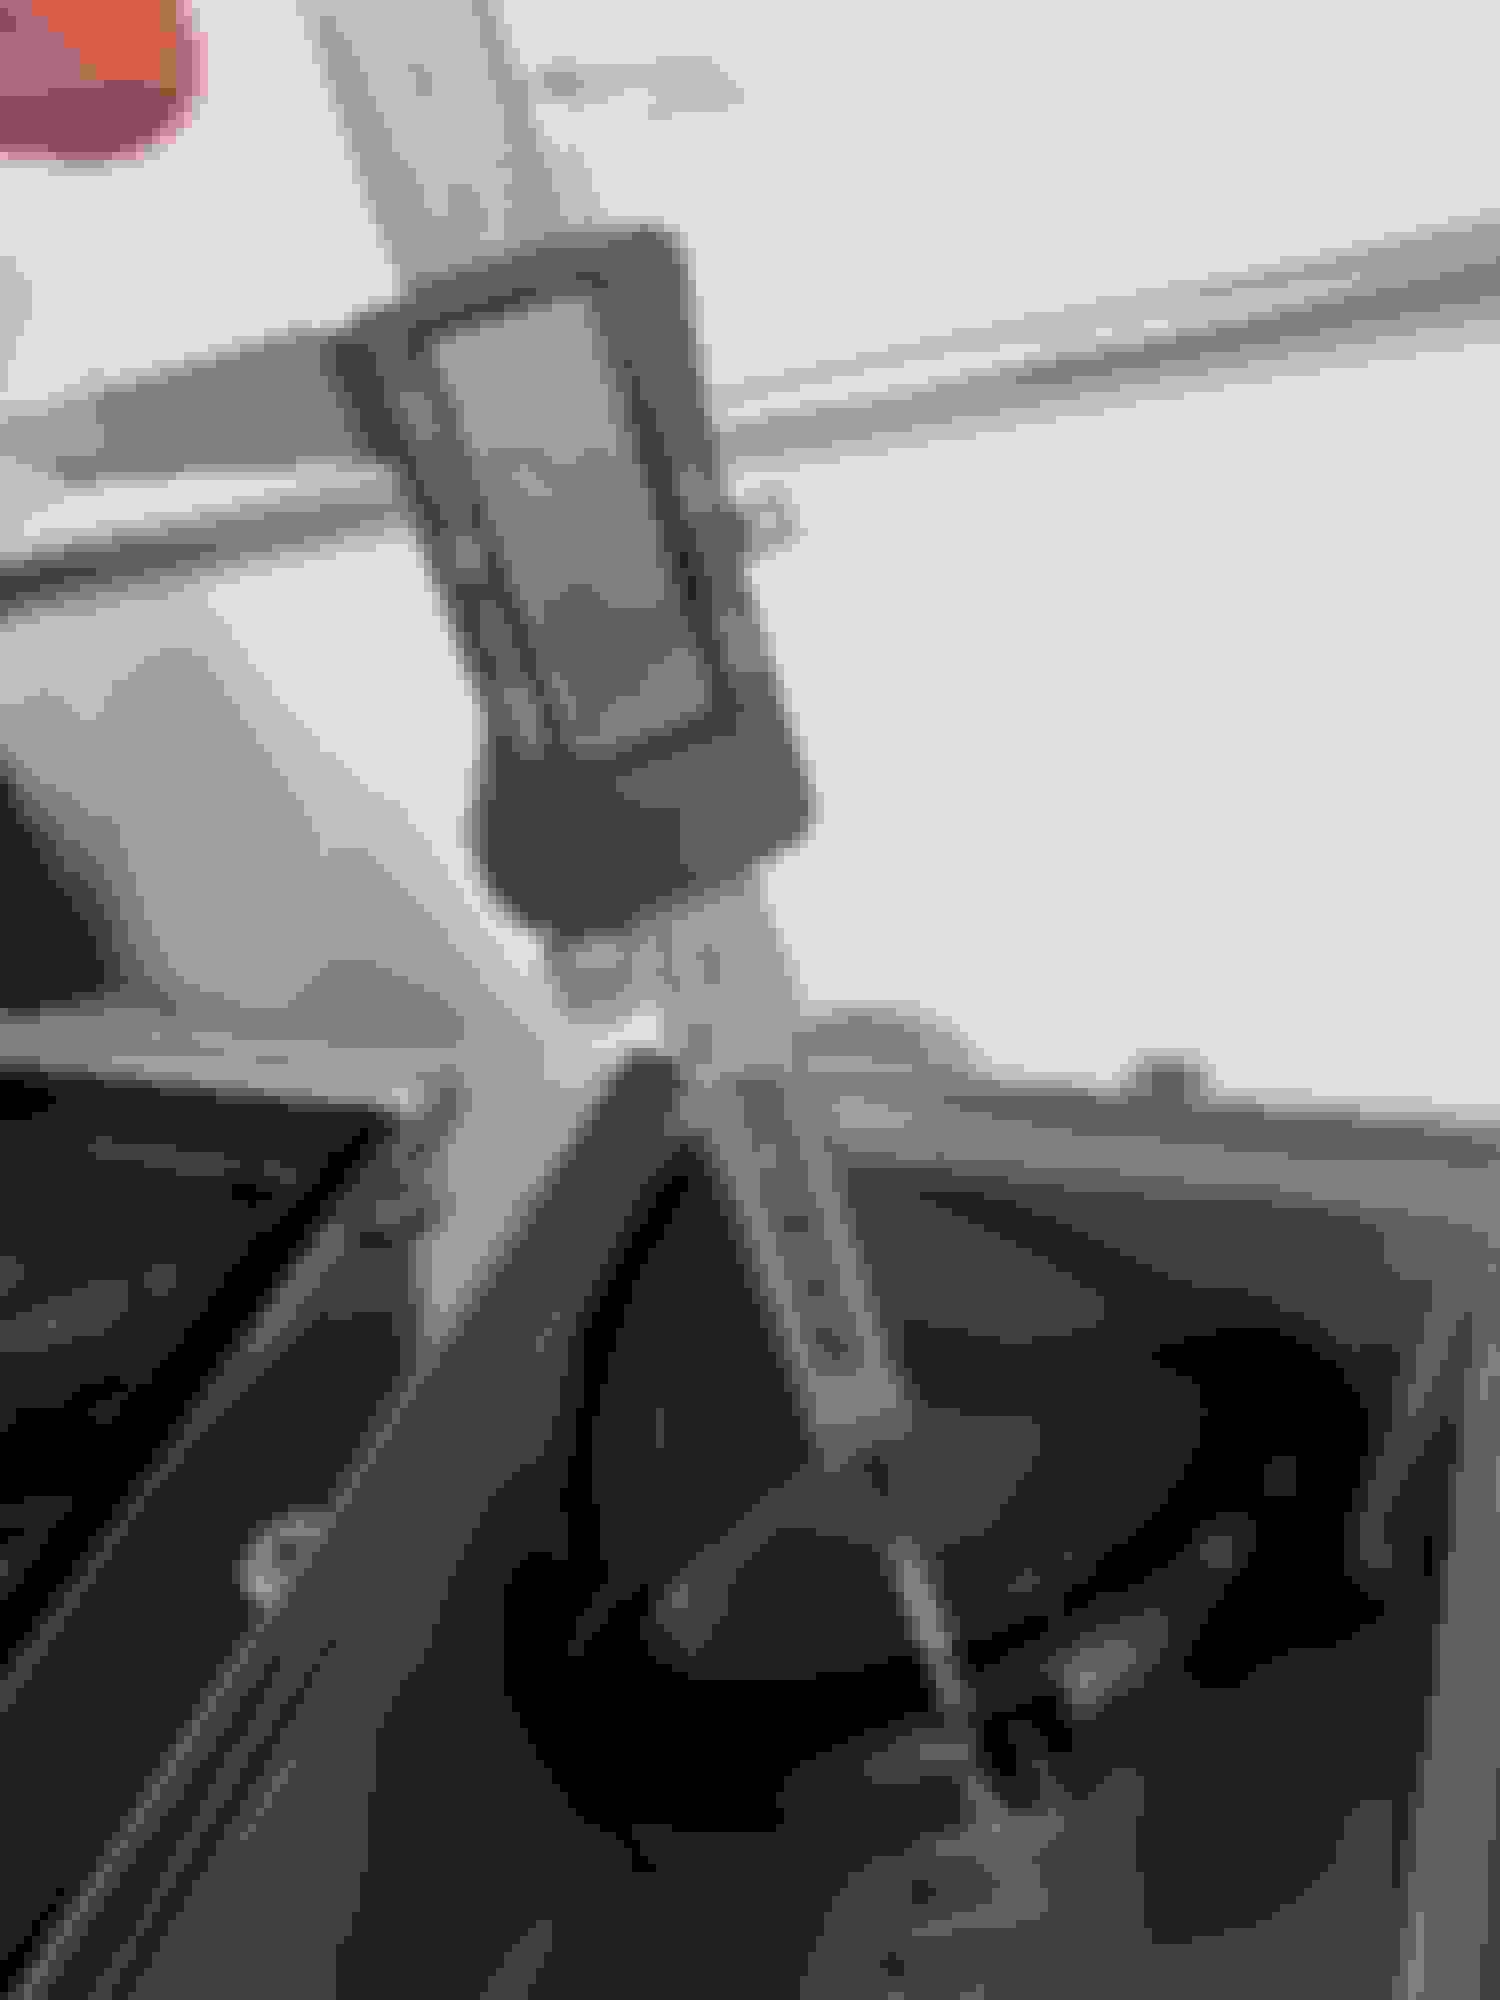
So while cleaning up the engine bay I noticed a “K&N Filter” sticker haphazardly slapped onto one of the air boxes. I promptly threw that away since this is an AMG, not a Honda Civic. 😂 But it did remind me that I should check them out and see if they need cleaning and re-oiling. So I started taking the air boxes apart (T25 Torx by the way) and the filters weren’t in bad condition, but ready for a cleaning. (EDIT: Don’t remove the carbon filters tucked into the underside of the air box. It will set a Check Engine Light for MAF performance…ask me how I know.) I soaked the K&N filters in cleaner, allowed them to sit for 15 minutes, then rinsed them out. I repeated the process just to make sure they were clean. I allowed them to dry overnight and then re-oiled them with the K&N oil. While that was setting up, I took the opportunity to clean the MAF sensors with some CRC MAF Cleaner. Once I was sure there was no excess oil on the filters, I reinstalled them and buttoned everything back up. Should be good to go!
Last edited by Joshinator99; Nov 16, 2023 at 07:54 PM.
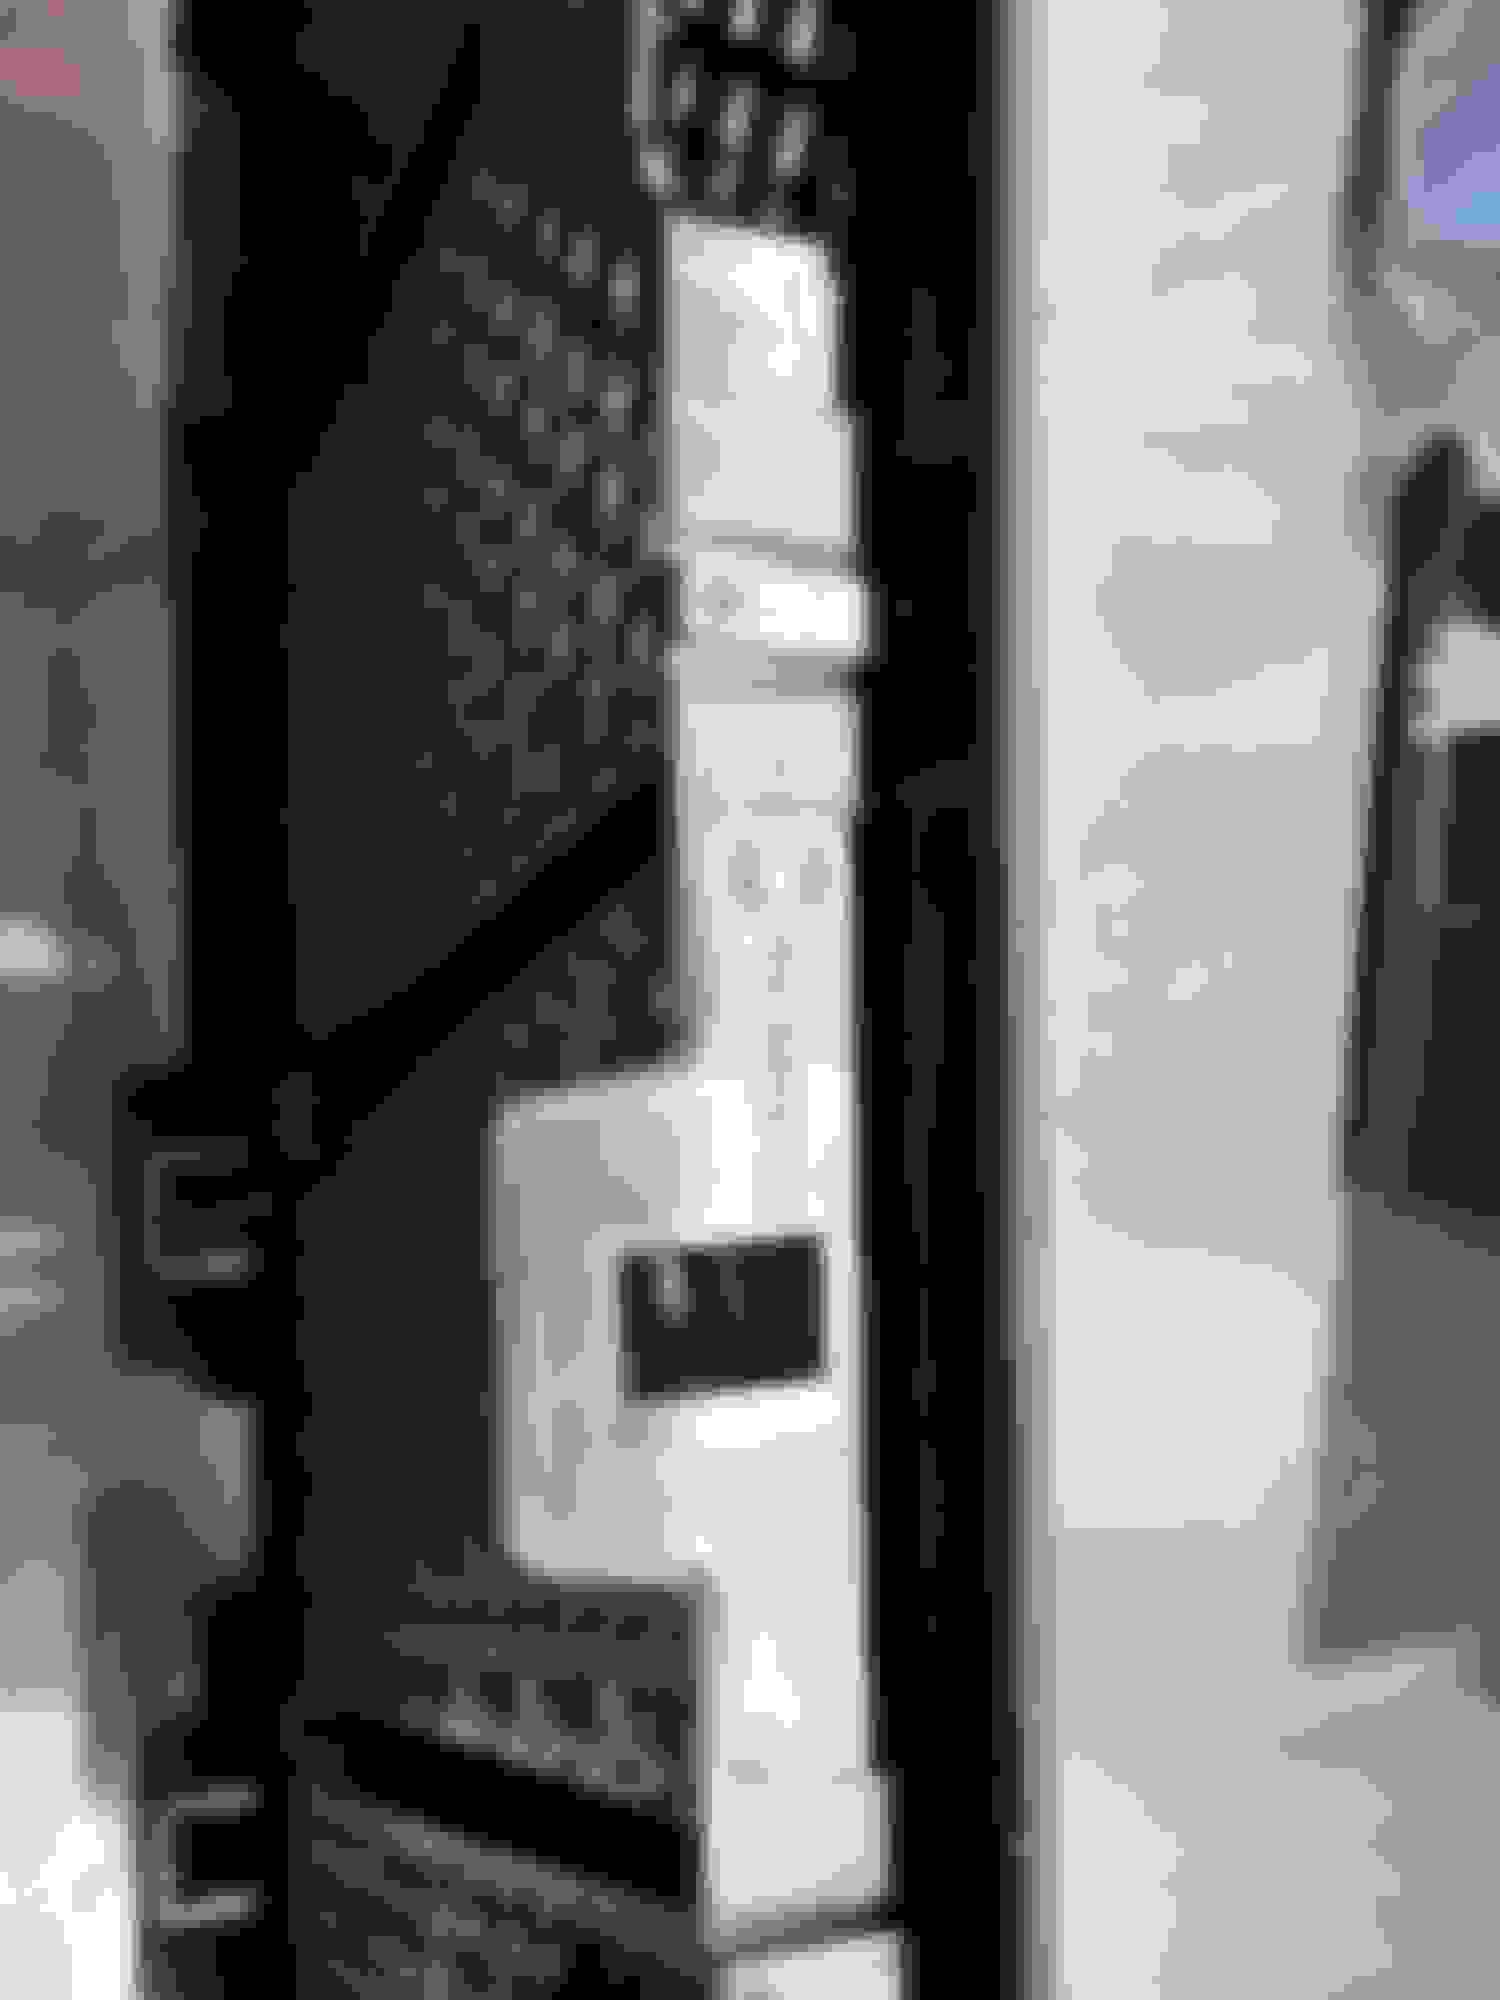
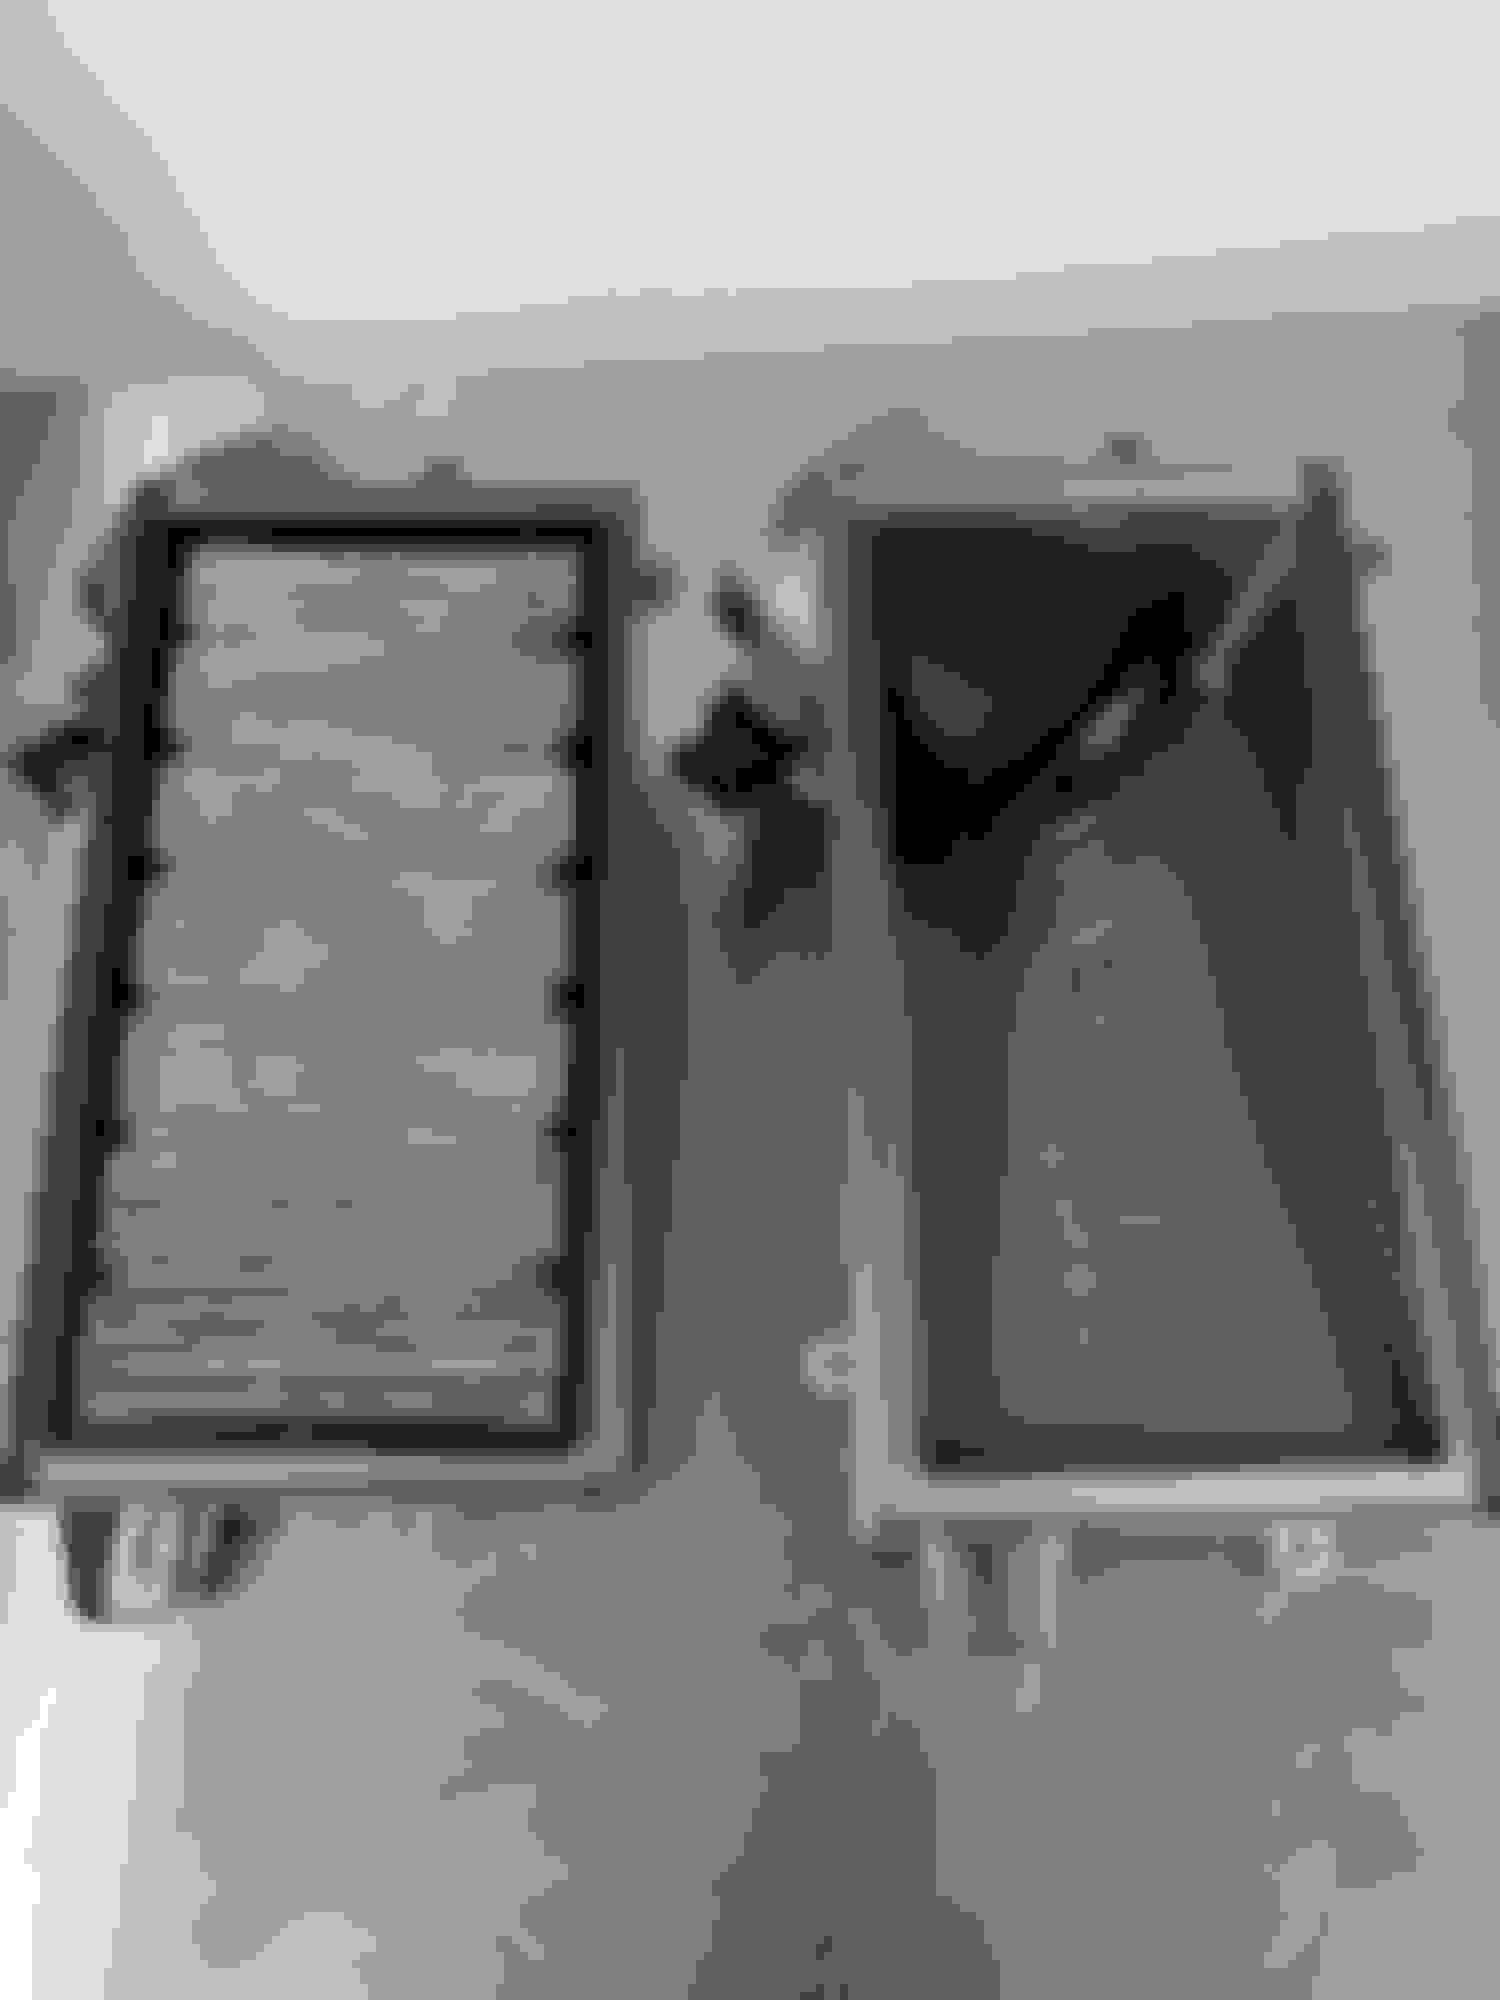
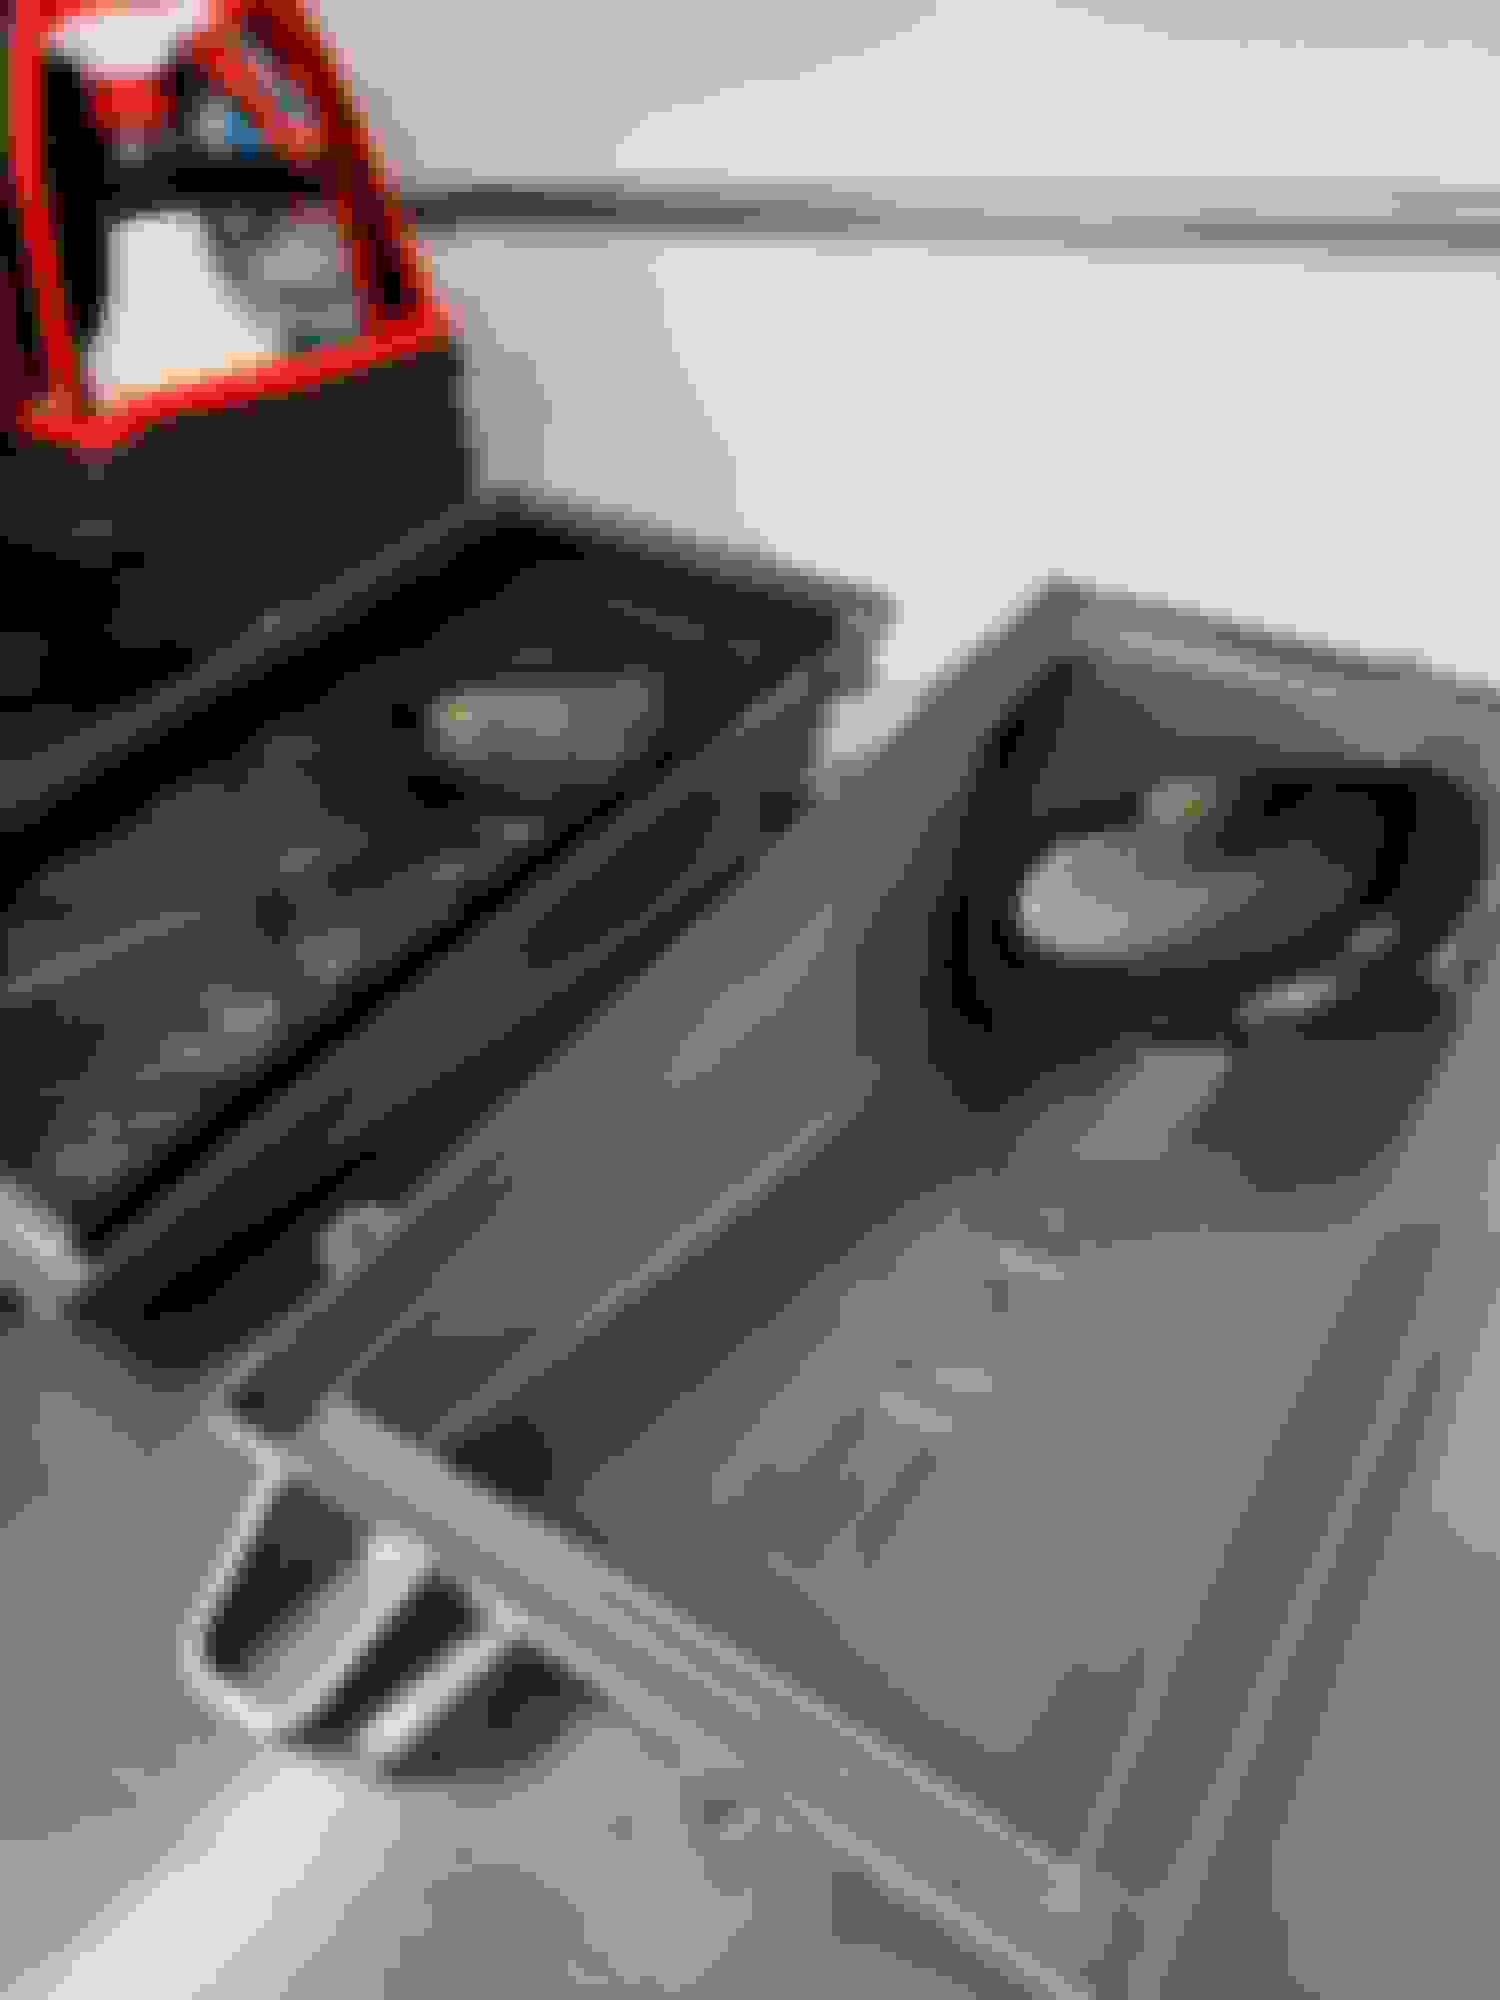
One of the few eyesores on the “new to me” rig was the broken grill at the top of the hood on the driver’s side. Poking around online, it looks like they go for about $160…each! And the driver’s side one showed as “discontinued” to boot… ugh! So out of desperation, I punched the part number into eBay thinking maybe I could find a lightly used one. I did find used ones going for $60-$90 each, but then a bunch of listings popped up offering BOTH grills, brand new, for $30 shipped!?! I thought there was no way this was right but for $30 I figured I’d give it a try. A few days later they showed up…and it’s LITERALLY the OEM part! They were absolutely identical to the old ones I took off my truck and even had the MB parts numbers molded in exactly the same spot! Couldn’t believe my luck.
So I pulled the under tray off, cleaned that up, fixed the mangled gasket, and put it aside. I pulled the old grills off and they literally crumbled in my hands! I guess that was the one drawback of a southern car…the plastic bits are done after 15 years of Florida sunshine. You have to transfer the rubber pieces (3 per grill) and the metal screw mounts (3 as well) to the new grills. I washed the rubber pieces and screw mounts well, hit the rubber pieces with some protectant to help rejuvenate them, and zapped the metal screw mounts with some black RustOleum to stop any rust. I transferred those pieces over to the new grills and reinstalled them. Snap the washer nozzles back in and reinstall the under tray and you’re done! Easily a $500-$600 repair at the dealer done for $30 and an hour or so of my time. I can live with that! One more thing checked off the list.
Last edited by Joshinator99; Nov 13, 2023 at 05:37 PM.
Missing Engine Badge:
Funny I noticed in your pics, yours was missing as well. I blamed Valvoline for mine. To this day i'm not sure what happened to it. I just assumed when i took it in for oil change some kid working there misplaced it. Been a mystery since.
Missing Engine Badge:
Funny I noticed in your pics, yours was missing as well. I blamed Valvoline for mine. To this day i'm not sure what happened to it. I just assumed when i took it in for oil change some kid working there misplaced it. Been a mystery since.
The Valvoline kid probably thought the oil filter was under the badge…🤣
Thankfully that “Engine Appearance Cover” is still available for purchase from MB. Not sure how I would have been able to find the badge otherwise. 🤷♂️
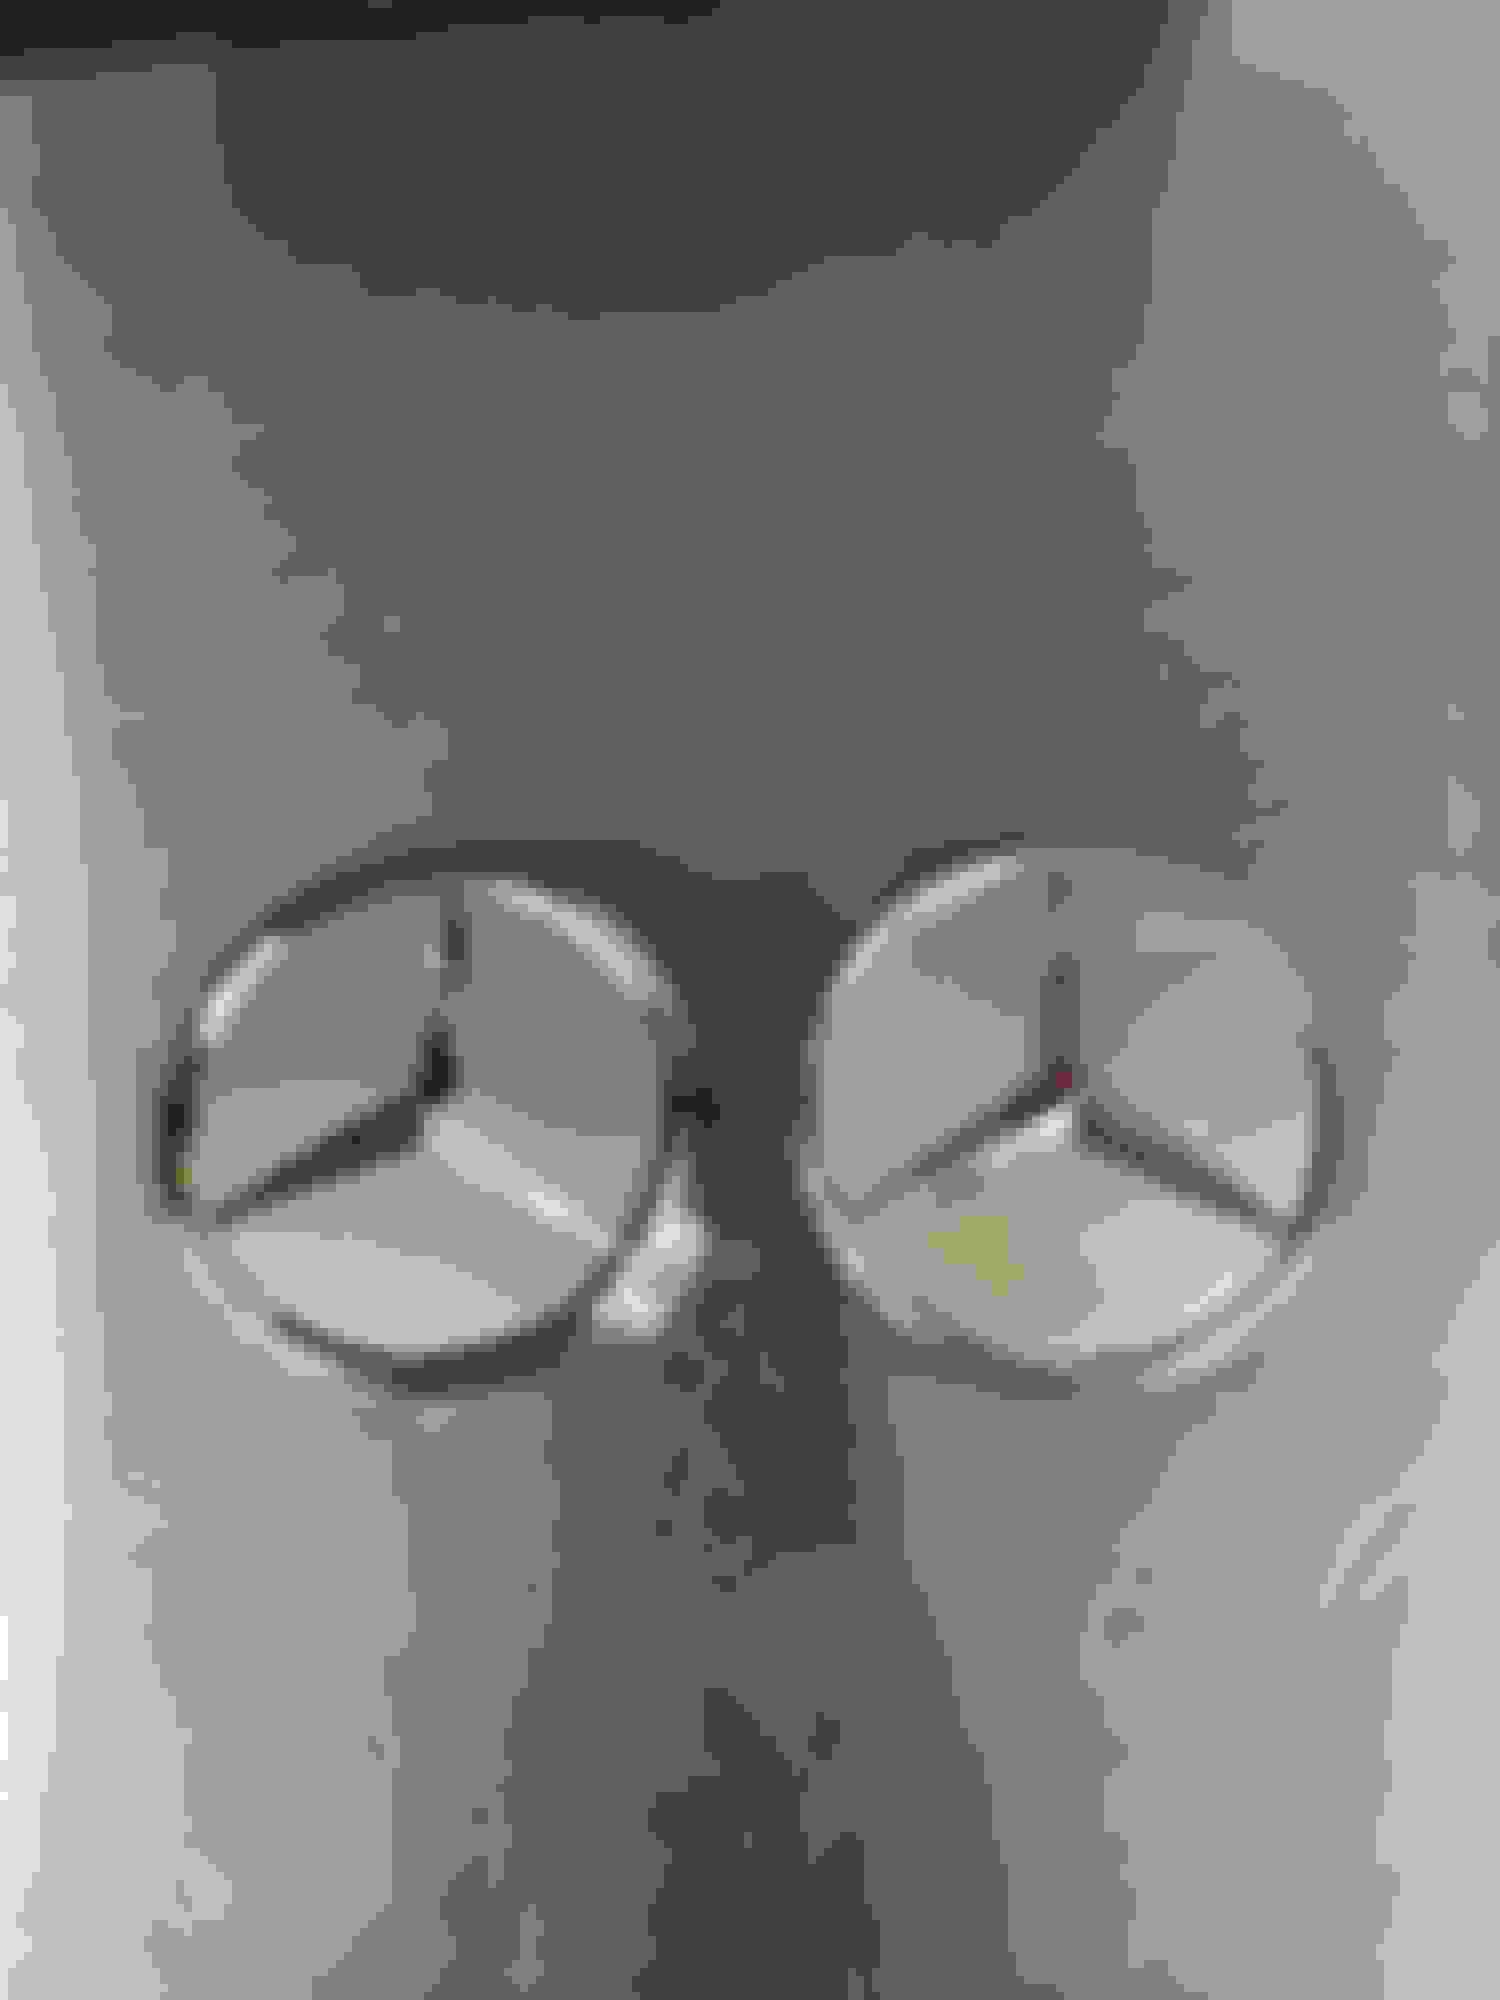
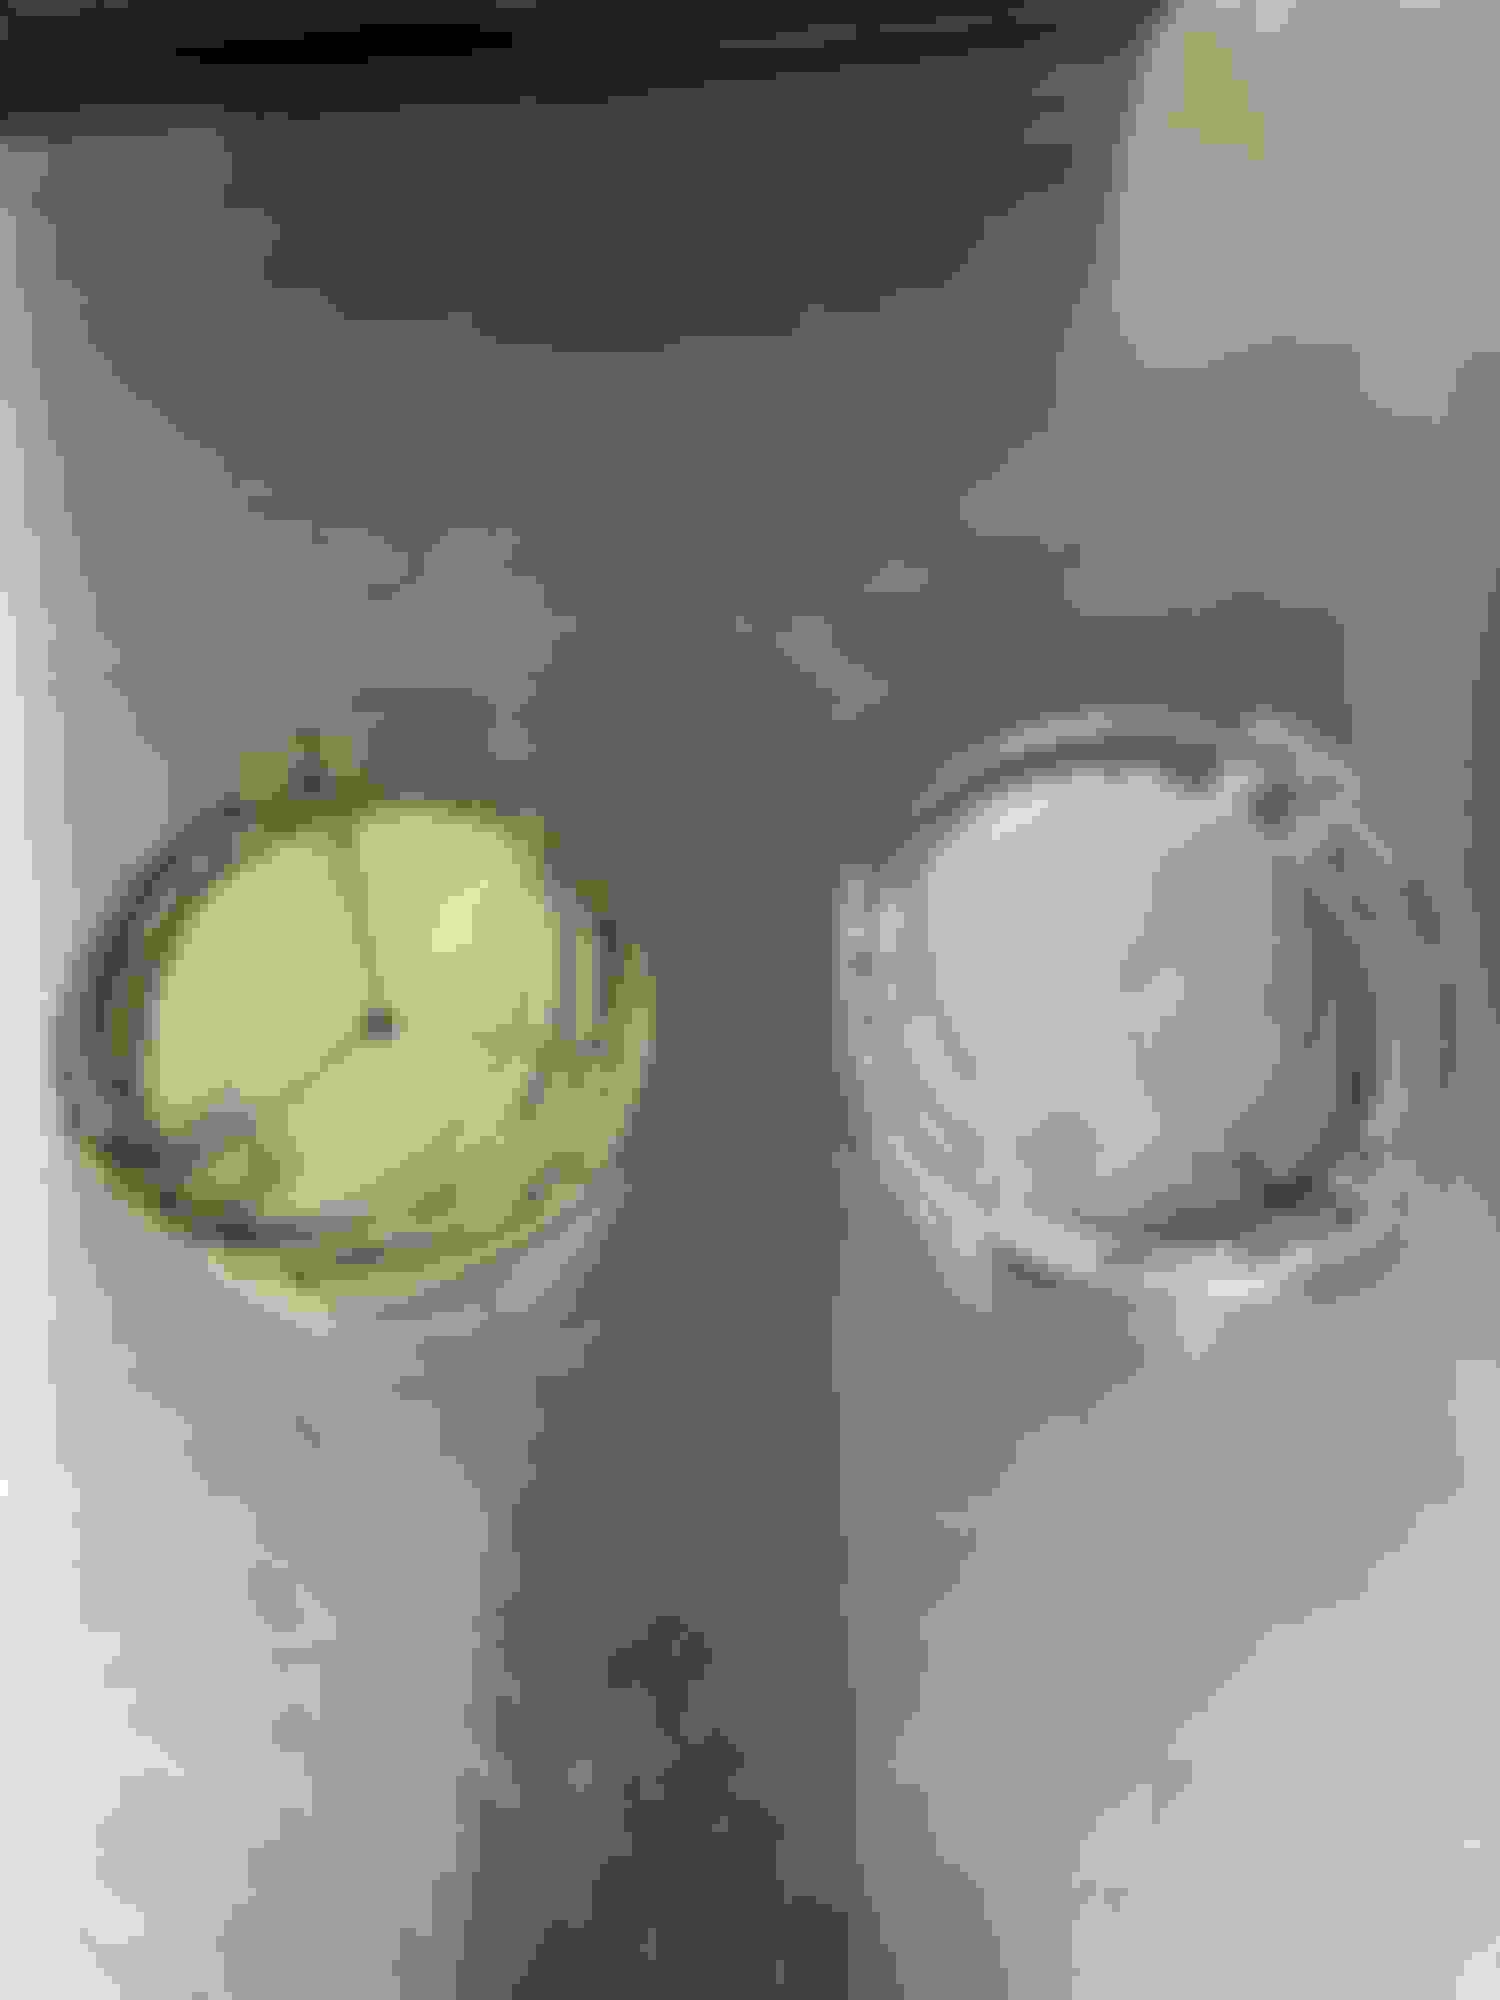
Next up on the agenda is the classic telltale “old car” indicator… yellowed & hazy headlights! The BiXenon lights seem to work fine, so buying new headlights seemed like expensive overkill, but their light output would definitely improve if the lens were more clear. Plus the truck would simply look better to boot. Cerakote has a very good name in the coating business, so when I saw they offered a kit for under $20, it seemed like a slam dunk. I know it wouldn’t be the same as new headlights, but it should be a nice improvement over the current status!
First up is to tape the car around the lights since some light sanding is involved. So I did that then next up were 8 wipes specifically designed to pull oxidation out of the headlights (4 wipes for each light). Spend a couple of minutes with each wipe going in a circular motion. The first wipe was pretty gross! And they got progressively cleaner as I went on. Next up was 2000 grit wet sandpaper that you spend a few minutes with, again in a circular motion. Wash that away then back at it again with 3000 grit sandpaper. Cerakote gives you a nice palm grip for the sandpaper so it’s a pretty easy process. Wash the headlight well and dry it very well! Cerakote warns you that water on the headlight will ruin the headlight on the last step if you don’t get it fully dry. Lastly, they give you a ceramic protectant and sealant to apply to the headlights.
Given that the headlights are 15 years old, I didn’t have super high hopes but think it worked perfectly. The outside of the lens looks great, even if the inside is still a little cloudy from years of use and UV exposure. The headlights look significantly newer, but not brand new. Which is fine since the truck has its fair share of cosmetic flaws (which I’ll continue to chip away at ).
Cerakote kit Before Taped up Gross wipes! Done!
Last edited by Joshinator99; Nov 15, 2023 at 02:44 PM.
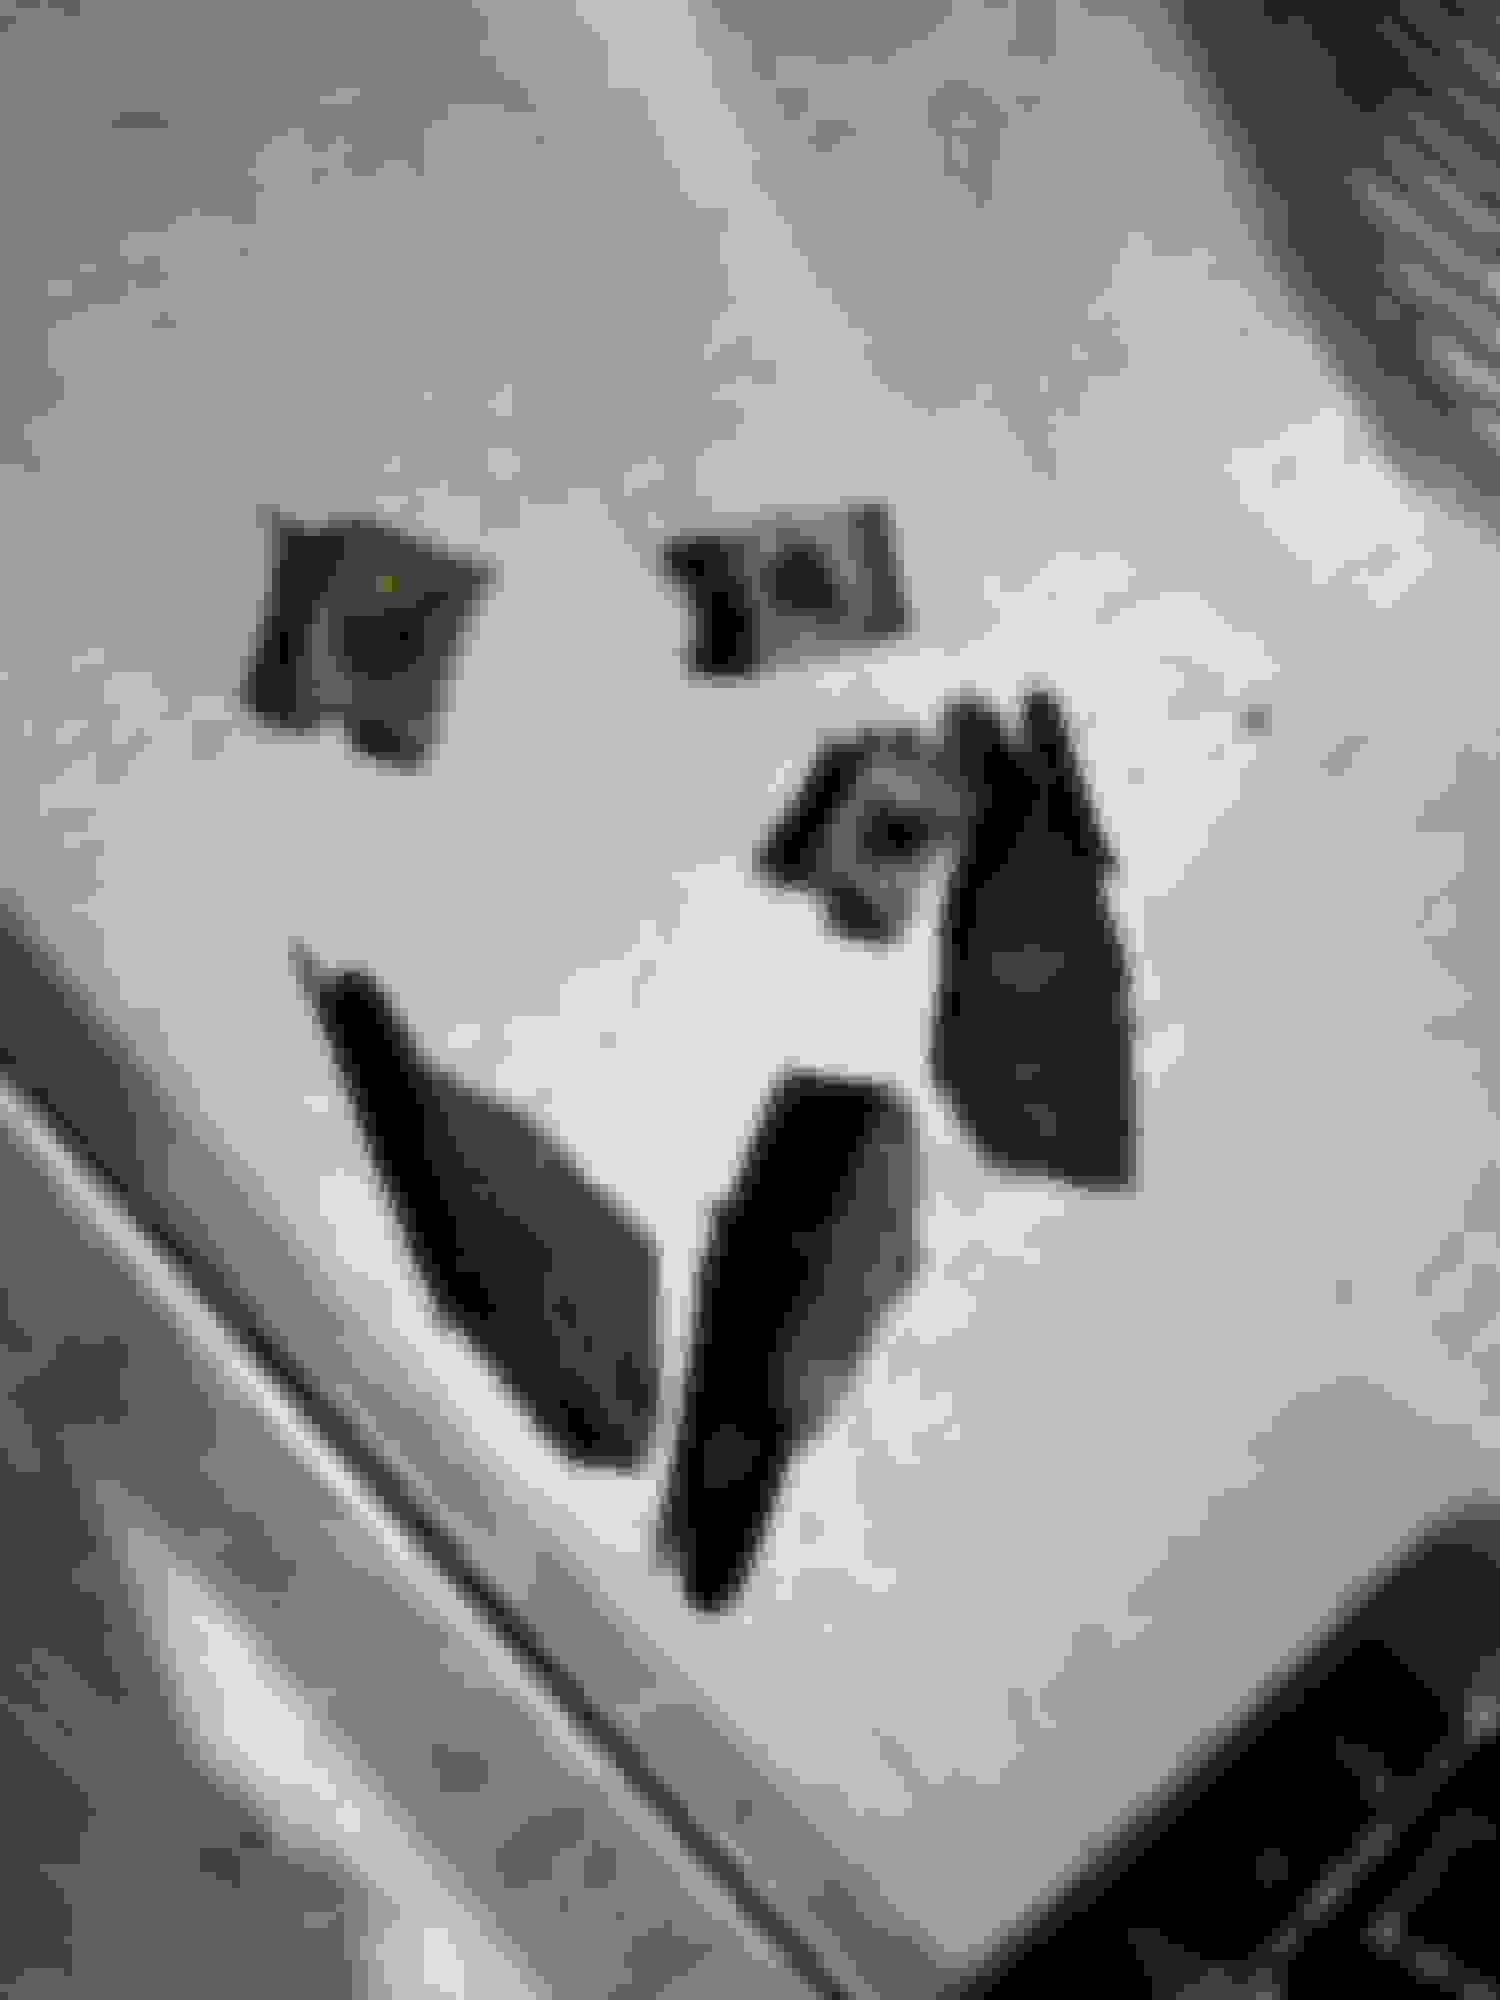
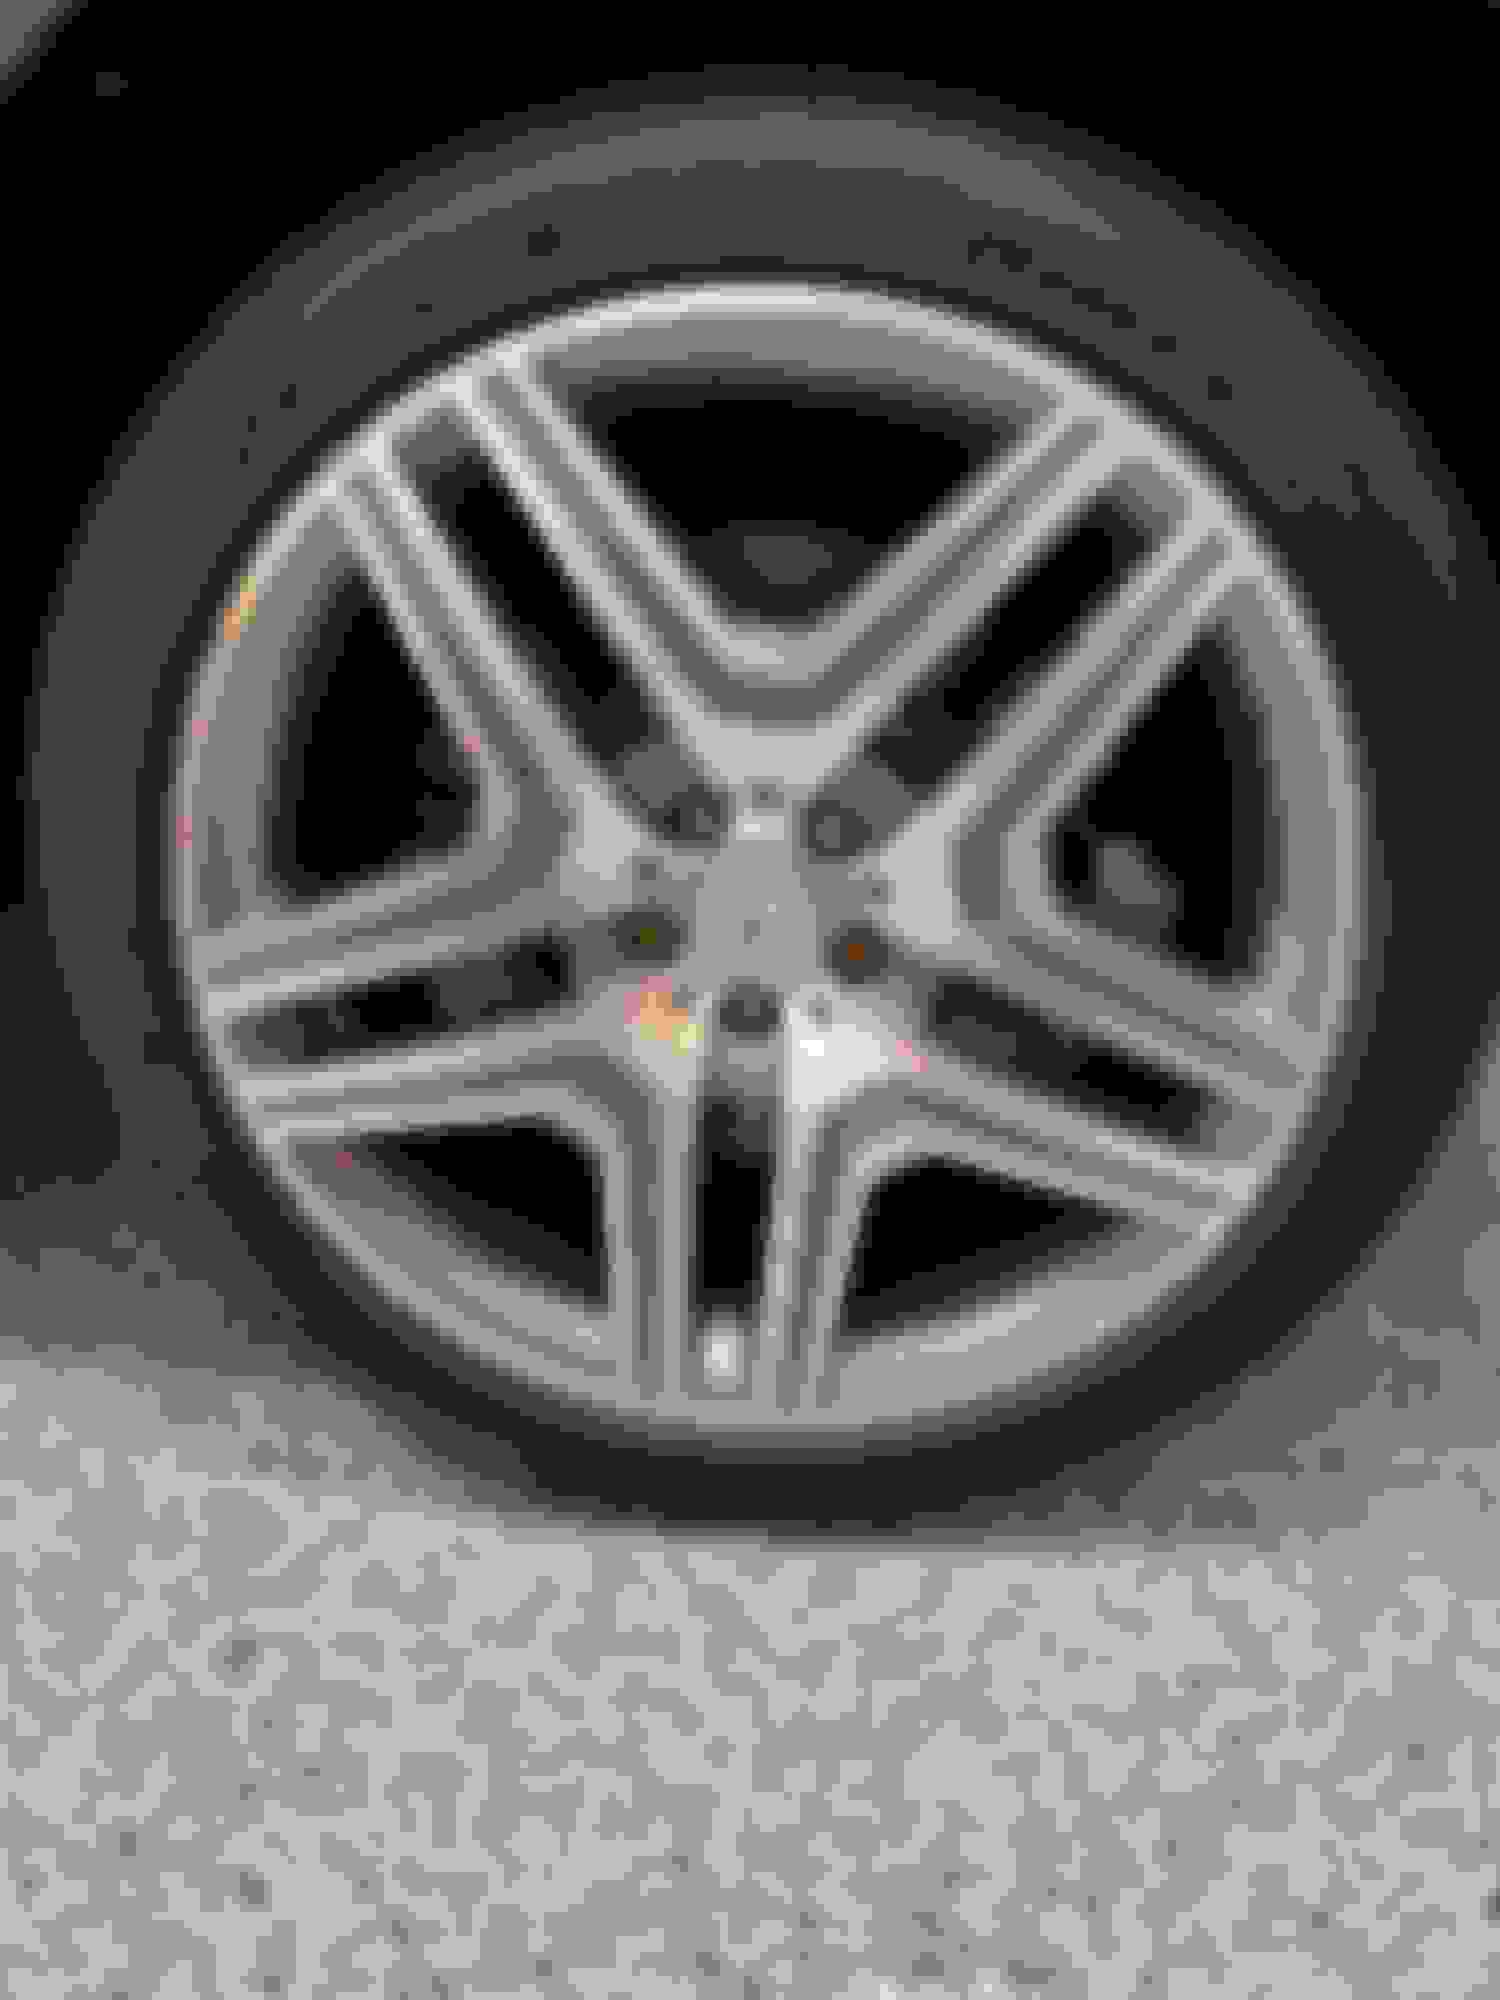
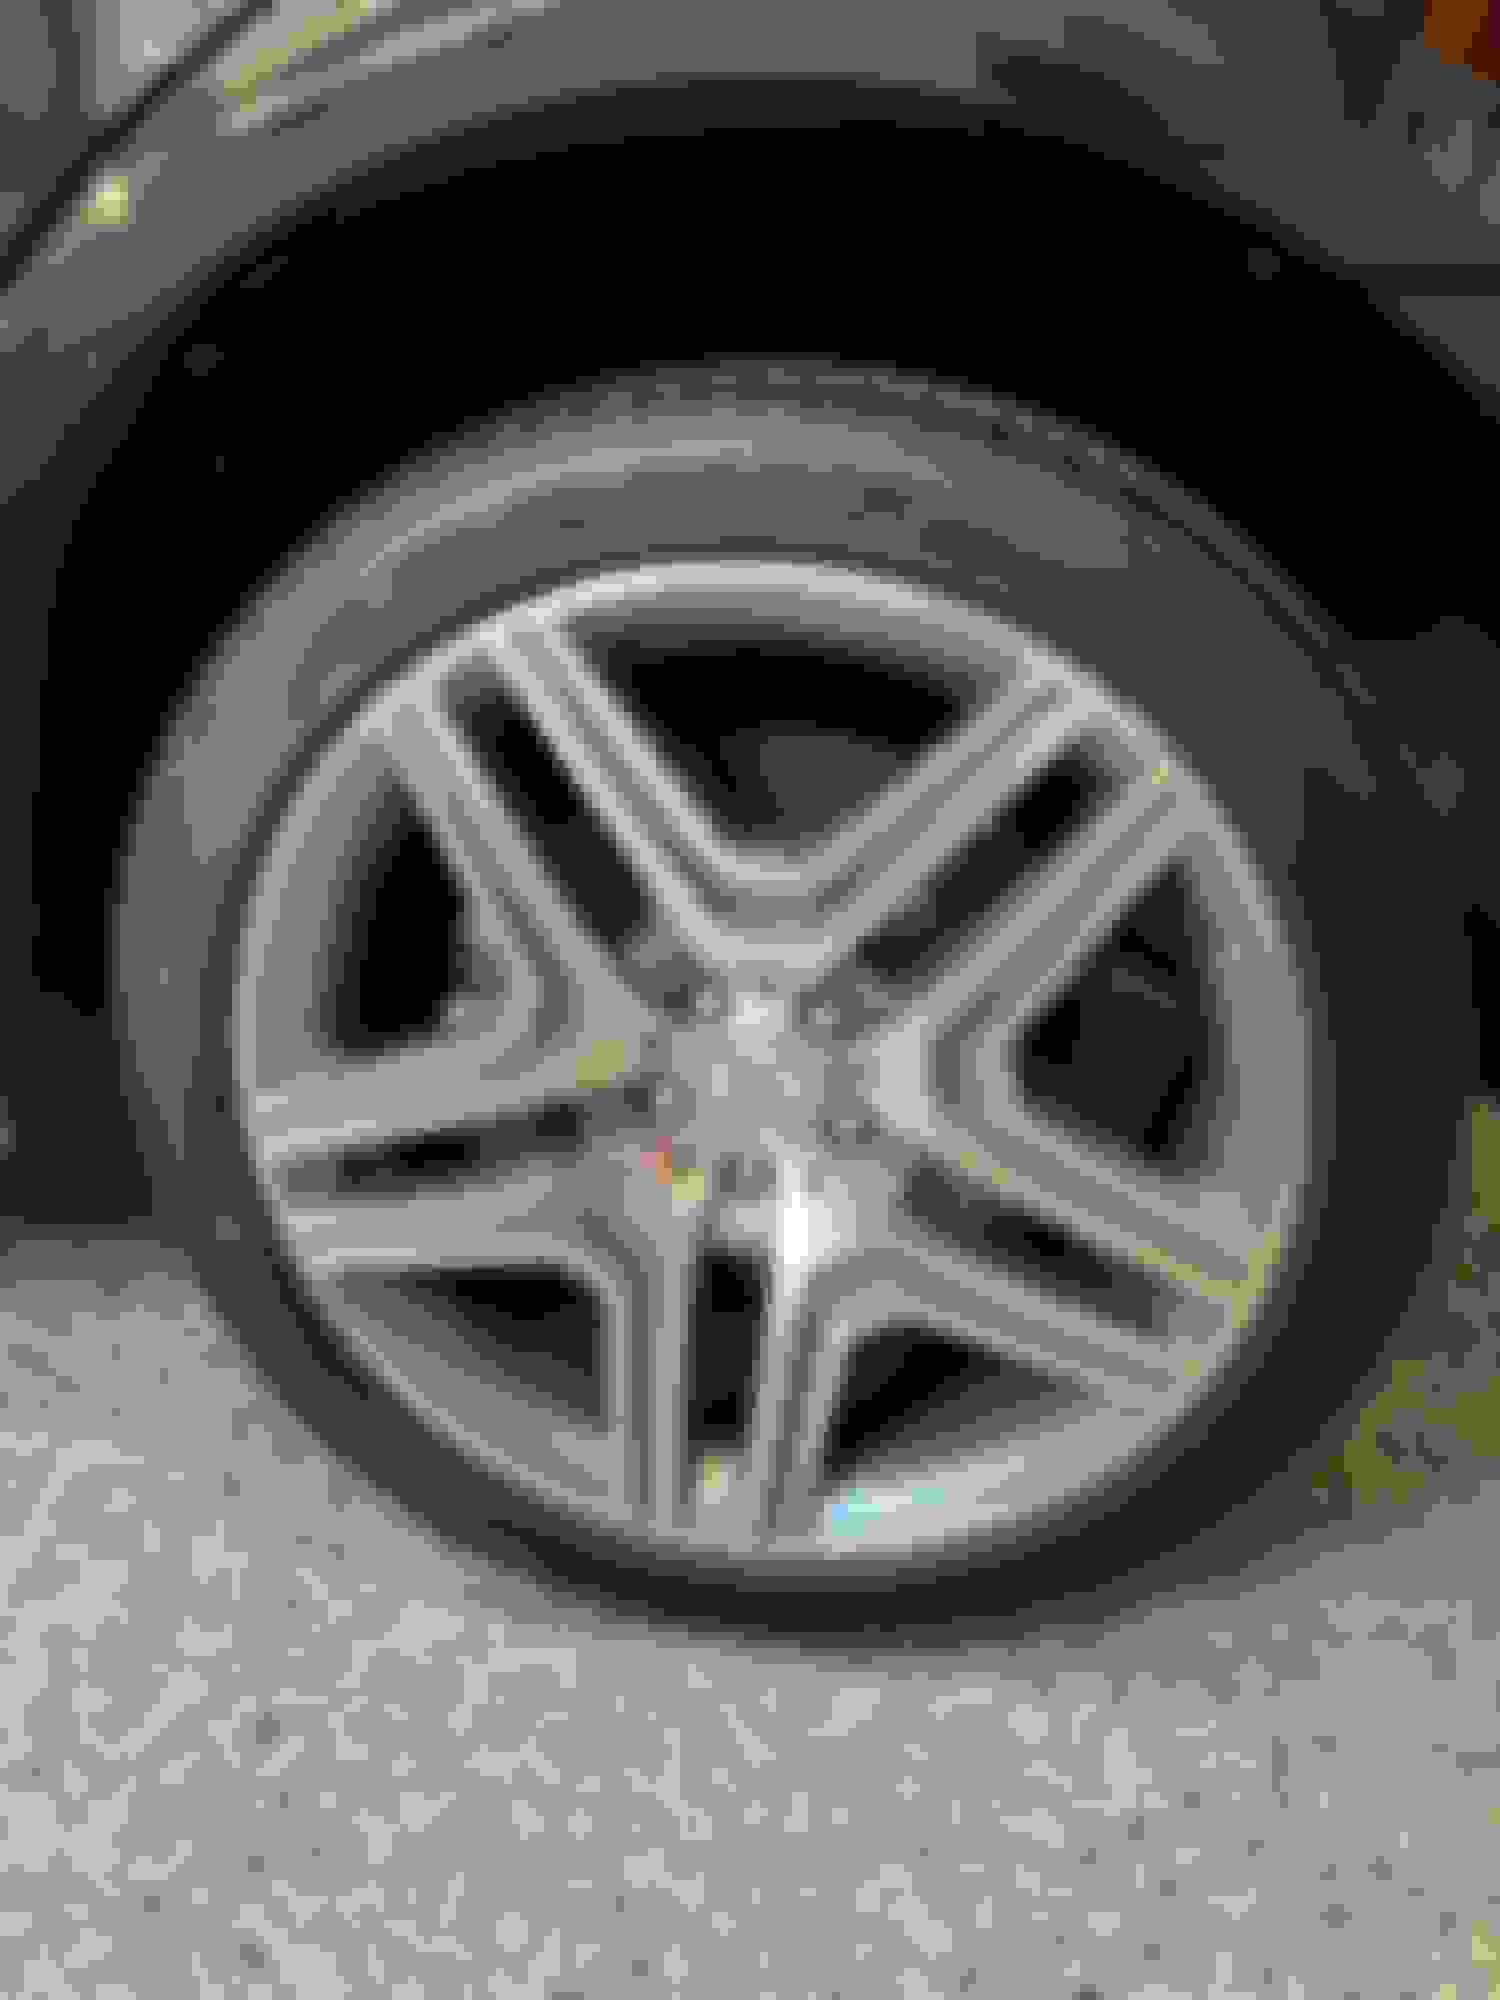
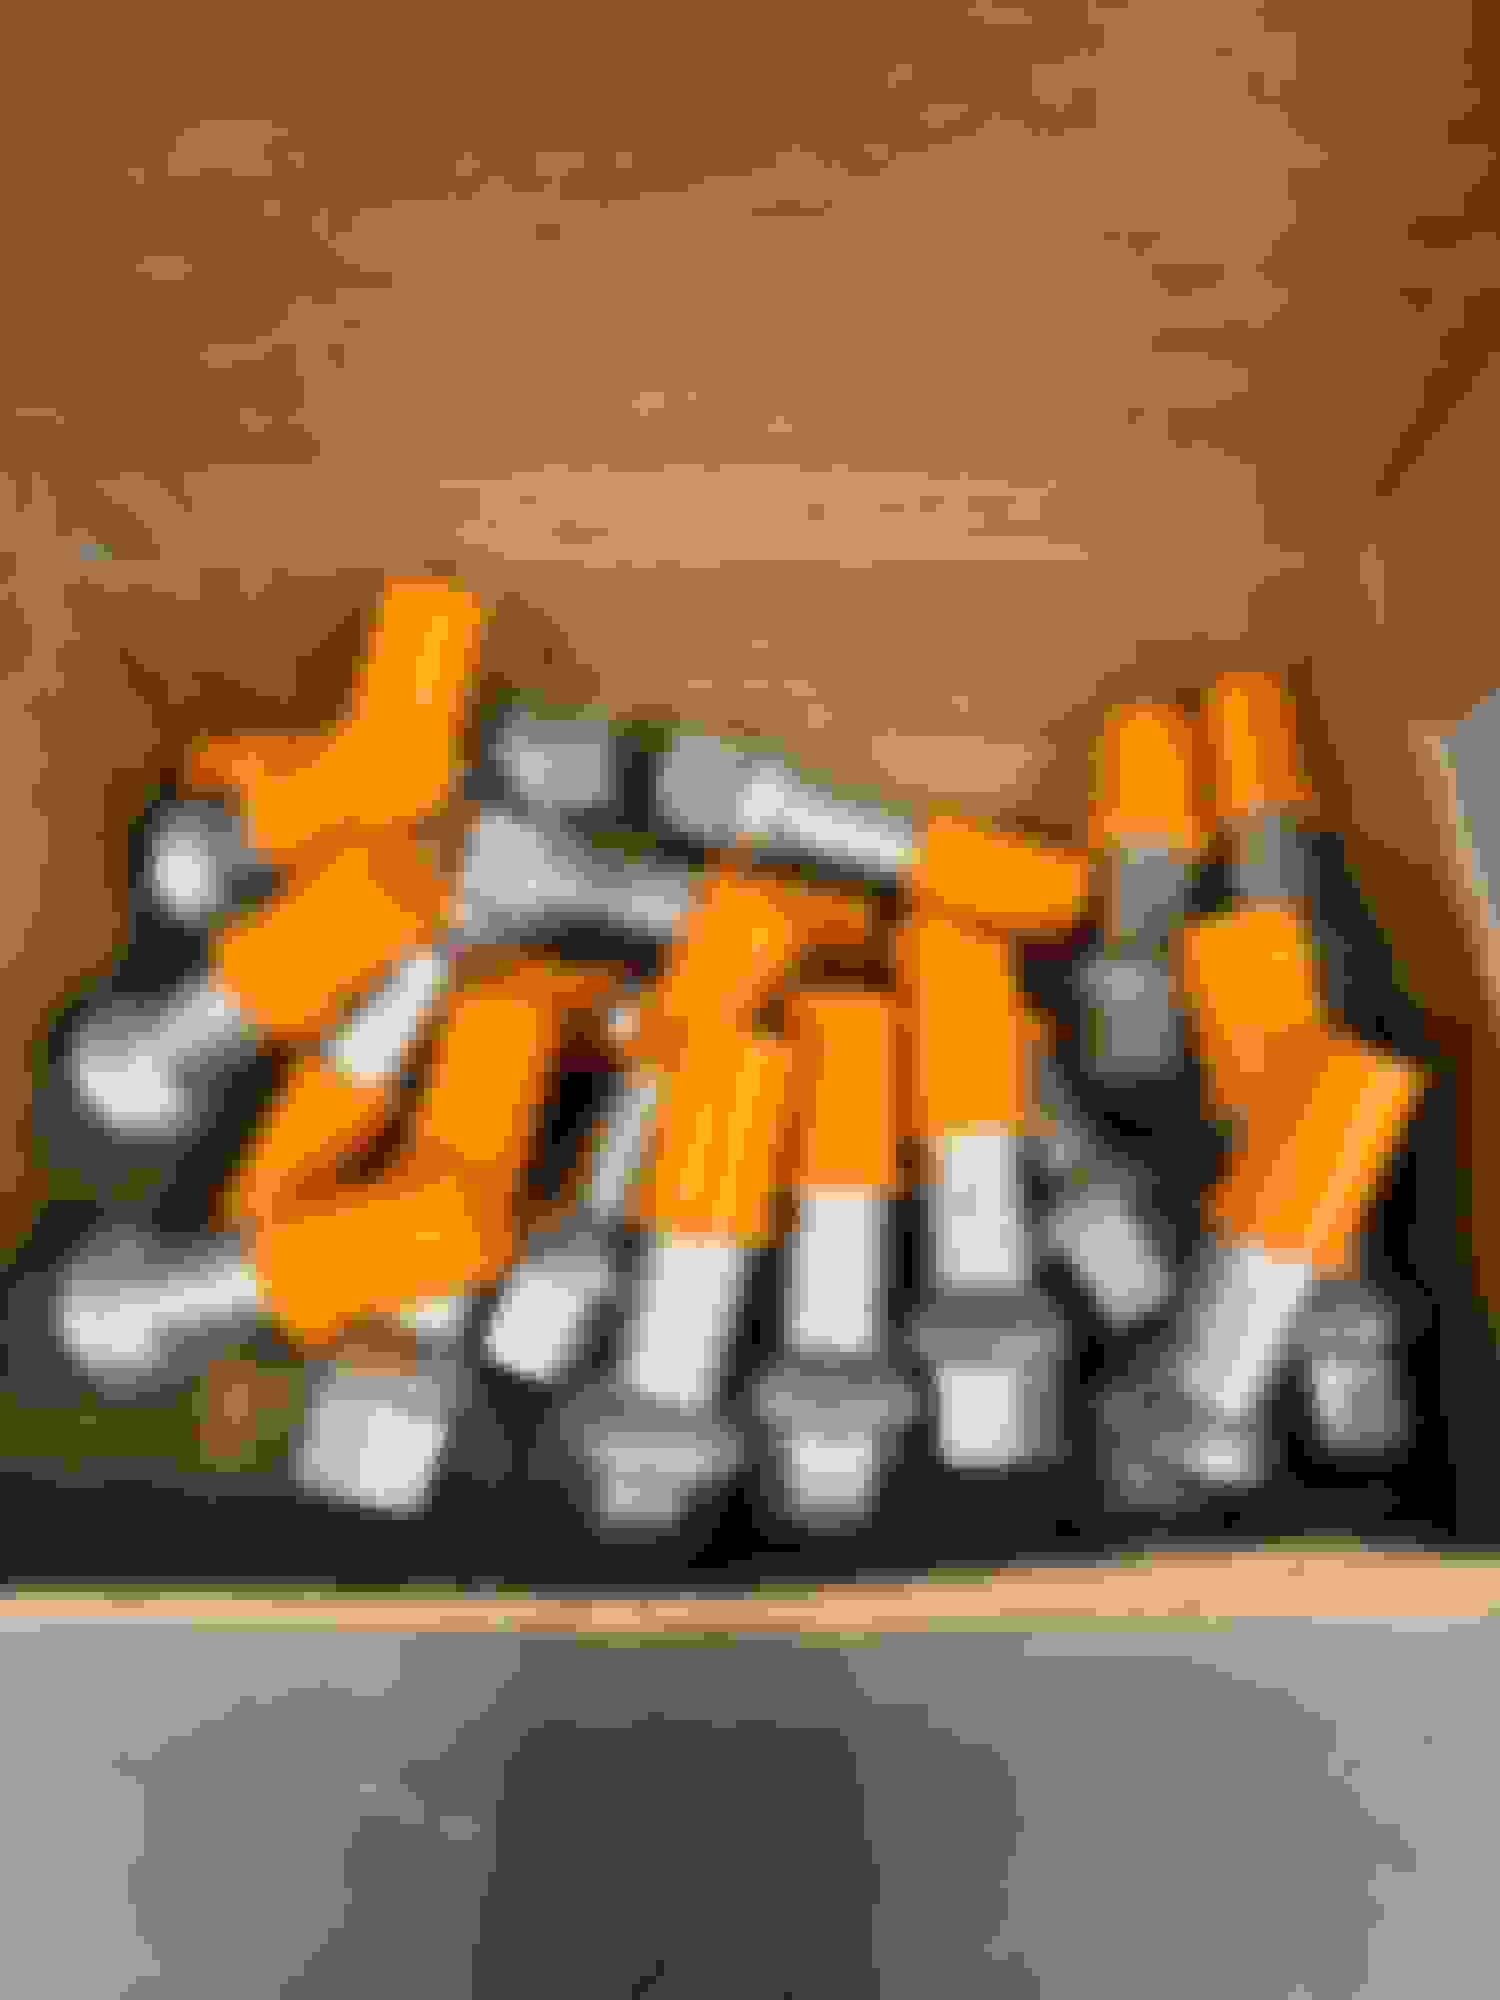
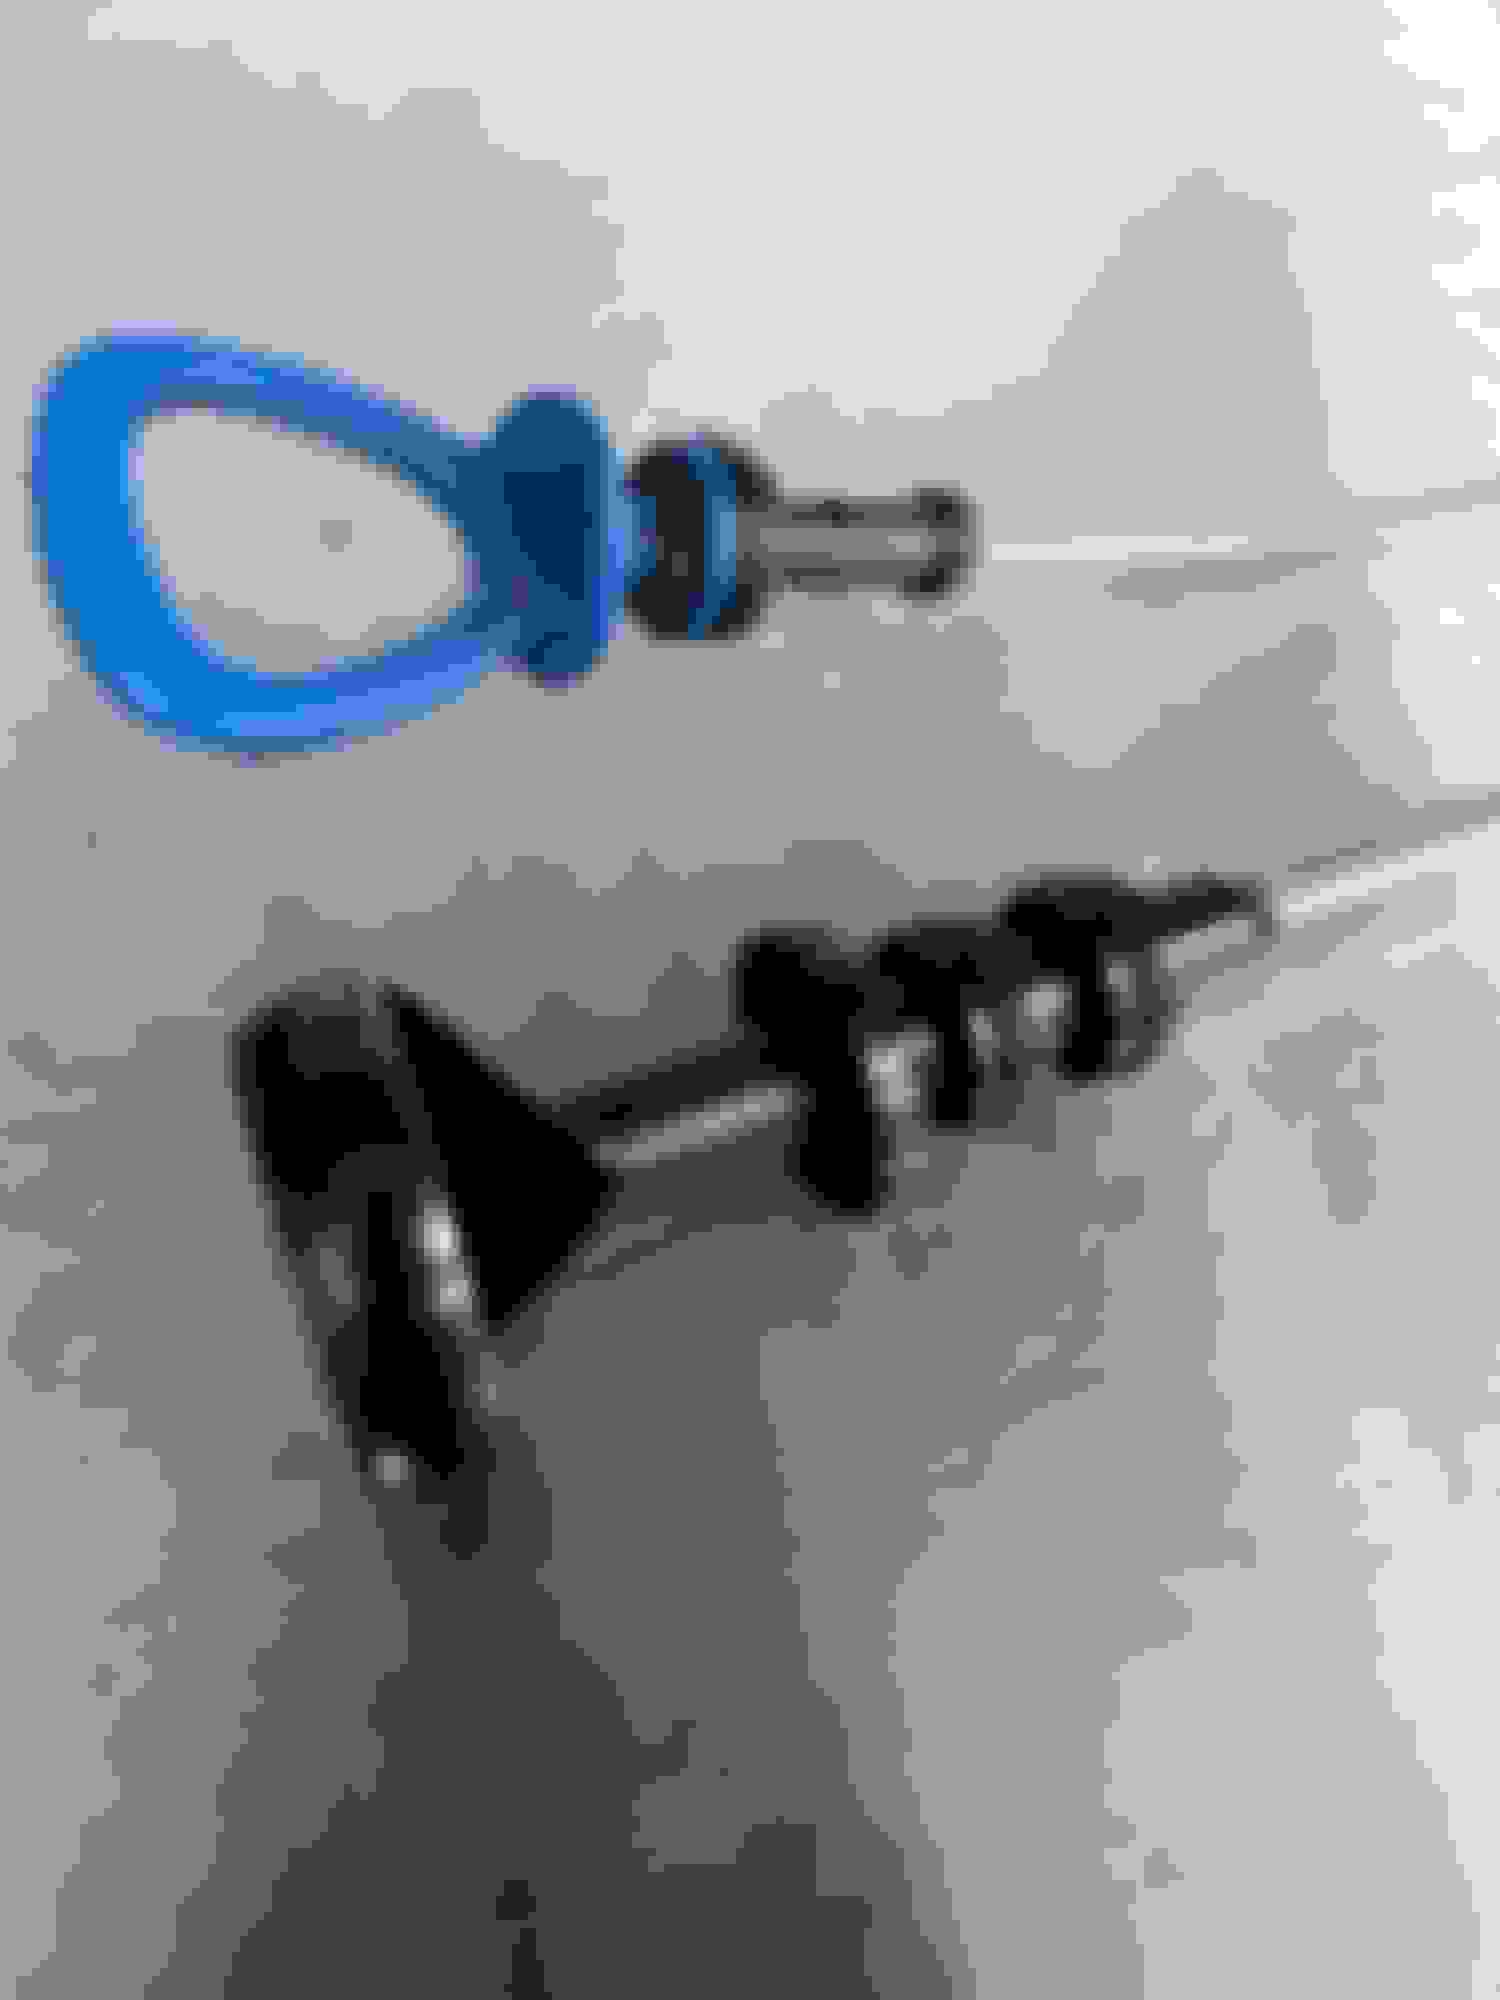
So the first thing you really notice when you see the truck is the damn rusty lug bolts. I get it, they have a pretty tough life…but rust on a vehicle that was $95K new and is rust free elsewhere is a no-no. So I ordered up a new set of replacement lug bolts, popped out the old ones, and installed the new ones with a small dab of ARP anti-seize. Torqued down to 96 ft/lbs and away we go. Literally took years off the appearance of the truck with that one small change! 🍻
Rusty original bolts New bolts installed New bolts with protective shipping sleeves over the threads New vs old 1 New vs old 2 Wheel bolts old Wheel bolts new
what a solid difference those wheel bolts made! i've still got to get my wheels refinished as-well back to the factory 2 tone like yours. The previous owner had gotten them painted black and it doesn't look the best now.
Originally Posted by C43 Fun Haver;[url=tel:8880281
8880281]what a solid difference those wheel bolts made! i've still got to get my wheels refinished as-well back to the factory 2 tone like yours. The previous owner had gotten them painted black and it doesn't look the best now.
Agreed, and thanks! The rusty bolts were literally giving my OCD brain the finger HAHA…HAD to do something about it.
Yeah I don’t know any good wheel refinishers off the top of my head? I’ve got some clear coat flaking on a couple of my wheels so I’ll probably have that addressed at some point. Let me know if you find someone good for yours! And post up some before and after pics (of course lol!). 👍
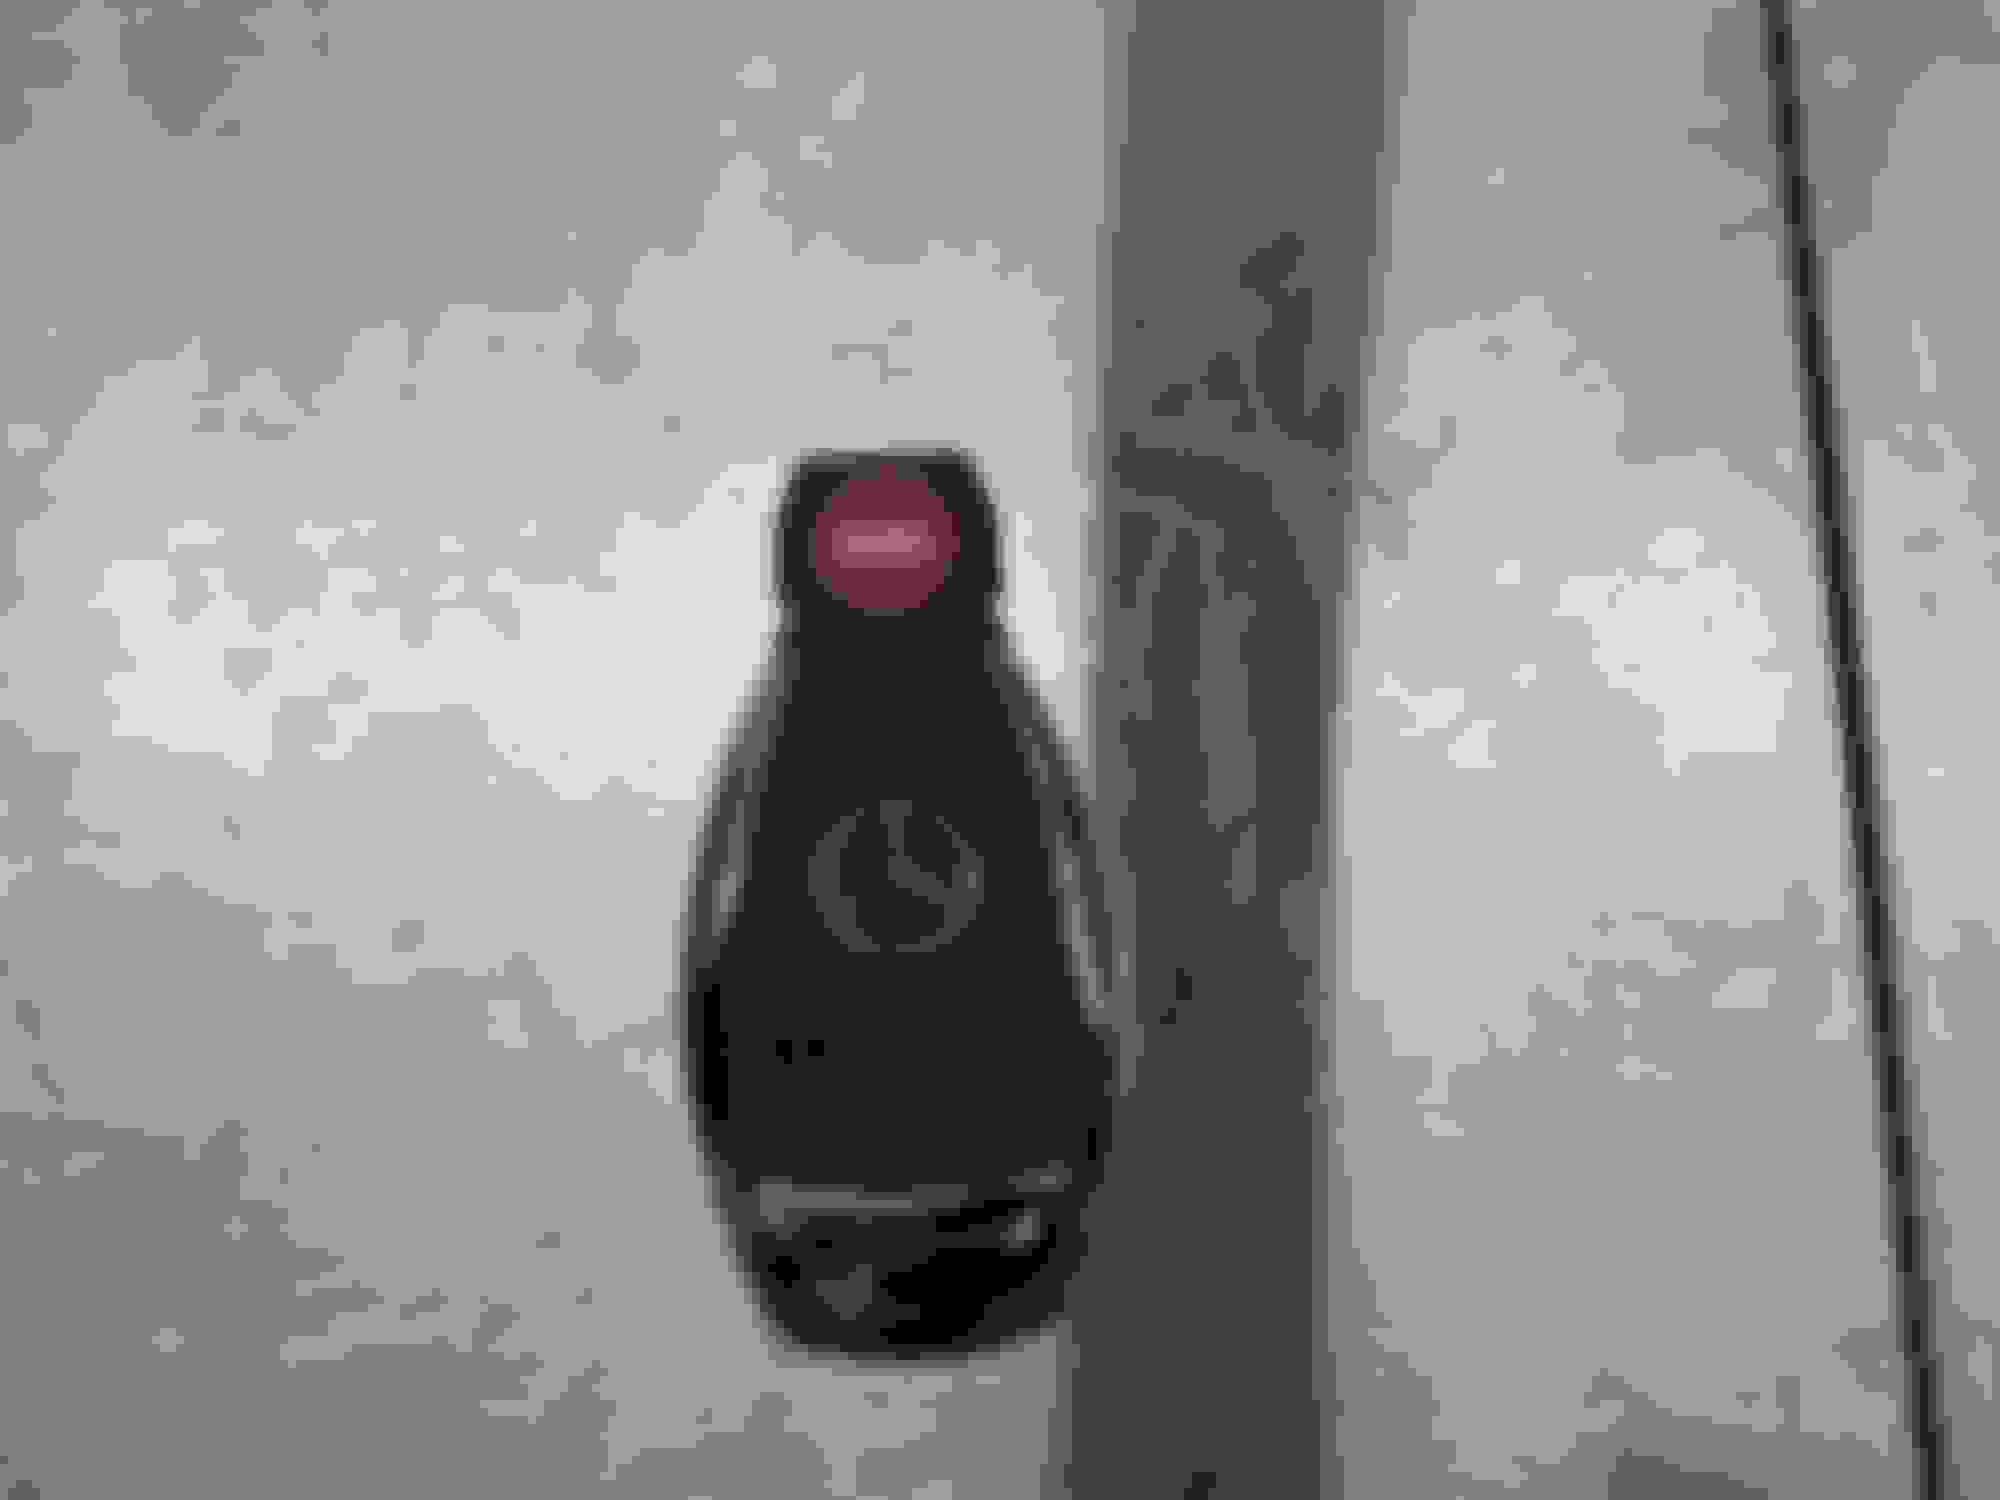
So this next “fix” was way pricier than I would have guessed! My ML only came with one key which made me nervous. If that one breaks or gets lost you’re pretty screwed. I figured it would cost me a few hundred bucks and I’d get on with my life… Nope! Called my nearest dealer and they wanted $800.00 plus tax! I called my next closest dealer and they wanted $700.00 plus tax…jeez! Our good man and fellow MB World member Matt, aka @C43 Fun Haver , saved the day by hooking me up with his dealerships parts department who made it happen for $600.00 and no tax. I guess that’s as good as it gets these days for an AMG key. It was pouring rain so I didn’t get to check out Matt’s 2014 ML 63 AMG so I’ll have to put that on my list for next trip up for service. 👍
So when picking up my ML last month, the car fax mentioned that there was a recall for the brake booster. When I scheduled my service call at the dealer to program my new key, they brought it up as well. I figured it wouldn’t hurt to have them do the brake booster inspection, but honestly figured it was a waste of time. The truck, undercarriage and even all the brake lines are corrosion free and in great shape so I would have bet the service advisor $100 that the booster was fine. Well, lo and behold, it turned out to be one of the worst looking brake boosters my dealership had ever seen!?! Apparently it was a design flaw as there is a cosmetic cover that went on the original booster and that cover would hold moisture up against the metal seam in the booster, causing the rust issues. So the dealer changed it out under warranty with no questions asked. And I poked around online to see what a new one cost, I suspect that recall saved me a $1200-$1300 bill! Nice work by MB of Portsmouth and thanks to Mercedes-Benz for standing behind their product 15 years later! Pretty unheard of these days. If that was a Chevy, they would have been trying to get out of covering that 3 years into ownership, never mind 15 years later! And after owning many Chevy’s (and I still have one), I’m not exaggerating. GM sucks and I’m done with them for good.
Last edited by Joshinator99; Nov 22, 2023 at 06:12 PM.
So after picking up the ML from the dealer after the new key and brake booster, I took a few minutes to give it a touchless “Thanksgiving Eve” bath before tucking it away for the night. She’s looking better and better as I keep chipping away at the work list I made the day I brought it home. Still more to go though….
My man Josh with the shout out! No problem at all helping you out some! Got to look after the crew on here lol. Definitely made that trip a little more worth while by replacing the booster under warranty. You've got hands down a wicked clean ML and just about everyone in the shop had their eyes on her.
Looking forwarded to see you in for service maybe! Make an appt on a better day so you can take a walk around back haha.
Thanks Josh, you know where to find if you need more parts!
Got around to tidying up a few details. First up were the mismatched tire stem caps. This stuff makes me laugh…I mean how hard is it to get matching caps? I ordered up the OEM “AMG” caps from the MB Accessories list to replace the ones I had.
Next up was to ditch the dealership supplied license plate frame. I like the guys from Acton Auto Boutique a lot…but not enough to run a plastic dealer plate frame. 😂 So once again I dig into the MB Accessories sheet and went with the polished stainless steel “AMG” frame that also comes with hardware covers.
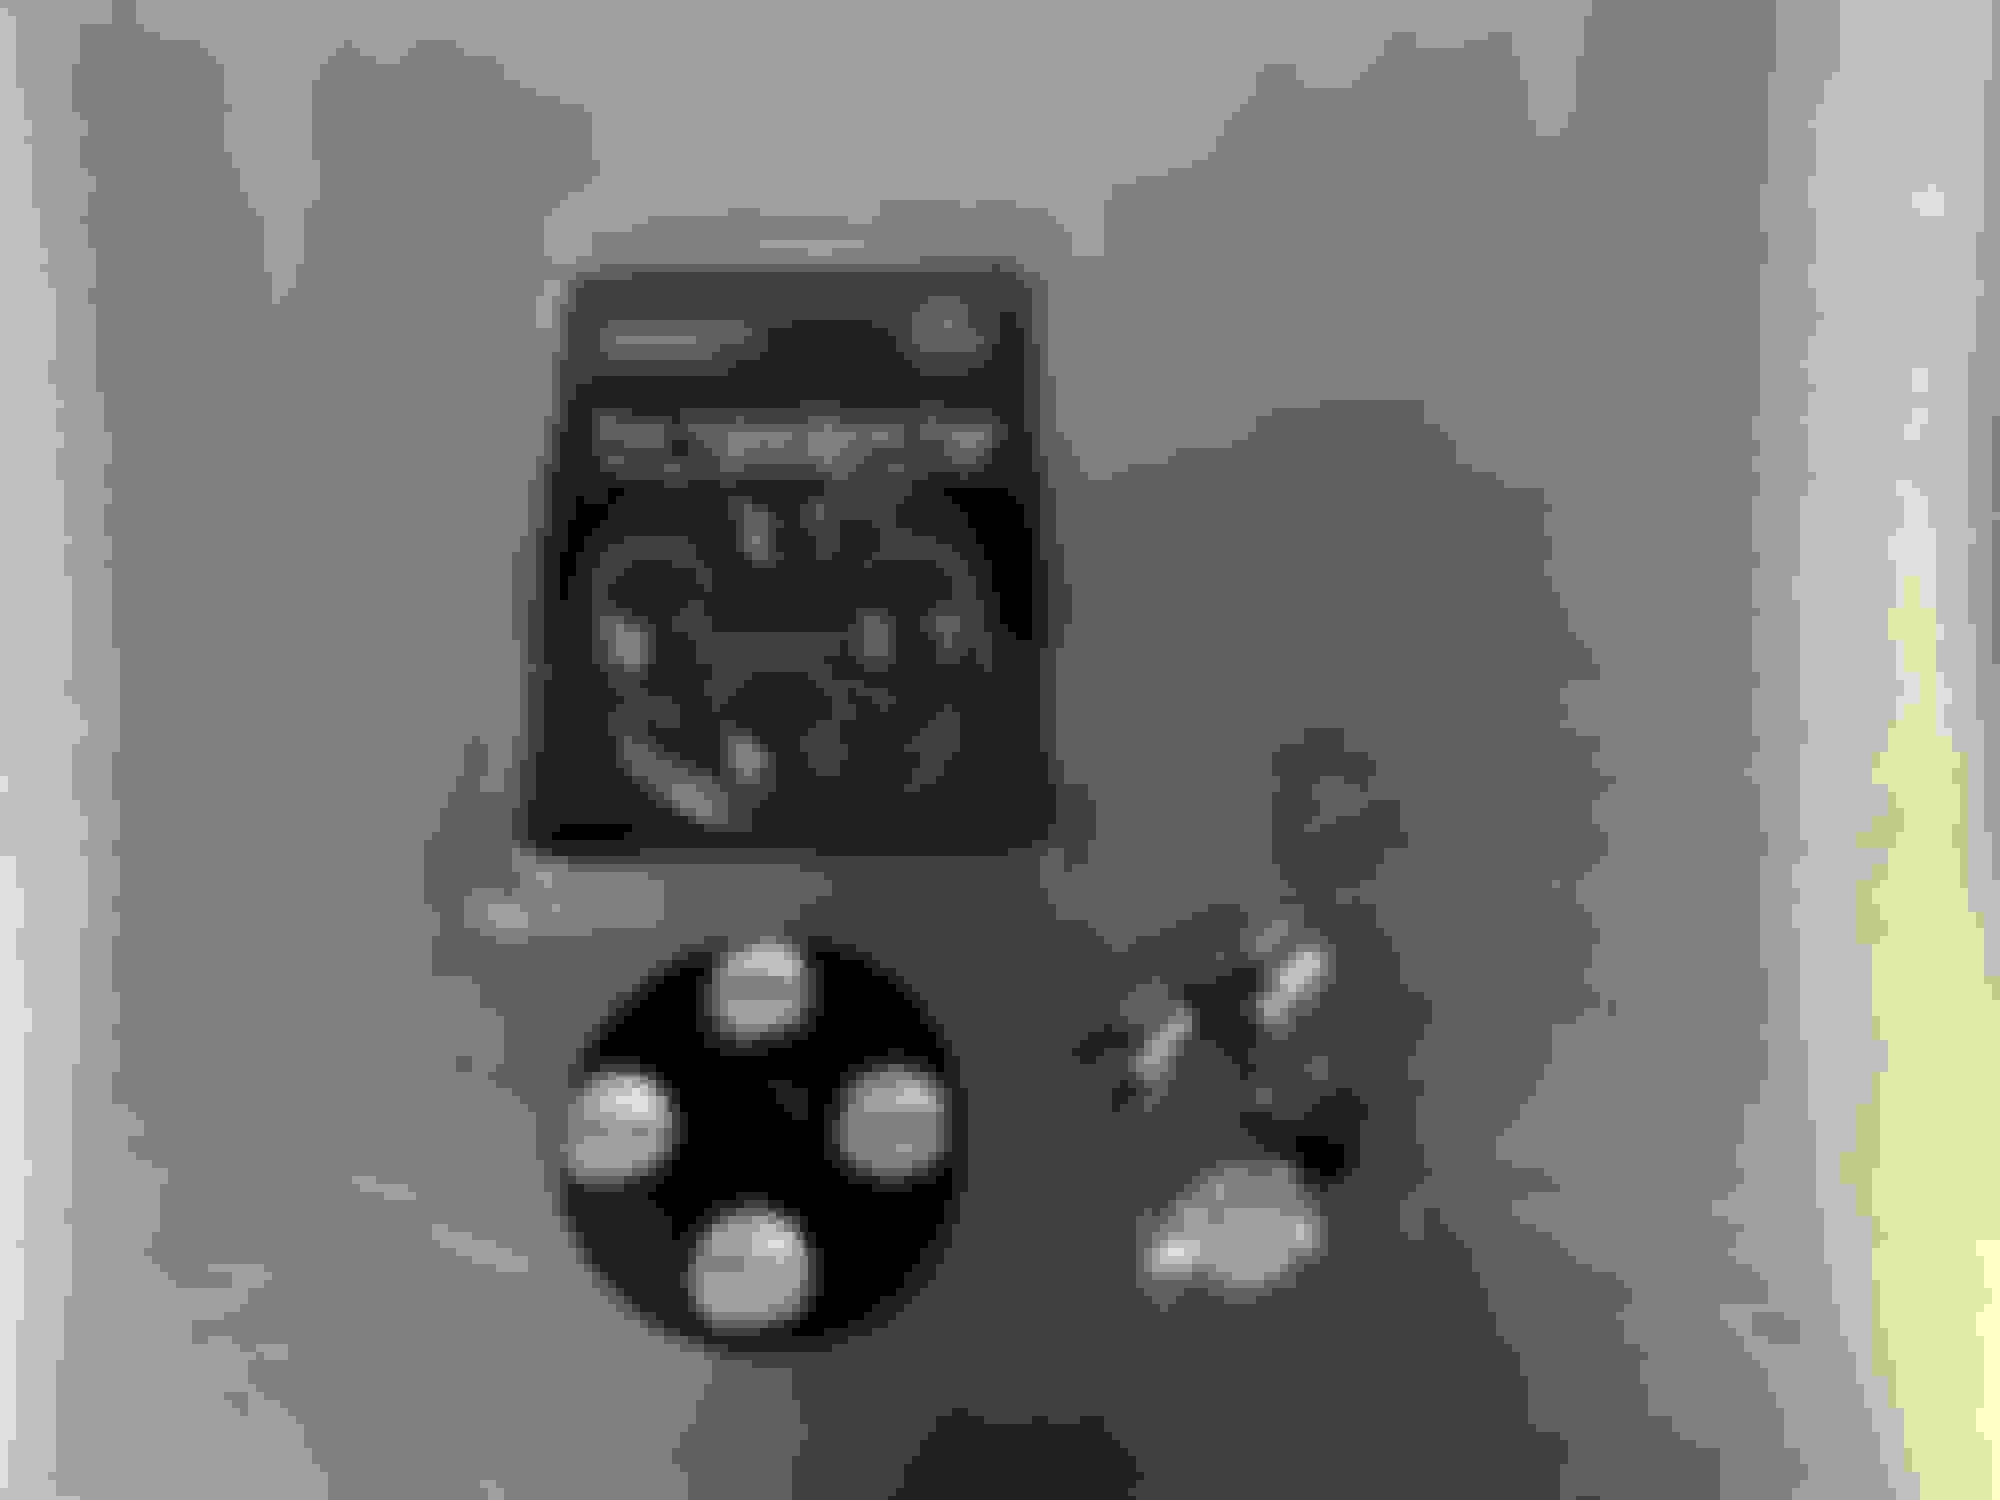
Lastly for this round, the OEM wheel center caps had seen better days. All of them were faded to different degrees, one had paint peeling off, and some were missing some of the actual mounting tangs and/or snap ring. Surprised one of the old ones didn’t come off at highway speeds! So, four new center caps and looking much better.
Time for one of my favorite activities of all time…no, not that lol…making more horsepower! When servicing the K&N filters, I know I really needed to ditch the old OEM carbon filters to improve airflow, so I took them out. And the truck seemed peppier! But unfortunately it triggered a Check Engine Light… so I fished the carbon filters out of the trash and reinstalled them since you literally cannot buy replacements…! After doing some research, I found out that the “Rest Of World” air boxes do not have the carbon filters and a much better inlet profile to boot. They’re supposedly worth 10-15 HP over the US-spec air boxes. The inlet on the ROW boxes are much bigger…2.8+ inches tall vs 2.25 inches on the US-spec boxes. They will definitely outflow the US-spec boxes. So I bolted them up and will take the ML for a test drive ASAP.
So while checking the oil on the ML recently, while wiping the oil off the OEM dipstick, the plastic end began to break off in pieces…! So, no problem right, just order a new one! So I start poking around and every site tells me that this is now discontinued… Even MB World’s resident parts guru Matt @C43 Fun Haver struck out on his end, with MB giving him no alternate parts option. I kept looking and stumbled across the 63 Motorsports website and they specifically offer a billet aluminum dipstick replacement, so I ordered one up. New unit is nice and has a double o-ring seal. Two things made me a little nervous: #1: the length looked a bit off and #2: they use set screws to secure the billet pieces to the wire. I’m glad I measured as the new dipstick was about 1.25” too short, which would have led to overfilling the crankcase! I called 63 and they called me back quickly; they were very apologetic for the mix up (they shipped the rear mount dipstick by accident, the ML needs front mount, which I ordered correctly). They agreed to ship out the correct one the same day and included a shipping label to return the incorrect one. In regards to #2, I took a 1/8” Allen key and gently snugged the 3 set screws to make sure they were tight. I hope 63 uses threadlocker on those…if they don’t I might add some of my own. You definitely don’t want a set screw backing out and into your oil pan…! But overall a nice piece. A bit pricey at $150 with shipping, but at least we have an alternative to the discontinued OEM part number.
So I spoke with 63 Motorsports and they are very very sure the set screws are not going anywhere. Apparently they even broke an Allen key trying to loosen them after the fact! So that’s good news. The correct, front mounted, dipstick arrived and I double checked the length just to be sure. Good to go! The broken OEM one is in the trash and we’re now running the new billet one. 👍
Mercedes SLR McLaren 722 S Is Extremely Rare Example Modified by McLaren
Slideshow: A one-of-one U.S.-spec Mercedes-Benz SLR McLaren Roadster became even rarer after a factory-backed transformation at McLaren's headquarters.