

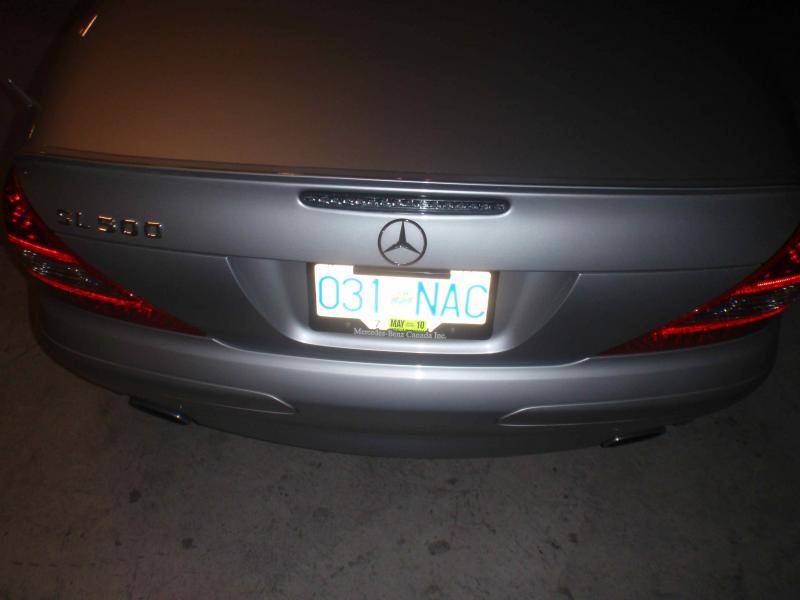
DIY: SL63 CLEAR 3rd brake light..Order to install on a 2003! $115 total cost NEW!
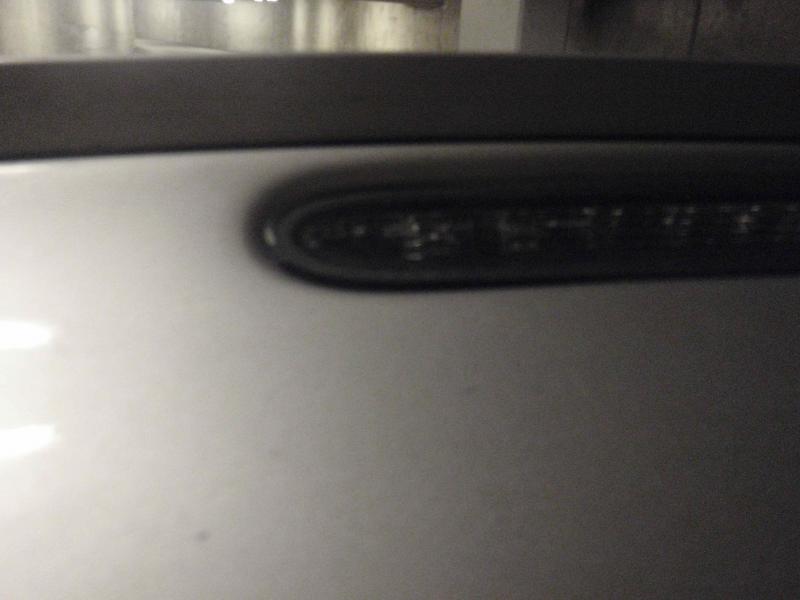
SubscribeIf you want a CLEAR/SMOKED 3rd brake light, like a sl63, then read this thread!
goto PARTS.COM
these are OEM MB parts, sent out from MB dealer!
the PROPER PART # for the CLEAR light is A 230 820 09 56
heres direct link!
http://www.parts.com/oemcatalog/inde...layCatalogid=0
goto mercedes, sl, 2008+, high mount brake light, choose w/sl65!
cost is $115//NIB + shipping ( aprox. $135)
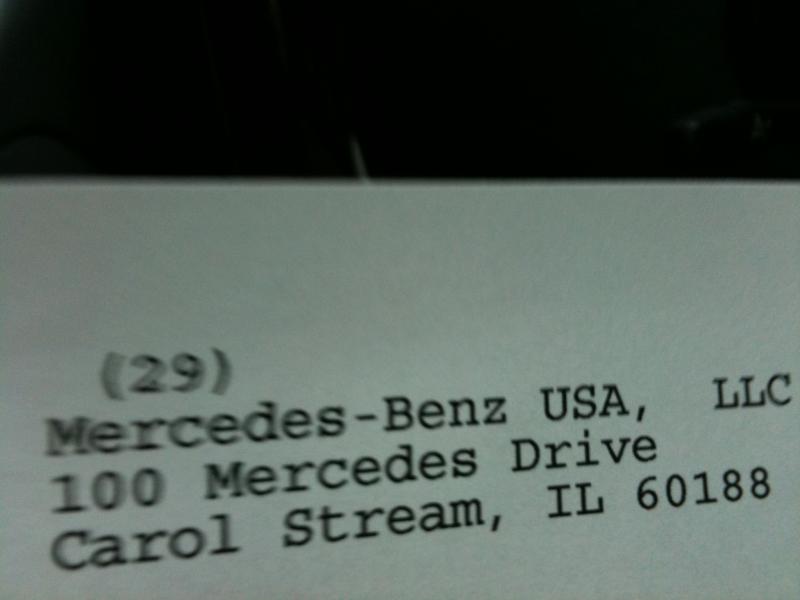
mine arrived FEDEX in about a week. Invoice is from MB dealer in IL.
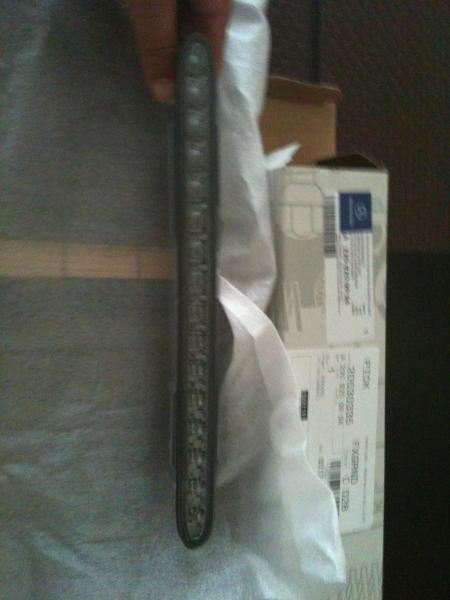
pics show the box, part #, pic of invoice where MB dealer it came from.. ordered through PARTS.COM
light has power clip on side, but fits perfect w/ 2003 sl500. nice to have a new weather strip( be sure to take off tape to allow it to stick to car)
goto PARTS.COM
these are OEM MB parts, sent out from MB dealer!
the PROPER PART # for the CLEAR light is A 230 820 09 56
heres direct link!
http://www.parts.com/oemcatalog/inde...layCatalogid=0
goto mercedes, sl, 2008+, high mount brake light, choose w/sl65!
cost is $115//NIB + shipping ( aprox. $135)
mine arrived FEDEX in about a week. Invoice is from MB dealer in IL.
pics show the box, part #, pic of invoice where MB dealer it came from.. ordered through PARTS.COM
light has power clip on side, but fits perfect w/ 2003 sl500. nice to have a new weather strip( be sure to take off tape to allow it to stick to car)


Quote:
goto PARTS.COM
these are OEM MB parts, sent out from MB dealer!
the PROPER PART # for the CLEAR light is A 230 820 09 56
heres direct link!
http://www.parts.com/oemcatalog/inde...layCatalogid=0
goto mercedes, sl, 2008+, high mount brake light, choose w/sl65!
cost is $115//NIB + shipping ( aprox. $135)
mine arrived FEDEX in about a week. Invoice is from MB dealer in IL.
pics show the box, part #, pic of invoice where MB dealer it came from.. ordered through PARTS.COM
light has power clip on side, but fits perfect w/ 2003 sl500. nice to have a new weather strip( be sure to take off tape to allow it to stick to car)
Originally Posted by VendettaMB
If you want a CLEAR/SMOKED 3rd brake light, like a sl63, then read this thread!goto PARTS.COM
these are OEM MB parts, sent out from MB dealer!
the PROPER PART # for the CLEAR light is A 230 820 09 56
heres direct link!
http://www.parts.com/oemcatalog/inde...layCatalogid=0
goto mercedes, sl, 2008+, high mount brake light, choose w/sl65!
cost is $115//NIB + shipping ( aprox. $135)
mine arrived FEDEX in about a week. Invoice is from MB dealer in IL.
pics show the box, part #, pic of invoice where MB dealer it came from.. ordered through PARTS.COM
light has power clip on side, but fits perfect w/ 2003 sl500. nice to have a new weather strip( be sure to take off tape to allow it to stick to car)
Now i have limited tools and have paid other till ow to do stuff for me at shops..this was a easy install, but you need to have patience.
1) I would open roof to access the 2 clips under the flaps, pop them out, then close roof again.
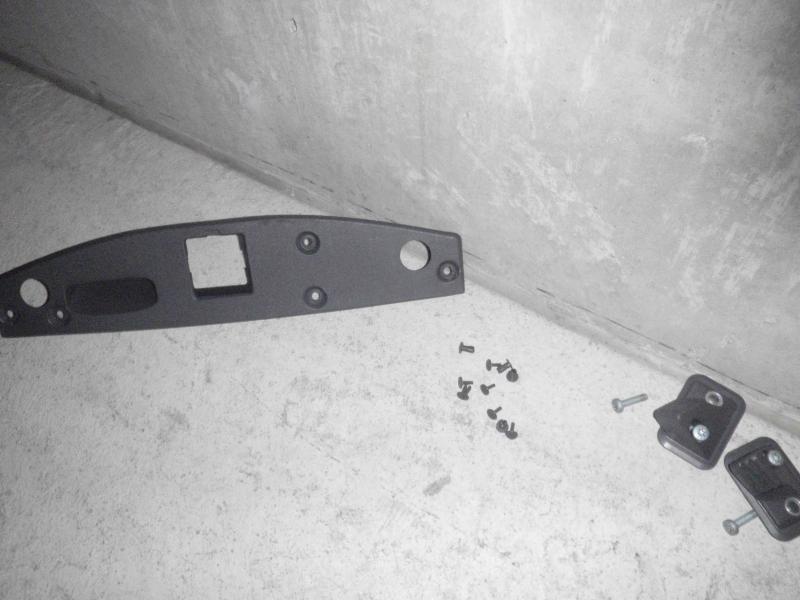
2) pop trunk, take out clips by trunk latch, then unscrew the trunk wedge guides(one each side) be genlte on the clips ,they will come.
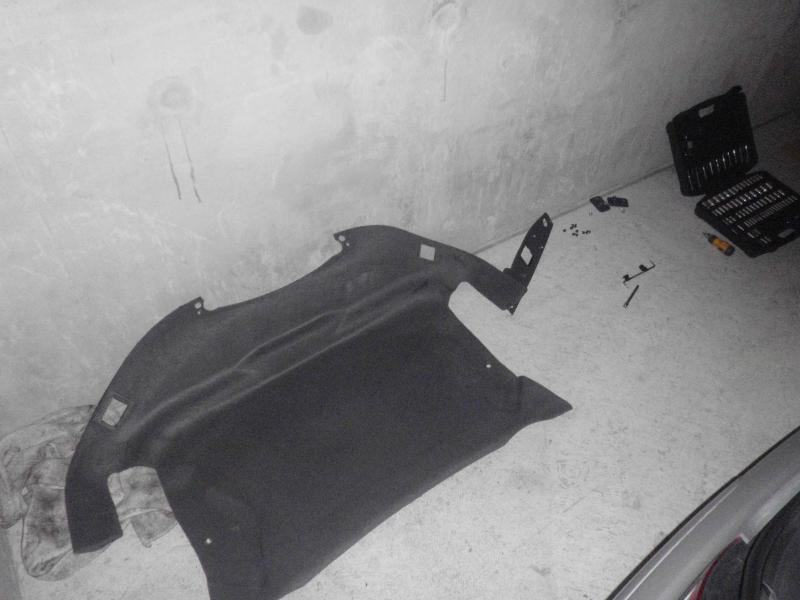
3) remove the entire carpet top liner that you just pulled clips from..angle /ease it out..comes No problem.
4) have a ratchet w/ 10mm long and extender to access the 2 nuts holding in the light...DONT DROP THE NUTS..or have extras ready..take yr time. HAVE A FLASHLIGHT!!
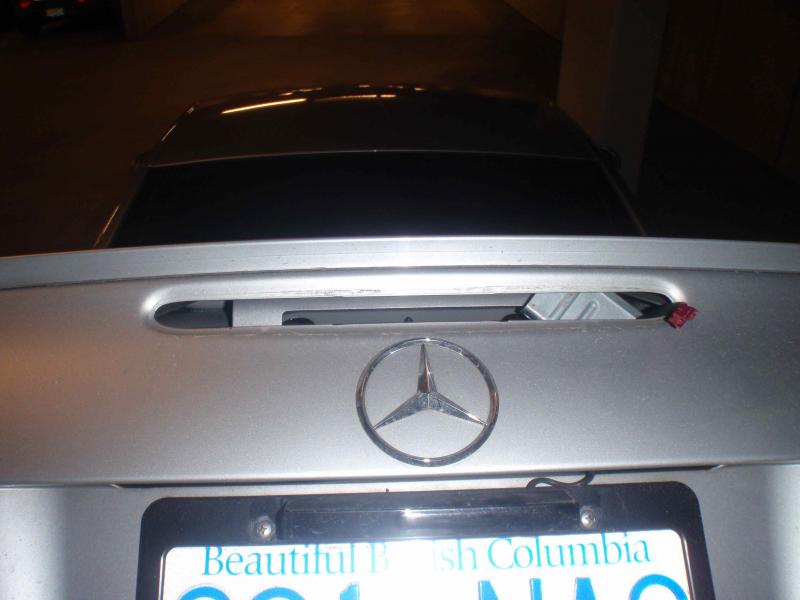
5) easy the light out, it will stick due to the weather striping..mine cracked on the end..as you see many that are used for sale are...oh well once u do this u wont do it again.
6) clean area around where new light will seal in., pop in new one and plug in.
7) the bracket is a little tricky to get onto light, but use yr hands from inside and line up light to the bracket inside and put the nuts back on LOOSE, so you have wiggle room w/ light as you still need to take off the seal tape protectve strip..once you do this be ready to push light snug..as its a 1x deal if you want to ensure 100% seal.
8) psuh light snug..dont brel corners...tighten the nuts up snug and yr done.
9) simply pug liner back in and all the little plugs and enjoy yr new light.
took about 35min, and i have NO TOOLS..founf tols that would wrk, in a dark underground and i got it done NP.


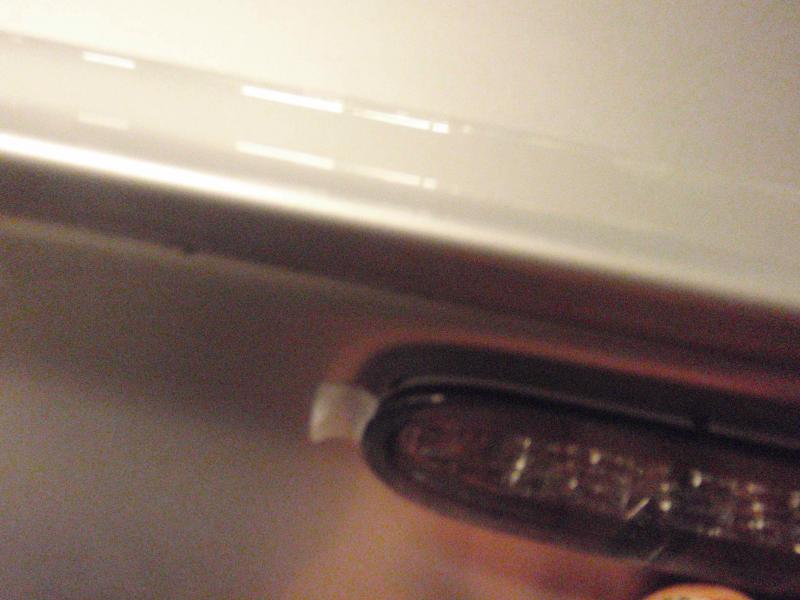
more pics....
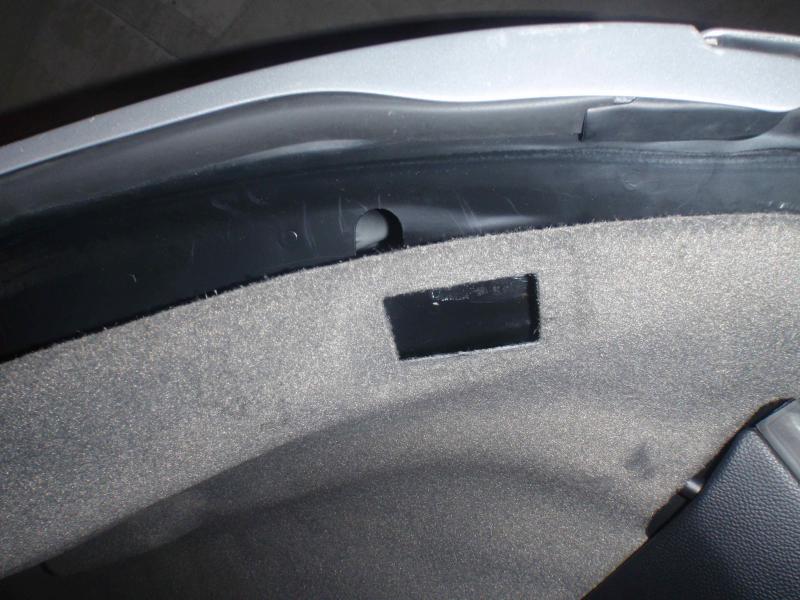
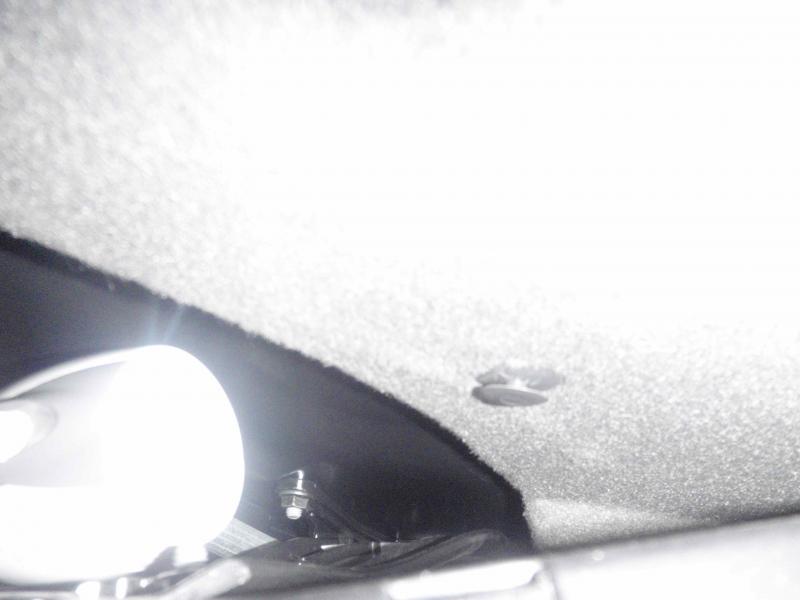
you will see 2 holes for yr rachet w/ extender to goto through to get the 2 10mm nuts you need to remove AND KEEP..be careful not to drop..
you will see 2 holes for yr rachet w/ extender to goto through to get the 2 10mm nuts you need to remove AND KEEP..be careful not to drop..
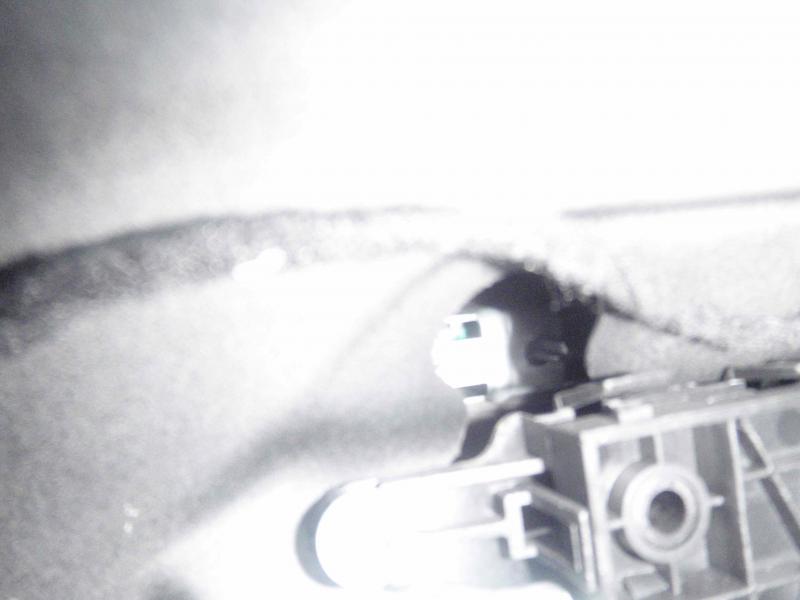


clip fits 03 light fine..everything fits easy!
get it in, dont remove the weather strip cover piece till yr ready to place it in..the seal is VERY IMPORTANT..you can blow yr rear SAM w/ a leak..its a good idea to replace light as you get a new seal..you'll see yr old one has had it!
have yr 2 nuts on loose b4 placing light in w/ sticky stip for the seal.


now use the 10mm rachet and the two access hole w./ yr extender and tighten the nuts up!!
start putting the trunk back together....place liner in and clip it back in, clip the plastic pice by trunk latch back in, screw 2 wedge guides back in and yr done..i opened/closed lid to ensure all was ok.
start putting the trunk back together....place liner in and clip it back in, clip the plastic pice by trunk latch back in, screw 2 wedge guides back in and yr done..i opened/closed lid to ensure all was ok.


i broke 1 or two clips...so i simply swapped the clip around and put broken ones on the outside so i can easily access them later when/if i buy a new clip

THIS WHOLE PROCESS IS 35min, and $135 including shipping for OEM MB PART NEW IN BOX! from PART.COM
many others on here sell them used..a used one after doing install I would NEVER buy just due to the SEAL that is very important and stress when removing can be cracked on the edge if it wasnt removed carefully..regardless $115 NEW is a jOKE!!!
ENJOY!!!!!!!!!!!!
many others on here sell them used..a used one after doing install I would NEVER buy just due to the SEAL that is very important and stress when removing can be cracked on the edge if it wasnt removed carefully..regardless $115 NEW is a jOKE!!!
ENJOY!!!!!!!!!!!!

Member
Wow nice man! Great find! Nice to see another vancouverite here 
On a side note:
Wondering about your tail lights... Do you know if we can order some through PARTS.com?
I can't seem to find them.
On a side note:
Wondering about your tail lights... Do you know if we can order some through PARTS.com?
I can't seem to find them.
MB World Stories
The Best of Mercedes & AMG
Explore

6 Mercedes Models That Did NOT Age Well (But Are Somehow Still Cool)
Verdad Gallardo
Manual Mercedes? 6 Times Sindelfingen Let Drivers Have All The Fun
Verdad Gallardo
Mercedes SLR McLaren 722 S Is Extremely Rare Example Modified by McLaren
Verdad Gallardo
8 Classic Boxy Mercedes Designs That Have Aged Like Fine Wine
Verdad Gallardo
Flawlessly Restored Mercedes 190E Evo II Heads to Auction
Verdad Gallardo
Electric Mercedes C-Class Unveiled: 11 Things You Need to Know
Verdad Gallardo
Mercedes EQS Gets A Major Update: Everything You Need to Know
Verdad Gallardo
5 Underrated Mercedes-Benz Models That Don't Get the Love They Deserve
Verdad Gallardo
Mercedes 300D Has Pushed Well Past 1 Million Miles and It Ain't Stopping
Verdad GallardoQuote:
On a side note:
Wondering about your tail lights... Do you know if we can order some through PARTS.com?
I can't seem to find them.
Thx. Originally Posted by gearshifter
Wow nice man! Great find! Nice to see another vancouverite here On a side note:
Wondering about your tail lights... Do you know if we can order some through PARTS.com?
I can't seem to find them.
Yes you can. They are aprox. 280/ea. Also have the amg smoked. Put in 2008 sl, goto tailigts or rear lamps and you will find them. They have best prices. I ship my stuff to HAGENS in Blaine,wa. Shipping service been aroud for over 30yrs. Charge $2/pkg. 2min. Across border.
Member
Oh you use blaine?
I usually use The Letter Carrier @ Point Roberts, WA.
I think it's a little bit closer than blaine for me since I live in Vancouver.
I usually use The Letter Carrier @ Point Roberts, WA.
I think it's a little bit closer than blaine for me since I live in Vancouver.
Quote:
I usually use The Letter Carrier @ Point Roberts, WA.
I think it's a little bit closer than blaine for me since I live in Vancouver.
Never thought of PR. I live port moody, I bust out on hwy across bridge and am across border in 20min. I would think it might take an extra day or so going to PR than Blaine?!? I usually hit belligham up for some lunch. I buy all my gas dwn there. Across border 2x a week.Originally Posted by gearshifter
Oh you use blaine?I usually use The Letter Carrier @ Point Roberts, WA.
I think it's a little bit closer than blaine for me since I live in Vancouver.

MBWorld Fanatic!
man that looks good and wonder if i can put that on my CLK500 ? Are they sharing the part number ? Do you know ?
Andy
Andy
Quote:
Andy
Sorry dunno...Originally Posted by M-bENZ
man that looks good and wonder if i can put that on my CLK500 ? Are they sharing the part number ? Do you know ?Andy

MBWorld Fanatic!
the tails this easy to install or do they take a bit more time?


Quote:
Tails take more time but it is still a job that can be done for a begginer. here is the DIY written by another memeber on the boardOriginally Posted by NEMES1S
the tails this easy to install or do they take a bit more time?
Nope. Tails are hard. I had a shop do it.
MBWorld Fanatic!
it looks like a bit of a pain, but it looks reasonable. I guess I did tear apart the motor in a car yesterday because I had nothing else to do.....
Quote:
It's a *****!Originally Posted by NEMES1S
it looks like a bit of a pain, but it looks reasonable. I guess I did tear apart the motor in a car yesterday because I had nothing else to do.....
MBWorld Fanatic!
how long did it take you?
Took shop 2 hrs and 2 guys if j remeber correctly and lots of cursing! Hard places tk get into to reach etc. Remove all the trims. There's a DIY on here some where. Or on another forum. I printed it out and took to my usualy stereo shop and a guideline. G/l
MBWorld Fanatic!
late posted the pdf instructions just above, its always nice when people do DIY and document everything, really makes my life easy. I like to tinker on my days off, and I just don't know of many shops in Lincoln, NE that I trust 100% at this point.
I live In a condo now. So too hard to tinker. If I had gargae and my tools and time I would do myself. I'm sure you'll be fine. Good lights/patientce/tools and time you'll be fine. G/l
MBWorld Fanatic!
my favorite new tools for interior projects include dental scraper and some bolle safety glasses with built in LED's, they are soooo much easier than fumbling around my other lights.


