When you click on links to various merchants on this site and make a purchase, this can result in this site earning a commission. Affiliate programs and affiliations include, but are not limited to, the eBay Partner Network.
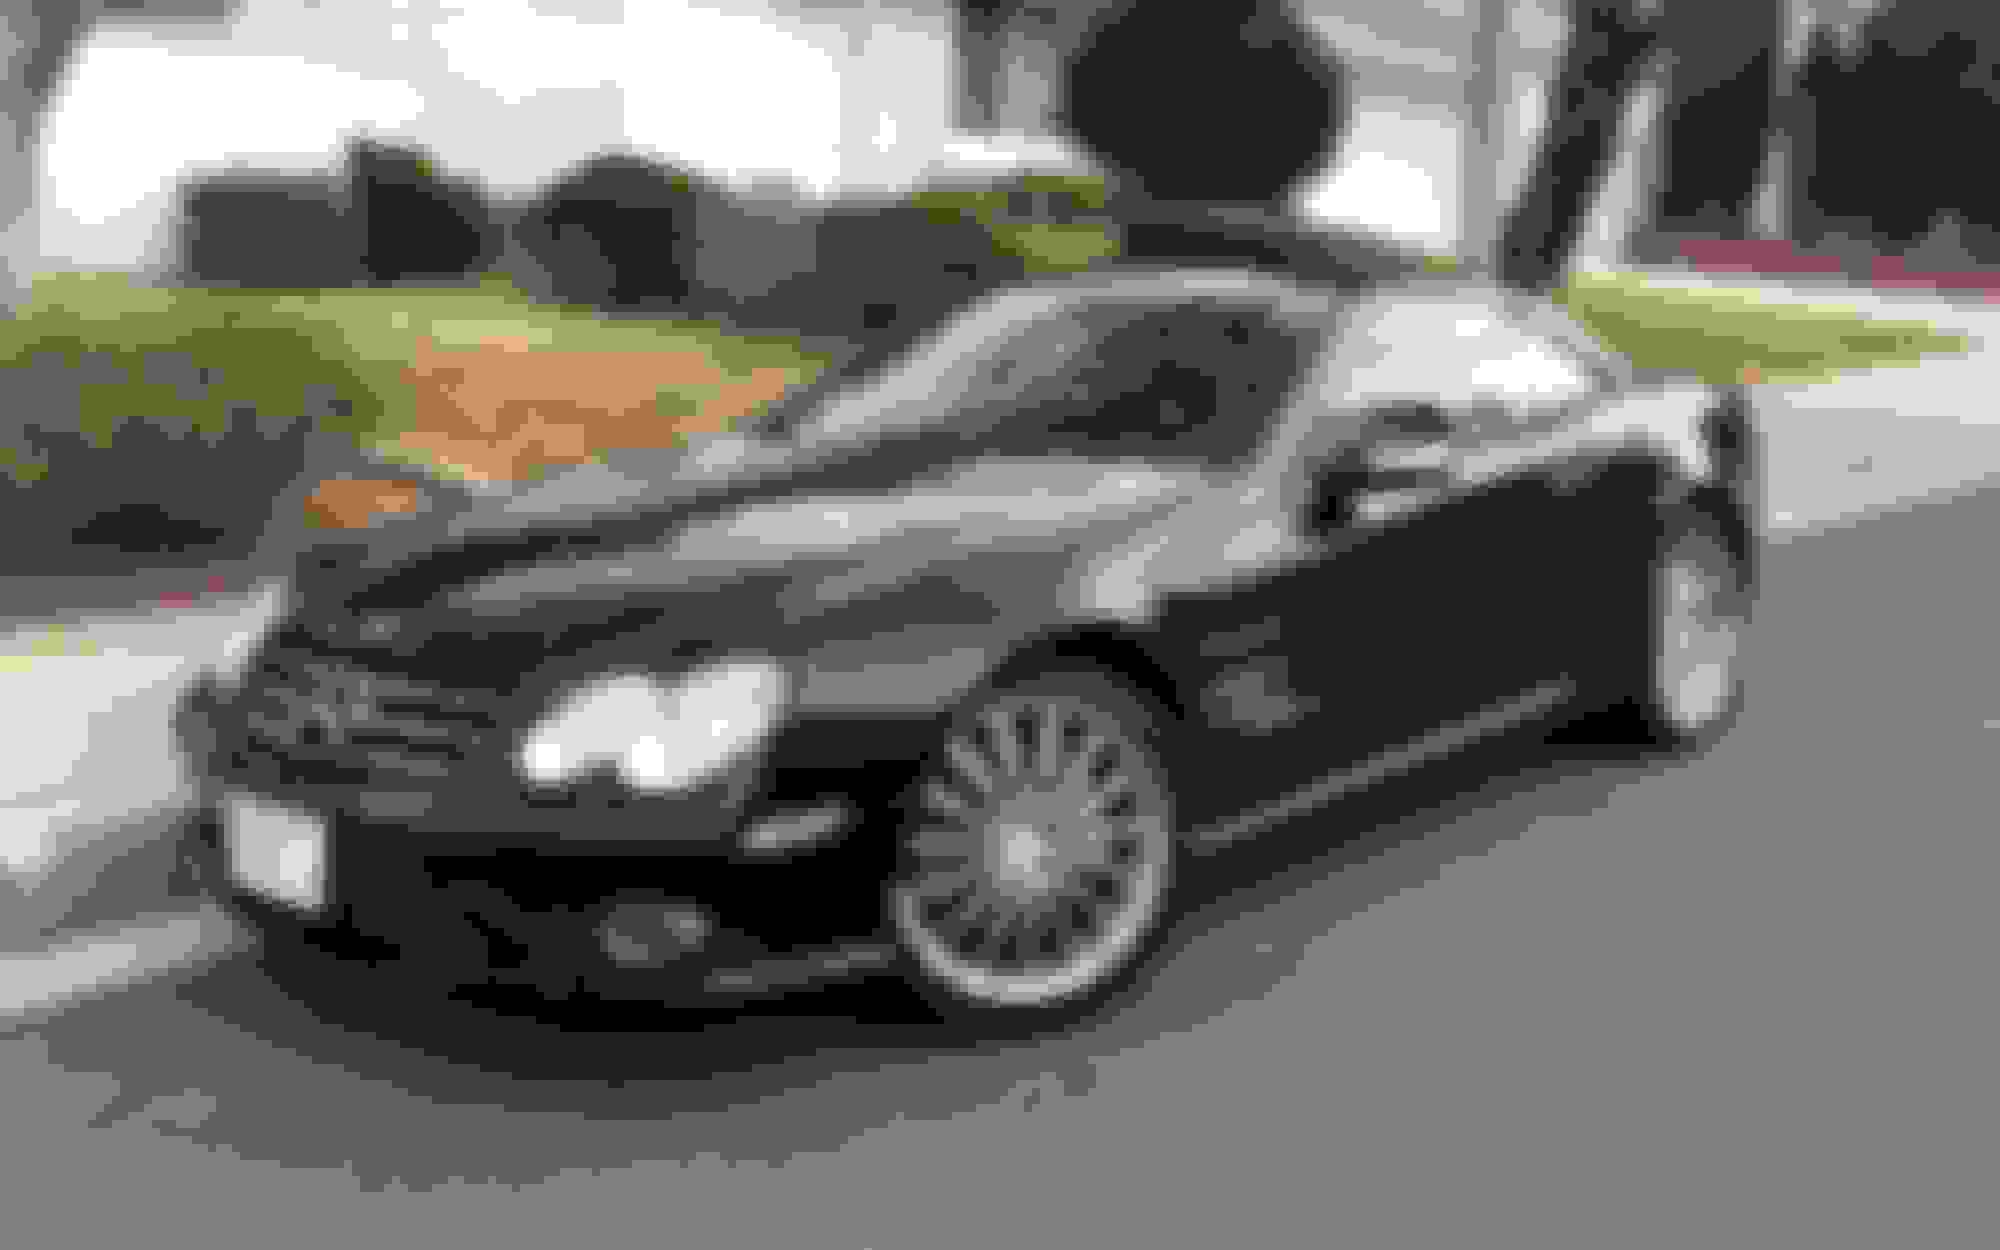
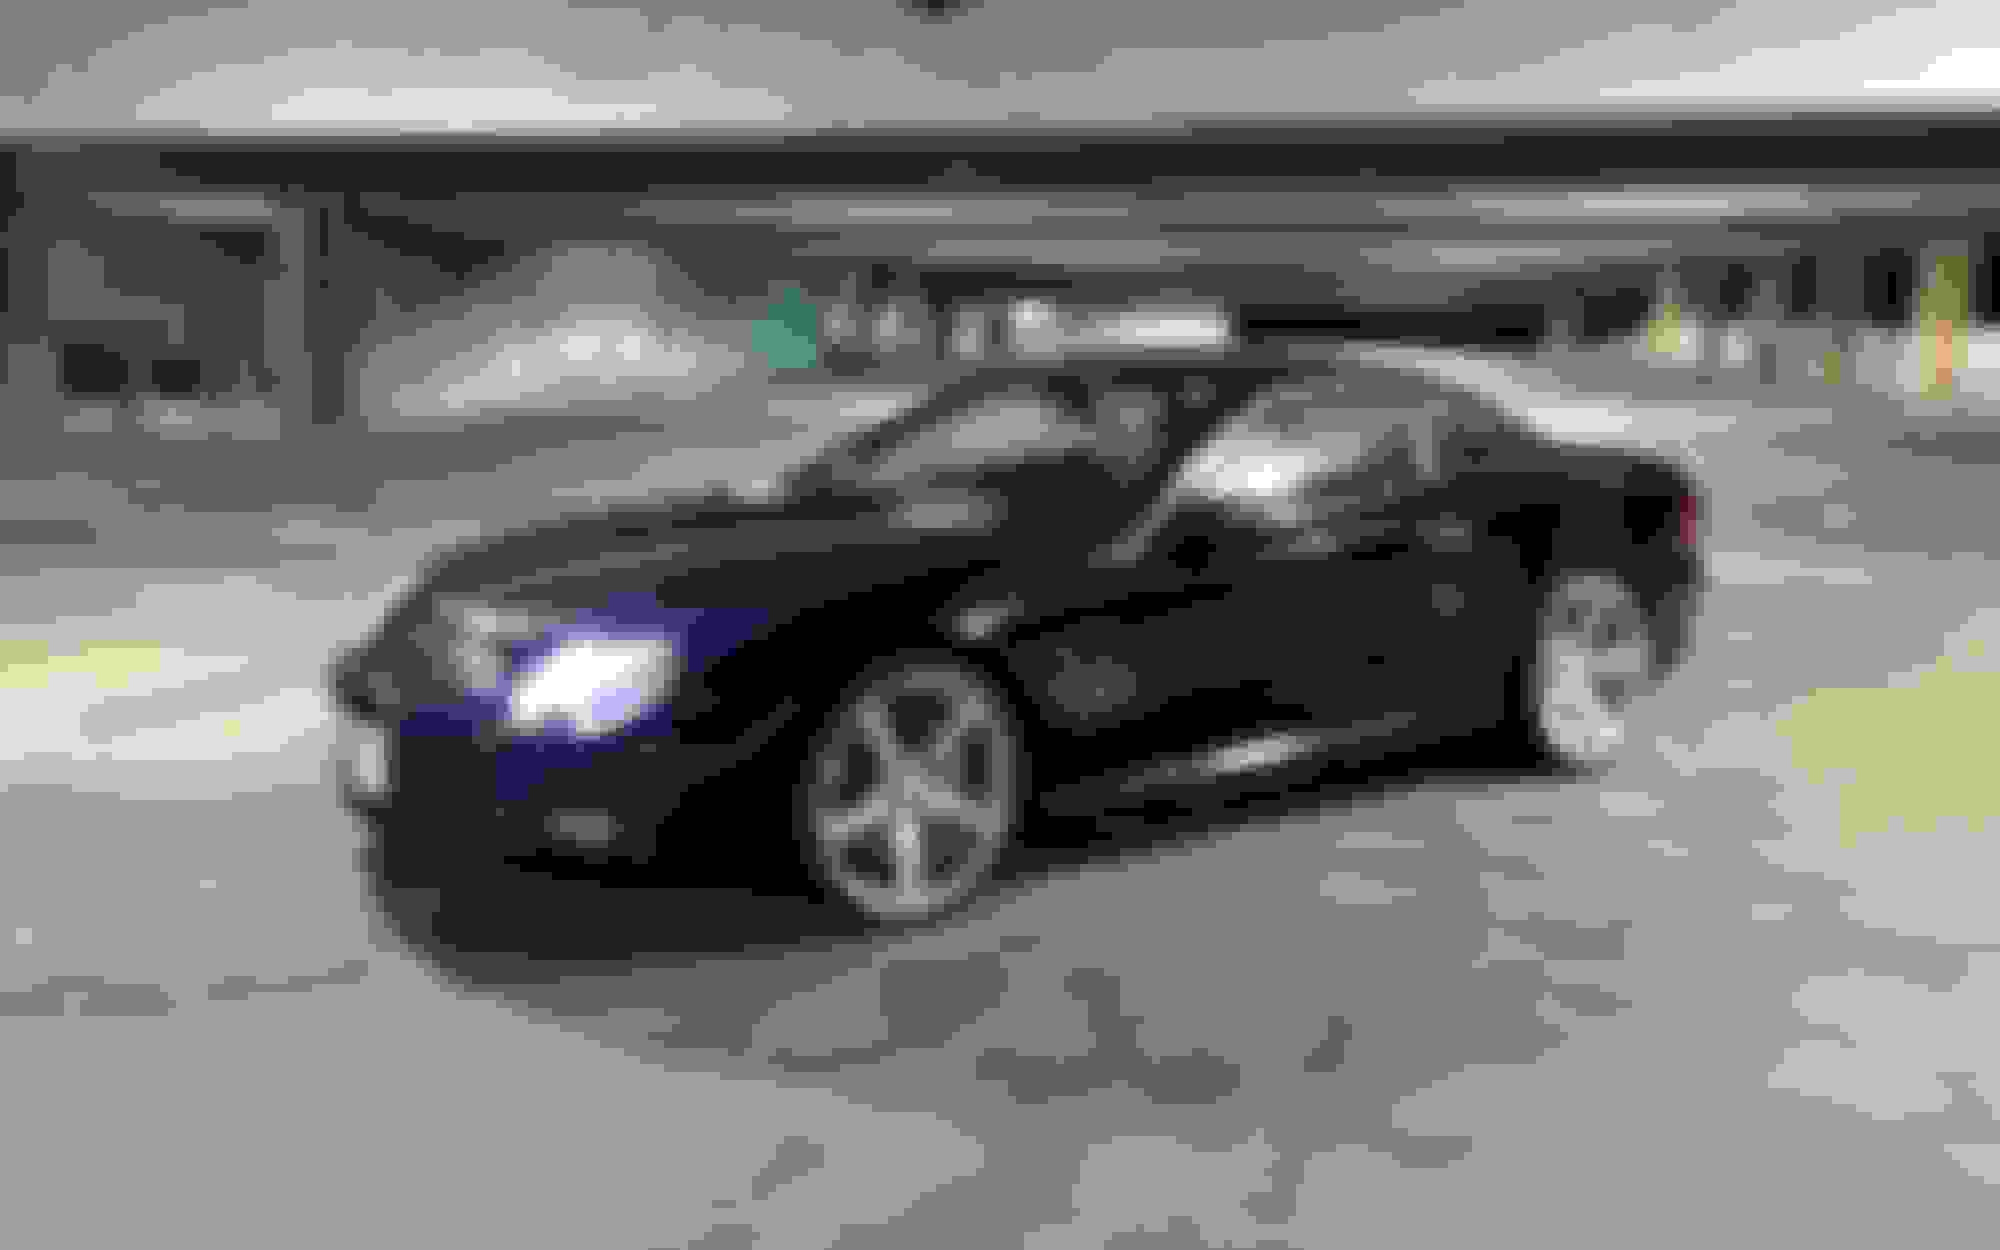
I was looking for another exciting car to own next, and nothing beats the fun 55k a has to offer, so an SL55 it was. Requirement was that it had to be a facelift model because of the improved features and programming. A full black interior would be a treat as well. I came across a one owner high mileage 2007 that ticked all the right boxes. With just a hair over 131k miles when I picked it up, it had a lot of life left in it. It required some TLC and had some overdue services I needed to knock out. I created this thread to document my ownership experience and to provide some information you guys may need to keep these cars going. Hope you find it interesting and helpful. Feel free to ask any questions.
It needed a bit of work, mostly due to wear and tear, along with some overdue maintenance. First things first were the engine/ trans mounts. It had a terrible vibration/ resonance at 3k rpm. The passenger side was easy with a 16mm wrench, but the drivers side required me to jack the engine super high up so I could squeeze the mount over the PS lines. No need to drop the exhaust. It took 3.5 hrs. start to finish.
I've never seen a trans mount in such bad shape. Yikes!
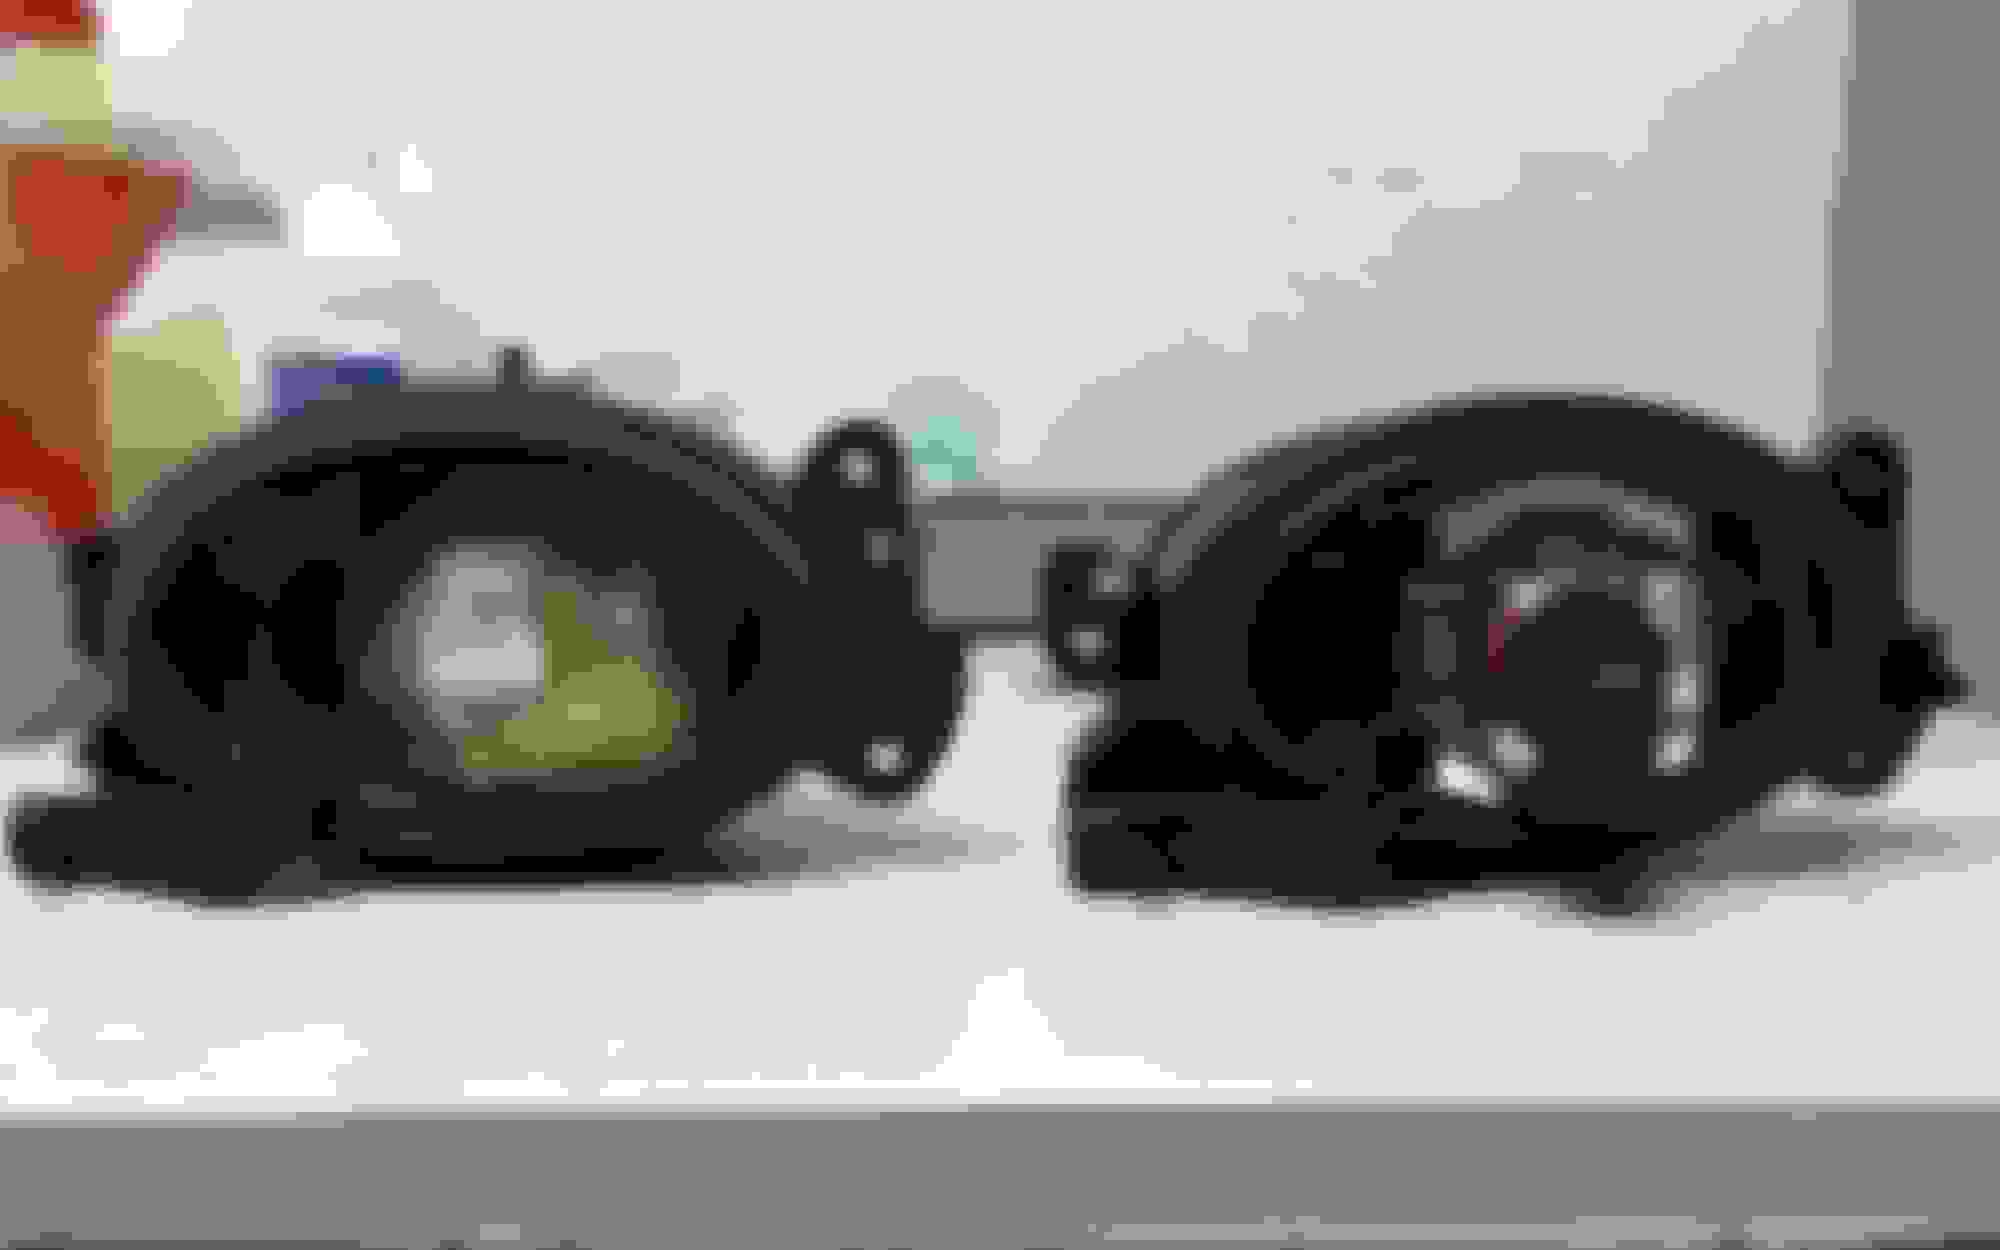
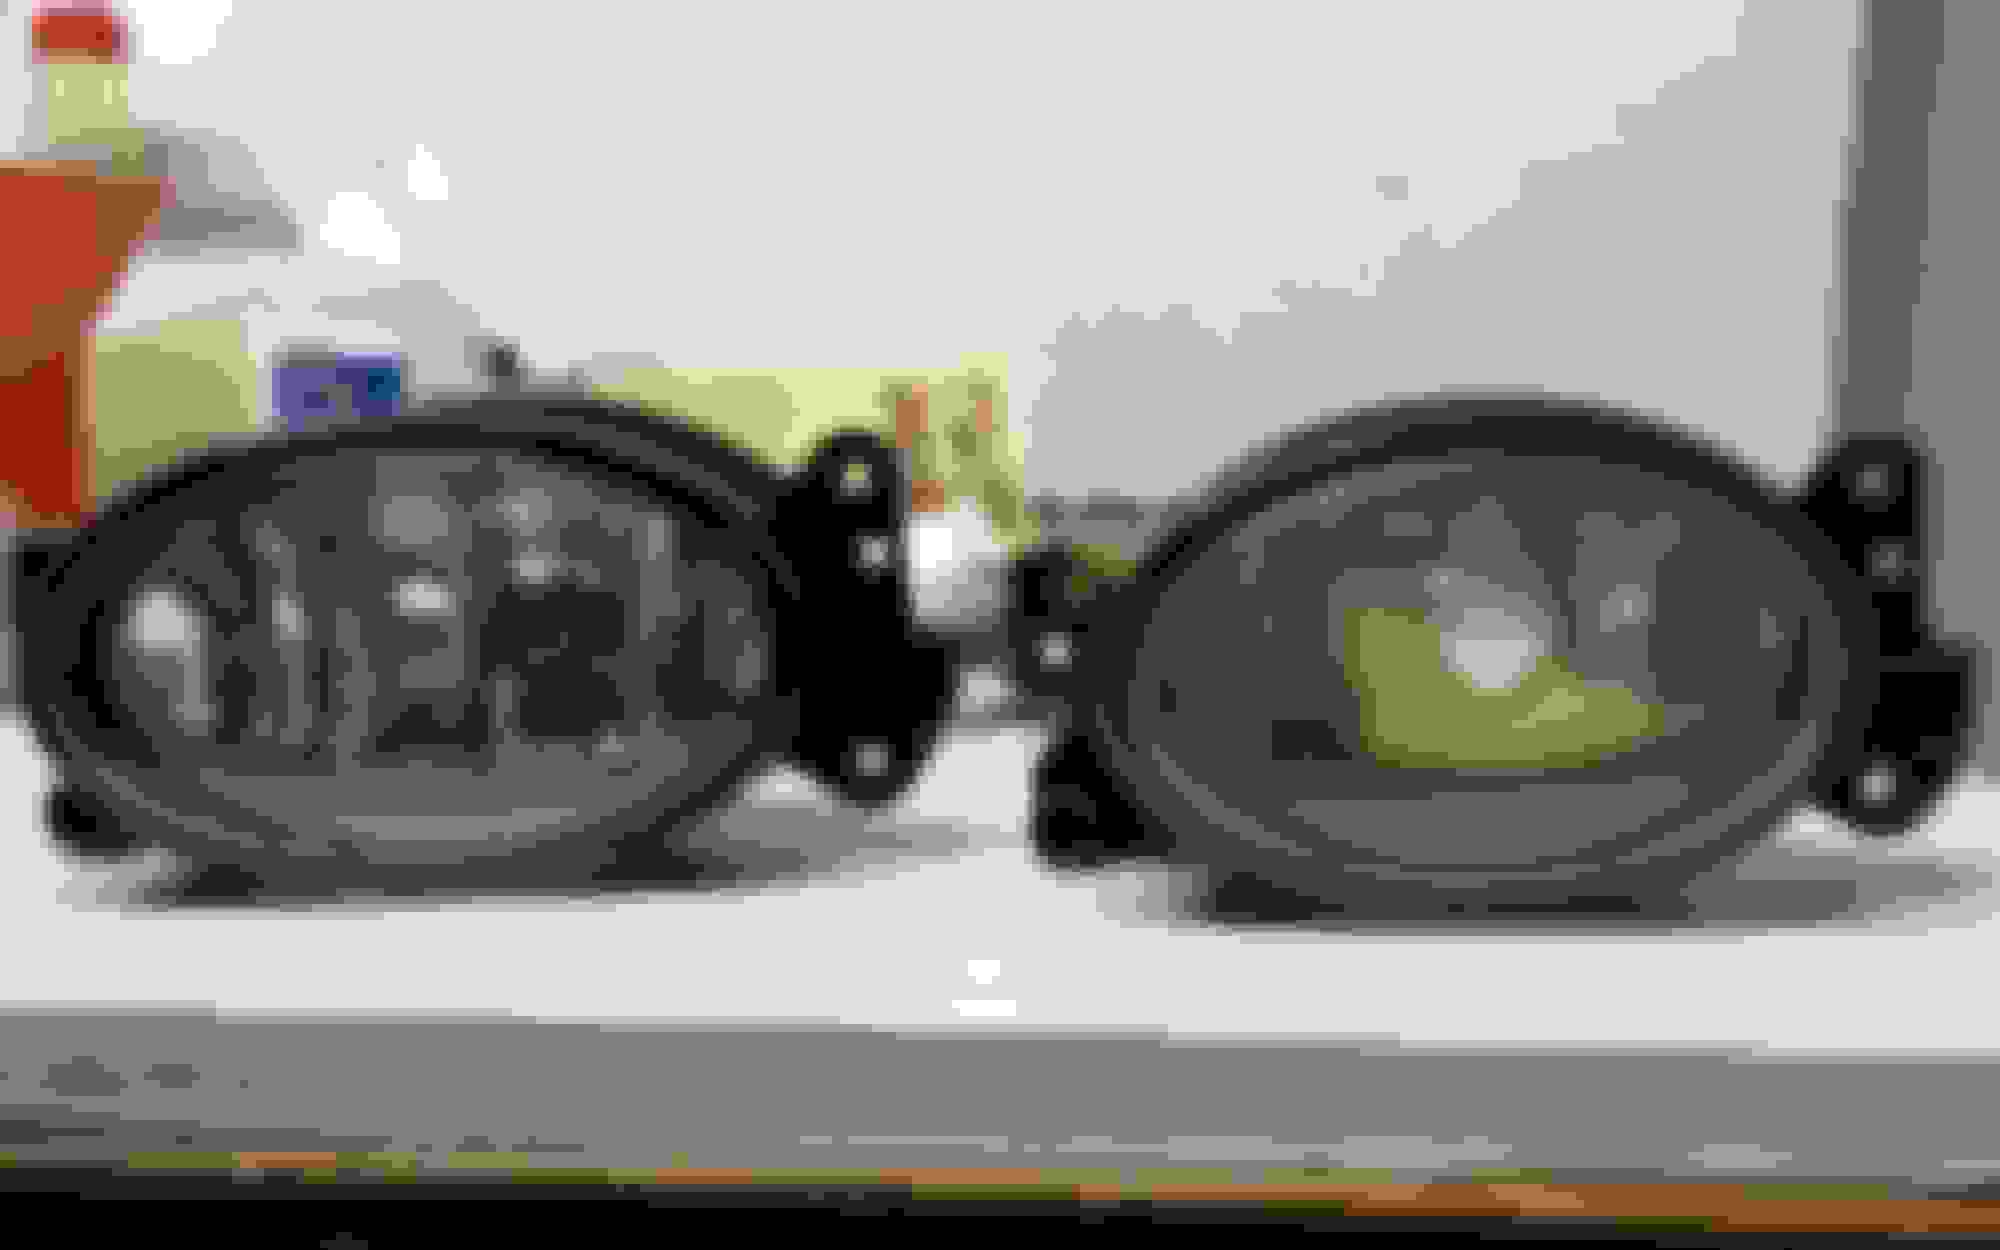
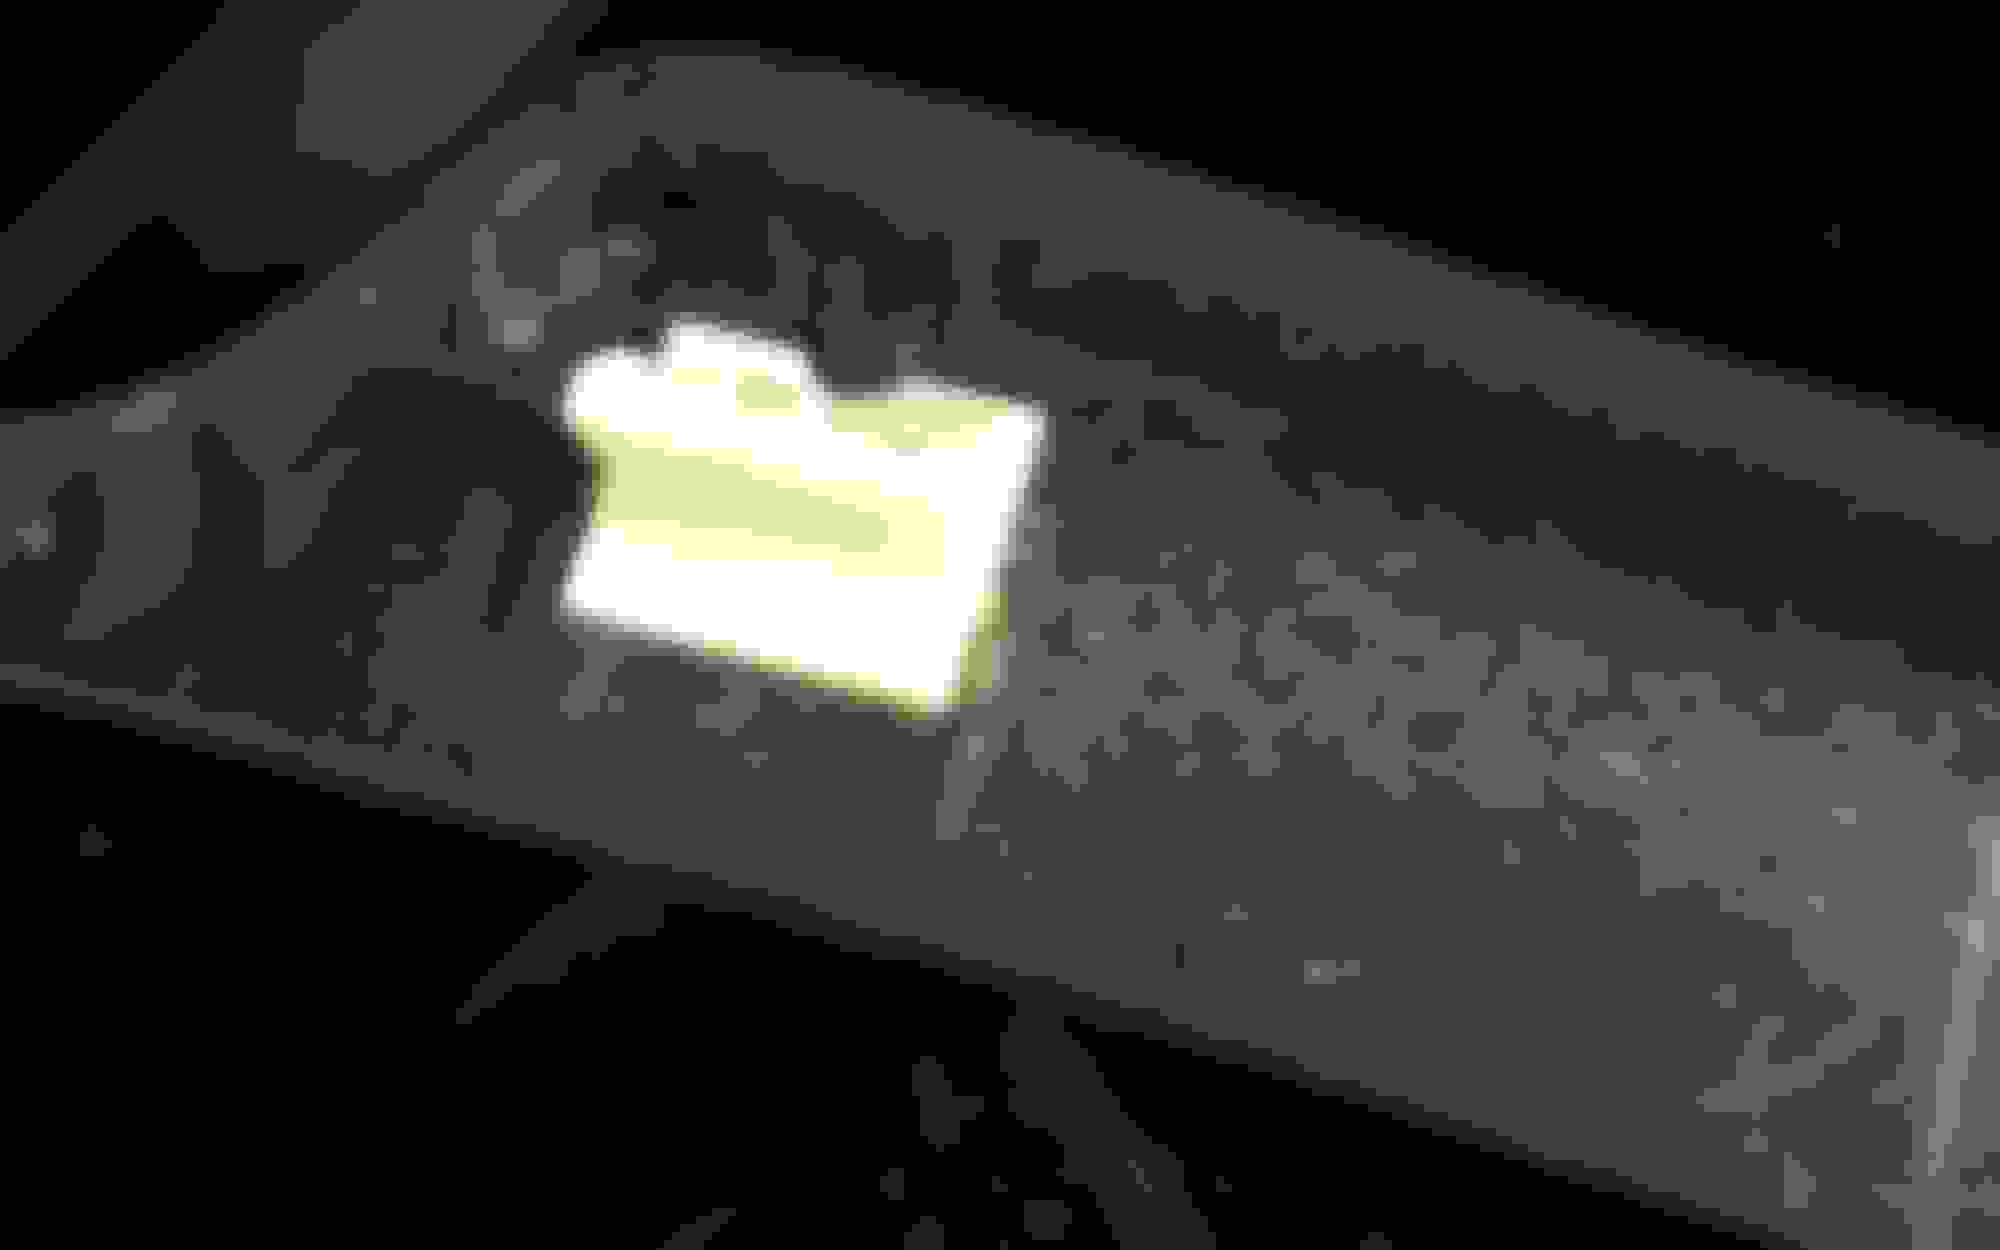
Next was to replace the broken fog lamps. The chrome on the left reflector had begun to peel off and the right side had a broken base not allowing the bulb to even mount. I opted for the cheaper ebay specials - just under $50 to my door. They're great quality for the price and the beam pattern is on point. The fitment was almost spot on. I say almost because I did notice that the gap between the lamp and the plastic bezel is a bit larger when compared with OEM. Can you tell?
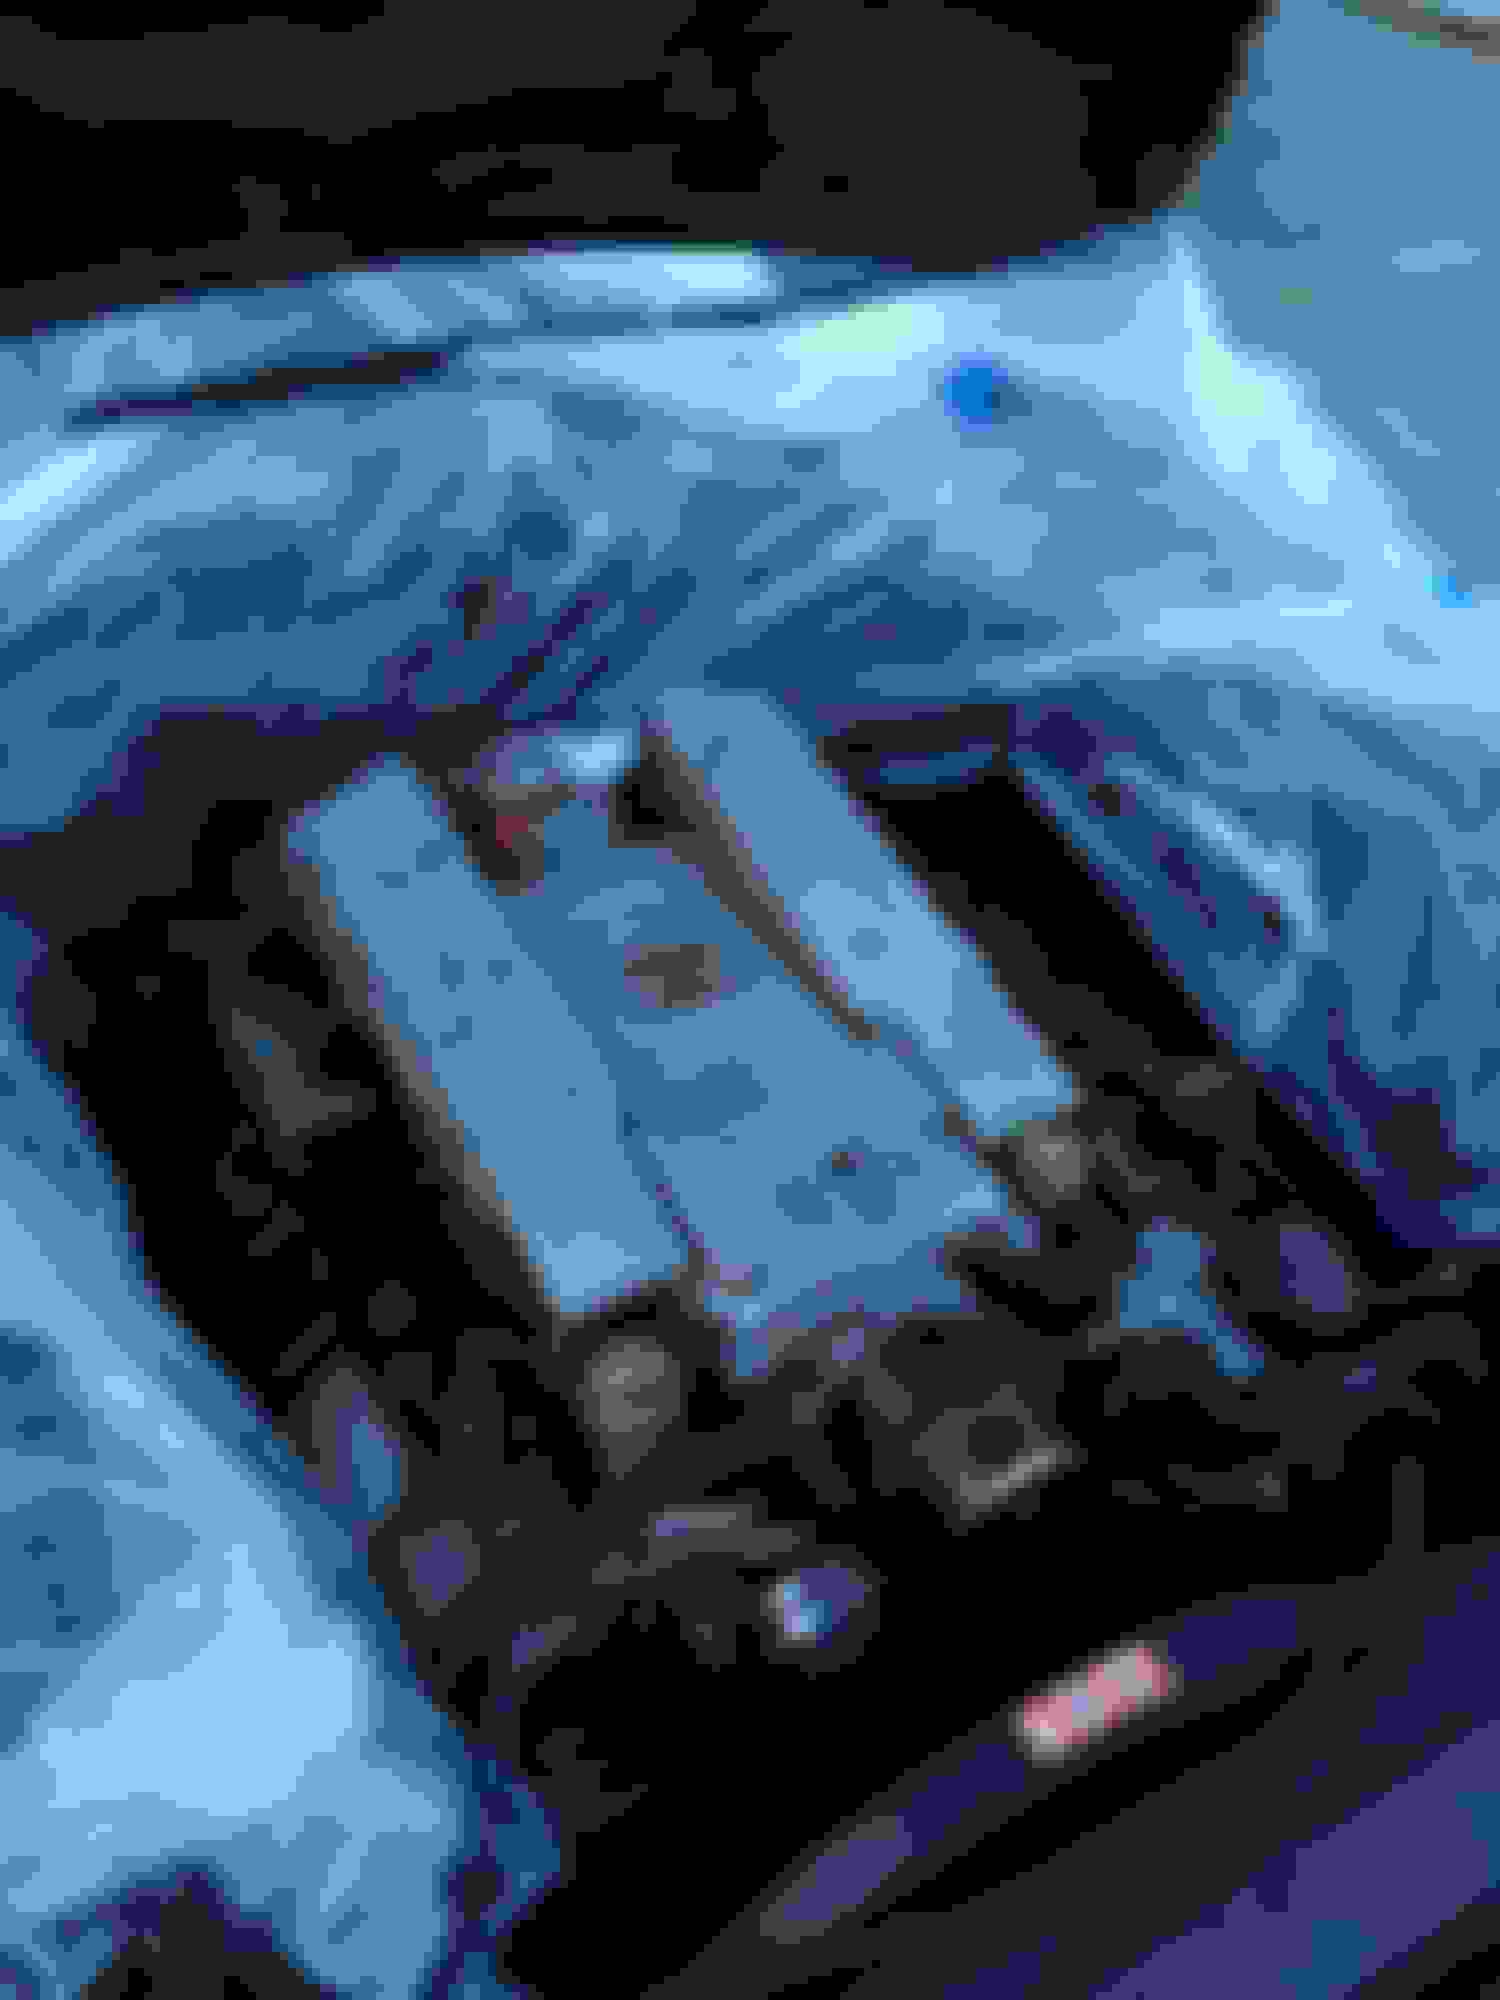
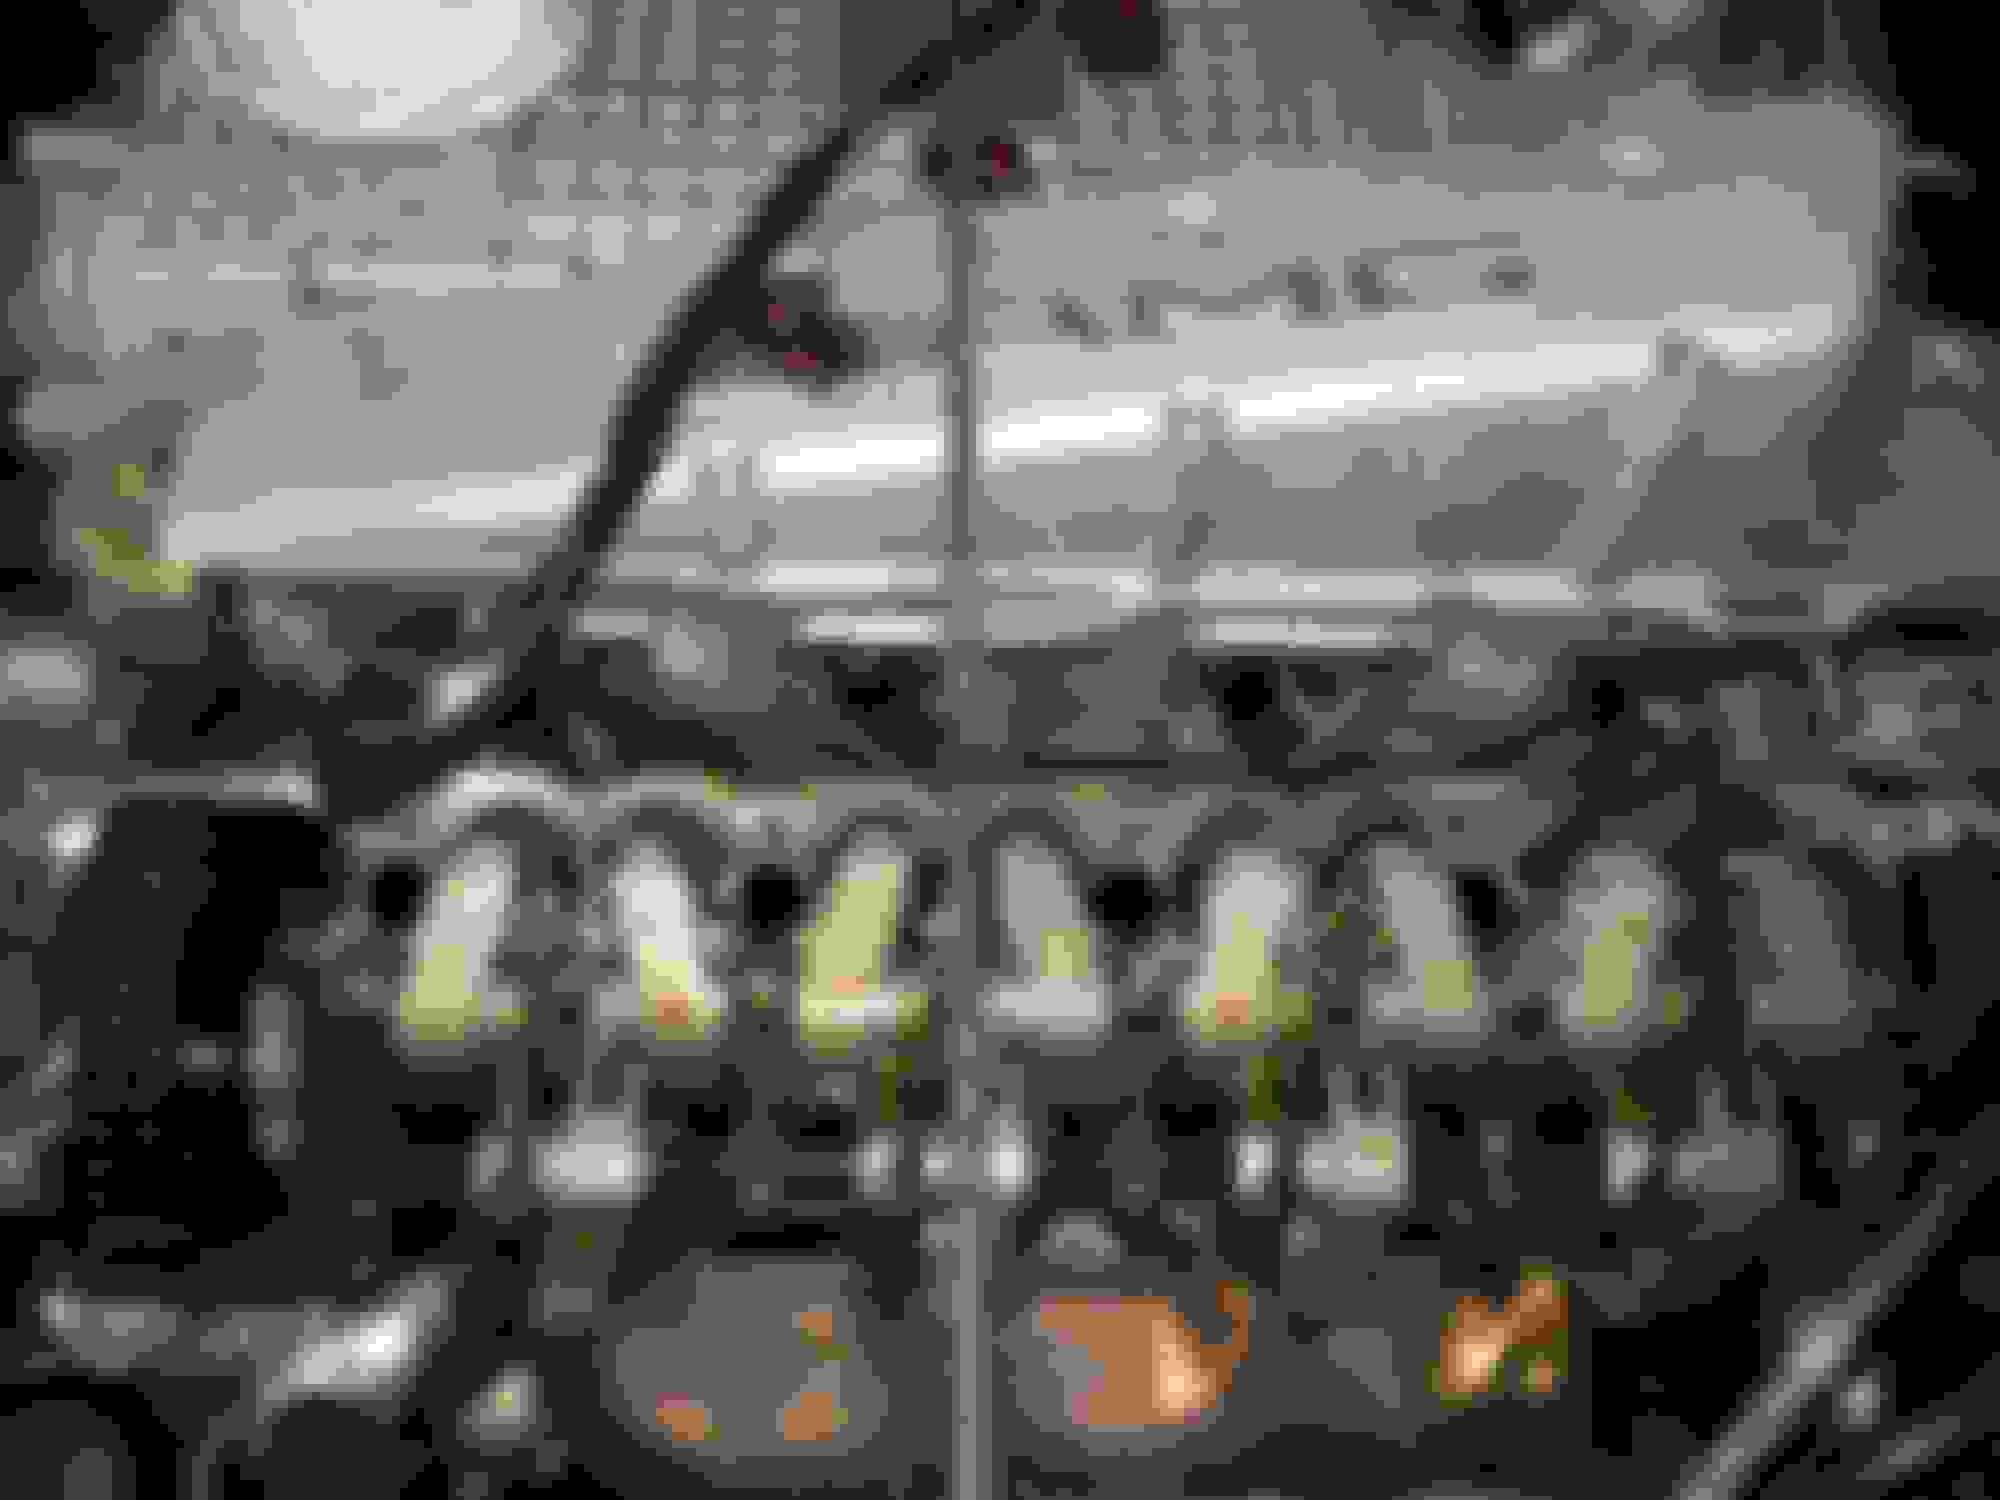
The hardened valve cover gaskets and breather covers were making a huge mess in the engine bay and I decided to tackle them next. New ones are a bargain, just the labor can get messy. I decided to power wash the engine bay before digging in.
Here's how it looked before. Filthy!
A little (actually a lot of) Purple Power with a nylon brush and a pressure washer can work wonders.
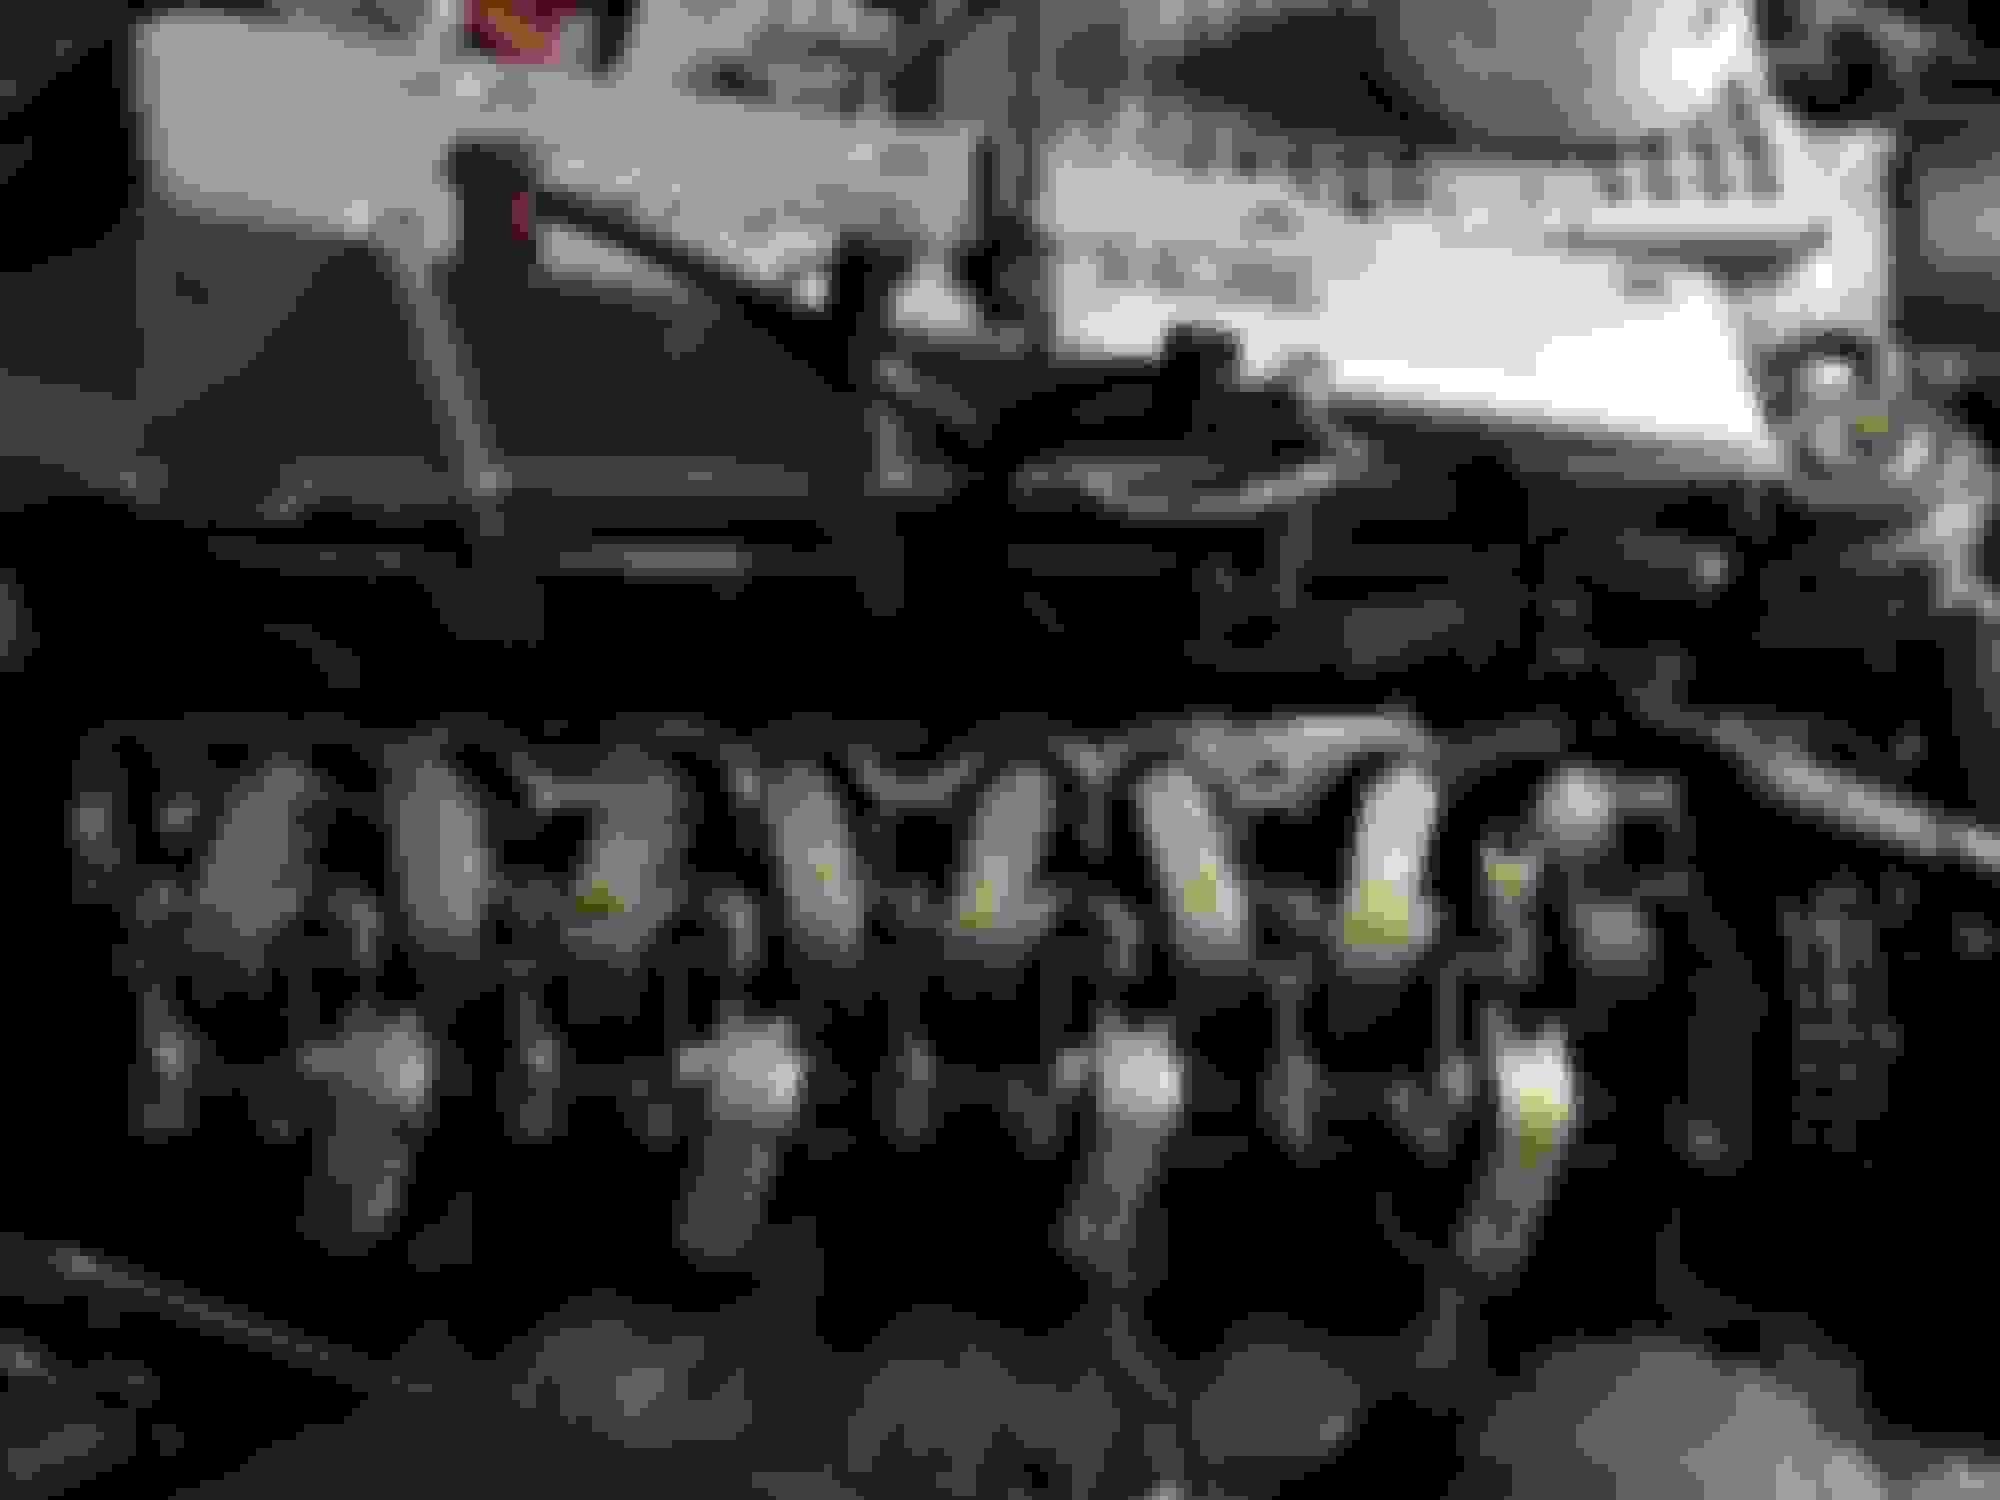
On to the valve cover gaskets. No pictures of the actual work as my hands were covered in grease most of the time. Here are a few pics of what I found under the valve covers. It was spotless! Did I mention this is with over 131k miles?
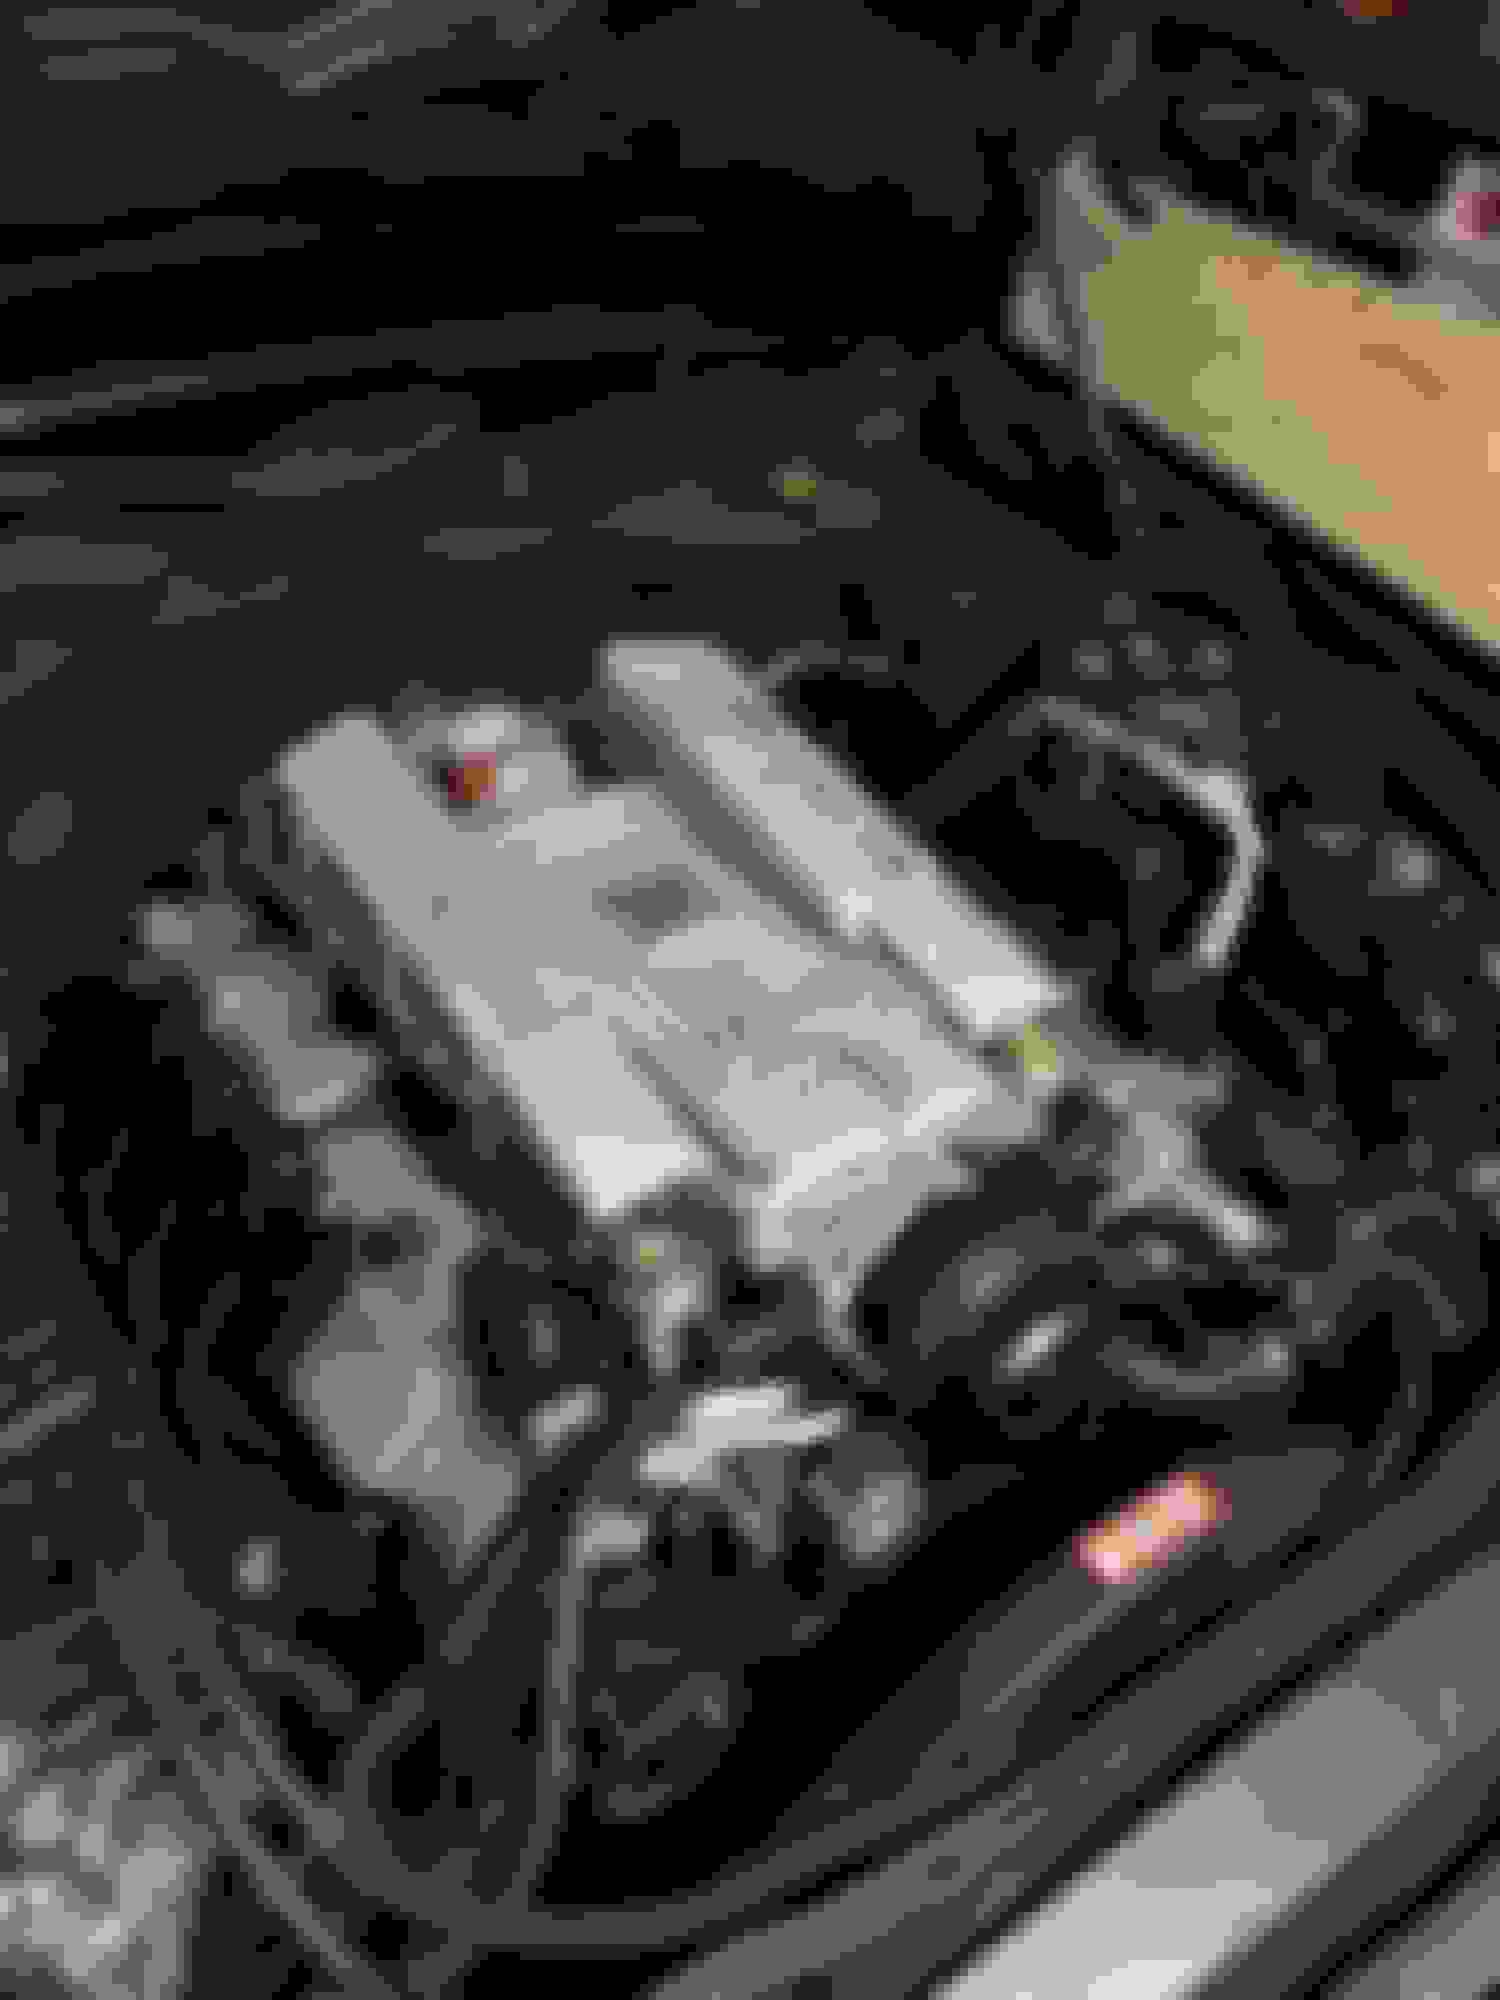
All buttoned up:
Finally leak free, it was onto the trans service. Parts list (All Genuine besides fluid):
- 4 liters ATF (Fuchs 4134)
- Filter
- Gasket
- Crush Washer
- Trans connector
- Dipstick tool (otherwise allow to drip for a while then put in all 4 liters)
Here's the car jacked up. I managed to slide under and take care of everything with just the front end up. I also replaced the broken left amber reflector and wrapped both of them in gloss black vinyl.
To be continued in next post....
Last edited by desired_speeds; 05-13-2016 at 06:32 AM.
My headliner had been rattling since I got it and my roof shade was off track, so I decided to tackle both things at the same time. I pulled the headliner and found that all of the mounting clips that were glued on from factory had detached.
To remove the headliner, open the roof halfway like so:
Remove 5 screws at the front. You can see a few of them here:
After that, pull the headliner forward and it will drop if all of your glued clips have detached like in my case. From there, remove all of the clips from the roof (Caution: do not lose them) Here are the clips in order - the side clips are the smaller ones and the blue ones are at the edge of the rear:
This is how the clips are supposed to sit:
I re-glued them with a 2 part quick drying epoxy after removing as much of the old glue as possible with a razor blade. I did the same with the plastic trims coming loose. Note the orientation of the clips in the pic below. You can see that the blue ones are flipped at the base.
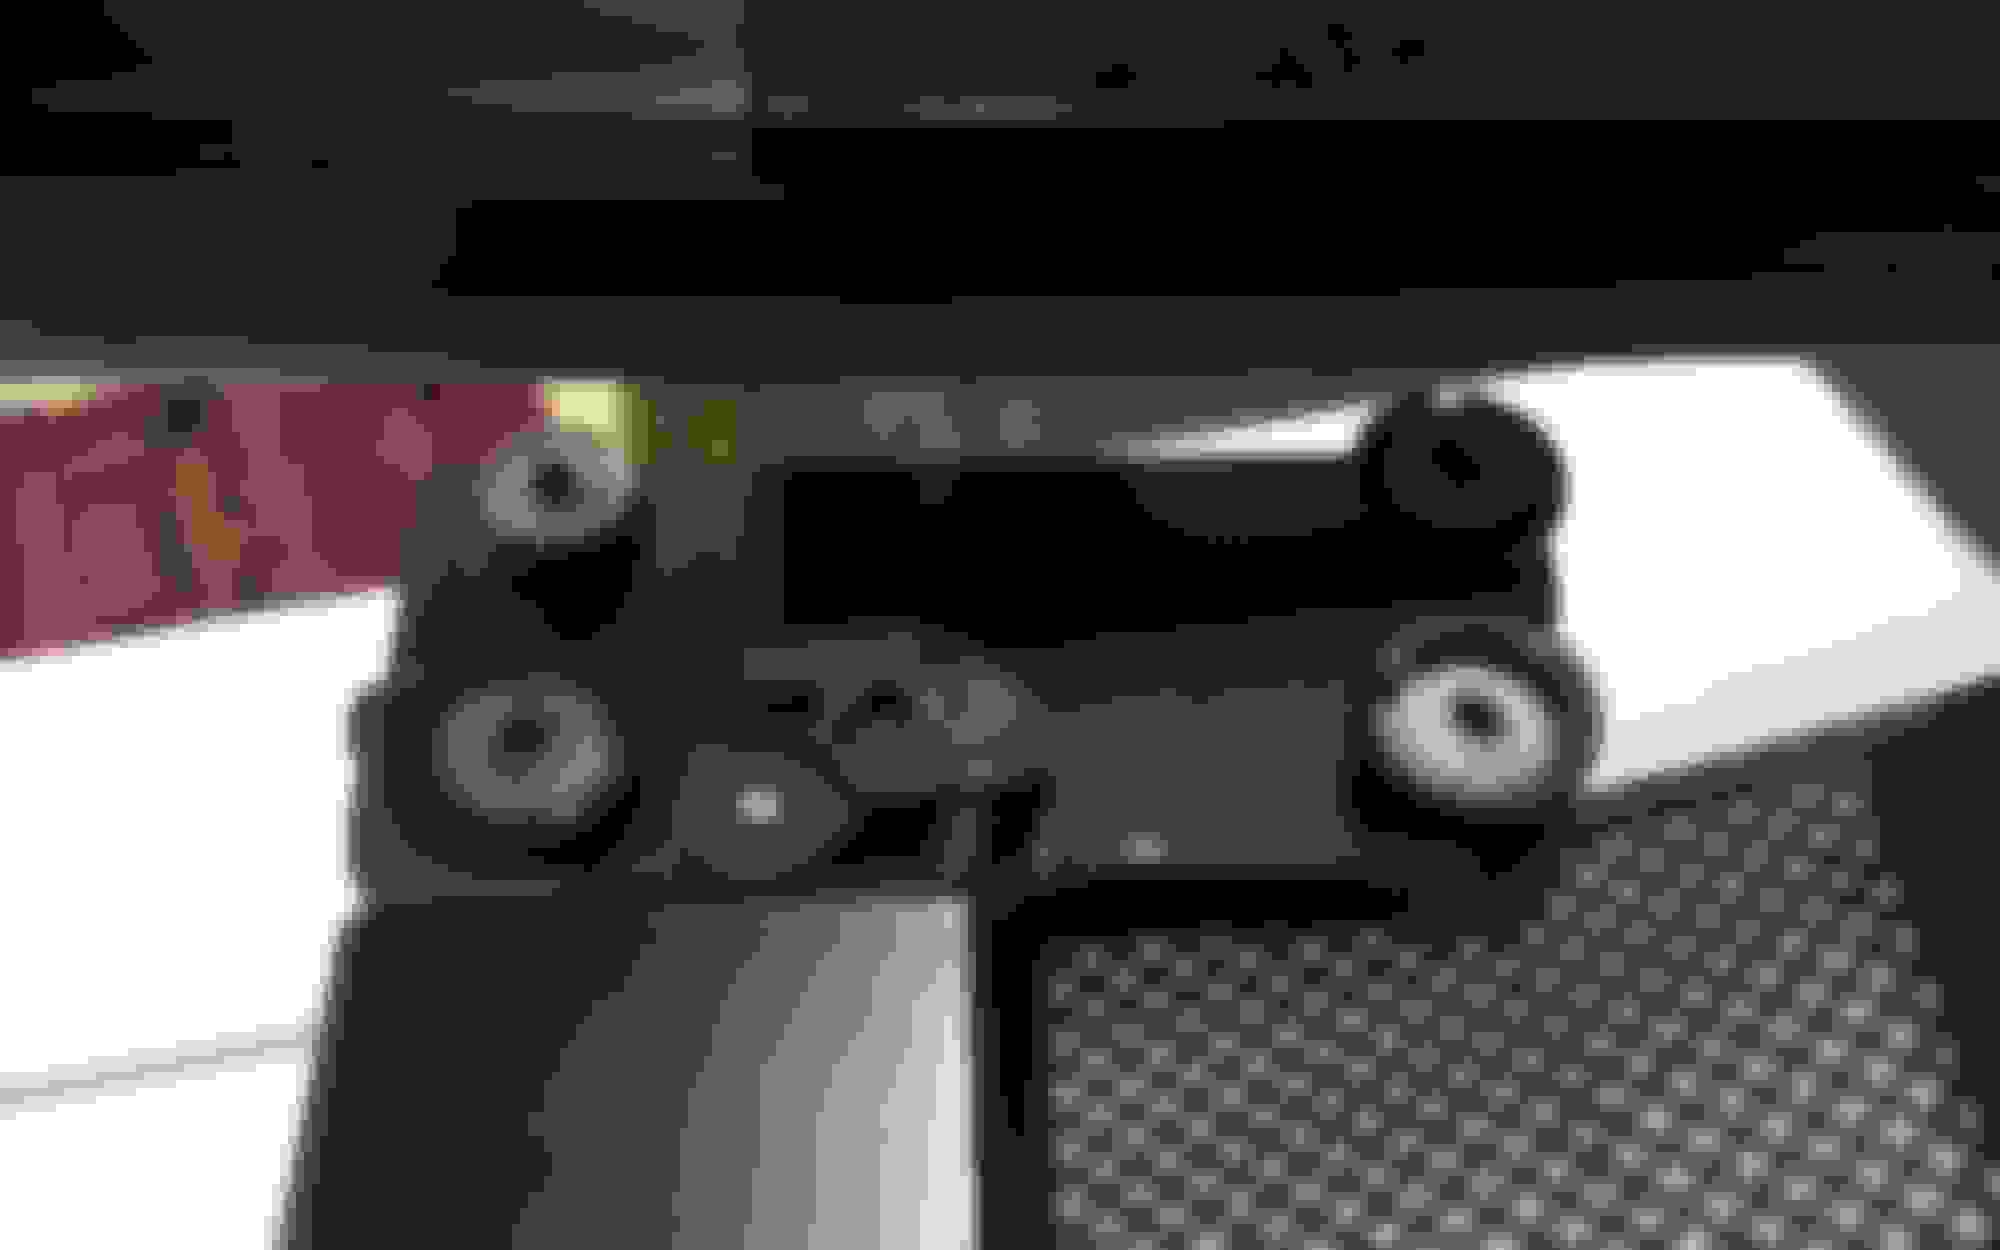
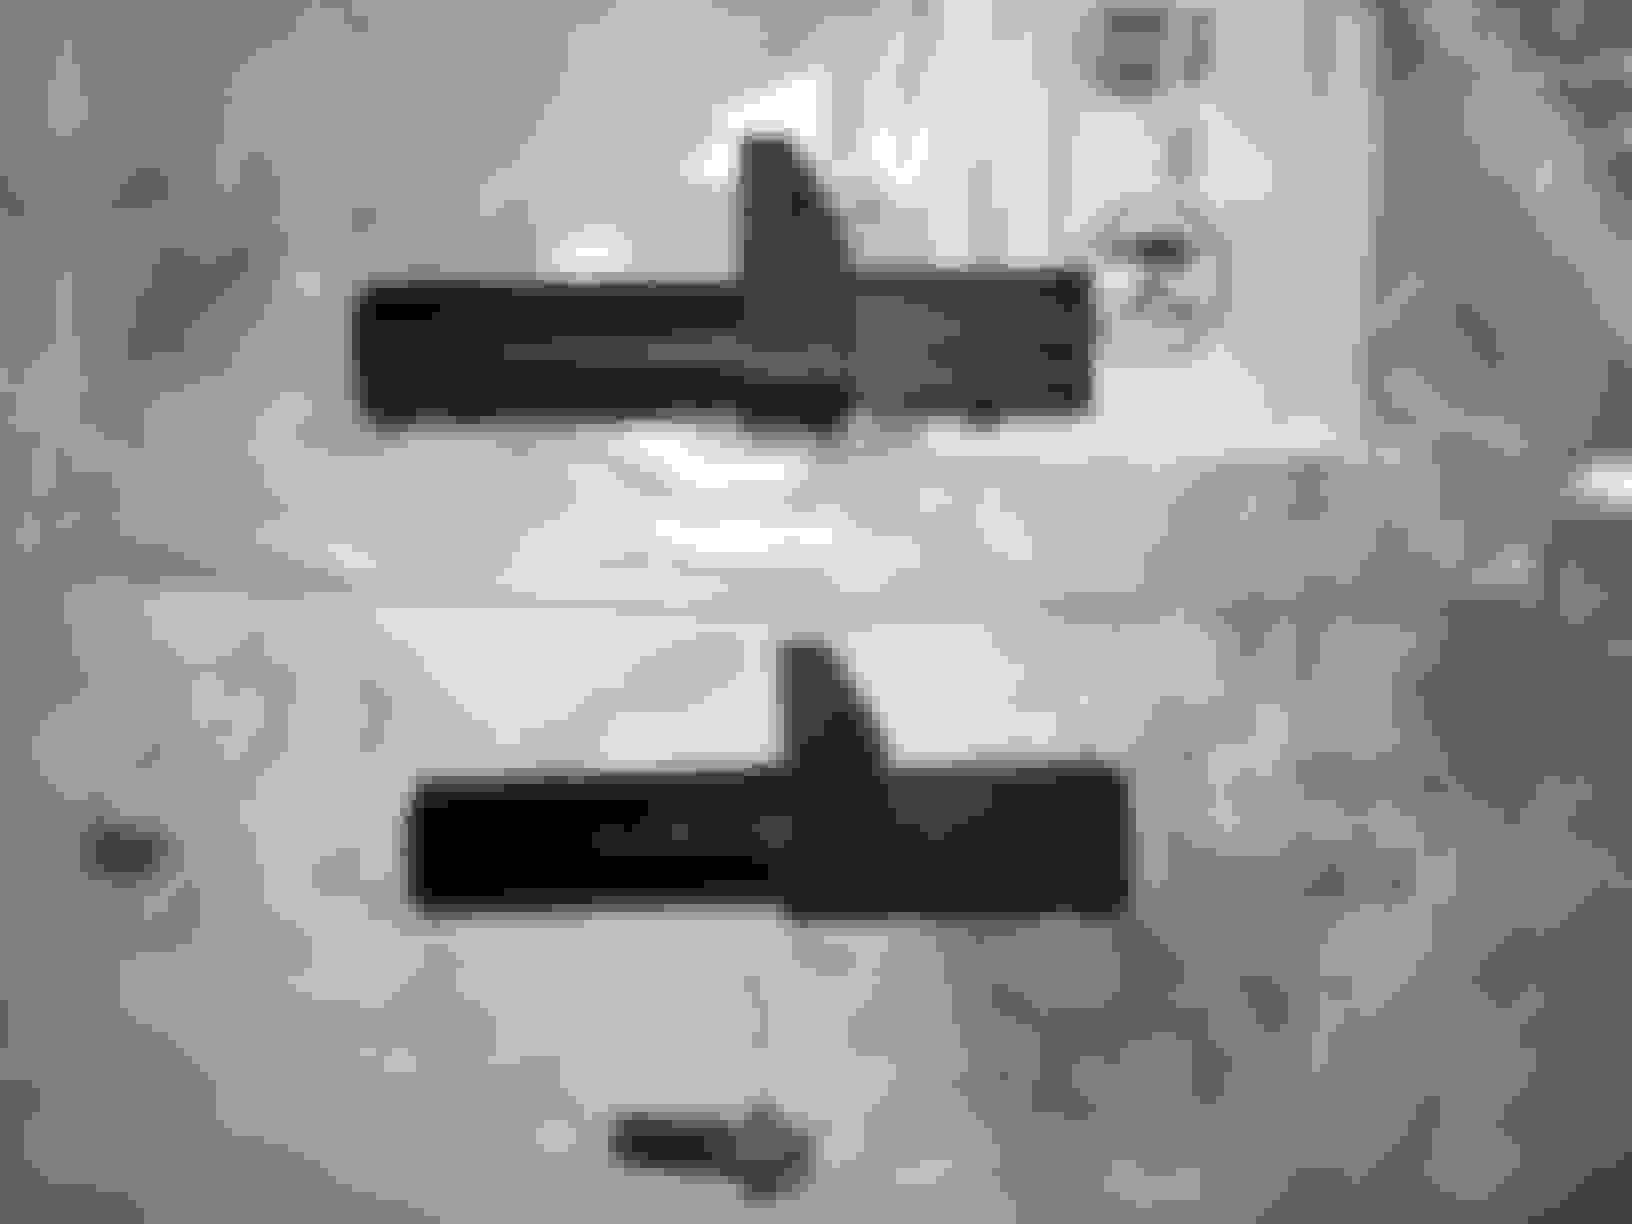
The roof shade had broken rollers on the drivers side as some other threads have documented. I'll give a quick rundown of the fix and will go into more detail later on. I unbolted the roof shade and had a look at it. Here you can see the broken and missing rollers:
I got new ones 3d printed for around $20. They required a bit of sanding to fit.
~I'll leave some space for more pictures later on of the repair.~
To be continued in next post....
Last edited by desired_speeds; 05-13-2016 at 03:53 PM.
I took the car to dinner one Saturday evening and upon returning to the car, was greeted with a battery/ consumers disabled message. I restarted the car and it went away so I thought the battery was low. This popped up 5 mins later while driving:
I just managed to limp home. Checked the batteries with a voltage meter and put both of them on a battery tender. At this point I knew it was probably the alternator, but wanted to confirm with STAR. Off to the shop it went.
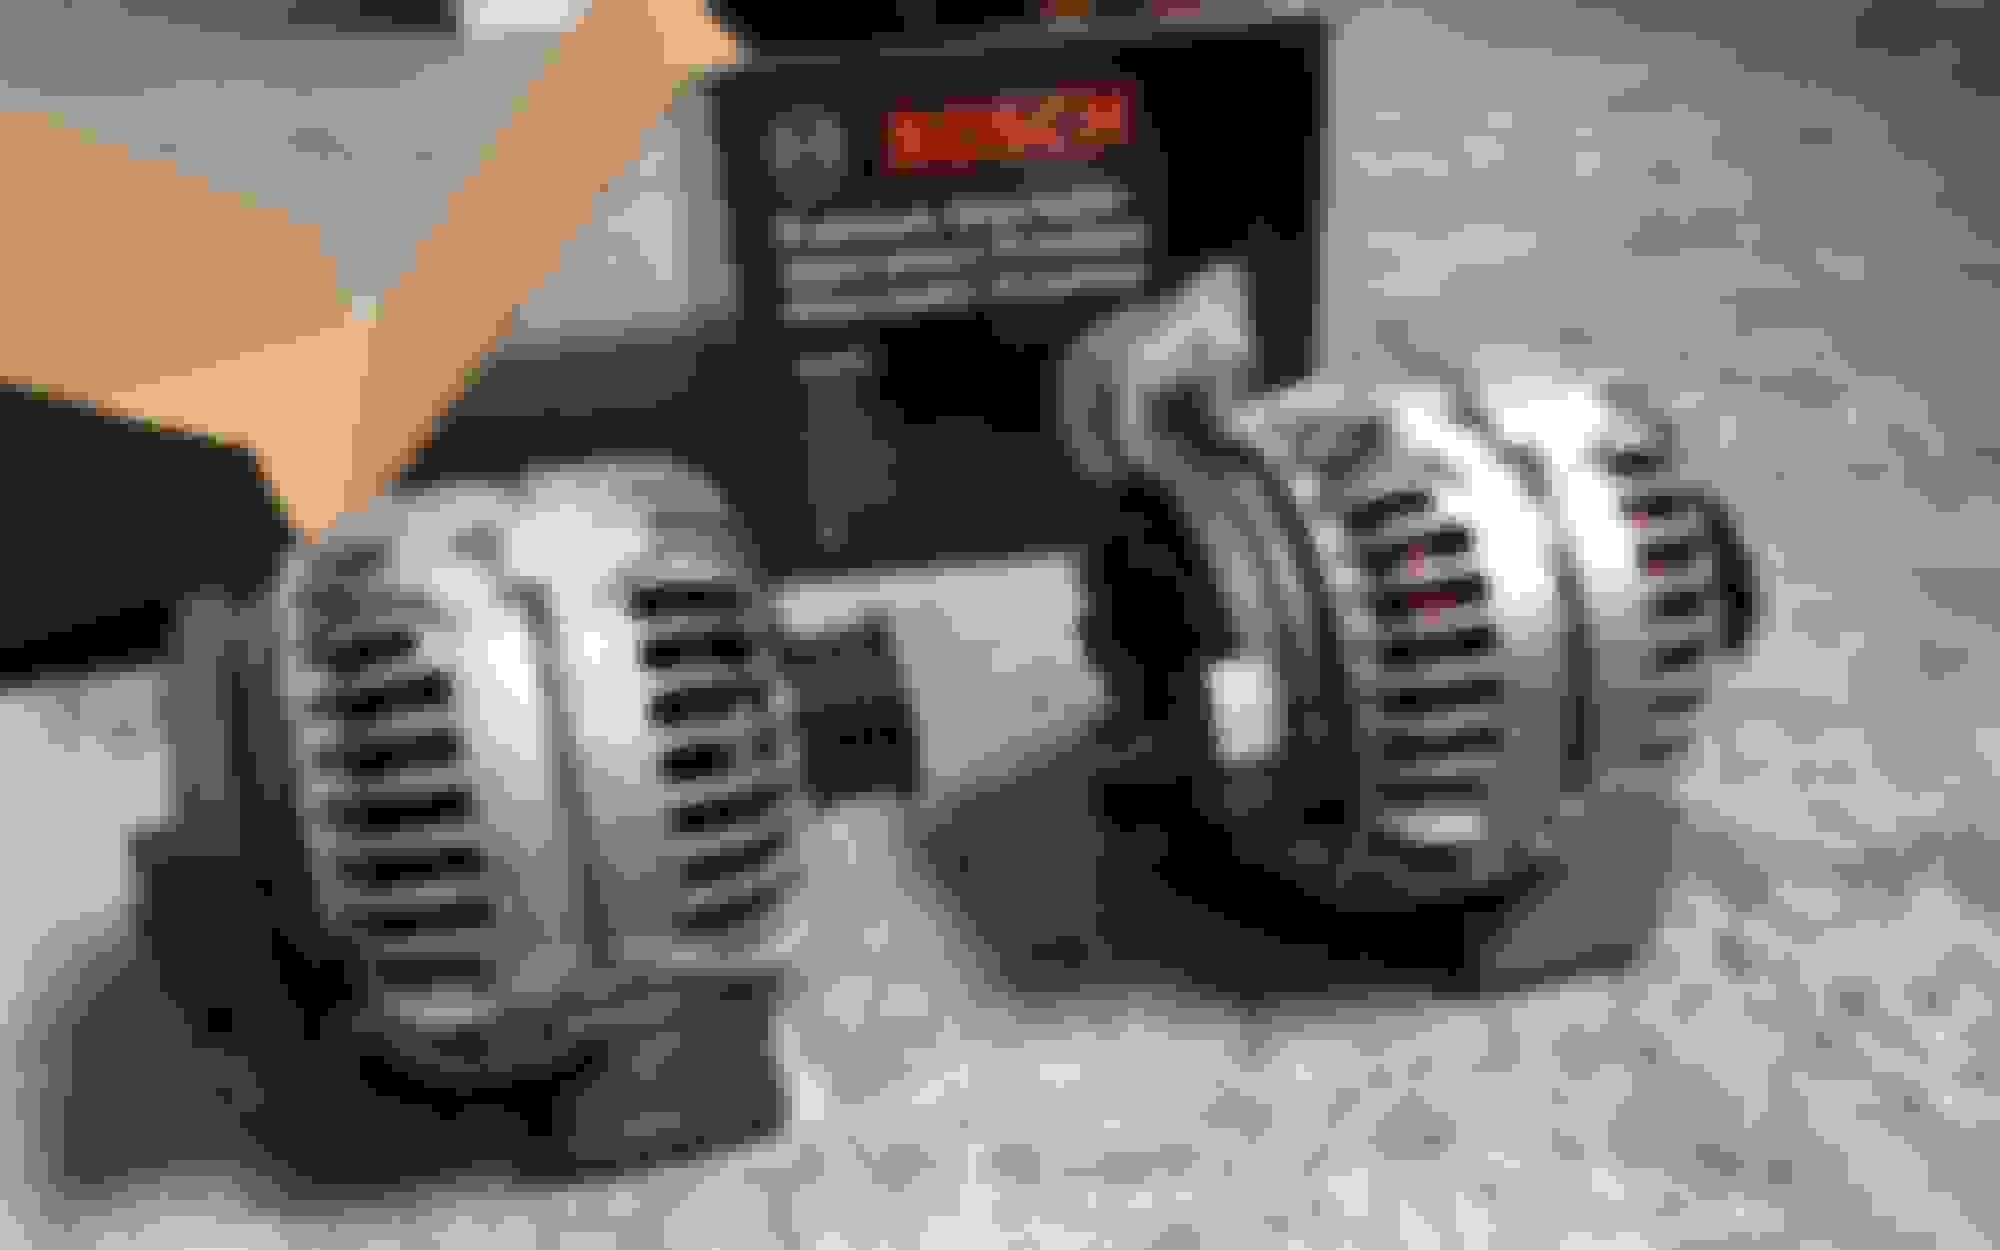
STAR showed an active fault for K57 relay, so I popped a new one in with the same results. The code was gone however. Definitely the alternator since it started smoking at idle. Here's the new remanufactured vs the old.
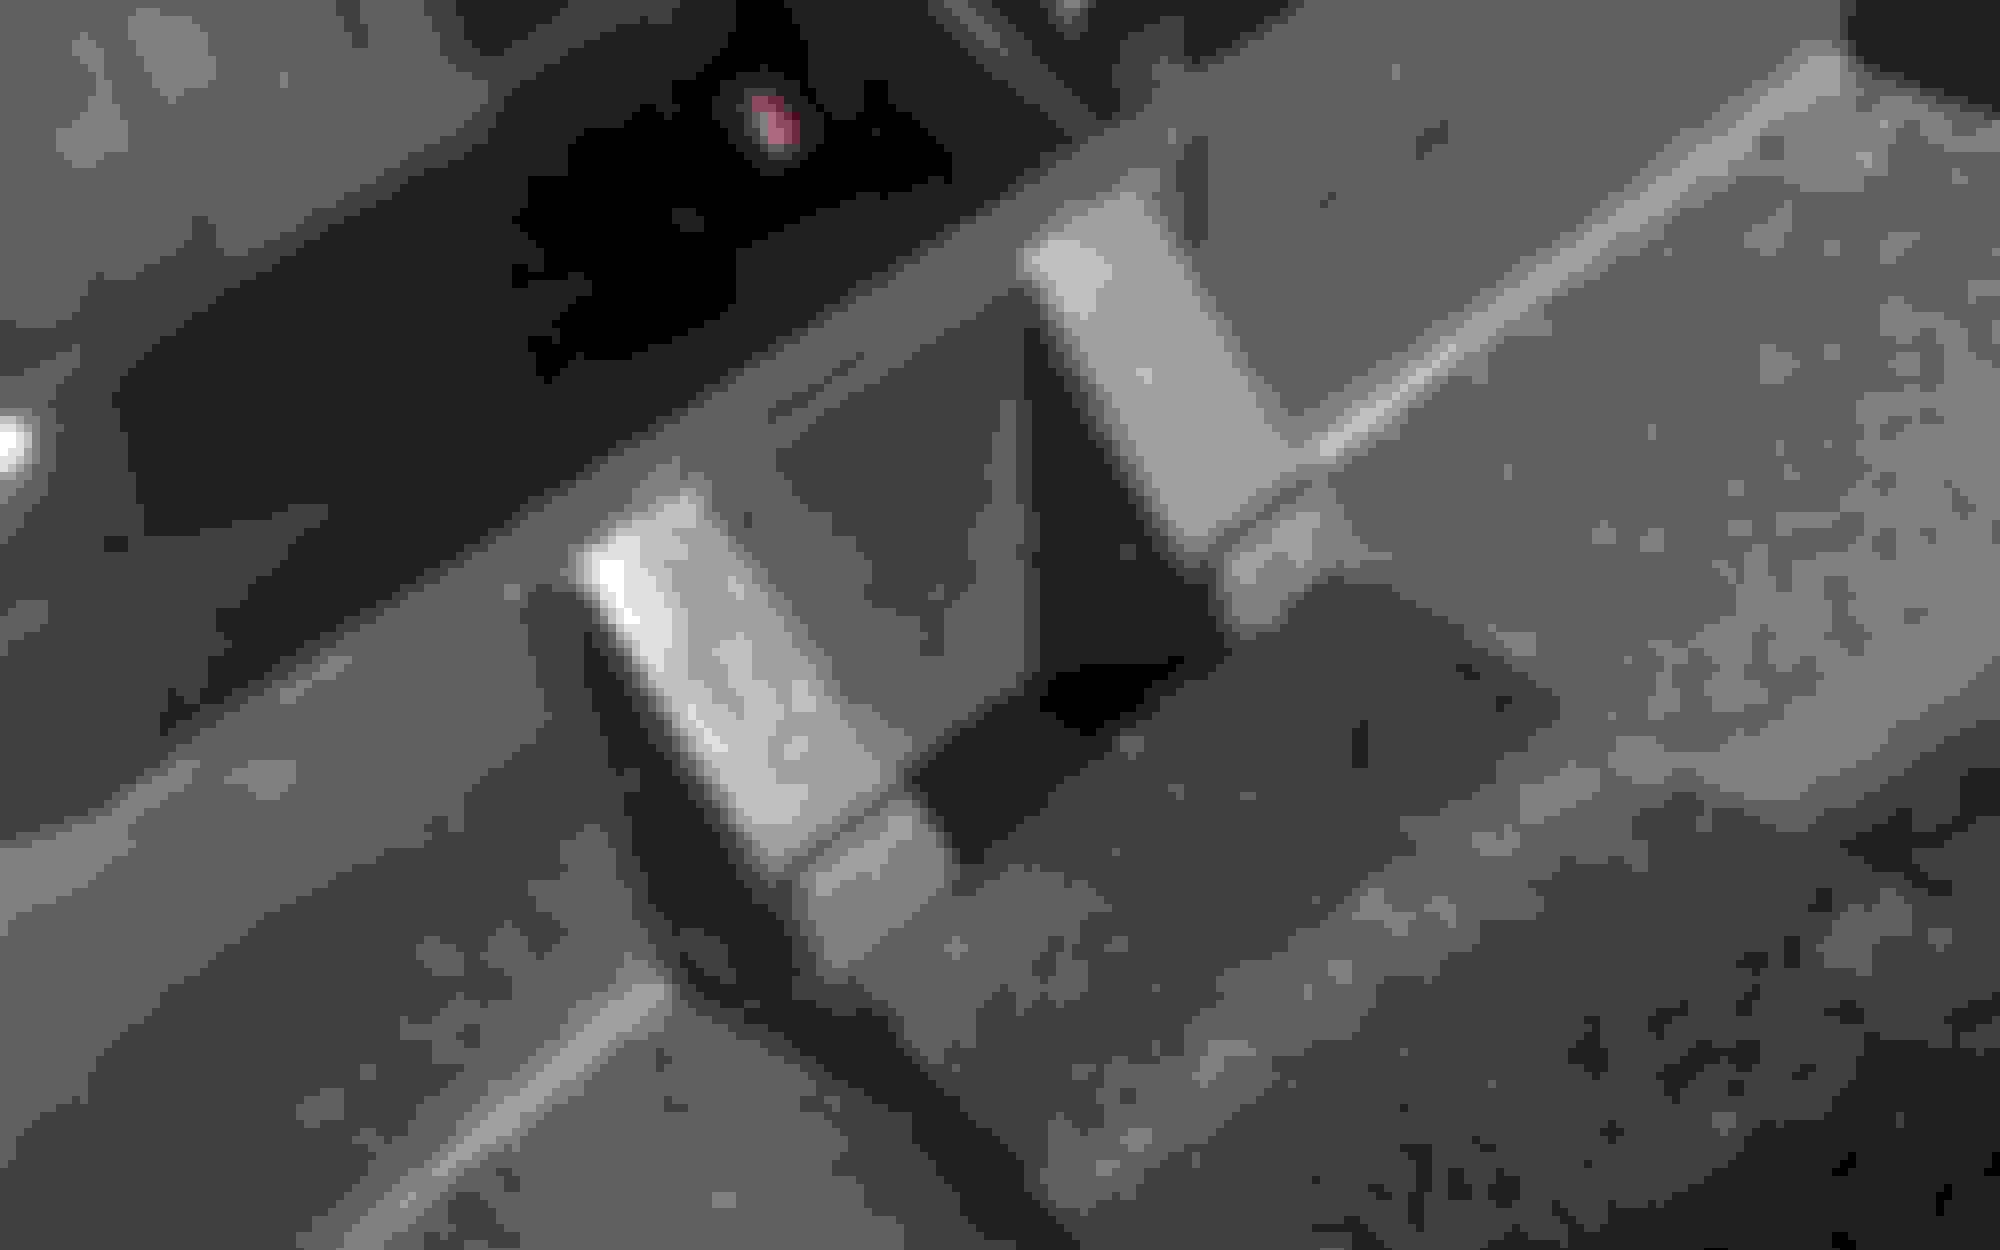
Remove the idler pulleys and the alternator slides out through the top. It's a tight fit between the fan shroud and the engine, but with some strategic rotation, it comes right out.
Also took the opportunity to get some coding done via STAR. Now I have SBC Hold and can flash my high beams without the fogs shutting off. The side markers were also turned off.
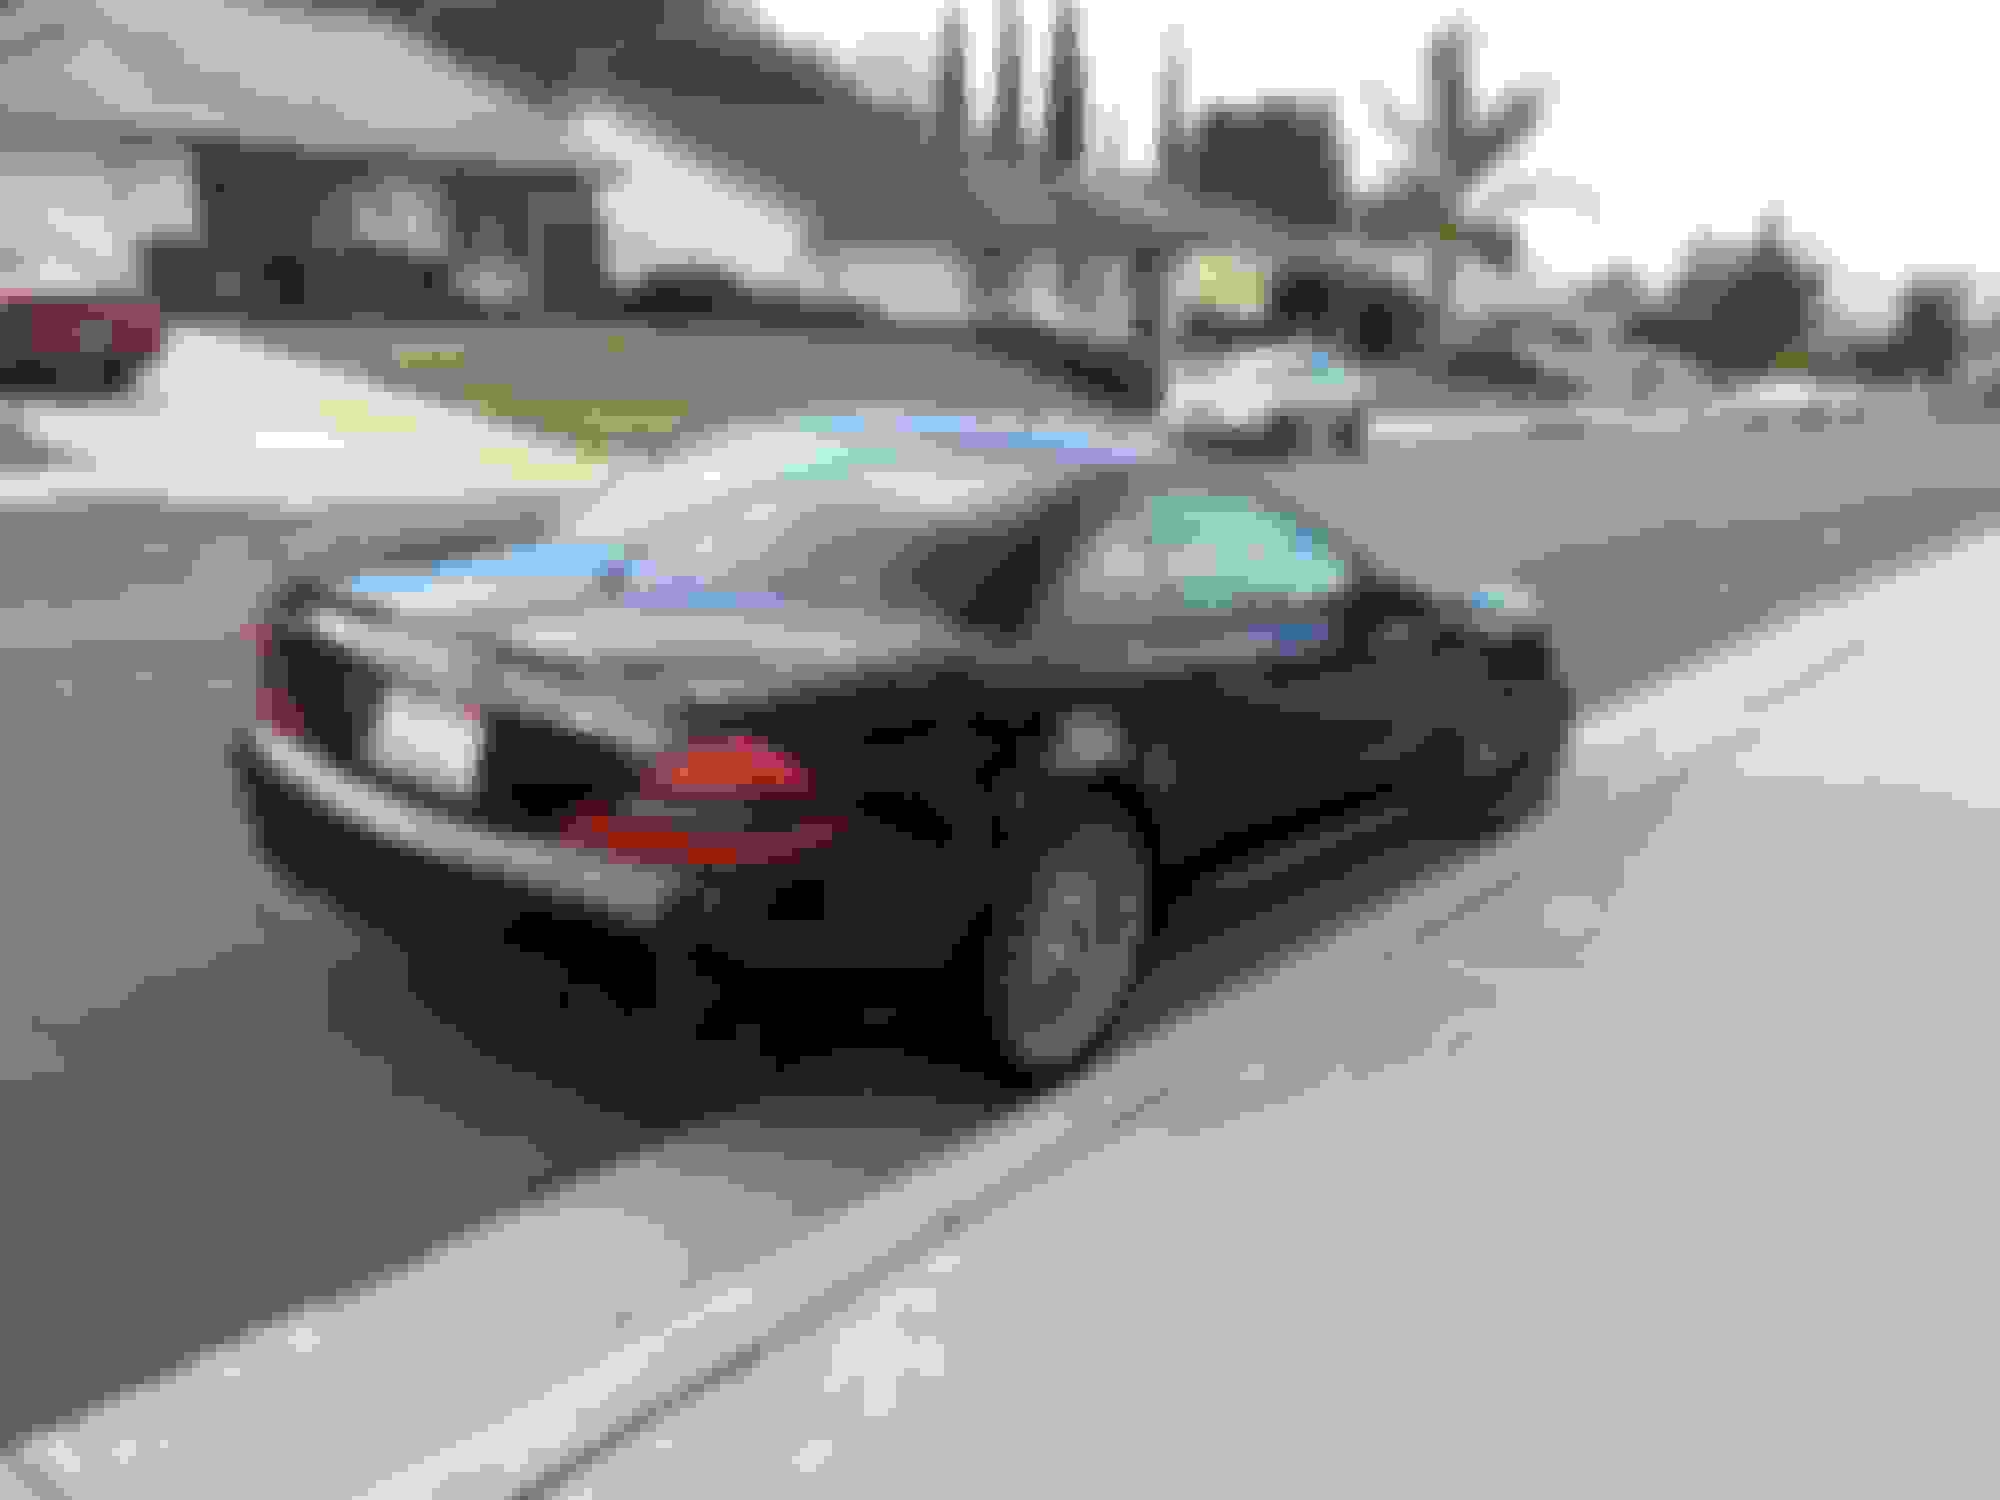
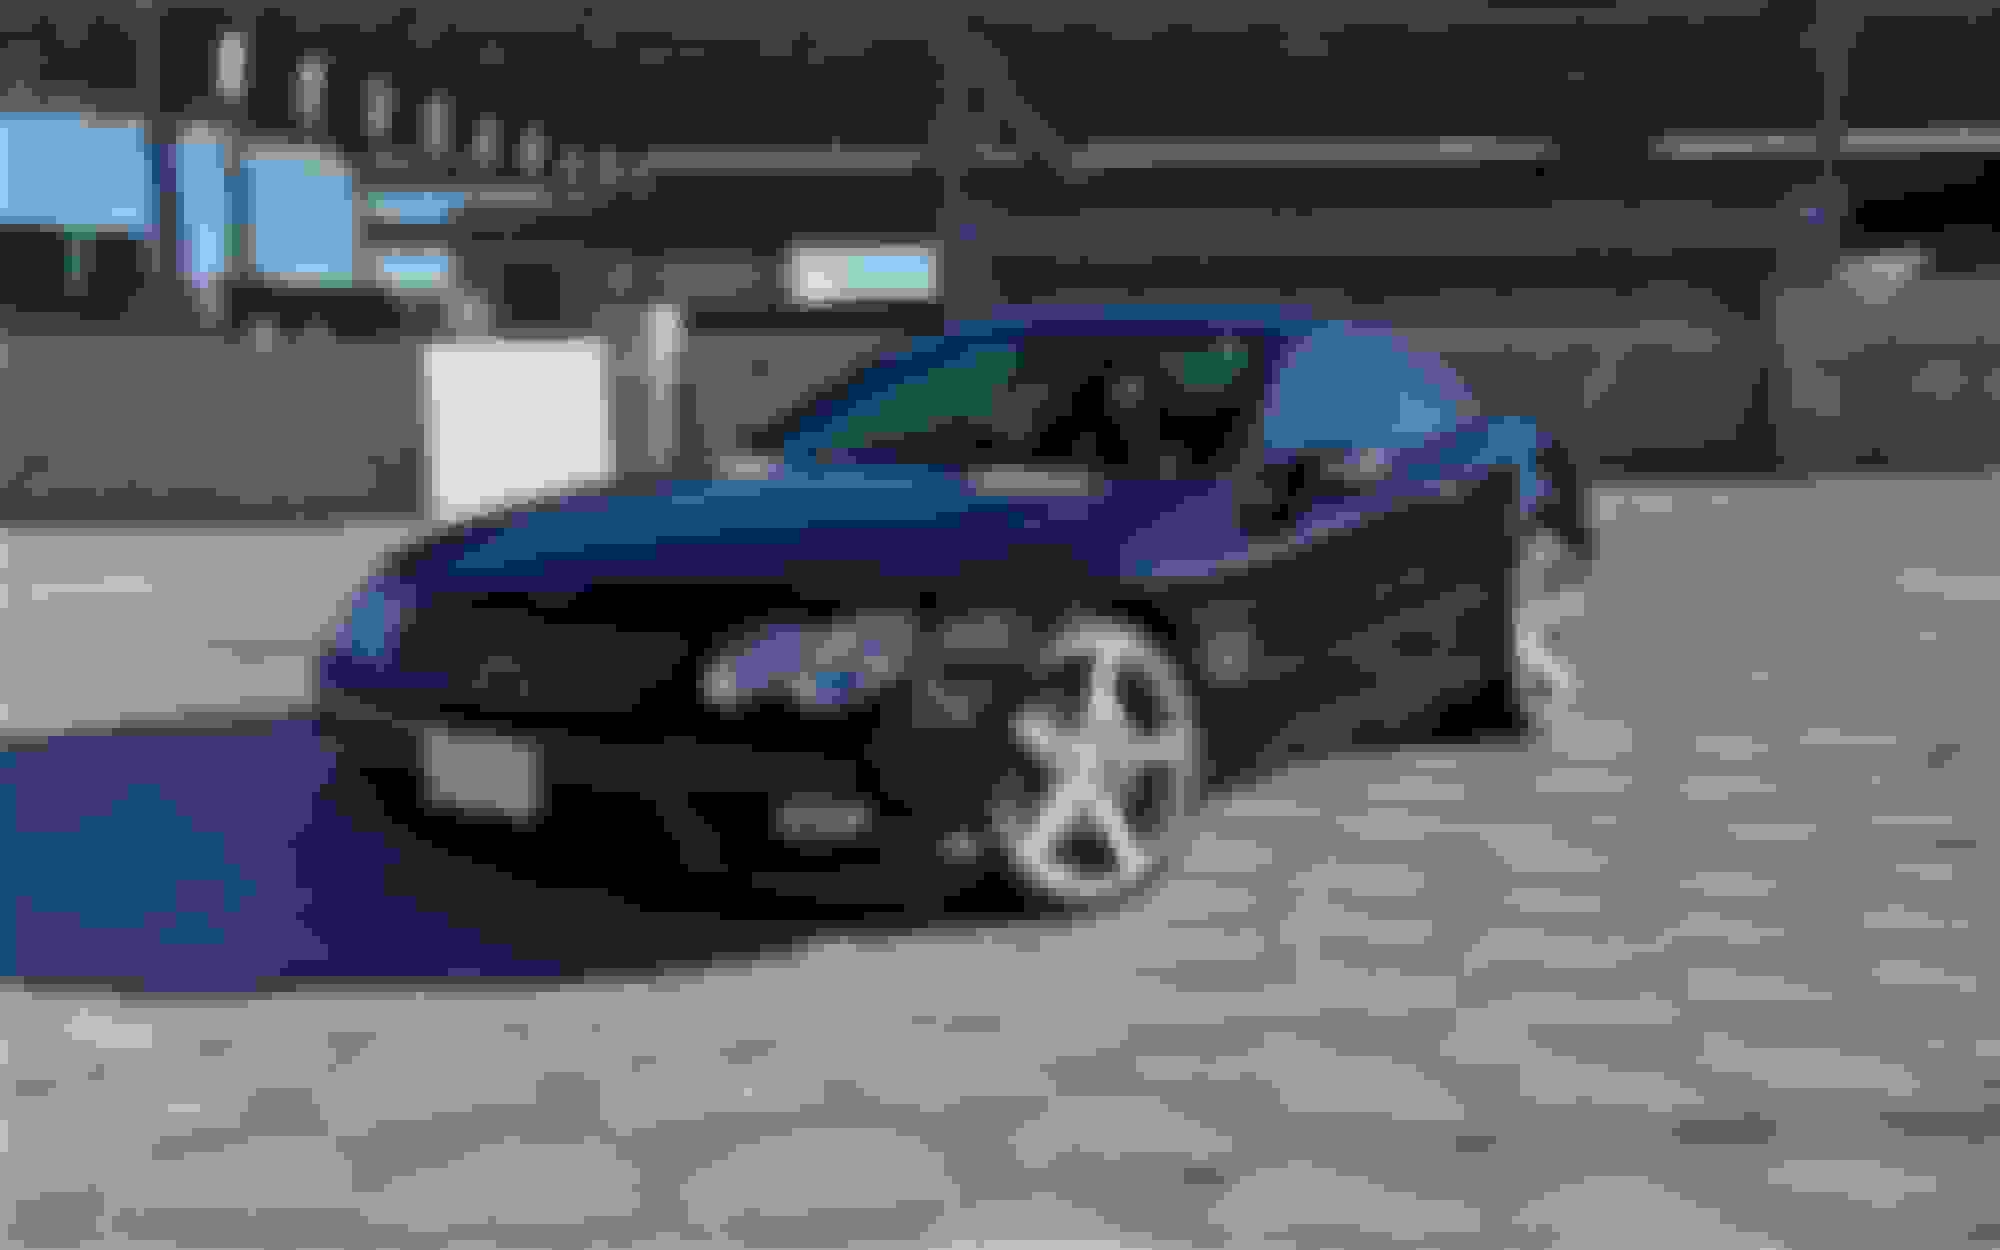
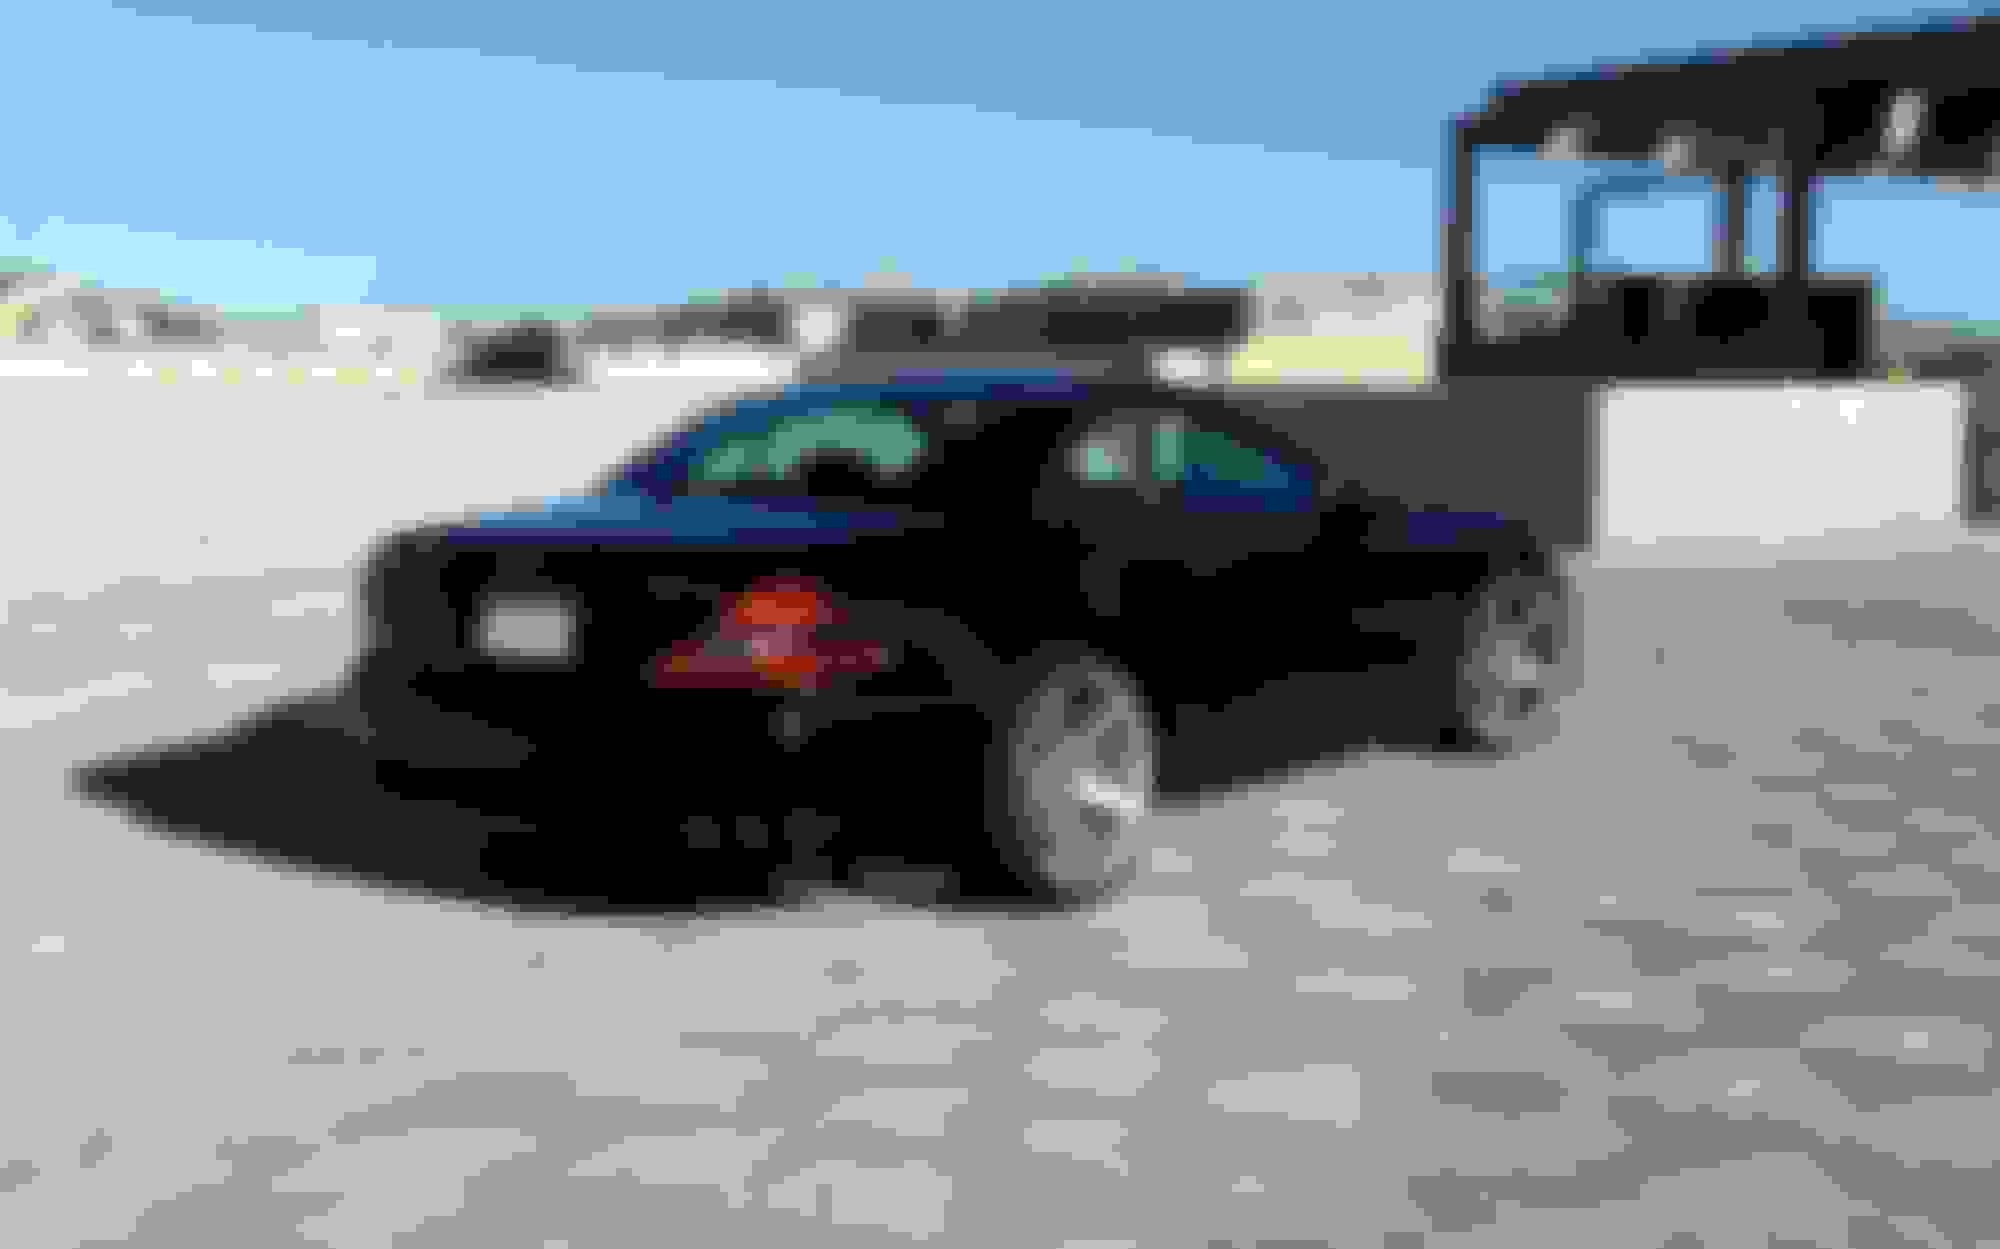
With the car running properly again, I decided to take the opportunity to put on my wheels that I've had sitting for a year. With some longer bolts and spacers, thanks to AMG3.2, I got them sit just how I wanted. Vossen CV3 in 20".
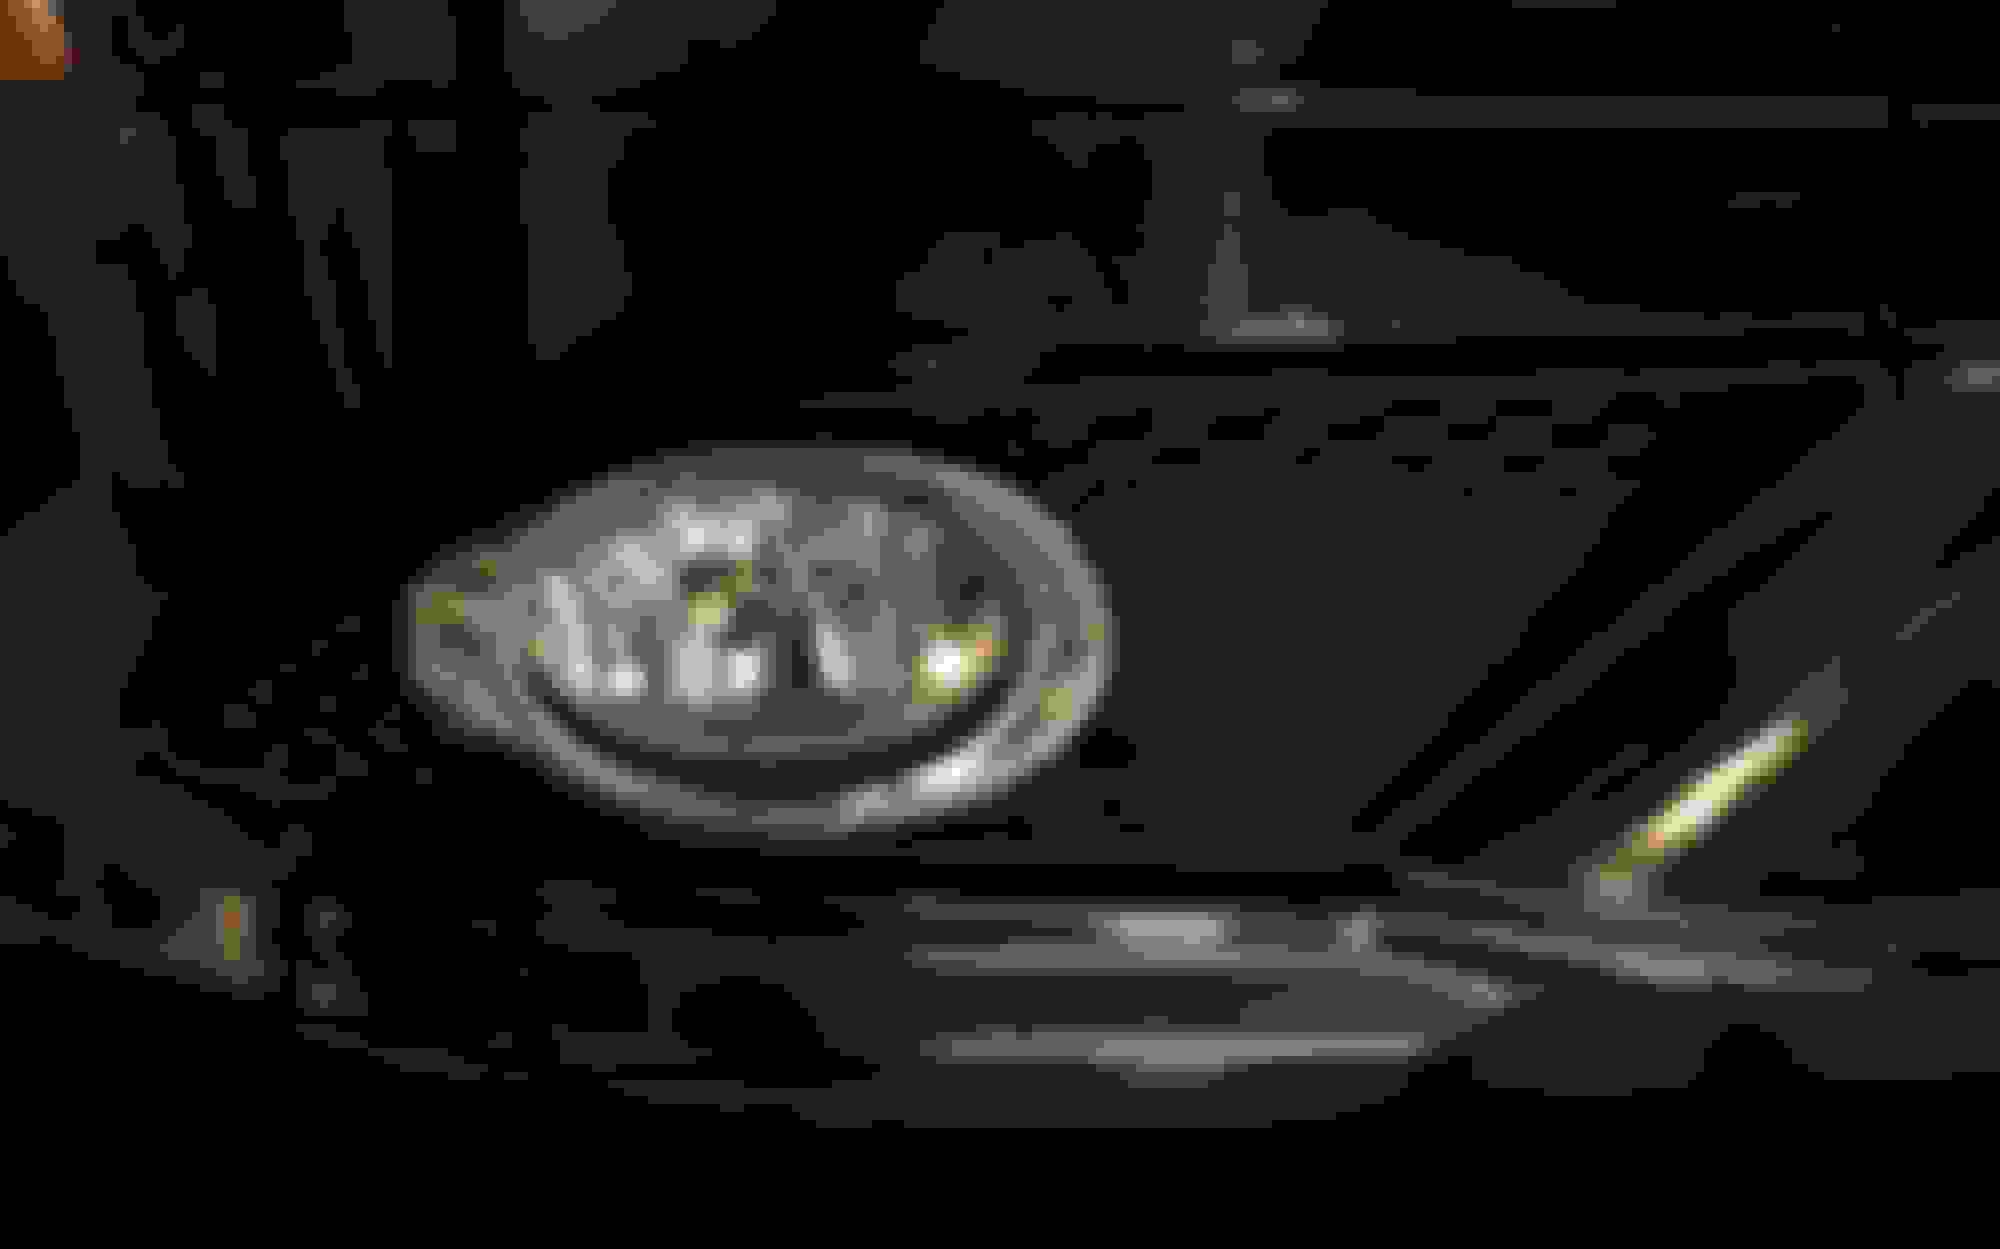
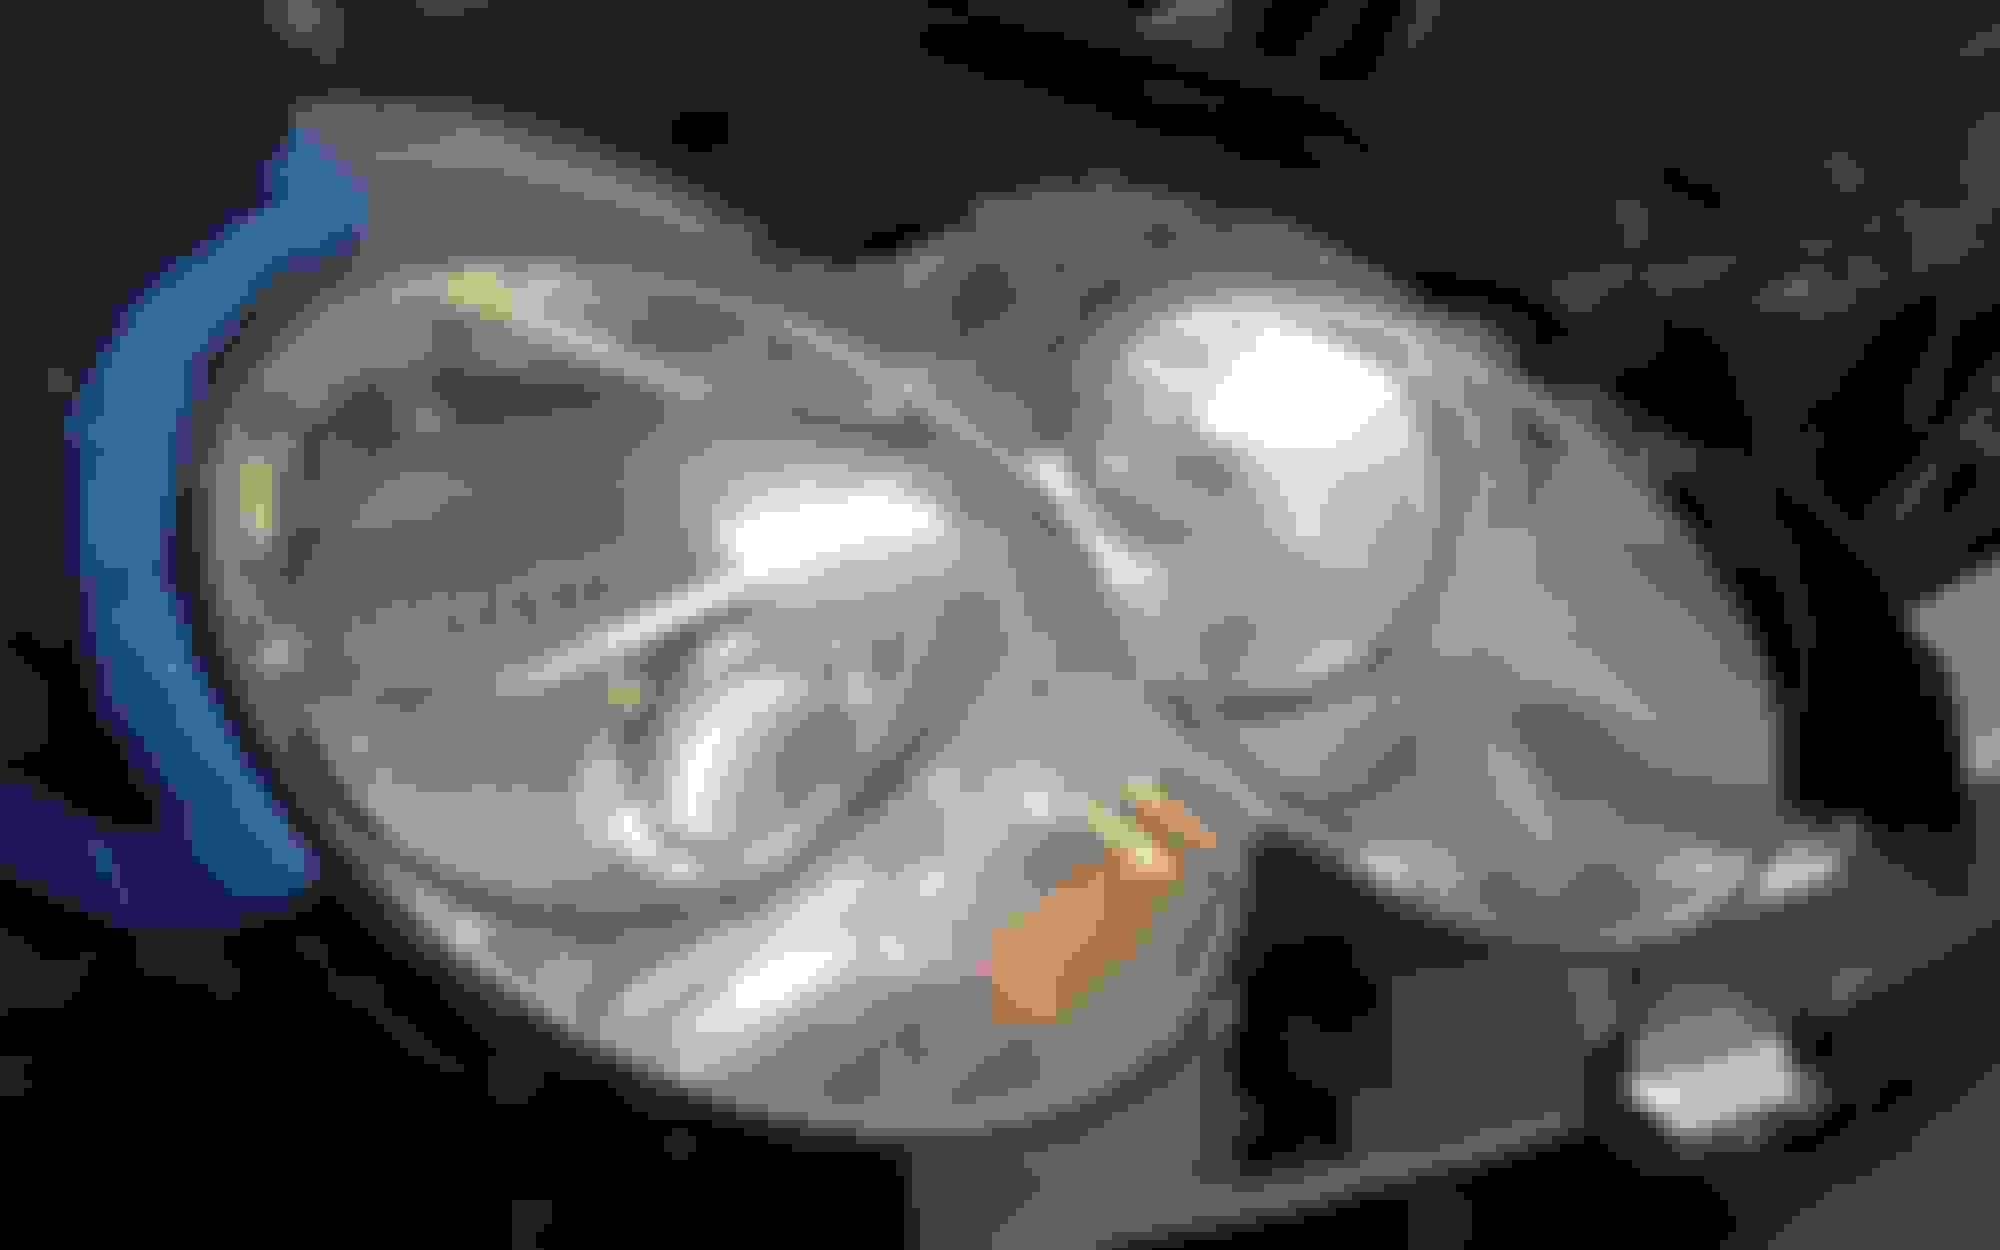
The wheels were sure to grab more attention, so the headlights and the paint needed some help. I decided to do the headlights next and off the bumper came.
This was what I was working with.
I initially started hand sanding them, but I wasn't even close to getting through the factory coating an hour later. I picked up a 3m headlight refinishing kit with the drill attachment from my local NAPA auto parts. I overpaid for it - $28. Don't make the same mistake I made and buy it on amazon for half the price. It worked, so half an hour later with the drill and they were ready to be recoated. Most people just re-polish them, but they will yellow again after 3-6 months. You need a strong UV coating. I took mine to a body shop and had them clear coat them. Here are the results:
It looks perfect on the outside, but the refinish did not correct the hazing now apparent on the inside of the lens. They're much better but far from perfect. Maybe one of these days, I will bake the headlight and buff the inside.
To be continued in next post....
Last edited by desired_speeds; 05-13-2016 at 04:50 PM.
I'll start this update with a few pics I snapped after a quick wash. Swirl central!
Next thing I knocked out was the ABC flush. Not sure if it's been done before. It was dirty but wasn't terribly black. after about 6 liters, it was light green as it should be. I ran 2 more liters through, a total of 8.
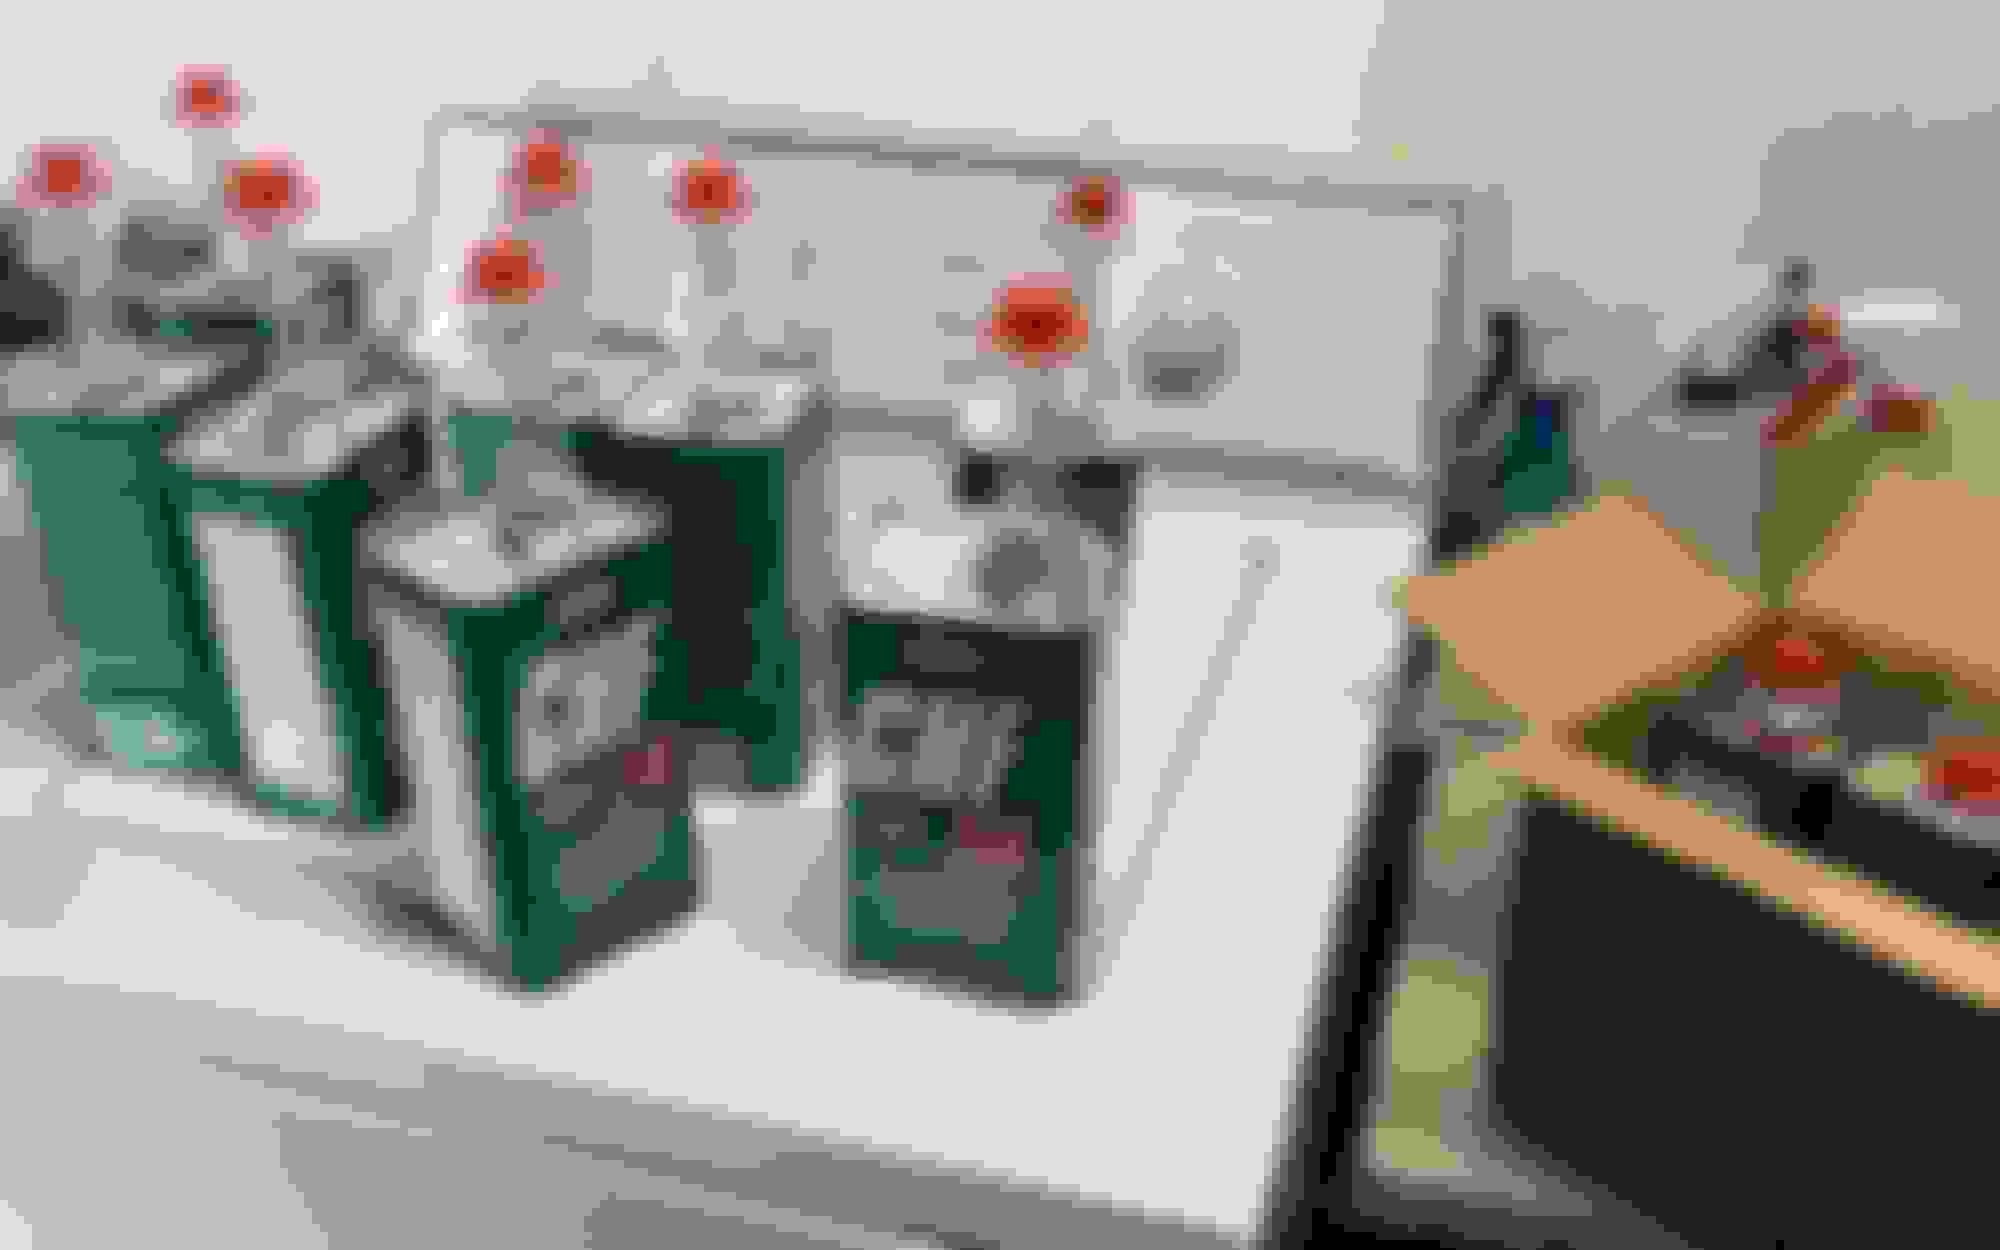
I slacked on taking pictures of my flush setup, but here are the supplies I used.
I replaced the dipstick as the rubber cap was brittle and was starting to split at the seams. I also added the a magnetic inline filter to the return line as most people recommended. Topped everything off with OEM clamps I purchased from Pelican Parts.
The filter I used was "MAGNEFINE INLINE 1/2" MAGNETIC TRANSMISSION FILTER" purchased from ebay. The inlets required a bit of sanding to slide the factory hoses over.
I thought my ABC would be trouble free for a while... and it was until I decided to take the car out Saturday evening a few weeks later. I gave the car some gas through a long stretch of road and came to a stop and got a noise with a vibration at my pedal and steering wheel. I gave it some gas at green light and it had the "whrrr" noise from the pulsation damper. I confirmed later on using a long screwdriver as a stethoscope.
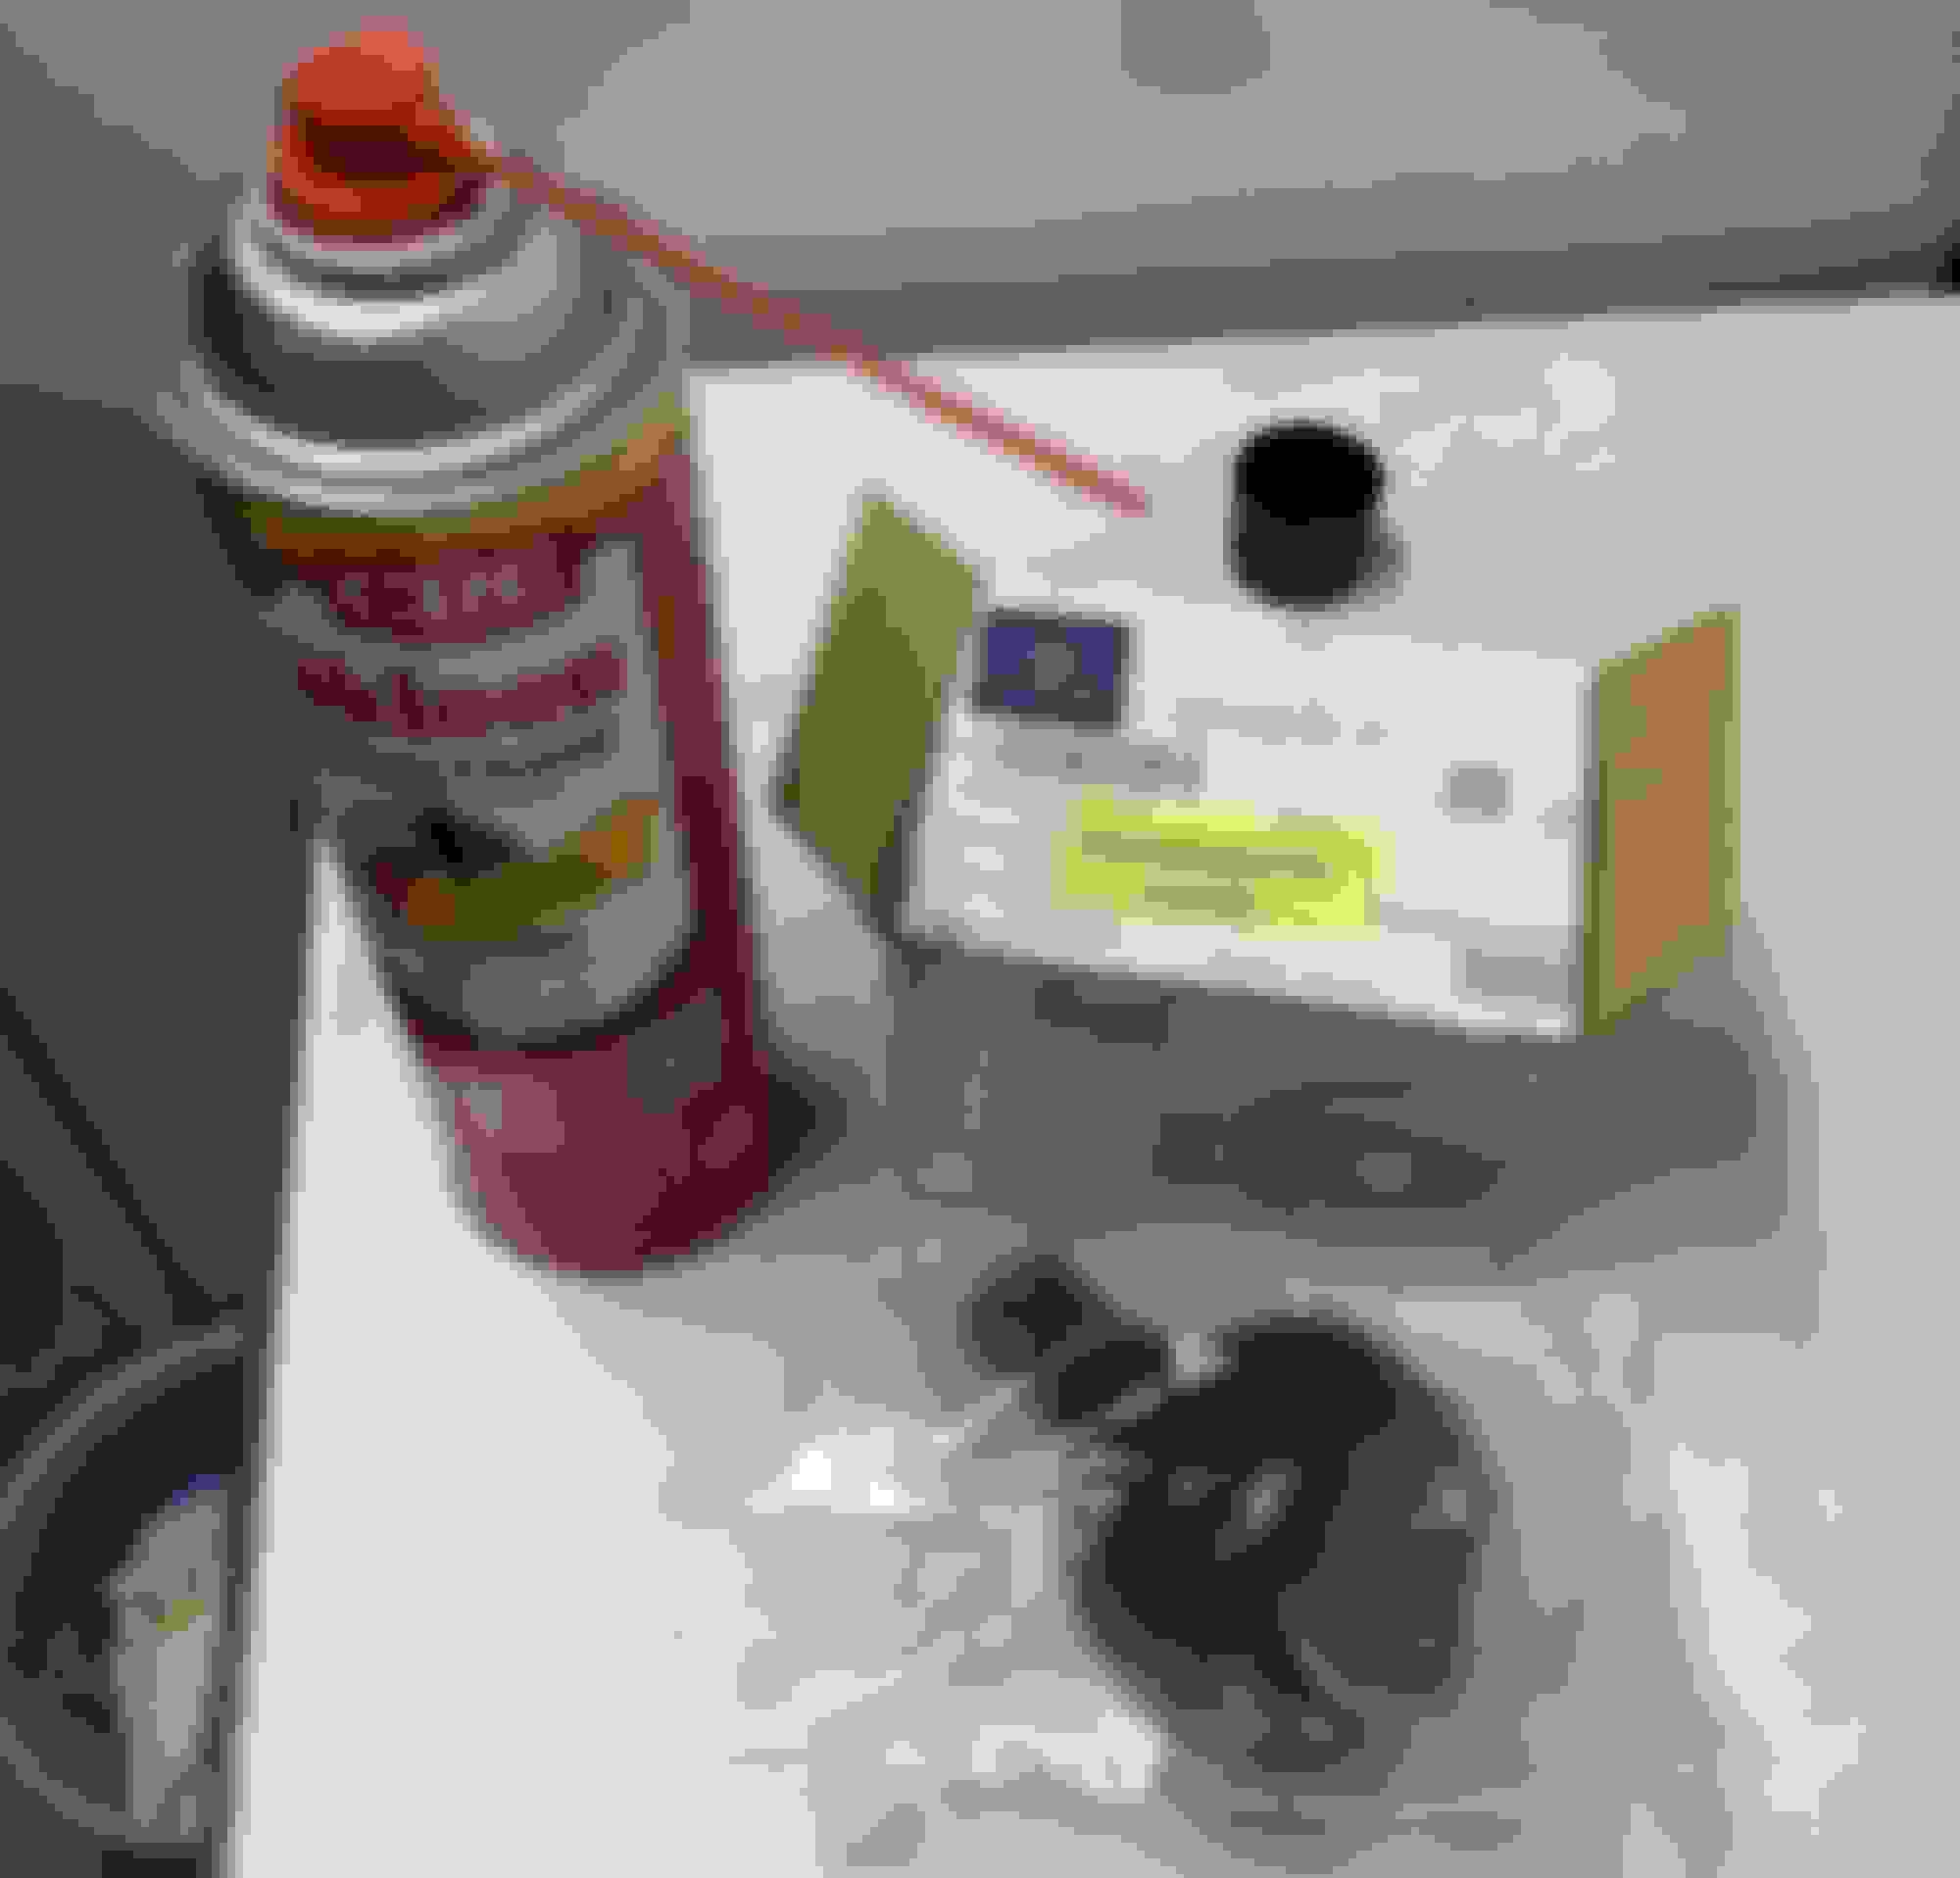
Long story short I ordered the part and replaced it. It took 5 mins and I could've done it in 2. I've never paid so much for a part so easy to replace. Pic of the parts:
Step 1: Brake cleaned the whole area. You don't want any dirt near the inlet.
Step 2: Break it loose with a 17mm 6 point socket. This is accompanied with a 5" extension.
Step 3: Unscrew the pulsation damper and remove by pushing on the hose as seen in the following pic. I also carefully cleaned the area around the hole with a microfiber rag soaked in brake parts cleaner.
Here's the old one vs the new. The new one comes with a plastic cap you need to remove.
Step 4: Screw the new one on and torque down. Not too tight, but a a firm tightening will do.
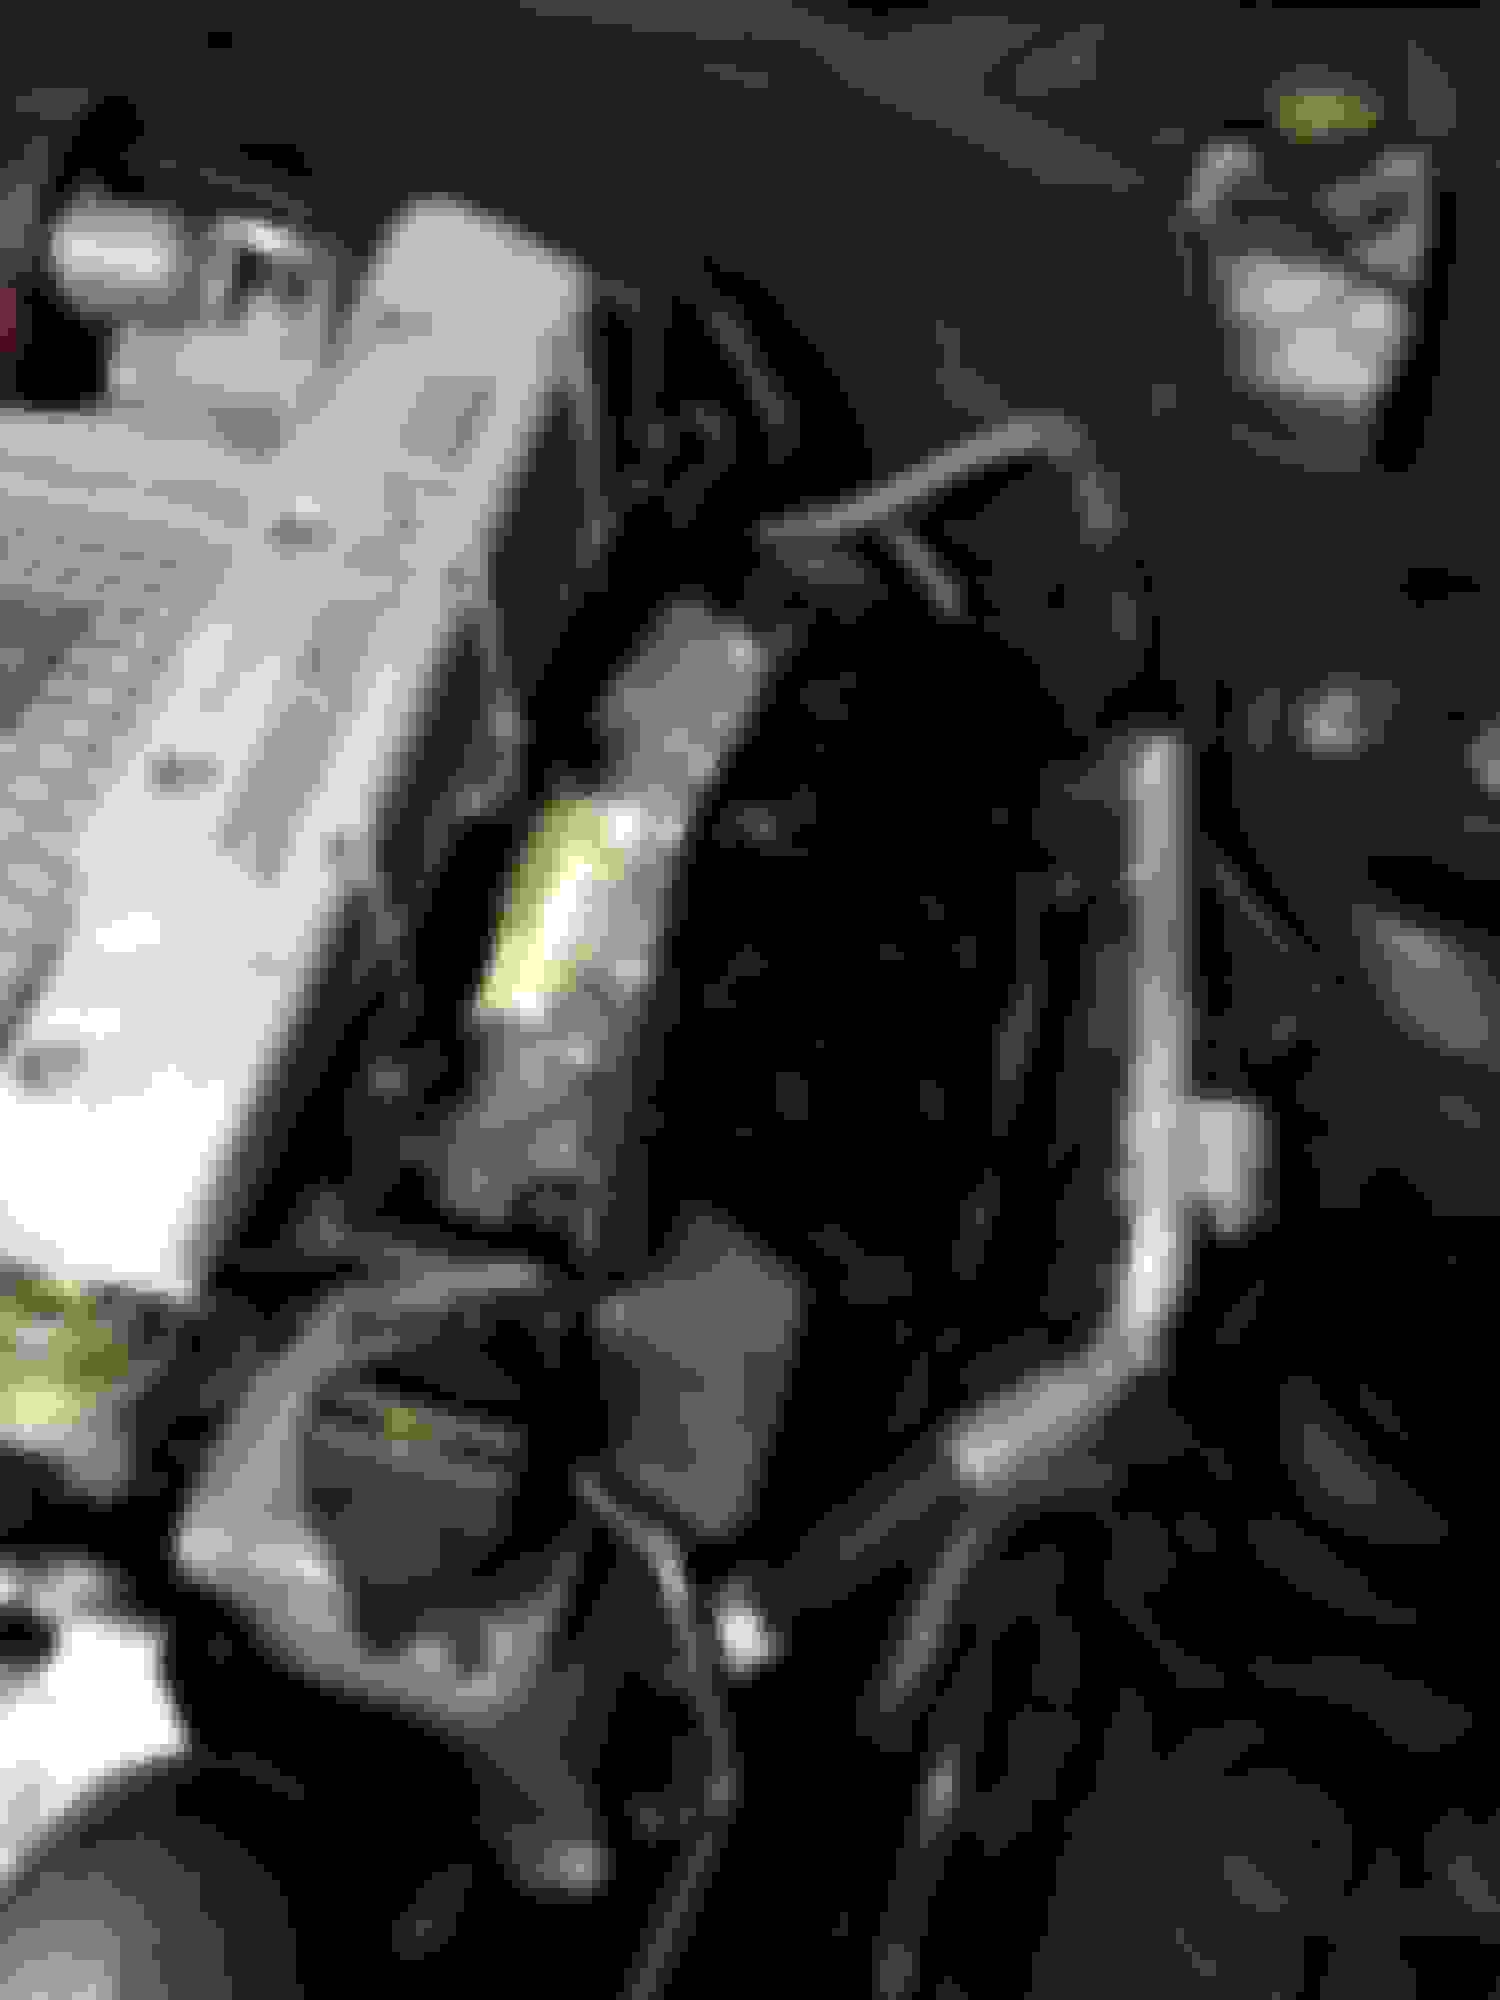
Done! Here's how the engine bay looks to date. I replaced the belts somewhere along the way as well with a Conti acc. belt and a Gates HD for the S/C.
While the car was sitting around waiting for the damper to arrive, gave it a hand detail (Wash, clay, polish, wax) and threw some LEDs in for the city lights. They're bright as hell but too blue compared to the headlights. I'll end this update with this:
Last edited by desired_speeds; 05-16-2016 at 06:27 PM.
Mercedes SL63 AMG; Mercedes E63 AMG S 4matic; Mercedes C43 AMG; Mercedes S Class, Mercedes GLK
Nice -
The SL63 pulsation damper is in the same location but much more awkward to get to based on how the engine is laid out. Wish it had been this easy when I did mine!
Long overdue for an an update. I replaced a few more parts, but nothing really too exciting.
First off, more things broken. The crankshaft position sensor was leaving me stranded when I would run into the store to grab something. It happened 3 times and I parked the car until I replaced it.
Here we see the sensor under the heat wrap:
Cut the zip tie and pull the wrap up to allow access to the connector.
Here are the tools I used. I only had the a 3/8 socket, but you really need a 1/4 socket to get it really seated on the bolt.
Comparison of the old vs. the new sensor. I bought a bosch one from Amazon. It's identical to the original one down to the part numbers on the other side. It's only missing the MB stamping.
Next, I replaced the fuel filter. I bought a Mahle one and again, it's identical to the OEM one, down to the part numbers on the side. I also ordered OEM reusable clamps.
Here it is located next to the differential. The original clamps are easiest to remove with a small flathead screwdriver and a pick if I remember correctly.
The gas that came out of the old filter was actually really clean. Here's the old filter removed:
New filter and clamps:
I found that my MY07 came with charcoal filters in the USA marked airboxes. So out they came.
I put the 19in "roadtrip friendly" wheels back on and took a drive down the coast for Memorial Day weekend. The car performed flawlessly over the 1k+ mile trip. Highway consumption on the way down was 20.3mpg; 19.4 on the way back. Combined average for the whole trip was 18.4mpg.
And lastly, a week later, some lady in a Camry backed into my front bumper while I was waiting to get out of a parking lot. Just a small scuff, but not enough damage for me to claim it.
Last edited by desired_speeds; 08-04-2016 at 04:29 PM.
Thanks for the update. Renee's 2005 SL55 got smacked in her parking lot in the rear. There must have been something on the front parking stop because it damaged the front as well. 5K later and is better than new! Glad the person had insurance.
Porsche guy who drives SL63 w/ perf pkg AND perf suspension
you can buy those fog lites on ebay, and I would put clear film on the headlites to preserve them, buy that on ebay too pre cut. You can rub the scratch with light polishing compound and the after its finished use swire remover
Thanks for sharing. Any tips on replacing the fuel filter?
Wear some eye protection for rocks that will drop in your face. I would remove the clamps first then slide the hoses to the tip of the filter then remove the filter's holding bracket. The caps from the new filter will come in handy to prevent fuel from pouring out of the filter when you maneuver it out from the undercarriage.

 05-13-2016, 06:25 AM