
MJ50's W211 Mod Fever (OEM Retrofits)

 02-14-2009, 09:09 PM
#627
Super Moderator

Thread Starter
Join Date: Jul 2003
Location: MBworld
Posts: 20,939
Received 744 Likes
on
725 Posts
bone stock E55 AMG
yea sun... 
funny we were posting on myMB and soon later bump into each other on I-5...
i had no idea until 장모님 told me "옆에 김서방 차랑 같은차 아니야?"
i couldn't talk much through speaker phone since wifey was there too...
funny we were posting on myMB and soon later bump into each other on I-5...
i had no idea until 장모님 told me "옆에 김서방 차랑 같은차 아니야?"
i couldn't talk much through speaker phone since wifey was there too...

 02-14-2009, 10:49 PM
#631
Super Moderator
02-15-2009, 10:25 AM
#633
MBWorld Fanatic!
Join Date: Jul 2008
Location: Philly
Posts: 2,171
Likes: 0
Received 3 Likes
on
3 Posts
997TT, R8 V10+, G550, Plaid S
hehe working at radio shack years ago hardly counts as electrical engineering
i actually remembered of what i think may be a better soltuion .....hoen perfect match bulbs. www.hoen-usa.com
i actually remembered of what i think may be a better soltuion .....hoen perfect match bulbs. www.hoen-usa.com
02-15-2009, 10:28 AM
#634
Super Moderator
Thread Starter
Join Date: Jul 2003
Location: MBworld
Posts: 20,939
Received 744 Likes
on
725 Posts
bone stock E55 AMG
hehe working at radio shack years ago hardly counts as electrical engineering
i actually remembered of what i think may be a better soltuion .....hoen perfect match bulbs. www.hoen-usa.com
i actually remembered of what i think may be a better soltuion .....hoen perfect match bulbs. www.hoen-usa.com
 02-15-2009, 02:03 PM
#635
MBWorld Fanatic!
Join Date: Jul 2008
Location: Philly
Posts: 2,171
Likes: 0
Received 3 Likes
on
3 Posts
997TT, R8 V10+, G550, Plaid S
i got them for the front parking/driving lights......i'll pos tpics when they come in. in the mean time i'll try the resistors too.
went to ratshack and got two 1/4w 1k-ohm resistors and they did the job
they didnt have any 8xx ohm ones so 1k-ohm was the closest.
led's look much better than before, however they do not really match the oem hid at all......hopefully the hoen parking lights will be better.
either way - thanks for your help fellas !!!
Last edited by prodigymb; 02-15-2009 at 07:07 PM.

 02-24-2009, 10:02 PM
#641
Senior Member

Join Date: Aug 2007
Location: CT
Posts: 378
Likes: 0
Received 0 Likes
on
0 Posts
04 S430 4Matic/03 Ml 320/ 98' E320 4matic/ 73' slc 450/ 05 cherokee
ok this is probably the best thread i have ever seen.
the ride is absolutely beautiful. so much has gone into it.
the freaking pictures are even awesome!
WELL done!!
will.
the ride is absolutely beautiful. so much has gone into it.
the freaking pictures are even awesome!
WELL done!!
will.
02-25-2009, 12:18 AM
#643
Out Of Control!!
Join Date: Nov 2005
Location: OC
Posts: 18,677
Likes: 0
Received 9 Likes
on
9 Posts
a quarter mile at a time
SORRY GUYS!!!!!!!!!!!!!!. I've been super busy with work and also wanted to make absolutely sure everything would be ok.
I think we can safely say that the mod works. AFAIK, Phil's car is still going strong and mine is as well. I've provided links to amazon to source most of the parts to make it easy one everyone to find things. There are other places to get this stuff however.
Parts:
- (2x) festoon LED's - I personally like the "2w" LED's from ebay Just do a search for "2w festoon led"
- (2x) 5w 25ohm resistors: Newark
- (4x) wiretaps: Newark
- Loose wire: dosen't need to be thick, any wire about 22guage will do.
- electrical tape
- Thermal epoxy - Amazon
So. You'll need to take off your inner trunklid liner. A couple of torx screws and a ton plastic fasteners.
Once you have that off, you'll see the two wires going to each light bulb housing. One wire should be purple and the other black. Don't worry about polarity or colors.
Wire the resistor. If you can, solder some loose wire to each end of the resistor. If you can't, secure it by twisting and cover with electrical tape.
Next, wire the resistor in parallel using the wire taps. For those of you not electrically incline, connect one side of the resistor to one wire, and the other end to the other wire. Repeat for the other set of wires.
Use the thermal epoxy to secure the resistor to a flat metal part of the inside of the trunklid. Let dry, a couple minutes should do.
Insert the LED's into the outside housing. If the LED's don't turn on, flip them around.
At this point, your LED's should light up and you should be getting NO errors in your instrument cluster. Once that's verified, replace your trunklid liner.
Done. PM me if you have any questions.
02-25-2009, 03:23 PM
#649
MBWorld Fanatic!
Join Date: Nov 2007
Location: Scottsdale, AZ
Posts: 2,195
Likes: 0
Received 41 Likes
on
2 Posts
Mercedes
SORRY GUYS!!!!!!!!!!!!!!. I've been super busy with work and also wanted to make absolutely sure everything would be ok.
I think we can safely say that the mod works. AFAIK, Phil's car is still going strong and mine is as well. I've provided links to amazon to source most of the parts to make it easy one everyone to find things. There are other places to get this stuff however.
Parts:
- (2x) festoon LED's - I personally like the "2w" LED's from ebay Just do a search for "2w festoon led"
- (2x) 5w 25ohm resistors: Newark
- (4x) wiretaps: Newark
- Loose wire: dosen't need to be thick, any wire about 22guage will do.
- electrical tape
- Thermal epoxy - Amazon
So. You'll need to take off your inner trunklid liner. A couple of torx screws and a ton plastic fasteners.
Once you have that off, you'll see the two wires going to each light bulb housing. One wire should be purple and the other black. Don't worry about polarity or colors.
Wire the resistor. If you can, solder some loose wire to each end of the resistor. If you can't, secure it by twisting and cover with electrical tape.
Next, wire the resistor in parallel using the wire taps. For those of you not electrically incline, connect one side of the resistor to one wire, and the other end to the other wire. Repeat for the other set of wires.
Use the thermal epoxy to secure the resistor to a flat metal part of the inside of the trunklid. Let dry, a couple minutes should do.
Insert the LED's into the outside housing. If the LED's don't turn on, flip them around.
At this point, your LED's should light up and you should be getting NO errors in your instrument cluster. Once that's verified, replace your trunklid liner.
Done. PM me if you have any questions.
I think we can safely say that the mod works. AFAIK, Phil's car is still going strong and mine is as well. I've provided links to amazon to source most of the parts to make it easy one everyone to find things. There are other places to get this stuff however.
Parts:
- (2x) festoon LED's - I personally like the "2w" LED's from ebay Just do a search for "2w festoon led"
- (2x) 5w 25ohm resistors: Newark
- (4x) wiretaps: Newark
- Loose wire: dosen't need to be thick, any wire about 22guage will do.
- electrical tape
- Thermal epoxy - Amazon
So. You'll need to take off your inner trunklid liner. A couple of torx screws and a ton plastic fasteners.
Once you have that off, you'll see the two wires going to each light bulb housing. One wire should be purple and the other black. Don't worry about polarity or colors.
Wire the resistor. If you can, solder some loose wire to each end of the resistor. If you can't, secure it by twisting and cover with electrical tape.
Next, wire the resistor in parallel using the wire taps. For those of you not electrically incline, connect one side of the resistor to one wire, and the other end to the other wire. Repeat for the other set of wires.
Use the thermal epoxy to secure the resistor to a flat metal part of the inside of the trunklid. Let dry, a couple minutes should do.
Insert the LED's into the outside housing. If the LED's don't turn on, flip them around.
At this point, your LED's should light up and you should be getting NO errors in your instrument cluster. Once that's verified, replace your trunklid liner.
Done. PM me if you have any questions.
Thanks
02-28-2009, 03:14 AM
#650
Super Moderator
Thread Starter
Join Date: Jul 2003
Location: MBworld
Posts: 20,939
Received 744 Likes
on
725 Posts
bone stock E55 AMG
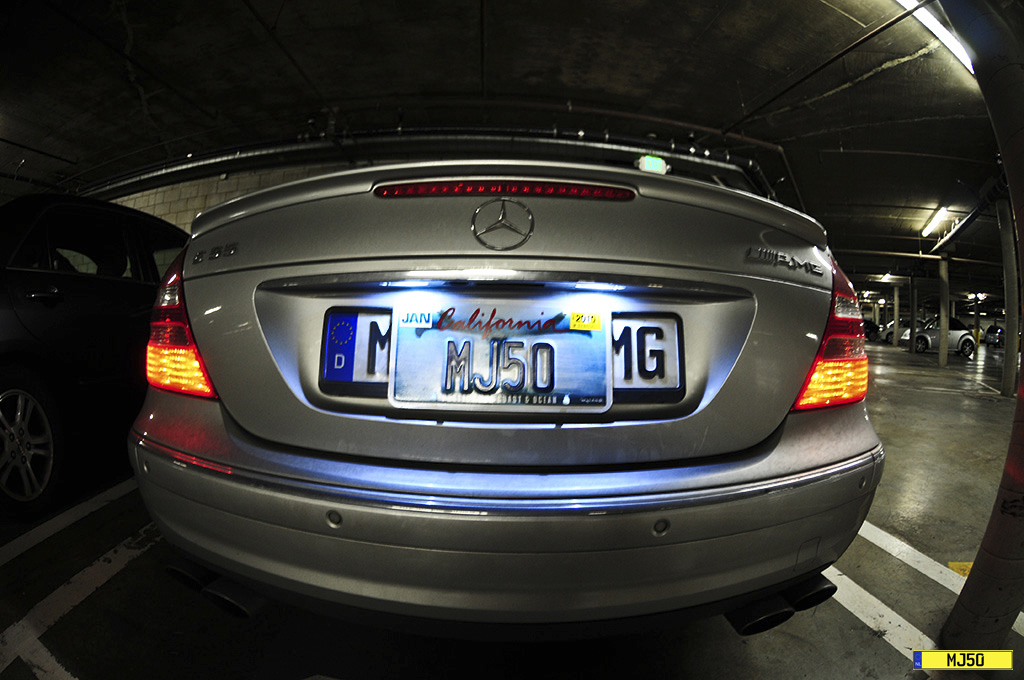
MP3 CD Changer Installed
just installed factory MP3 CD changer...
thx to MB211 for parts & install...
now, i can make use of 6-disc changer....
no pics for this mod since there isn't much pics to take...
thx to MB211 for parts & install...
now, i can make use of 6-disc changer....
no pics for this mod since there isn't much pics to take...


