


DIY Wheel Well Care

Thread Starter
Senior Member
Joined: Feb 2014
Posts: 420
Likes: 3
From: SC/NoVa
13' E350 4matic, 08' E63
DIY Wheel Well Care
This is a very important area of the vehicle for appearance reasons. Those of you who have aftermarket wheels tend to totally cover the well area so it is not as important to you, however when those front wheels turn you can see inside there. Nothing ruins a vehicles appearance worse than faded, splotched, worn looking or even dirty wheel wells.
Typically people spray them with tire dressings or silicone after cleaning their cars to make them black again, which only lasts till the next rain or dust in the road. A lot of Detailers also spray them with some type of black spray paint to accomplish this too. That doesn't really look good due to high and low spots, rough and smooth areas and the overspray issues. There are plastic restorers that can be purchased for all plastic parts on the outside of the cars, then those can be treated to keep them nice. Most of our cars are between 6 and 10 years old, so treating brand new wheel well liners is not an option.
I am very OCD when it comes to my personal cars. I do paint corrections for stress relief and when it comes to this area there are no real solutions that are cheap. I thought about replacing all liners with new ones, but they are about 100$ each well. So rethought it and I know there are spray coatings that are applied to cars underneath so looked into that. What I really wanted was something that would make them look new and not like something was just sprayed on and made to work.
I recently sprayed my grille with Plasti Dip matte and was quite surprised how smooth it laid down. Also have been through some traffic with debris and figured I would have chips out of it, but no, it is still smooth. I wanted the liners to have some type of gloss to it and not be matte, so I looked into the Plasti Dip Gloss enhancer and said why not. Take out the liners, clean them perfectly, then spray with PD and then the GE. Even if there is a few nicks or scrapes on liners it should lay down pretty flat and hold up pretty well.
This is the process of what I did to achieve stellar results.
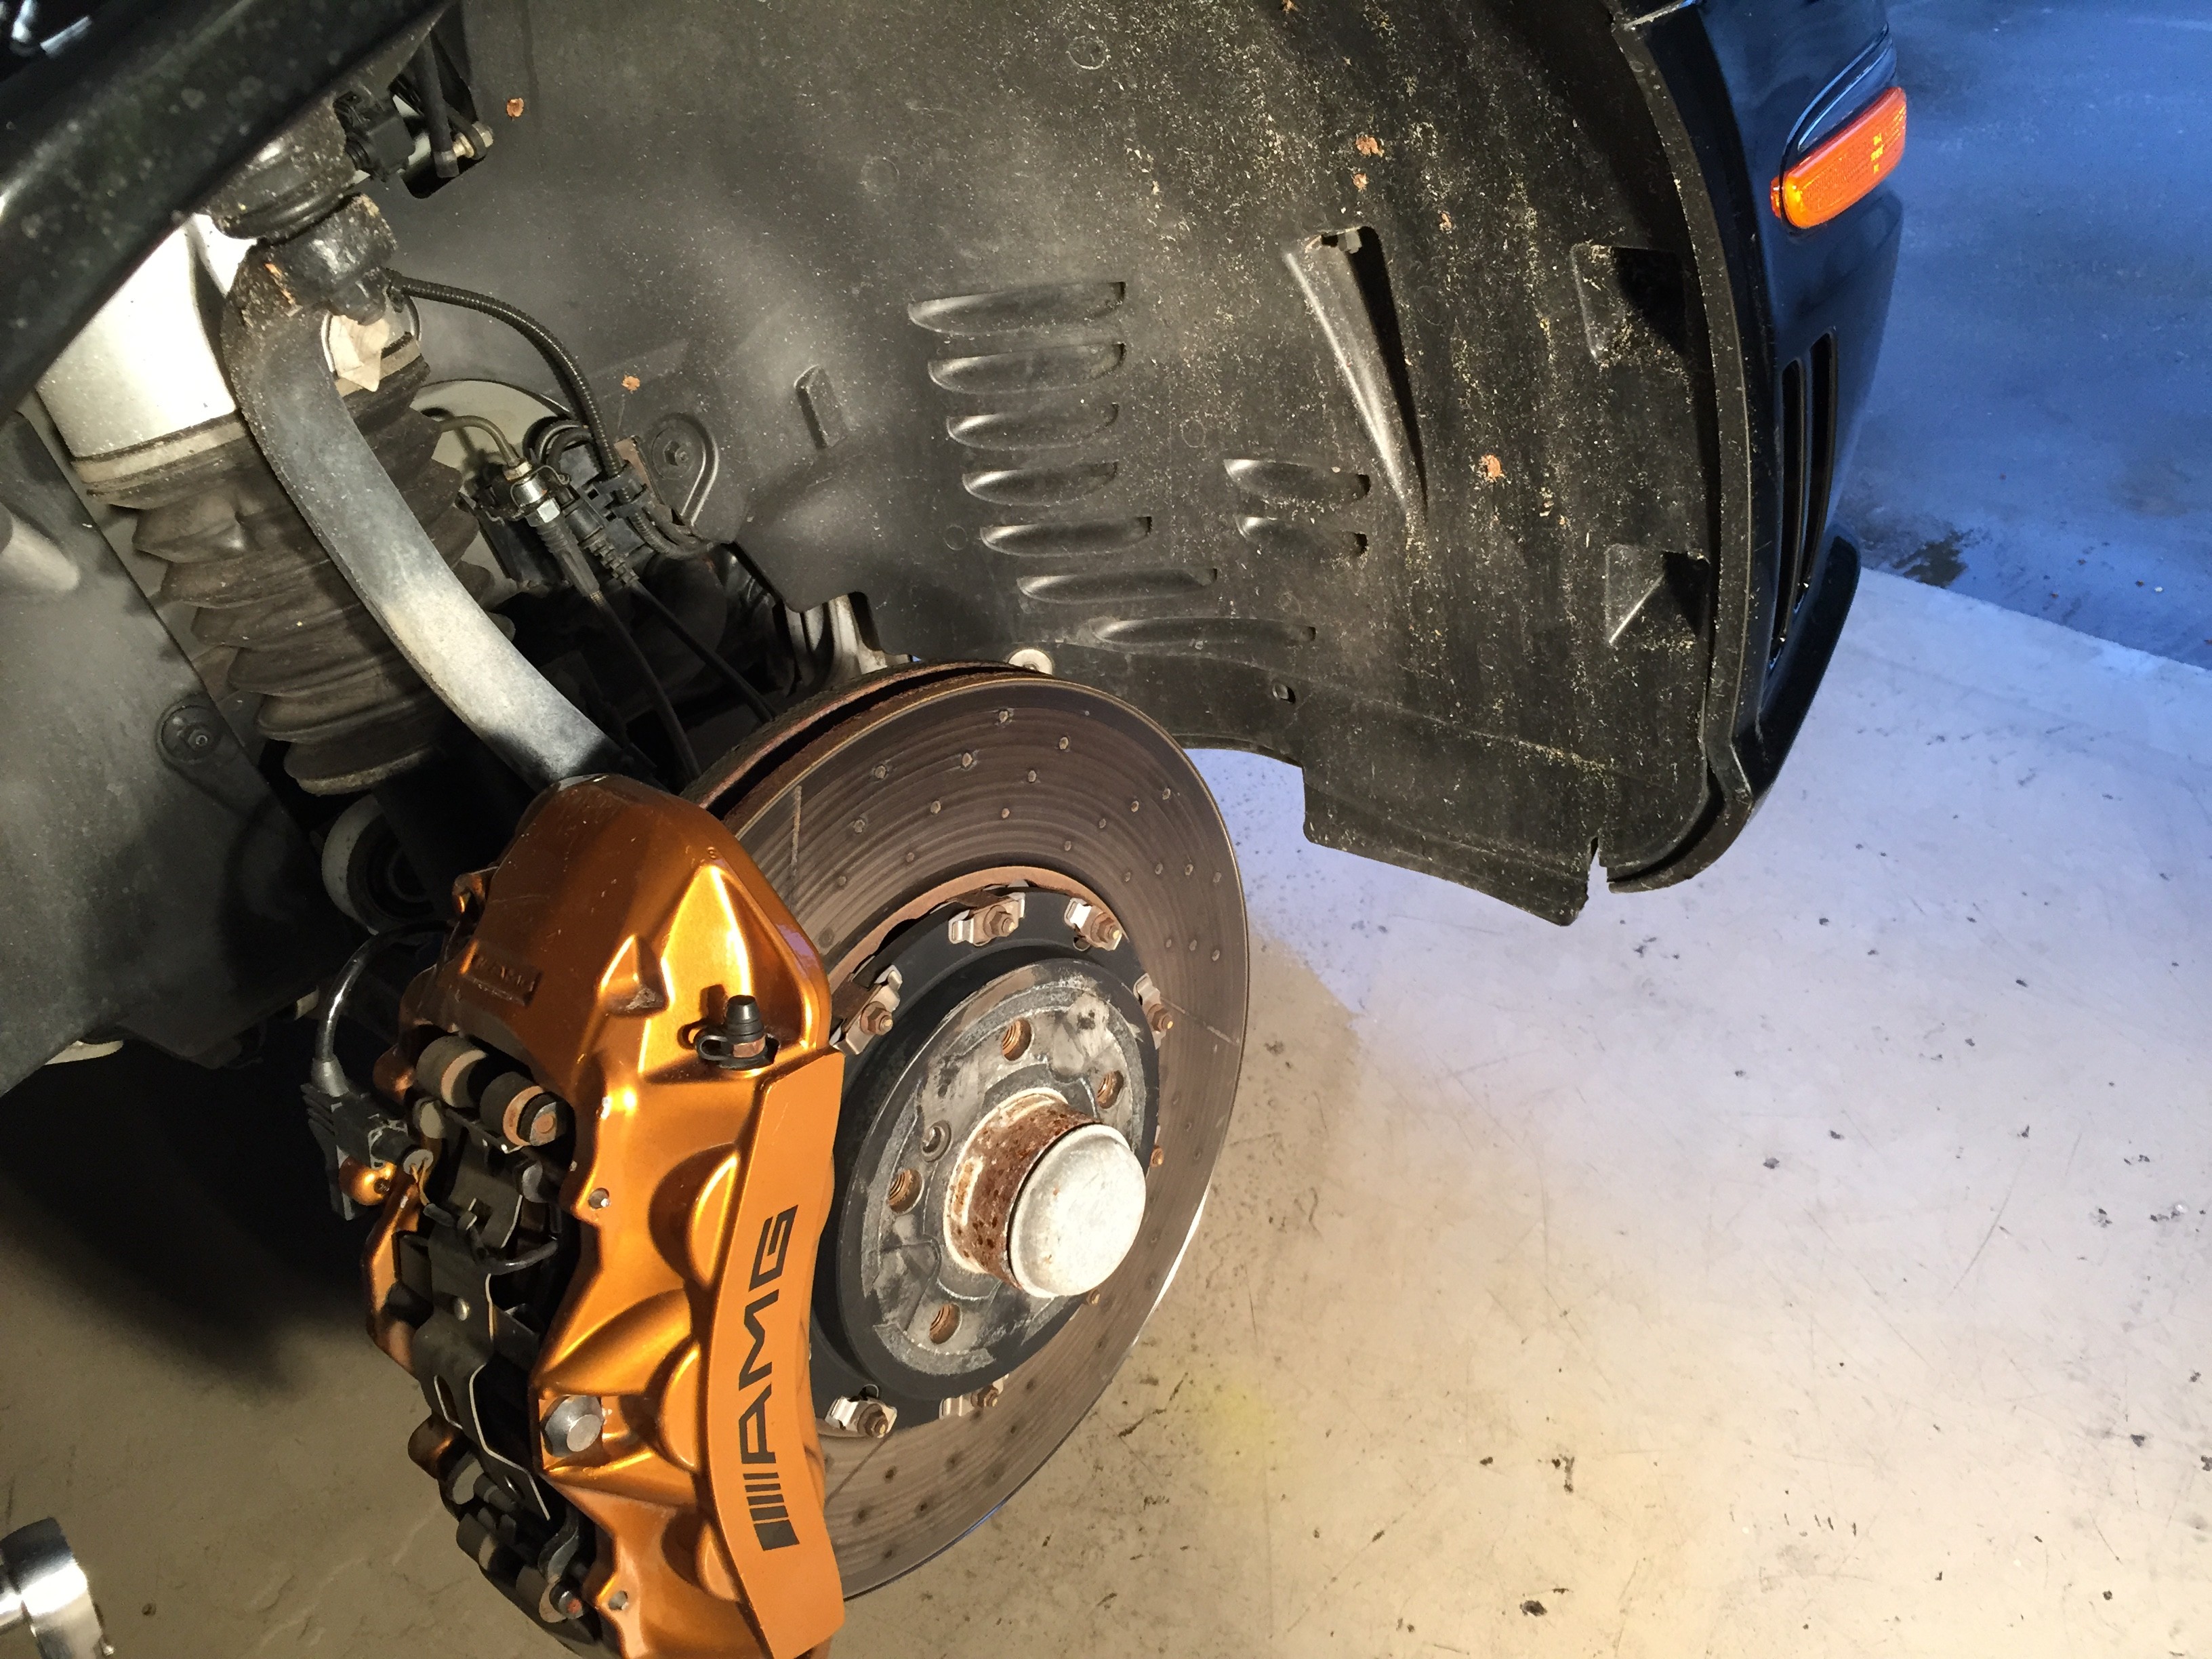
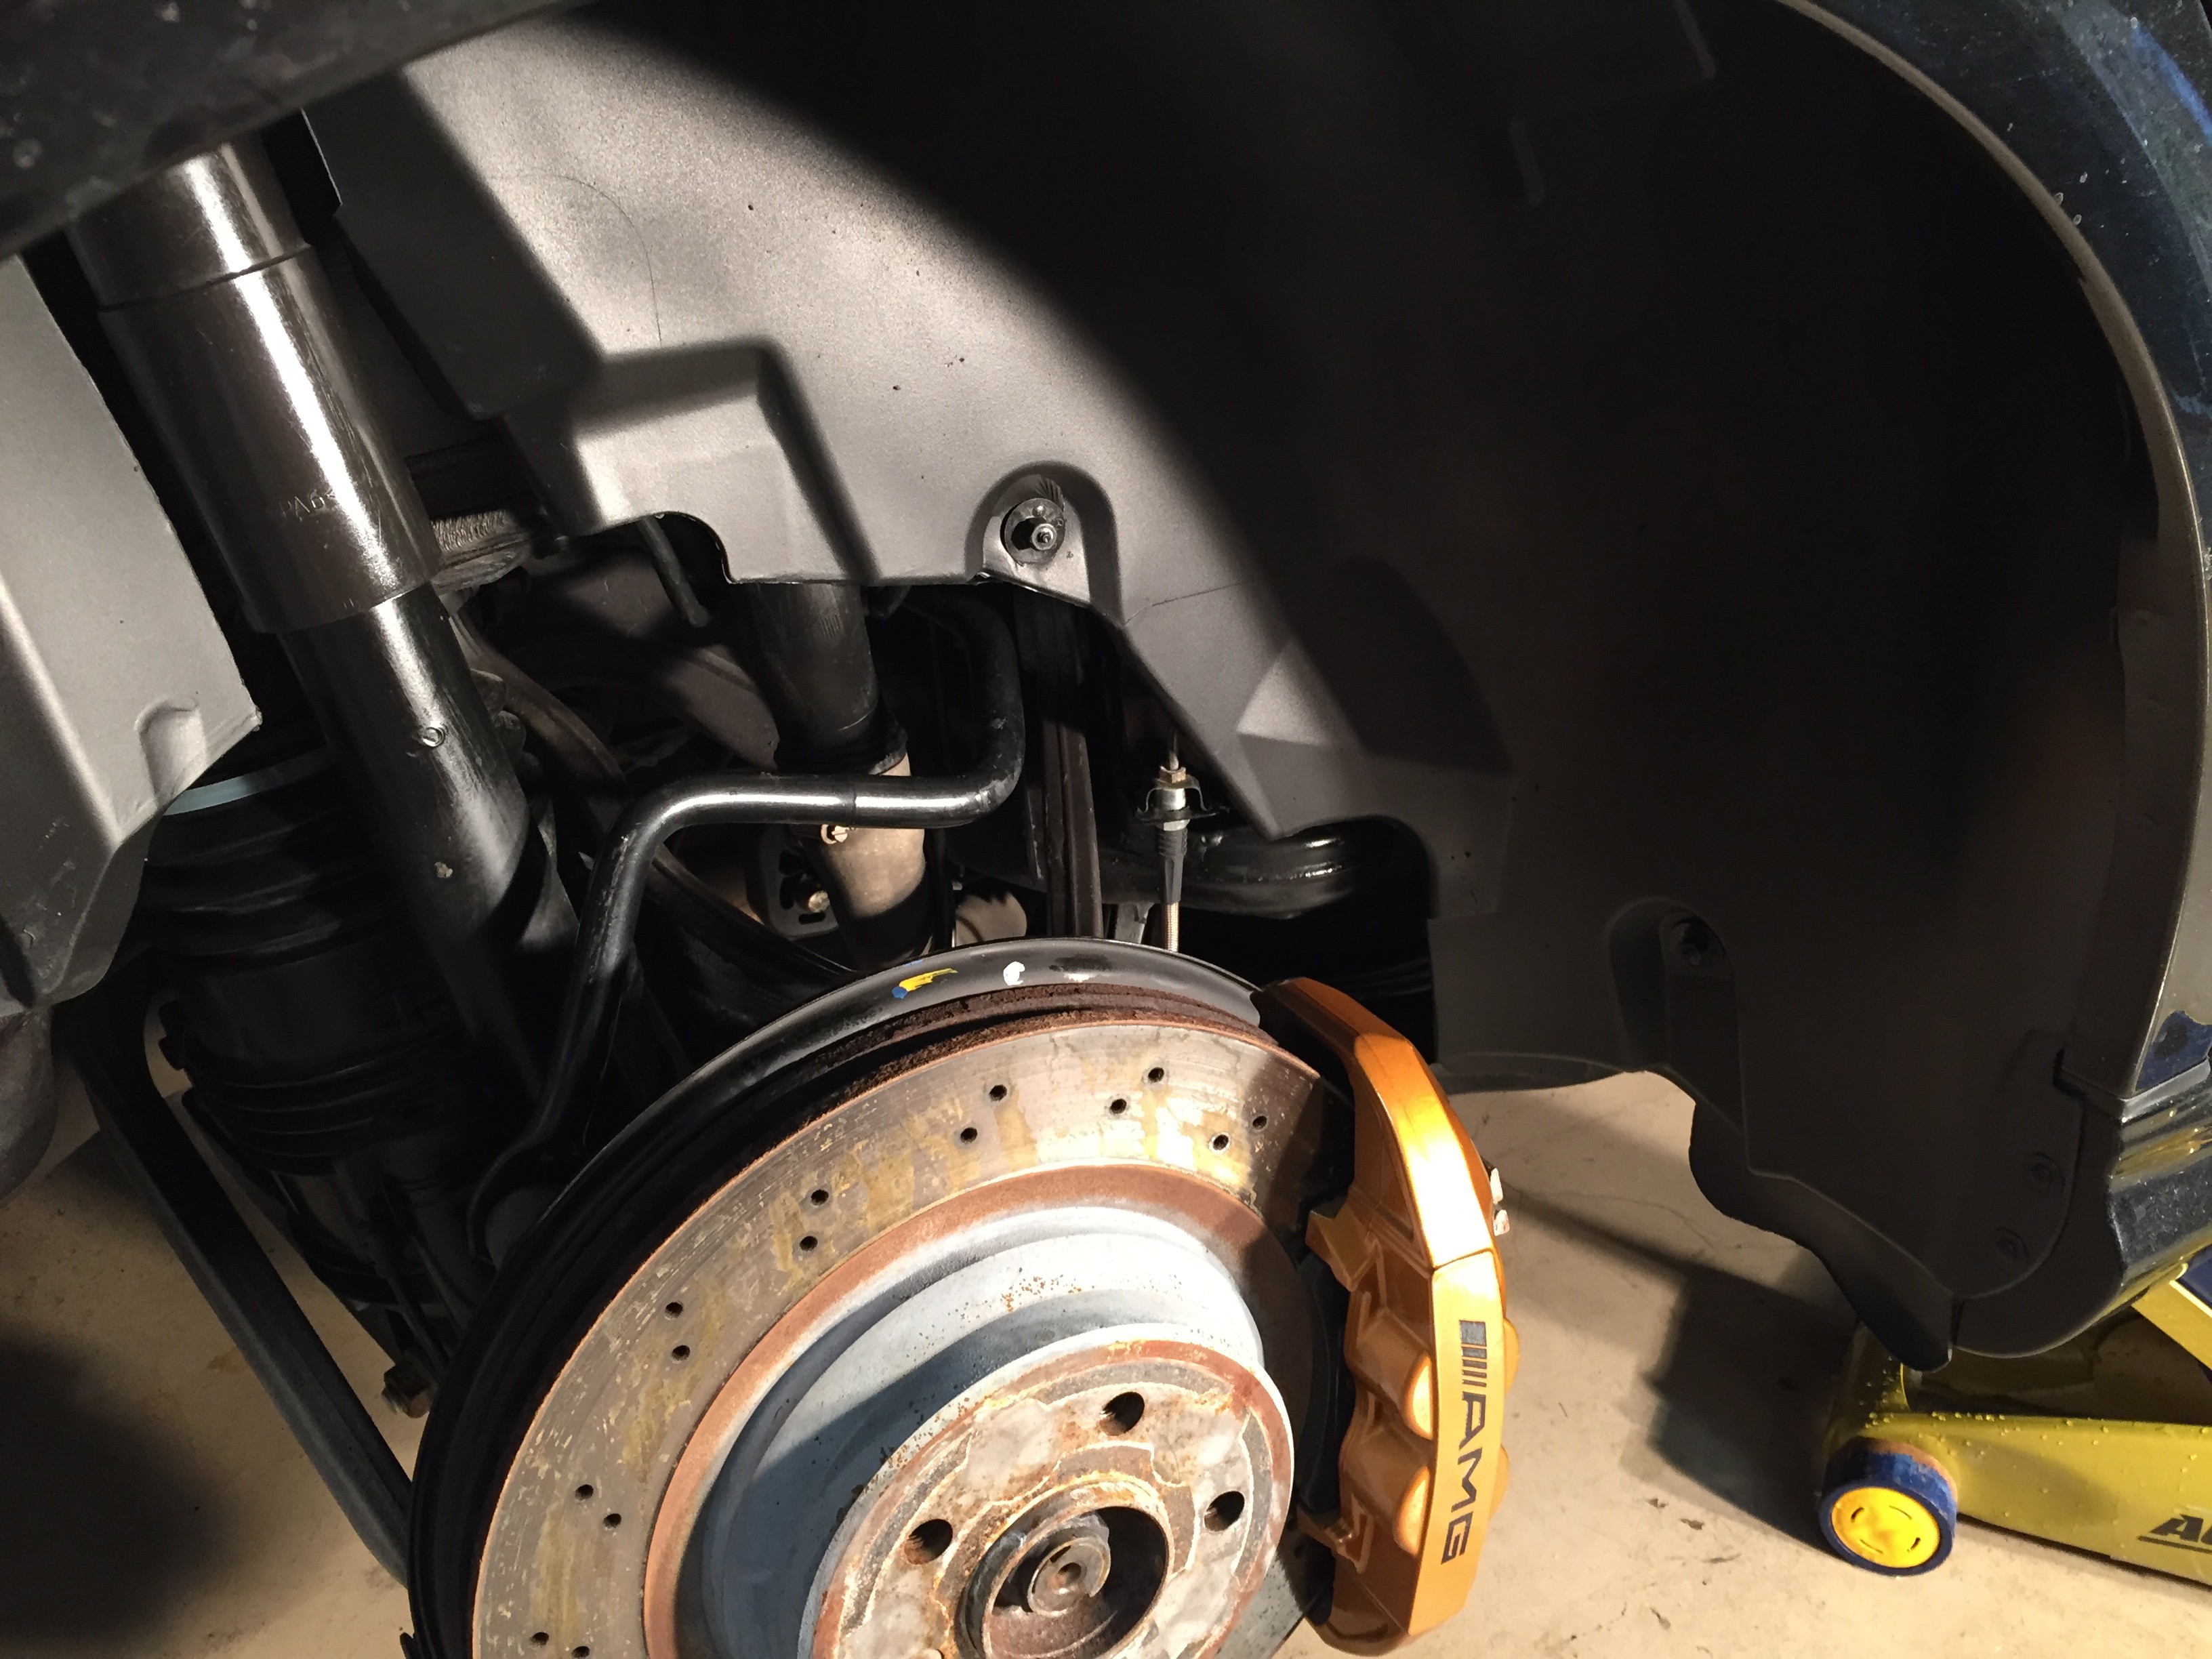
This is what the liners looked like before removal and cleaning.
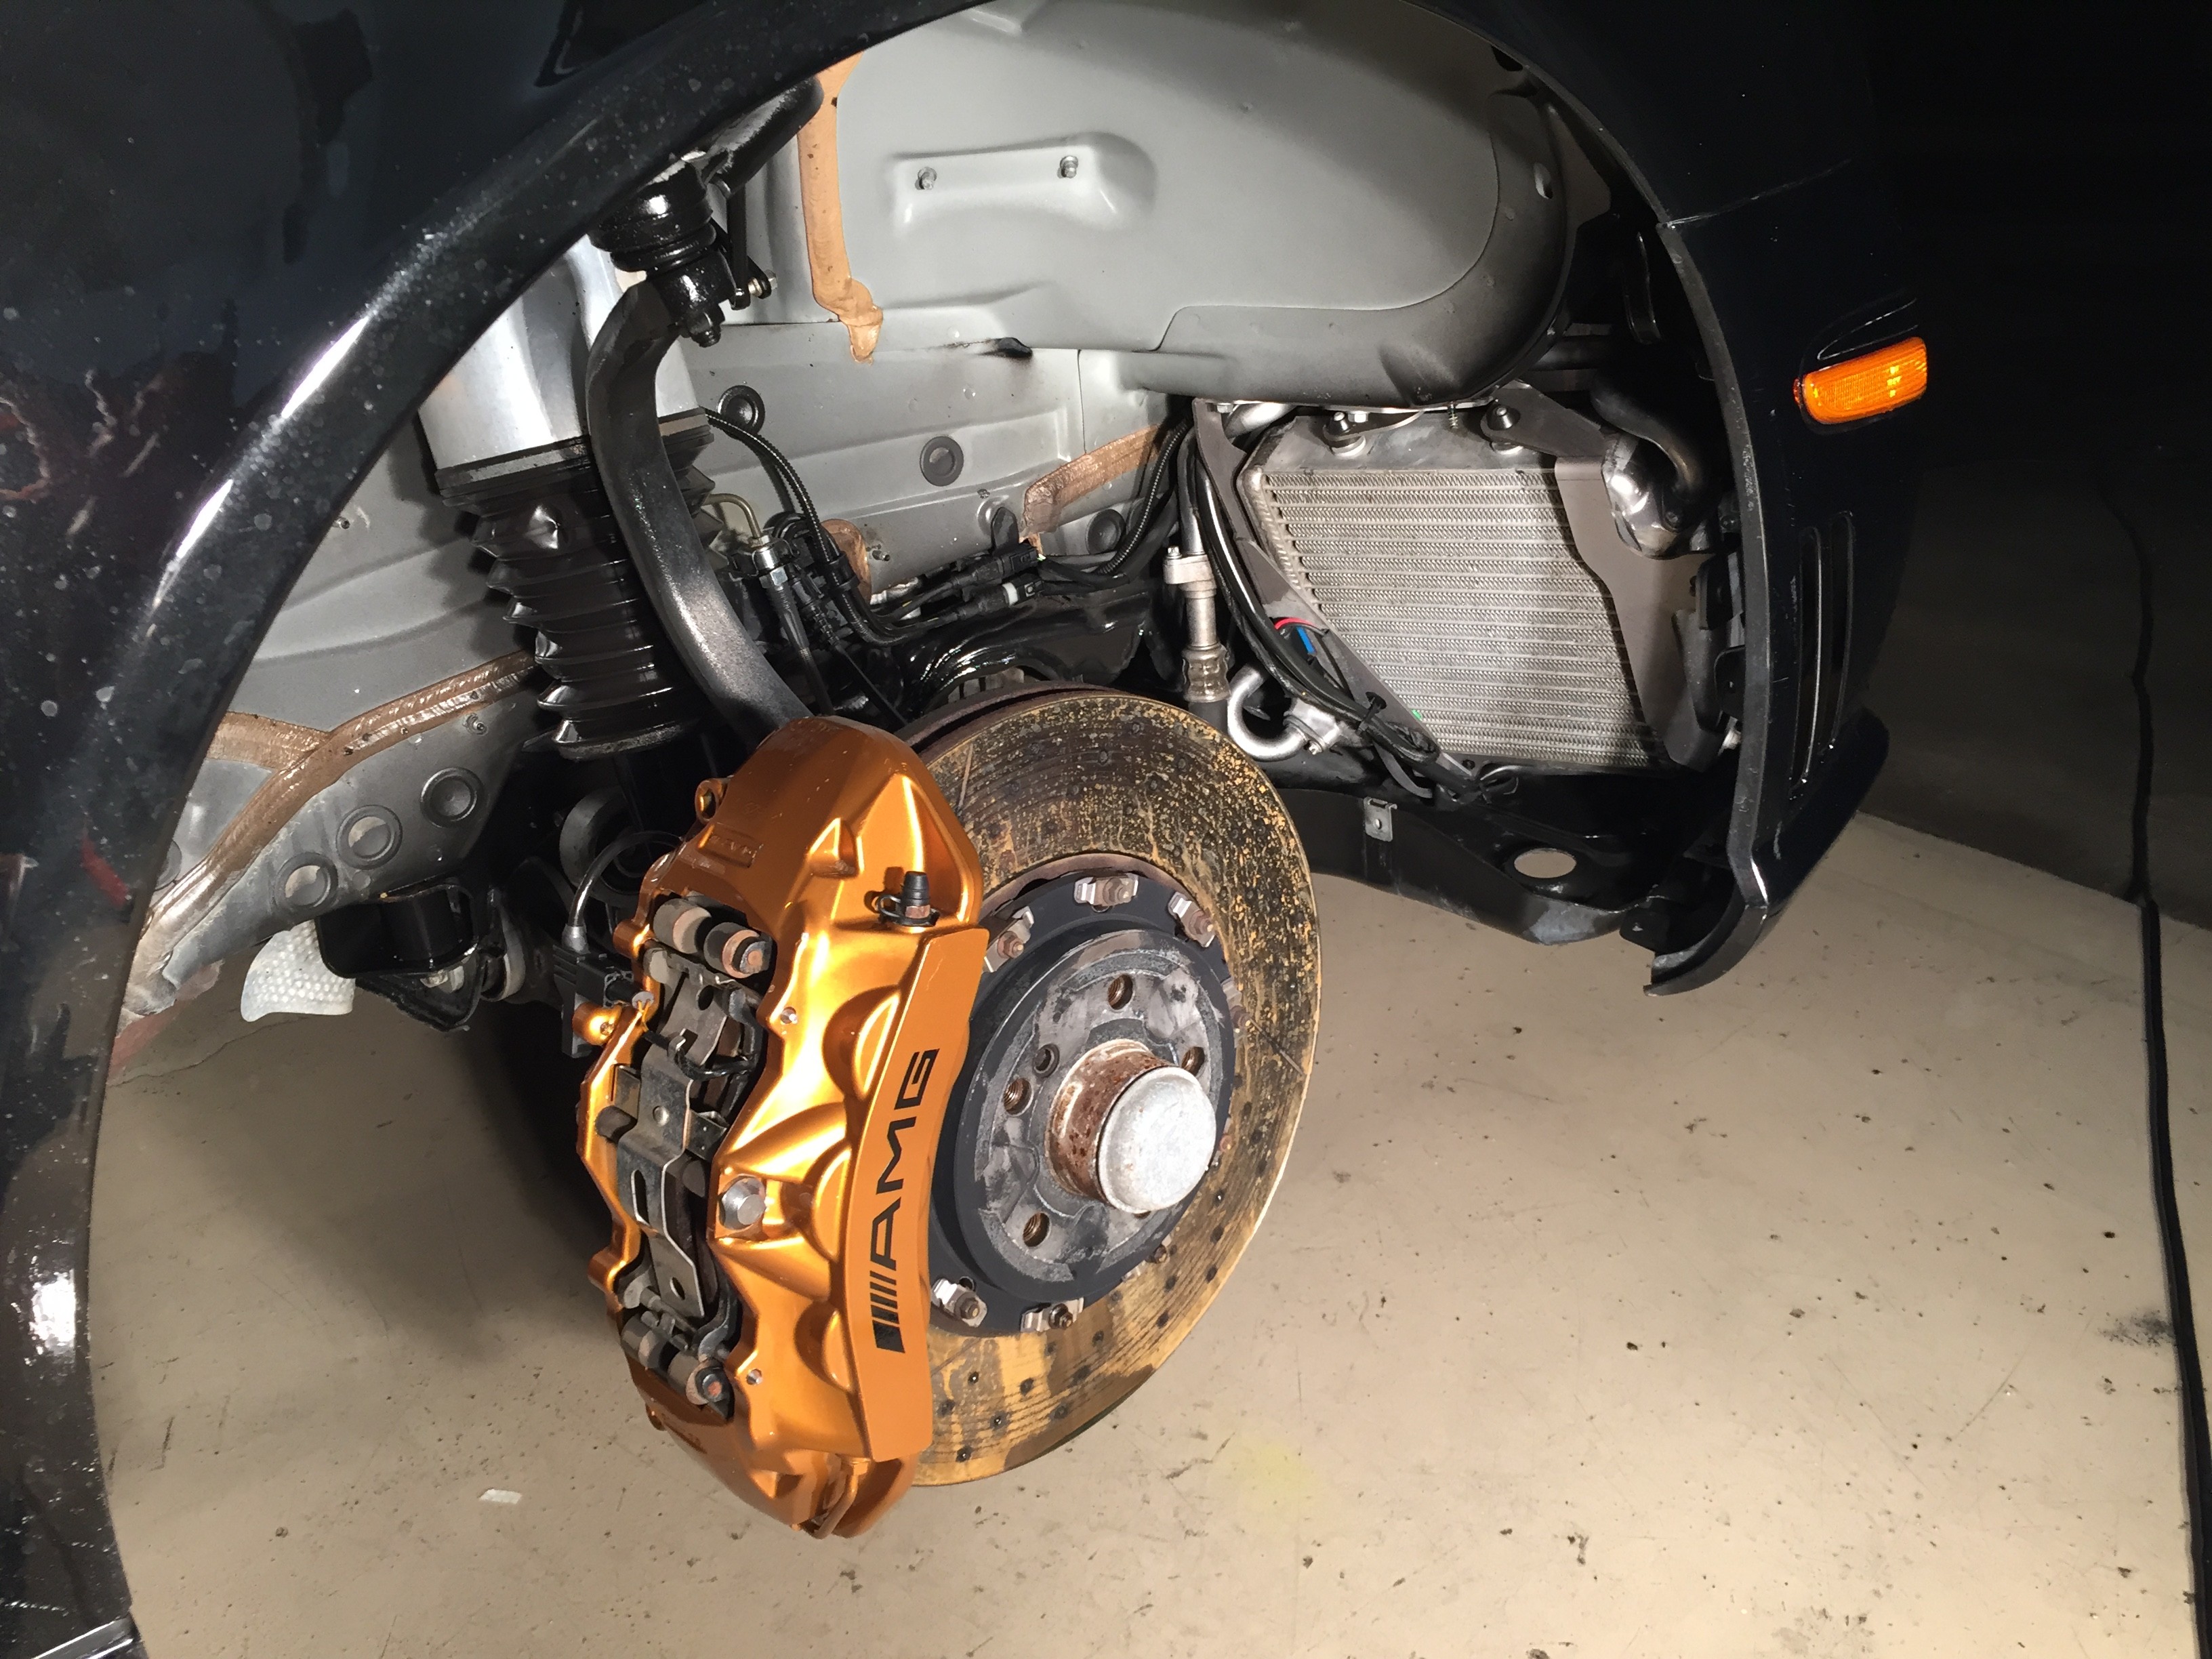
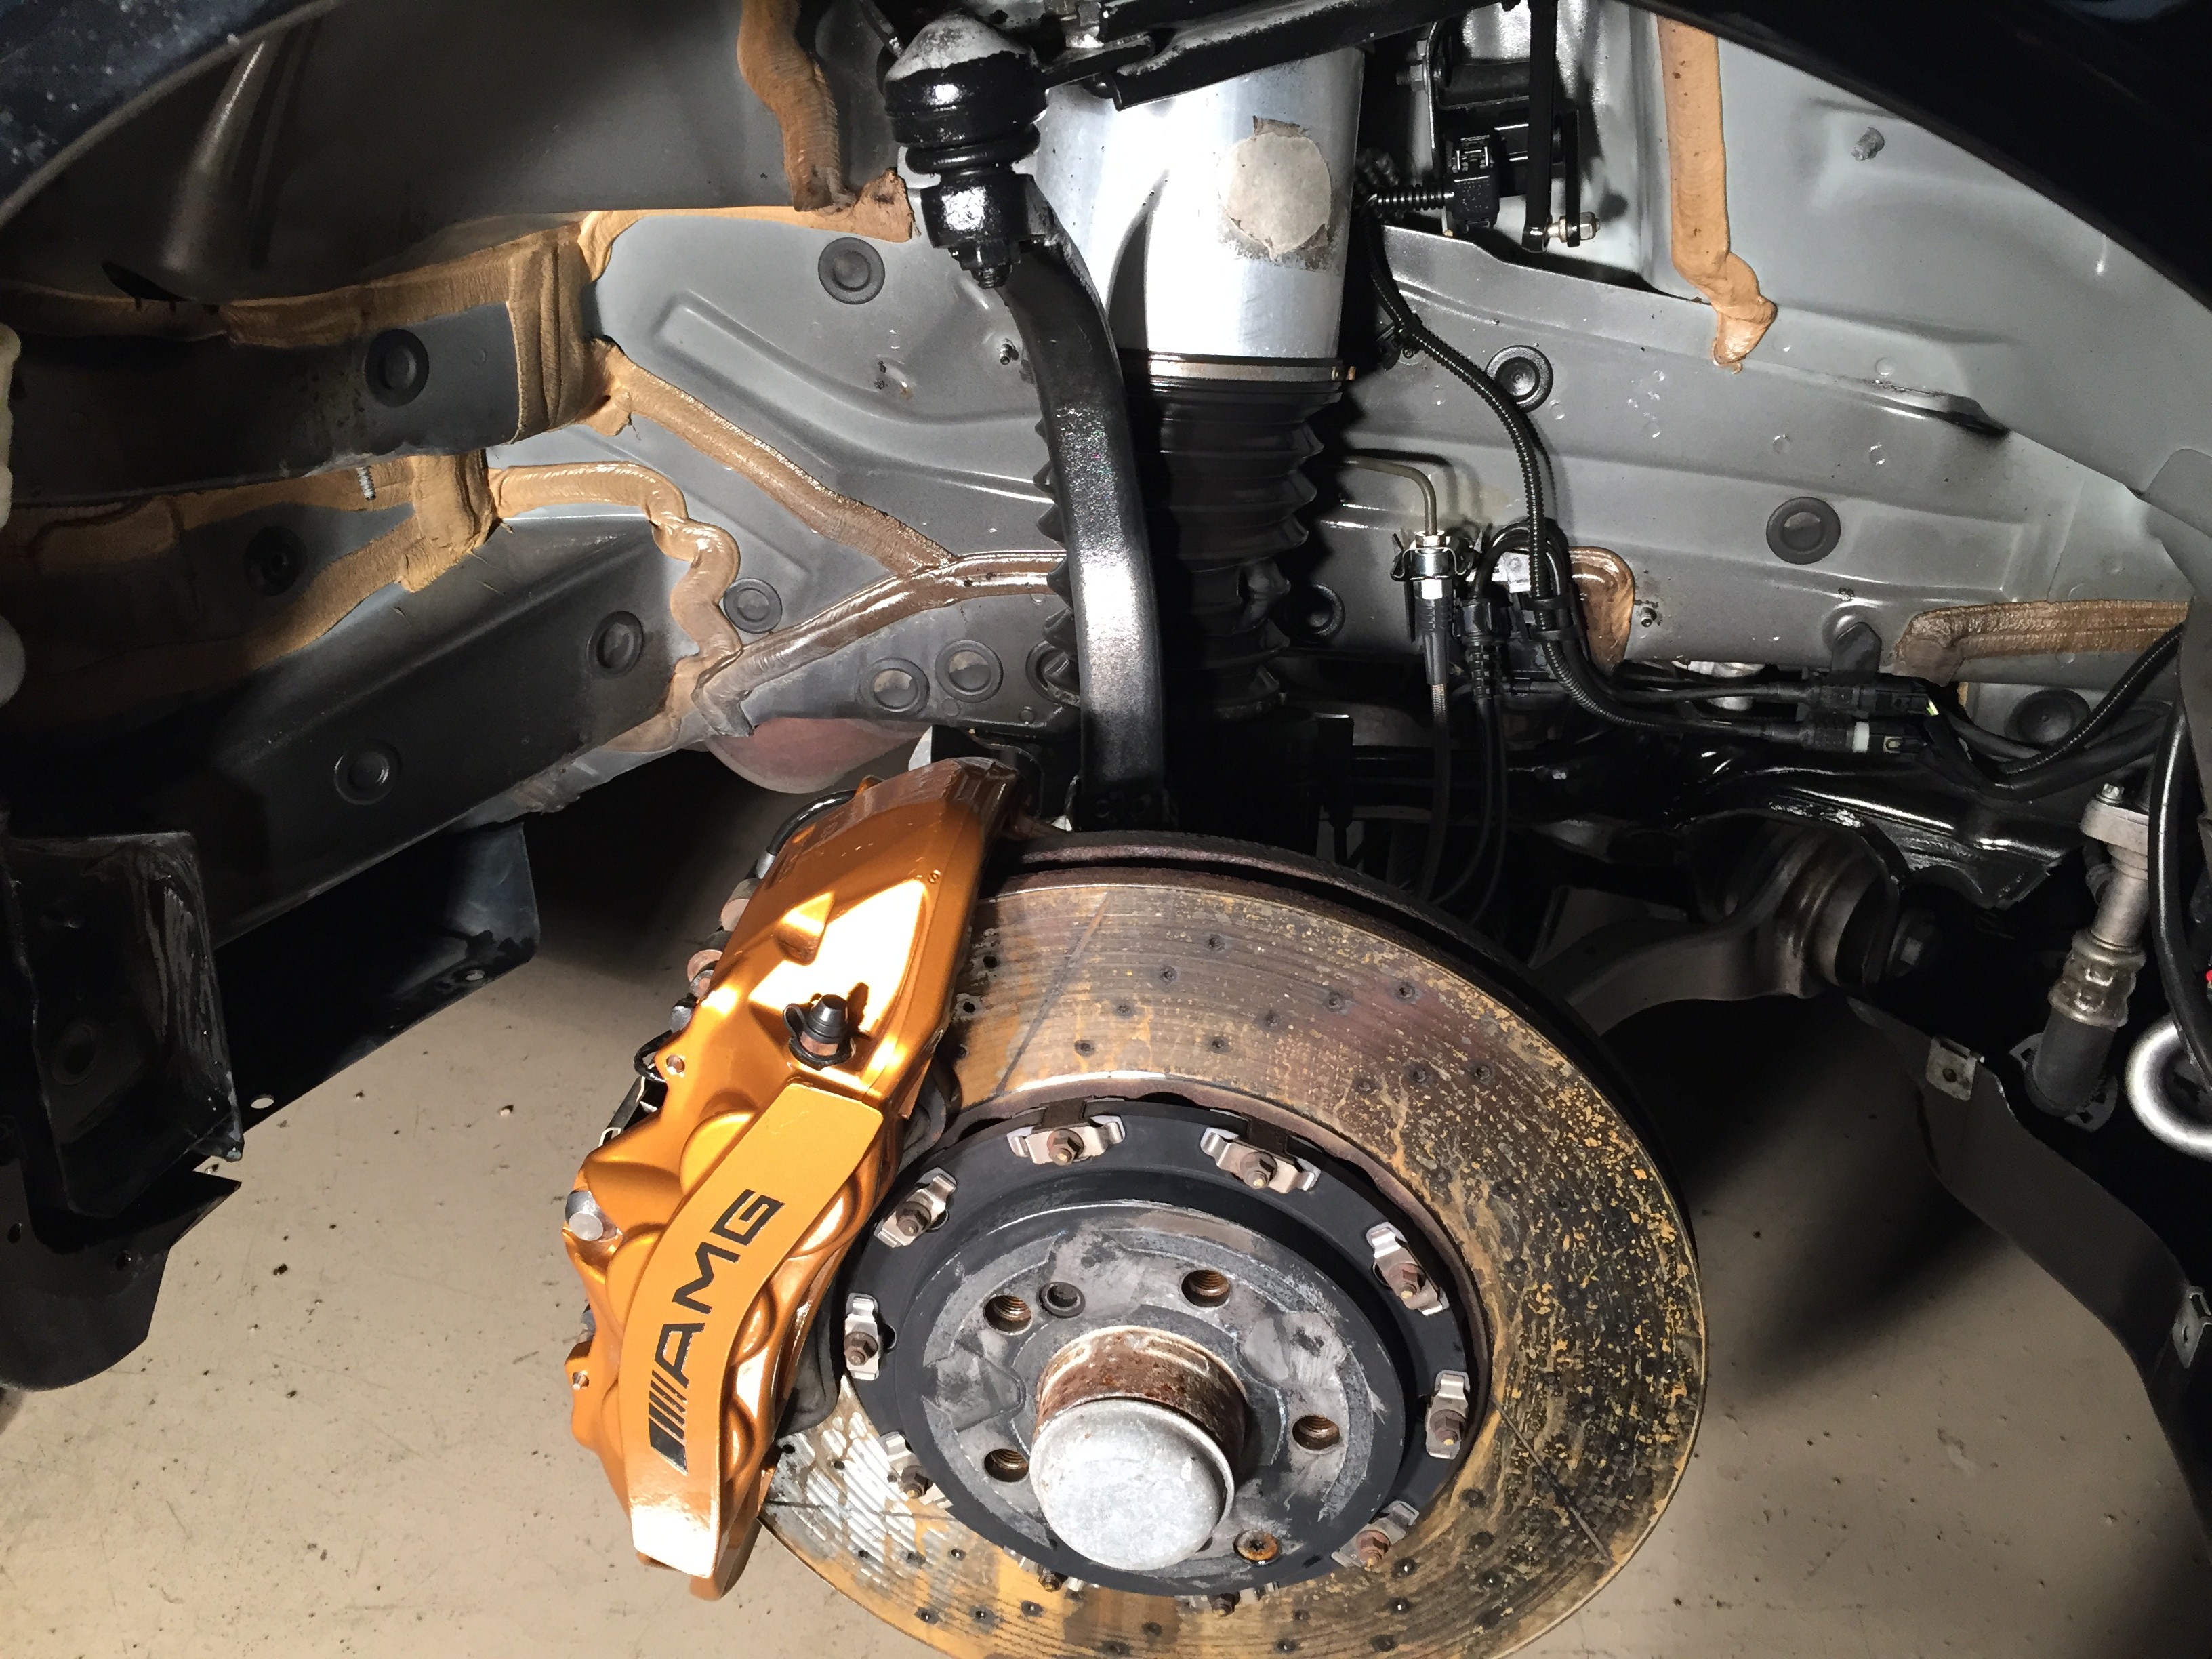
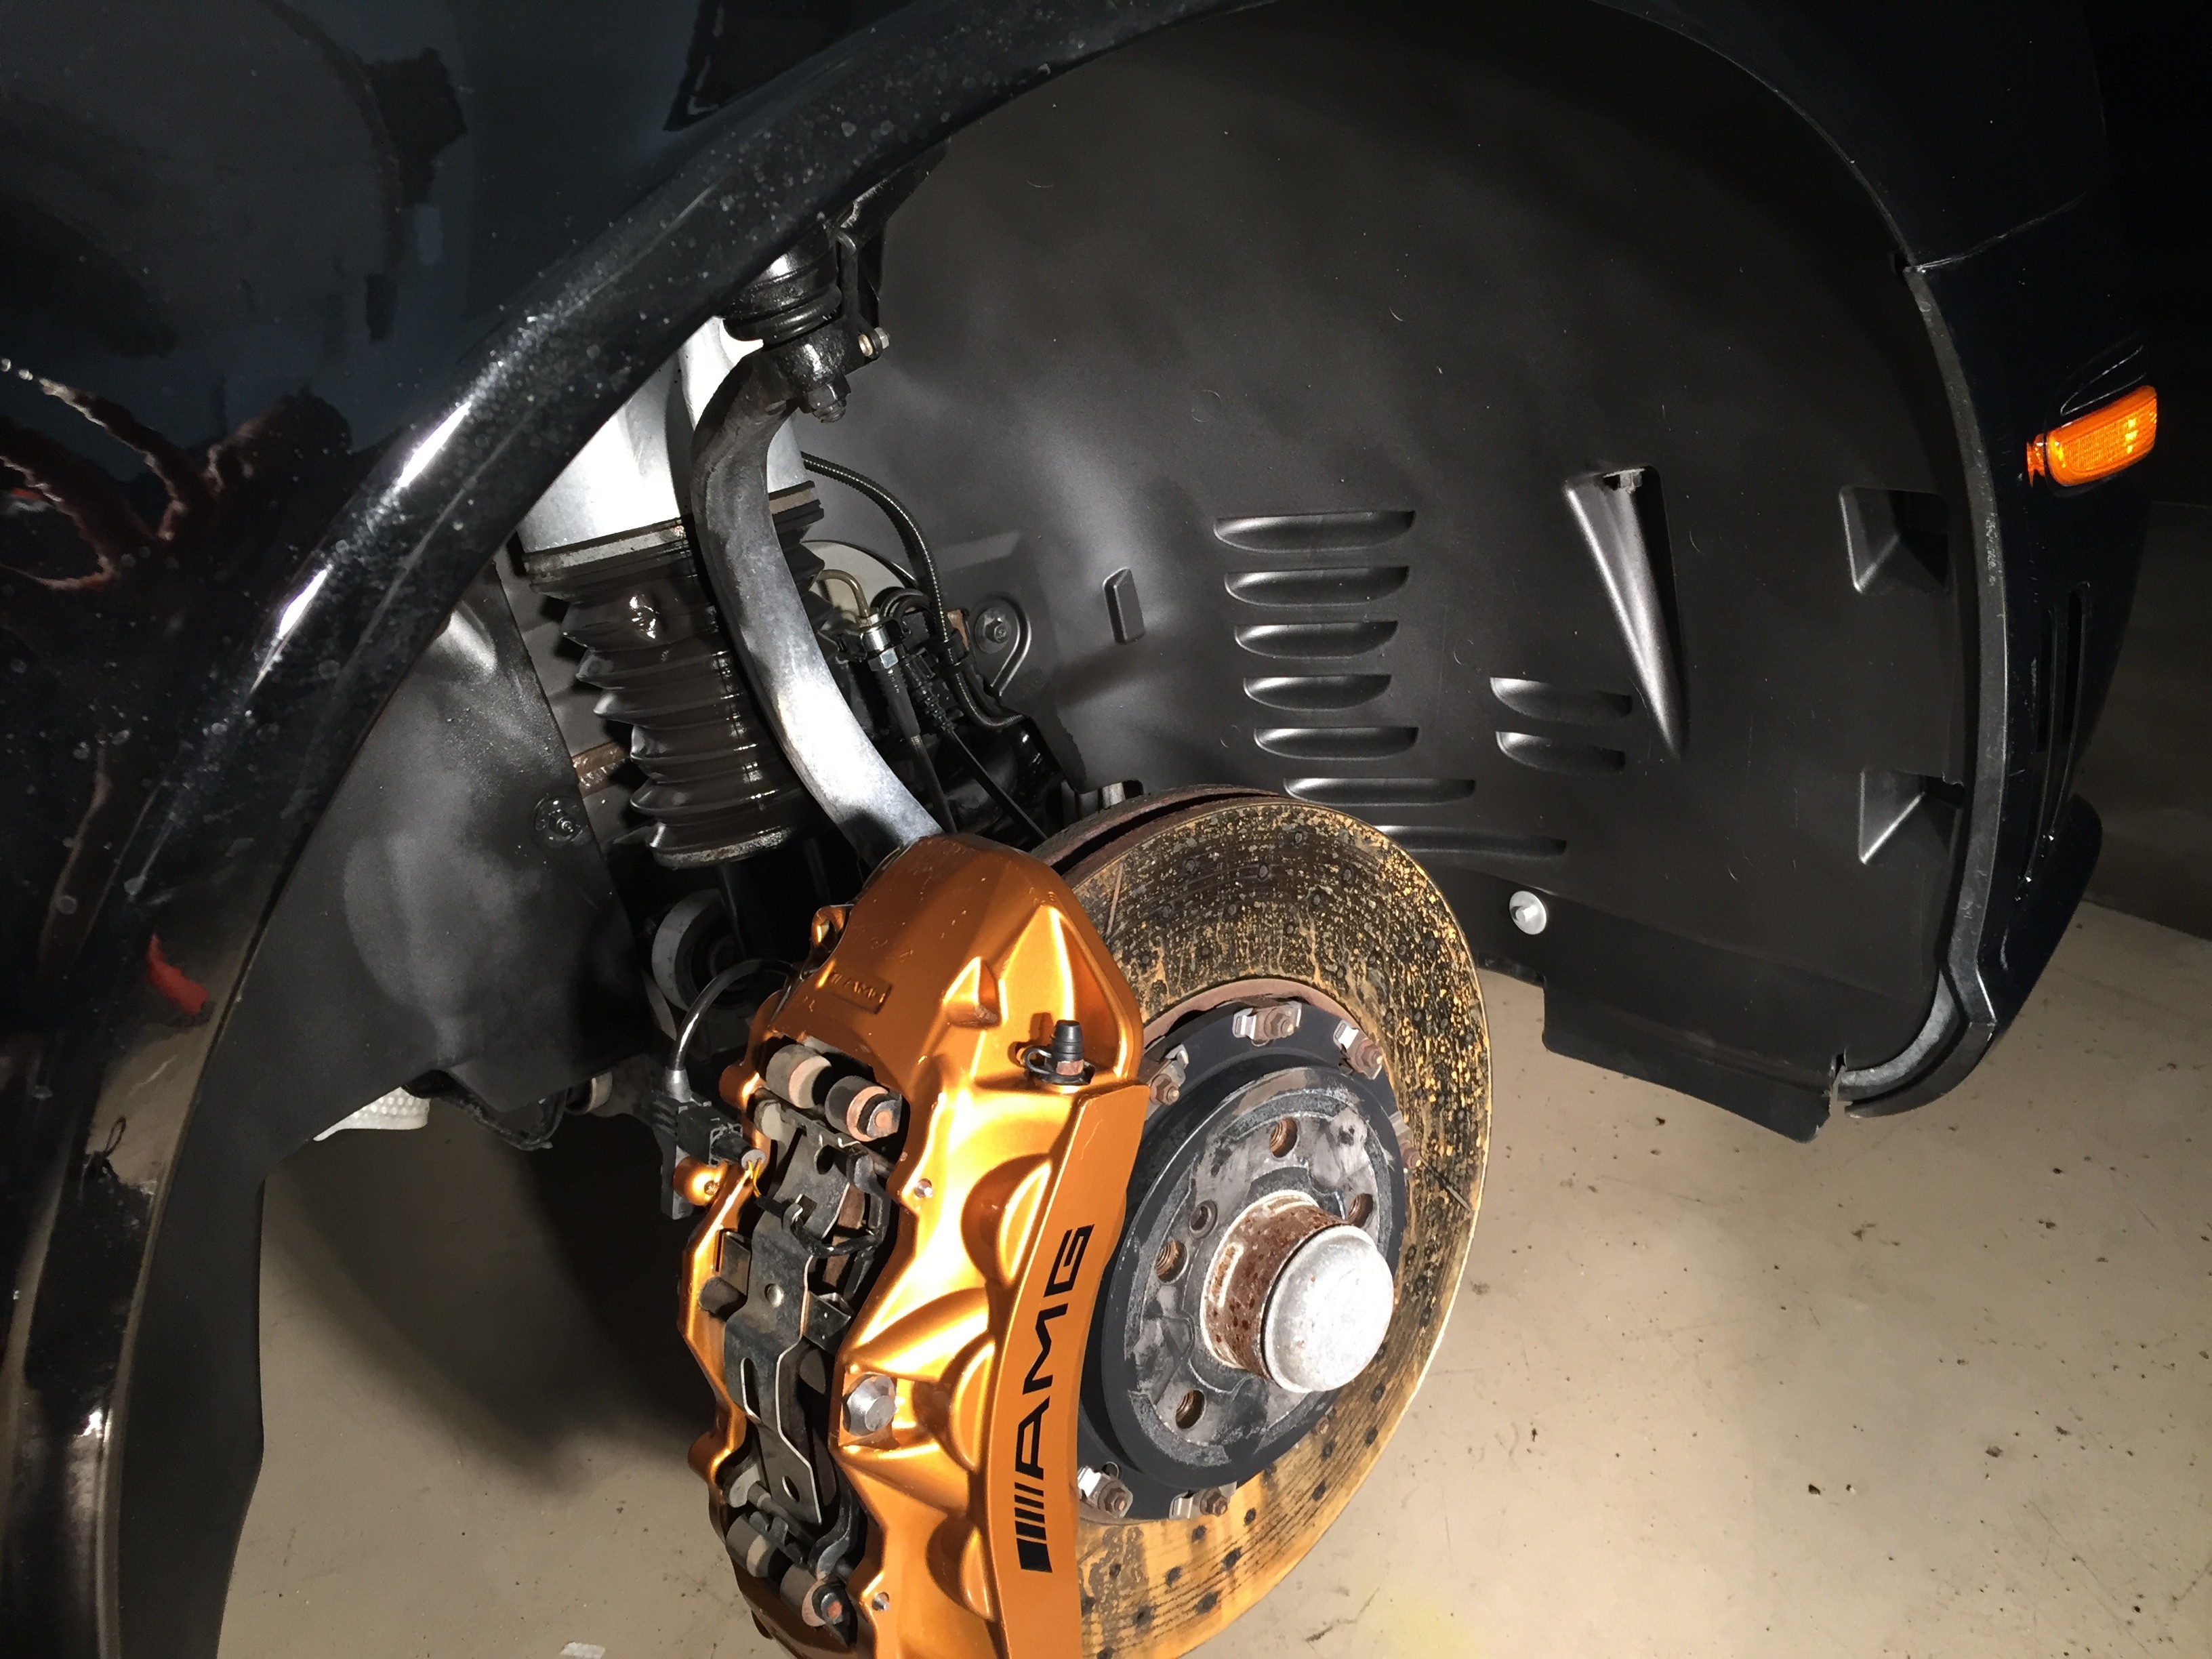
I removed the liners one by one and thoroughly cleaned the suspension, and all the plastic parts under them, along with anything that had dirt, dust and especially the trays on the front up by the strut which hold tons of pebbles and road sand. After thoroughly cleaning the well area, I blew it off using the Metro Sidekick blower, then dressed all areas with a spray on sealant. This will lessen the amount of dust that collects under the liners also. Also protects the rubber and plastic from weathering. This is what the finished well area looks like before the liners were re-installed.

The liners were sprayed with degreaser and washed on all sides with a brush till they were perfectly cleaned. Dried with the blower. Then I sprayed a healthy coat of Plasti Dip Black on the inside portions and any areas that would be seen. I let that dry and then sprayed the PD Gloss Enhancer on top of that to give it a shine. One pic the GE was not totally dry. I sprayed the pieces in a field near the house to prevent any type of overspray. I do not suggest doing this near a car. I took all bolts and plastic plugs and nuts and washed them by hand with a brush to clean them up. Re-installed the liners and they looked amazing. Here are some pictures of what they will look like. When outside in the sun, the wells look totally clean like they are supposed to and really helps the appearance of the car.
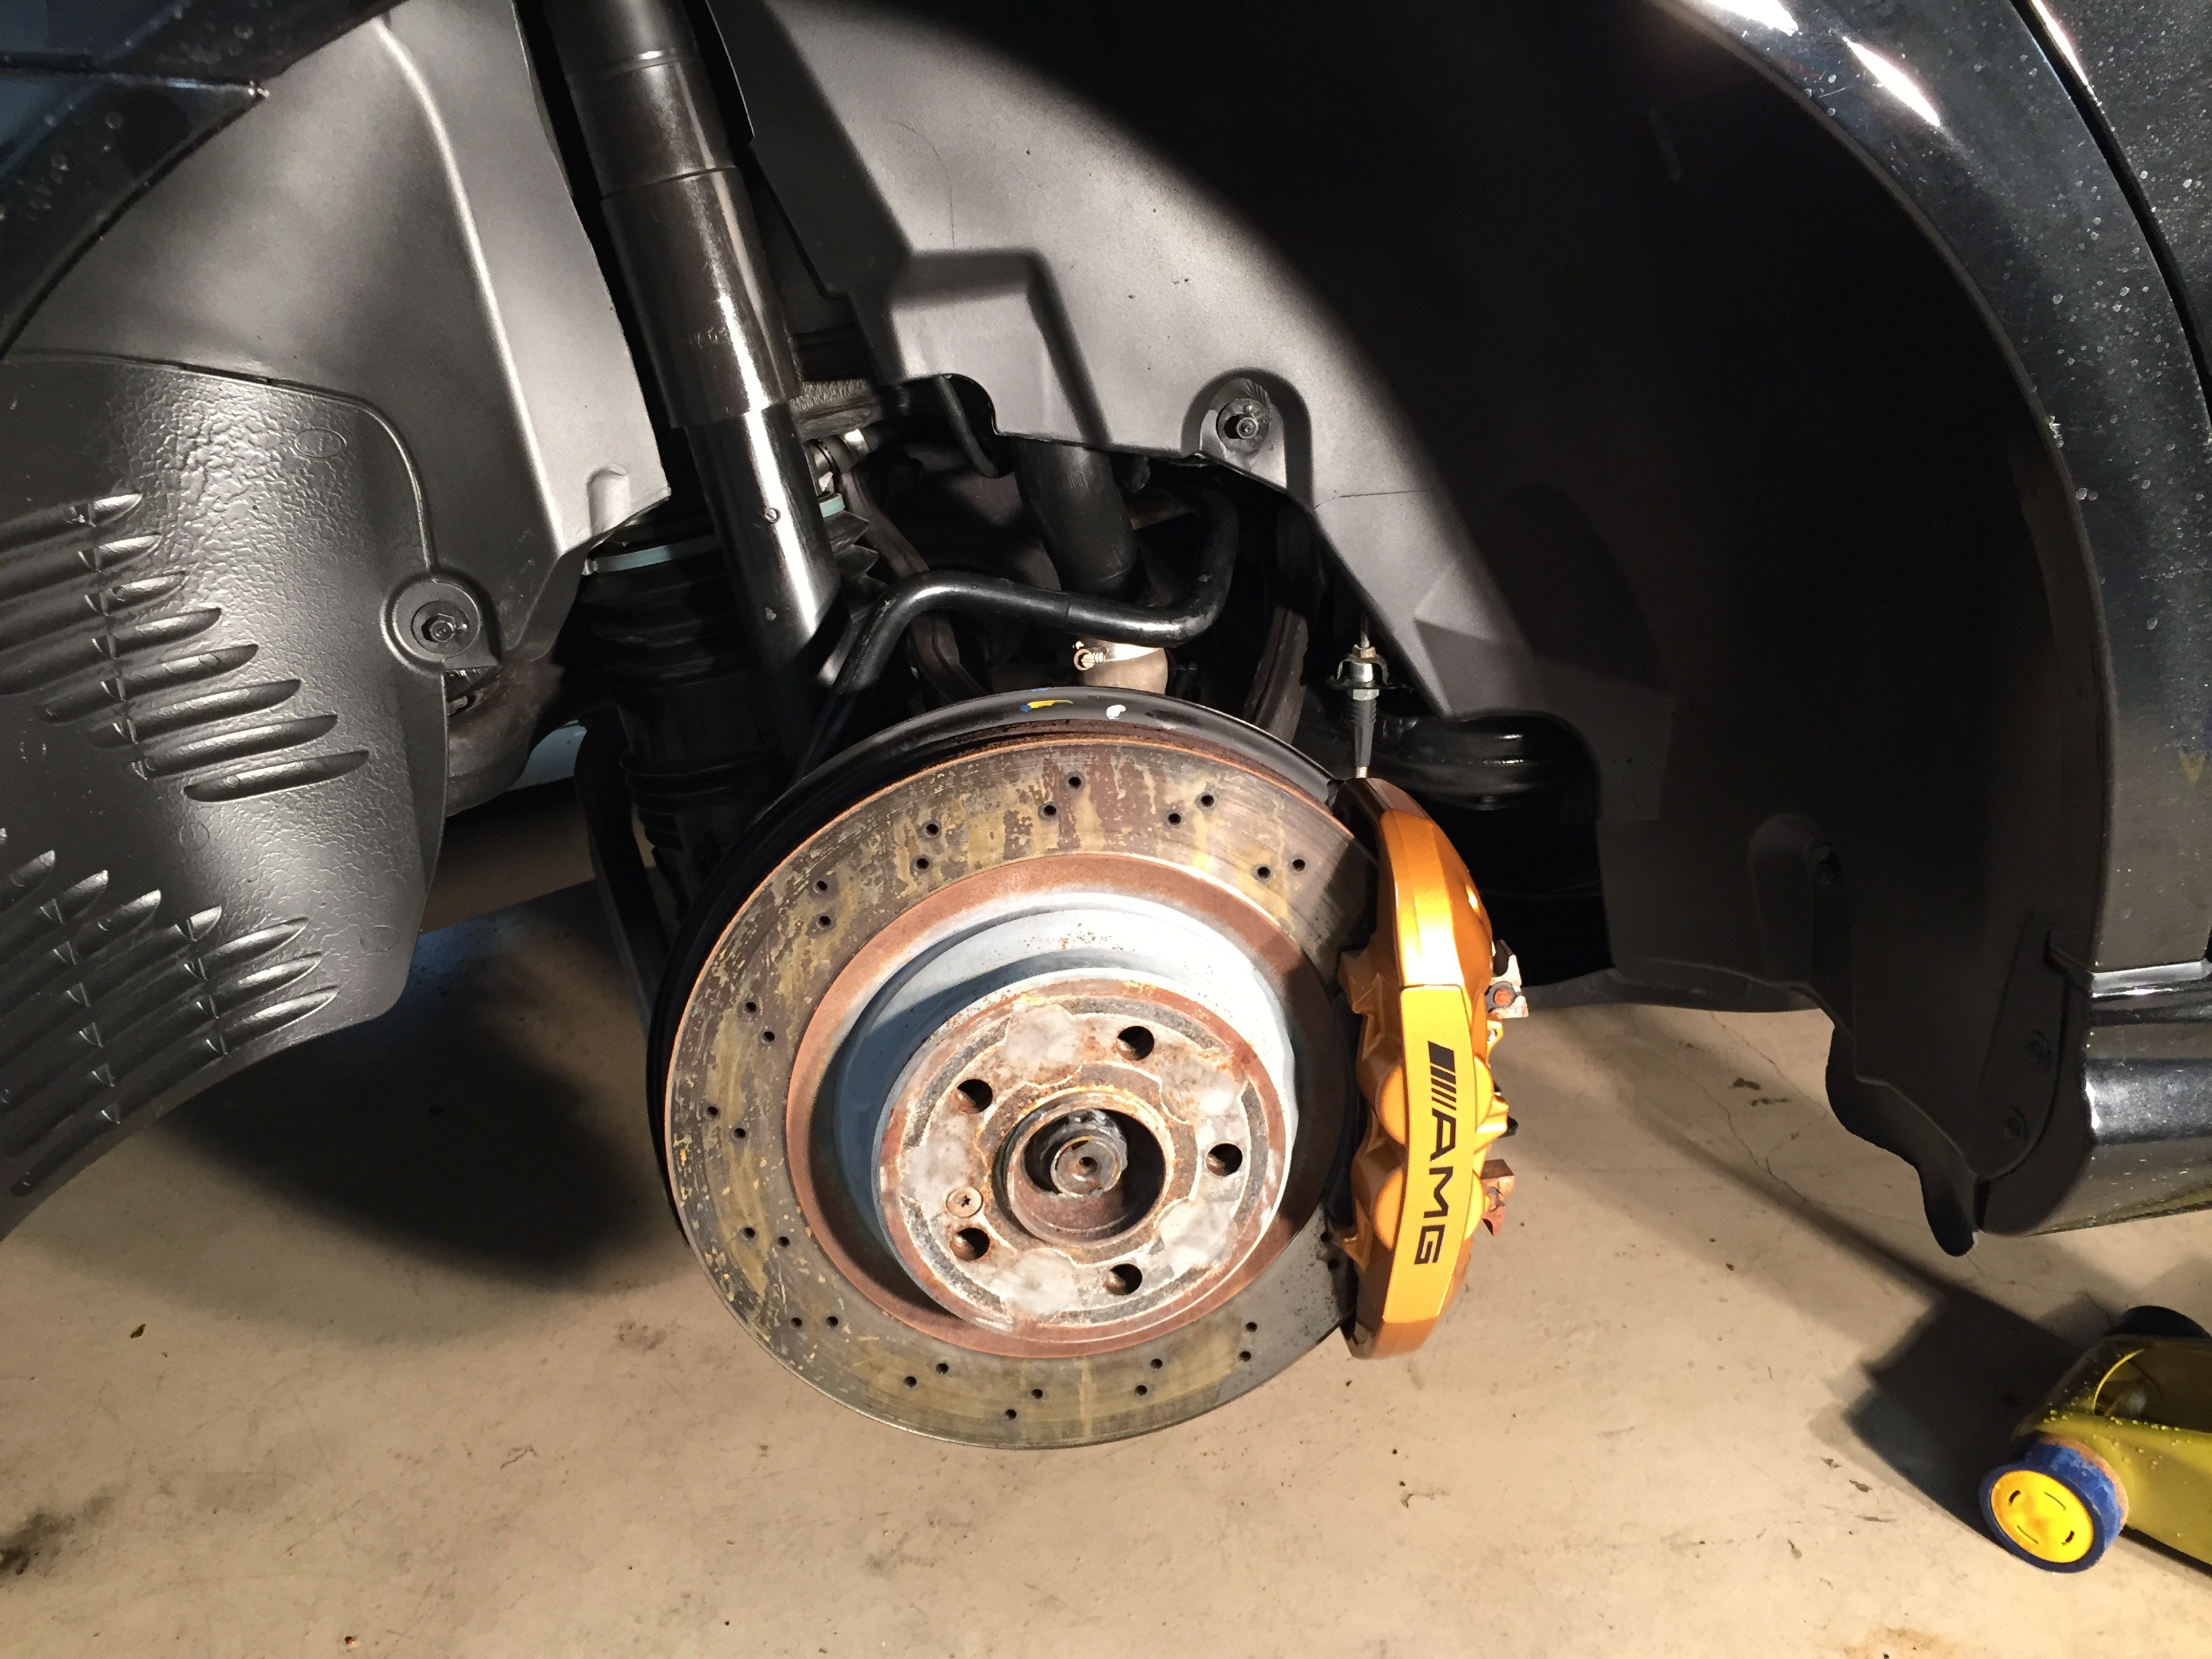
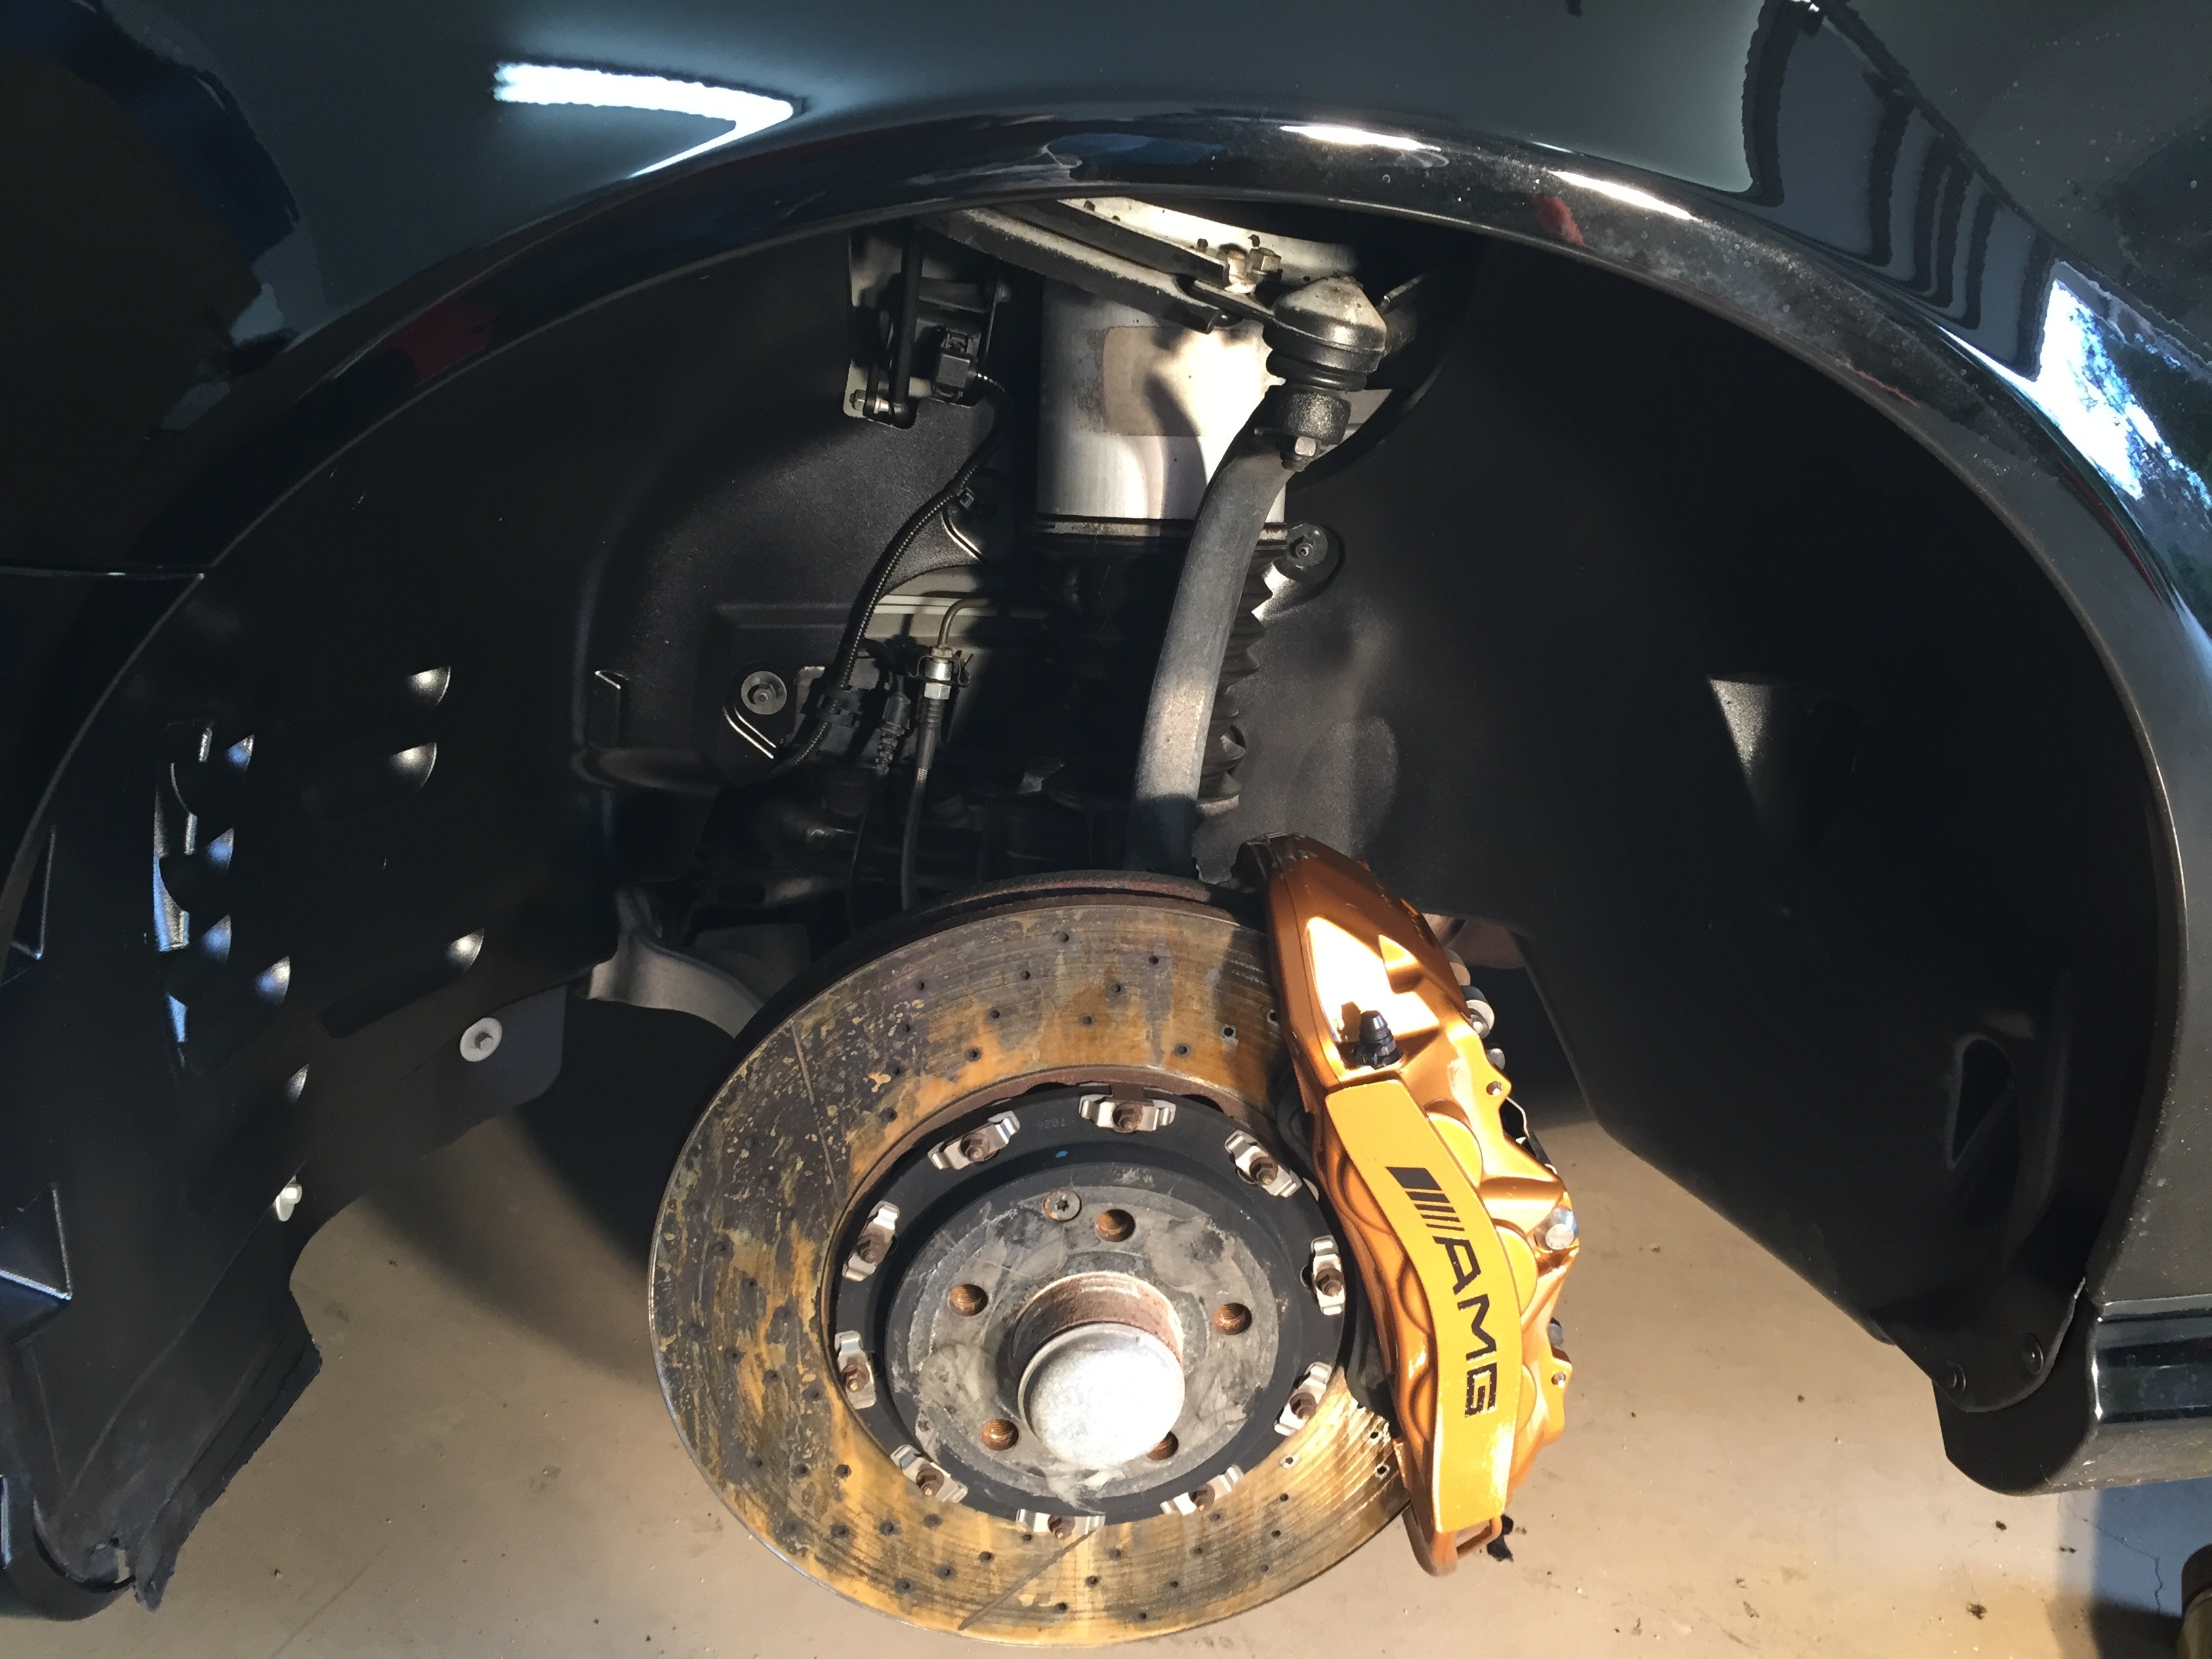
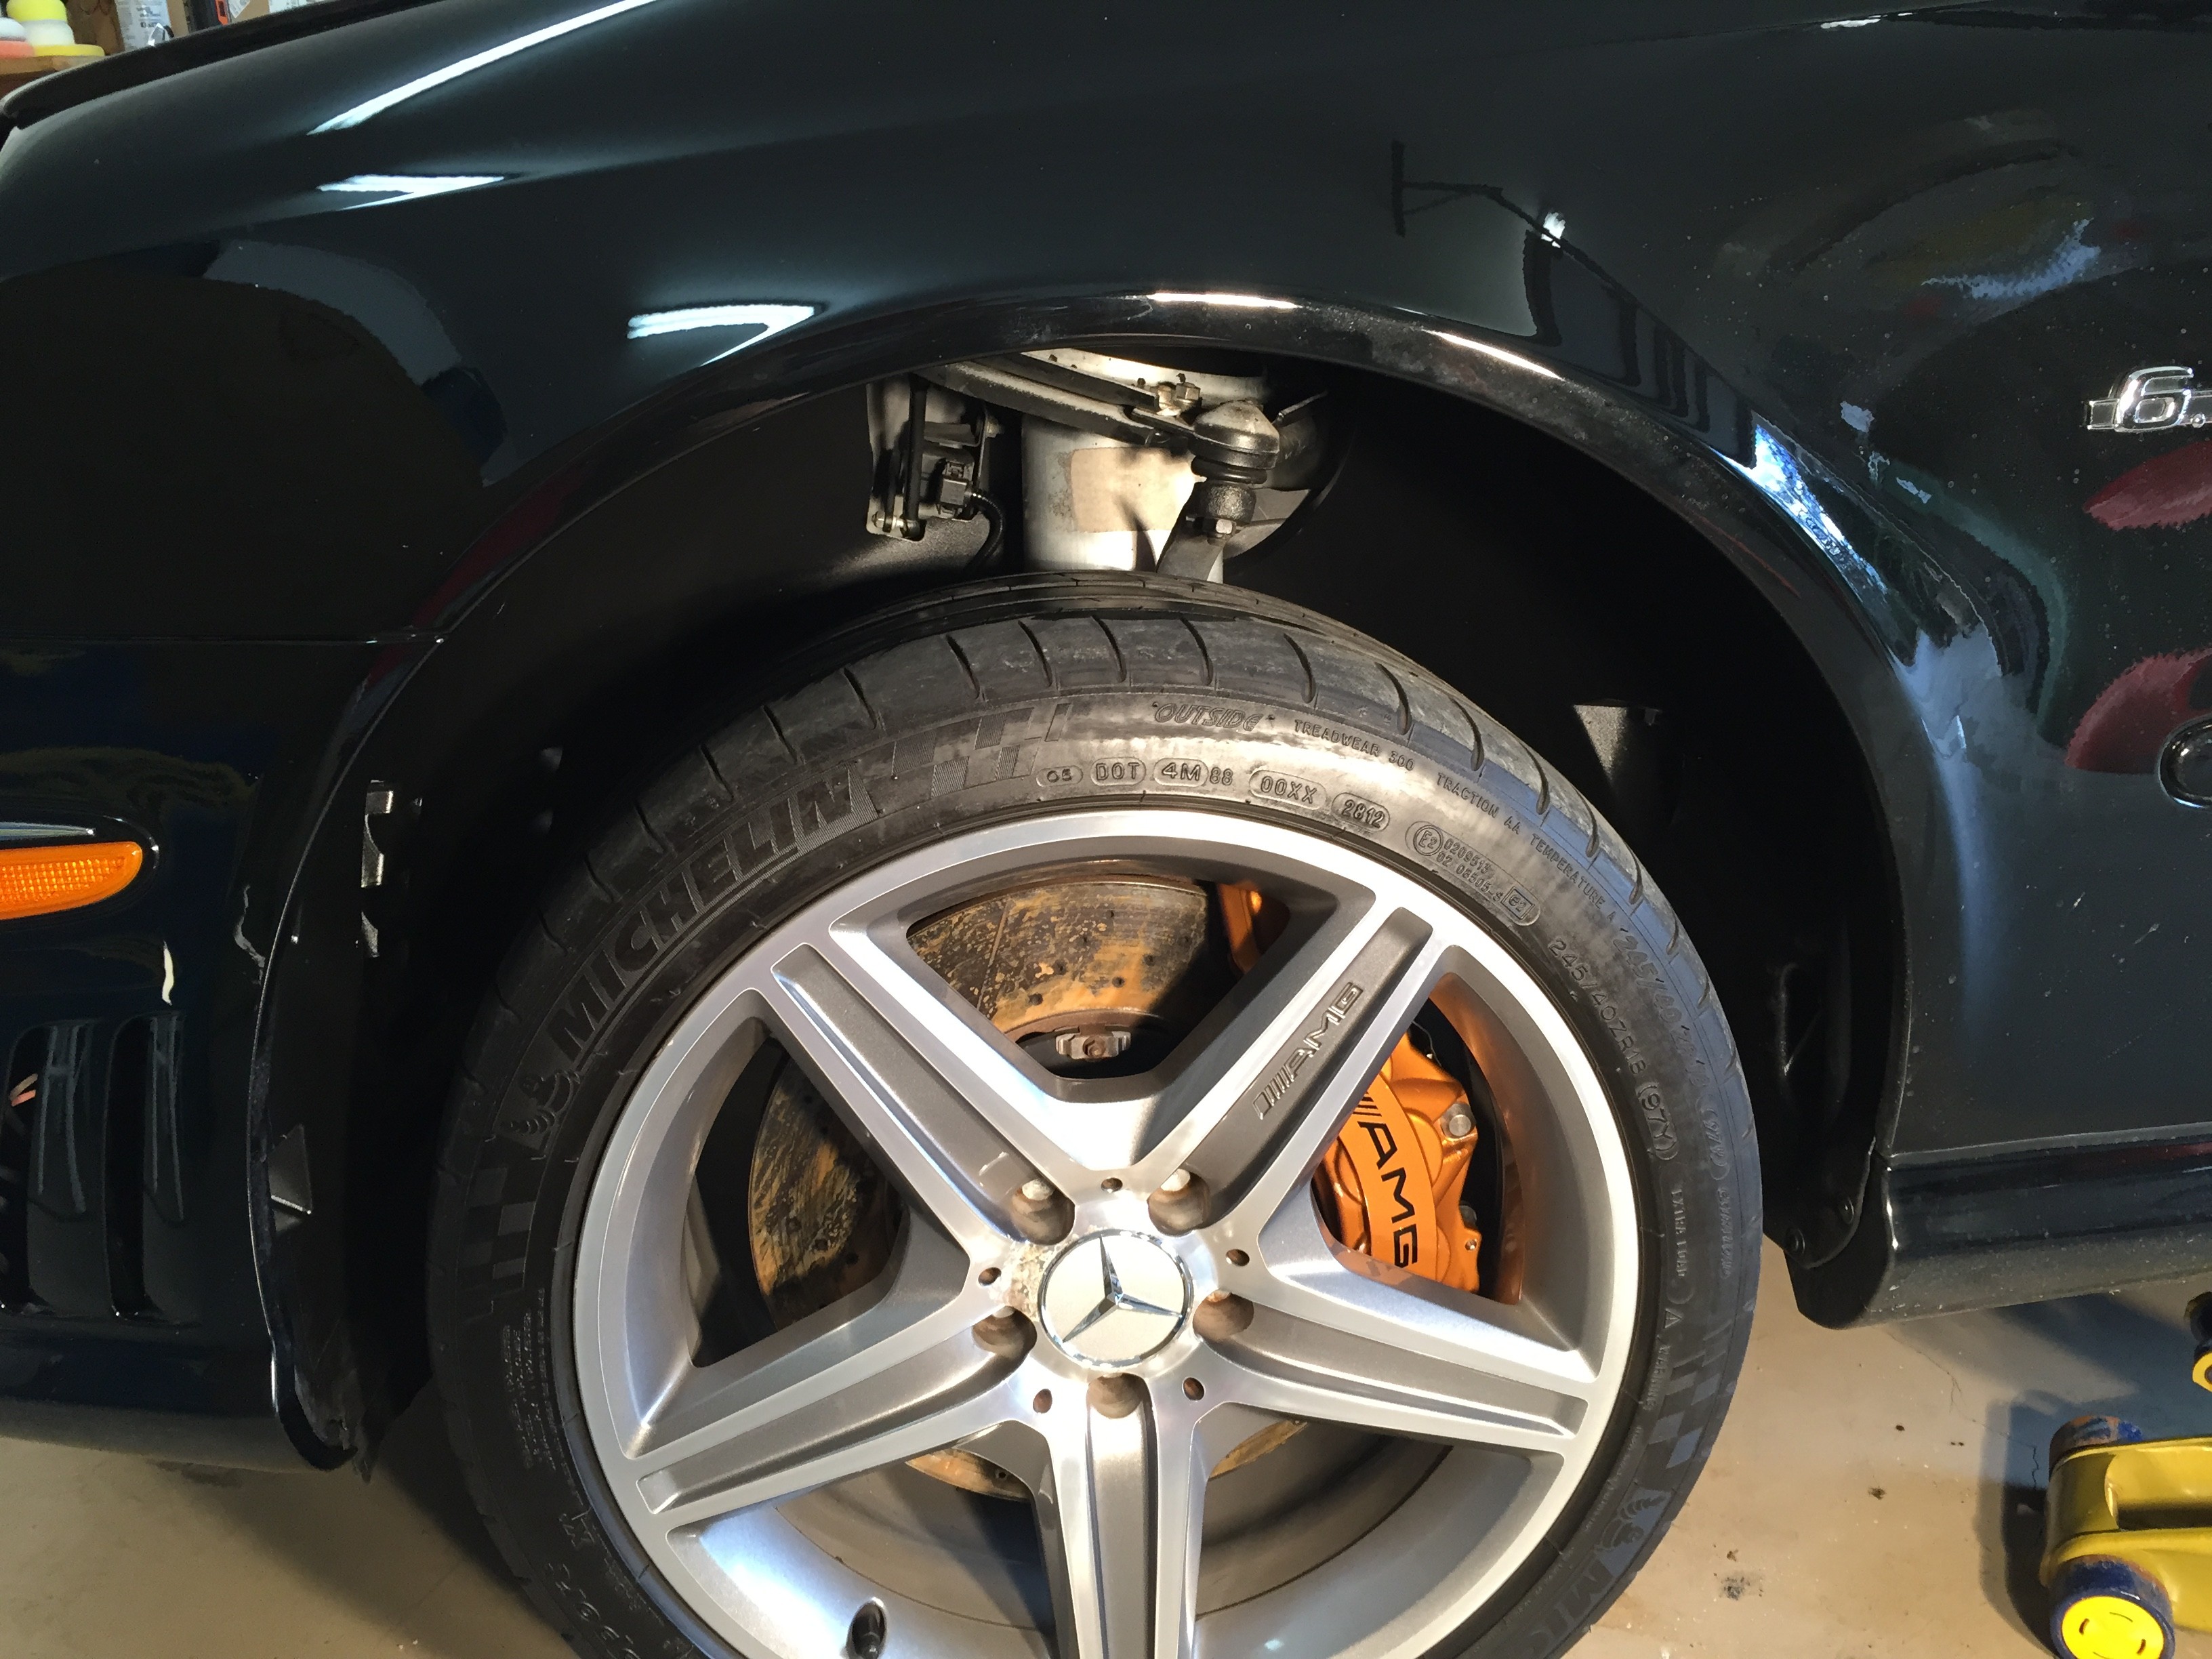
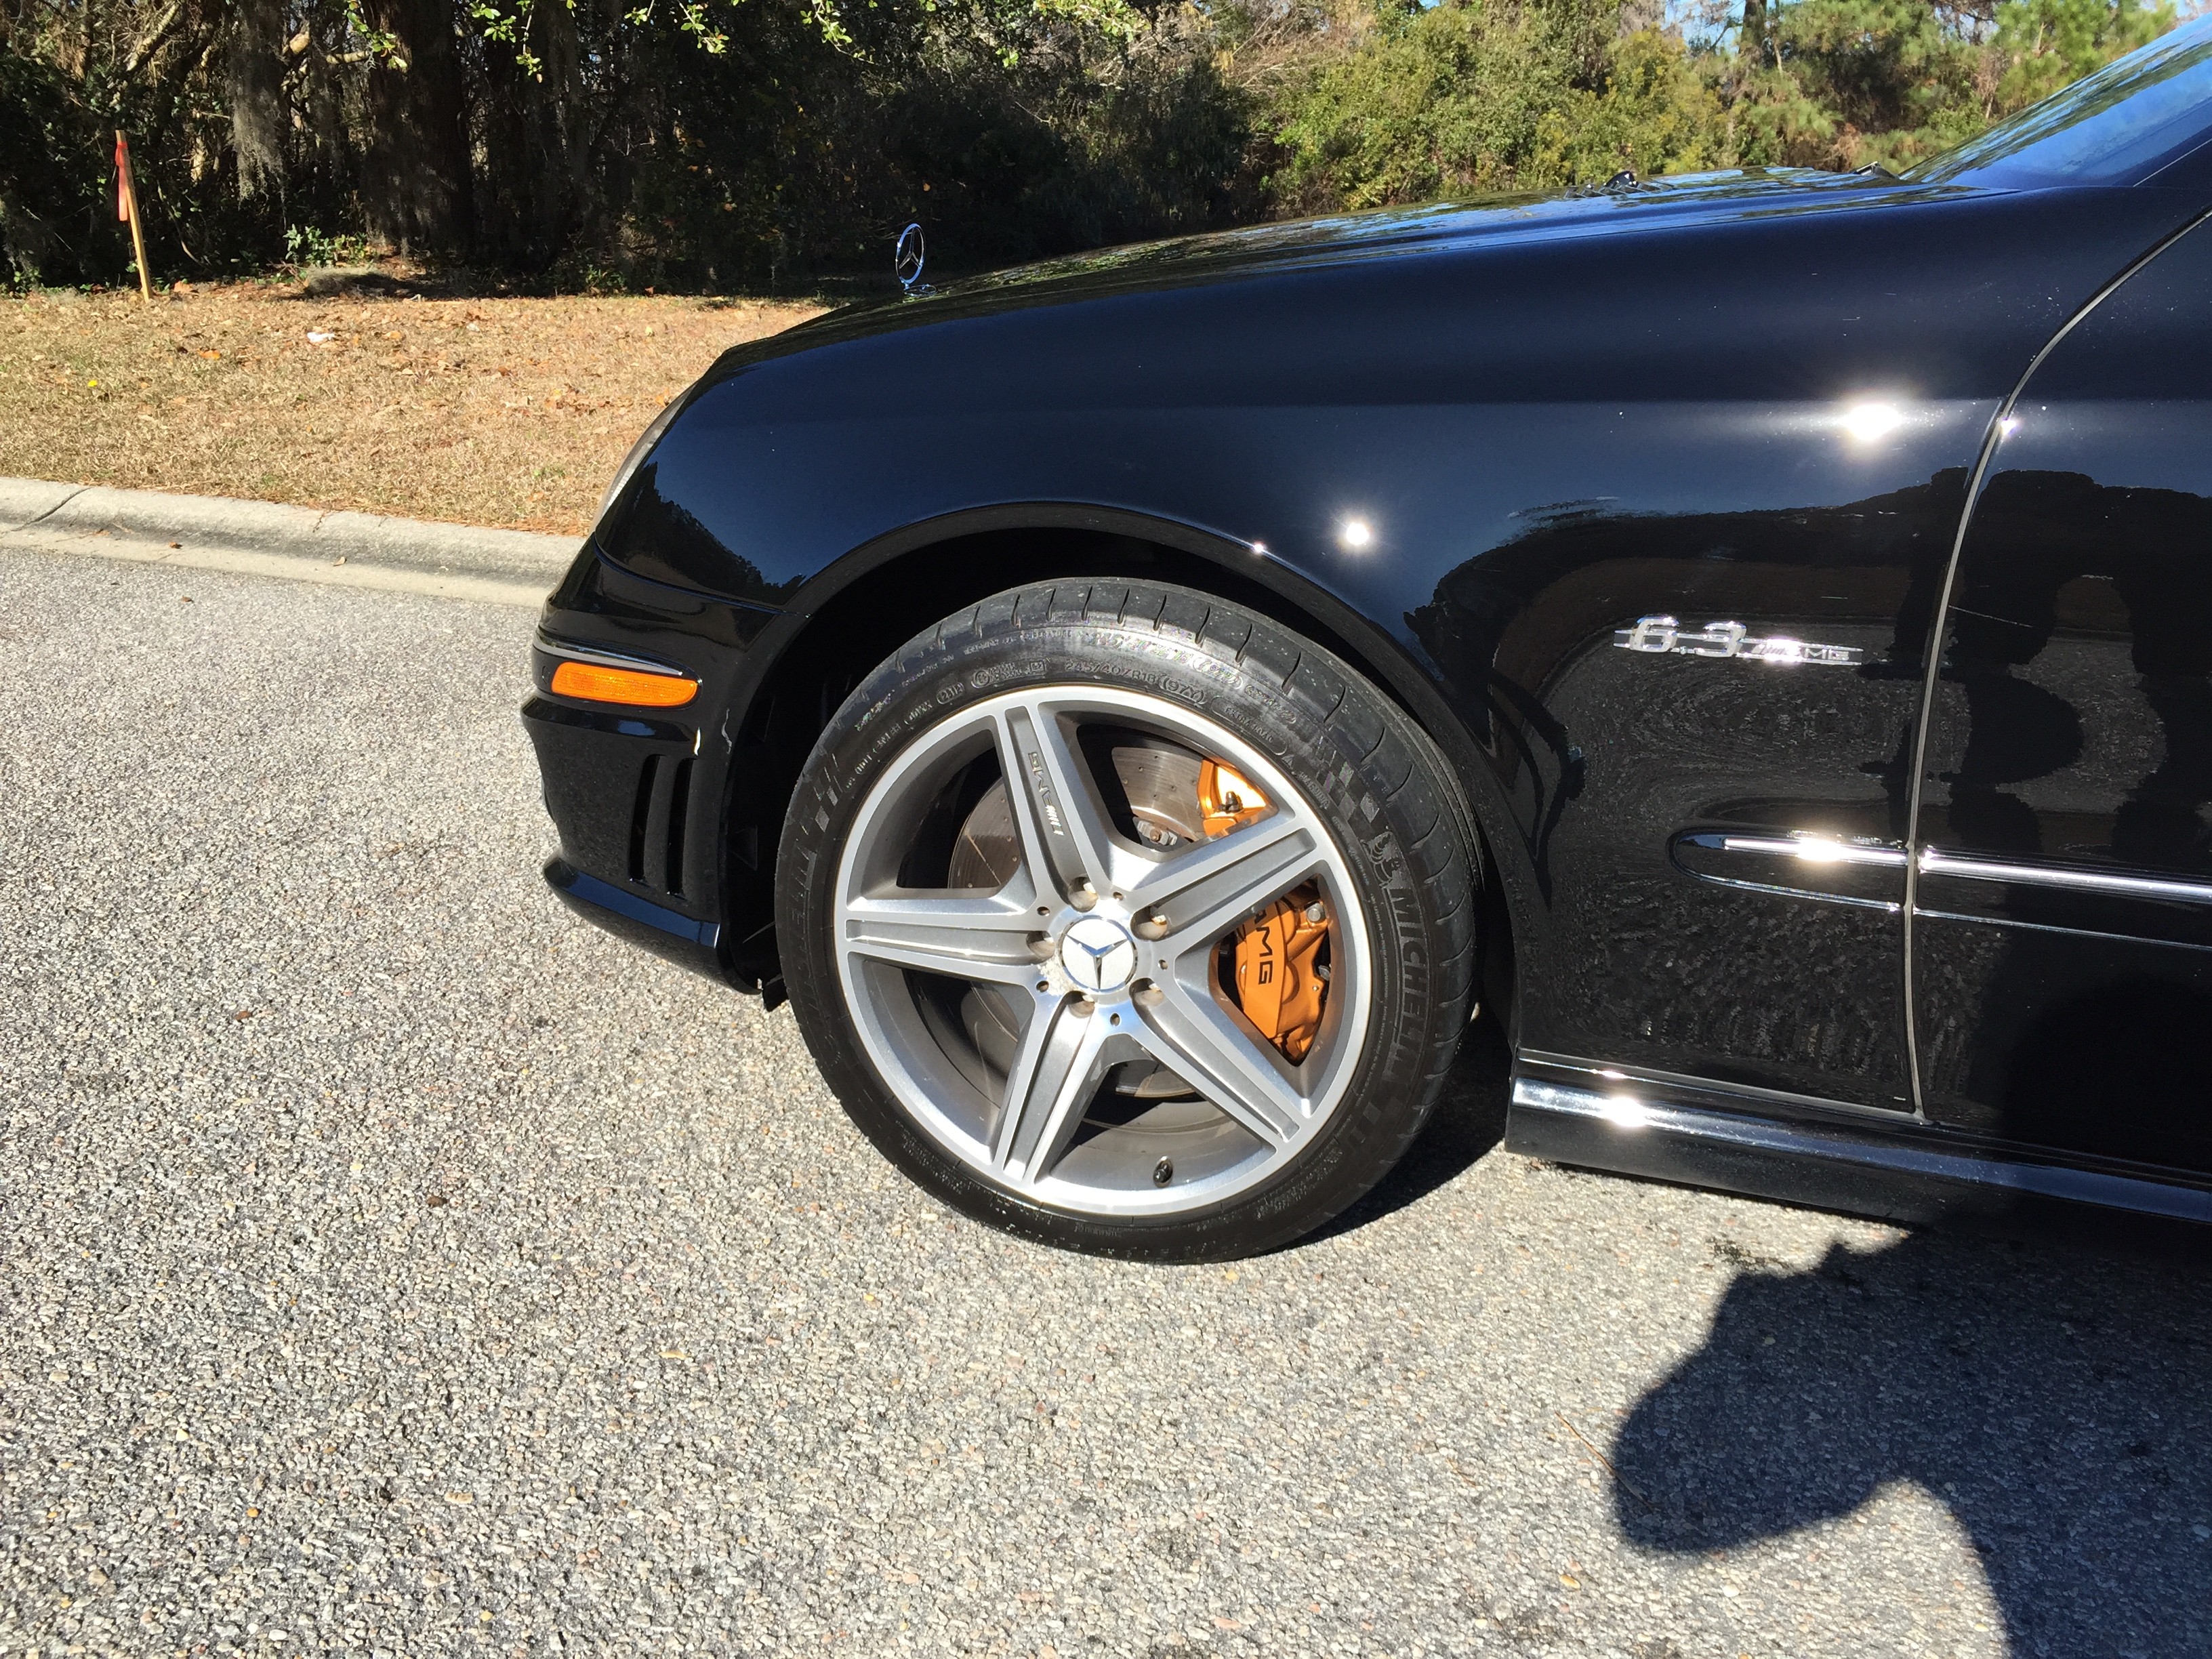
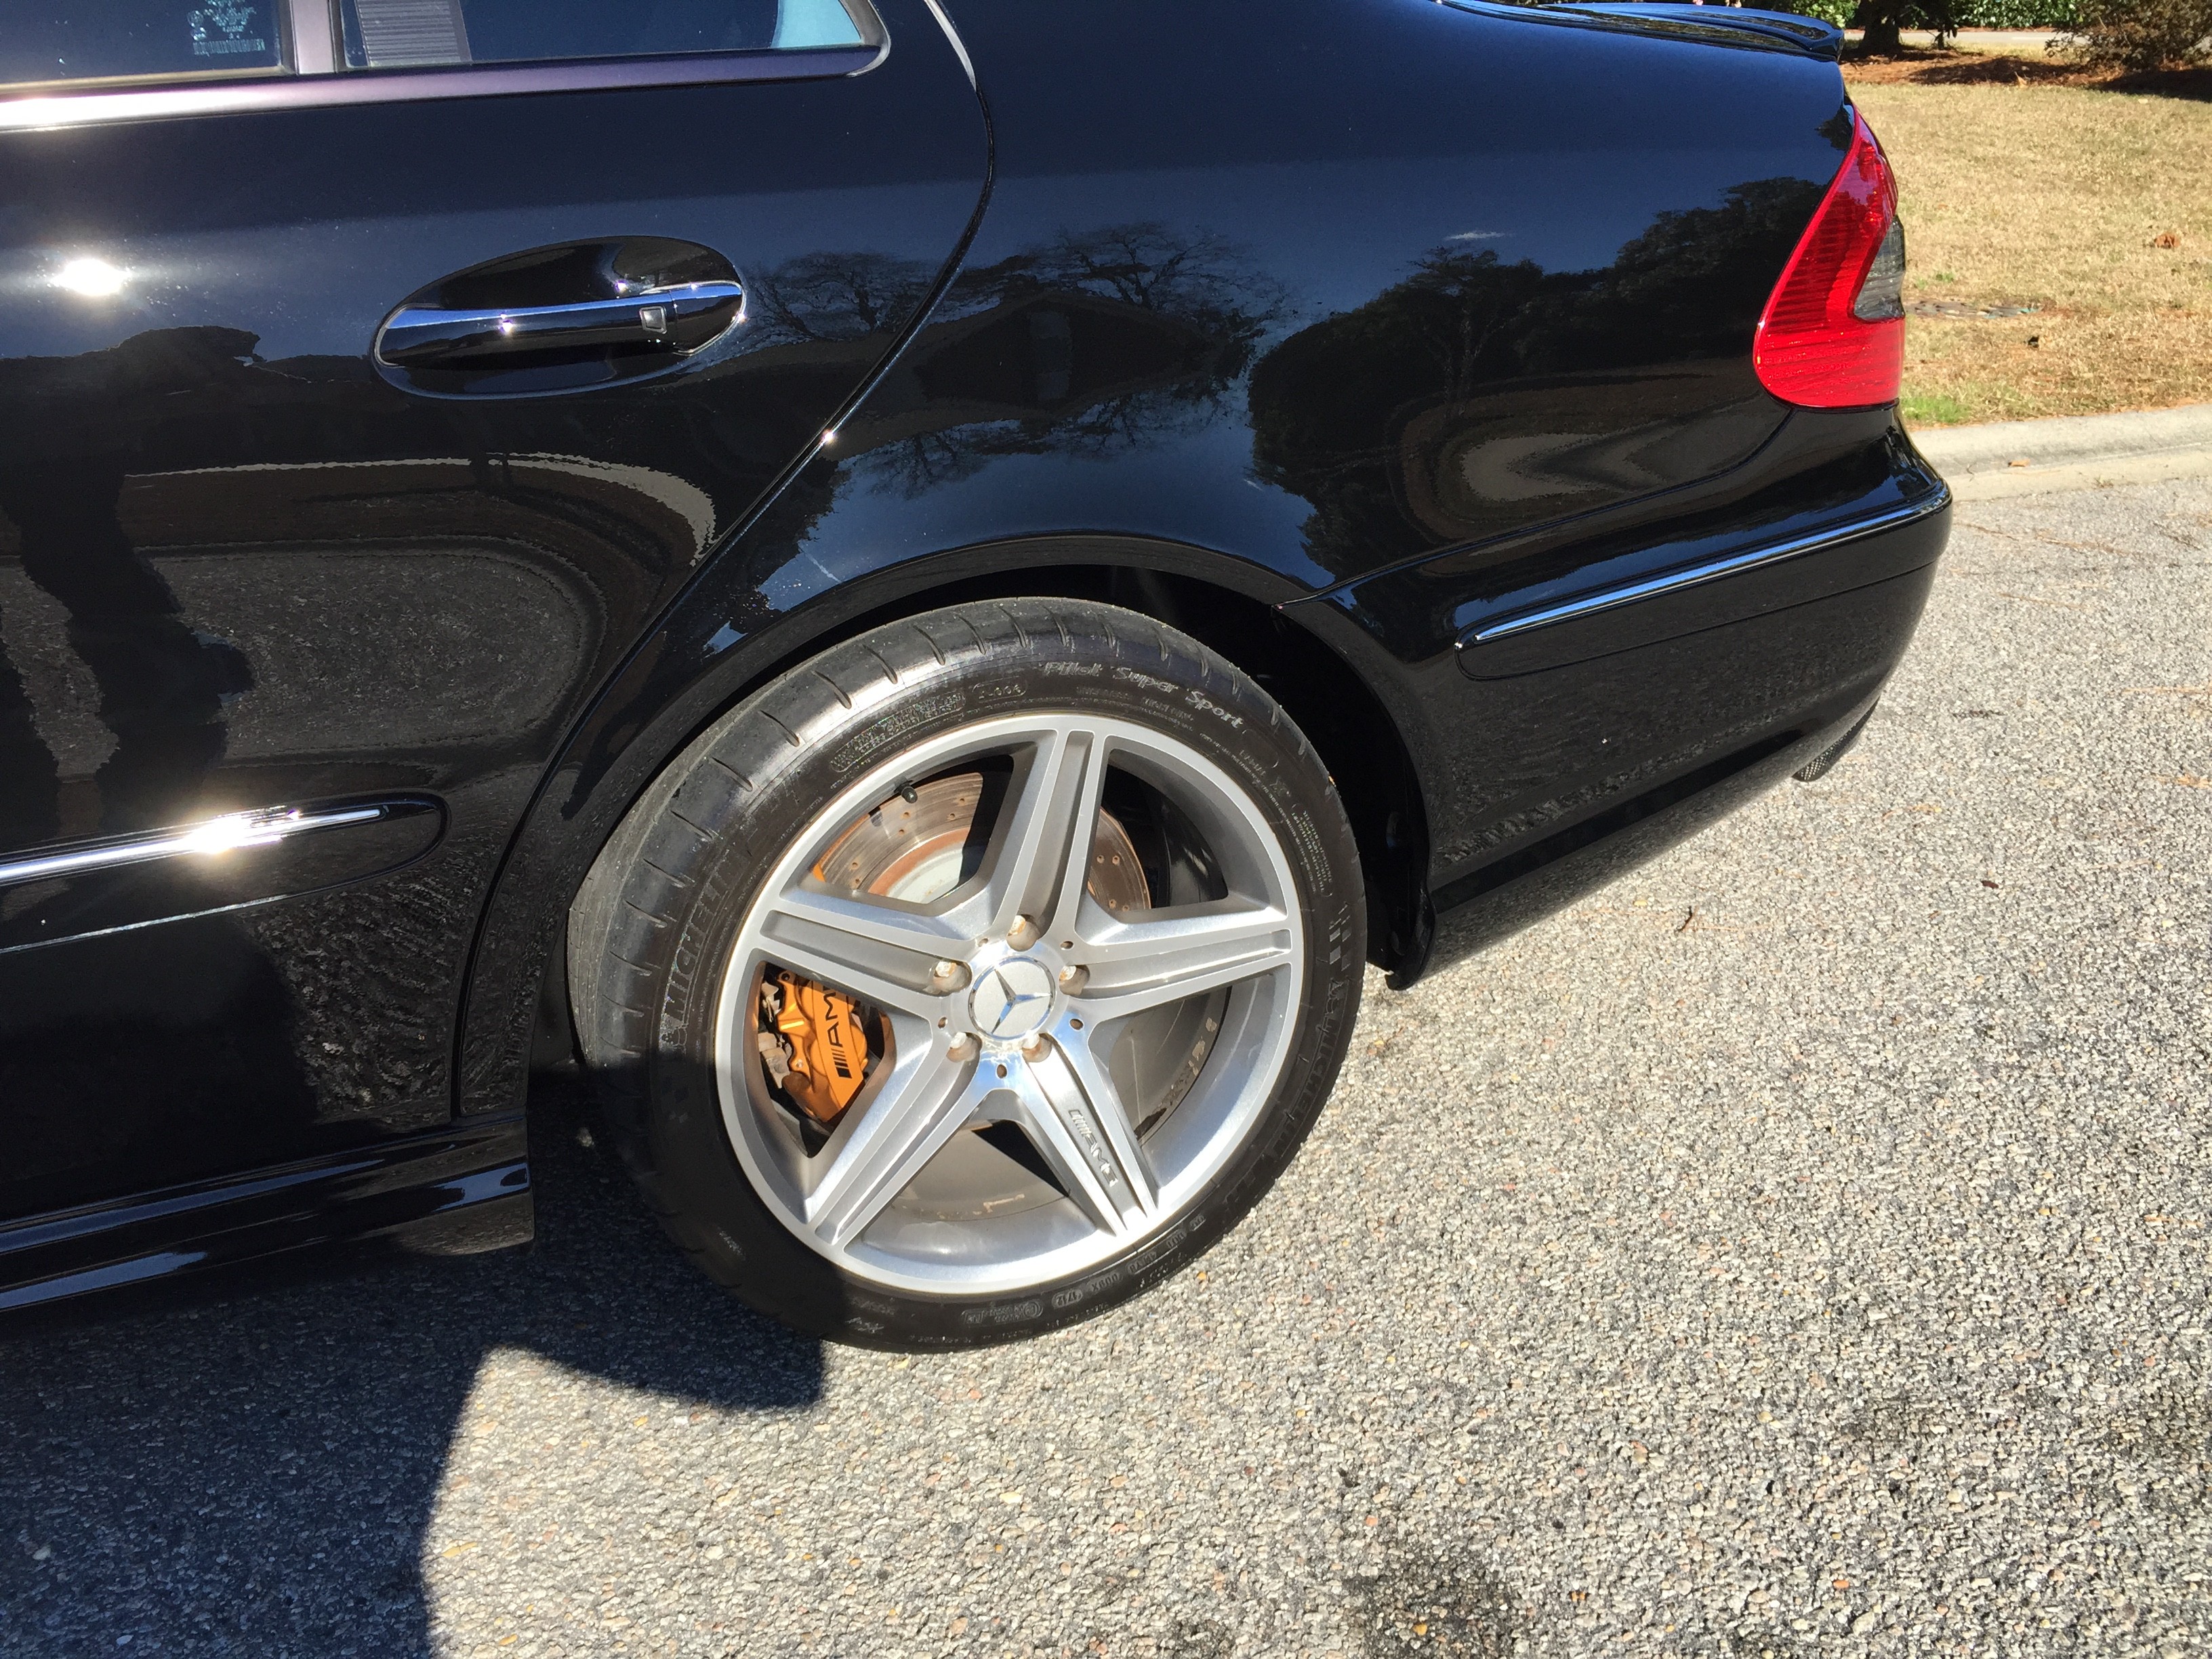
As you can see in the next two pictures the well areas are extremely difficult to tell anything other than a dark space. That is what you want in the end. Hope this helps some of you in cleaning up the appearance of your vehicle.
Typically people spray them with tire dressings or silicone after cleaning their cars to make them black again, which only lasts till the next rain or dust in the road. A lot of Detailers also spray them with some type of black spray paint to accomplish this too. That doesn't really look good due to high and low spots, rough and smooth areas and the overspray issues. There are plastic restorers that can be purchased for all plastic parts on the outside of the cars, then those can be treated to keep them nice. Most of our cars are between 6 and 10 years old, so treating brand new wheel well liners is not an option.
I am very OCD when it comes to my personal cars. I do paint corrections for stress relief and when it comes to this area there are no real solutions that are cheap. I thought about replacing all liners with new ones, but they are about 100$ each well. So rethought it and I know there are spray coatings that are applied to cars underneath so looked into that. What I really wanted was something that would make them look new and not like something was just sprayed on and made to work.
I recently sprayed my grille with Plasti Dip matte and was quite surprised how smooth it laid down. Also have been through some traffic with debris and figured I would have chips out of it, but no, it is still smooth. I wanted the liners to have some type of gloss to it and not be matte, so I looked into the Plasti Dip Gloss enhancer and said why not. Take out the liners, clean them perfectly, then spray with PD and then the GE. Even if there is a few nicks or scrapes on liners it should lay down pretty flat and hold up pretty well.
This is the process of what I did to achieve stellar results.
This is what the liners looked like before removal and cleaning.
I removed the liners one by one and thoroughly cleaned the suspension, and all the plastic parts under them, along with anything that had dirt, dust and especially the trays on the front up by the strut which hold tons of pebbles and road sand. After thoroughly cleaning the well area, I blew it off using the Metro Sidekick blower, then dressed all areas with a spray on sealant. This will lessen the amount of dust that collects under the liners also. Also protects the rubber and plastic from weathering. This is what the finished well area looks like before the liners were re-installed.
The liners were sprayed with degreaser and washed on all sides with a brush till they were perfectly cleaned. Dried with the blower. Then I sprayed a healthy coat of Plasti Dip Black on the inside portions and any areas that would be seen. I let that dry and then sprayed the PD Gloss Enhancer on top of that to give it a shine. One pic the GE was not totally dry. I sprayed the pieces in a field near the house to prevent any type of overspray. I do not suggest doing this near a car. I took all bolts and plastic plugs and nuts and washed them by hand with a brush to clean them up. Re-installed the liners and they looked amazing. Here are some pictures of what they will look like. When outside in the sun, the wells look totally clean like they are supposed to and really helps the appearance of the car.
As you can see in the next two pictures the well areas are extremely difficult to tell anything other than a dark space. That is what you want in the end. Hope this helps some of you in cleaning up the appearance of your vehicle.
Last edited by SheriffDep; Jan 14, 2015 at 11:39 PM.
MBWorld Fanatic!
Joined: Jan 2010
Posts: 1,057
Likes: 19
From: SWFL
E55, E320 CDI , CLA250, Jag XJ Supersport
Looks great!
I actually replaced my liners and within a week drove through a freshly paved area and have tar built up in the wells.
Any tips to remove tar from the plastic liners?
I actually replaced my liners and within a week drove through a freshly paved area and have tar built up in the wells.
Any tips to remove tar from the plastic liners?
Thread Starter
Senior Member
Joined: Feb 2014
Posts: 420
Likes: 3
From: SC/NoVa
13' E350 4matic, 08' E63
For you, you can use something like Opti-Seal to spray the liners down and that will keep that black sheen and eliminate the use of APC (just soap and water) for many months ahead.
On brand new cars, I will typically just spray the liners and all black plastic areas down with that product. Gives many many months of protection from the elements, and keeps them looking fresh and they don't fade out. Clean and re-apply 9 months later or so just to keep them nice. My parents Explorer has a ton of American black plastic on it, and I sprayed 2 years ago all of theirs. It is still 30k later black and clean.
MBWorld Fanatic!
Joined: Oct 2011
Posts: 2,279
Likes: 27
From: A to the Z (the state)
'06 E55
Brocephus... you make awesome threads. Keep doing it. Love the clean suspension.
FWIW, I had to replace one of my front liners and I recall it being about $50. I need to replace my rear liners. Too many burnouts.
FWIW, I had to replace one of my front liners and I recall it being about $50. I need to replace my rear liners. Too many burnouts.
Trending Topics
Thread Starter
Senior Member
Joined: Feb 2014
Posts: 420
Likes: 3
From: SC/NoVa
13' E350 4matic, 08' E63
In your case not sure how well PD would work due to the rubber coming off the tires. Honestly I haven't done a burn out YET!!!!!. MY luck something always breaks.
If you like my posts, I am quite surprised this one is getting some love, but the other one which I though was more info for us AMG'ers for calipers isn't. Give it some love too if you haven't seen it. https://mbworld.org/forums/w211-amg/...ake-lines.html
MB World Stories
The Best of Mercedes & AMG

6 Mercedes Models That Did NOT Age Well (But Are Somehow Still Cool)
Verdad Gallardo
Manual Mercedes? 6 Times Sindelfingen Let Drivers Have All The Fun
Verdad Gallardo
Mercedes SLR McLaren 722 S Is Extremely Rare Example Modified by McLaren
Verdad Gallardo
8 Classic Boxy Mercedes Designs That Have Aged Like Fine Wine
Verdad Gallardo
Flawlessly Restored Mercedes 190E Evo II Heads to Auction
Verdad Gallardo
Electric Mercedes C-Class Unveiled: 11 Things You Need to Know
Verdad Gallardo
Mercedes EQS Gets A Major Update: Everything You Need to Know
Verdad Gallardo
5 Underrated Mercedes-Benz Models That Don't Get the Love They Deserve
Verdad Gallardo
Mercedes 300D Has Pushed Well Past 1 Million Miles and It Ain't Stopping
Verdad Gallardo


MBWorld Fanatic!


Joined: Dec 2011
Posts: 4,066
Likes: 37
From: Folsom, CA
2005 E55 AMG
seriously awesome! 
to be honest, the rust buildup on the rotors was driving me nuts in the whole series of pics LOL I know it's just oxidation - but try photoshopping out the rotors and look at the pics again, I bet the wheel well really pops even more then!
to be honest, the rust buildup on the rotors was driving me nuts in the whole series of pics LOL I know it's just oxidation - but try photoshopping out the rotors and look at the pics again, I bet the wheel well really pops even more then!
Thread Starter
Senior Member
Joined: Feb 2014
Posts: 420
Likes: 3
From: SC/NoVa
13' E350 4matic, 08' E63
Ok, so next up is painting or conditioning the rotors. Yes that is driving me nuts also. I for the most rust parts on the rotor just washed the car, and dried it with a blower, so that rust is just what oxidized in a few moments. Once driven i should have taken the pics, will see what I can do to correct this.
Thread Starter
Senior Member
Joined: Feb 2014
Posts: 420
Likes: 3
From: SC/NoVa
13' E350 4matic, 08' E63
I want the car perfect as possible since I had 6 weeks off work.
Big stuff came first, then the smaller stuff worked. Problem with that adhesive is this--- You can take most types of glue remover to it, but that will eat the clear coat on the rims. You can scrape it till removed, but the same think, clear coat damaged. Now not many people even care, but I want my inside barrels as nice as the can be also. So trying to find something (not looked hard for the moment) to help remove it that won't damage the clear coat. For now the wheels have glass coat on the clear inside and out so at least they are protected at this point. I am just nitpicking each thing as it comes. Due to @Toadster , his post about the rust, I ordered new rear rotors and pads tonight for it. Front will wait no matter what for a few months then RB rotors will be bought. Need to be done at some point anyway. After front bumper, rockers, and lip go on it tomorrow maybe I will tackle that adhesive. I will have a full paint correction write up soon, just want it back together first. Then pics and process to help others out. I will add the process to remove that adhesive to this thread though. If anyone has ideas or solutions to problems please add to this thread so we can start having specific threads cover everything possible in those areas. That way we can tell people to search more instead of having 20 threads covering same thing. Thanks for the comments it pushes me to get it done.
Junior Member
Joined: Aug 2014
Posts: 50
Likes: 2
From: Noneya, Bidness
GLS, JKU
WD40 and Scotch bright pad and patience - this is the only thing that removes glue without damage to anything. On body paint - skip the Scotch Bright pad and replace with extra time and your finger rub.

Thread Starter
Senior Member
Joined: Feb 2014
Posts: 420
Likes: 3
From: SC/NoVa
13' E350 4matic, 08' E63
I am dealing with the rear end swaying as of now, if something is wrong my luck I will break something. When these PSS wear down I will do it at a red light right in front of a Prius for sure. The Beast will be glowing after that. LOL
Tire pressure is 40 front and 44 rear, Eurocharged tune now also. So more pwrrrrr to control. From a stop it chirps and skips and stay straight till top of second into third. Sways all through from that point. Not sure if its slight spin, sandy roads affecting it, but jumped on it in second in a turn today and wow swayed bad. Its the tires road power combination for sure, but feels weird at the same time. All my past E63's and the High Performance cars didnt feel this way. Will work it out sometime. Car runs really good otherwise. 26mpg on Highway. 19 city. yes I baby it slightly normal driving.
Tire pressure is 40 front and 44 rear, Eurocharged tune now also. So more pwrrrrr to control. From a stop it chirps and skips and stay straight till top of second into third. Sways all through from that point. Not sure if its slight spin, sandy roads affecting it, but jumped on it in second in a turn today and wow swayed bad. Its the tires road power combination for sure, but feels weird at the same time. All my past E63's and the High Performance cars didnt feel this way. Will work it out sometime. Car runs really good otherwise. 26mpg on Highway. 19 city. yes I baby it slightly normal driving.


