When you click on links to various merchants on this site and make a purchase, this can result in this site earning a commission. Affiliate programs and affiliations include, but are not limited to, the eBay Partner Network.
Tools you'll need: an (8mm, 17mm, 21mm sockets), 1 socket elbow of your choice 3/8 or 1/2 inch drive, T45 Torx bit, E18 Torx socket, hammer of your choice, ball joint separator the separator used a 19mm socket, air gun, and Loctite 243.
To begin have the car on a level surface and place the e-brake on. loosen lug nuts with a 17mm socket and then jack the car up from the middle jack point and place two jack stands in the little dip of the swing arm. as shown here
now let down your floor jack slowly and you are good to begin. first remove both wheels and place them under the body of the car to save you if your jack stands fail.
The culprit. as you can see the boot has been torn off. remove the nut on the bottom with a 21mm socket and the air gun.
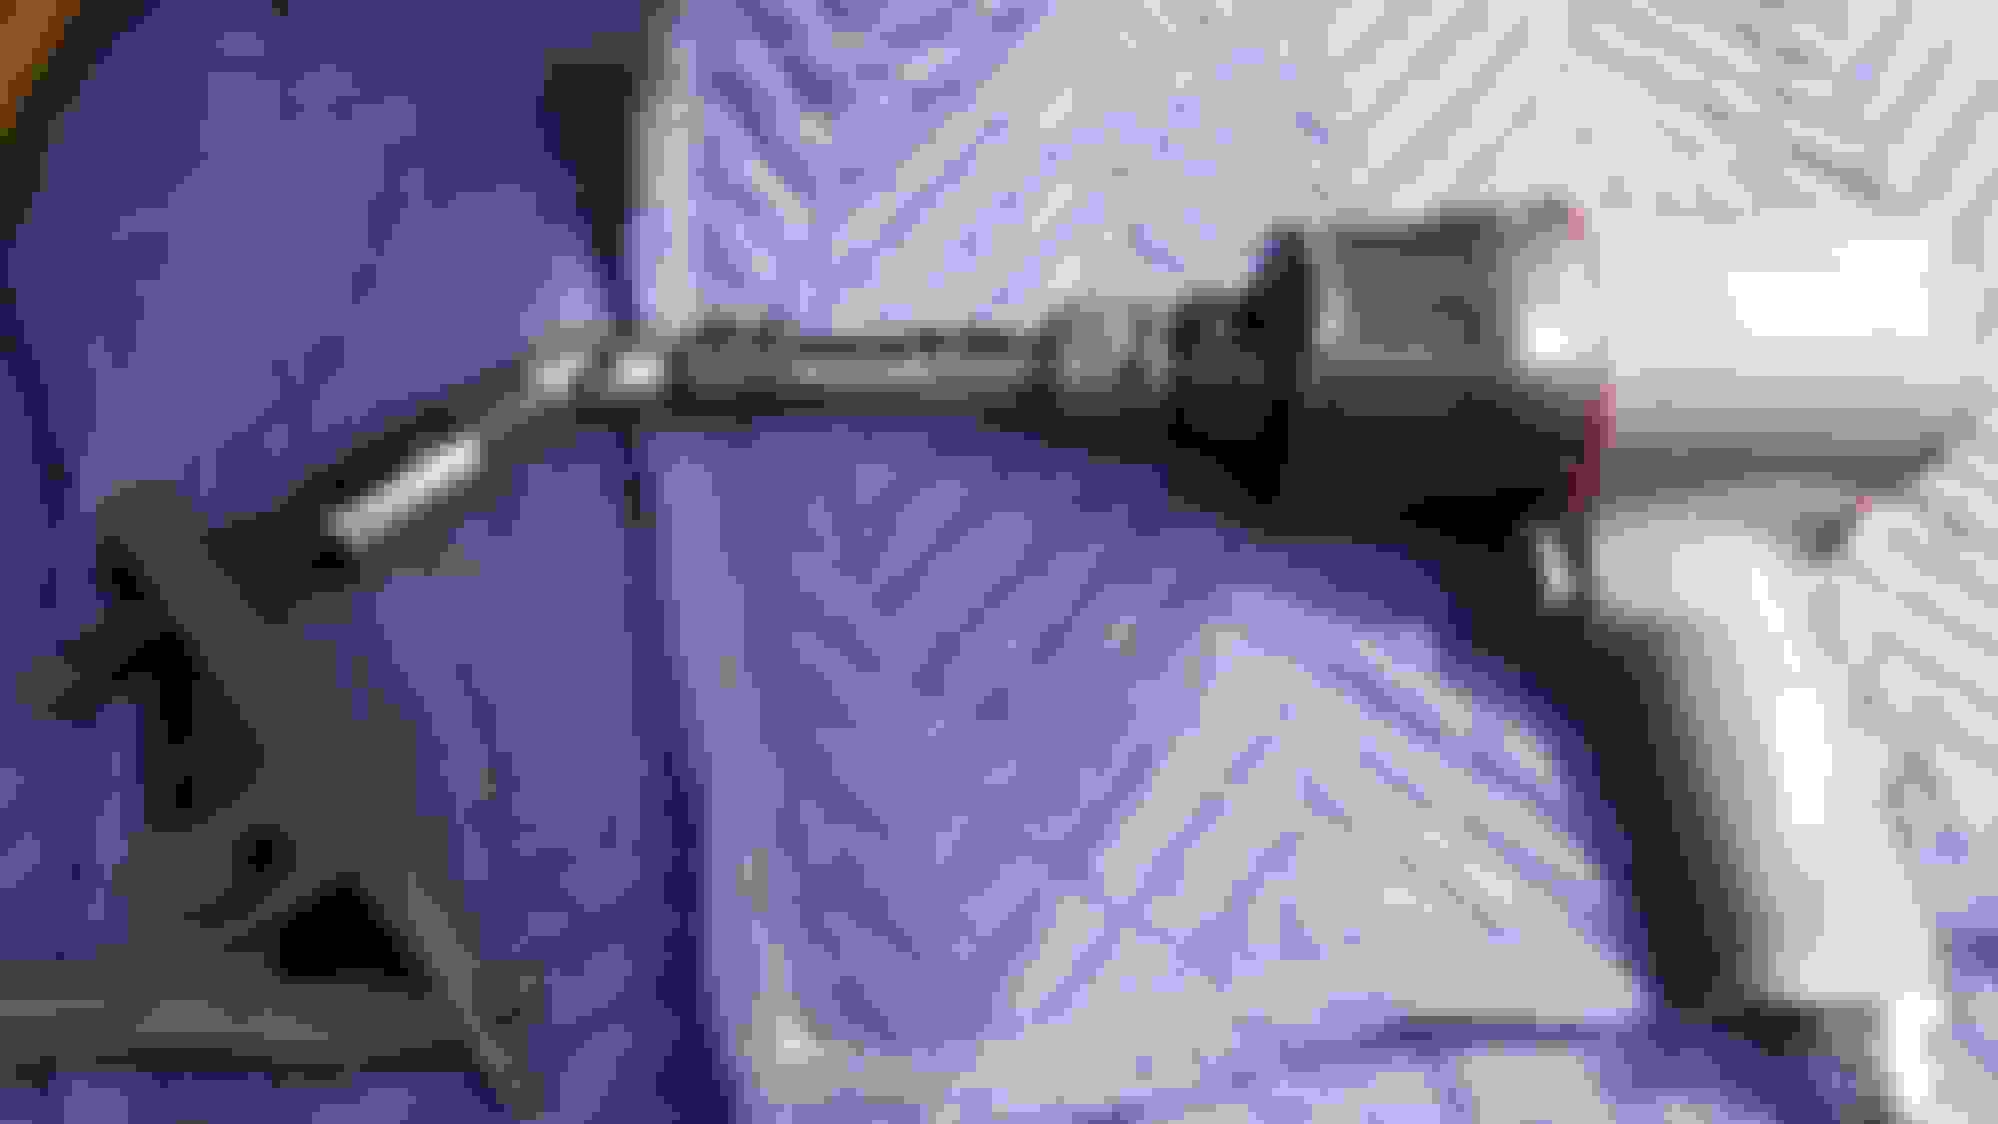
Pick your poison to hammer the separator onto the ball joint. I used the 2 pound.
using a ball joint separator and a hammer of your choice hammer the separator onto the ball joint after the nut has been removed (21mm socket).
how I was able to separate the ball joint. it required a 19mm socket. I suggest using eye protection when hitting the separator with a high power impact air gun.
ball joint has been successfully separated. Once the joint is separated take off the front and middle under panels of the vehicle with a 8mm socket.
now the inner control arm bolt has a 21mm nut on one side
It has a E18 Torx socket on the other side.
2 breaker bars for the win!
here is the bolt removed. remember to loctite the bolts when re-installing the new arms.
part numbers
part numbers
They are right and left specific so remember to line them up before trying to install them.
use a 21mm socket and a T45 torx bit to tighten the nut down on the ball joint. use the T45 torx bit to hold the inner screw while tightening the nut.
passenger side has a couple cooler lines in the way. This is where the elbow comes into play.
To get the inner control arms to line up with the body so you can slide the bolt through you'll need to turn the wheel away from the side that you are working on about one full turn.
Nice DIY! I would rename the title to Torque arm or Thrust arm since thats what they are called. I like to place the jack stands under the actual lift pads just in case an airshock decides to blow out. with the jack on the control arm if a shock blows out then that corner will fall a few inches.
Nice DIY! I would rename the title to Torque arm or Thrust arm since thats what they are called. I like to place the jack stands under the actual lift pads just in case an airshock decides to blow out. with the jack on the control arm if a shock blows out then that corner will fall a few inches.
I usually put my jack stands under the mount points for Ctrl Arms even if Airbag blows it won't affect things.
Does anyone have torque specs available for all of the bolts? I'm gonna be doing upper and lower arms here soon. I have a torn bushing on my driver thrust arm...
Nice DIY! I would rename the title to Torque arm or Thrust arm since thats what they are called. I like to place the jack stands under the actual lift pads just in case an airshock decides to blow out. with the jack on the control arm if a shock blows out then that corner will fall a few inches.
Does anyone have torque specs available for all of the bolts? I'm gonna be doing upper and lower arms here soon. I have a torn bushing on my driver thrust arm...
I just tightened them until they were tight. obviously you want to tighten the bolt and nut on the inner side tight and use loctite. I don't know the exact torque specs. you will get a feel for how tight they should be when you remove them.
Were there any symptoms aside from visual inspection that caused you to change the thrust arms?
Tires that wear on both inside and outside simultaneously. Unsettled and difficult to control in the rain with standing water on the road.
If your tires are wearing so fast you only expect to get a few thousand miles out of them and you are apprehensive about driving over 50 mph in the rain...figure the ball joints and/or bushings are bad.
Been there, done that, got the T-shirt. I now expect to fully rebuild my W211 front suspension every 80,000 miles whether I think it needs it or not...hard lesson learned the first time. I'm not going to let it get to that point again. FWIW, it was at 90,000 miles the handling of my car became dangerous.
Were there any unusual noises? Like popping or clunking?
if you're hearing popping noises like a rusty gate closing you most likely have worn rubber grommets that hold the sway bar. Buy some HHS plus high pressure lubricant. Spray both sides and the noises will go away. I spray once a year and it works great. For clunking I'd check your ball joints and tie rods.
that ball joint popper is the best tool harbor freight has ever sold. I had to re-do whole front-end myself hardest part was the ball-joints could not get them off for the life of me. had to take whole knuckle to shop press them out. but what a difference it made.
arent you supposed to have the car level on the ground (for suspension preload) before the final tightening of the most inner bolt/nut? To prevent premature bushing wear?
arent you supposed to have the car level on the ground (for suspension preload) before the final tightening of the most inner bolt/nut? To prevent premature bushing wear?
I have not had any problems with premature bushing wear. As of now I have put roughly 18,000 miles on the car since this post.
ok, but 18k isnt a lot for bushings. Also, just checked with a MB tech: he said their procedure is to tighten while the suspension is under load. Reason being, if you tighten that bushing bolt while the arms are dangling, the bushing will be at a twisted angle the entire time the car sits level. While the car is level, the bushing isnt supposed to be in the twisted position. Tech said not preloading could reduce bushing life by more than half
ok, but 18k isnt a lot for bushings. Also, just checked with a MB tech: he said their procedure is to tighten while the suspension is under load. Reason being, if you tighten that bushing bolt while the arms are dangling, the bushing will be at a twisted angle the entire time the car sits level. While the car is level, the bushing isnt supposed to be in the twisted position. Tech said not preloading could reduce bushing life by more than half
ok, but 18k isnt a lot for bushings. Also, just checked with a MB tech: he said their procedure is to tighten while the suspension is under load. Reason being, if you tighten that bushing bolt while the arms are dangling, the bushing will be at a twisted angle the entire time the car sits level. While the car is level, the bushing isnt supposed to be in the twisted position. Tech said not preloading could reduce bushing life by more than half
Good to know, thank you for adding this to the post to help others out. I will put her up on the ramps this weekend and loosen/tighten the inner bolts.
If you want to be very specific about it, you should tighten it under load, then drive 500 miles and re-torque all the bolts again once it has settled.

 03-04-2016, 02:00 AM


 Very straightforward!