When you click on links to various merchants on this site and make a purchase, this can result in this site earning a commission. Affiliate programs and affiliations include, but are not limited to, the eBay Partner Network.
I run a 90mm BBK was plug and play for me ,got the intake through Lowpro,made a paper gasket and the wiring harness no problems,idled fine, last I checked the guy who made it has one left ,a little pricey tho
I run a 90mm BBK was plug and play for me ,got the intake through Lowpro,made a paper gasket and the wiring harness no problems,idled fine, last I checked the guy who made it has one left ,a little pricey tho
Hopefully this will be a bit of a confidence boost for those who are wondering whether the 90mm will cause any issues. Like I said, if you had issues prior to the 90mm, those same issues will more than likely still be there. If you didn't, why would a TB cause issues?
Thanks for the reply, and goodluck to whomever purchases the snout/inlet that may or may not be available.
So I made a bit of progress yesterday at the shop. I decided to grind out material in order to cover up two of the original threaded holes to have a perfectly smooth surface to mount the 90mm TB to. No chances of leaks or bolt pattern interference's. I also had to build up some material on the inside of the original 74mm bore in order for it to be machined off. Due to the alignment, the original bore would have been 1/8" of an inch outside the 90mm bore. Still covered by the gasket surface, but again, more surface area makes for a good vacuum seal.
In the top right area of the bore is where the gasket showed me an overlap. Weld, weld, weld! Top two threaded holes were ground out and re-filled with weld.
This area on the inside was built up with weld because this is where one of the new drilled and tapped holes for the 90mm TB.
Of course, once I remove the supercharger assembly and sit everything on the bench. I will re assemble it, that way I can 100% guarantee fitment of the big TB and not have any clearance issues with anything. After that, final machining will take place and hopefully within a week or two i might actually have this car started up again. Of course, provided that I'm not swamped at the shop with work. Customers first, projects later. As always, more pics to follow.
Cheers,
Pete.
Pete this way alignment will contradict the surge tank, you have to little twist the holes counter clock wise 7.5 minutes exactly.
Pete this way alignment will contradict the surge tank, you have to little twist the holes counter clock wise 7.5 minutes exactly.
AMG Lover, I have added enough weld material to not touch the surge tanks on either side. One key thing to remember is that I have a supercharger inlet on my car currently. I am able to sit the throttle body onto the existing inlet and see where i need to add or remove material. I have allocated enough space to allow for installation in this orientation with approximately 1/8" of space to the driver's side surge tank.
I spent hours looking at this and trying to figure out a way to mount this properly without having to rotate anything.
Thank you for your concern!
Pete.
Pete, good luck, I am sure your did good planning job, am just trying to help by giving my feedback based on my personal experience. Keep us posted please.
Pete, good luck, I am sure your did good planning job, am just trying to help by giving my feedback based on my personal experience. Keep us posted please.
Will do, today with any luck I will have the bore machined as well as the bolt pattern for the throttle body. with that being done, I can then start disassembling the car. I plan to clean up the supercharger inlet by smoothing out all of the weld beads and of course, smoothing out the insides after machining. I plan to also sand blast it with very coarse media to give it the original "cast" appearance. As progress continues, I'll update here.
Again, for those of you with instagram accounts, please follow @pdg.performance that is where the most up to date progress pictures will be posted.
I will be porting it, but i wont be polishing it. I don't see there being a point to polishing it considering the rest of the intake has a cast surface. if the rest was absolutely smooth and polished, then yeah I would. But for the application, it wont be worth the time.
Here are some progress pictures from machining today:
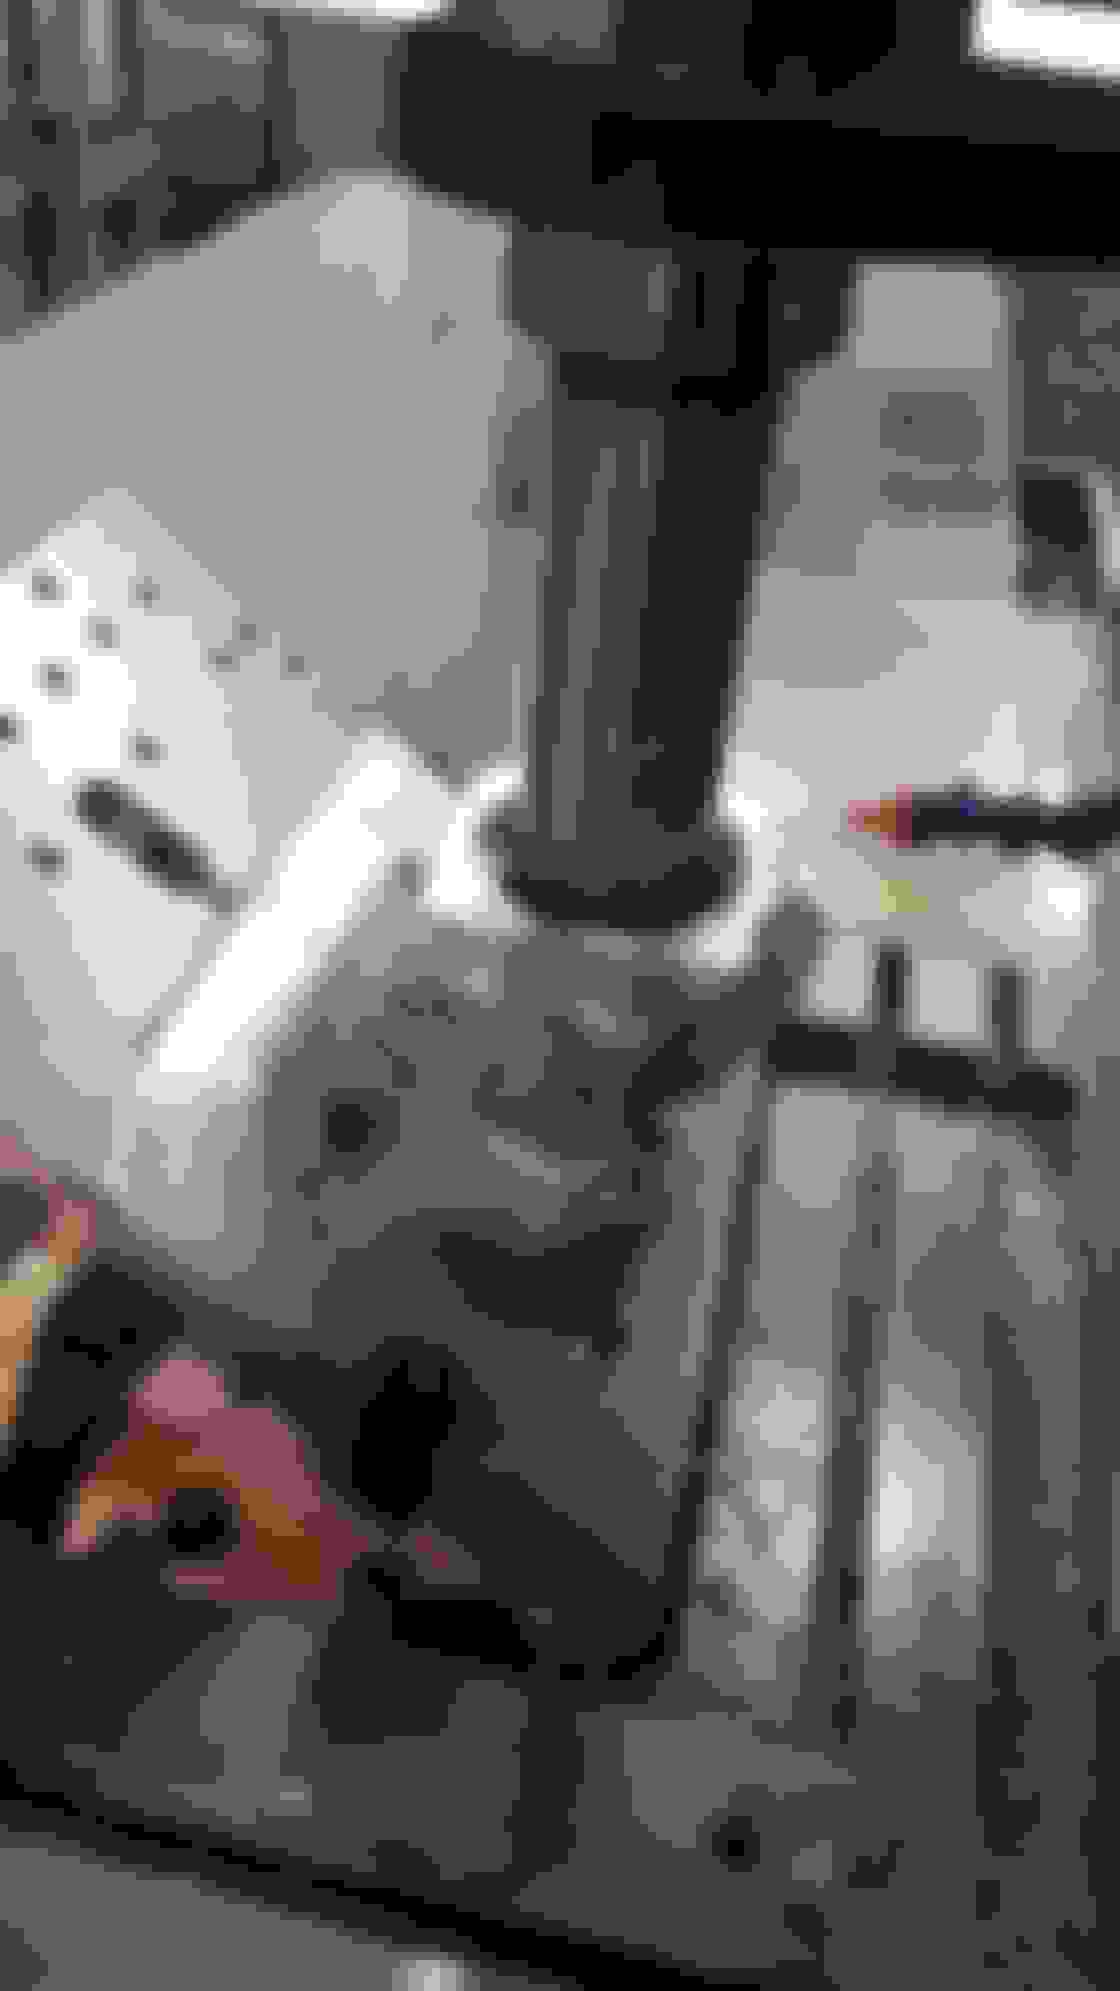
A shot of the milling machine at work. Jig boring tool in the spindle.
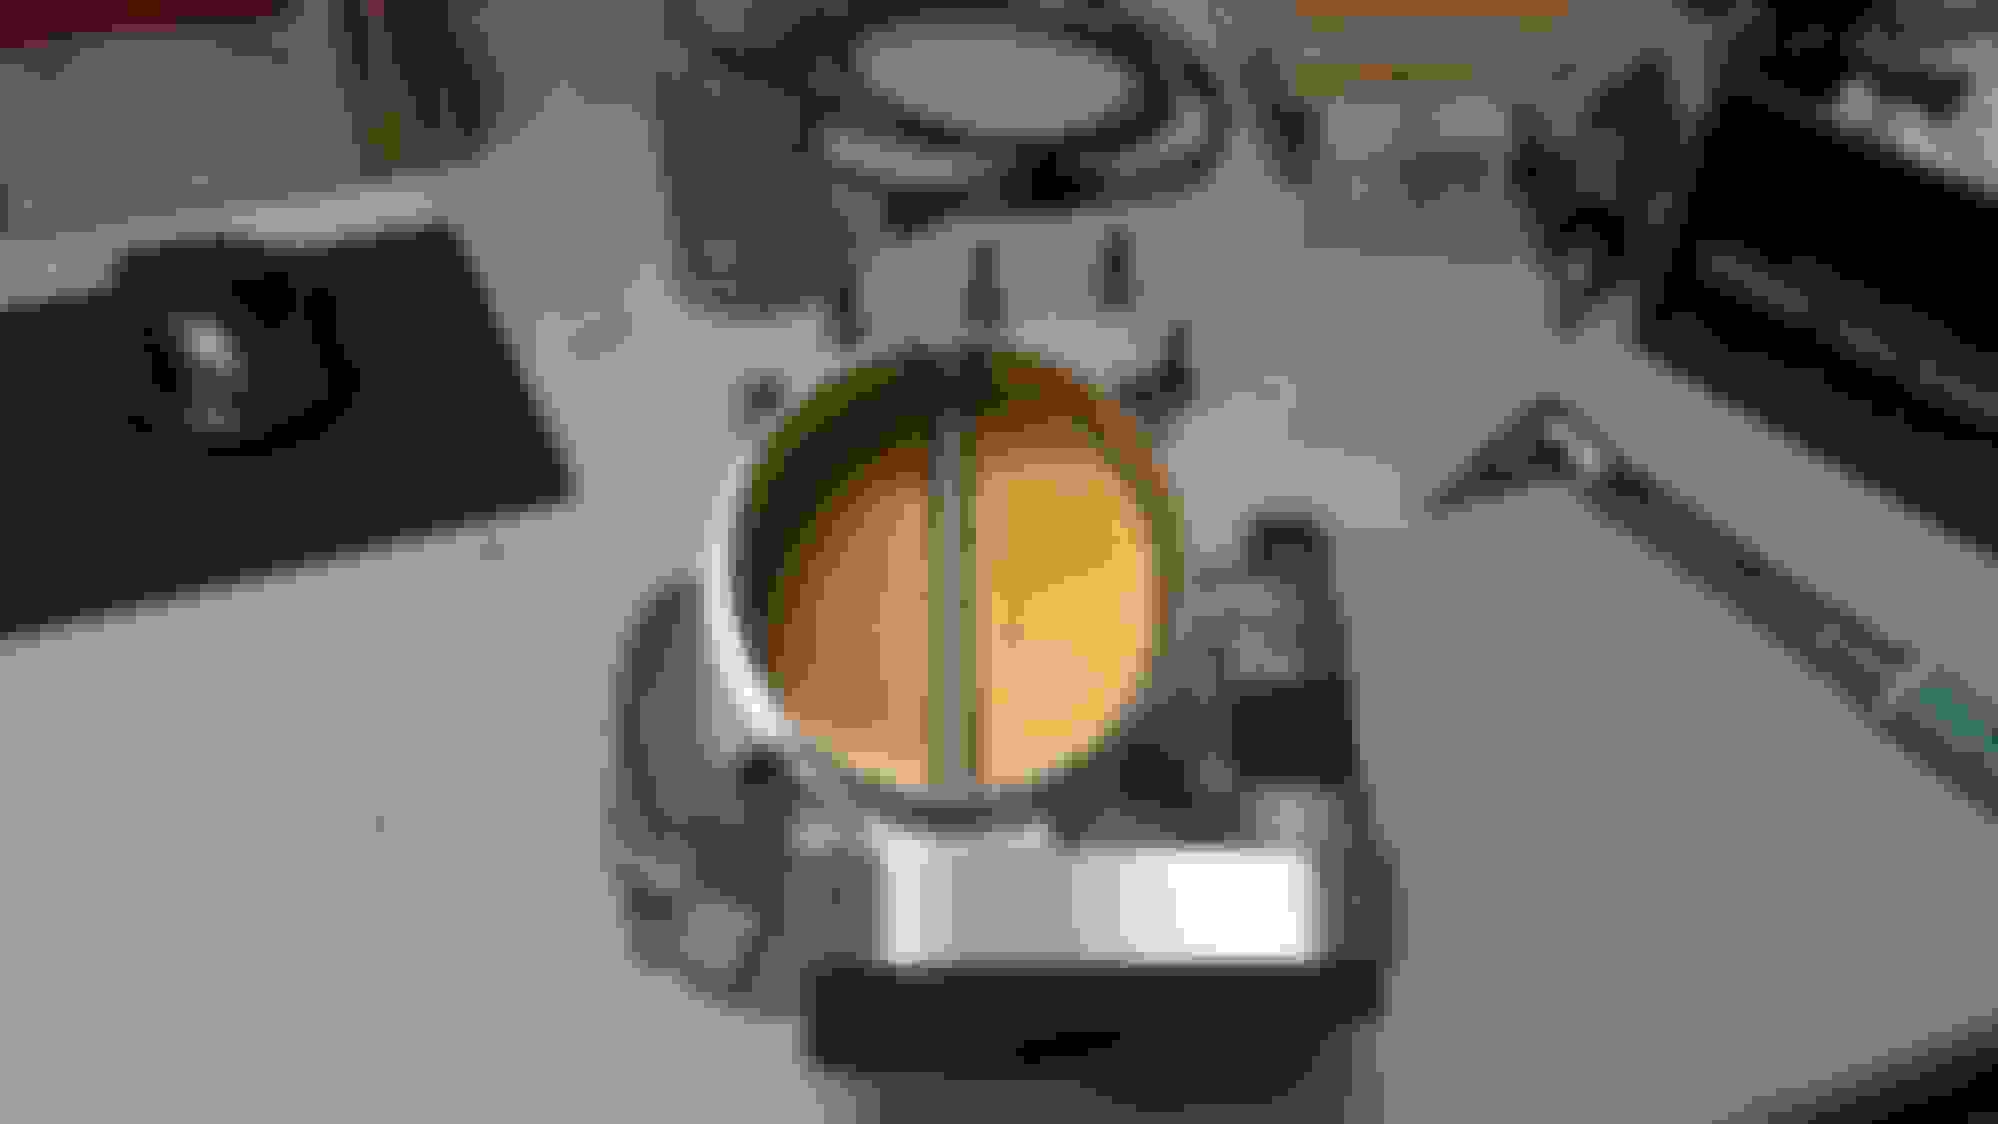
This was a picture right before the final size cut (90mm). I don't have small hands/fingers, but damn that's a big hole
Look ma! No hands! bolted and mounted as a test fit.
Is there any dyno showing what the gains are vs the 82m?
I wont have any gains to show versus an 82mm simply because I am going from stock to 90mm. I dynoed last year at 500whp and 617wtq with a fully heat soaked motor. 45min in bumper to bumper traffic in 30 degree Celsius summer weather.
I will dyno in the spring when the car is officially on the road again.
it will be cool to see the numbers. Hopefully you can do a off the street pull, and maybe a 20min cool down pull at a decent starting air charge temps so there is no ifs and maybes.
it will be cool to see the numbers. Hopefully you can do a off the street pull, and maybe a 20min cool down pull at a decent starting air charge temps so there is no ifs and maybes.
To get the most accurate dyno to dyno comparison, I would rather skip the cool down and run it like it was. All hot and bothered. Let's face it, on the streets, no one is going to say hey, hold on let me ice the car down for 20min and then we'll run. If you're already driving for 20-30min, the car is more than warmed up and it's already at operating temperature, maybe even more (like my dyno run) so to avoid getting a false raised result of cooling it down and making the gains seem even larger than they would be at a realistic level, I'd much rather just run it the same way I did. I don't believe in letting the car sit over night to cool off, and to let it warm up on the dyno for 5min and then rippin off a run, that to me is a false value. It's not realistic.
Some minor blending work on the outside, not done yet, i want to smooth it out completely and then sand blast with coarse media for that OEM cast appearance.
After porting and smoothing out the inside of the inlet. Don't let the bright aluminum at the bottom fool you. It is not protruding in anyway, its the camera angle. Its 90mm through and through. I then blended all the internal areas so that its a smooth transition from the 90mm opening to the rest of the inlet.
Hopefully come this weekend I'll remove the supercharger assembly and start taking the original inlet off and replacing it with this monster. One thing I'm not sure about is how much clearance the Oil Dip Stick tube will have... Might have to shave some material out of the welded up area.
I'll keep you guys posted here as progress continues.
Supercharger assembly is out of the car. I removed it yesterday and it took about 40 minutes. I had my dad give me a quick hand removing it, it's not that its heavy, but i really didn't want to lean hard against the body panels or risk damaging anything. Once the supercharger assembly is out of the engine bay, its much more easily managed.
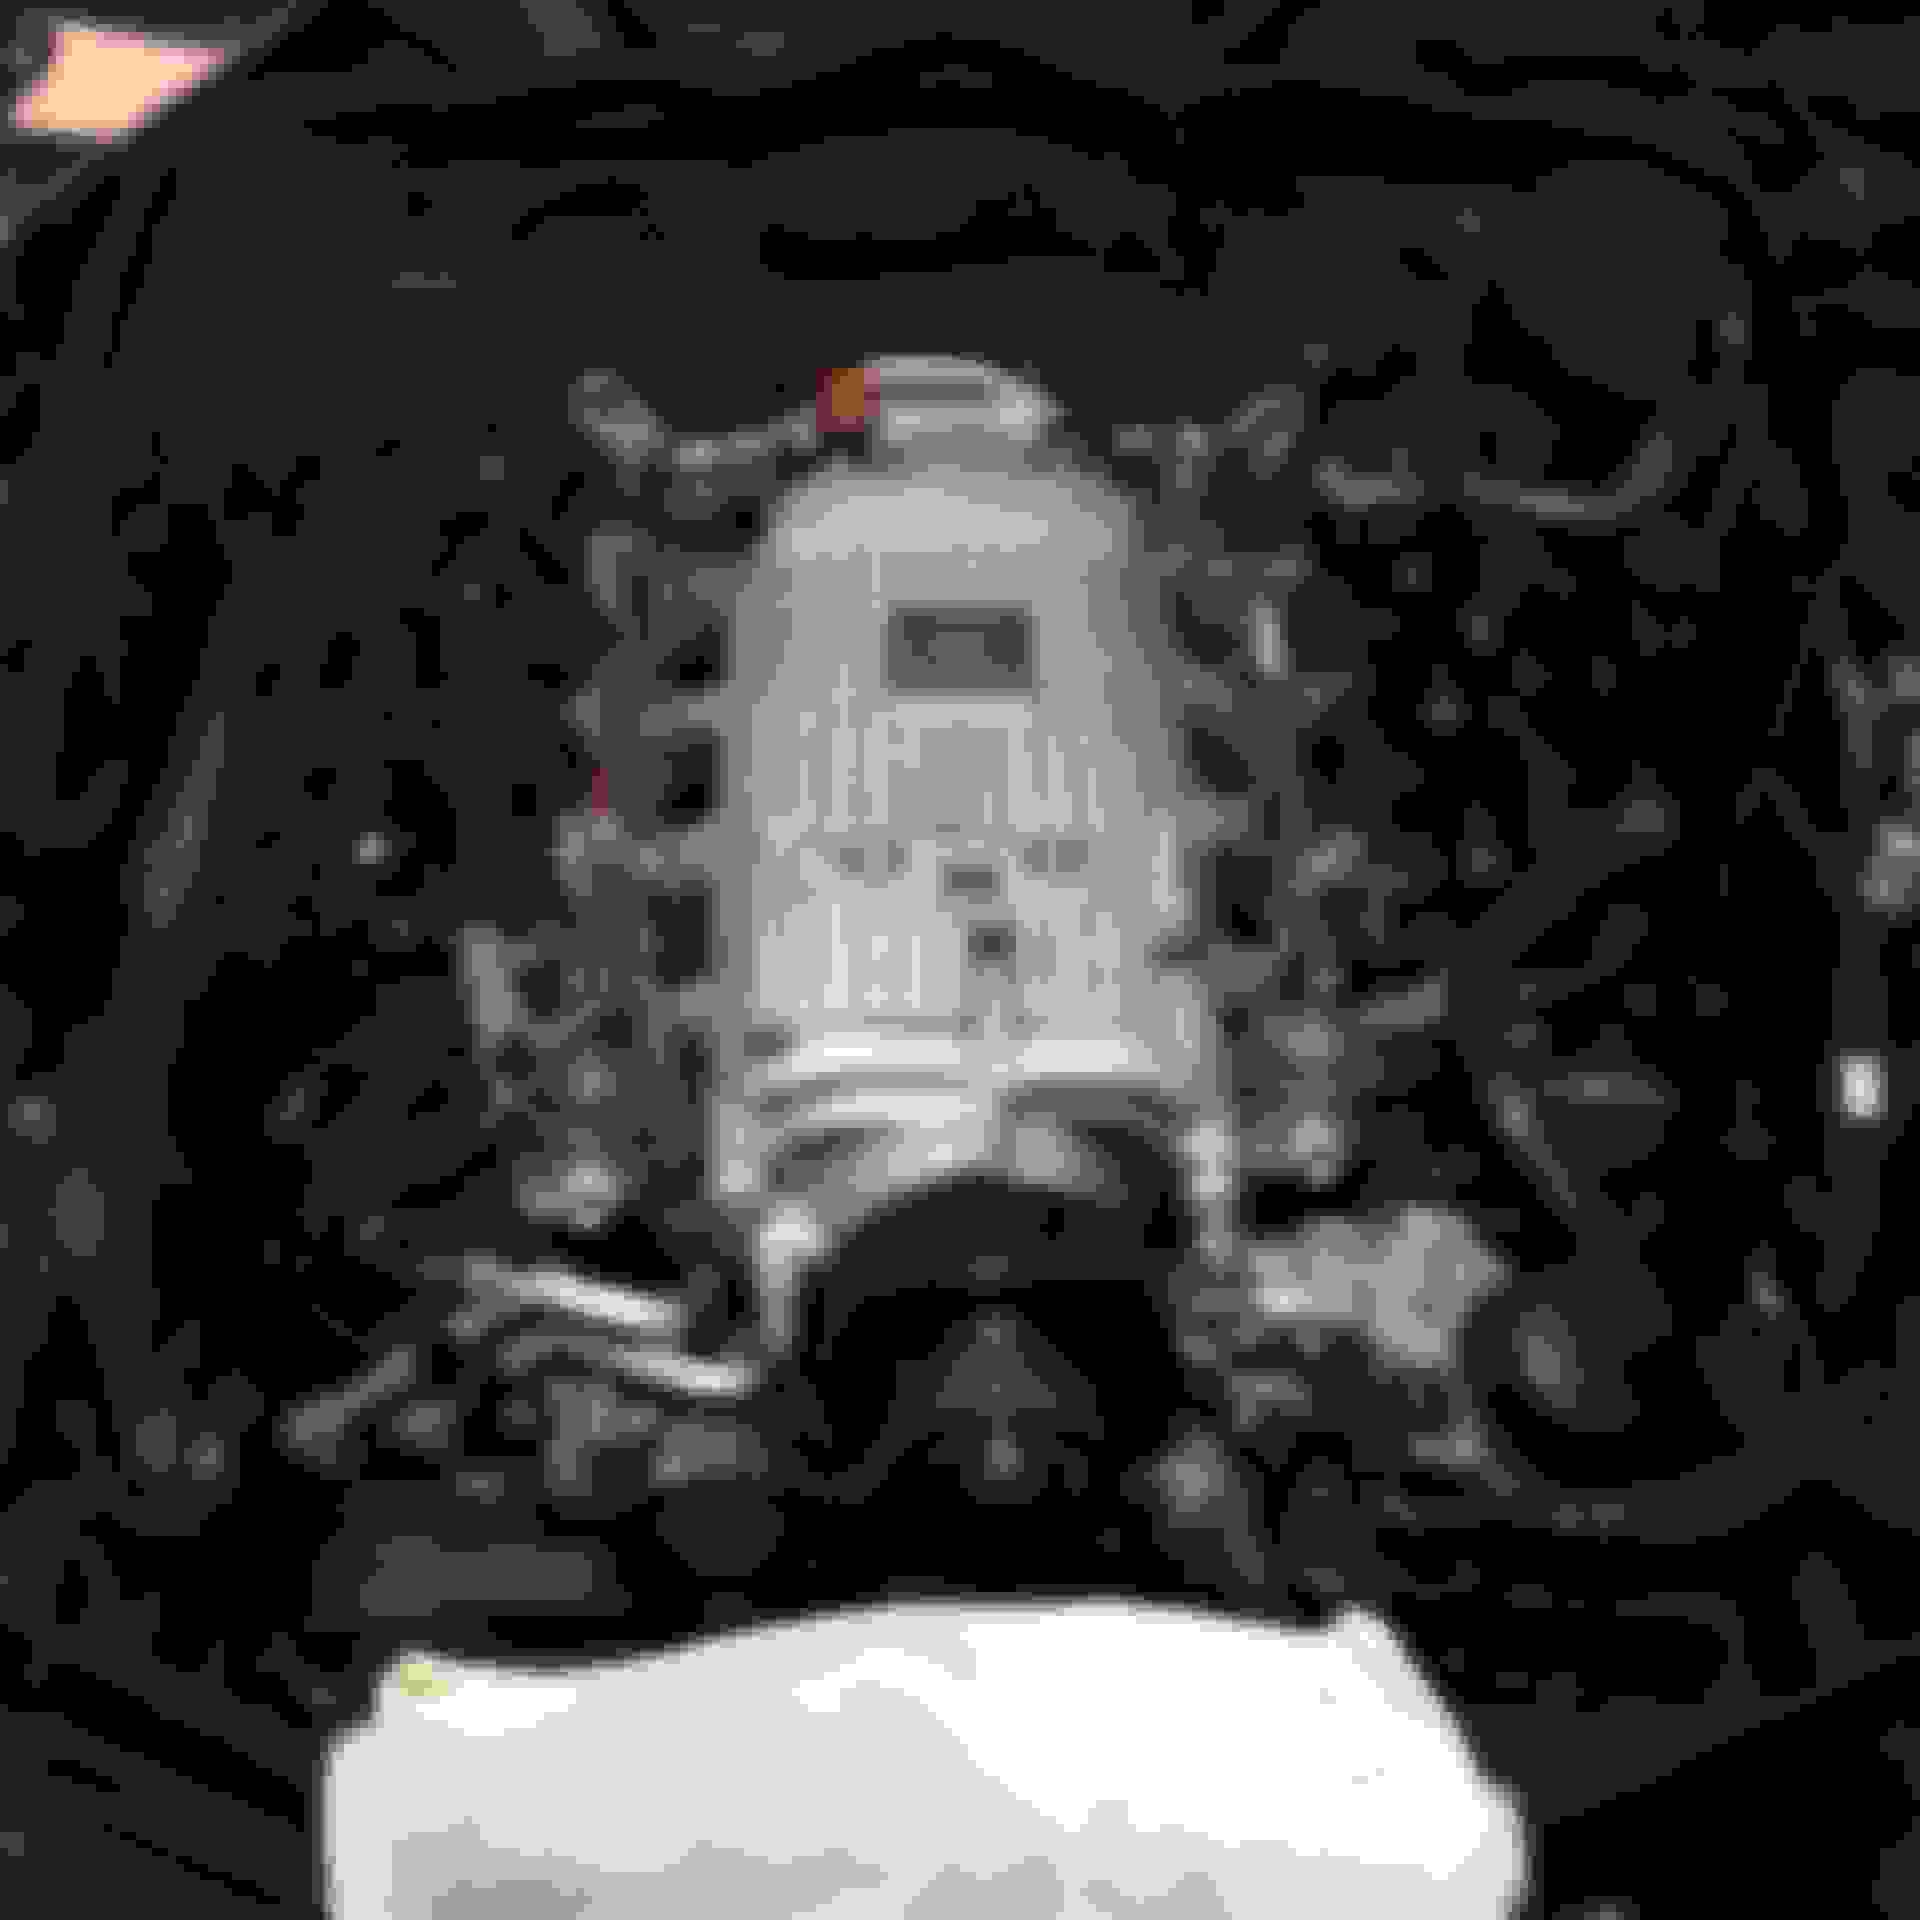
Supercharger before removal, intake is out, fuel injectors unclipped, surge tanks removed, pcv hoses and vacuum lines disconnected, etc.
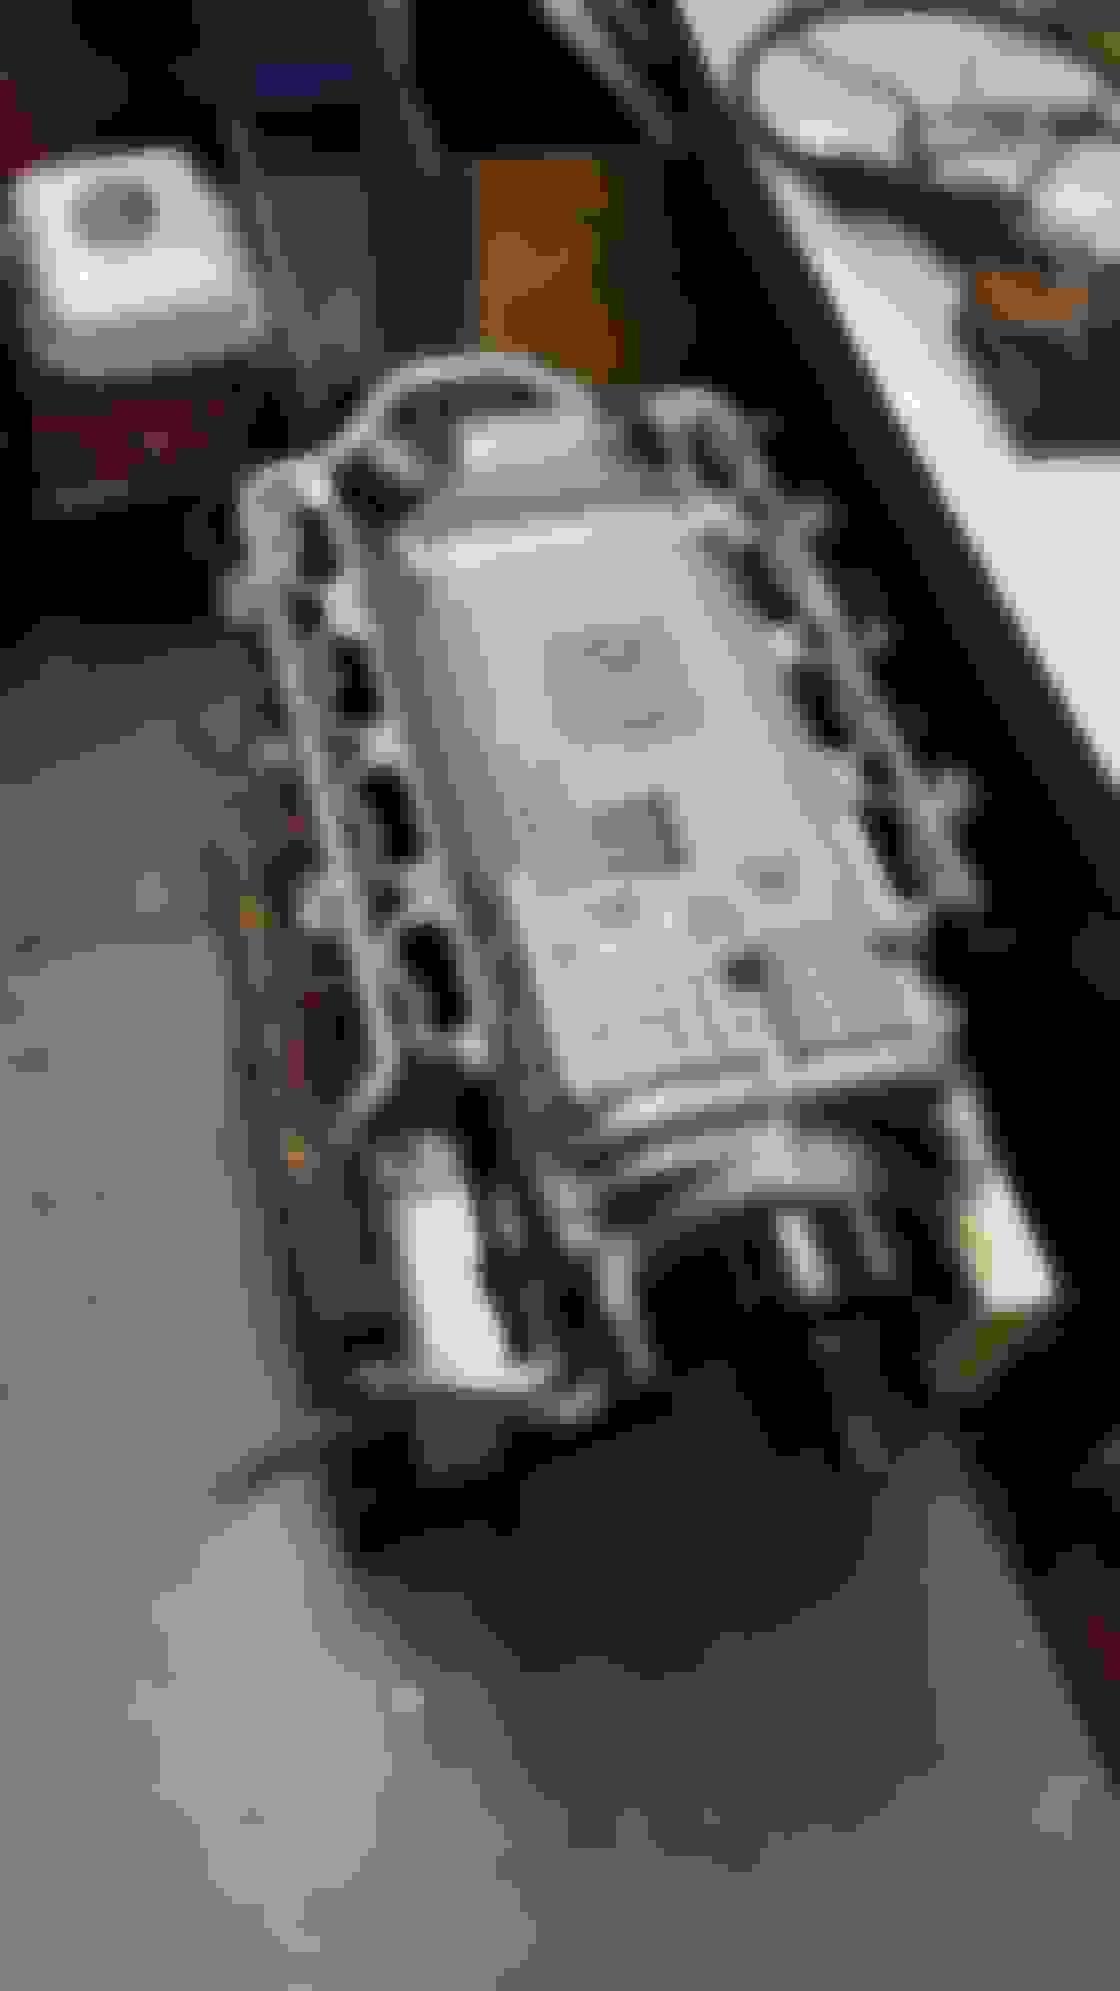
Supercharger assembly, fuel rail, intercooler, and OEM inlet.
Rear shot of assembly
After intercooler was removed. She's a bit dusty, but for a 2006 with 122,000kms, shes surprisingly very clean.
I plan on doing a very thorough cleaning of everything, including the "V" of the engine.
Supercharger no more! Shes a tad dusty, little bit of wet spots that I didn't have a chance to clean up when I did the Valve Cover Gaskets. The "V" of the engine will be getting a very thorough cleaning, I wouldn't let it stay like this, my OCD will get the better of me.
Inlet bolted on temporarily to check fit. And she just clears the surge tanks and the fuel pressure dampener.
Very, very close fit to the surge tanks, and its clear of the fuel pressure dampener as well.
all of the various bits and pieces laid out for organization and future cleaning.
Close up of the gaskets, hoses and parts.
I have put together a list of parts/gaskets and "while you're in there parts:
-Upper Plenum Gaskets (Left and Right are different)
-Lower Intake Gaskets (Pair)
-Supercharger Inlet Gasket
-Bypass Valve Gasket
-Bypass Valve Ring Seal
-EGR valve gaskets? (not sure if these are EGR related, but they look like it. The two front "zinc" coated round pods next to the supercharger gearbox)
-IAT sensor
-MAP sensor
I don't believe anything else needs to be changed. Fuel Injector O-Rings were brand new with the injectors about 4 or 5 months ago. Valve Cover Gaskets were done at the beginning of the year when I powder coated them.
Fuel Pressure Dampener O-ring was changed last year, might do it for piece of mind. I bought a bag of 10 Viton O-rings, made for fuels and harsh chemicals.
I suggest a methanol kit installation since your SC assembly is out. I can suggest you best location to fit the nozzle..
Not looking to run Methanol. I don't want to use any chemical additives to the power addition to the car (Nitrous, methanol, etc). I want it completely running on fuel alone, that way the car does not need to be reliant on methanol to make power or to run. Once a car is tuned to run with methanol, running without it (in case your tank goes empty, or pump fails etc.) it becomes dangerous. You can run it non-methanol tuned and achieve gains, but not the full gains of the kit if its not tuned for it.
Not looking to run Methanol. I don't want to use any chemical additives to the power addition to the car (Nitrous, methanol, etc). I want it completely running on fuel alone, that way the car does not need to be reliant on methanol to make power or to run. Once a car is tuned to run with methanol, running without it (in case your tank goes empty, or pump fails etc.) it becomes dangerous. You can run it non-methanol tuned and achieve gains, but not the full gains of the kit if its not tuned for it.
Thank you,
Pete.
I would never tune based on Methanol, it is just to cool the IAT and increase Octane.. Have just said that when I saw you SC was out of the car.
Nevertheless, I wonder where is the best location for Nozzle if you would go for it?? I am planning to install kit but didn't decide on the best location.
I would never tune based on Methanol, it is just to cool the IAT and increase Octane.. Have just said that when I saw you SC was out of the car.
Nevertheless, I wonder where is the best location for Nozzle if you would go for it?? I am planning to install kit but didn't decide on the best location.
In my opinion, running two nozzles would be the best option. Not sure of any systems that run dual nozzles, but if you can find one, or split the one system to run in parallel with two nozzles that would be perfect. I would mount the nozzles, on on each upper intake plenum (Surge tanks that say AMG) at the back on the vertical "flat" portion pointing towards the front of the car. That would be the best location, however, the IAT sensor wouldn't see the temperature change because the nozzles would be after it.
Another option would be to run one large nozzle on the intercooler inlet (right after it leaves the supercharger, and before it hits the actual intercooler "fins" that way the intercooler is being misted with methanol, cooling both the air after the supercharger, as well as the actual intercooler. Again, whether it will fit or not, I cannot say, I've never used methanol systems to know how big the nozzles are.
Hopefully these suggestions help, it's hard to explain what I'm describing without a picture or sketch.
Off hand, does anyone have MB part numbers for the two... EGR valve gaskets next to the supercharger? They're the "brass" topped valves that sit right next to the supercharger. They have small vacuum lines that go into them up top, and then two larger (5/8") black short hoses that feed into the front of the supercharger on either side of the pulley.
I wish there was a kit and documented gains compared to stock and 82mm....
Theoretically, a 74mm should be good for ~511 hp, 82mm be good for ~630 hp, and 90mm be good for ~750hp (crank)...
Well, I suppose those are theoretical values based on engine displacement rpm limit and air volume that can pass through that size of orifice... my car is making 500whp.. so, add 18% for losses, that's 590hp at the crank.. not sure how that affects your calculations but I'd be curious as to how you came up with the numbers. Not in an insulting way, I'm curious by nature, so please do tell
Mercedes SLR McLaren 722 S Is Extremely Rare Example Modified by McLaren
Slideshow: A one-of-one U.S.-spec Mercedes-Benz SLR McLaren Roadster became even rarer after a factory-backed transformation at McLaren's headquarters.


 and documented gains compared to stock and 82mm....


