When you click on links to various merchants on this site and make a purchase, this can result in this site earning a commission. Affiliate programs and affiliations include, but are not limited to, the eBay Partner Network.
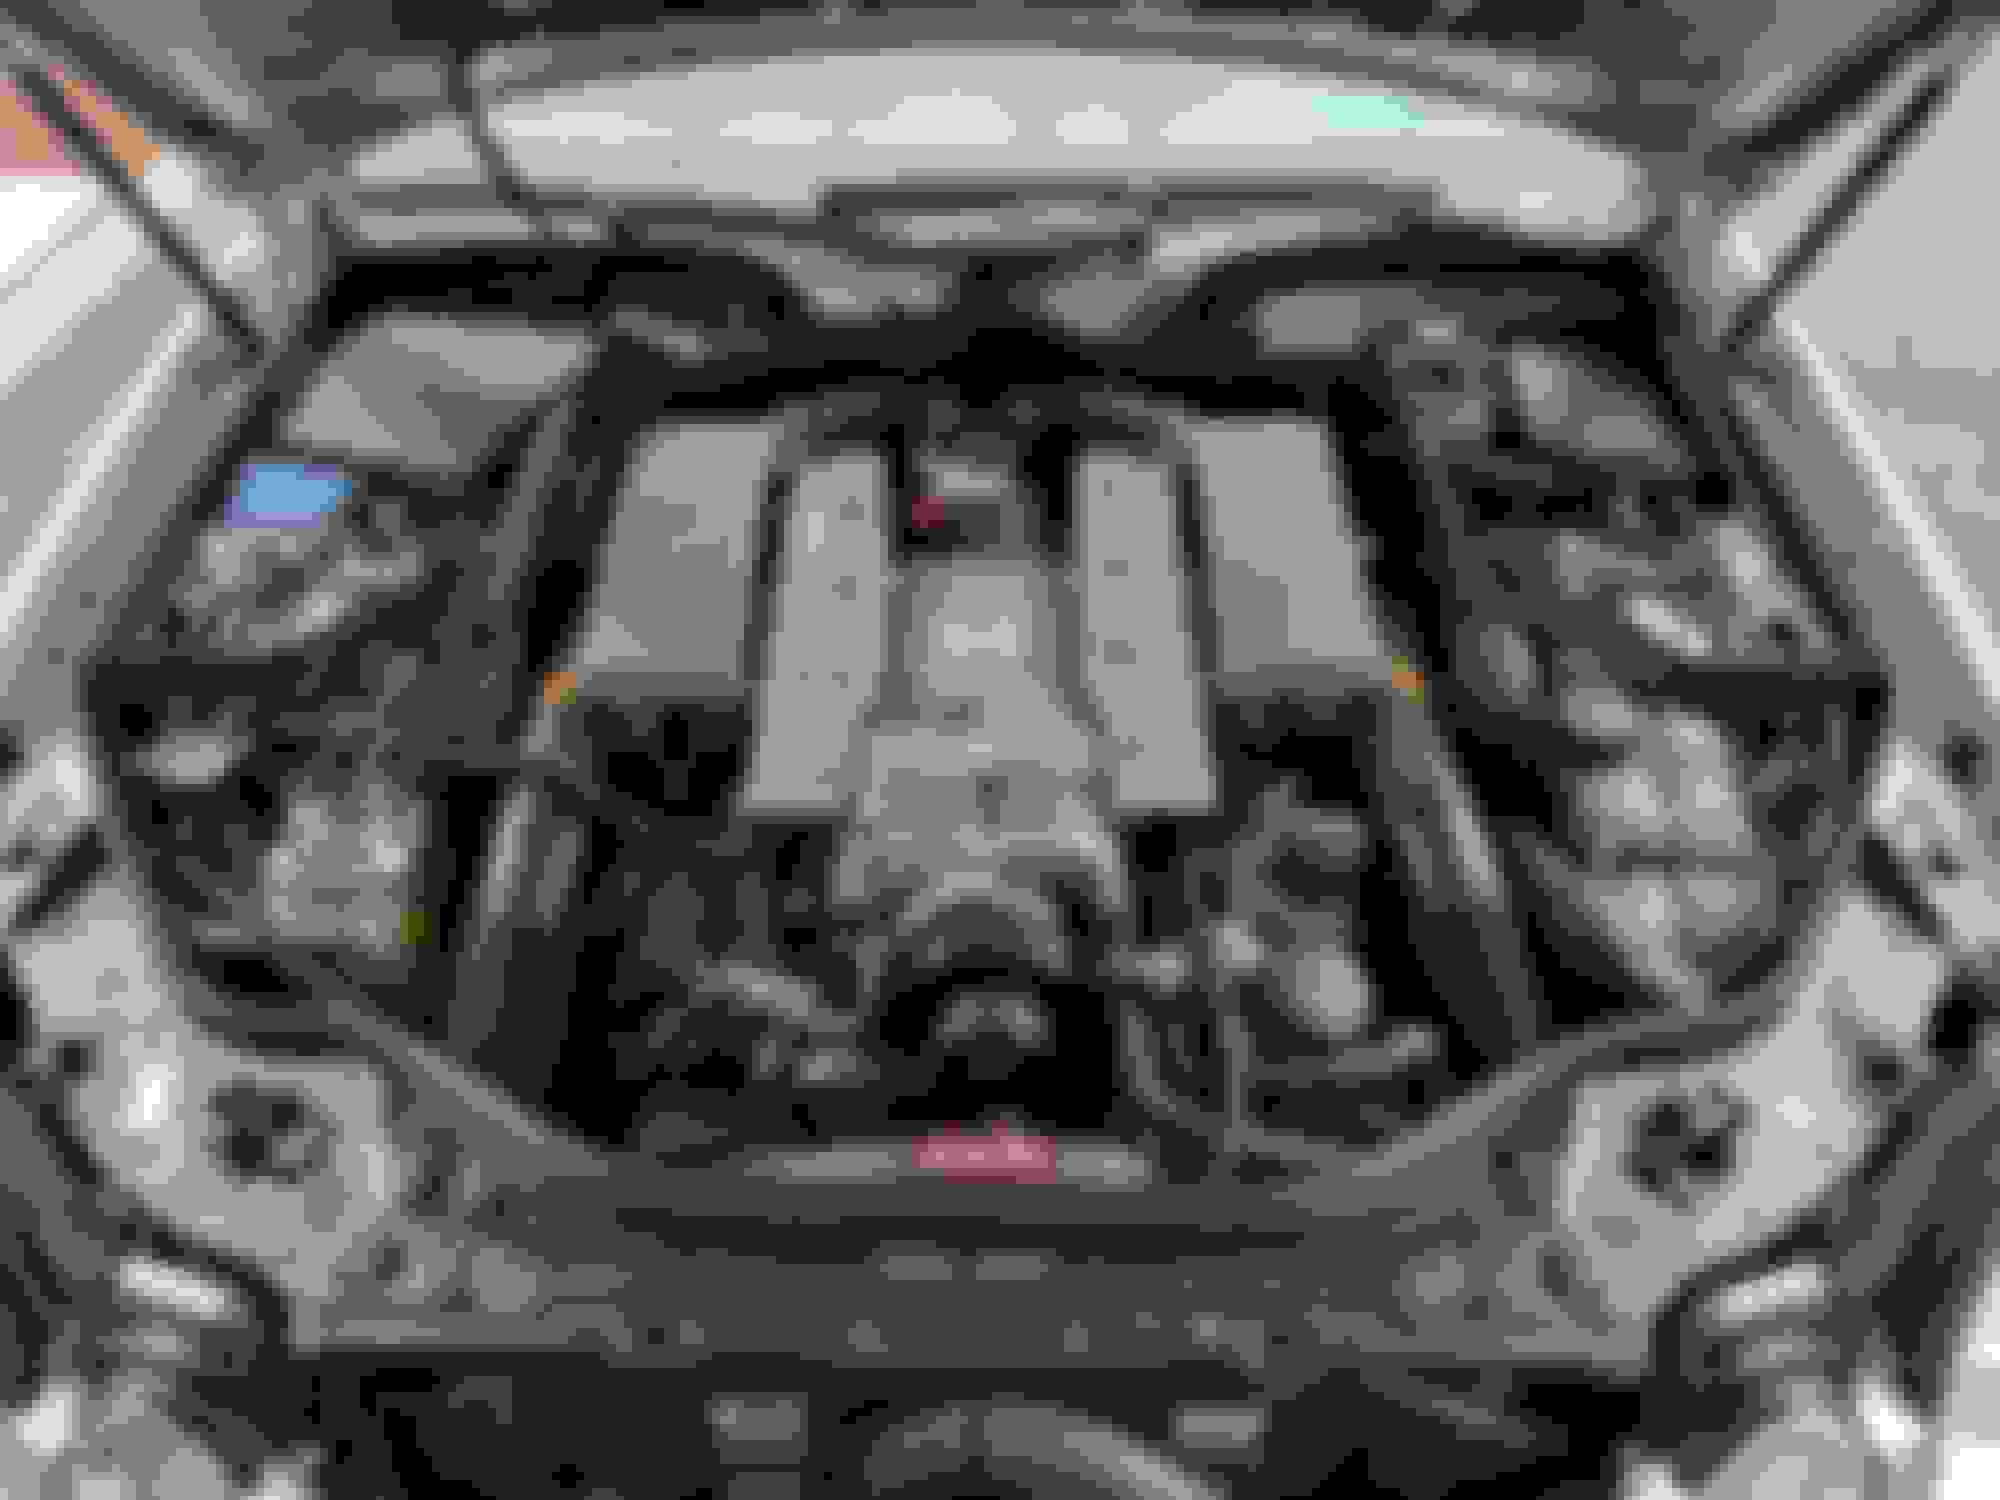
Wtf is this Mercedes...
The piece that covered the pointless hole, was in the way. Cut it to make it fit. This needed some chopping So ugly.. But it fits now This is the passenger side Aerial view (swapped the fittings front to back, now the 90 is in the front, and the straight is in the rear. Opposite on the driverside Of course the other one doesn't fit also... No hole under this one. However, you need it in place for the last bolt on the surge tank Cut cut cut..... Today is all about clearance issues... And now I need deletes for these damn things. That's coming tomorrow.
(This fitting was changed the a straight) Here is said straight Here is the other side (passenger) Not exactly how it's gonna look, but you get it.
Here's the feed bulkhead (had to add another 90 degree -8 an fitting to be able to connect the hose, you'll see in the pics further down) Feed bulkhead Here's that radium venturi jet pump Inside return line complete Oh, here's the passenger side all connected You'd never know Feed, and return. All ran and buttoned up Here's a view of the hoses coming from the bulkhead down the sides of the tank Bottom view of the feed line coming down (took off the bolt that holds the tank strap to the body, was able to pull down on the tank and easily run the hoses up from the bottom) This bolt Both feed and return Running up by the tank, lots of room. (You need to carefully chisel out the retaining clips that are molded on to the tank. One up top, one on the side) Bent the heat shielding back, cut the stock line and pulled it out completely (not in the photos, sorry)
And the bent the heatshielding back around the new lines. They both ran up just like the factory line did.
Ran out of -6 line. Had to order more. Was also missing a female to female -8an fitting so that's on order as well.
Just need to make that delete setup for the secondary pump pieces or whatever. And run the rest of the lines to the rails and regulator. Will be doing that this weekend
Looking great man! No fear....i love it. Welcome to the "I'll screw with anything" club!!! Love to have those long tubes but that last picture is why I don't . No room and scrapes from impact ! Dang!
Looking great man! No fear....i love it. Welcome to the "I'll screw with anything" club!!! Love to have those long tubes but that last picture is why I don't . No room and scrapes from impact ! Dang!
The longtubes don't hit at all actually lol. Plenty clearance.
The scrapes on the bottom are from me hitting a bump in the road while going faster than I should have been.
The car self lowers at 80mph, which put me too low for that bump...
Next weekend is gonna be full of tuning out the bugs and troubleshooting I'm sure.
Still waiting on 10 more feet of -6 line, but I got my slr caps in, to cover the ports on the supercharger (pn 155-031-00-33, thanks Dave)
also got my -8 female to female piece in, this will allow me to connect my filter to the Y block in the engine compartment for easy access
Also ordered these block off that I found on eBay, not sure if they fit, however it's only $20. So of they do, it will be a nice find for everyone doing this (the SAI delete)
If splitting the rails like this. Have the new bungs welded as close to the injector bungs as you can. I messed up here and it caused me to have to delete my SAI and "engine lift hooks" like in the pics. Could have all been avoided had I measured better
Last edited by travhwrd; May 10, 2017 at 10:34 PM.
If splitting the rails like this. Have the new bungs welded as close to the injector bungs as you can. I messed up here and it caused me to have to delete my SAI and "engine lift hooks" like in the pics. Could have all been avoided had I measured better
Hurry up dammit I want to hear this bia bia runnnn mang!
Love the sourcing and out of the box thinking on the 3.8L GTP SAI delete getter done brother!
Those would be nice. However I would need one for each line. X4. So that's about $90 on brackets to mount lines that will be covered up by the belly pans
Got the delete pieces today. They're super close to fitting as they should. Like off by a millimeter, so I flipped them upside down and used them that way.
Last edited by travhwrd; May 11, 2017 at 11:22 PM.
Y block to rail line, need one more, and to finish my return line with the rest of the -6 line that is somewhere in the mail 🙄 Fpr location. Leaving it here. Easy to get to, see, and it doesn't move or hit the hood Boost reference line to regulator, tucks nice here Perfect little hole for the line from factory Used a tee to tap in to the line I use for the boost reference on my meth controller She's getting there
Awesome job... it looks so much better without SAI honestly
Just a cleaner look in general IMHO
I know its always easy to spend others money.... I would worry about the clear tubing heating up and deforming
Personally black vacuum line would just look better too and hold up better, if you were not in Florida I would just give you some
Thats me though
Great progress dude!
Running video next hombre
I just need to get rid of the pump and such for it also, I'll do that once this is done. If USPS doesn't suck again today, I'll have my lines and can finish building those tonight. Then tomorrow I can button everything up and hopefully start it up.
Only thing I'm really worried about is the tune.
Don't wanna have to replace my new plugs already, which I feel I'm gonna have to
And I only opted for the clear hose because no one else had the black that was actually open that day, but I do agree and will be swapping it out
Also gonna have to learn how to upload a video on here! Lol
Your maps are set in stone for close loop and AFR gauge will let you know how much more you are flowing under WOT in closed loop.
Crank up, set that puppy for 80 psi at idle and just go for a quick 1 gear pull (2nd gear) and watch AFR. You will know immediately if you need a retune. You may, or due to your ability to control pressure accurately you may not.
You can ***adjust rail pressure little by little*** to compensate for a super rich condition to give you a bandaid until retune if you like.
All you you are really doing is manually adjusting how much fuel volume flows by adjusting rail pressure therefore being able to control the amount of fuel injected.
You may just find you are able to adjust the pressure and get a nice steady drop to into the 11's for AFR
Just go nice and easy, little by little and always keep AFR up and monitoring.
(Sure you are aware doing all this work, but yea rather say it than not right)
Last edited by BoostedAero; May 12, 2017 at 11:01 AM.
Your maps are set in stone for close loop and AFR gauge will let you know how much more you are flowing under WOT in closed loop.
Crank up, set that puppy for 80 psi at idle and just go for a quick 1 gear pull (2nd gear) and watch AFR. You will know immediately if you need a retune. You may, or due to your complaints you may not.
You can ***adjust rail pressure a little*** to compensate super rich condition to give you a bandaid until retune.
All you you are really doing is manually adjusting how much fuel volume flows by adjusting rail pressure therefore being able to control The amount of fuel injected.
You may just find you are able to adjust the pressure and get a nice steady drop to into the 11's for AFR
Just go nice and easy, little by little and always keep AFR up and monitoring.
The only reason I say anything about a retune, is because when I was on the dyno, we kept adding fuel to try and fix the lean issue, about 4 times. And then on the last pull with last map, the dyno broke and we had no clue what anything was looking like. So now that the pressure loss will be fixed, I'm assuming I'll be dumping crazy amounts of fuel at wot.
However, we won't know until I try it out.
I'm aiming for a solid 12-12.5 afr at wot. No leaner
Can you flash back to the other tunes?
I would say set it at 80psi and then flash the leanest tune you have and see what a pull it like...
It is gonna be dog rich though just cause the pressure increase at the rail that is no longer dropping
I do, but don't know which one it is lol.
I'm gonna try it with what I have. See what the afr is. Then swap tunes with what I THINK is the right one
Get it into the 11s by rail pressure then start flashing the other tunes
Then you can see how much the tunes will change the actual AFR output
I wouldnt be surprised if you dont drop pressure at all with 900 lph to the regulator (my super fresh stock system drops from 80-82 psi to 60 psi at WOT) so you are going to have to play with it to get it right
Thanks for an informative thread! im going to add flexfuel myself in the future,is it necessary to split the fuelrail like that,wouldnt it be good enough to loop it in the front and run a feedline and a returnline in the back.
All those an hoses and couplings in the Engine bay really worries me
as potential leaks!
well guys. IT WORKED. Got the lines done today, rechecked everything. And she started up and drives. Went from 14:1 at wot to 10:1! Same tune! Finished product! ONLY cel
Now I need to learn how to post a video here so y'all can see it in action!
Mercedes SLR McLaren 722 S Is Extremely Rare Example Modified by McLaren
Slideshow: A one-of-one U.S.-spec Mercedes-Benz SLR McLaren Roadster became even rarer after a factory-backed transformation at McLaren's headquarters.