When you click on links to various merchants on this site and make a purchase, this can result in this site earning a commission. Affiliate programs and affiliations include, but are not limited to, the eBay Partner Network.
So I finally got a few minutes to modify a flat head screwdriver and bend a pic tool a bit more to release the lock ring holding the K2 clutches in and onto the O.D. Planet as described in the aforementioned brief schematic. There really was no other way to get this sucker apart.
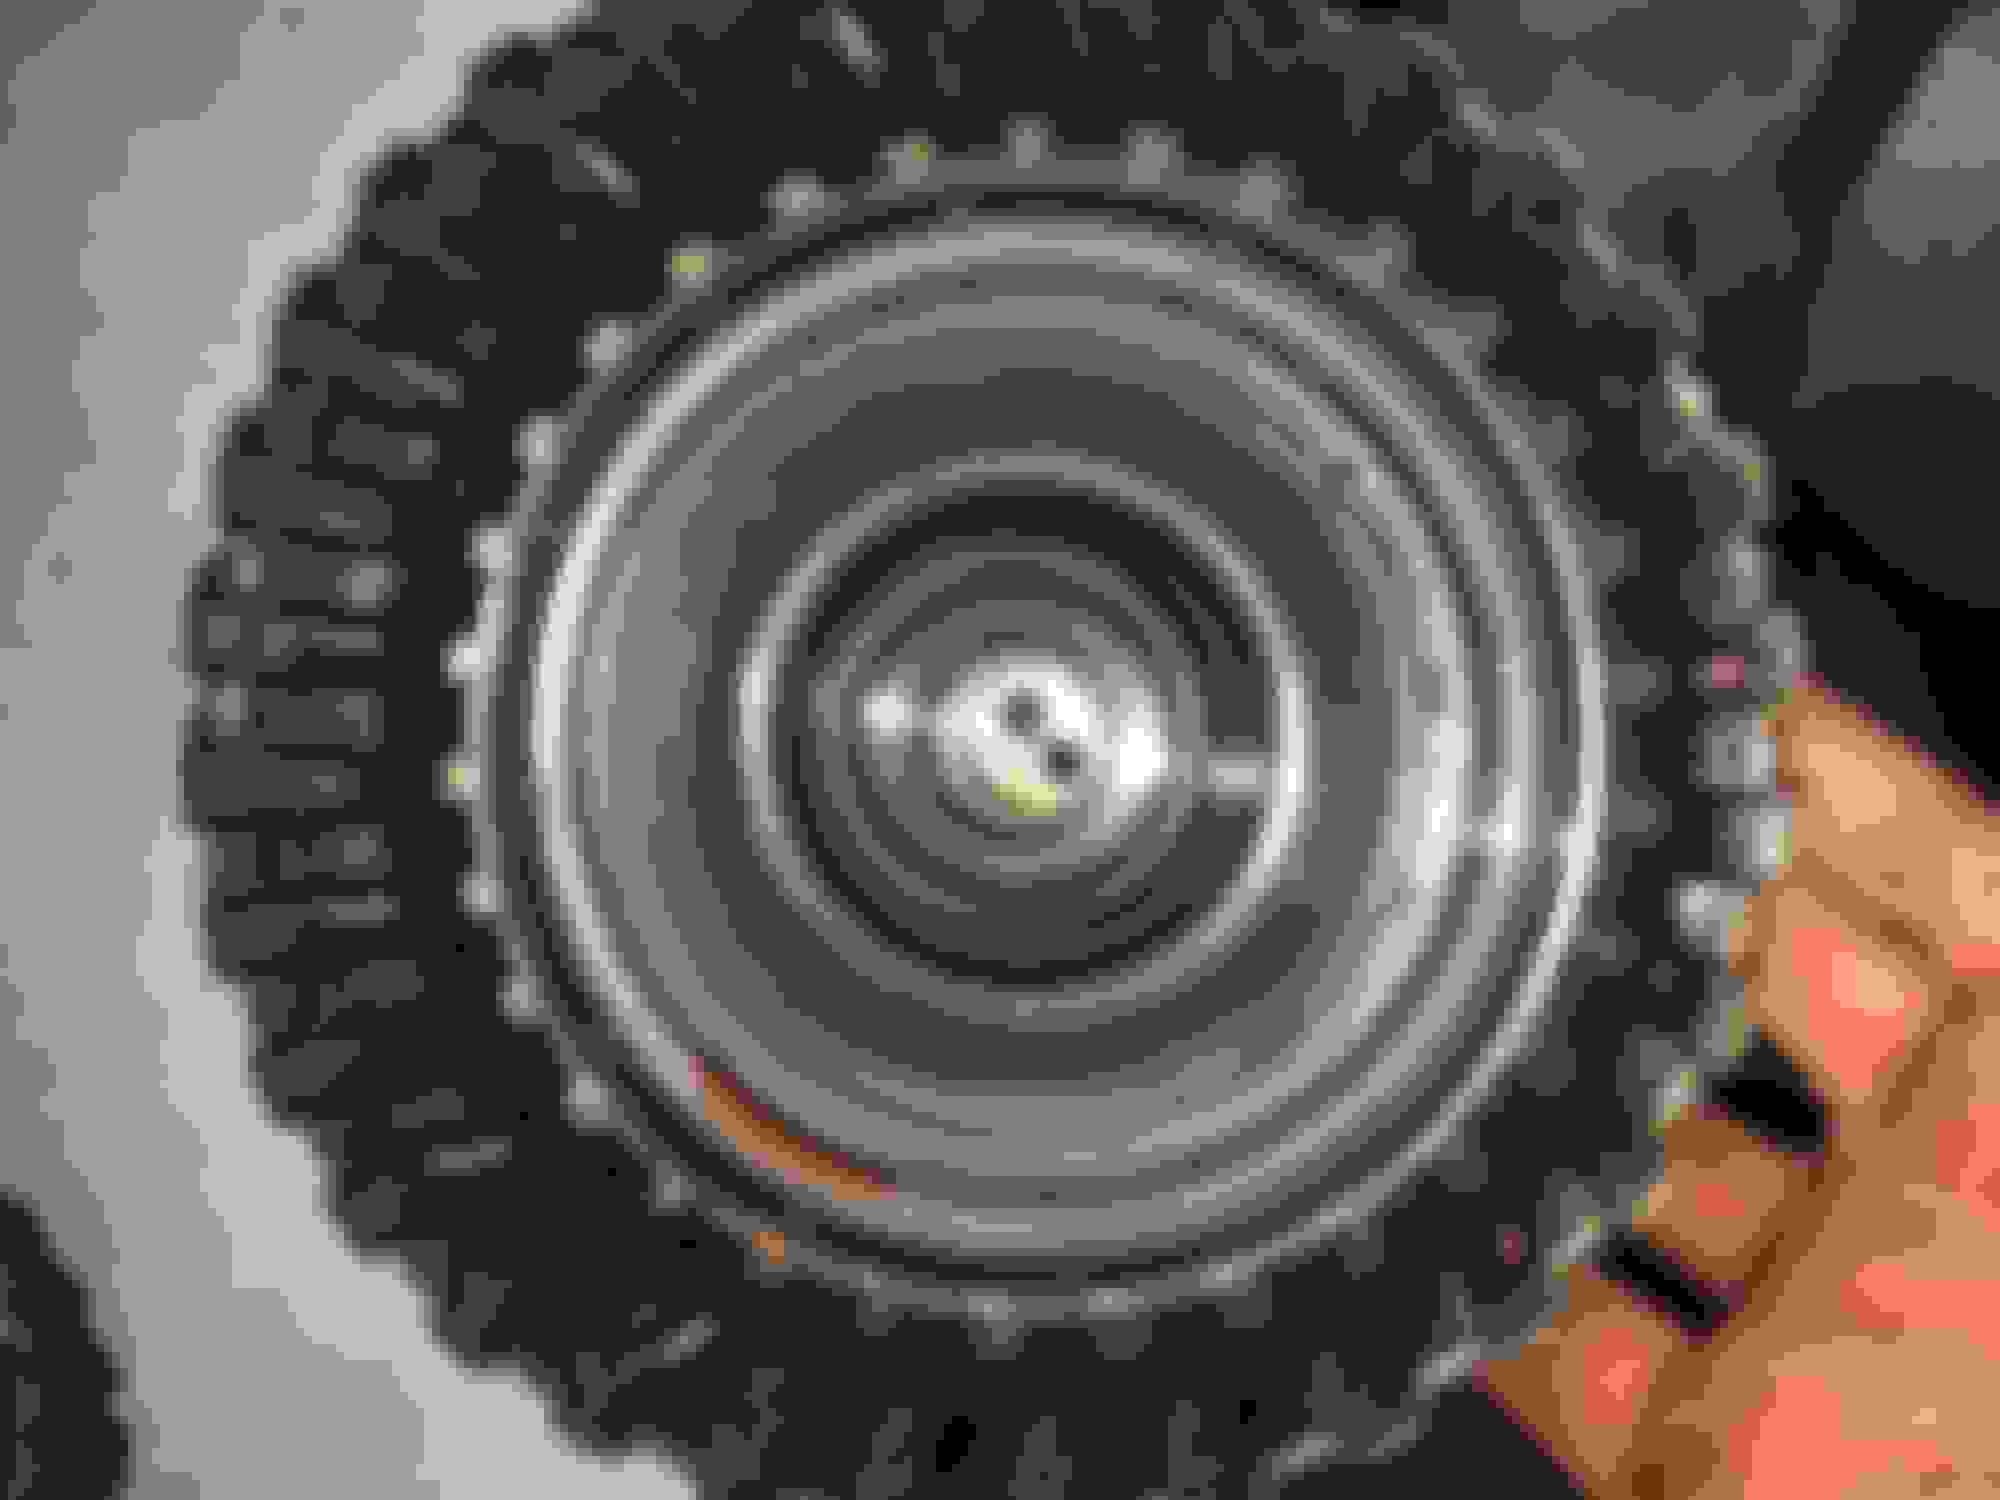
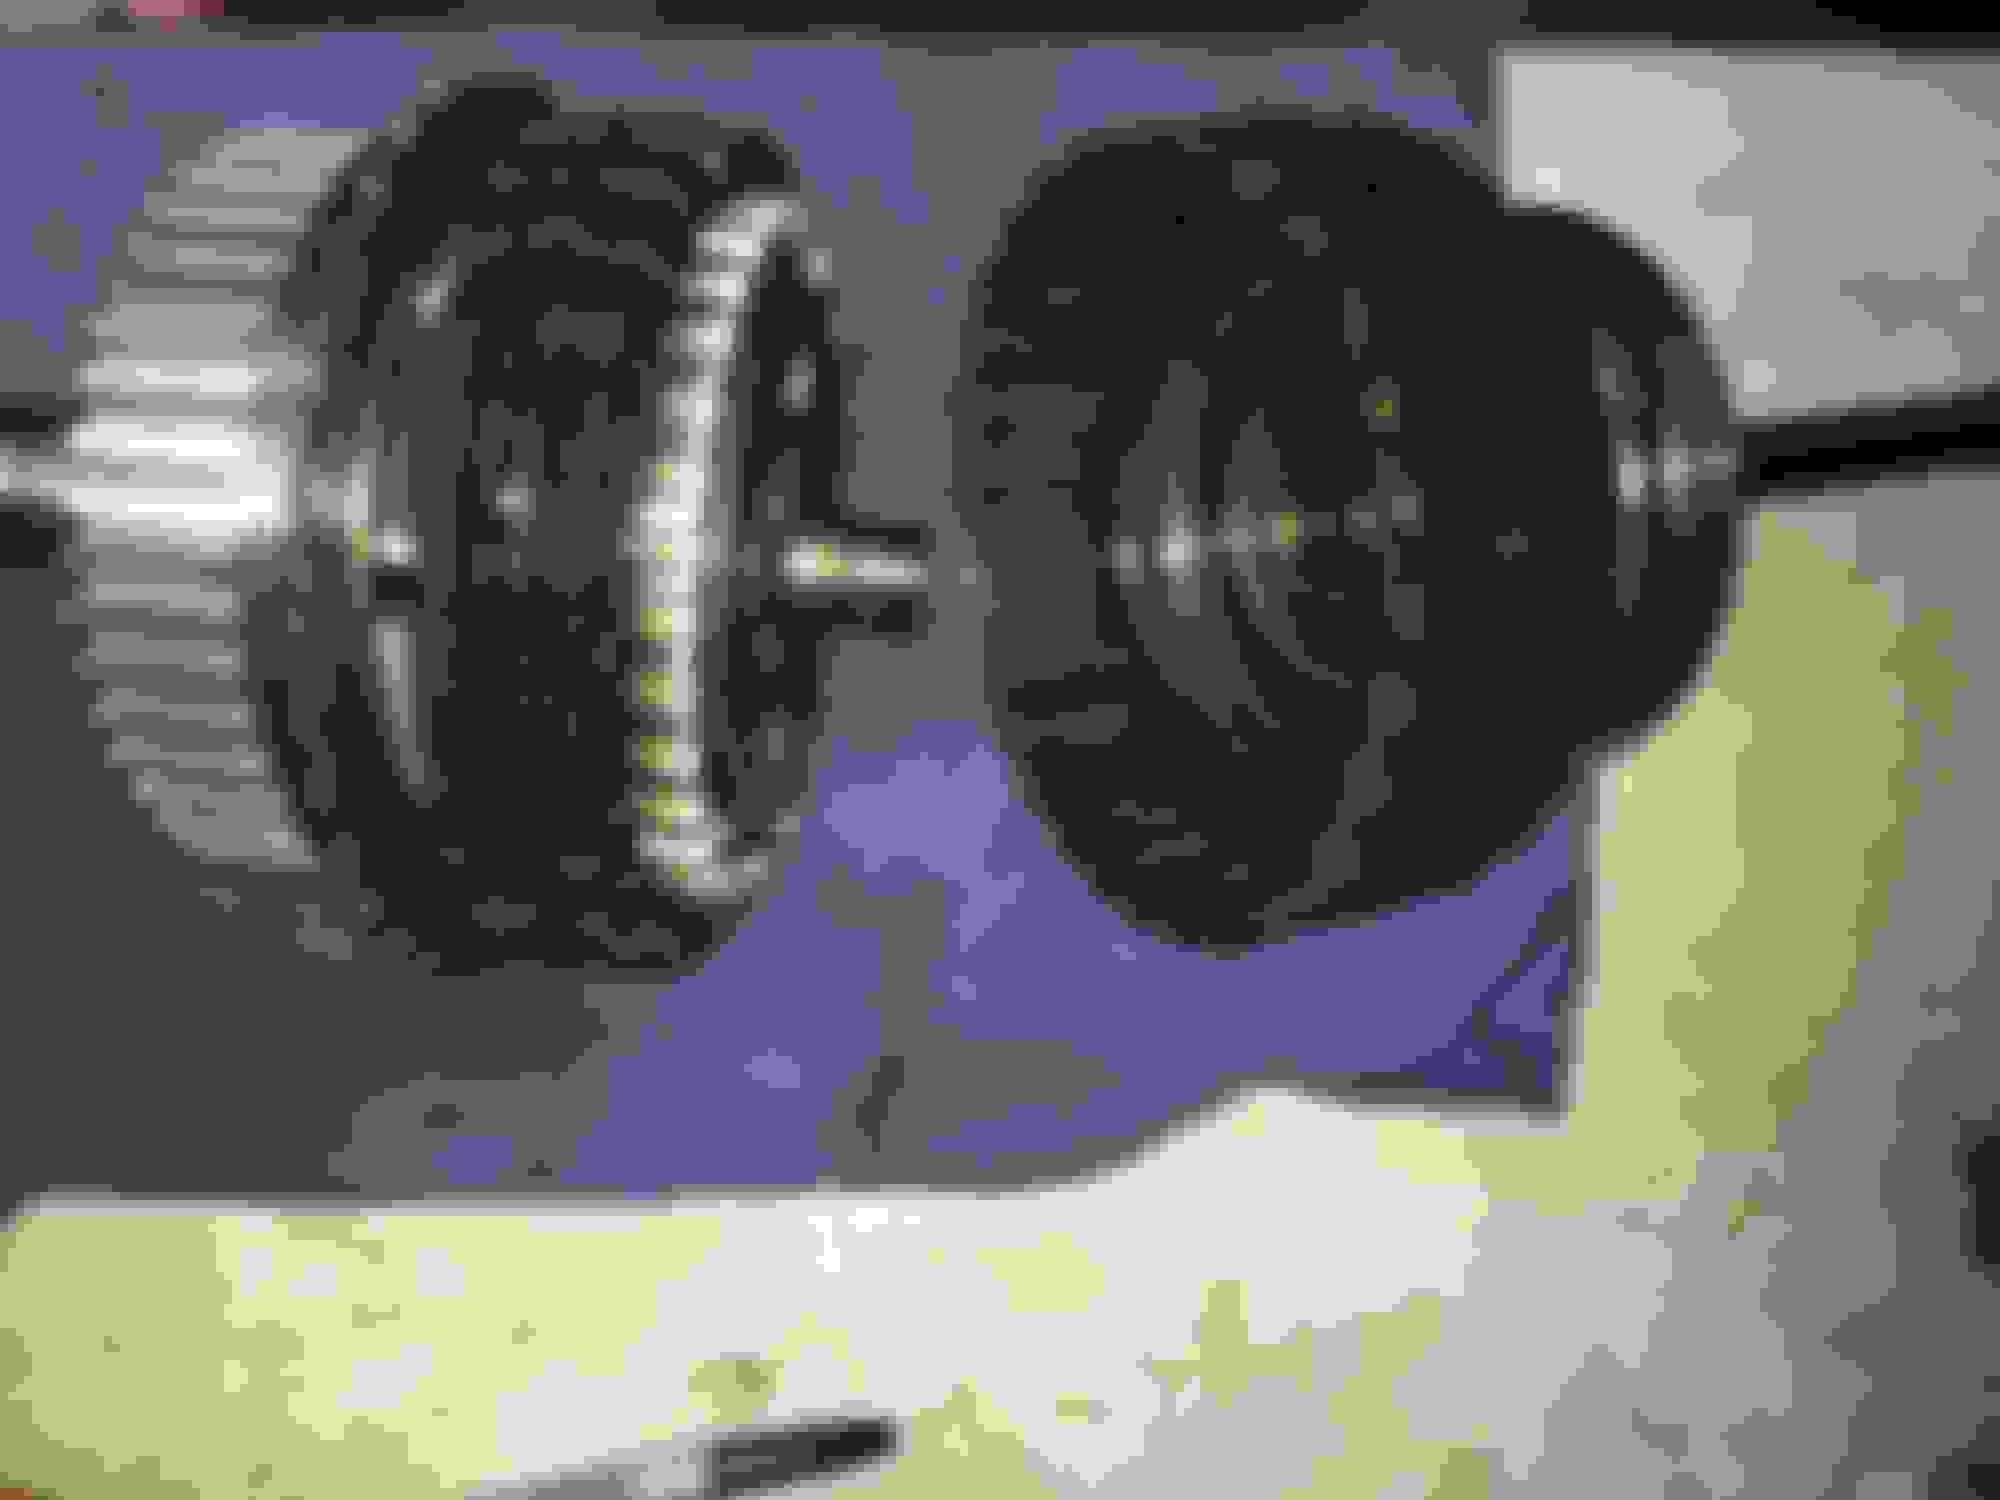
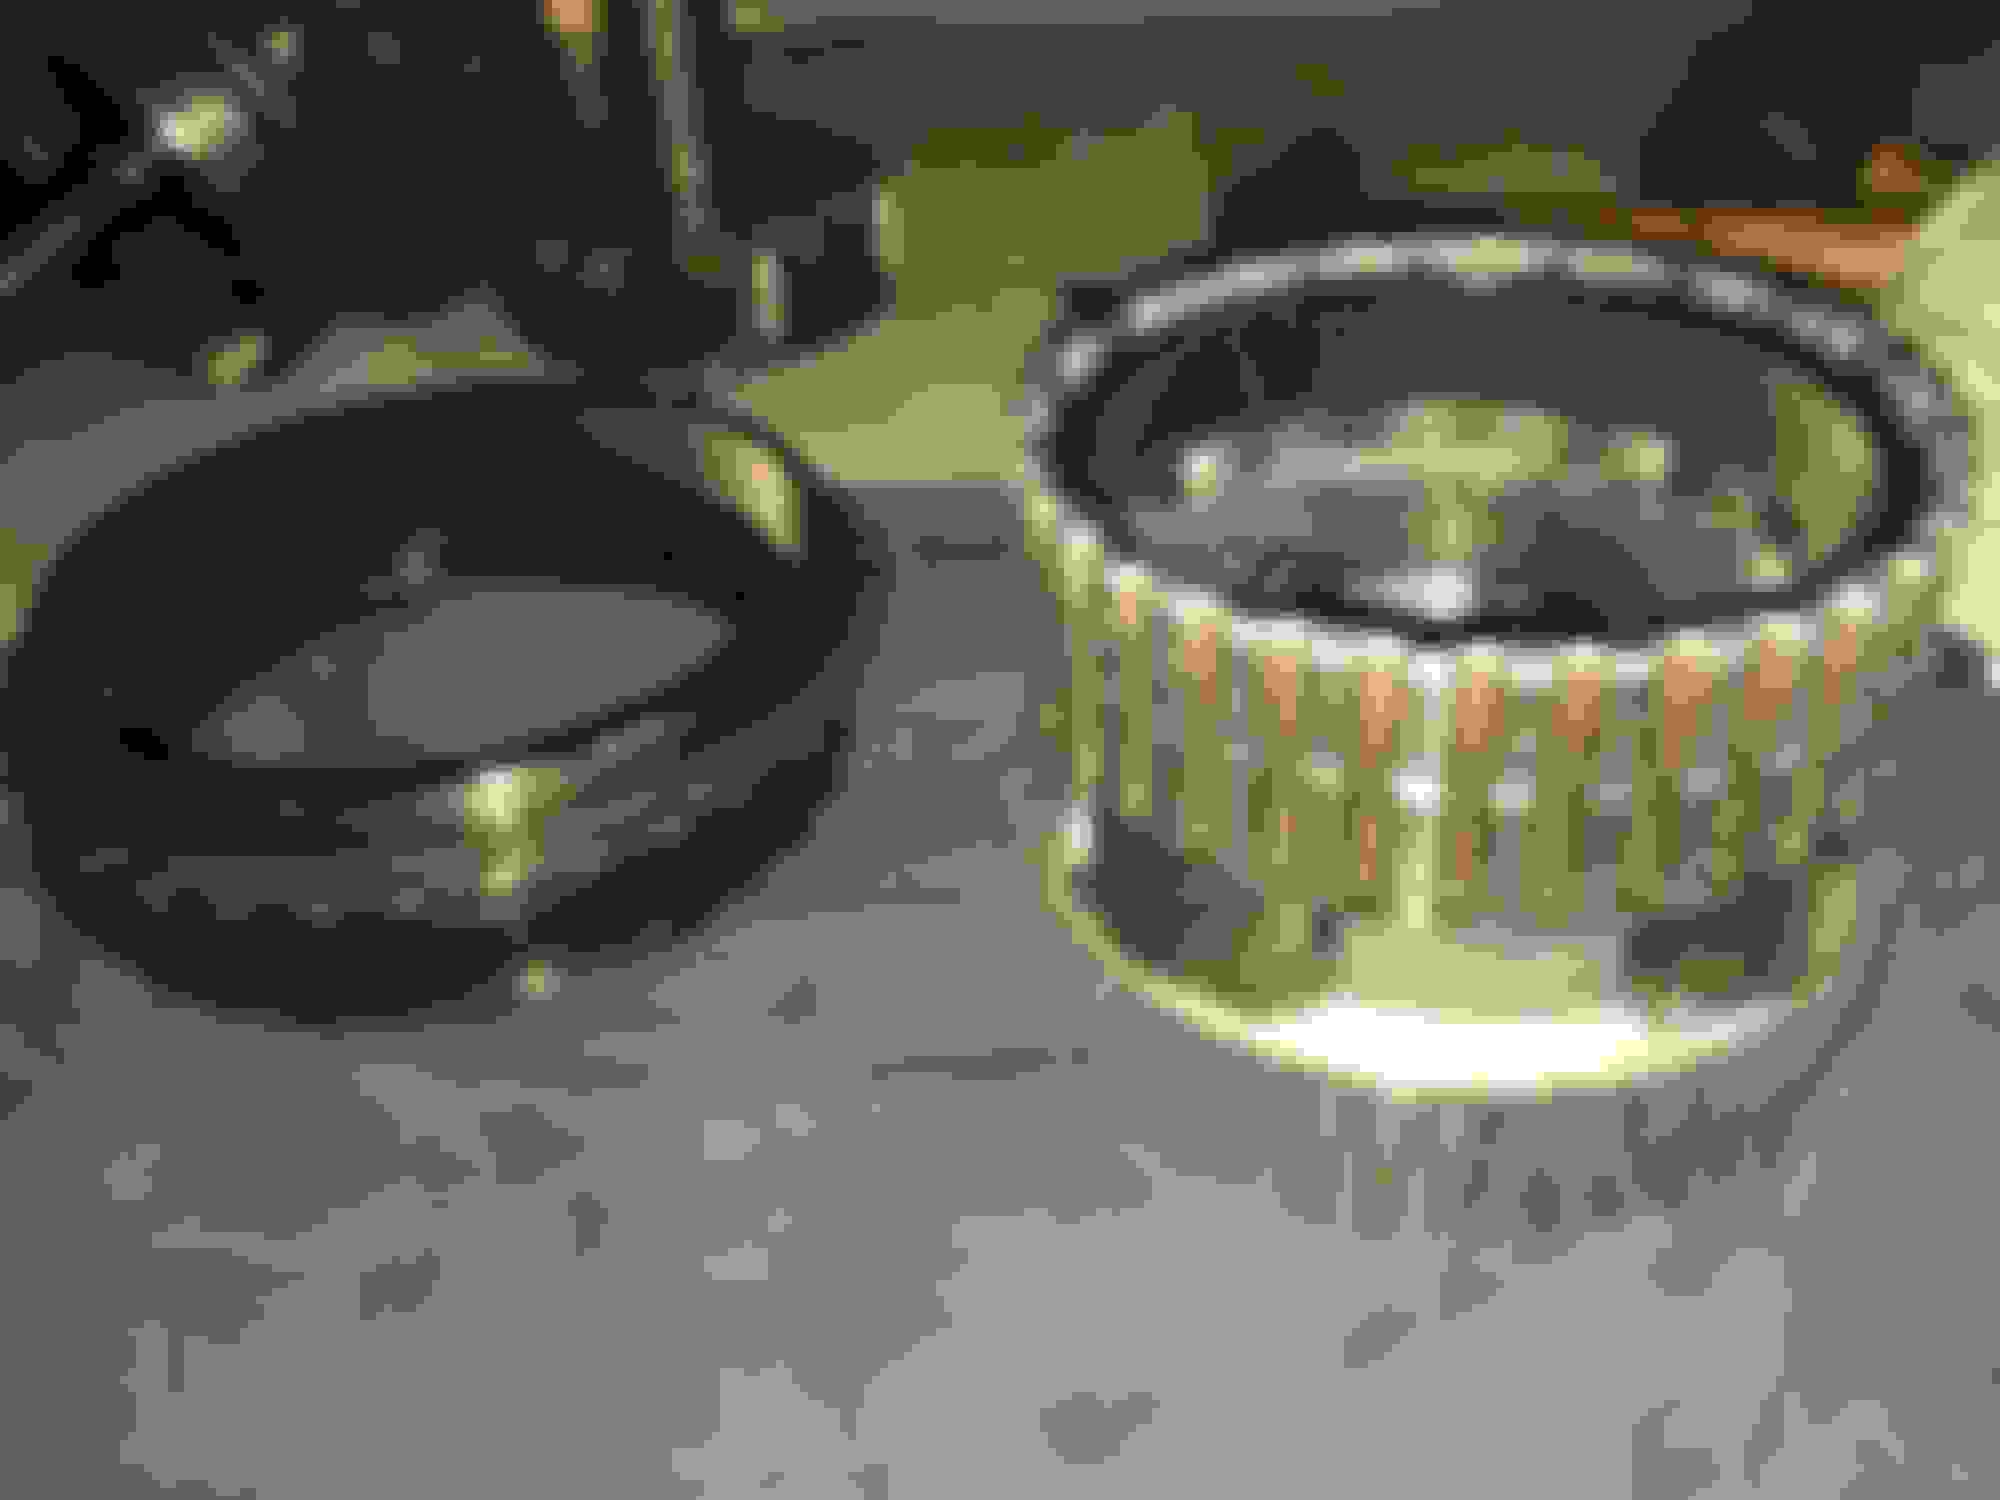
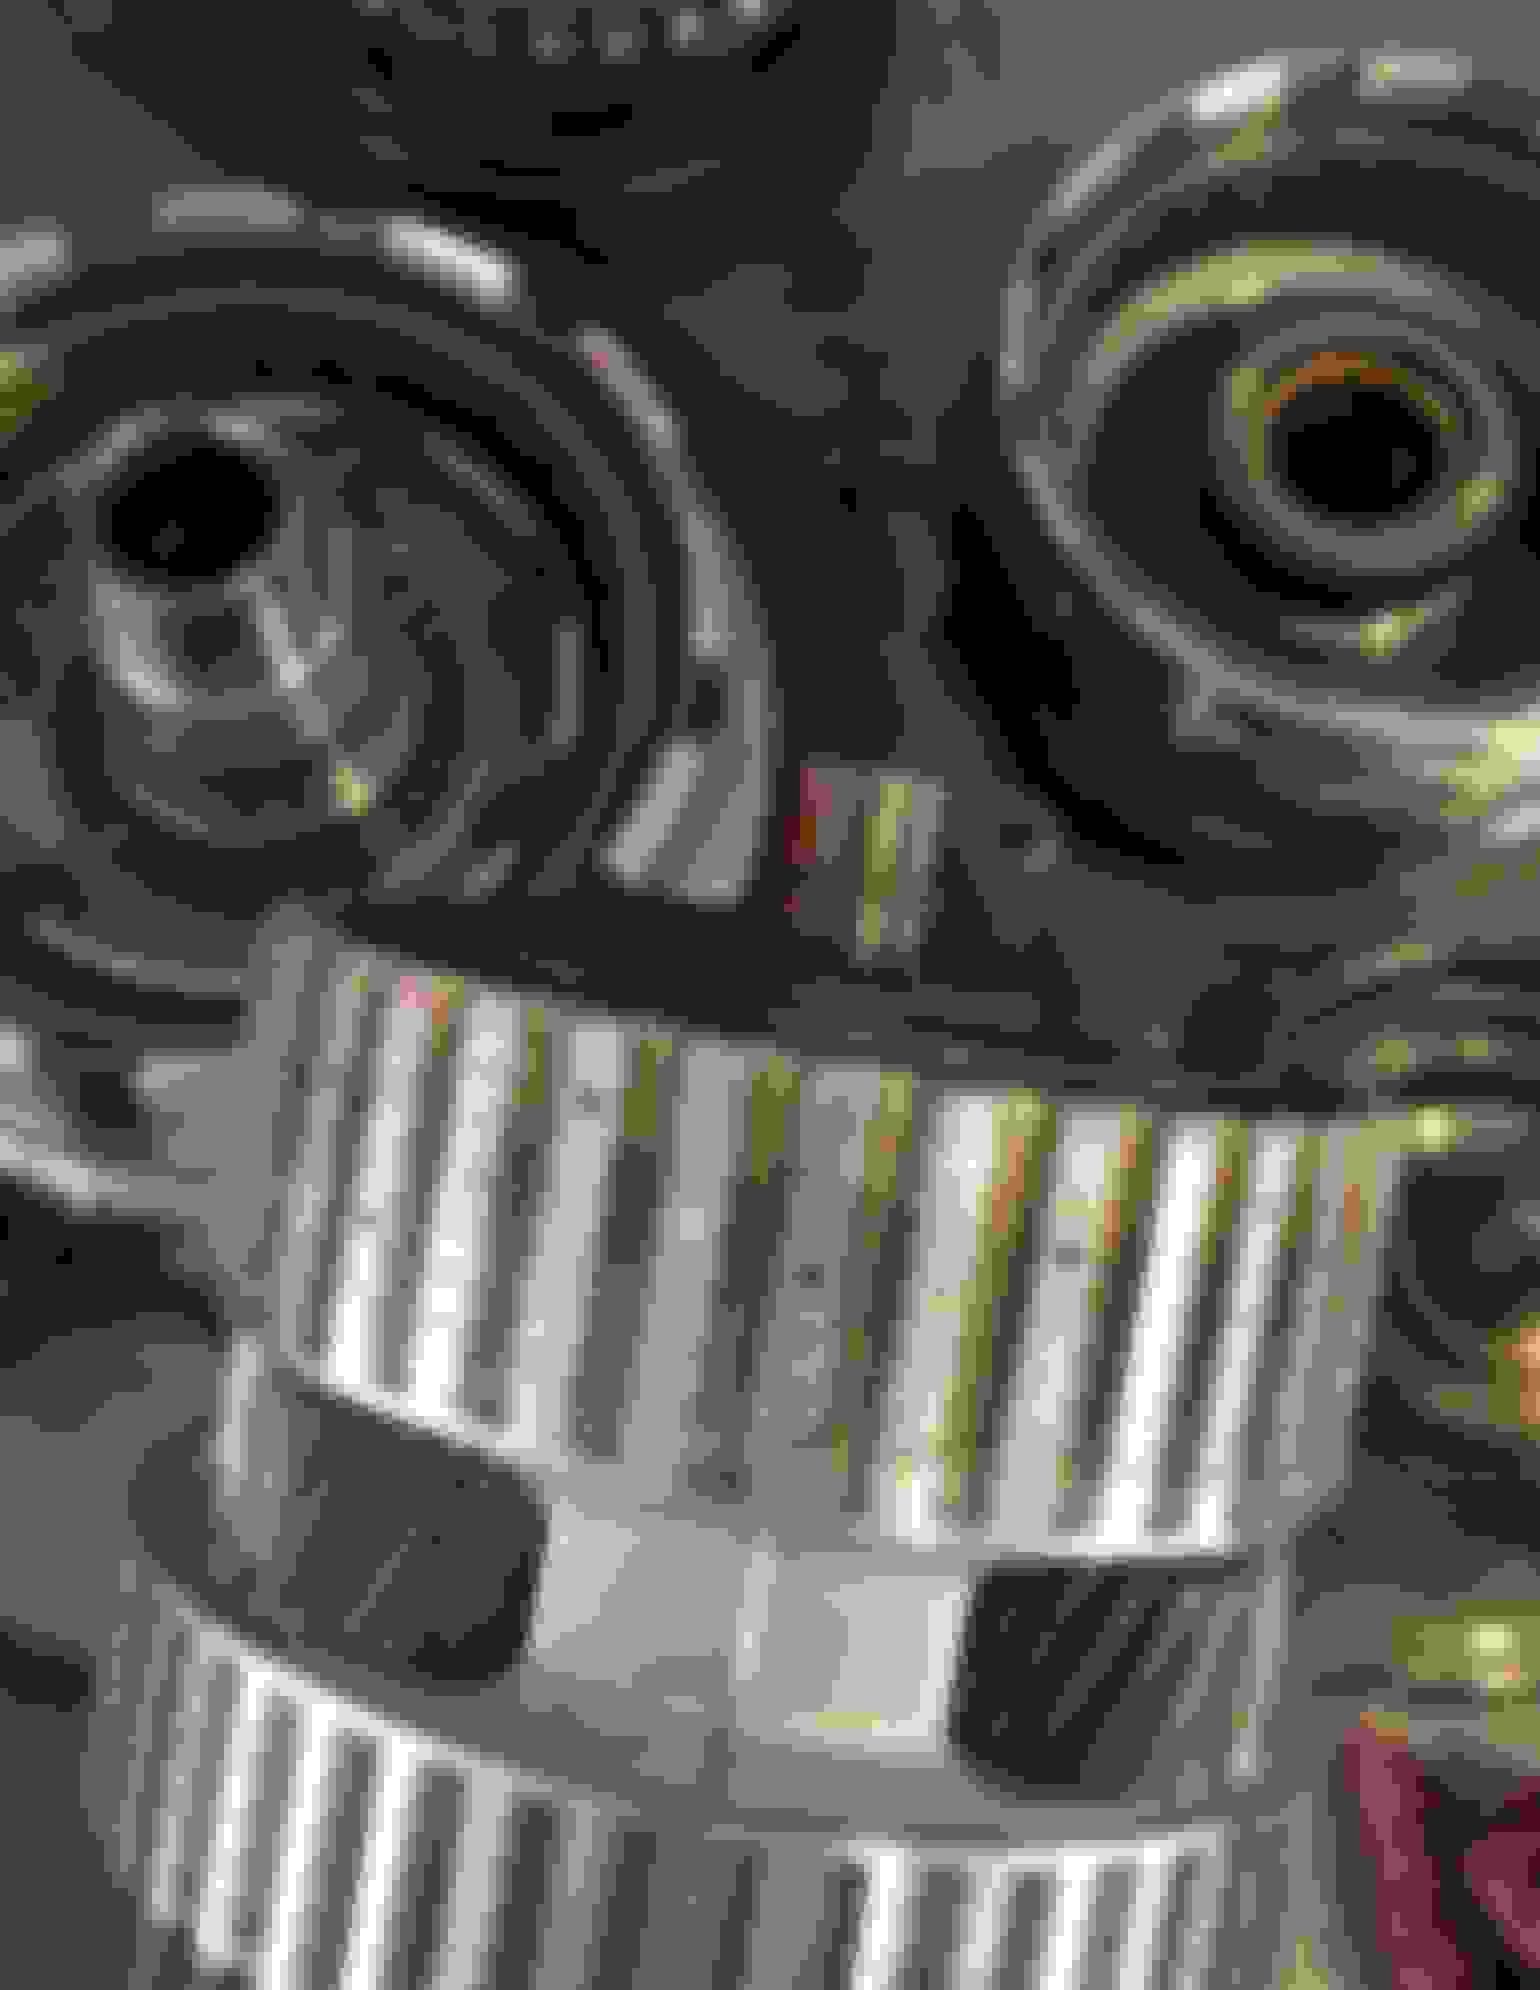
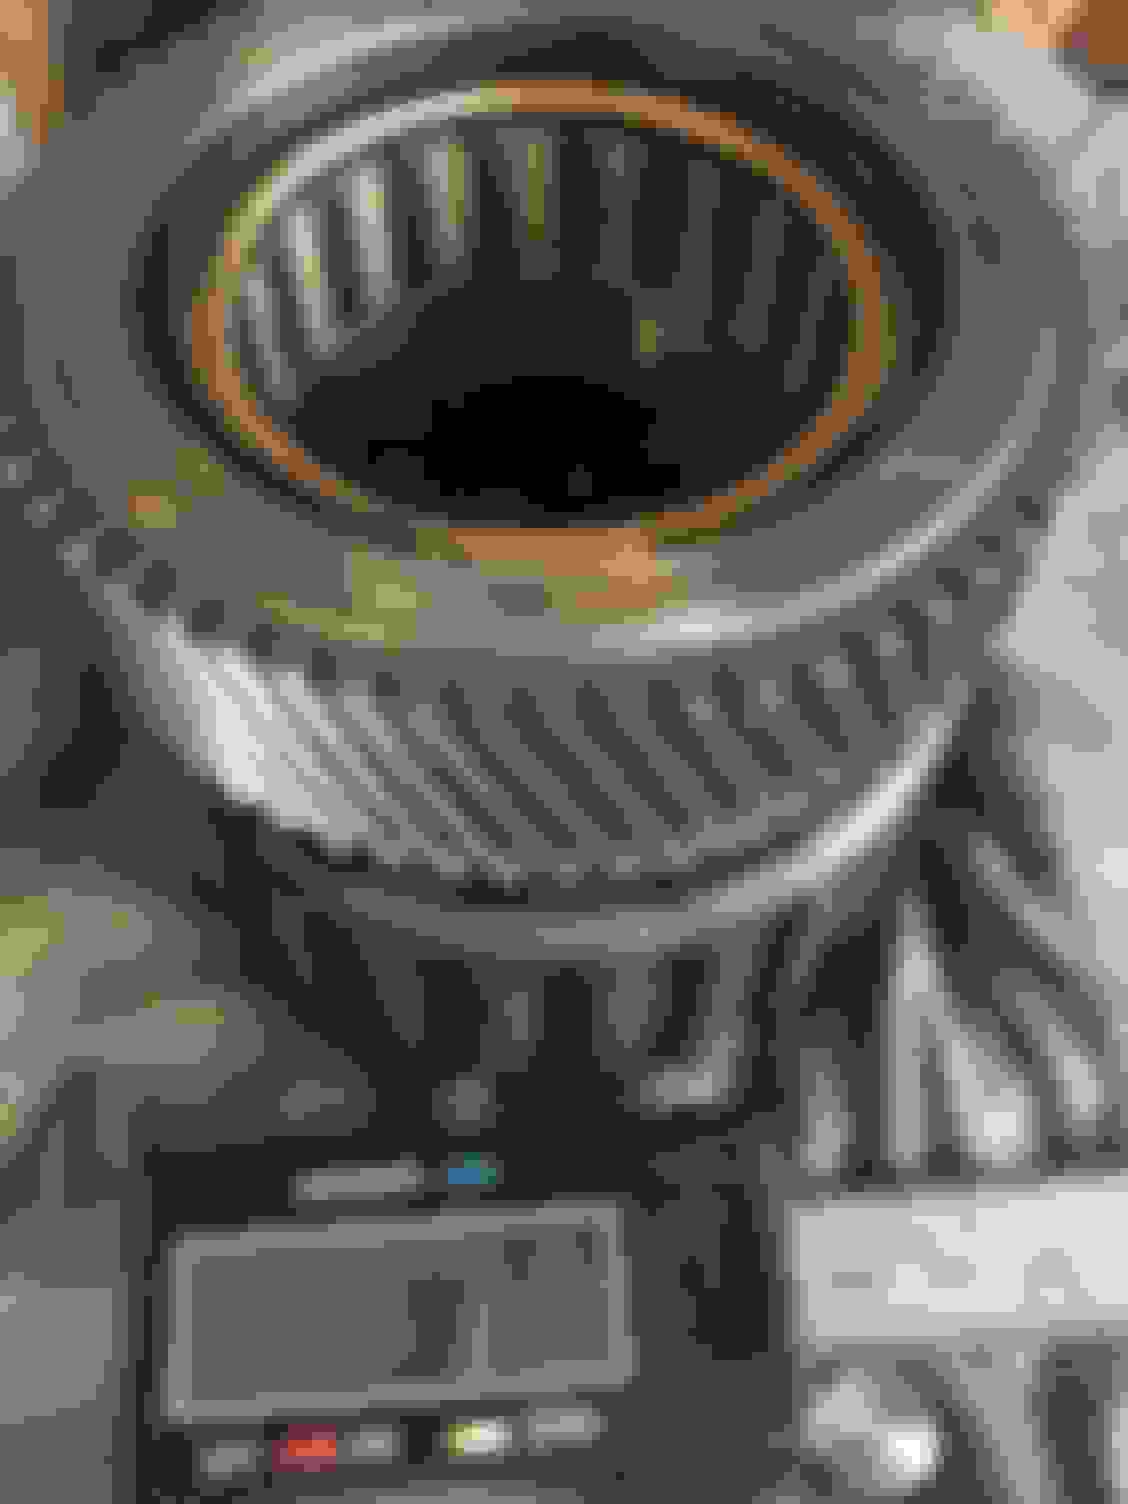
Once the K2 drum was able to be separated. I discovered who ever owned this car previously burned all the clutches so bad they was no clutch material left. They were badly misshapen and locked onto the OD planet and scored it something awful and you can see. Rear planet gearing was missing it's O-ring and chewed it up.
O.D. Planet and K2 clutches are on the list now for replacement along with many o-rings and seals.
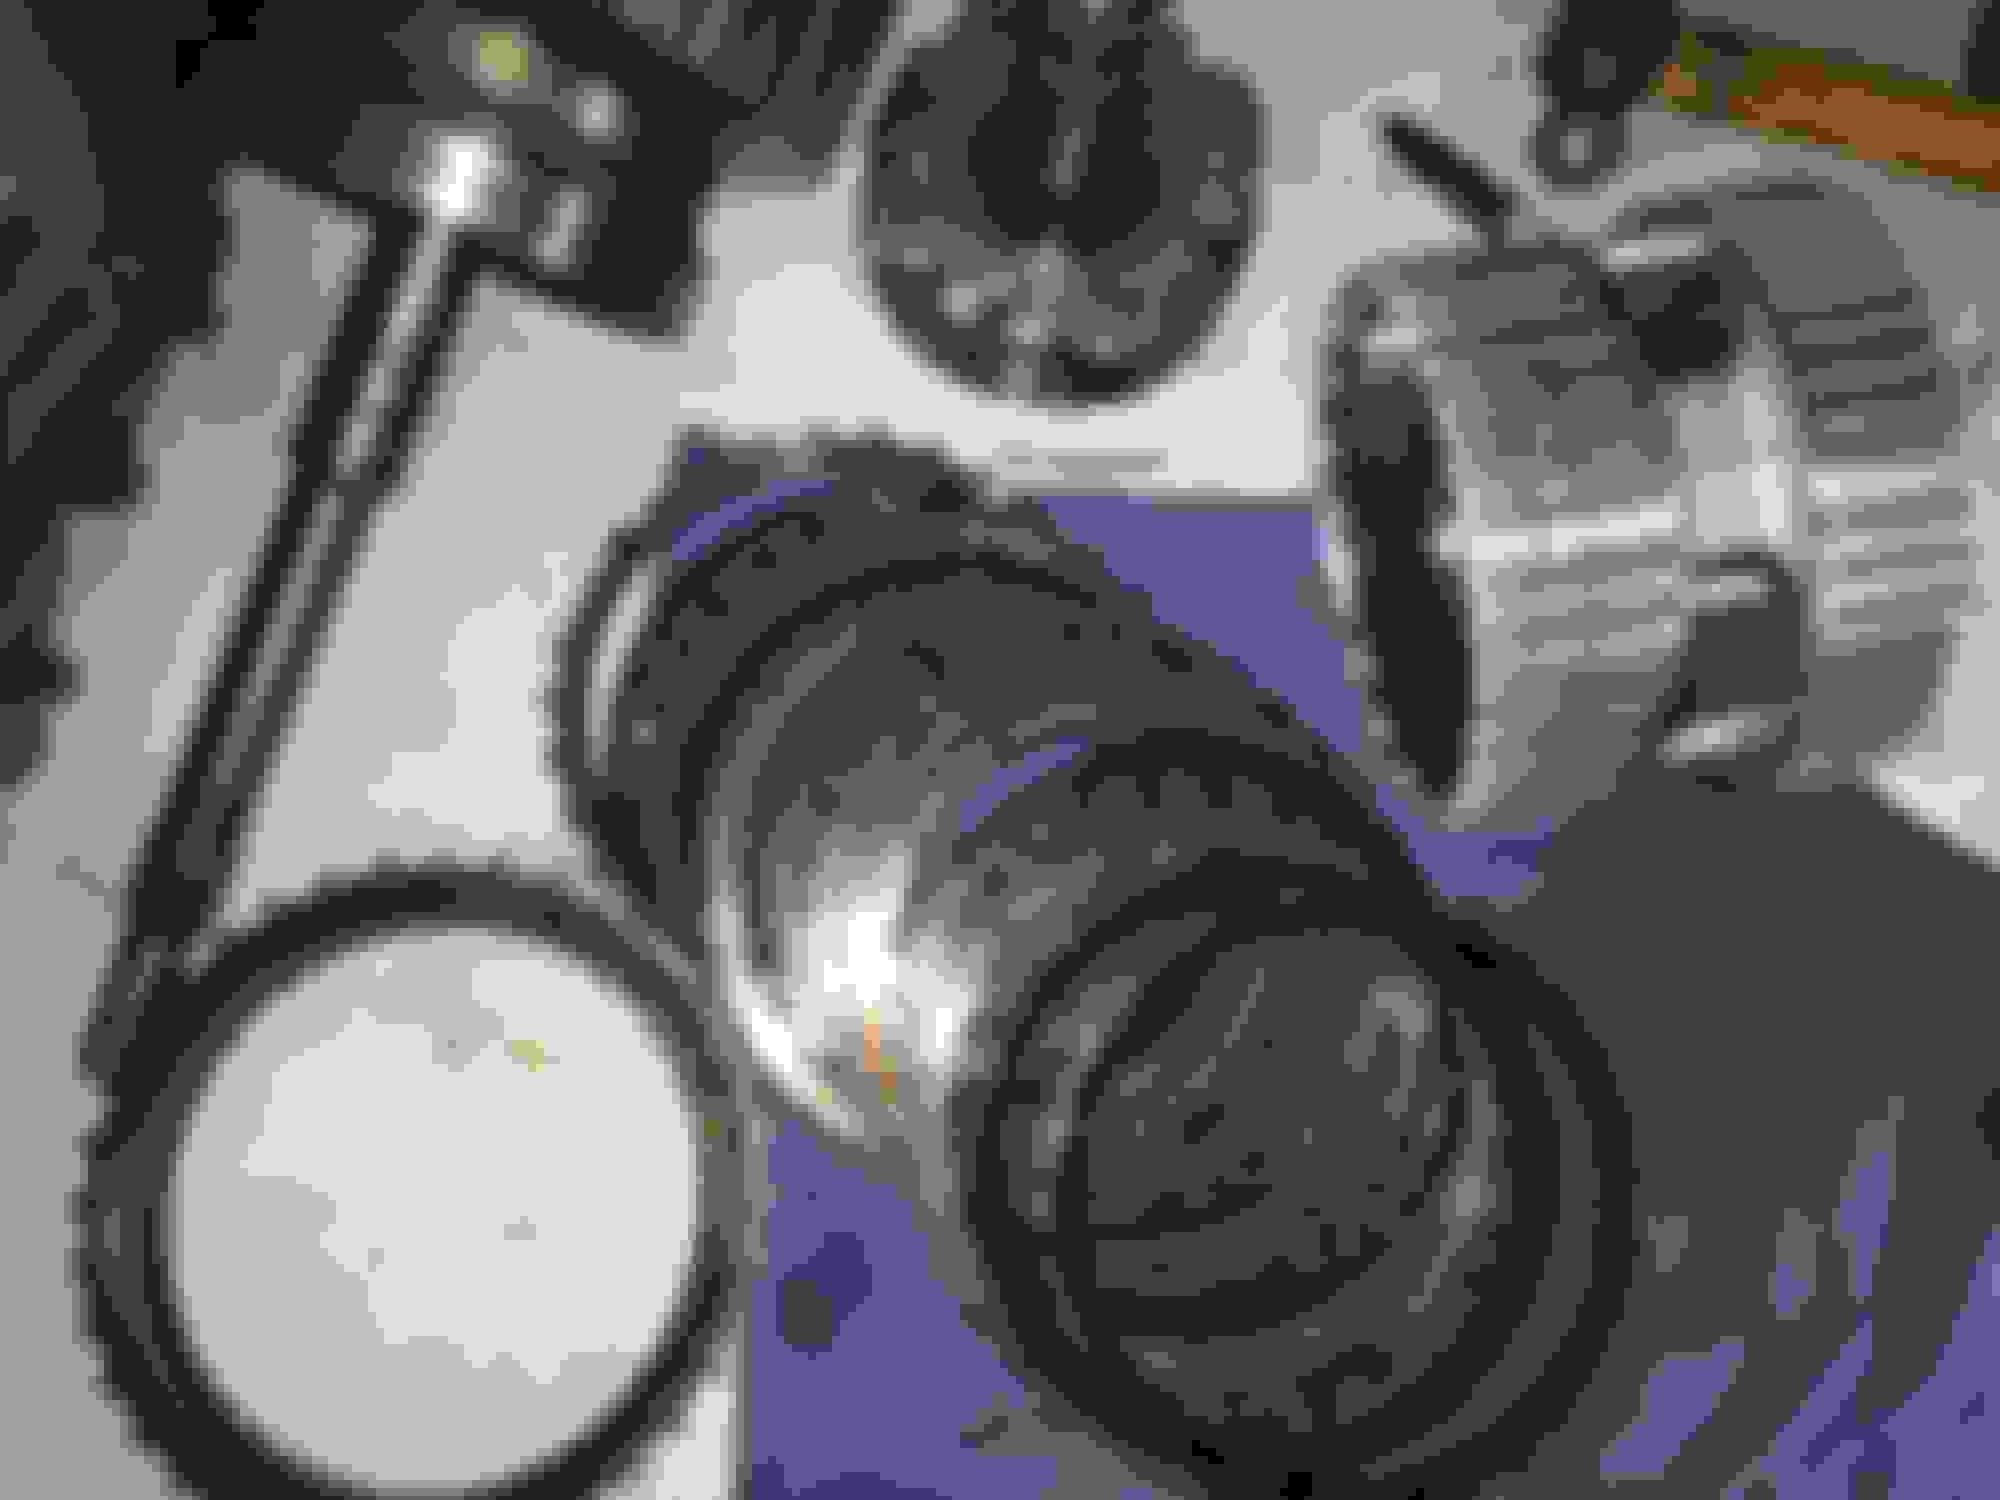
Light scoring inside K2 drum, and on face Another view of the K2 drum K2 clutches locked on so bad I had to pry them off one at a time Horizontal scoring is seen on the O.D planet Badly burned K2 clutches
Nice work man. Those two shafts usually aren't that tight to separate, is the bearing coming apart?
Which bearing, like a needle bearing on the K2 drum or which one are you referring too? all the needle's looked great but are getting replaced for peace of mind
K2 piston (#30) and Spring retainer (#40) got chewed up a little. <br/><br/><br/><br/>The K2 clutches were bare metal and very thin, so thin that they more than likely flexed under load then locked onto the rear planet. The rear planet is pretty scored up and basically is trash.<br/><br/>So yea the previous owner drove this trans until it just quit and locked down into limp mode
This guy is hosed up pretty bad in the pics I posted, you can see lots of horizontal lines where there should only be vertical ones
I see what you mean now. I was talking about the bearing in between 10 and 5. after looking back through i see which clutch was bad and makes more sense why it was tight together.
I had one earlier this year that had a needle bearing come apart and completely destroyed half of the parts. Had to end up using a different core to build it was so bad
Last edited by knowbenz; May 25, 2017 at 11:53 PM.
I see what you mean now. I was talking about the bearing in between 10 and 5. after looking back through i see which clutch was bad and makes more sense why it was tight together.
I had one earlier this year that had a needle bearing come apart and completely destroyed half of the parts. Had to end up using a different core to build it was so bad
Thanks for the pics! I feel compelled to fix this one now more than ever after looking at these pics. Mine has seen hell but does not seem in that bad of shape and is salvageable.
The list so far:
B1,K1,K2,B2... may as well just order a B3 (even if it is only used for reverse)
F1,F2 Sprags
Gaskets, Seals, O-rings, Needle bearings
Torque Converter (debating on R&R mail off or just getting a reman)
Currently On Hand:
New Conductor Plate
2x new filters (1 for 100 mile post install flush)
New Pilot Bearing
14 quarts of Shell 134
I just need to push the button that says "empty checking account" lol
Last edited by BoostedAero; May 26, 2017 at 12:18 PM.
Looks like a pretty thorough parts list, should be good to go. Are you going through the valve body as well?
I get pretty nervous splitting the two halfs... lots of check valves screens etc
My plan was to do the hard part first (what I am up to by remanufacturing the trans to as new spec. ) then if not resolved buy the above order a modded SHP VB
With basically the VB as the only used part on there I could isolate it rather easily if it emits the symptoms I am seeing now on my known good but slipping transmission. 2,3,4 engage but it is a few millisecond delay until full engagement.
Symptom 2 There are flare shifts as well under light load where it feels like it just spins then changes gears....
i probably should split the two halves of the VB and then super clean it as to not have junk causing all my issues with current trans (engagement then delayed fulll clutch lock down-then you accelerate)
these symptoms are under partial load, I can drive it really slow and mask they symptoms
I appreciate your's and everyone's input.
gotta crash, night all
It can be overwhelming tearing the VB down for a good cleaning and inspection. If you have the books on them it makes it much easier to keep track of everything. They may be online somewhere but if not I could send you relevant info from the books if needed
2003 E55, 2003 SL55, 2014 CLS63, 2018 q50 Redsport, 1968 Camaro SS, 1999 Trans am Firehawk
do the sonnax sleeve kit while you are at it. as for the blue top/brown top at full open the flow is the same, but at partial open the blue flows more. MB on the cars that had the browns had a diff TCU tune and you aren't supposed to put in a brown TCU tune with a blue topped tranny. the reason shifts seem firmer when people go blue tops is that the tcu tune is telling the solenoids to be open a certain amount (say 60%) and that 60% is more flow on the blue vs browns, but 100% is the same. if you are going blue tops you need a tcu tune designed for blue tops and not browns as the flow curve is different between the two. I found this all out one day creeping on the srt forums.
Enjoyable read this thread is. Please keep posting about this. I do like the idea of buying a salvage transmission and rebuilding it so as to keep downtime of the car to a minimum.
Enjoyable read this thread is. Please keep posting about this. I do like the idea of buying a salvage transmission and rebuilding it so as to keep downtime of the car to a minimum.
Looping this one across as well as it has some valid info for upgrading these transmissions with more clutch packs, process and parts needed to get it done.
It is looking like at this point I am going to rebuild to factory spec as it has more than enough to get the job done.
I apologize for the delay of those reading as I was "engaged" in other financial matters that took a higher priority than my transmission parts...
Let the rebuild continue!
Last edited by BoostedAero; Jun 5, 2017 at 11:36 AM.
Getting B1 piston out and new in Apart time to clean My magic PVC pipe doing its thing New clutches all around Rear Sprag New Orings all around Getting snapring back in place Sprag out
New Higher Stall Torque Converter... currently waiting on 2 snap rings and new rear planet set to start soaking clutches and putting the box back together
Nice work with the PVC, before I had the proper tools I did a chrysler transmission using cut up coffee cans lol
I looked at the coffee cans I had but was afraid they would collapse, $12 at lowes for a 6" pipe drain cover (cut the top off) and a I think a 3 or 3.5" pipe coupler worked great after some time with my abrasive table saw
The press worked out great so you can have the springs pushed in and work with both hands for what its worth
Originally Posted by SICAMG
Will what did your sprag part numbers end up being? They where the larger style for your year correct?
Actually it the smaller later gen design in my F1 Sprag
F1 ( 21.39mm ) A722-270-00-31
F2 are all the same but mine has the part number of A220-270-01-31
I could go to the later gen larger sprag but would have to replace more parts, kinda just in get it done mode
Waiting on
More fluid ( I swapped valve bodies just to try and see if the one I put sonnax control overlap kit in solved the issues, it didnt)
Snap Rings (larger on B1 and B2 to get clutch gap on the smaller end of the spec)
Pump Plate
Intermediate plate
Rear Planet
New Sprags
Rear Main seal
Than I can start soaking some clutches for final install... the end is near
Last edited by BoostedAero; Jul 7, 2017 at 08:34 AM.
Mercedes SLR McLaren 722 S Is Extremely Rare Example Modified by McLaren
Slideshow: A one-of-one U.S.-spec Mercedes-Benz SLR McLaren Roadster became even rarer after a factory-backed transformation at McLaren's headquarters.