When you click on links to various merchants on this site and make a purchase, this can result in this site earning a commission. Affiliate programs and affiliations include, but are not limited to, the eBay Partner Network.
I had a hard time sourcing the thicker snap rings for b1 and b2 . where did you get yours?
Ordered found New In Box Ebay $4.95 +$4 shipping
Arrives next Friday (I hope)
B-2 Snap Ring
*3.7mm 140-994-60-35
(0.145")
I Ordered through FCP Euro $7.95+ about the same to ship. Hoping it will get here by next weekend so I can start soaking clutches
B1-Snap Ring
*3.7mm Snap ring 140-994-30-35
(0.145")
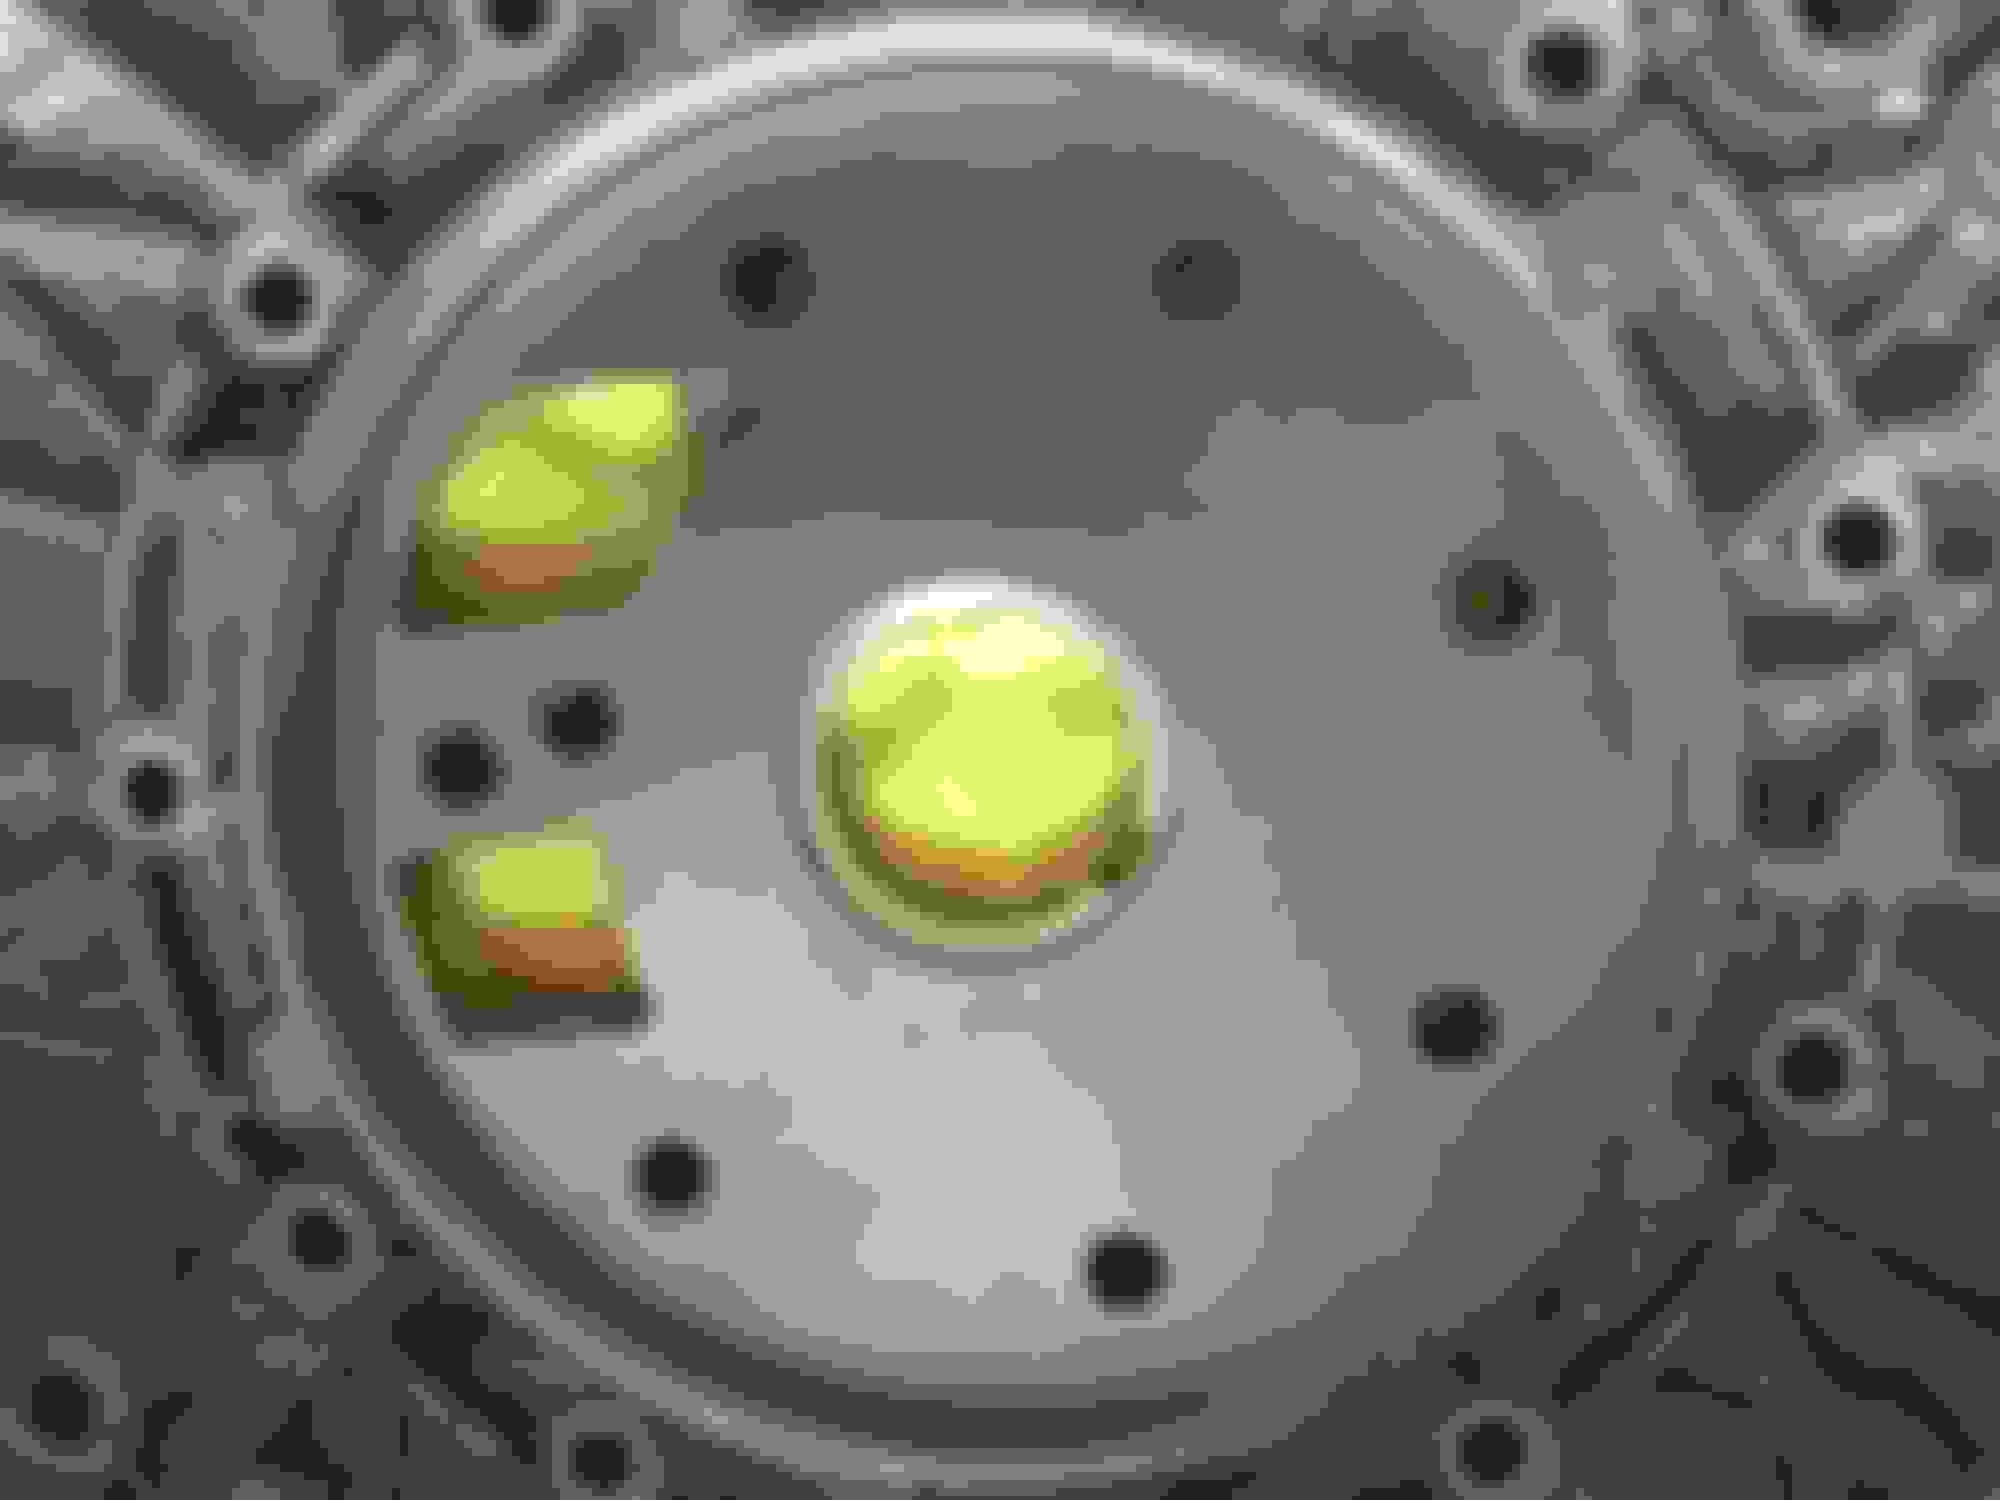
F2 back in its hole, snapped together nice and tight New F1 (21.46mm) vs worn down F1 ( 21.39mm) Get in your hole! Verified they all locked clockwise and back on the organized shelf they go, waiting on more parts to come in
Will are you using the Sonnax front pump bushing in your build....6800401 was the number if I remember.
Yep Gary I am indeed, it appears to have arrived yesterday in via USPS, so it will get pushed in soon enough. The other bushing on the B1 side looks great so I probably will not mess with that one. I have heard the front one on the oil pump side may start to leak so I just decided to swap it to be proactive
This Manual is referenced in the other 120 page 722.6 ATSG manual. Figured it was worth posting up as it houses more info on the valve body and function.
Good choice!! Hey did you see my Pocono vids from last week? you would have had a blast there !!!
Now that looked like a fun time! I love going to wannagofast.com 1/2 mile shootouts but that track time looked real enjoyable! I know you enjoyed that bc I damn sure enjoyed watching it :-)
Soak'em if you got'em
Decided a 1 week+ long bath time couldn't hurt, I will rotate the bags every day or so to ensure it seeps into all the stacked clutches. Inner bag has all the air sucked out so it's nothing but clutch's and shell 134 in there another bag just in case they punch through
What clutch's did you end up having.....the double or single sided?
These transmission are a mixed bag of tricks lol
Here are my notes from when I took it apart. It is a mix of single and double sided clutches. From what I could deduce it should be the same in all 722.64X transmission
**** B1 and K1 use same clutch size alternating stack of single sided**** 20 needed total
K1 complete and matching 12 single sided clutches
B1 8 OEM alternating ID / OD notched single sided clutches
K3 clutches single sided OEM 10 total 5 OD / 5 ID notched
======================================
I am waiting on the following parts to finish
2 oversized snaprings
(1 shipped and will be here tmrw / FCPeuro is hopefully otw soon no update from them on 140-994-30-35 snapring)
Output Shaft Case Bearing (will be here in a few days)
Intermediate Plate (Need to go pick it up from local Trans supplier)
12 quarts of fluid
Last edited by BoostedAero; Jul 12, 2017 at 12:26 AM.
Last few to do items:
Get Fluid pump gear faces and pump housing taken down a few 0.001s" to ensure it seals well against the new pump place in the bell housing. (Local Machine Shop will be tasked this week/early next week)
Once that is done, it will be a long weekend ripping out the old and installing the new one, along with new motor mounts, trans mount. Finalizing install/adaptation. Then a flush after a long several hundred mile break in period.
Prepping to get this done in one of the next few weekends. Once I can get a dedicated garage weekend on the books.
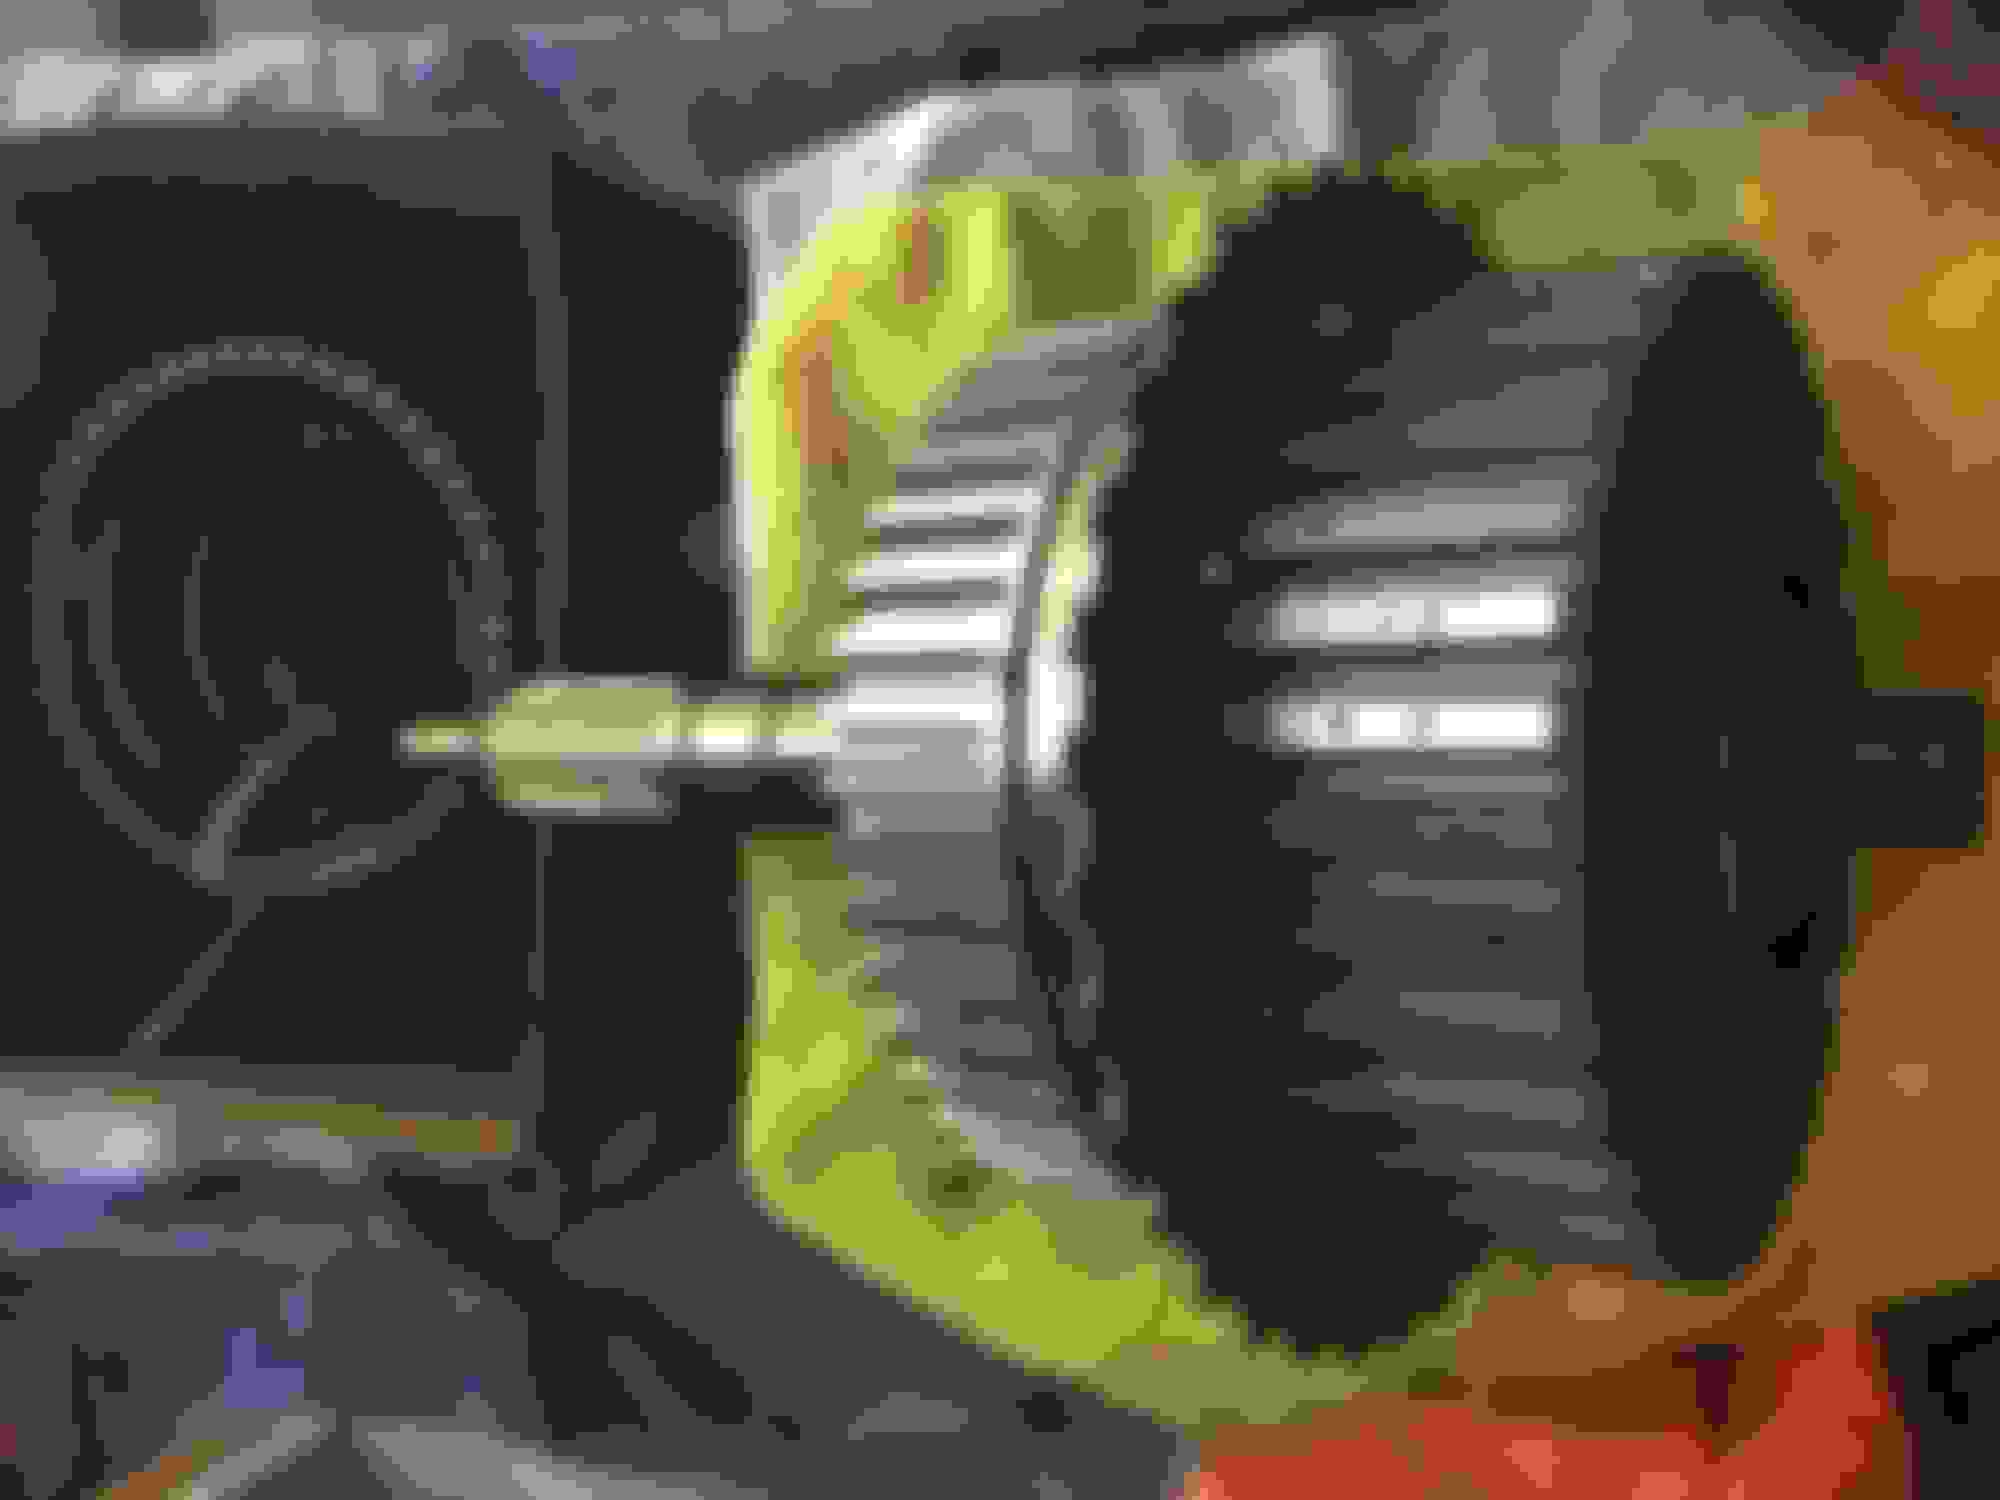
Resurfaced pump face...mmmm mmm mmmm New Intermediate plate Pump installed with new bushing Time for clutches A little extra fluid dumped in there won't hurt anything even if it spills everywhere and I have to mop it up later All clutches are Soaked pretty good to say the least Rear planet assembled and my bag of tricks in the background We need more cowbell, I mean rear plant pics K2 + Shell installed along with ring gear Minimum spec clearance 0.15mm, everything mated up real nice Needing that snappy Snap ring to finish And in it goes after I dropped the parking gear in, thumb tight bolts per the manual attached to this thread Rear planet fully seated Stacking on a toweled empty cooler, input shaft + K2 inserted per the manual Pretty sweet trick in the manual regarding using vise grips on the input shaft work like a charm to seat 1 half into the case Sealant + Case bolts in awaiting front seal Cleaned surface with alcohol Seal in and dumped some excess fluid down the pipe New output shaft ball bearings, shims all measured up and in below the bearing, snapping it up Awaiting the final finish of punching it down after torque is met. I am going to fill up the torque converter to soak over the next few days off. Valve body needs to go on as well... we are getting somewhere now I am planning on using some airplane stripper to clean the case and will probably just paint it flat black bc yea, stuff gets dirty under a car Nommm nommm nommm
Input shaft moves, no binding, real smooth and all at the lower end of the clutch gap clearance spec
Wrapped it up in a garbage bag awaiting me to finish work on Thursday.... yea all the fluid I dumped in pee'd out everywhere. We live we learn. I just didn't want to clutches drying out over the next two-three days as it sits there waiting for more TLC
I was just referencing the main ATSG 120page manual in this thread along with another manual a friend who has rebuilt these puppies for 30 years lent me. (Thanks Gary!)
The 120pg manual is more than enough to get a rebuild done. I am just OCD about stuff and did not mind taking it apart about 3 or 4 times to make sure it all Spec's out perfect prior to final assembly in the case. I could have slapped it together weeks ago, but didn't want to chance any running longevity of the build using a "close to the limit" spec. Speciality oversized Snap rings were ordered, every thing else had the proper clearances when assembled.
Swap Old leaking rear main New seal gently tapped in And up she goes The aftermath of one long night in the garage, she is ready for war again
It has been a little over 250 miles and the trans is stout. I did a fresh adaptation of every gear change. Adapted the Tq Conv as well in Star. Honestly about 3-4 times working on shifting smoothness. Flushed the trans after 100 or so miles. Now it is time for another filter and fresh fluid and will be good to go
Thanks for everyone that chimed in during this process. I really appreciate all the help along the way.This was a fun project that I really enjoyed learning something new. I could not have done it without the confidence boosters or the information I received in this thread. Thanks for those that got personally involved to assist me in my endeavor.
Mercedes SLR McLaren 722 S Is Extremely Rare Example Modified by McLaren
Slideshow: A one-of-one U.S.-spec Mercedes-Benz SLR McLaren Roadster became even rarer after a factory-backed transformation at McLaren's headquarters.