When you click on links to various merchants on this site and make a purchase, this can result in this site earning a commission. Affiliate programs and affiliations include, but are not limited to, the eBay Partner Network.
My head unit DIY with stock speakers amp and retaining fibre optics
I thought I would share my head unit install experience in case it helps someone else. My car is a Japanese import which is wired a bit differently but most of what you need to do will be the same, mine is just a mess and yours won't be.
My goals were simply to get rid of the head unit which won't function 100% correctly in my country, use the stock speakers/amp and have USB. I was not really wanting an expensive android device which I will never utilise properly. GPS, Navigation, Bluetooth, AUX didn't interest me much. Most of these features are less about the car and more about the head unit itself as far as installation is concerned.
Anyway I chose a simple pioneer double DIN unit, it has bluetooth, aux in, USB most importantly and can display more than 2 lines of text. So you will need:
Head unit of your choice
Steering wheel control unit- Metra Axxess ASWC-1 http://www.metraonline.com/part/ASWC-1
Fibre optic connector unit https://avinusa.com/most-fiber-optic...edes-benz.html
Some sort of fascia surround for the dash to fit the stereo, I just looked on ebay. Search "w211 fascia" or similar.
You will need 1-2 fibre optic terminating loops potentially if you remove the CD changer and maybe the phone cables.
First step is to remove the stock radio, pretty easy, lots of youtube videos
Don't put the key fob in the slot or turn the car on with the CD 6 changer unplugged. The vertical plug with several wires has something to do with the SRS system. My guess is that the dealer will have to reset it for you with STAR DAS if do this. The smaller 3 pin plug and fibre optic don't matter whether they are plugged in or not. It is also fine to drive around with the fibre optic loop open.
Next is finding the ground, constant 12V and switched 12V with ignition on. Mercedes uses brown as ground, usually red or something with a red stripe as 12V constant and for the switched source it is easiest to use the cigarette lighter.
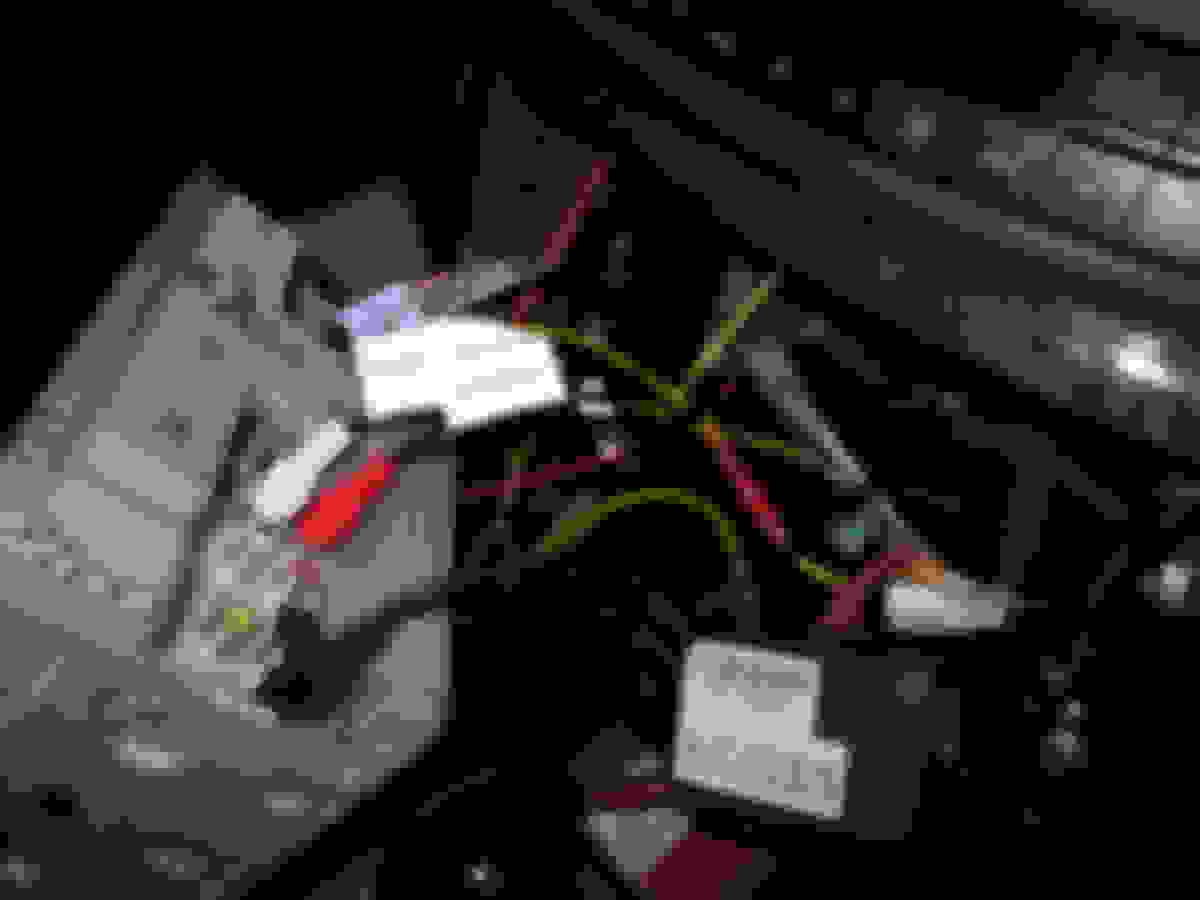
I believe the US models only have fibre optic cable and one other plug. The JDM version has millions of plugs spewing out of the dash so just ignore most of them.
Two fibre optic imputs + some stuff.
No idea what it does, probably not important, ignore.
I was hoping some of these wires might have gone to the CANBUS, they don't appear to.
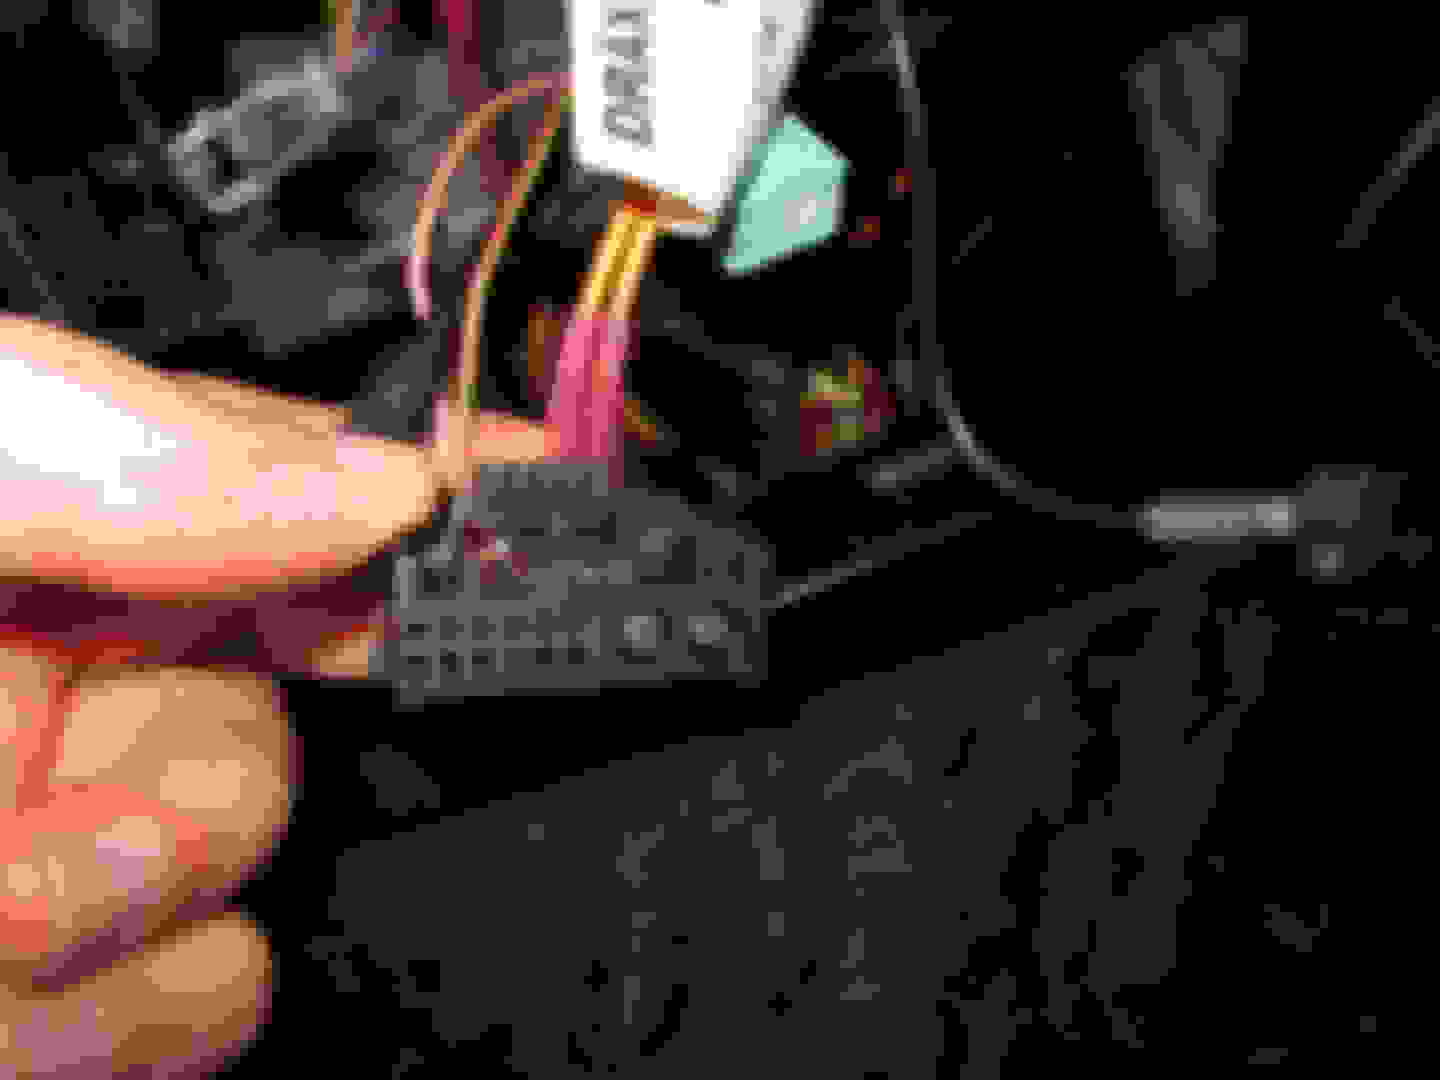
Two grounds (brown) and live 12V constant (red)
More important things we won't use.
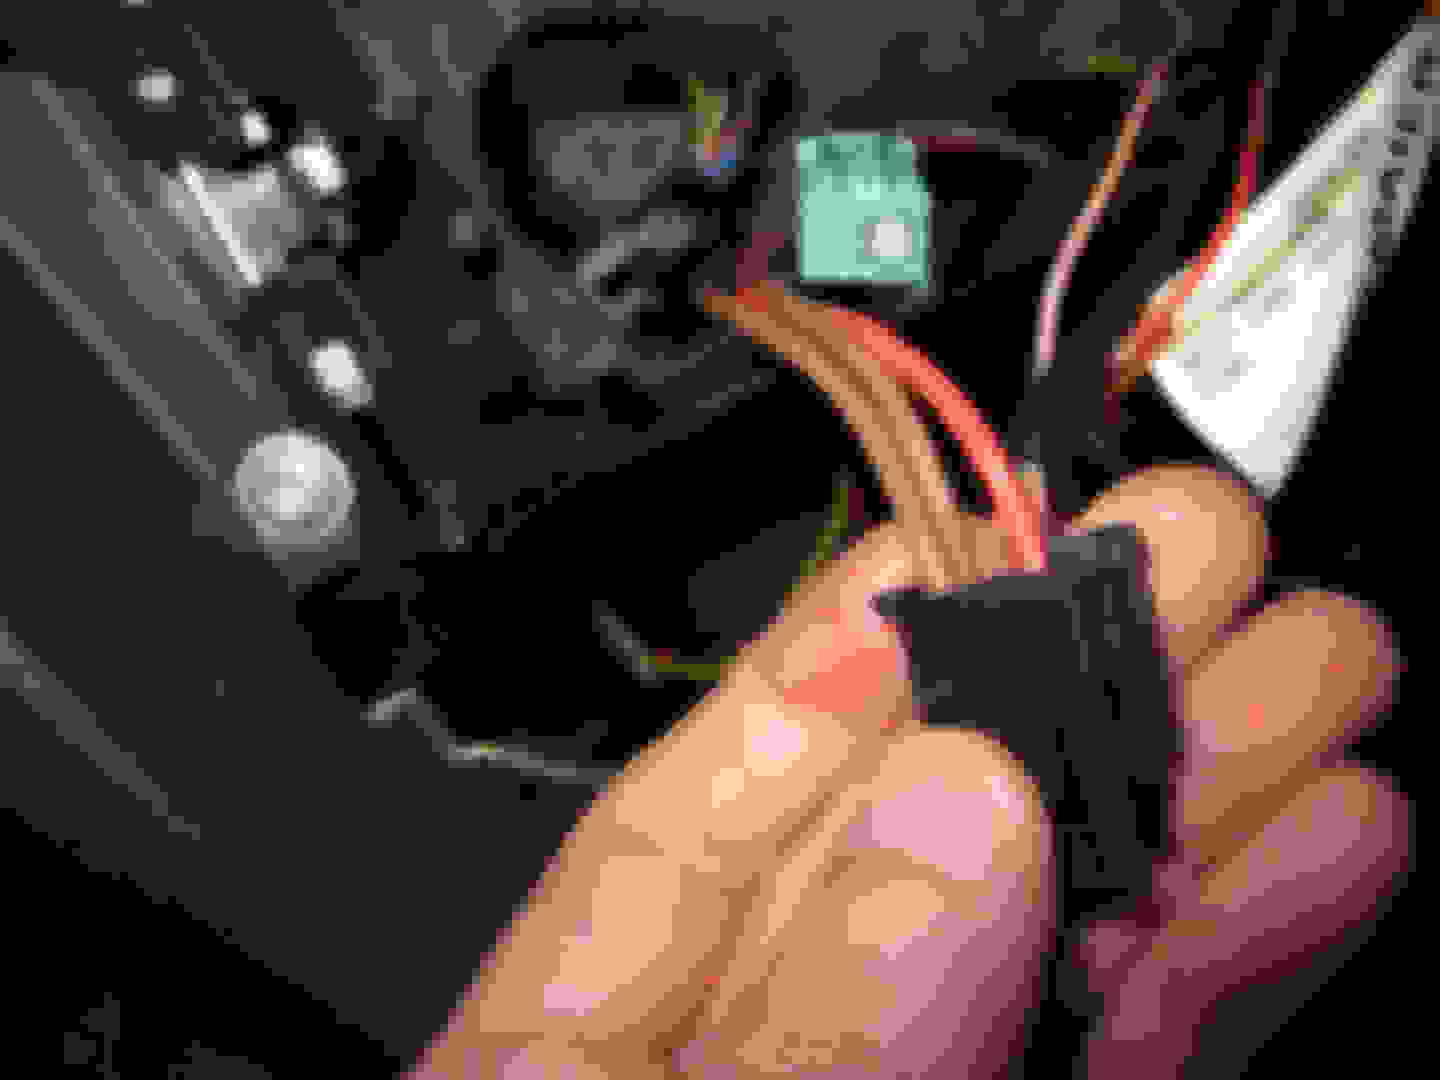
Blue arrow is the fibre optic plug for the CD changer. Either this one, or the one from the head unit will need a fibre optic loop so the signal is not interrupted. Either one is fine. The other one will be used with the AVIN MOST adapter
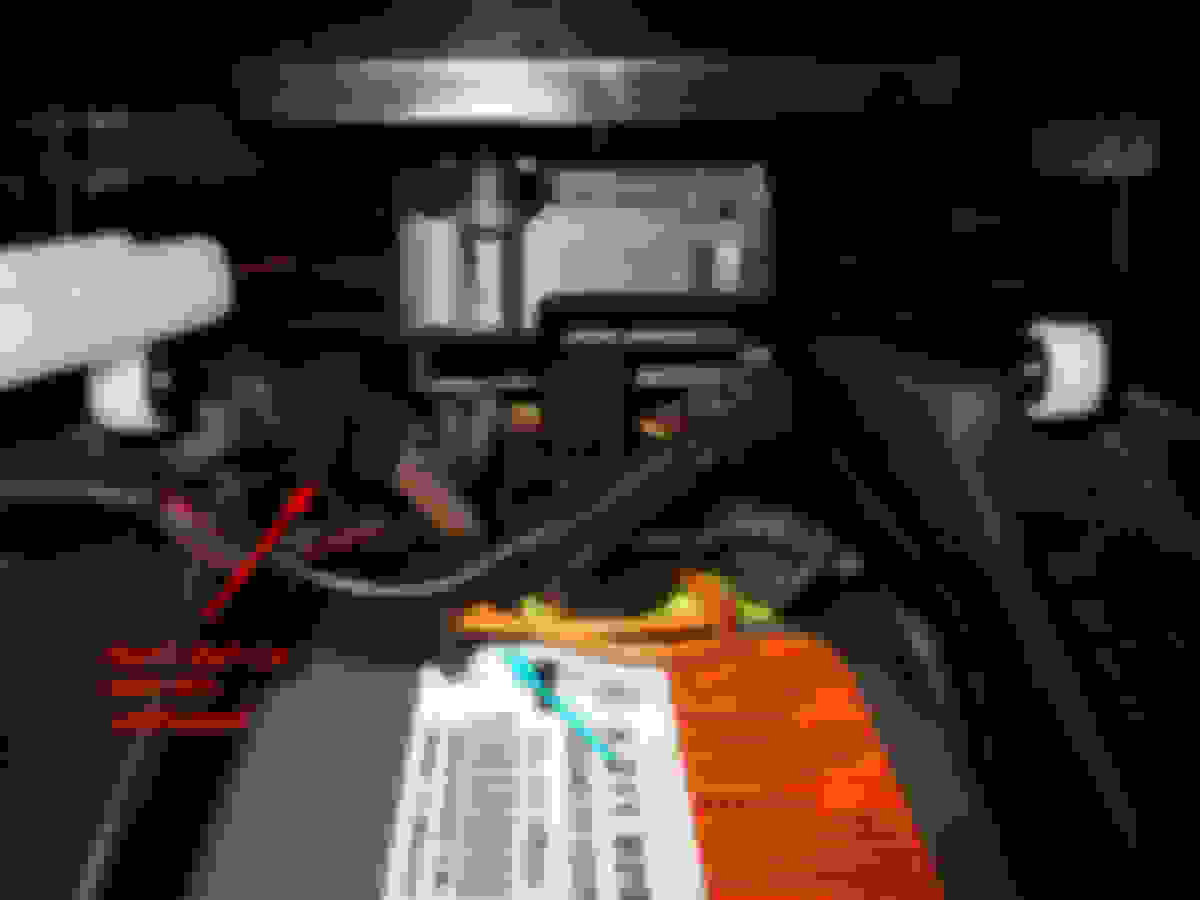
Cigarette lighter harness. Ground, something and live from bottom to top. We will tap into the red/white stripe for our ignition switched 12V. You can also use the ground if you don't have anything similar to the other plug with the two grounds and a live.
Mess for testing.
I don't like cutting things but sometimes there is no easy choice. Wiring is fairly simple. The ground black wires from the AVIN MOST adapter, the head unit harness and the ASWC-1 need to go to the brown ground wire of the car.
The yellow 12+ constant from the head unit harness and AVIN MOST adapter need to go to the red wire from the car. The red wires from the head unit harness and ASWC-1 need to go to the switched 12V at the cigarette lighter.
The AVIN MOST does not have a switched wire, it is always with power. The draw is very low so it won't drain your battery when the car is off. This unit worked perfectly but I thought the construction was a bit flimsy for a US$249 part. The plastic case is not very hard and the plug fittings are not mounted firmly. Also the wires are a thinner gauge than I would like. Yes it has a made in china sticker on it. It can balance left and right but it CANNOT fade rear and front. I found that how it comes is perfectly fine, I would not change it anyway but some people may want this feature.
The ASWC-1 looks better quality despite being a fraction of the price. I have used it twice before in MB's. The settings after programming are stored in flash so no constant 12V power is required. I programmed it to my specifications, vol up/down and I use the telephone answer/hangup for next/previous track since there is no longer a phone.
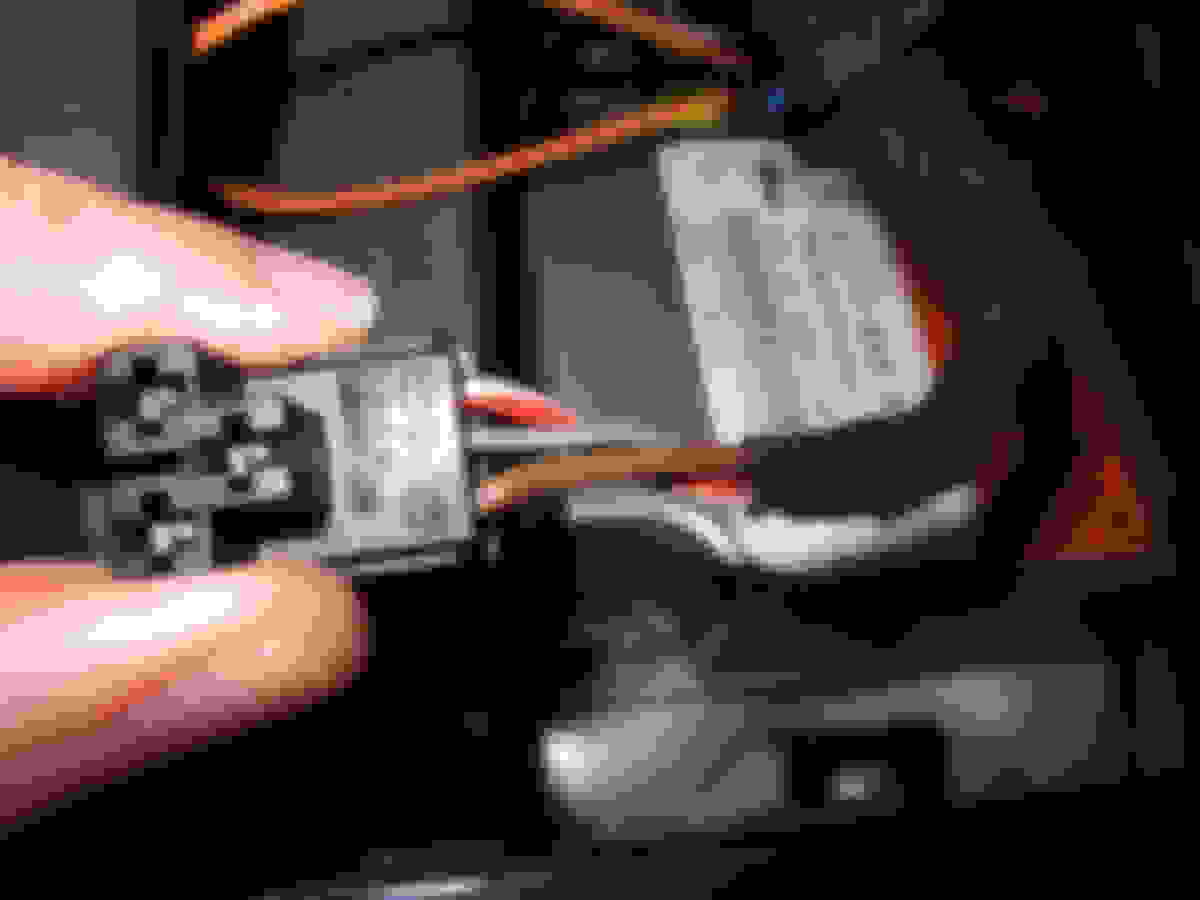
The fibre optic unplugs from the other.... plug. Unplug it. Don't bend it too much or the glass inside snaps.
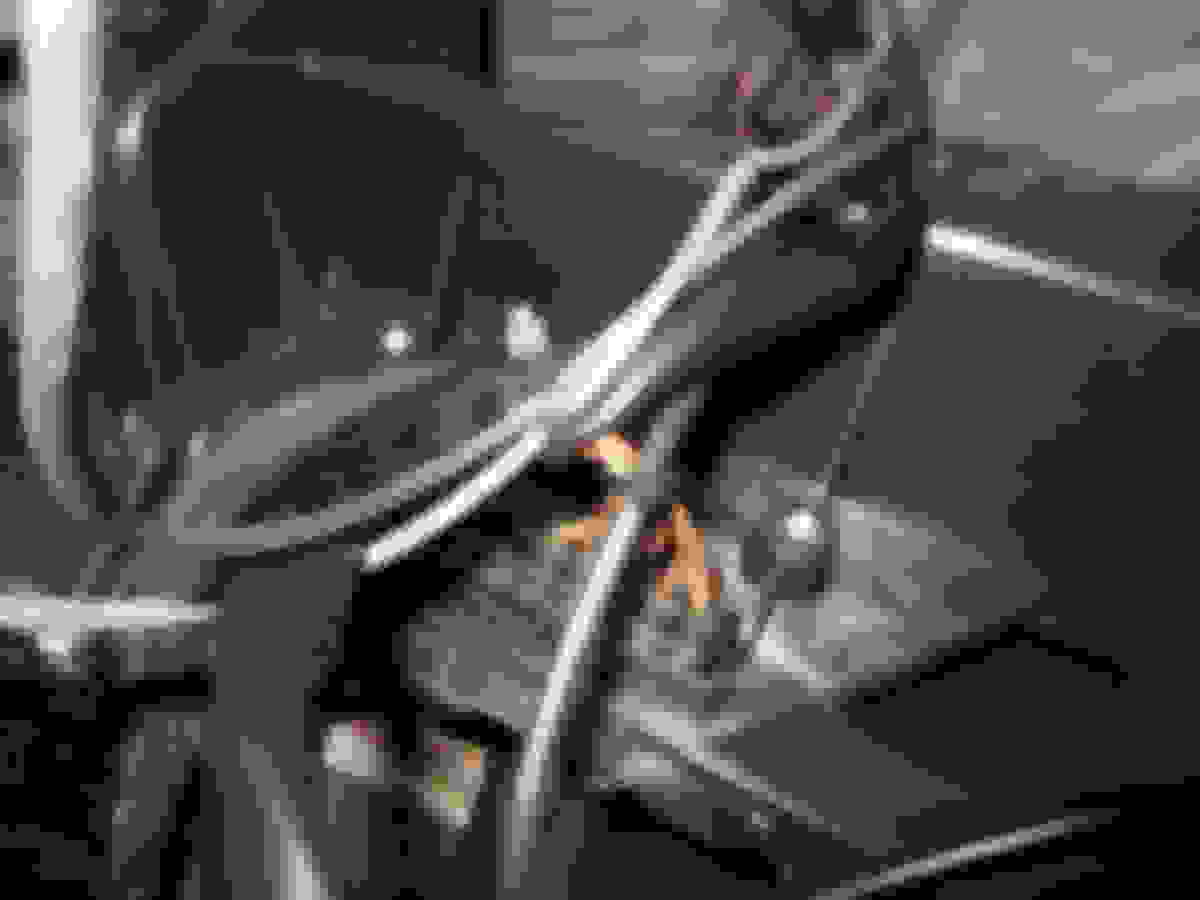
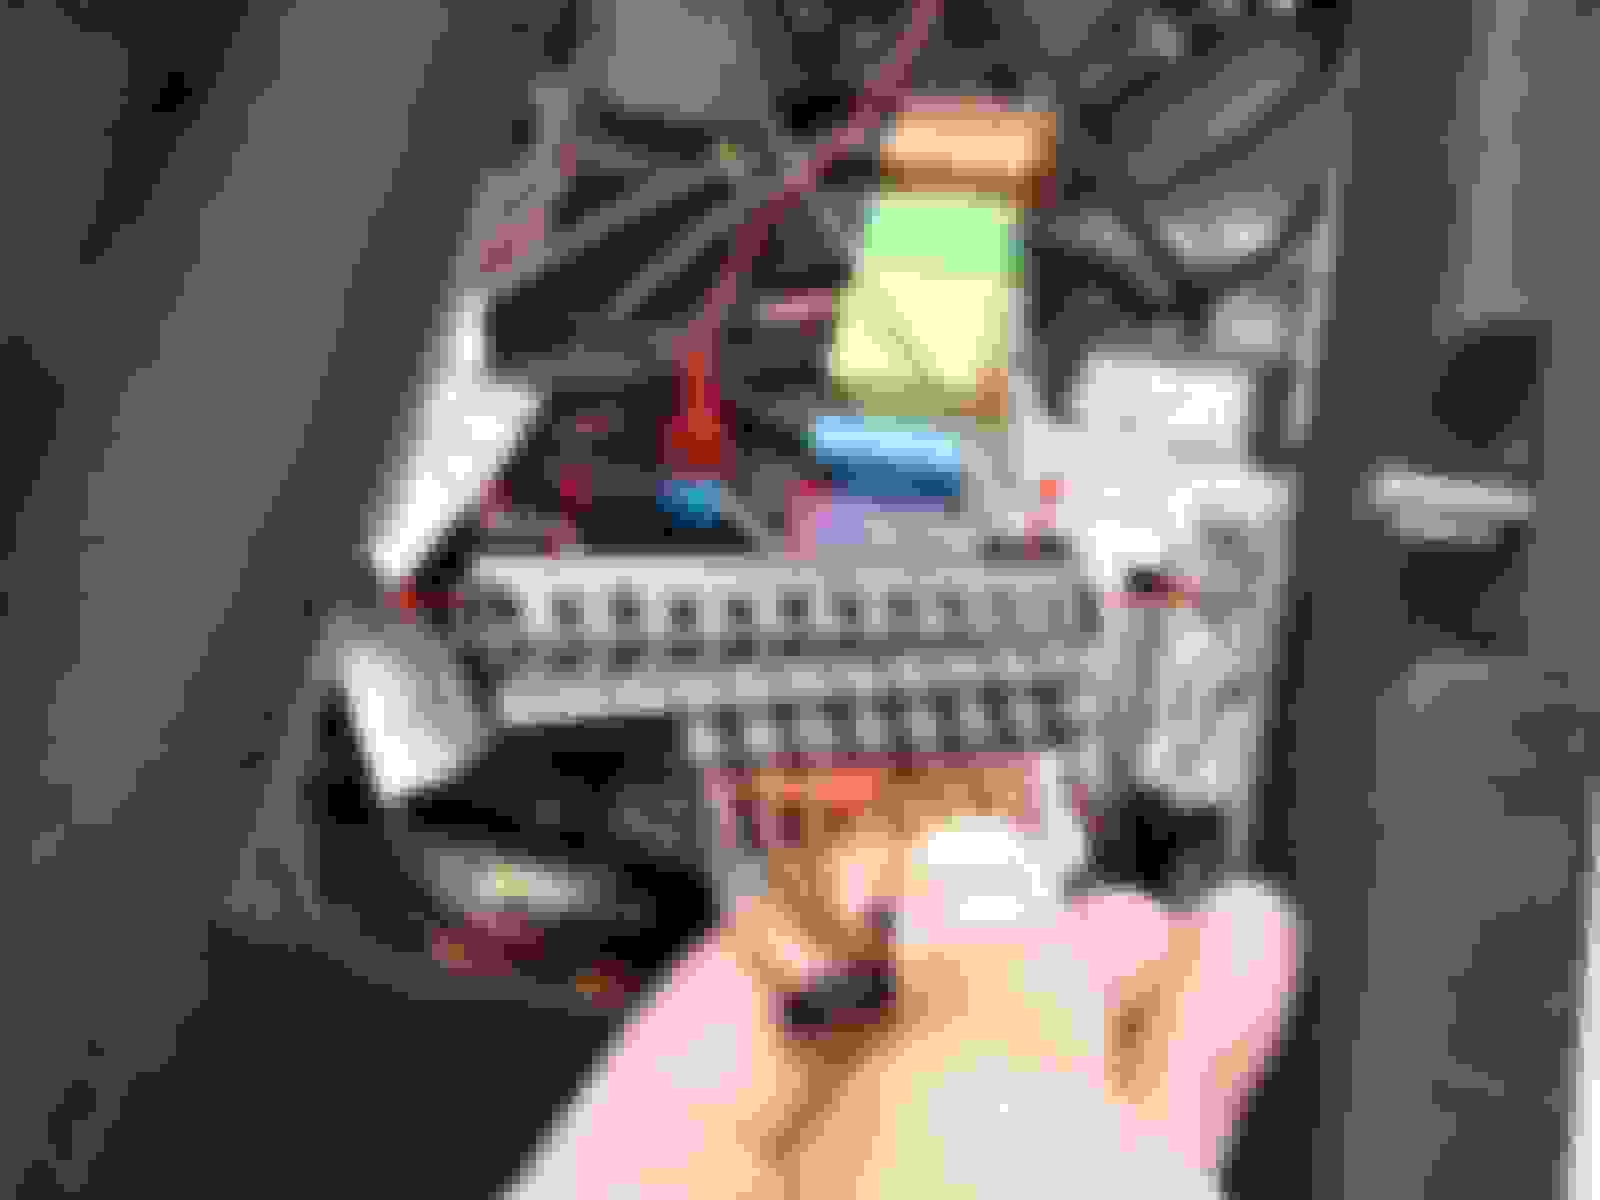
Next is CANBUS for wiring controls. This is the one under the dash, very easy to find with the lower cover off. Ignore the black wire vomit down the bottom, I am pretty sure these are aftermarket additions. ASWC-1 loom on the right and the thick black wire on the right is the USB from the headunit.
This is a CANBUS. Simply two wire plugs in a BUS which has two separate signals. We need to tap into it.
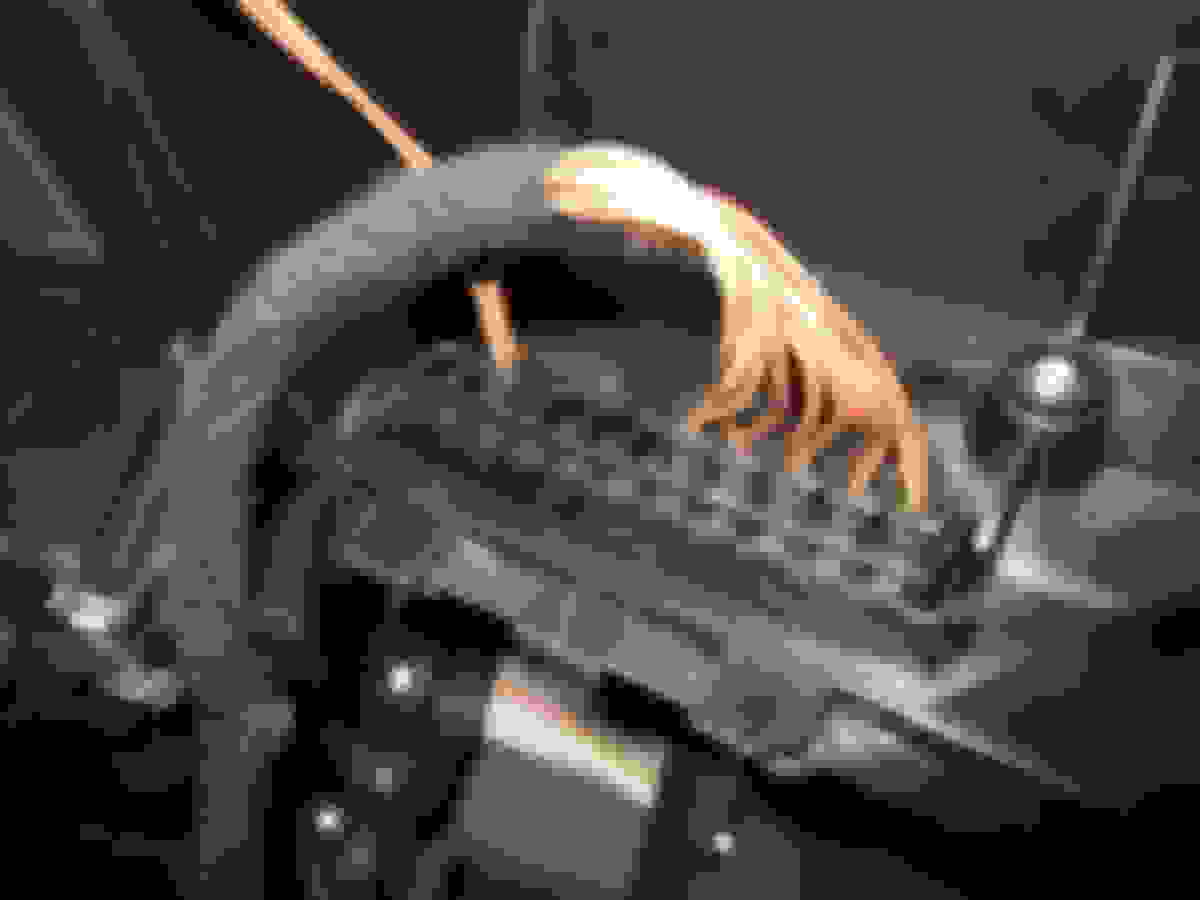
These plugs do NOT come out easily. They are held in with two methods. One is a small clip on the side. To release this, the whole BUS needs to be removed from its cover.
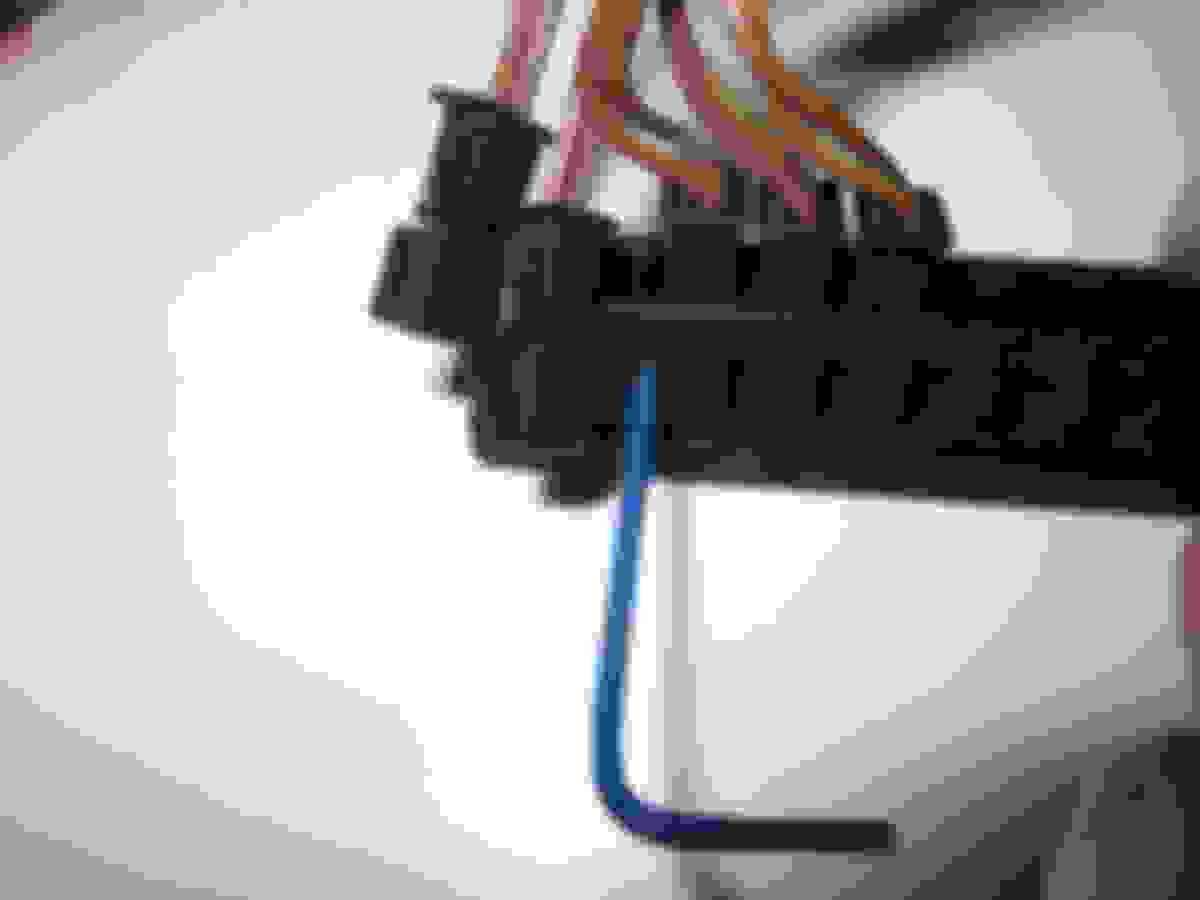
This is the next mechanism holding the plugs in, a small plastic notch in the middle. shoving a 1.5mm allan key in the side will allow it to come out with difficulty.
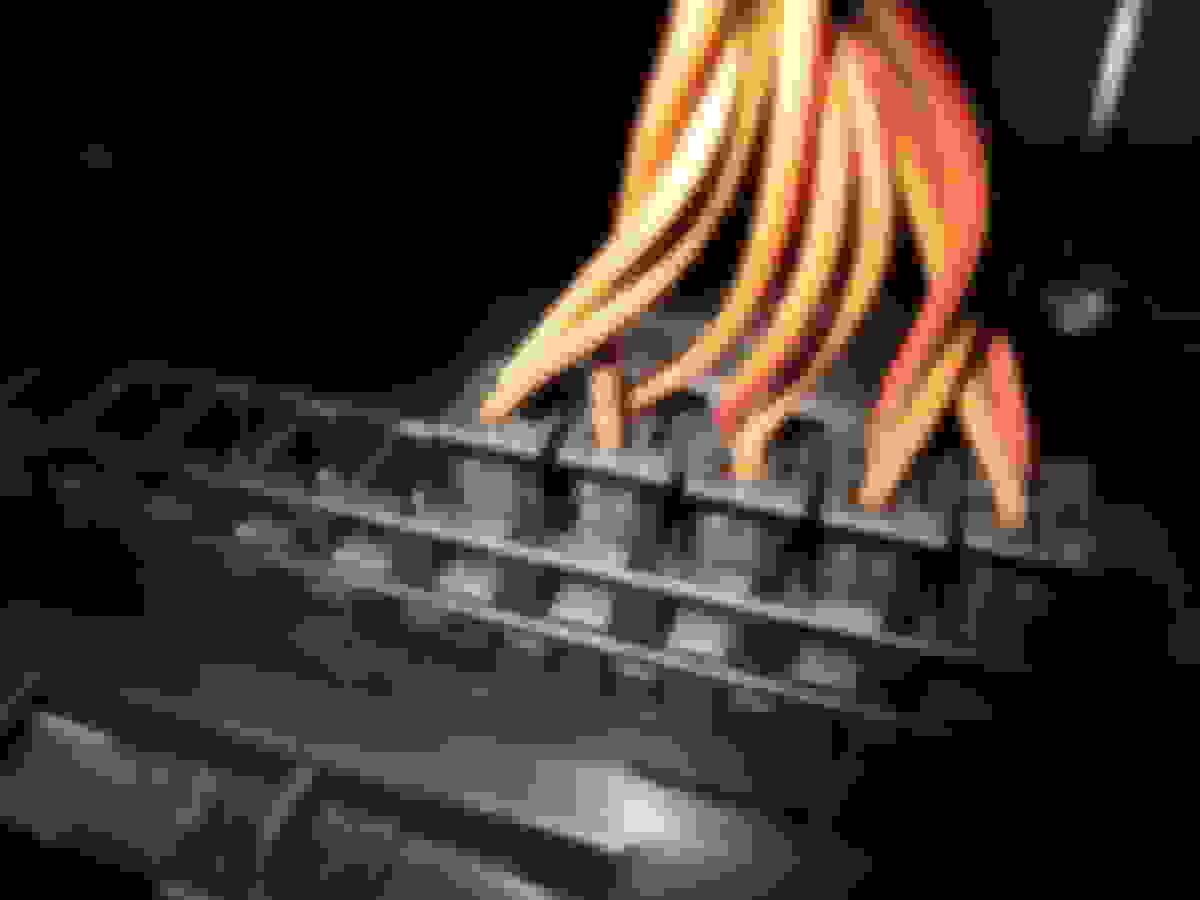
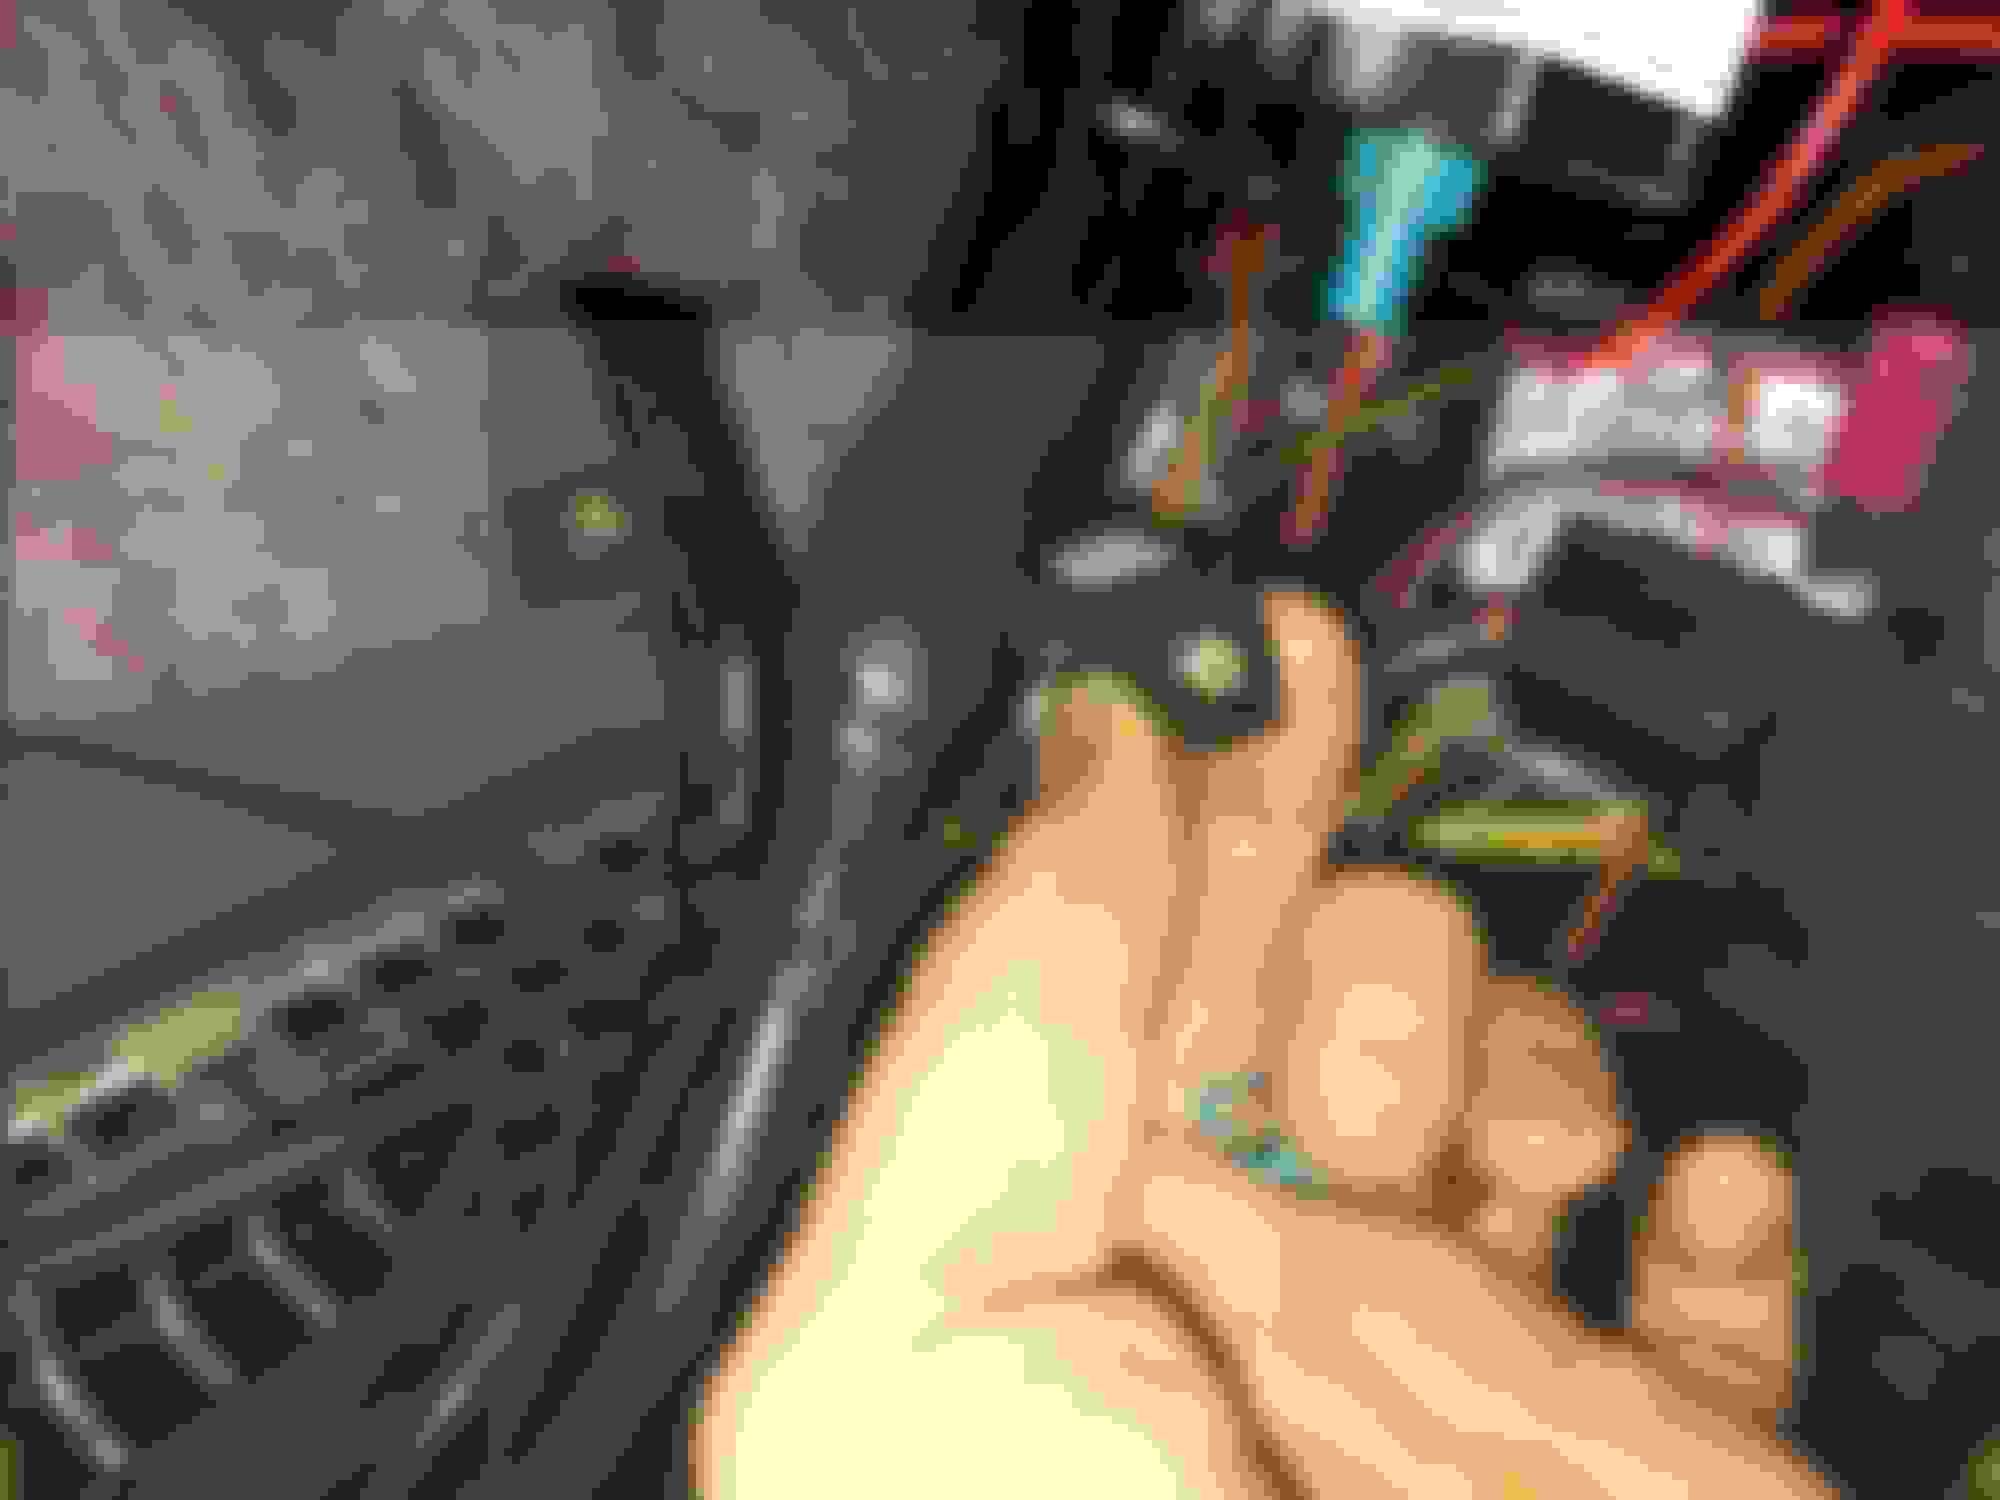
My one from the wrecker. I only wanted a single plug but they sent the whole thing.
You can see the two communication rails, ie every brown plugs is connected to one another and every brown/red is connected to each other.
That black tape leaves a pile of black **** all over the wires. It comes off perfectly with engine degreaser.
Most wires are brown and brown/red. It seems one set will have a brown/yellow instead. All the different components in the car that need to communicate plug into these in a few locations around the car.
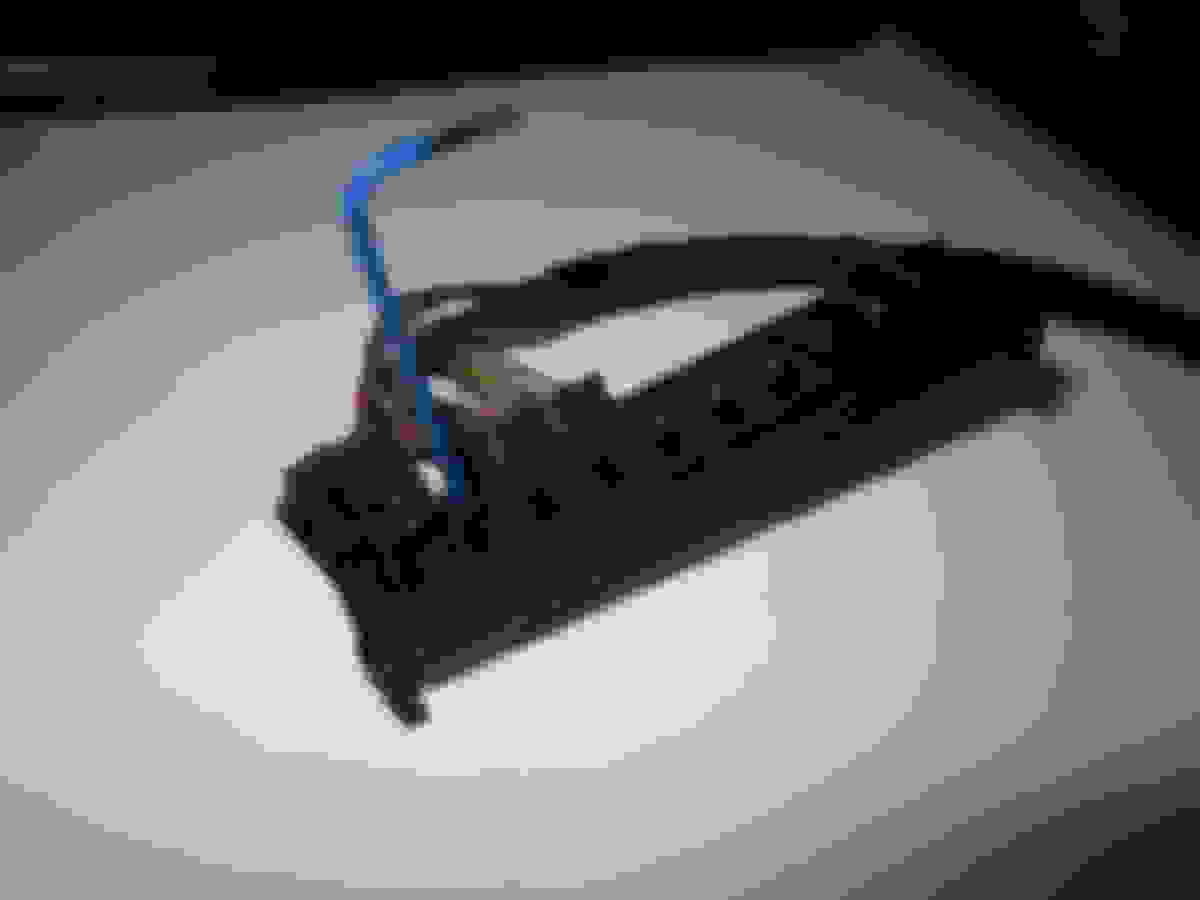
ASWC-1 harness. You need the pink and blue/pink wires for just about every mercedes. Ignore the other wires for different makes.
Pink needs to go to the brown/red wire of the CANBUS. Blue/pink needs to go to brown. You can splice them in or buy a CANBUS or plug from a wrecker like me if you want to be neater. If you splice to existing wires, take your pick, any of the plugs will be fine, they are all connected.
Nice and neat. Why did I choose that spot? It was easier to get that side of the cover off enough to slip the plug in. No it won't go in without releasing the cover for that notch on the plug to slide past.
Sorted. Ready to program. Ignition on, repeatedly press vol UP on steering wheel until the unit flashes. It will do 6 short green flashes and one long one at the end if it is installed correctly. Then the red flashes count up the the brand of your head unit.
It was difficult to fit all this crap in the dash. The AVIN unit fit behind the head unit. The fibre optic loops needed to be carefully arranged against the wall at the back. I cable tied all the unused plugs to the large metal frame upright supports on either side to get them out the way. The ASWC-1 as you can see will sit under the glove box as it is closer to the CANBUS and it won't fit with the rest of the stuff behind the head unit. There is no space below the CD changer.
Working! I am not sure I am 100% happy with the fit and look of the fascia. Sound quality is fairly good. I don't think it is quite as good as my CLK which just had normal copper 4ohm speakers, no amp, running from a very good single DIN head unit. I am still playing around with the head unit settings so I might be able to tweak it a bit. Doesn't help when I listen to some fairly nice floor standers and marantz amp at my computer.
There is plenty of volume and the bass is good. Most people complain about the lack of bass for the Harmon Kardon system. I found it barely adequate with the stock head unit but perfectly fine with this setup. Its nowhere near a 12" aftermarket sub but pretty decent for a stock system.
To get the radio to work you will apparently need to run a cable from the antenna in the trunk to the head unit. The stock antenna plugs into the amp and you will need an adapter. I did not do this. I might one day
I am happy to help with any questions if I can and I will update if I remember any helpful things. 90% of my time was spent waiting for the CANBUS from the wrecker and trying to sort out the CANBUS plugs.
Can I leave the cd changer connected in the car with no problem? BTW, great write up! I want to tackle this this week if I can. I have installed audio equipment before in my vehicles but I am a little nervous about this install. Would you happen to have any extra canbus wires? I really want to avoid splicing or tapping into factory wire if I do not have to.
Last edited by Rallyboy383; May 20, 2017 at 08:18 PM.
Yes you can leave the CD changer, I can't imagine it working with an aftermarket head unit but no problems leaving it there. I was hoping the secret compartment door would still open but it doesn't seem to want to.
Yes I have a few spare canbus wires. I am around the other side of the world but I can send you one if you don't mind waiting. Otherwise any wrecker with any approx year 2000 or later and just about any model of mercedes should be able to help you.
The company that sells the fibre-optic adaptor (Avin USA), also sells new units that exactly match the stock head unit, so you do not have to use a facia plate.
The company that sells the fibre-optic adaptor (Avin USA), also sells new units that exactly match the stock head unit, so you do not have to use a facia plate.
This is my next big project for mine.
Yep it is a good option if you are after that sort of functionality. I think it also accepts the canbus signals too which makes life easier. Some of their models still require the fibre adapter, I think one of them has it built in which is even better.
So to have the radio working You still have to connect the antenna, right? I'm about to start replacing the Japanese command and I wonder if simply buying an used standard European command wouldn't do the job. As I can see from your manual (btw, great job!) you are using original optic fibre loop and a CAN bus. I will be contacting soon a guy working with MB electronics and I'll ask him if the standard command uses anything more (based on photos of the command units the plug in the unit has really a few cables, so it may do the job). He checked my car with original MB dongle, and the AGW had the option for all frequencies (Australia, Europe, USA etc) but there was no connection to the command unit and it was probably blocking the radio frequency switching.
You will need to run a cable from the amp in the trunk for radio. The Japanese head unit seems very different from other markets, I have no idea how you could make them work. There are 4x as many plugs as US models.
OK so I found a neat and simple solution to the radio problem. Basically what i wanted was to have an European radio and CD changer working with the least effort possible and hopefully not changing Command unit. The solution is just to add an FM band expander/converter between radio antenna and AGW in the boot. The antenna is connected to the lower part of the AGW (black plug, the yellow one is probably for the phone). I spent a few hours figuring out where to plug the converter, but knowing which plug should it take interest in the hole operation would take no more than 2 hours (including dismantling half of the boot carpeting). For anyone interested in details I include the pictures of the socket and connector between which I plugged the converter.
Radio antenna socket in the AGW (before amplifier)
Is there a need to purchase a harness that connects from the stock harness to the aftermarket head unit? Maybe I am missing something?
It would be nice if there was one. I am not aware of any. The problem is that live 12v and ground are about the only wires you could use from the stock harness. It doesn't even have switched 12v as the stock unit is on the canbus network.
I thought I should update this thread. It has been 18 months since the installation. It has been perfect up until a couple of weeks ago. Then I started getting a whole heap of white noise and engine sounds through the audio. I am almost 100% sure it is the very expensive cheap Chinese garbage AVIN MOST adapter. I will pull it out when I get a chance and get rid of it. I emailed AVIN who weren't in the least bit interested in their product failing so bear in mind the customer service if you are considering shopping with them. My local audio guy said he usually sees people get 5-10 months out of a unit so stopped supplying them very early on.
Since the HK system is 4ohms I will simply run speaker wires from the head unit to the trunk and connect with the speaker wires from the amp. I will run a single RCA and mount a small infinity amp in the stock location for just the sub. Update to come once that is done.
I appreciate your write up! Any updates on your conversion? I�m debating doing something similar.
I appreciate your write up! Any updates on your conversion? I�m debating doing something similar.
Thanks, your welcome. No further updates, just my last post above at the moment. I will get my local car audio guy to rewire the headunit to run the speaker directly. I can easily do it myself but he has done dozens of w211's and given me some good deals in the past so I thought I would throw this work his way. He will also know how to get all the panels apart without breaking anything. I also have too many DIY jobs pending for the mr2 at the moment (the new parts pile is very large). He will run RCA's and stick a tiny infinity amp in the stock amp location to run just the stock sub. I will report back after that is done.
I would definitely avoid the fibre optic unit unless they have done some serious quality control on it and extended the warranty to at least 2 years.
Update: I had it rewired last week. Wow it sounds so much better. There is a heap more bass even with the sub out turned off. The normal speakers have so much more volume running directly from the head unit. Level 10 volume is now 6 or 7. I ended up taking about 15dB out of the sub signal to make it balanced.
I totally recommend doing this rather than a fibre optic adapter. The only extra cost is a small sub amp if you do it yourself and save money on the adapter. All the hissing and whining that slowly developed over the last few months... gone.
Hi. This thread was really useful when I installed my Silverstrong Android head unit to my Japanese spec W219. I still have one problem with it because radio and RF locking system doesn�t work properly. Radio signal is weak and I can open my door lock only with IR remote from near by the driver door handle. I know/think OEM head unit feeds antenna booster/amplifier (which includes RF remote control system) and it isn�t now connected.
I have antenna "converter" which came with the new head unit. I connected it to antenna cable and there was that blue cable (wake up cable or how it is called in english) which I connected to new head unit. I still think that there is some other cable for OEM antenna amplifier.
I try to find from the web some kind of diagram about Japanese spec radio but I didn�t found any useful ones. Do someone here know which wire/wires I should connect from the OEM head unit connectors and how to get these features to work properly?
My problem is solved partially. 7,5 Amp fuse was burned from the trunk, because my alarm horn was broken. I disconnected the horn and my RF locking system start to work properly.
I still have a problem with antenna amplifier. I assume that original antenna amplifier just need a "wake up" or "impulse" from the Command and in this case from the Android unit. Just don�t know which wire it could be behind the HU. I have few options what to look and test next:
- Connector 2, Pin 1 in AGW power harness. Have anyone know what the voltage should be in this connector? (Maybe black wire with blue stripe)
- Red / Yellow or Blue / White or Yellow / Black wire behind the HU (I don�t even know is there that kind of wires)
Also in my instrument cluster says "No audio", but I don�t know why it says so because I have audio. Do anyone have or had this "No audio" feature? Could this be the main problem or is this just another problem or "normal" feature?
It would be nice to have some advise and I hope I know what to do when I removed the HU for the sixth time.
What app on the head unit are you using for audio? I noticed that my gauge cluster will only display the original music apps that came with the head unit "Radio" and "Music". If I use pandora/spotify/poweramp/etc it says "no audio". I would guess that's probably just what the canbus adaptor is programmed to work with and if you start using any of the apps the unit didn't come with it's not gonna work.
I just finished installing a Pioneer HU and running RCAs and amp turn on wire, Audio Control amp, and aftermarket sub. I had the problem of my antenna amp not turning on and not getting good am/fm reception. What worked is to run switched power to the antenna amp power wire. From the factory it is fed by the stock amp (AGW) in the left side of trunk not from the command unit in the dash. You can either run a wire from the rear SAM (switched +12v) to the blue wire running out of the AGW center 3 wire connector or you can run a wire from the aftermarket HU back to the trunk and connect it to the antenna amp power wire shown below. I did the former feeding from the rear SAM and now I get full am/fm reception.
[QUOTE=mbmg;7752190]I just finished installing a Pioneer HU and running RCAs and amp turn on wire, Audio Control amp, and aftermarket sub. I had the problem of my antenna amp not turning on and not getting good am/fm reception. What worked is to run switched power to the antenna amp power wire. From the factory it is fed by the stock amp (AGW) in the left side of trunk not from the command unit in the dash. You can either run a wire from the rear SAM (switched +12v) to the blue wire running out of the AGW center 3 wire connector or you can run a wire from the aftermarket HU back to the trunk and connect it to the antenna amp power wire shown below. I did the former feeding from the rear SAM and now I get full am/fm reception.[QUOTE]
So you are getting the antenna signal from the stock antenna and antenna amp? What is the antenna connected to? Our head units dont have an antenna connection, I never looked into where that actually is. Did you have to run a new antenna wire from the head unit back to the stock antenna?
Yes, I had to run the FAKRA extension/adapter (17ft) from my Pioneer HU to the rear driver�s side amp (AGW). I removed the antenna wire from the AGW and then plugged it into the extension. You then need to power the antenna amp with switched +12v as mentioned above.
Our stock antennas are connected to the internal am/fm tuner in the factory AGW so the stock antenna wire stays in the trunk. Stock antenna > stock antenna amp (in driver�s c pillar) > to FAKRA antenna wire > AGW.
Good info thanks. Damn, I was hoping to avoid running another wire front to back. Pain in the *** in these cars. But the aux antenna I put in is a joke.
If you do run the extension to the trunk and even remotely think about wanting to run an aftermarket amp in the future, I'd also run 6 channel rca wires and a 18g wire (blue) for the amp turn on signal which you could also use to turn the antenna amp on with. This would allow you to only turn on the antenna amp when the HU is turned on vs always on when the car is on. I'm glad I ran all of the wires I did at the same time I had the driver's side interior apart.
Mercedes SLR McLaren 722 S Is Extremely Rare Example Modified by McLaren
Slideshow: A one-of-one U.S.-spec Mercedes-Benz SLR McLaren Roadster became even rarer after a factory-backed transformation at McLaren's headquarters.