When you click on links to various merchants on this site and make a purchase, this can result in this site earning a commission. Affiliate programs and affiliations include, but are not limited to, the eBay Partner Network.
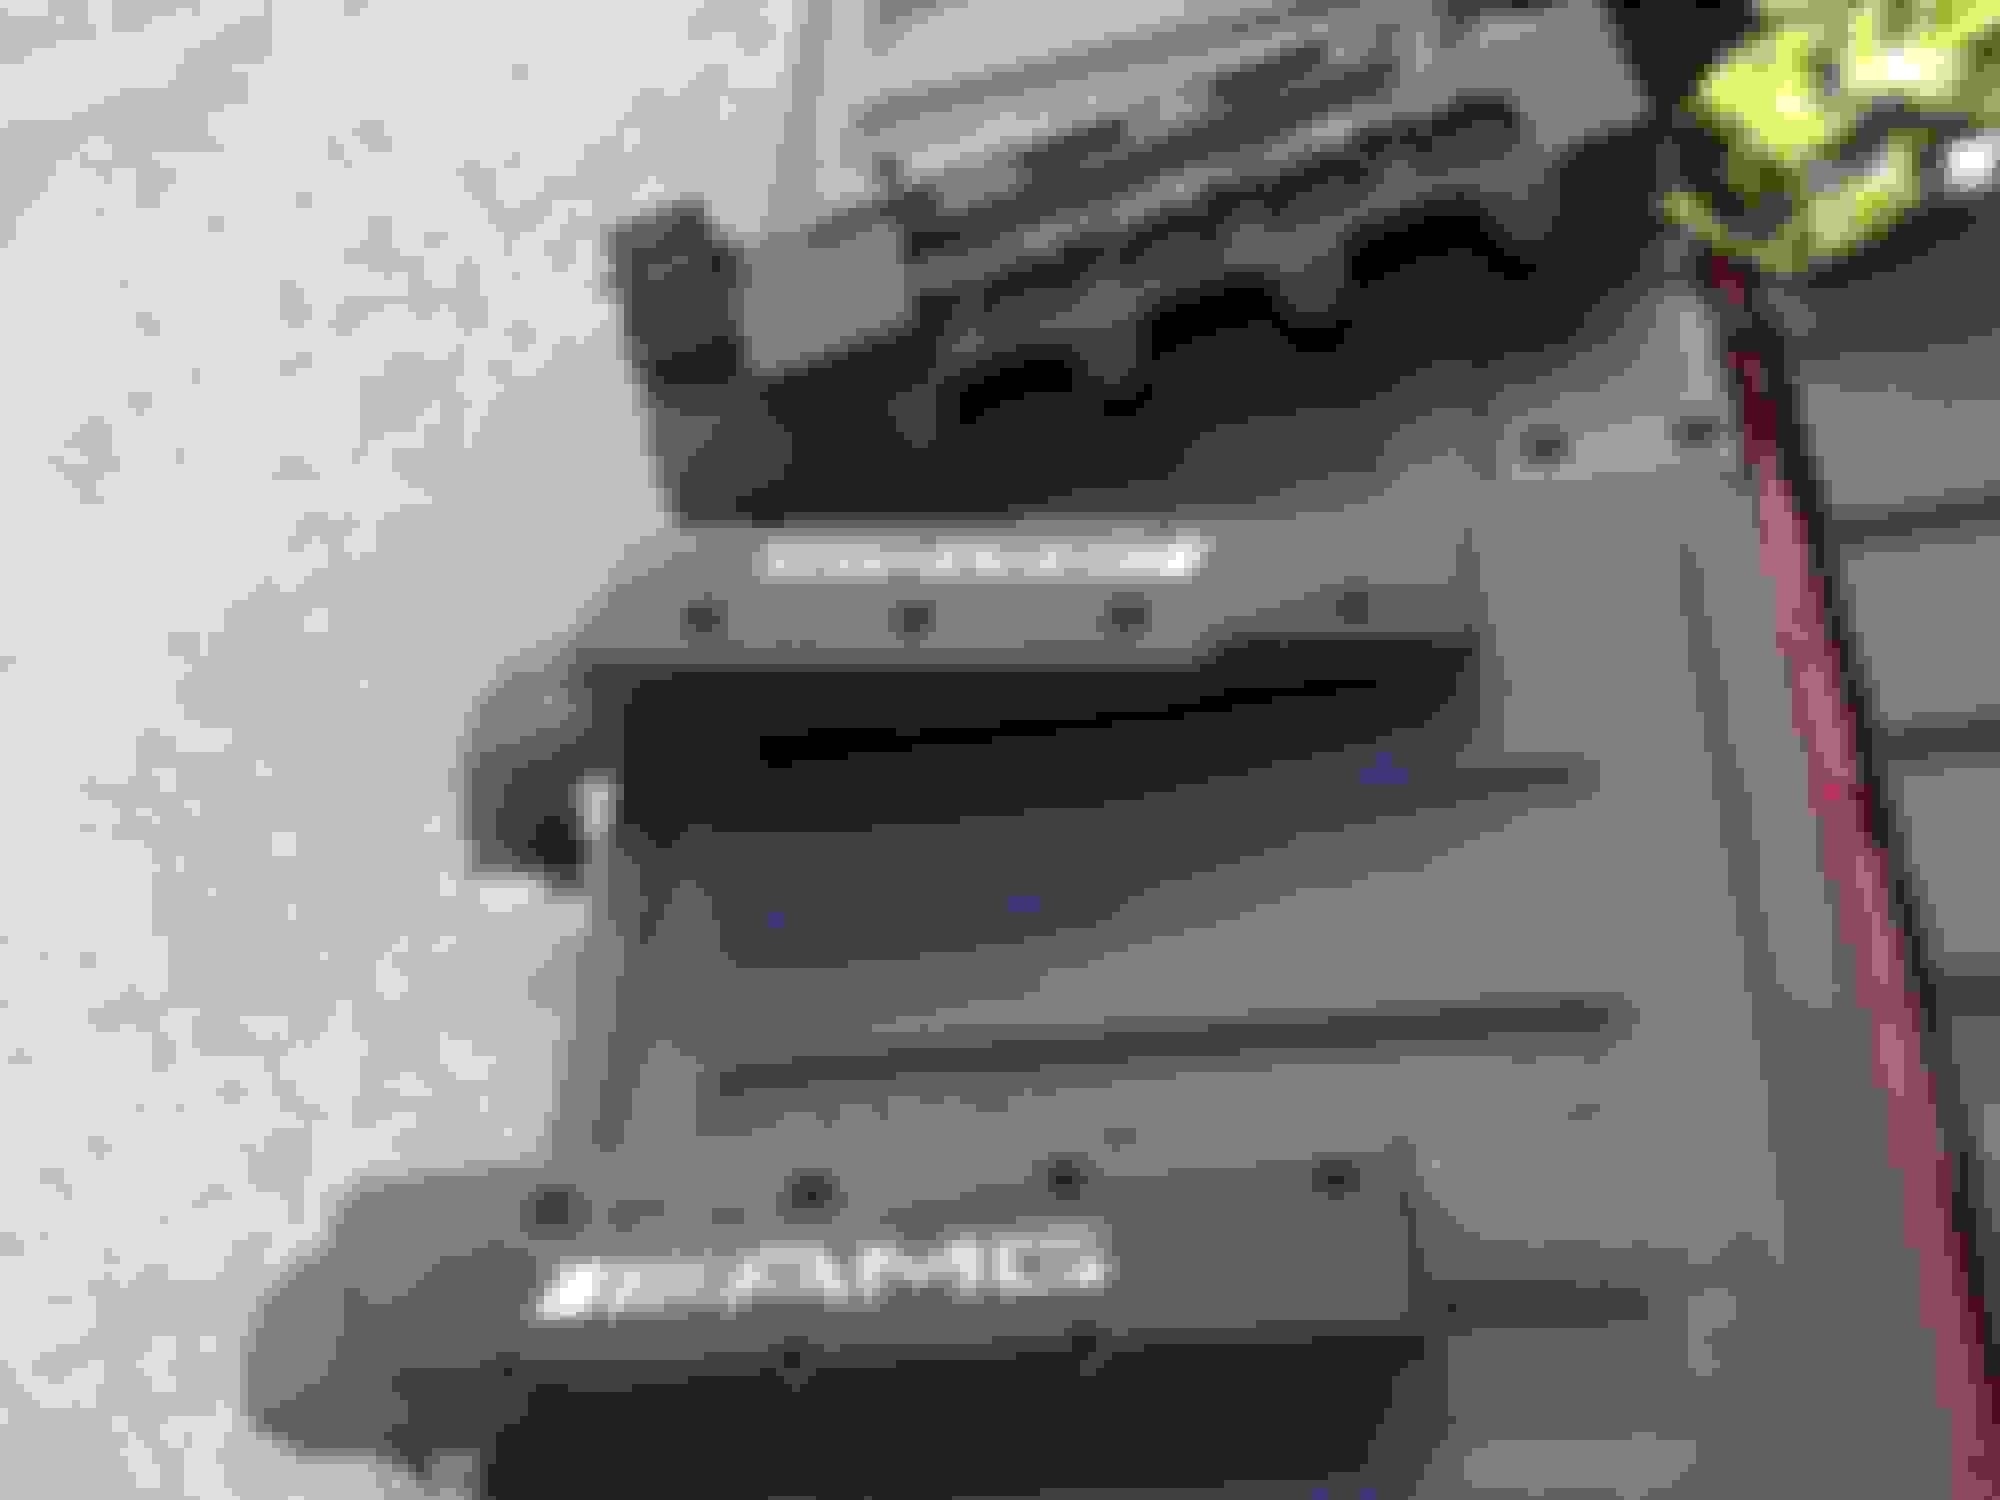
I cleaned the surge tanks, valve covers and also resealed the vent chambers.
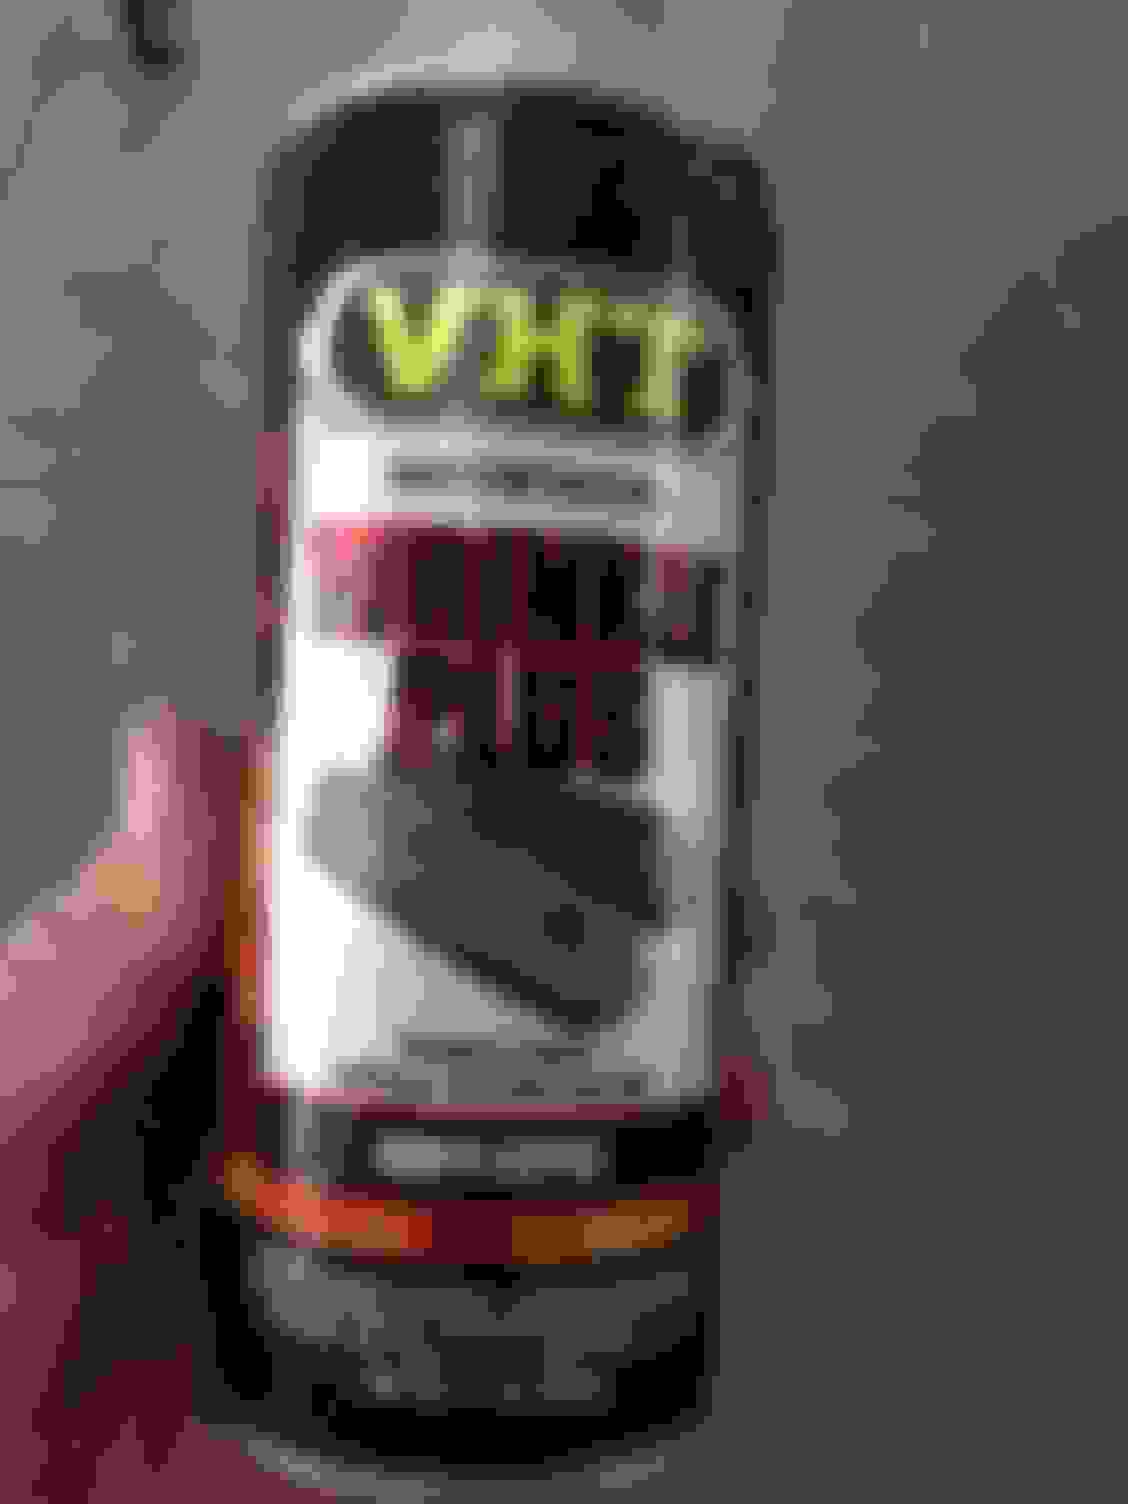
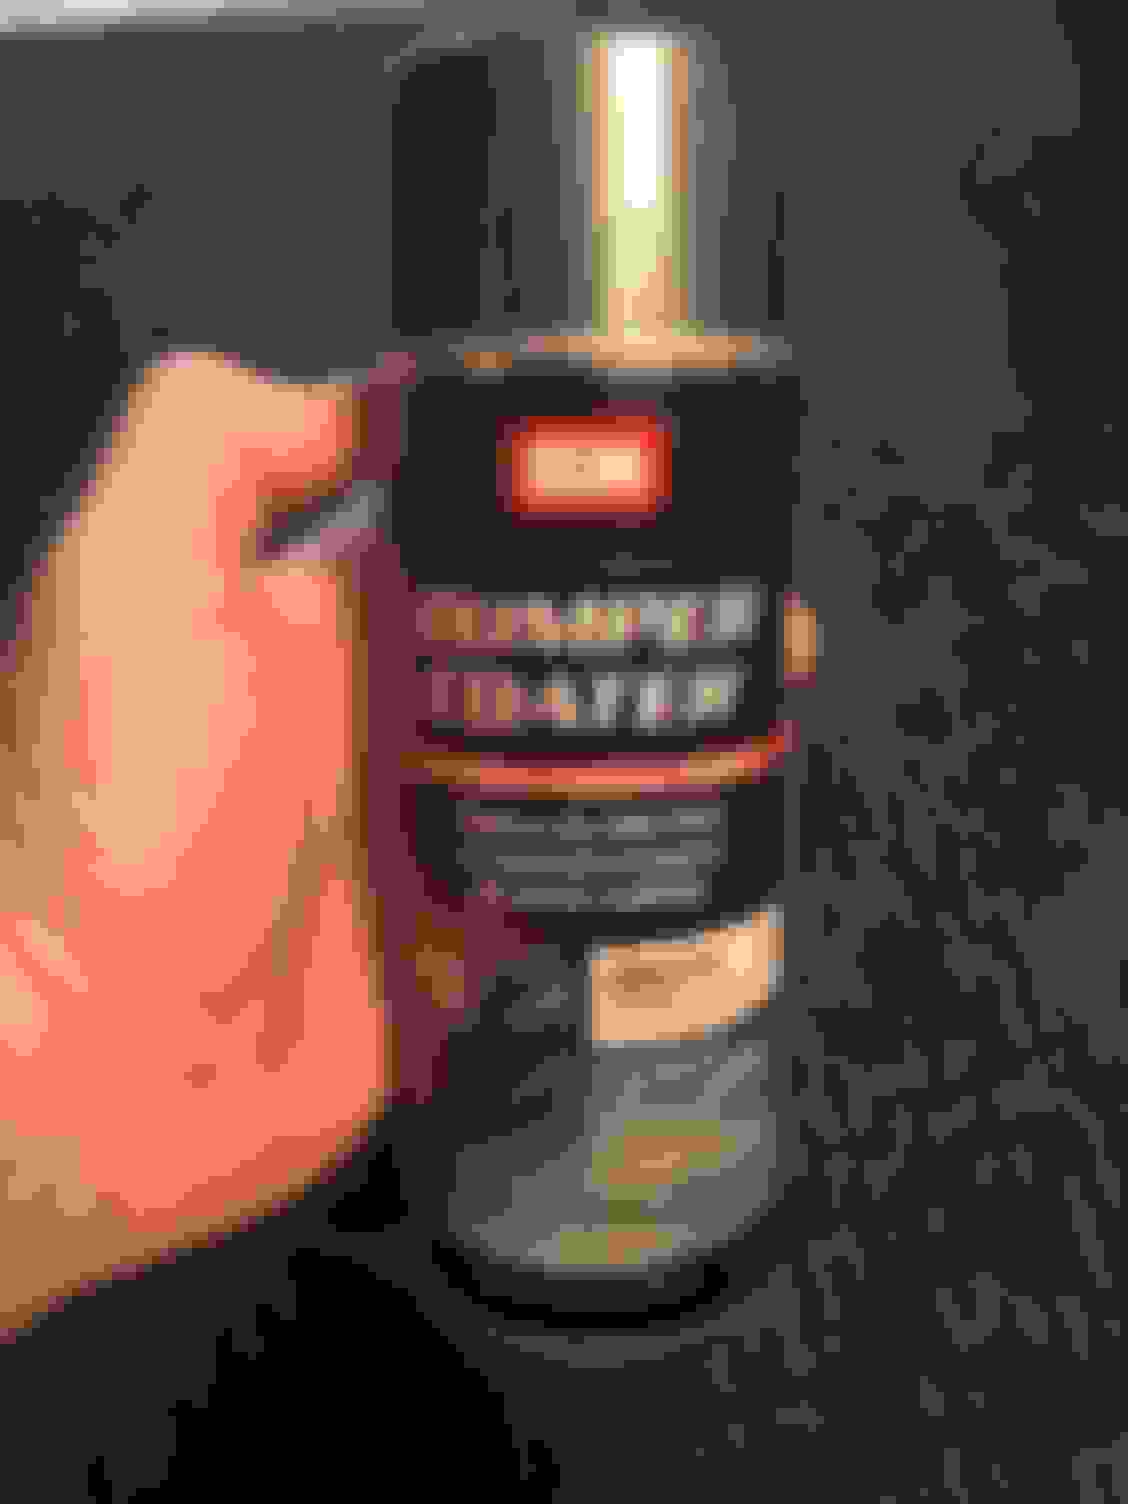
After doing some prep work on them I sprayed everything with VHT wrinkle finish coating. I did a lite masking job on the AMG letters and after it dried I block sanded the letters to give it a machined look finish.
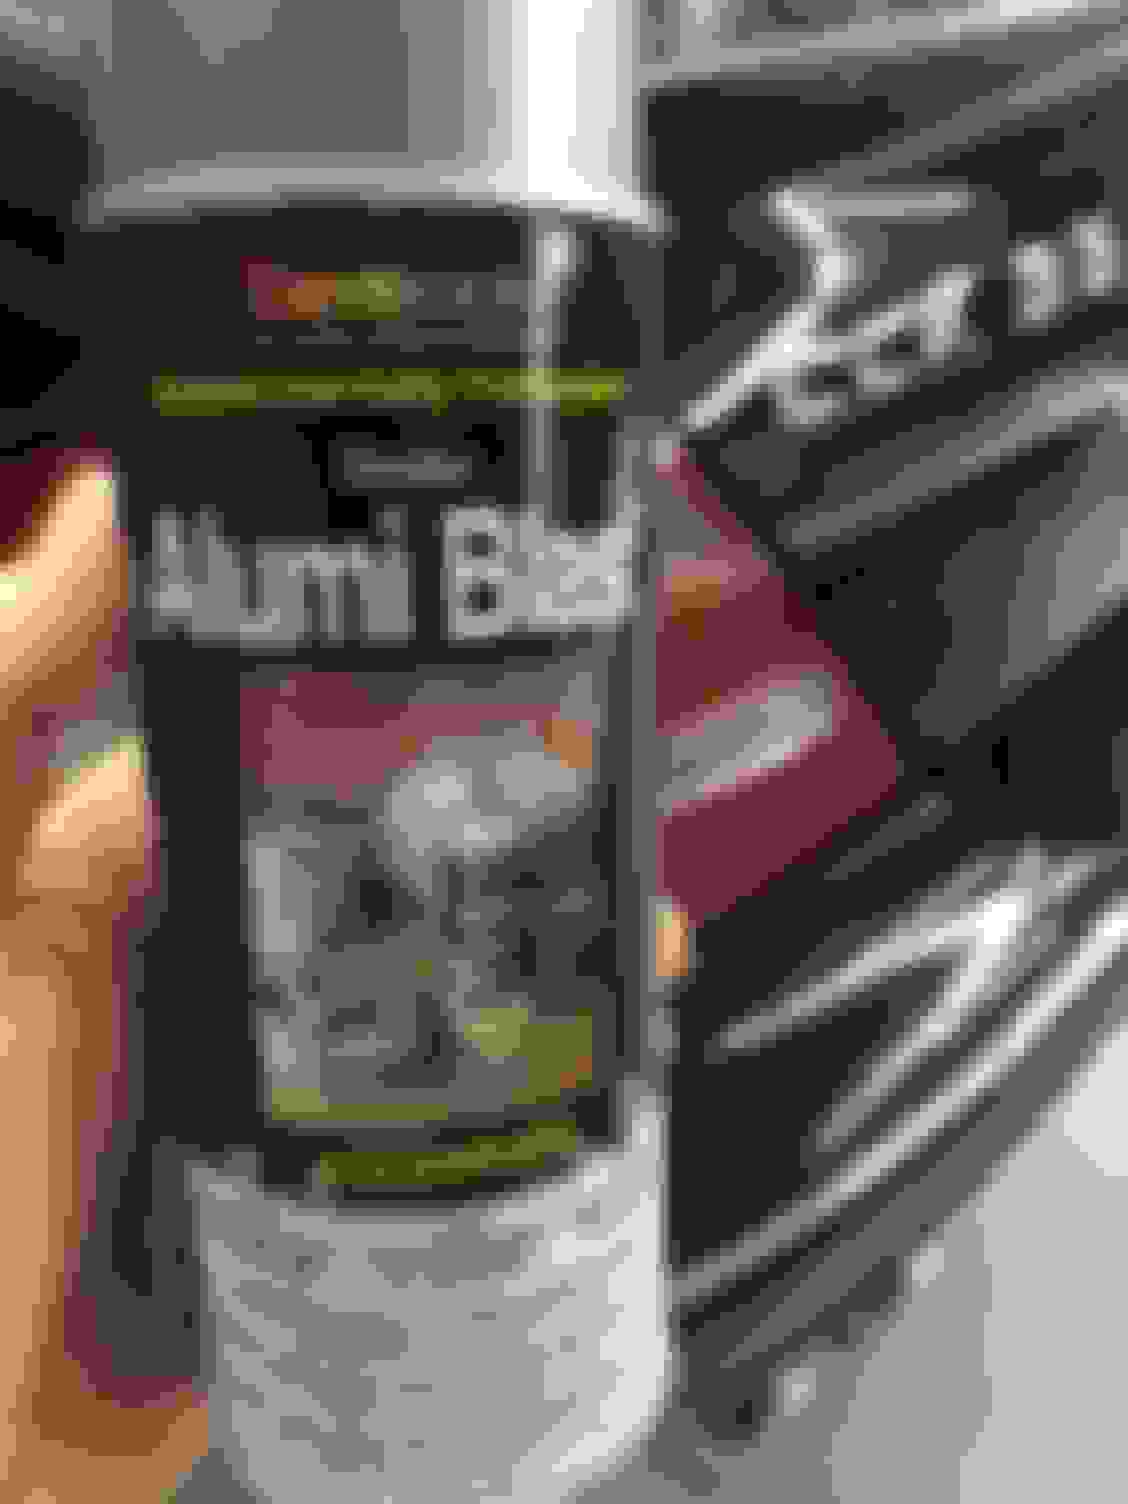
Did some prep work on the supercharger and got it sprayed. I�ve used a lot of different silver/aluminum spray can colors over the years and many of them will rub off or smear when you touch them with your hands or fingers. I�ve found some detail colors made by Seymour that work well. Aluminum Blast, Detail grey, Stainless steel, and Cast blast. They all look good and work really well.
The pics are a little dark but the color is brighter than in the pic. It has a nice aluminum look not a cheap silver look.
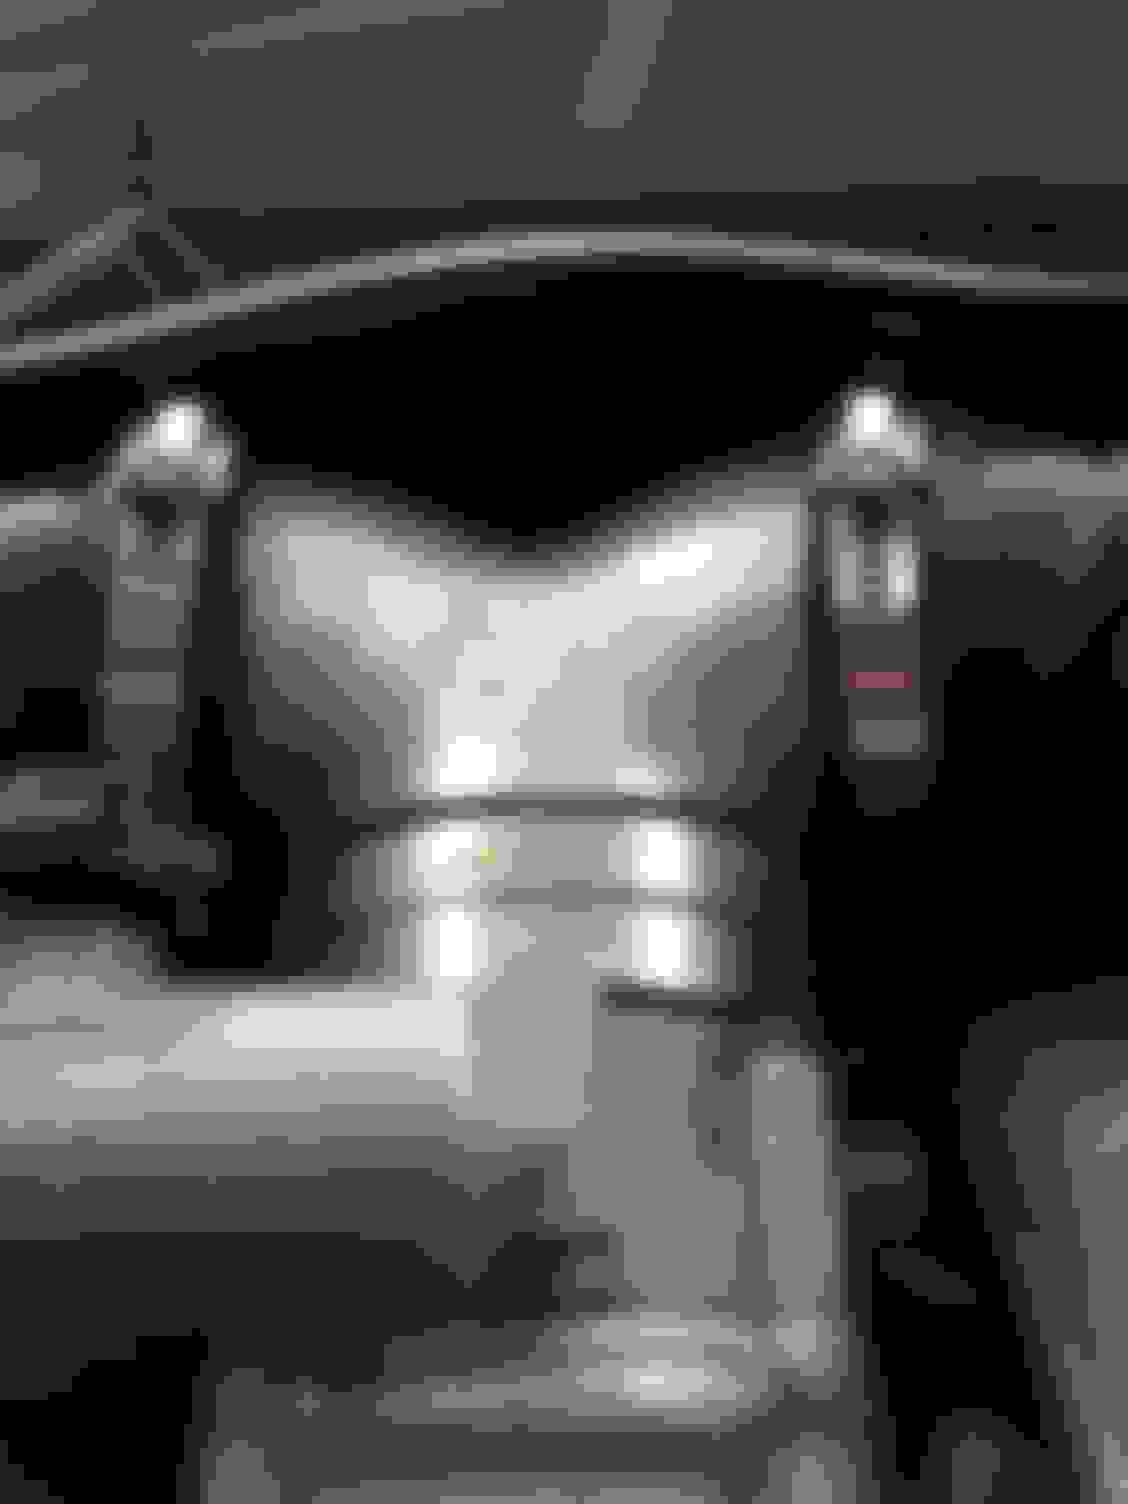
Getting more detailing done! The throttle body Y pipe is made from aluminum and didn�t look nice, it gets the job done but I wanted it to look better.
I sanded it with 180 grit on a d/a to get the imperfections out then worked it smoother from there. Last step was a finer grit by hand, sanded in one direction to give it a machined looked. I didn�t polish it at all as I didn�t want it shiny and have to constantly keep polishing it.
I don�t like the worm screw clamps but they work and makes removal of the parts easier than a pinch type clamp. They are stainless clamps so I polished them and rotated them so the screw would be at the bottom and hidden as much as possible.
Installed the surge tanks and valve covers! Cleaned up all the wiring while everything was apart. Some of the coil pack clips didn�t feel secure so I installed some mini zip ties to keep them snug so no problems pop up later.
Ah the 82mm throttlebody... hope that you don't run into the P0106 and P0505 errors that have plagued that upgrade.
Ah man! All the work I�ve done and that�s all you see!?
No issues so far and it�s be on here since 2014. We check the car ever so often and all is good.
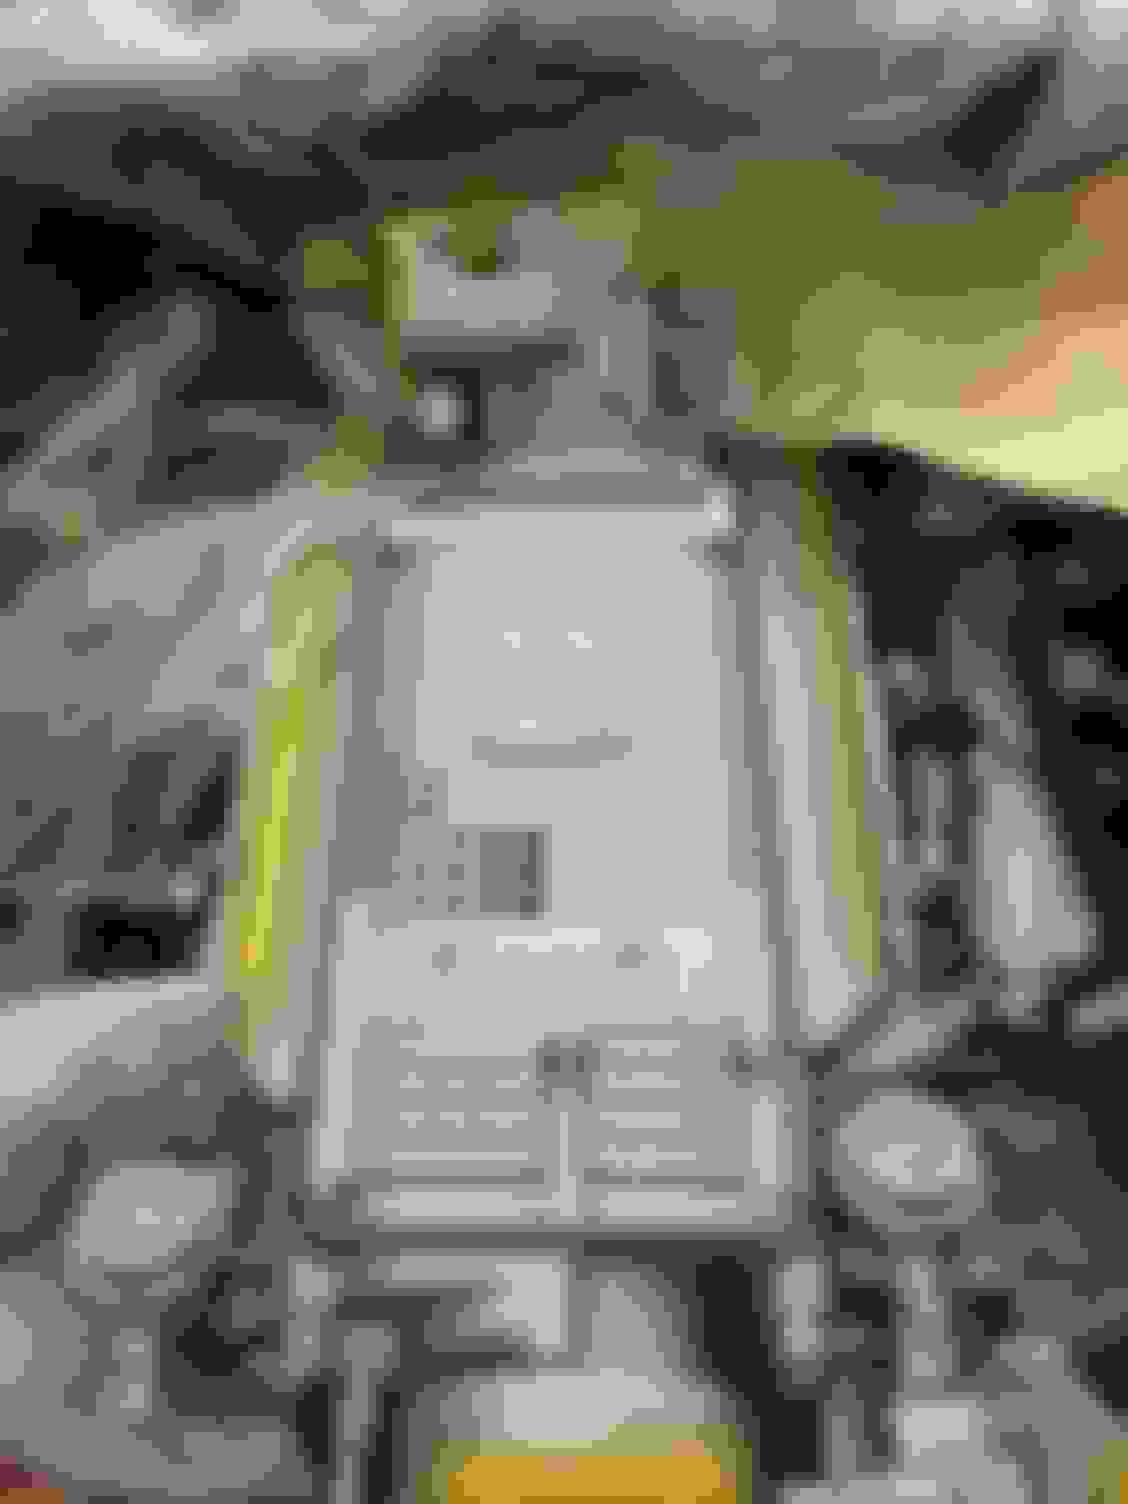
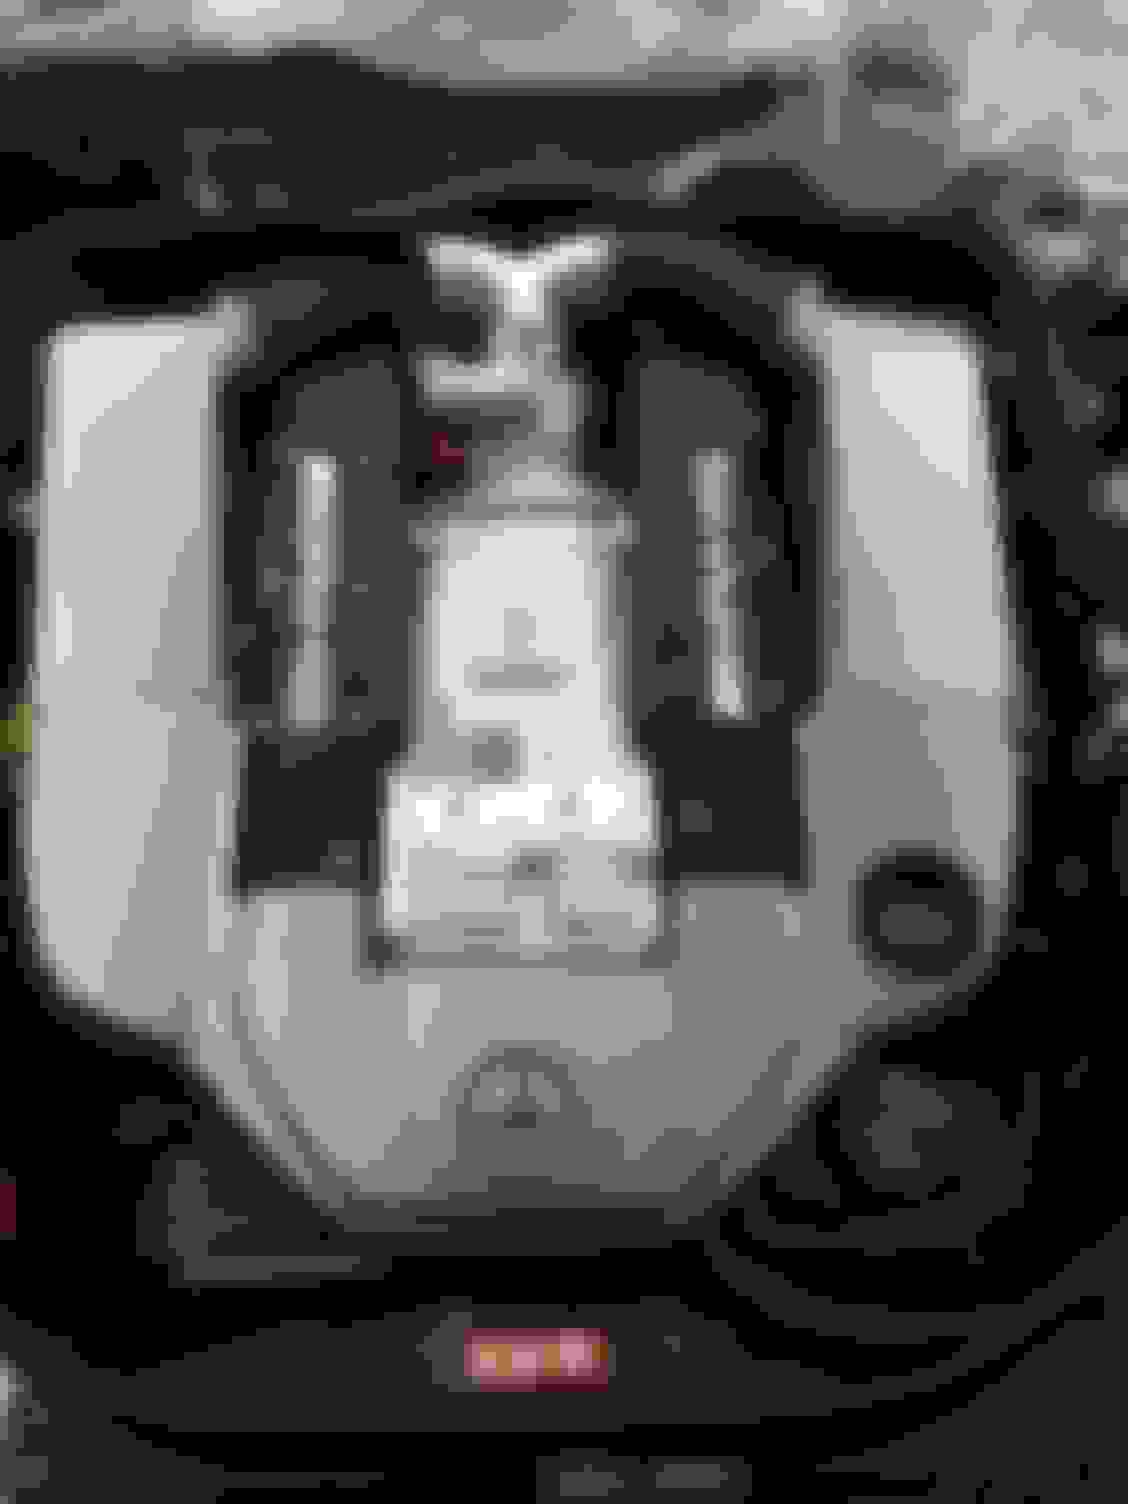
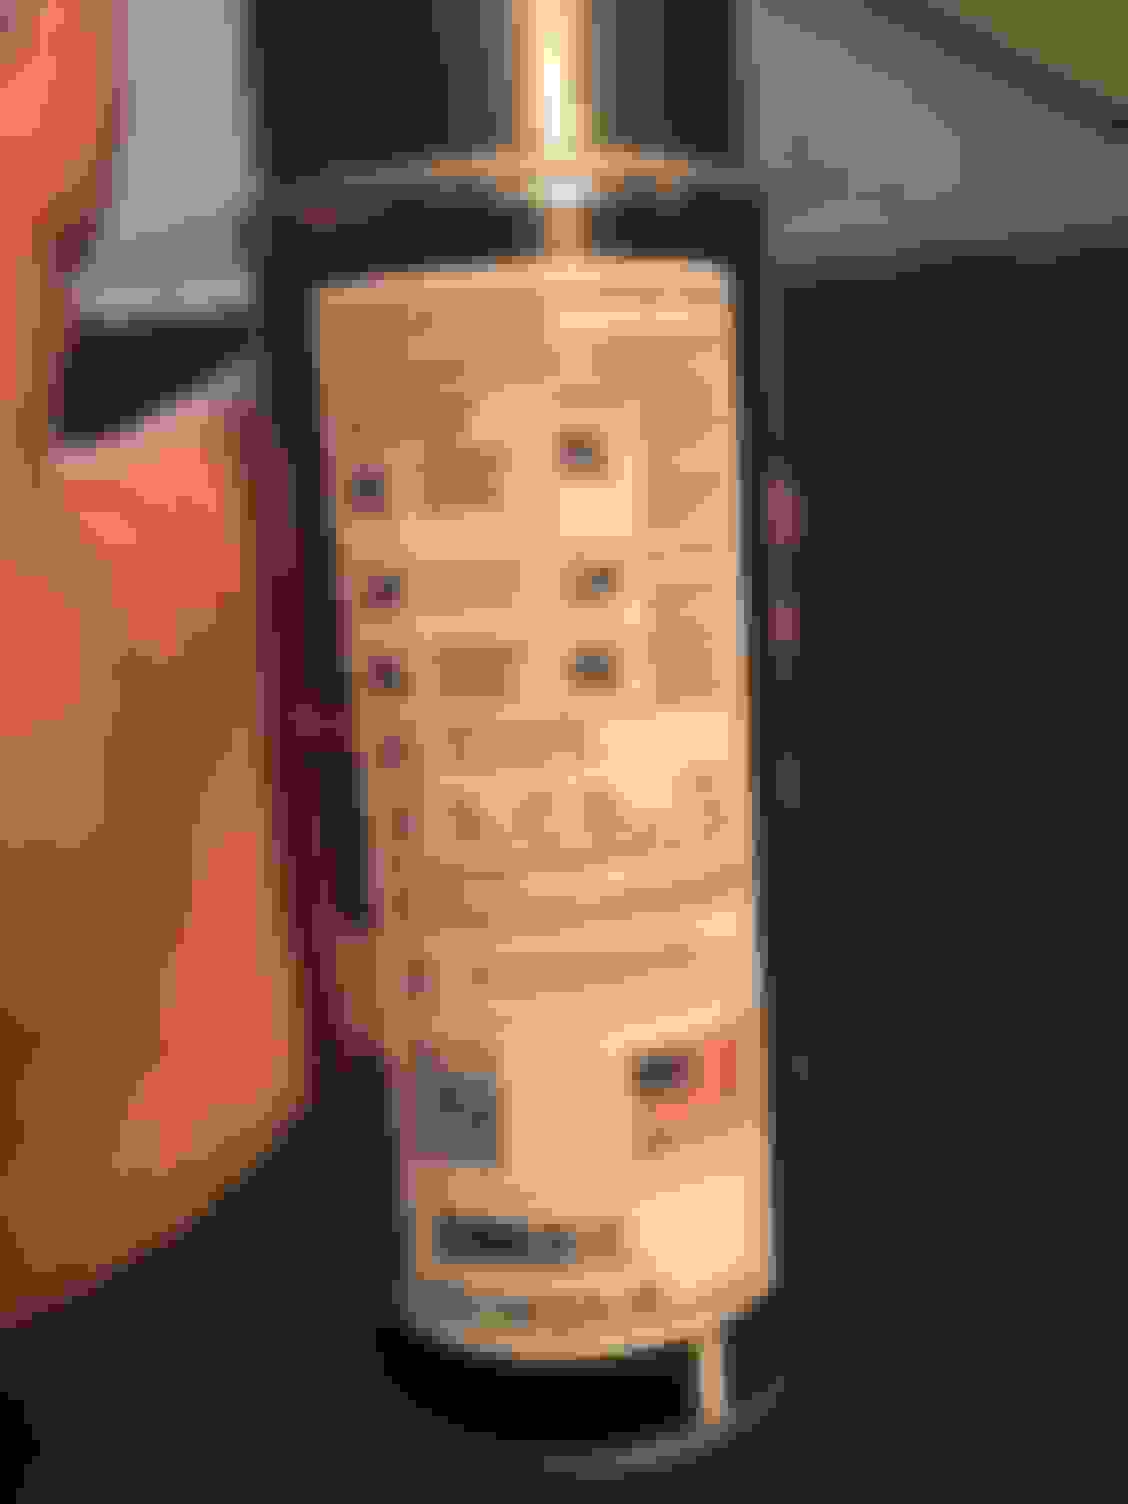
I set the breather assembly and front cover on the engine to see how it was going to look. It�s not bolted down at the moment and the star emblem has lost its chrome and needs some attention.
I LOVE the black crinkle-finish on the surge tanks! Where did you get that cast aluminum Y-pipe, and do they make one for a 90mm TB? I'm trying to figure out an elegant way to connect the stock airboxes to my BBK TB.
Thanks Joe! I thought about doing them a bright color but was trying to keep an OE look as if it came that way.
The Y pipe came on the car and I don�t know any details. BUT it looks like it�s been welded together. You could see some signs on the outside before I sanded it. It�s kinda hard to tell on the inside as it�s been smoothed down.
Here is a 90mm Y pipe we have for the CLK project. It�s actually really 95mm ID and 74mm ID on each end.
I did not make this it came from another member that we bought an SC snout from.
Ok so the star emblem needed some attention. I didn�t look for a replacement because I didn�t want a chrome emblem on the cover.
The emblem is plastic and has small pins that are fused to the cover. Removing it isn�t a problem but there wouldn�t be much of the pins left to fuse it back on again. Most of the chrome was already gone off the emblem so there wasn�t much to do. There�s also a aluminum mesh under the emblem but that was is great shape so I didn�t have to do anything to it. Did some masking and shot some satin black to it.
Thank you! I appreciate the good feedback on my project! Sometimes I feel too cautious on changes I do to my cars. My wife says I’m like the family dog, creature of habit and don’t like change. Lol.
I did a ton of cleaning, polishing and painting on small brackets, and metal lines that you will never see and didn�t really do any pics. Things like the sbc pump, AC lines and SC cooler lines were polished. Most that wont be seen with the engine cover on it. Might be a waste of time to some but I do enjoy detailing things like this.
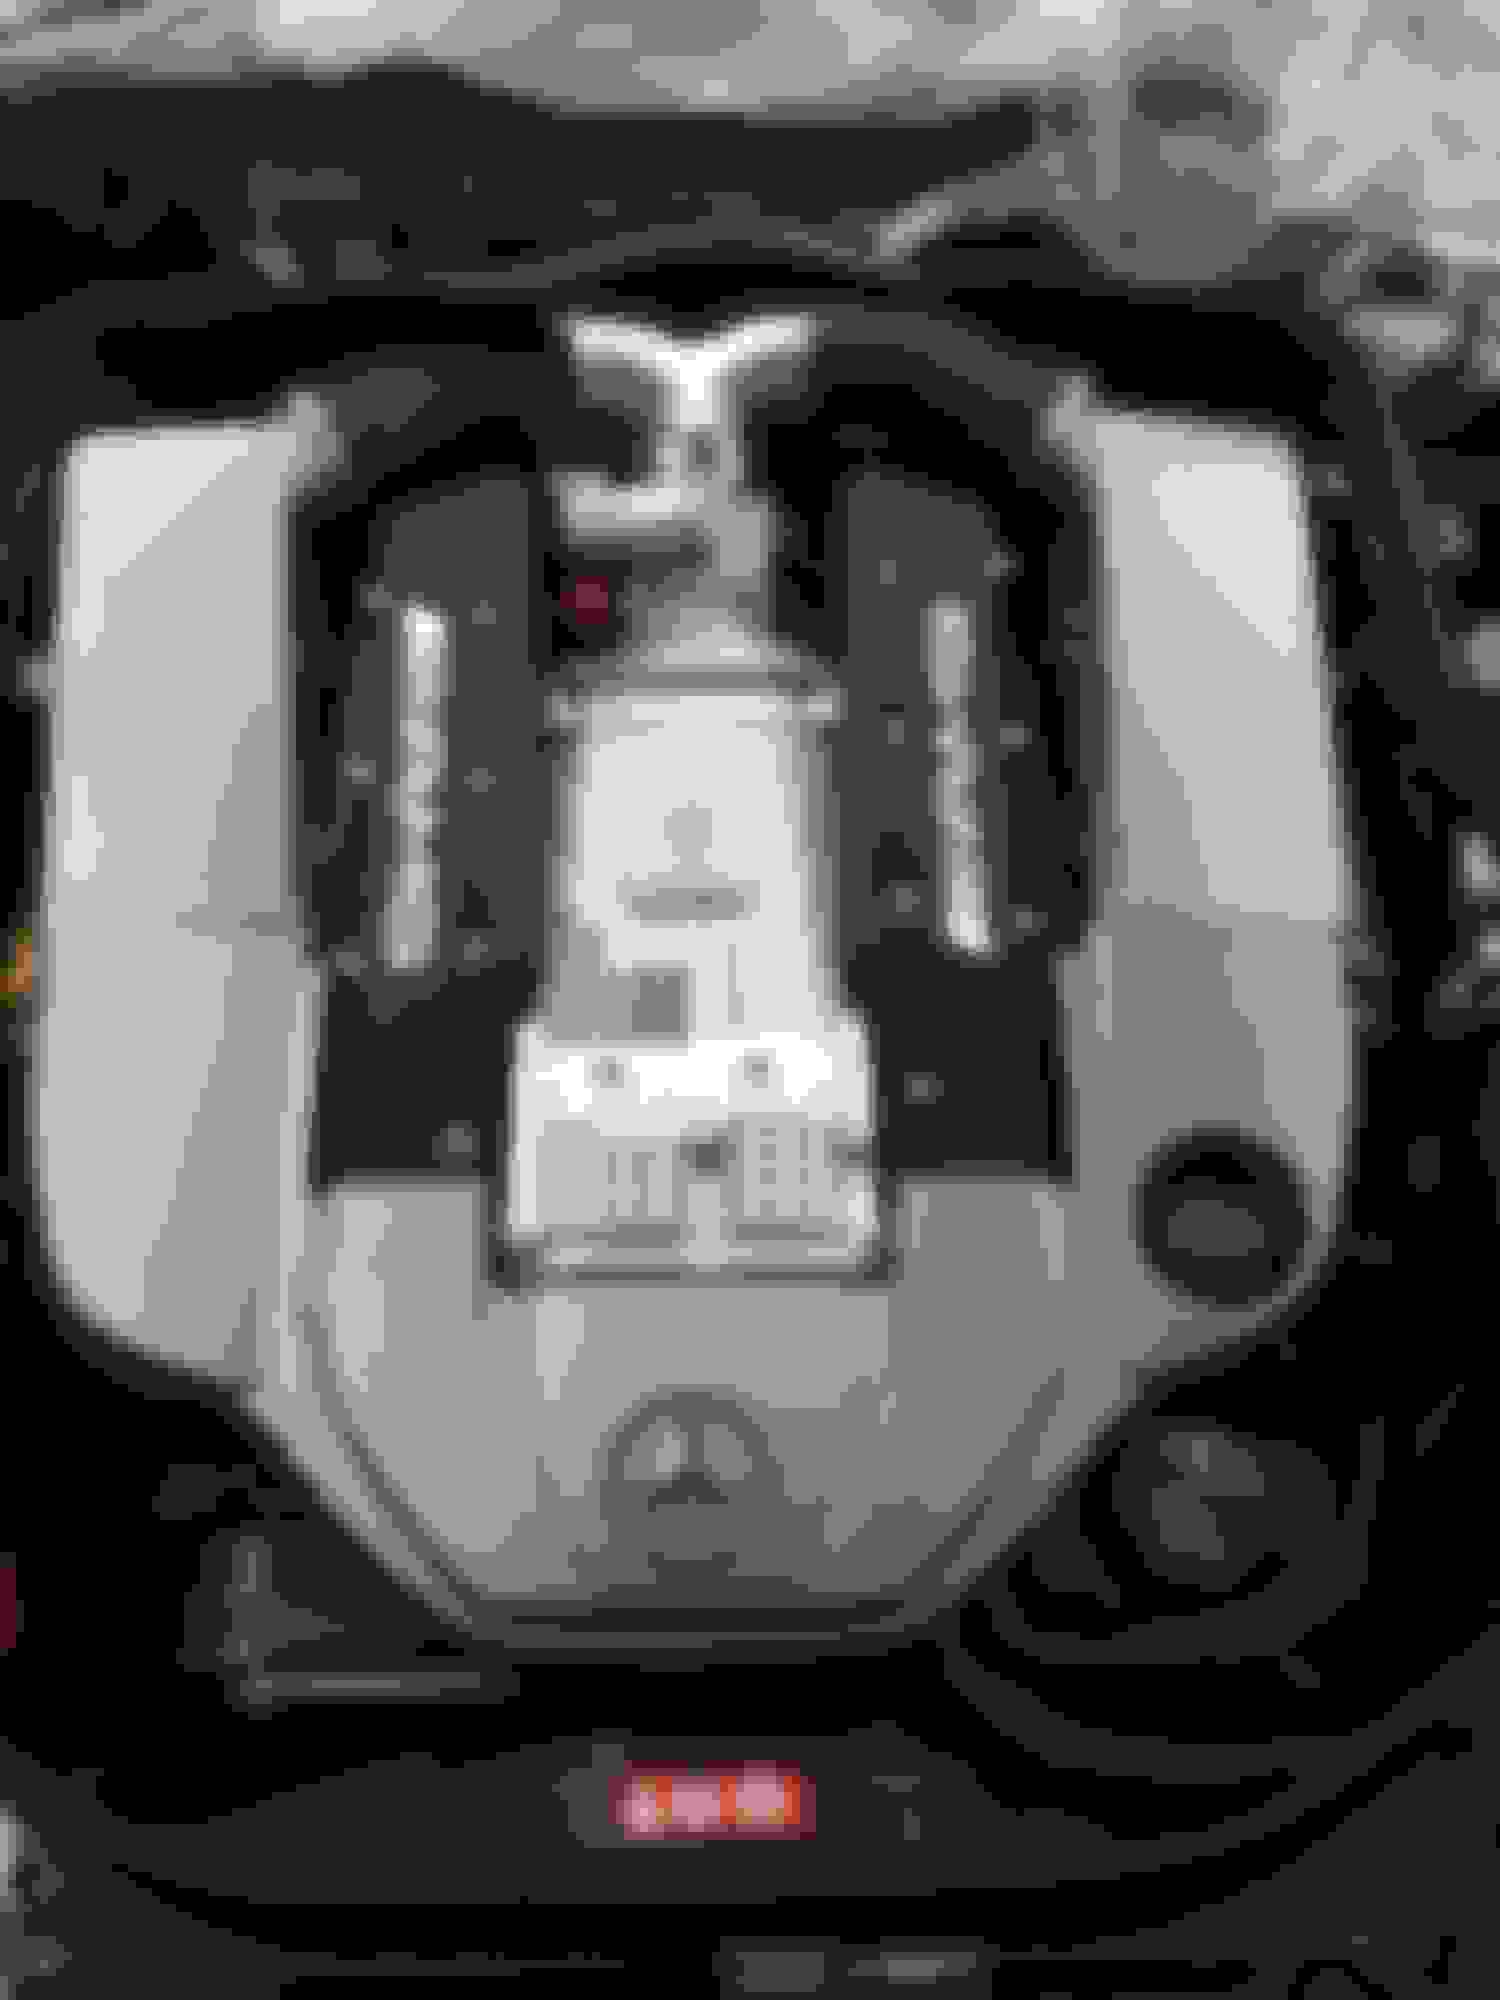
I have the cover done and I like the way it turned out and to me it looks like it could have come this way.
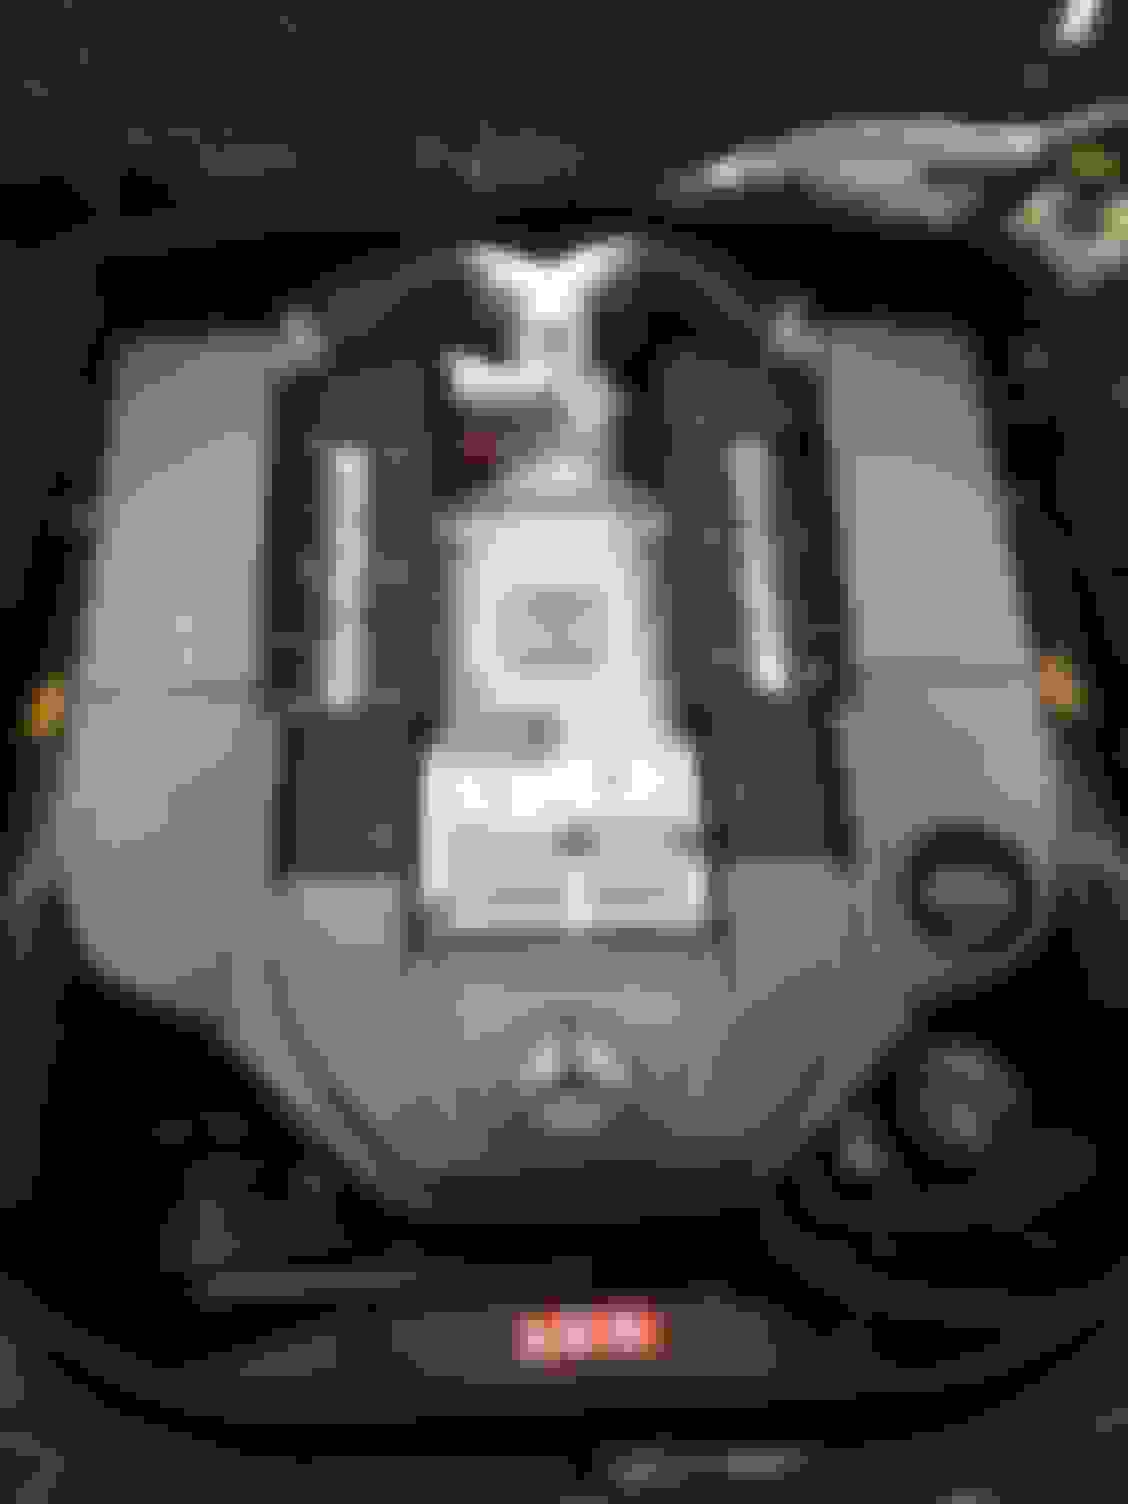
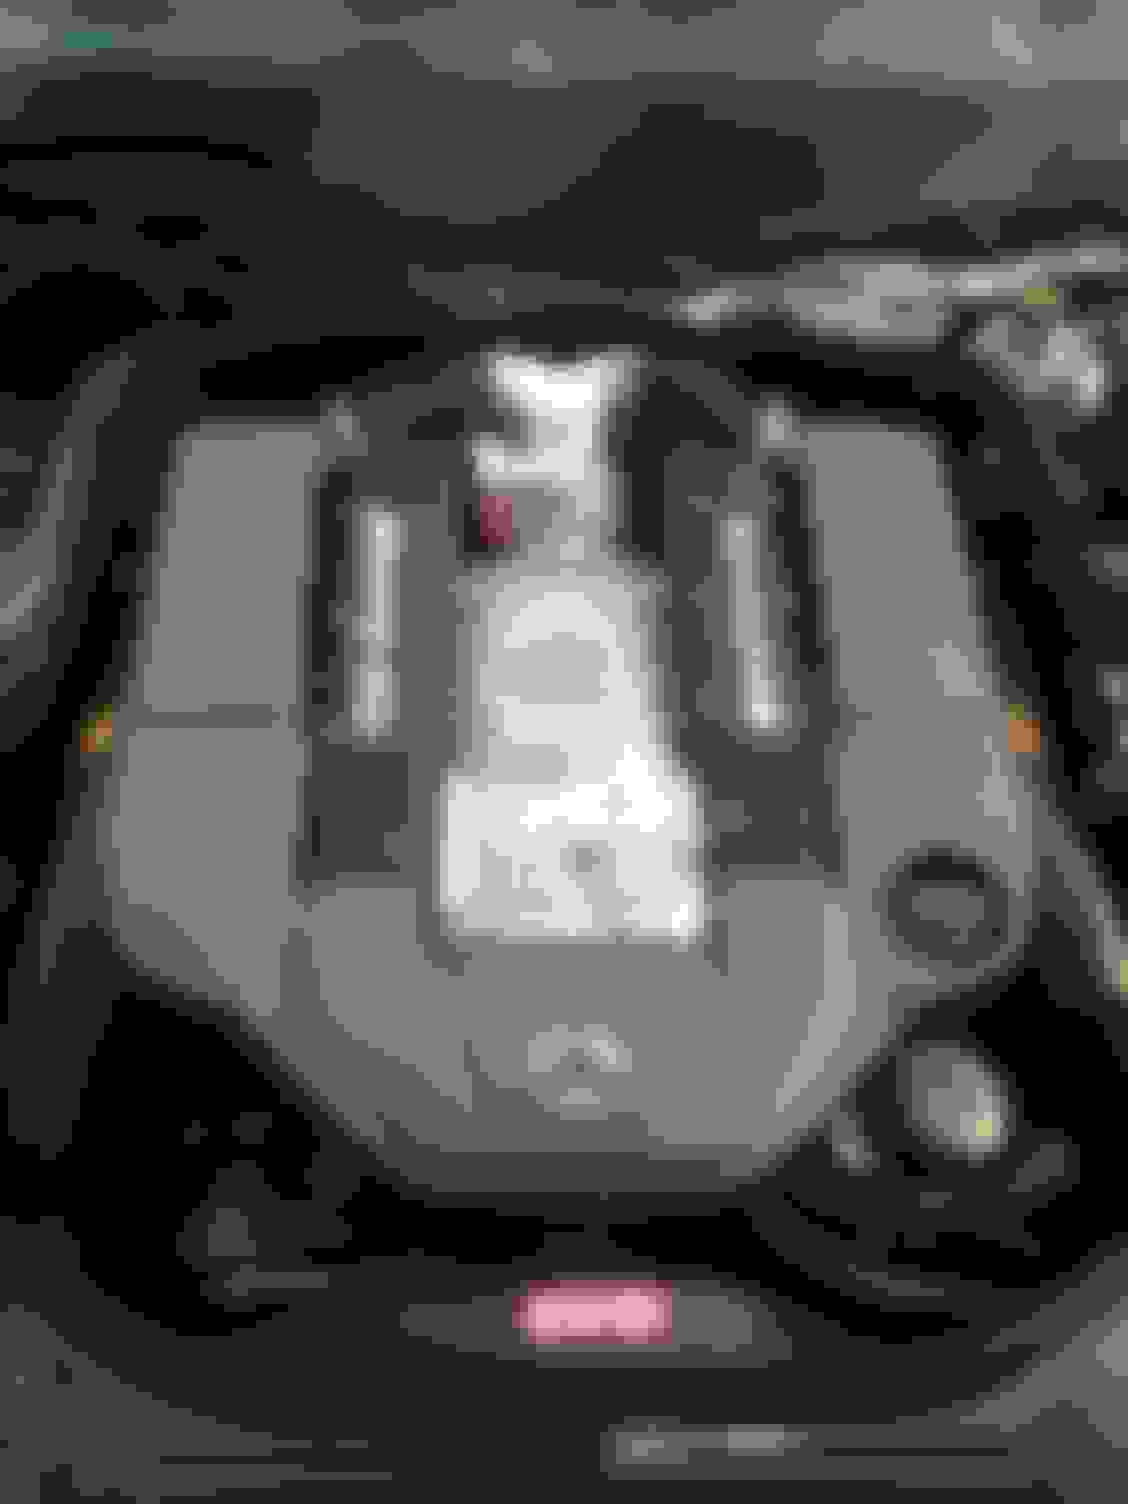
RECAP of before painting it!
Factory color on the breather assembly and front cover.
Getting the body and paint right. The exterior of the car is pretty straight. There has been no major collision damage but has had some paint work done that was not to my standards.
The paint finish looks like someone had been washing the car with a car wash brush over the years leaving it with scratches all over. I thought I might could sand and polish the majority of the car but there were some panels that wouldn�t help.
The front bumper, hood, and front edges of the fenders had your basic rock chips from highway driving. Headlights were the same and just starting to show their age so it was time to take care of those also.
The left and right side skirts were sandblasted at the front edges from daily driving.
The previous paint repairs......I�ll explain more when posting the pics.
I know this may sound horrible to some people but it was driven, which was obvious by the issues it has. The car wasn�t beat to hell just things that happen to a car driven daily.
I've been doing the car in different stages so you will notice in the pics that the engine detail hasn�t been done yet as this was before all of that.
The first thing was to get the bumper off and lights out !
Chips were along the front edge and toward the middle of the hood. Scratches and acid rain spots needed to be addressed also.
Mercedes SLR McLaren 722 S Is Extremely Rare Example Modified by McLaren
Slideshow: A one-of-one U.S.-spec Mercedes-Benz SLR McLaren Roadster became even rarer after a factory-backed transformation at McLaren's headquarters.