When you click on links to various merchants on this site and make a purchase, this can result in this site earning a commission. Affiliate programs and affiliations include, but are not limited to, the eBay Partner Network.
I use an app called TrackAddict and a piece of software called RaceRender (both made by HPTuners).
TrackAddict runs on your phone and captures the telemetry from your car by connecting via bluetooth to an OBDII interface (I've got a cheap BAFX one that works fine). Then you take that data and use it for the overlay that RaceRender drops on top of your recorded video. Took a little while to learn how to capture and stich it all together, but once you wrap your head around it, it's pretty straightforward.
Enough messing around on the racetrack...back to work!
Checked off another one…rear sunshade.
Mine never worked. Prior owner said he cut it out. Yep...cut it out. The story was that when it broke for him, it broke in the up position. Retracting these sunshades by hand isn't really a thing. The gearbox/motor/lever system makes that pretty much impossible. Luckily, the rear deck didn't get damaged in the process of whatever he used to cut it with.
I parts chased on eBay for a while and went through a couple of replacement units before I came across one that still worked. These rear sunshades for W211s are almost $1200 brand new (part number is 2118100020). The $100 eBay ones are fine for me. Just takes some hunting to find one that isn't busted.
The backseat has to come out. The headrests have to come out (not easy AT ALL). The Alcantara C-pillar covers have to come out. The rear deck also has to come out since the sunshade is mounted from the underside of the rear deck. No access from the trunk either. There is literally ZERO room to maneuver ... it's hilarious. The rear deck has to shimmy out along with this big speaker unit that houses the subwoofer and a couple of other speakers (not enough room to lift the rear deck up and over it, glass in the way). Oh...and there's a wiring loom clipped to the back of this speaker unit that YOU CANNOT SEE. The wiring loom has to be unplugged (from the back) and then the loom has to get un-clipped. Imagine tilting up the rear deck at the back seat and trying to function in the area where the rear window glass meets the rear deck with something solid in the way. Total comedy.
Disassembly took all weekend. Luckily nothing broke.
After a couple of weeks of parts chasing, time to put it back together.
Testing out the replacement sunshade by test fitting it in the car without the rear deck. This is how it sits in there. Much easier to install like this
Once I figured out that my "new" one was working, I could remove my busted one from the rear deck (upside down, out of the car). The sunshade is held to the bottom of the rear deck with 4 nuts and 6 clips.
Mounted the new on to the bottom of the rear deck and started putting it all back together. Took about 90 minutes for re-assembly (felt like 5 minutes compared to the dis-assembly).
IT WORKS!
I took the gearbox of my old shade apart to see why it failed.
Plastic gear. See the missing teeth?
A metal gear here would be sooooo much better. My replacement sunshade is going to fail someday too because of this plastic gear. So lame.
The rear shade would be bulletproof if this "intermediate" gear was made of metal instead of plastic.
How much did you curse when removing the headrest? I removed them a few months ago to remove the panel on mine and the language that was heard was adult rated lol.
Unfortunately I didn't clip in the headrest panel proerly and the sunshade gets stuck on mine. I'm really looking forward to dismantle the thing again. Not....
Hi tlambert...it very well may have. At the very least, you'd have access to the bits that are all hidden at the back of the rear deck.
There's a lot going on back there. More than I expected. Lots of wires for all kinda of stuff I really never thought of (rear window defogger, GPS antenna, I think the FM/AM antenna is back there too) all connected thorough and around the back glass.
Before anyone goes through the trouble of disassembling their rear deck to get to the motor, try the reset trick mentioned in the W126 subforum here:
Originally Posted by hussein_abumaas
Mine is crazy a bit, sometimes it works and sometimes it doesn't, until recently I tried something (doesn't sound relevant at all) that somehow made it work whenever it decide not to work.
There should a button that drops the back seats head rest (which doesn't work on mine btw) , I press that and hold it for like 20 seconds (I think it might be resetting something), after that rear shade works fine.
This worked for me, no ****. Do it for 30s, though. What's even weirder is that pressing the button for that long also shows up as a stored DTC code as:
System: UCP-Upper control panel
Code: 9009
Description: Switch 'N72/1s4 (Rear head restraints switch)' is faulty or is operated for over 25s.
I was fully prepared to do what @MetalE55 had to do to get to the motor to fix mine and I stumbled on the thread linked above and tried it...and my rear shade started working again.
I know this wouldn't have helped @MetalE55 , but if others are having the issue maybe it will.
After having to disconnect the battery to work on my seats, the rear sunshade stopped working again. So, pressing the headrest button for about 20s reset the sunshade functionality again.
I was even able to do it when the car was running and in gear while at a stoplight.
Not much to report lately with the Speed Sled. It comes out on the weekends and drives like a champ.
Latest update was to replace the plastic vent on the hood due to the paint failing pretty badly on the original piece. It’s probably mostly the clearcoat that’s given up, but either way, it looks really bad.
My plan was to have this piece re-painted when I get my bumpers re-sprayed, but I asked my local dealer if Mercedes sells a pre-painted replacement that would match my paint code. The answer was YES!
After a few weeks I got a call and picked it up (it came from Germany…pretty cool). I was worried that my 2005 “Brilliant Silver” wouldn’t match 2022 “Brilliant Silver” but turns out the match is pretty much spot on.
The under-hood insulation and the plastic “water diverter” (not sure what else to call it) have to come out, then the vent just un-clips after removing two bolts.
While I was at it, I replaced the under-hood insulation since my original one was drooping a little bit around the edges. Funny thing is that the updated part number for the under-hood insulation includes this metal/foil in the corner. Kinda weird, but whatever…fits perfect.
Vent-less!
The windshield fluid squirters and the photocell (for the automatic headlights) and all the hoses/wiring need to be removed from the old plastic vent so it can be re-attached to the new one. You can see it all down in there somewhere.
Pre-painted hood vent part number if you’re interested:
For the US market there are two depending on the VIN. One has a dealer cost of $127, the other $109. Online prices would be lower. Shipping may be an issue.
For the US market there are two depending on the VIN. One has a dealer cost of $127, the other $109. Online prices would be lower. Shipping may be an issue.
The part number for the under hood insulation is 2116820726. I got my dealer down to $99 (they do pretty well matching internet pricing).
There are also 17 round clips that hold the insulation to the bottom of the hood. They don't come out without destroying them (at least I couldn't find a way). Part number for those is 0019880325.
Tim - no idea what the difference is between the two part numbers. MB has consolidated a couple of the part numbers they were listed (for the earlier VIN cars) so they now just have the two part numbers. It would look like @MetalE55 uses the earlier version and the later version after VIN 191264 is 211 682 06 26.
Tim - no idea what the difference is between the two part numbers. MB has consolidated a couple of the part numbers they were listed (for the earlier VIN cars) so they now just have the two part numbers. It would look like @MetalE55 uses the earlier version and the later version after VIN 191264 is 211 682 06 26.
Ah I thought maybe it had something to do with the aluminum shield on it. I bought one years ago that has the aluminum shield on it, not sure of the part number at the moment.
I never installed it, didn�t like it and wanted the OG style. I did keep it just in case mine started to deteriorate and sag.
@Metal55 Thanks for this thread! Lots of great information in here for typical issues for new e55 owners.
I had been looking for one for 6 months and I bought a black 05' e55 with 100k miles 3 weeks ago. Of course two weeks ago, a flint grey 05' e55 with 62k miles, 2 owners (all work receipts), came up and I had to buy it because it was just 2k more than the black one! Now I have to decide which to sell XD. The grey car has the rear shade issue, needs some valve covers too, both of which I am going to address as well as the dynamic seats not working. The air pump for the seats works but the diaphragm inside the pump box is bad I believe after spraying some soapy water on it. Theirs always something to tinker with on w211's but its rewarding when you fix something
@Faszerf Hello and thank you, hope some of it helps.
I'll have a Speed Sled update in a few weeks. I'm embarking one of the final big items on my checklist that will mint this thing out.
Keep watching this space and wish me luck on this latest major update. 151,000 miles and going STRONG!
Bumper and roof rail repaint (Sooo many pictures…sorry…super stoked that this is done!).
One of the last big things I wanted to get done to the SpeedSled was getting the roof rails and bumpers repainted. You can see in the pictures that the clearcoat and/or paint is failing, making a pretty nice car look slightly neglected (which I can assure you, it is NOT!).
A while ago I saw a post here from @Roberte01 (see it here) who got his front bumper re-painted (a gorgeous blue color) at a paint shop local to me. So I visited the shop and they were great to deal with. We struck a deal for re-spraying my front and back bumpers and the roof rails. I spent a couple of weekends removing my roof rails and front and back bumpers and disassembled them (removed the impact strips, parking sensors and all the grills & fog lights).
Get to work!
A bunch of the clips in the roof broke while taking the rails off. Luckily, they're easily replaceable.
Took lots of pictures of the backside of the front and rear bumpers before disassembling them since there's a lot going on back there and getting it to go back together properly is the main objective here.
One good thing about having the bumpers off is that I could get a real good look at the "bones" of the SpeedSled and I can tell pretty easily that this car has never been hit. All of the body panels hidden by the bumpers look totally factory. All of the seams and welds look absolutely untouched. No signs of any repairs. NICE!
I had a pretty good idea that this car was in really good shape when I did my initial inspection at purchase time, but this confirmation is really nice to have.
Off to the shop with my bumpers and roof rails.
After about a week I got a call saying to pick up my stuff the following day. Sweet!
Bumpers in the back of my truck being protected by these "bumper bags" for the ride home. Who knew bumper bags was a thing?
Reassembly time - Roof rails first.
FRESH!
Rear, ready to get re-assembled
Refer to the pic to get it right!
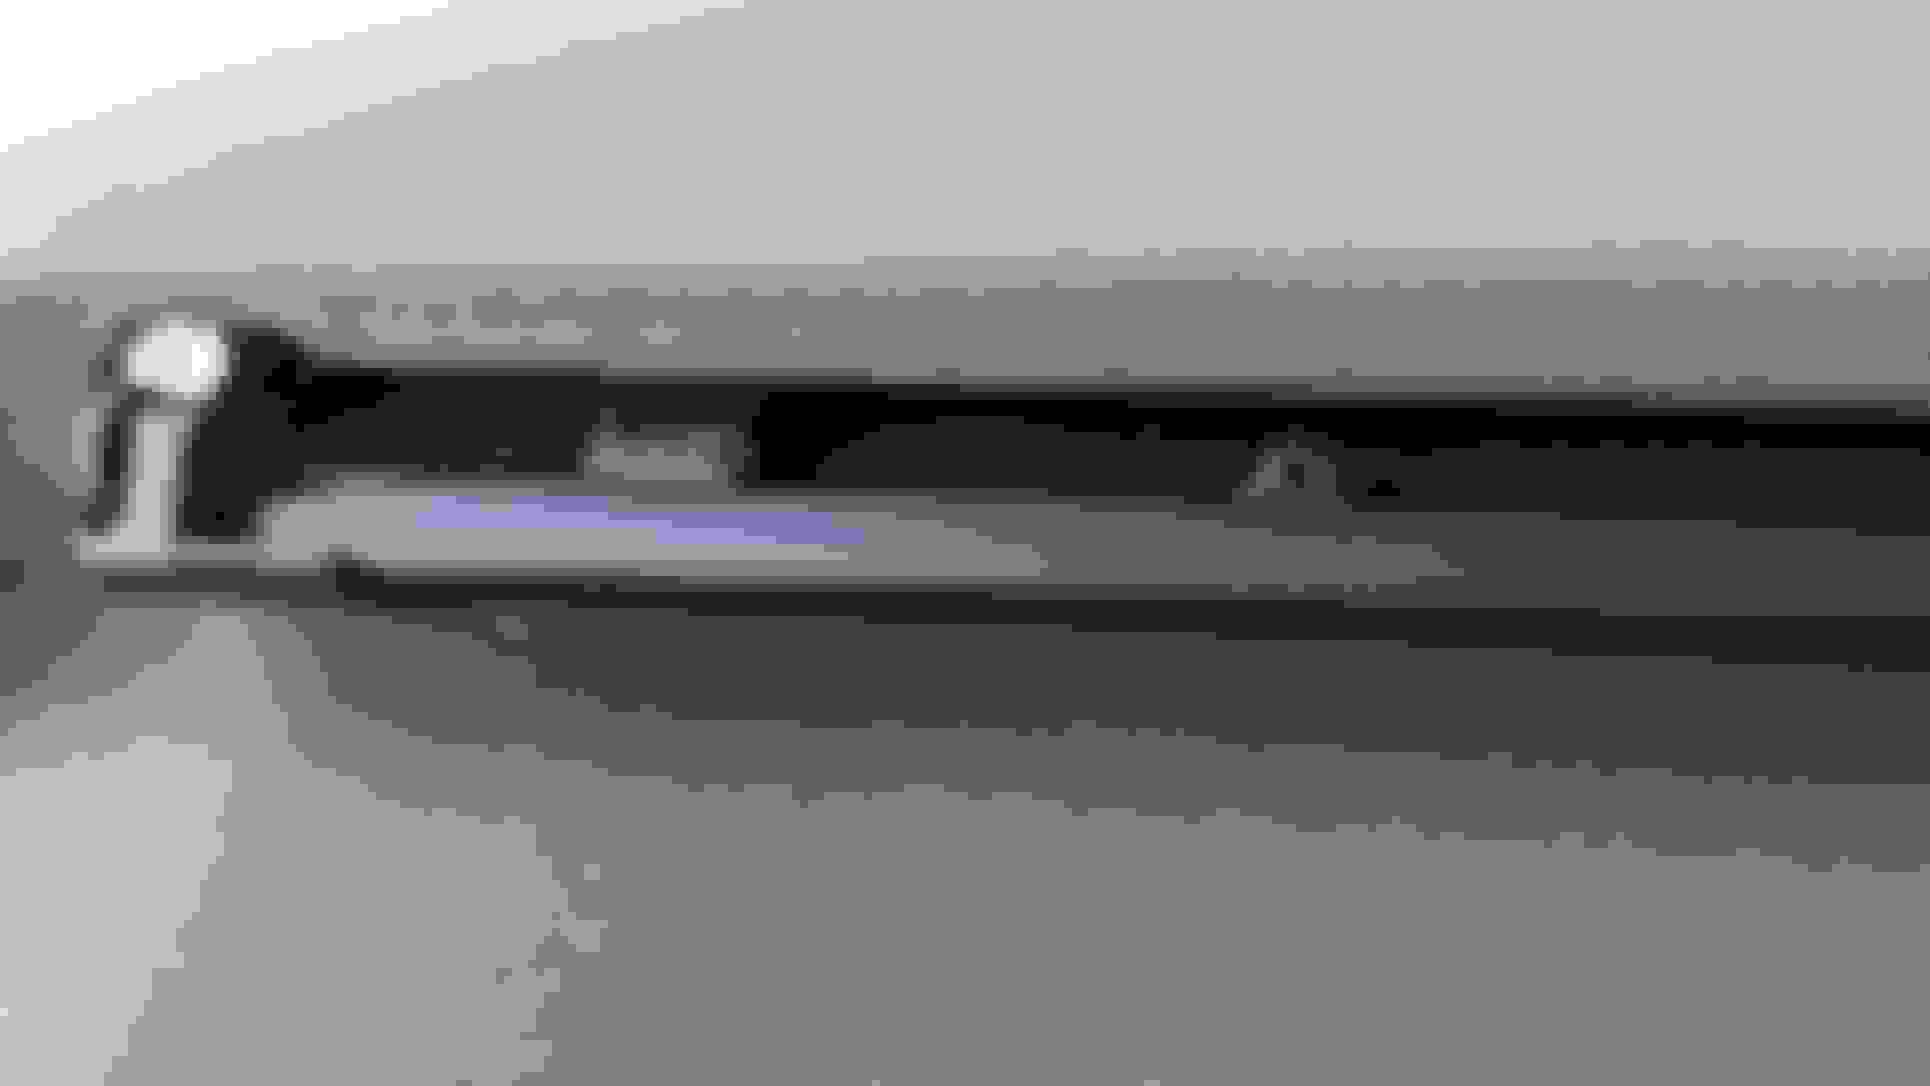
Front ready to be bolted up to the car. I picked up some new fog lights while everything was all apart. The original ones worked fine, but the lenses are glass and they were pitted really badly. These new ones are just as fresh as the paintjob!
Overall, this turned out as good as I could expect. It looks perfect as far as a color match. Not bad for a color match of Mercedes 744 Brilliant Silver Metallic on an 18 year old car.
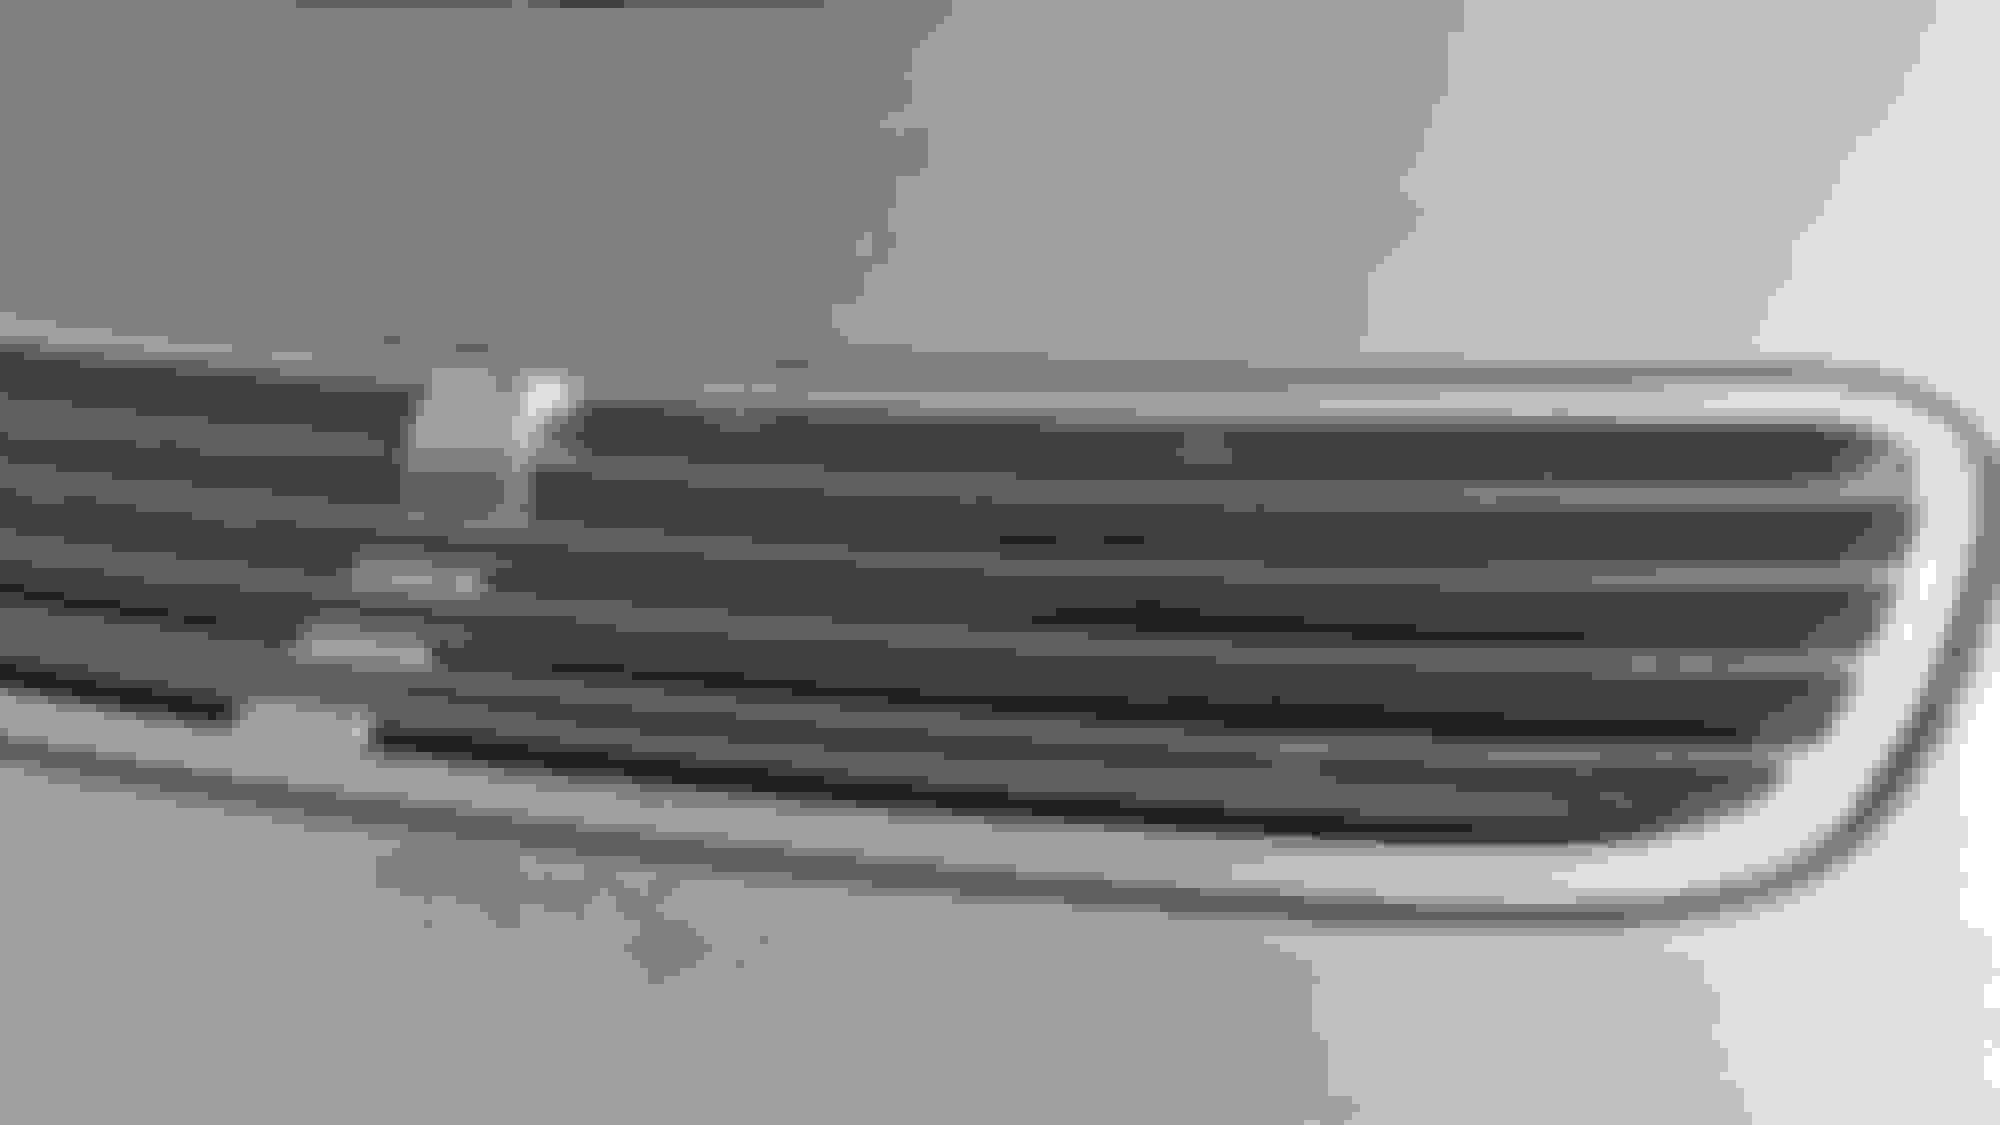
Also picked up a new front grill too, because, well... why not?
Getting very close to completely minting this thing out. Nothing major left to do. After I get that small door ding in the rear passenger door removed (see it? It bothers me too), the exterior will be pretty much all the way there. Mechanically, it's 100% (probably just jinxed it). Nothing left to do on the inside, so after a full detail, I think I'm pretty much there.
LOVE
THIS
CAR!!!
@tlambert Thanks!
Grill came from autohauspartsdelivered.com (A2118800583 - $170)
Fog lights came from mbdirectparts.com (2308200356 & 2308200456 - $100 ea.)
And there's no need to remove the bumper to replace the fog lights, just the front belly pan. Two 10mm bolts hold each one in. Super simple.

 05-10-2022, 11:09 PM


 I removed them a few months ago to remove the panel on mine and the language that was heard was adult rated lol.