When you click on links to various merchants on this site and make a purchase, this can result in this site earning a commission. Affiliate programs and affiliations include, but are not limited to, the eBay Partner Network.
The rear is connected but not fully buttoned up. You can see the brown ground wire for the side airbag hanging on the left. That will be riveted into place. Also, there is 1 zip tie that goes up top to cinch some a tube and wires to the metal grate. I also have to reattach 4 springs that attach the grate to the metal frame of the seat.
Metal shavings on the carpet to the left from drilling out two rivets.
These are some seriously sophisticated seats (which is why I want the bladders operational). I didn't think it would take 14 steps just to remove the seat cushion. And that's not counting what it takes to get to and replace the bladder once the cushion is off. Oof.
These are some seriously sophisticated seats (which is why I want the bladders operational). I didn't think it would take 14 steps just to remove the seat cushion. And that's not counting what it takes to get to and replace the bladder once the cushion is off. Oof.
Hahaha, yeah, that's about as far as I got yesterday...and your descriptions were spot on. I wish I had found your thread before I got started!
I'm working on the seat cushion bladder (under the thighs at the very front of the seat) next. This seems like it will take more effort than the other bladders combined. Between work and family, I might have to wait until the weekend to tackle it when I get big blocks of uninterrupted free time.
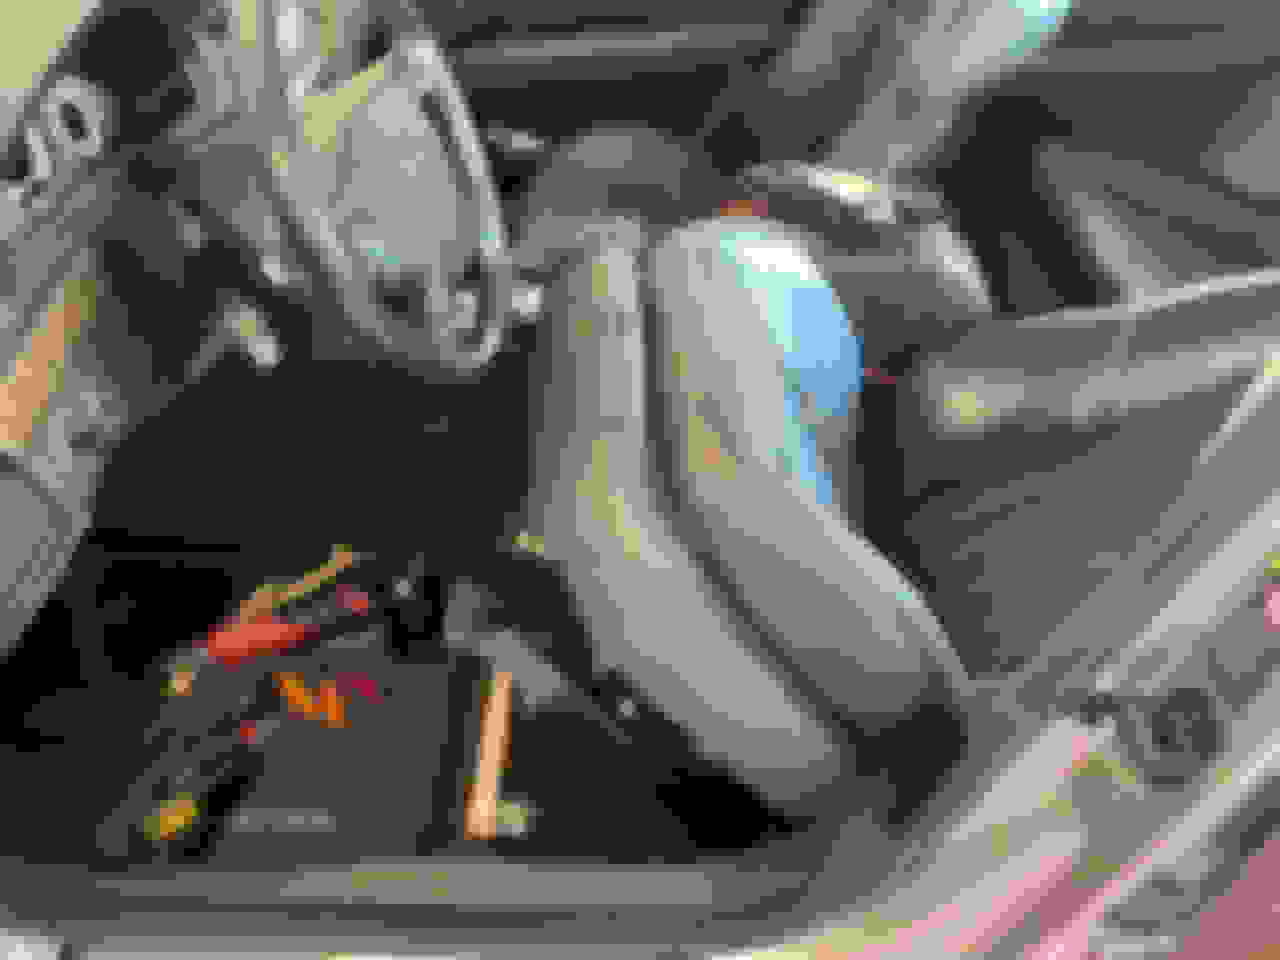
I unbolted the four corners (there is a cap over the bolt that you simply pry upwards). Then I removed the rear plastic trim around the bolts. Watch the tongue that you have to lift up to pull them back. Someone did this job before and broke one of mine. I then scooched the seat forward and tilted it back to expose the underside:
Here's where it gets hard. See the two clear plastic brackets (called "bearings" in the MB docs)? Per the instructions, use a hook tool to pull the black plastic pins out (they have a hole in the head for the hook). Easy enough.
Here's where it gets even harder. The clear plastic brackets will not budge. I've tried pulling on them and even wedging a screwdriver between the bracket and the seat bottom. No joy. It's flexing, but not unseating. I'm pretty sure that I'll break them. The instructions even read, "Carefully remove bearings (16), bearings (16) can be damaged."
Any suggestions on how to remove these without destroying them?
Also, any advice on how to de-couple the male/female connection for the air line?
Last edited by CQHall; 05-28-2022 at 12:25 AM.
Reason: rephrasing
I was able to get a part number off of it so that I could 1) see what it looks like when out of the car and 2) order some because I'll probably break these on removal.
Part: 203-912-0041 or 203-912-004164 (newer number)
New bladder is in. It�s also similar but different. The old had elastic pulls. New did not. Probably my mistake again.
All buttoned up (and freshly conditioned using Leatherique):
Interesting development. The seat cushions and associated covers for driver and passenger appear to be symmetrical. The driver side has seen a lot of use and the cushion isn�t the best.
I�m going to see if I can swap them out to even out the wear. Also the side of the bolster that gets all of the wear in all car seats like these will be near brand new!
Today I pulled the passenger seat out first and started with the cushion to see if I could transfer it to the driver side.
Whelp, while I think it will work, it�s equipped with what I think is the weight sensor for kids (to tell it whether or not to deploy the airbag). So there is another wiring harness in there with lots of sensors. I�m not depinning and pulling all of that out to swap it. If I had a donor E55 passenger seat, it would work because I�d simply tuck the harness and not use it. Oh well.
I got the passenger thigh bladder in. On to the back and sides.
Nice work on the seats. That is a lot to do for sure but should be worth it when you�re done.
Thanks! I hope so. My fingers are busted right now. Swollen and on fire.
You have to do some serious upholstery to disassemble and reassemble the seat cushion. The YT vidoes all make it seem easier and faster than it really is. Also, these seats are almost as sophisticated as they come. Maybe the S-Class seats are more sophisticated. So, lots of wires and do-dads. Hell, the front cubby alone was a piece of work to disassemble and reassemble. Then the rivets...jeez the rivets.
The thigh bladder was literally like 5x the work that it took to do the sides and back bladders. No joke.
Here is the driver seat with all new bladders, reassembled, and ready to be put back into the car.
The passenger seat has been reassembled as well, but I just have to do the "easy" work of installing the side and back bladders.
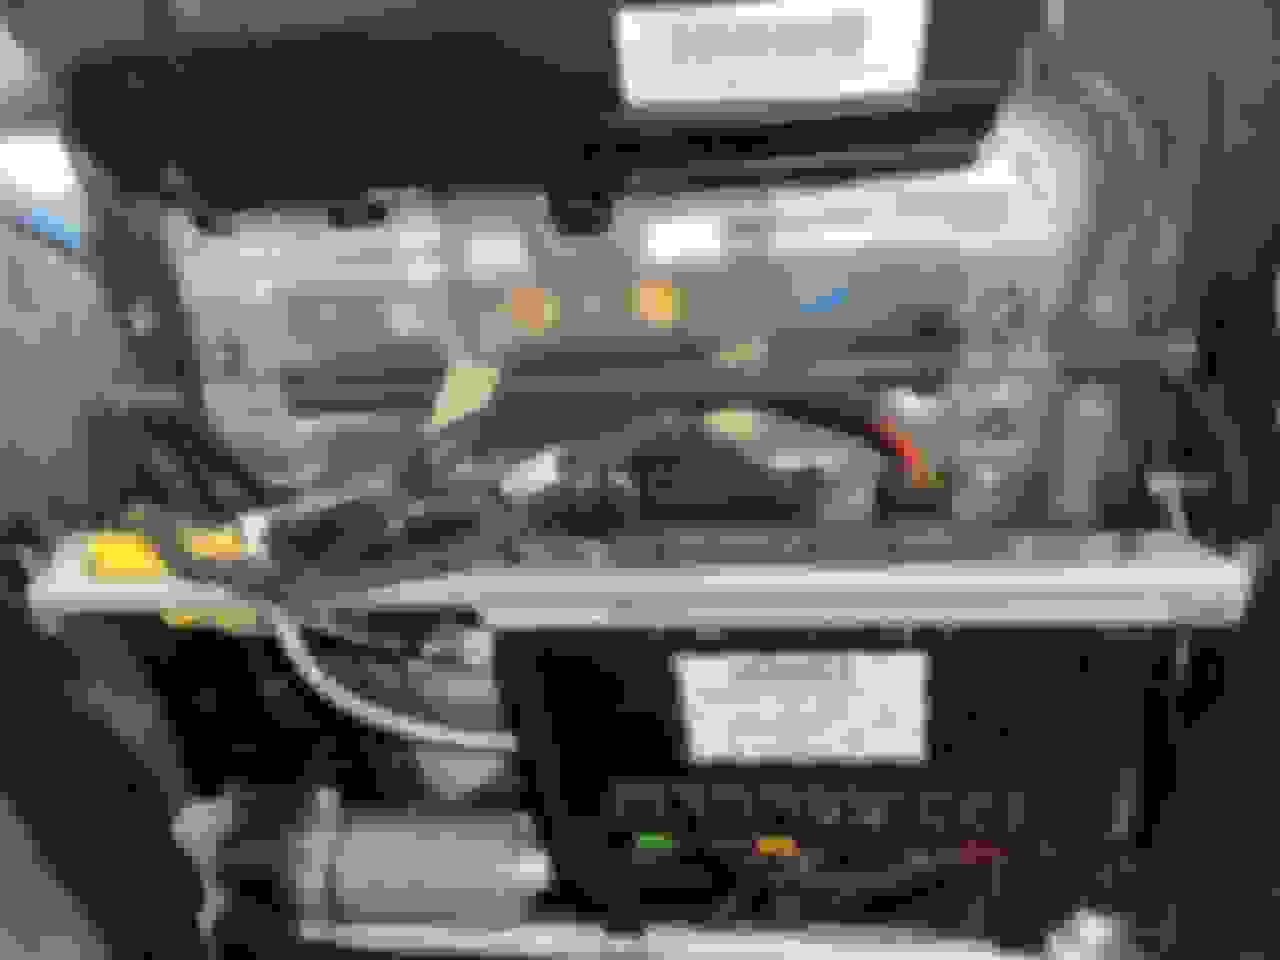
Between all of that, cleaning the floor in the car, and installing the seats, and hooking up the seat belt and wires to the car, and reconnecting the power to the pump in the trunk (disconnected because it would just run and run because the bags would never inflate), I still have several hours of work.
If a shop quoted me $1,500+ in parts and labor to do this job I would have laughed and walked out. Having done most of it and being almost done, I would have NO problem paying that now.
And literally 5.5 hrs and 2,000 calories later (just today)...we are all done. I was taking my time, but even if a pro did this job, it would be over 10 hrs maybe over 15.
Stats courtesy of the Apple Watch.
After reassembly (and plugging in the pump in the trunk) testing each bladder went well, except for the test drive when I never really felt the side bolsters pushing. Then I remembered the "Dynamic" button that's out of sight on the bottom side of the dynamic seat controls. Then I felt them pushing me, even on neighborhood turns.
The seats feel a lot better. Like modern seats. It's like I got a new set of dynamic sport seats for the car. Pretty cool.
I never expected this to take as much time and energy. I really got to know the car. Every single one of these bladders was cracked, dry, and wouldn't hold air.
I would recommend that everyone make sure that their bladders work. They do enhance the car.
I can't say that I would suggest weekend warriors like myself take this on. It's not an easy job. Not difficult, just tedious. There are a lot of steps for disassembly and assembly. This is, by far, the most challenging and time consuming job I've done on this car. More than changing the front belts or rear shocks for sure.
Last edited by CQHall; 05-30-2022 at 06:50 PM.
Reason: grammar
Would you recommend giving it a go to just do the upper back/side bolsters if the thigh bladder was okay? My side bolsters hold air for maybe 30 mins at a time, but the thigh one is fine. Seems like that was the one that seemed to give you the most grief.
Would you recommend giving it a go to just do the upper back/side bolsters if the thigh bladder was okay? My side bolsters hold air for maybe 30 mins at a time, but the thigh one is fine. Seems like that was the one that seemed to give you the most grief.
Yeah. The thigh bladder is essentially a different process. So, if you can get away with not doing it (for a while) then go for it. The single thigh bladder took more than twice as much effort for the other bladders combined.
Yeah. The thigh bladder is essentially a different process. So, if you can get away with not doing it (for a while) then go for it. The single thigh bladder took more than twice as much effort for the other bladders combined.
That being said, it will fail eventually.
I can live without the thigh bladder, but I do notice the side bolsters when they are and aren't there. I'll add that to the list...
I can live without the thigh bladder, but I do notice the side bolsters when they are and aren't there. I'll add that to the list...
My only concern (which may not be valid) is that if your thigh bladder splits, the control module may sense that it never provides any back pressure when inflated and throw an error or disable the system. If that happens, maybe look into finding a plug for the air line that feeds the thigh bladder. It's easy to access underneath the seat. Just unbolt from the floor and tilt it backwards. You can see a connection hose there that can be decoupled (for removing the seat in other situations). If I were gonna plug it up, I'd do it there.
That being said, none of the above may be necessary if the thigh bladder splits.
So, after doing all of this, I had a thought. You can theoretically place static foam or plastic bolsters in place of the inflatable ones and then remove the air system altogether. I mean, that's how most other sport seats are designed (I think BMW uses mechanical side bolsters for the same effect).
This is an opportunity for someone to make, say, small and large side and lumbar bolster inserts. They wouldn't be hard to switch out. Just remove the back cover and a couple more screws. Sort of like custom orthotics for shoes. Well, not sort of like...exactly like.
No different than when people swap out the air suspension system for static on our aging cars (E55, E63, E500, E550)..


 05-23-2022, 09:26 AM