Mercedes-Benz C-Class: How to Paint Brake Calipers
Custom painted calipers add a touch of flair to your ride and help accentuate those sweet custom wheels. This step-by-step guide takes you through the process.
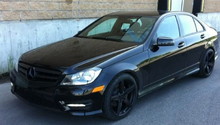
This article applies to the Mercedes-Benz C-Class (2007-2014).
Get out your masking materials, gloves, face protection, and safety glasses. After you decide what color you want and purchase the materials, you'll enjoy doing this simple, satisfying project. Learn how to paint your C-Class calipers in a few steps below.

Materials Needed
- Brake caliper paint kit (or caliper cleaner and caliper paint)
- Jack and jack stands
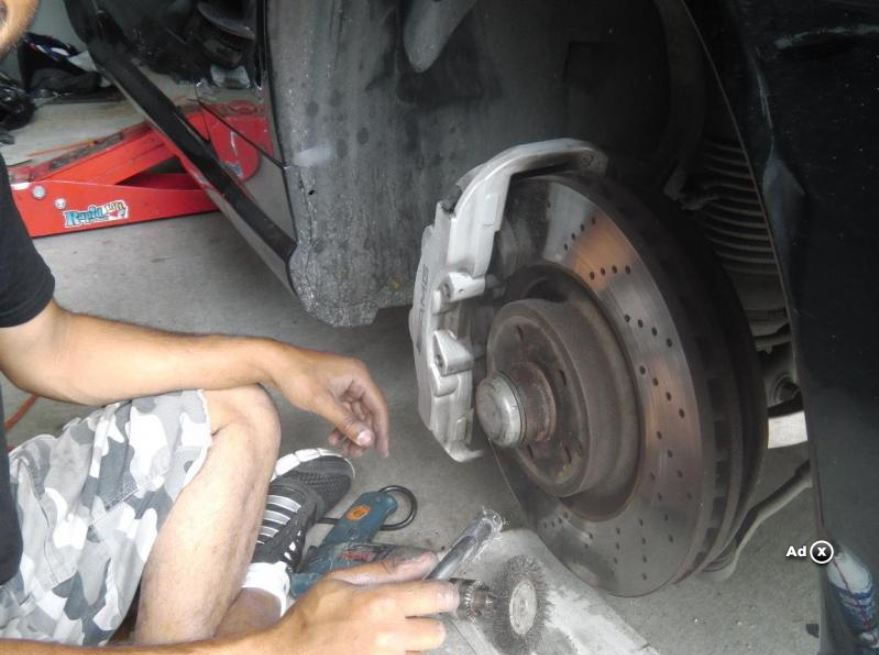
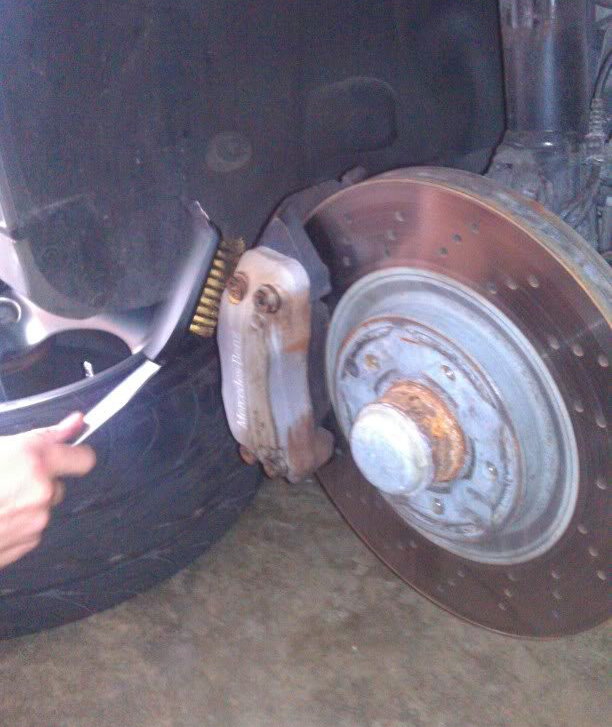
- Wire brush
- Sand paper (course and fine grit)
- Brake cleaner spray
- Rubbing alcohol
- Masking materials (masking tape, newspaper, brown packing paper, drop cloth or tarp)
- Gloves
- Protective mask
- Safety glasses
- Lint-free rags or paper towels
Step 1 – Buy materials
Before you buy in-store or online, decide what color you want. Choices include almost any color: yellow, red, silver, blue, gold and custom colors. Purchase a caliper paint kit that includes the paint, caliper cleaner and instructions. You will also want to make sure you have plenty of masking materials on hand: masking tape and newspaper, brown packing paper or a drop cloth. A popular all-in-one kit is sold under the "G2" brand and can be bought for about $30.
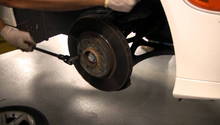
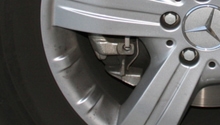
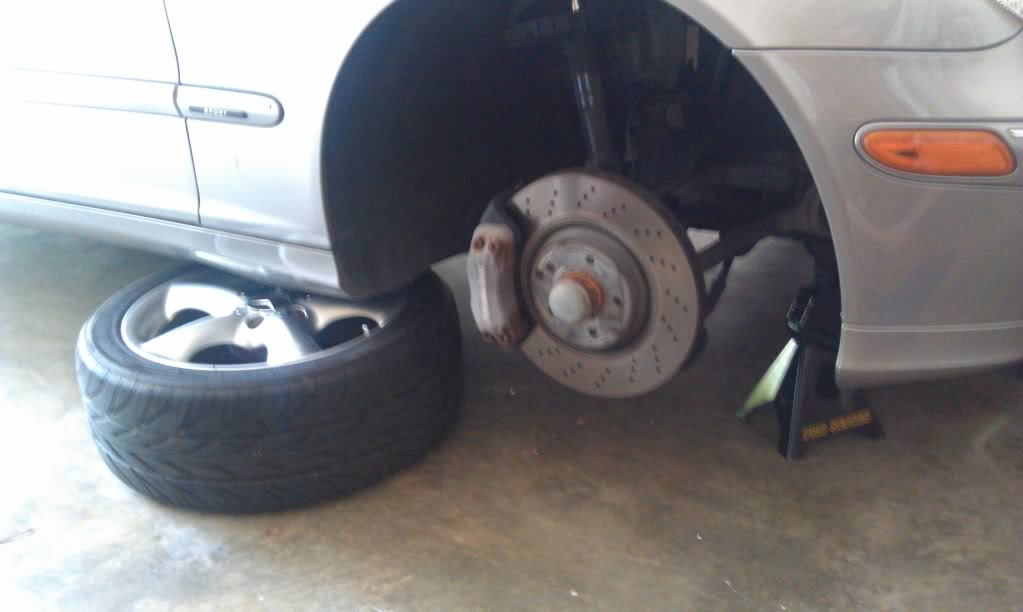
Step 2 – Jack up car and remove the wheel
Set the emergency brake and/or put the car in gear. Use a hydraulic jack (if you have one) and jack up the car. Block the wheels, and for added safety, use jack stands. Take off the tire and wheel on the side of the car you will be working on.
(Related Article: How to Jack Up Your C-Class - MBWorld.org)
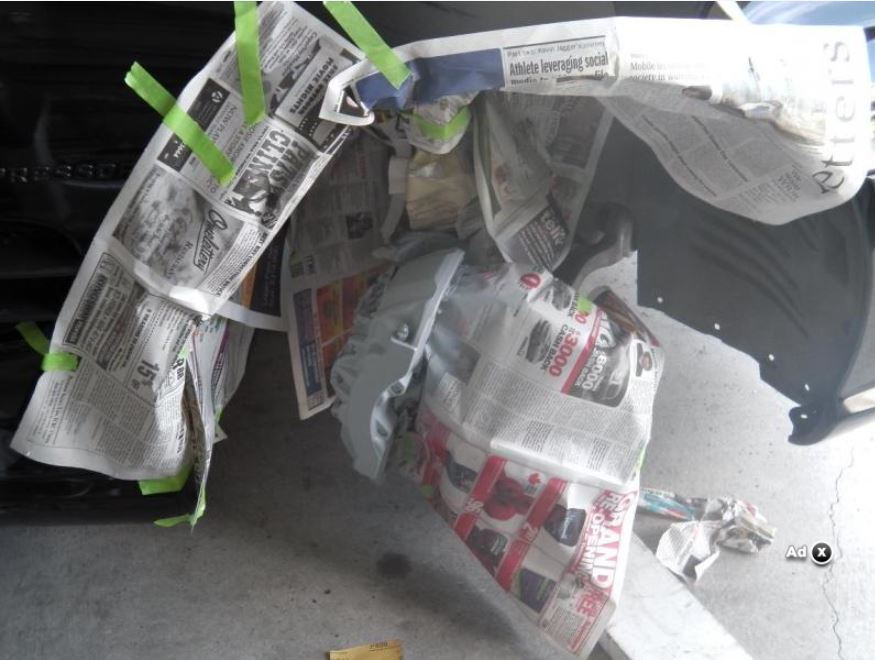
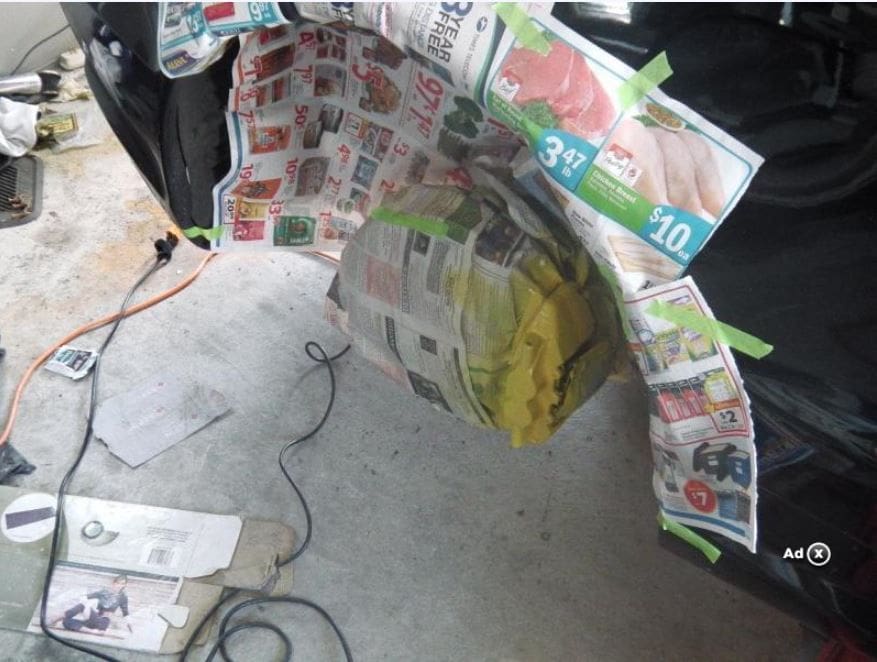
Step 3 – Masking
Mask off all areas you want to protect from paint. Include masking off the "Mercedes-Benz" name plate, the rotor, the pads, the shocks and the wheel well. Use newspaper, brown packing paper, or tarp and masking tape.
Pro Tip
You can also snap off the "Mercedes-Benz" nameplate and re-install after painting.
Step 4 – Preparation
Preparation is paramount to getting a good paint job. Put on your gloves, face mask, and safety glasses. Use a wire brush to remove brake dust, grime, rust and dirt from the caliper. Next use the course grit sand paper and finally the fine sand paper. Be sure to get into all the crevices and hard-to-reach areas but avoid sanding or wire-brushing any rubber area like the brake line or rubber boots. Sand until the caliper is quite smooth and all rust and dirt is gone.
Step 5 – Spray with brake cleaner
Brush off any brake dust or dirt left on the calipers. Spray the caliper with brake cleaner and allow to dry.
Step 6 – Clean with rubbing alcohol
Change rubber gloves so you don't get any dust, dirt or rust from the previous sanding on the caliper. Use a lint-free cloth or paper towel soaked with rubbing alcohol to remove the fine particles from the caliper after spraying with brake cleaner.
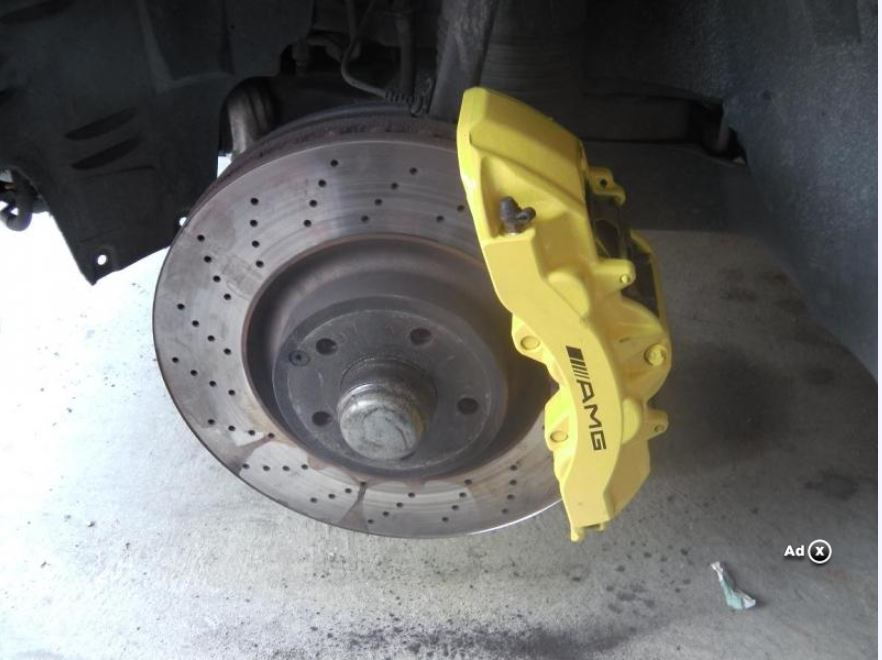
Step 7 – Paint
Spray the first coat and allow to dry between coats for two or three minutes. Spray an additional two or three coats. Allow final coat to dry for 30 minutes.
Step 8 – Put wheel back together
Apply decal (or re-install name plate) and put the wheel back together.
Pro Tip
Once you have completed painting, you can drive the car for thirty minutes to heat the calipers which "sets" the paint.
Related Discussions
- DIY Painted Brake Calipers - MBWorld.org
- DIY on Painting Brake Calipers - MBWorld.org
- Finally Painted My Calipers - MBworld.org
- Caliper Paint - MBWorld.org
- Painted My Brake Calipers - MBworld.org