When you click on links to various merchants on this site and make a purchase, this can result in this site earning a commission. Affiliate programs and affiliations include, but are not limited to, the eBay Partner Network.
First off let's start this by saying if you aren't pretty handy in the garage, don't attempt this. You need some good mechanical knowledge and the proper tools.
I'm not going into every single detail, but this will be a general guide how to.
There is some special tools you need to do this job from MB. There is a Cam Holder tool that is required to lock the cams in place while you remove and install them so they don't flop around.
Also, you need two bolts to screw into the cam adjusters to hold the two pieces of the gear together. The thinner gear is under spring pressure and it will move if it's not held. If this gear moves on you, it's not good and I am not sure how to set it back up.
I THINK its a 4mm bolt, about 1/2" long.
Various torq sockets are needed, male and female, 27mm short socket for crank pulley to turn engine and a very good, calibrated torque wrench. High temp engine silicone, rags, coolant, mityvac, etc
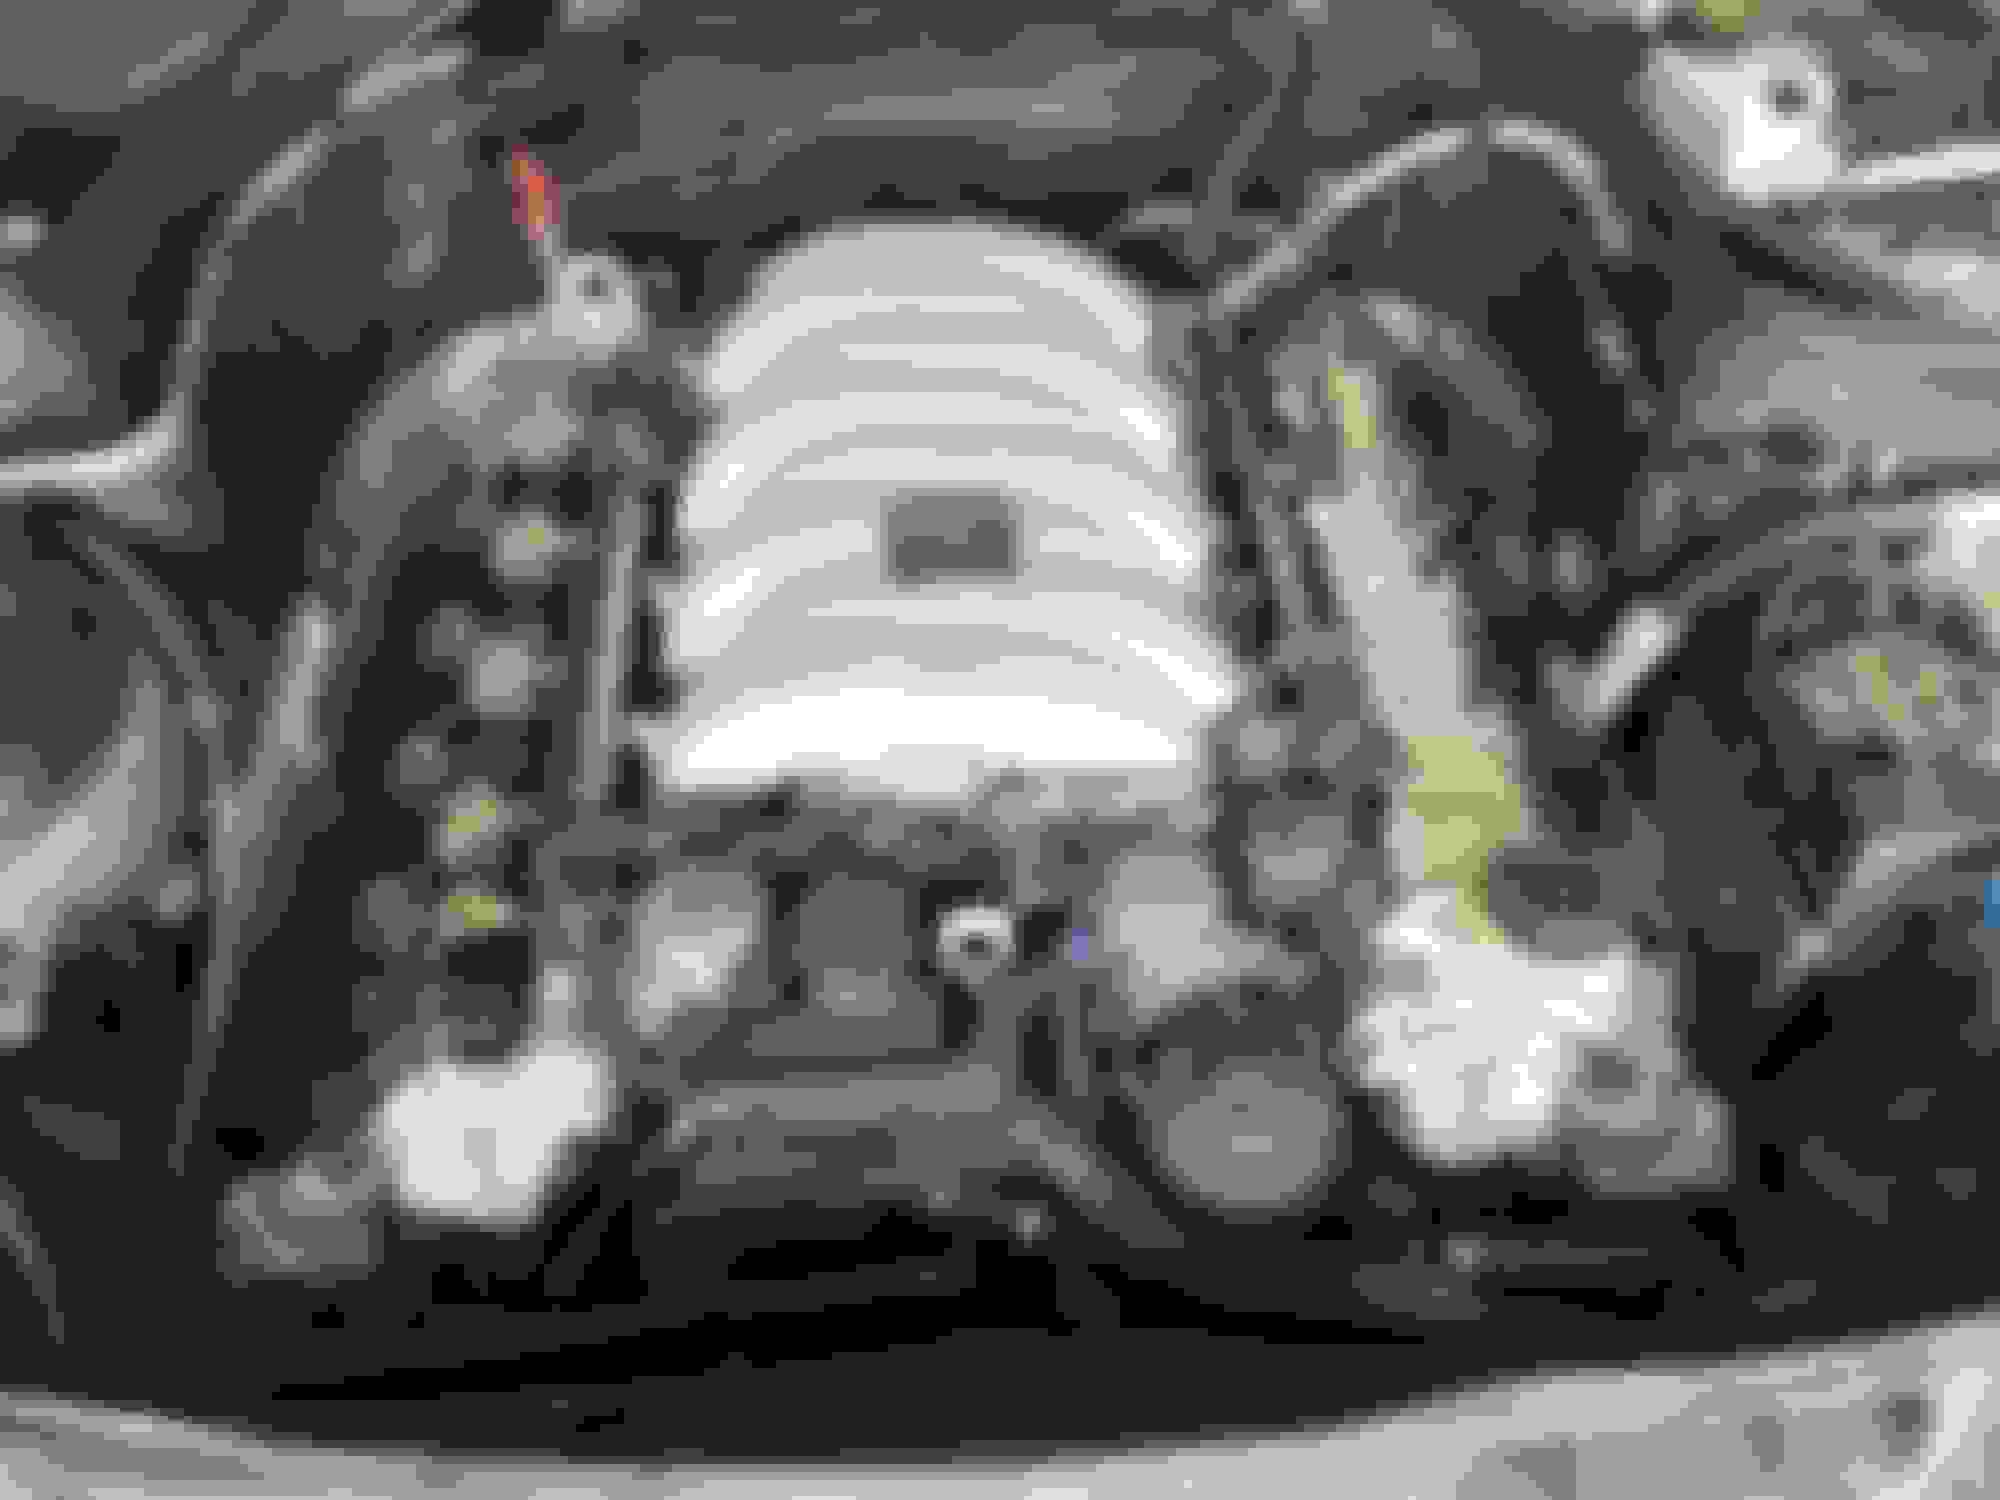
First step is to clean the engine off completely, you don't want any sand and gravel sitting around the area. Next remove the air boxes, coils and the cool wiring harness needs to be clipped off the valve cover and slide it down behind the side of the head to expose the valve cover.
After that's all removed. We start by doing one side at a time. So start removing all the bolts holding the valve cover down. Also removing all the bolts holding the cam adjuster plate down too. There is some hidden bolts on the cam plate and a ground bolt that needs to come out. The clips for the solenoids need to come off too. Take your time with the clips they are usually on pretty tight, wiggle.
The cam plate on the front can be wrapped in paper towel and put to the side of the engine.
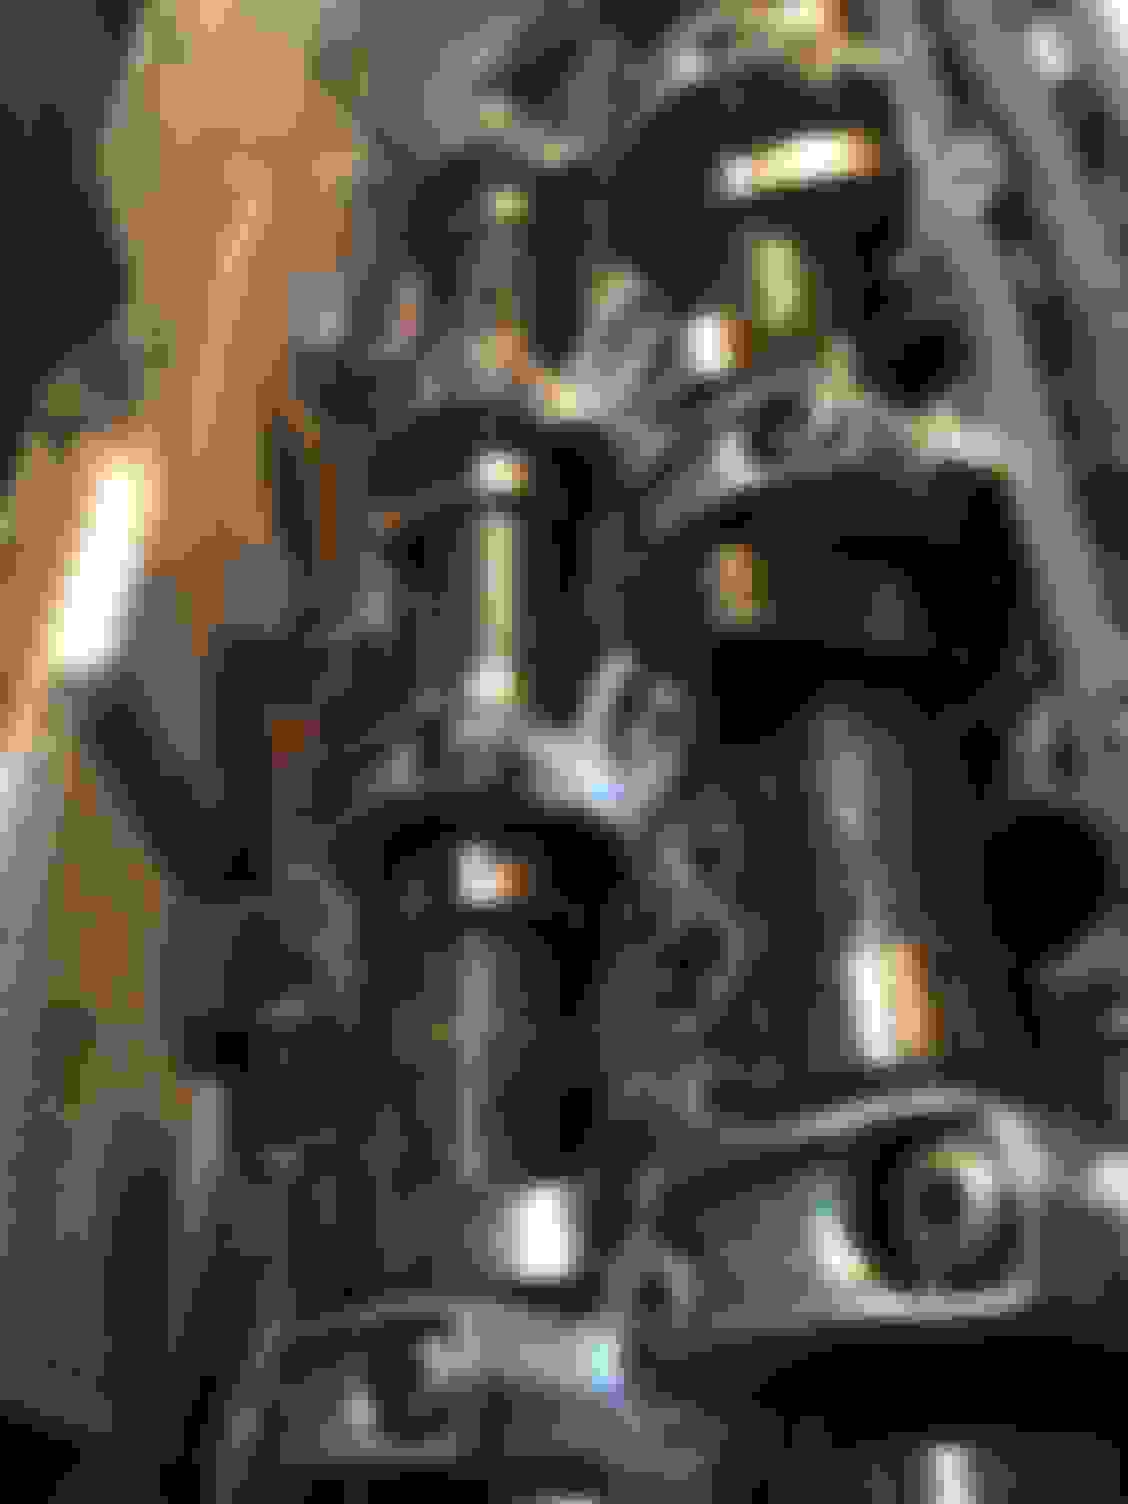
Now that the cams are exposed, BE VERY CAREFUL NOT TO DROP ANY BOLTS ETC INTO THE ENGINE. The timing chain is exposed and if something falls down into there, it's gonna ruin your week.
Take your 27mm and put it on the crank pulley. Rotate the engine till the 40 number stamped on the pulley lines up with the notch behind the side of the plastic pulley on the engine block. It's best to have a print out of the MB instructions for this. We put a sharpie mark on the outside edge of the crank pulley so it's easier to see. You need to line this mark up so the cams are in the proper position.
Once you have it lined up, take the cam holder tool and place it over the cams, it should fall into place fairly easily. Check the cams are not upside down, by this I mean, check if the holes where you put a bolt into the back of each gear cog are on the top. If they are on the bottom, rotate the engine another 360degrees so the cam turns 180degrees.
Install the bolt into the cam gear phaser to lock the two piece together. I take nail position and run a strip down the phaser and gear for insurance. Also run a strip down the gear below the cams and to the engine so you know if the engine magically moved on you.
Lock the cams in place with the holder tool and install a bolt on either side of the tool to hold it to the head.
Now make damn sure you label the cam caps which hold the cam down. Each cap is machined and has to go exactly back where it came from. I write on them all, intake or exhaust side and number them, put them down on some clean paper in order as the came off. Critical.
Start slowly removing the cam cap bolts, baby steps from the insides moving out, slowly releasing pressure across the cam evenly. Do this for both cams. Once the caps are off, take the holder tool and remove each cam. Writing on the cam which is intake and which is exhaust. Oil will pour out so keep them level.
Buckets looked fine, they are staying. We didn't touch the phaser bolts.
Will update the rest tomorrow.
When i changed the bolts to ARP studs i changed the buckets to the new up-rated version (different coating supposedly) and installed the Phasor bolts.
What was interesting about the phasor bolts was that the shoulder on the bolt is smaller on the ARP one and reveals more of the oil journal so in theory must be giving better flow????
here is the link to when i did mine.....just for interest
Ya its finished, I'm busy with work now for summer, haven't had time to finish. Don't really think this should even be a DIY as it really isn't, pretty technical.


 04-19-2015, 10:43 AM